Glass Shower Door and Vanity in the Basement Bathroom

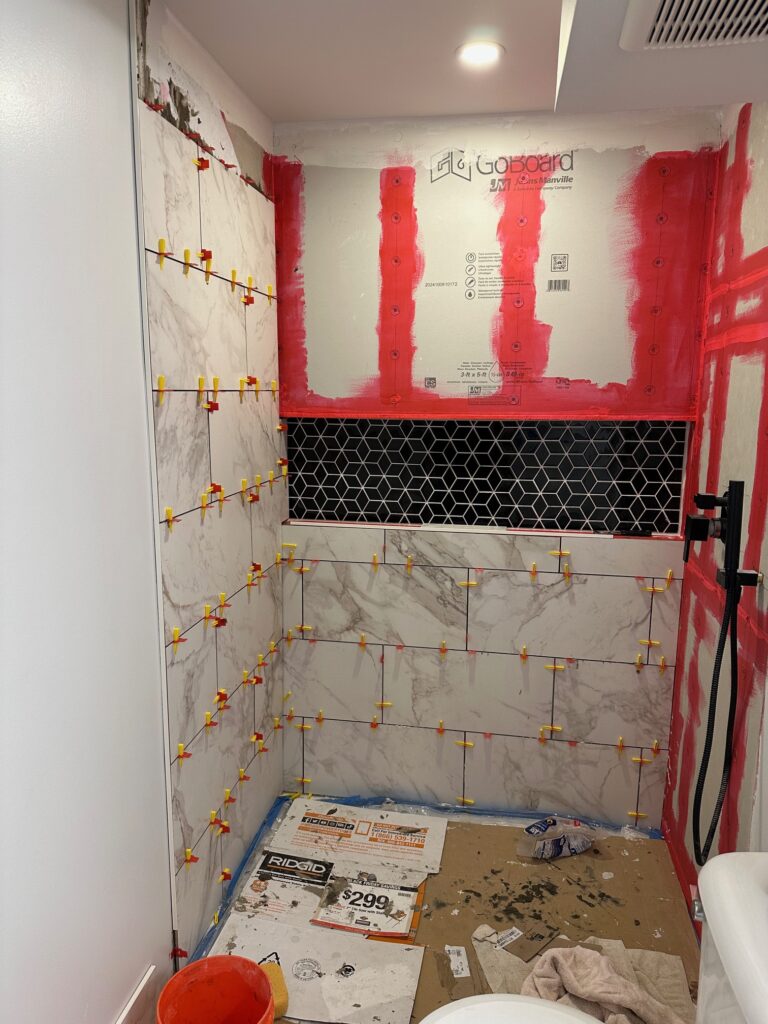
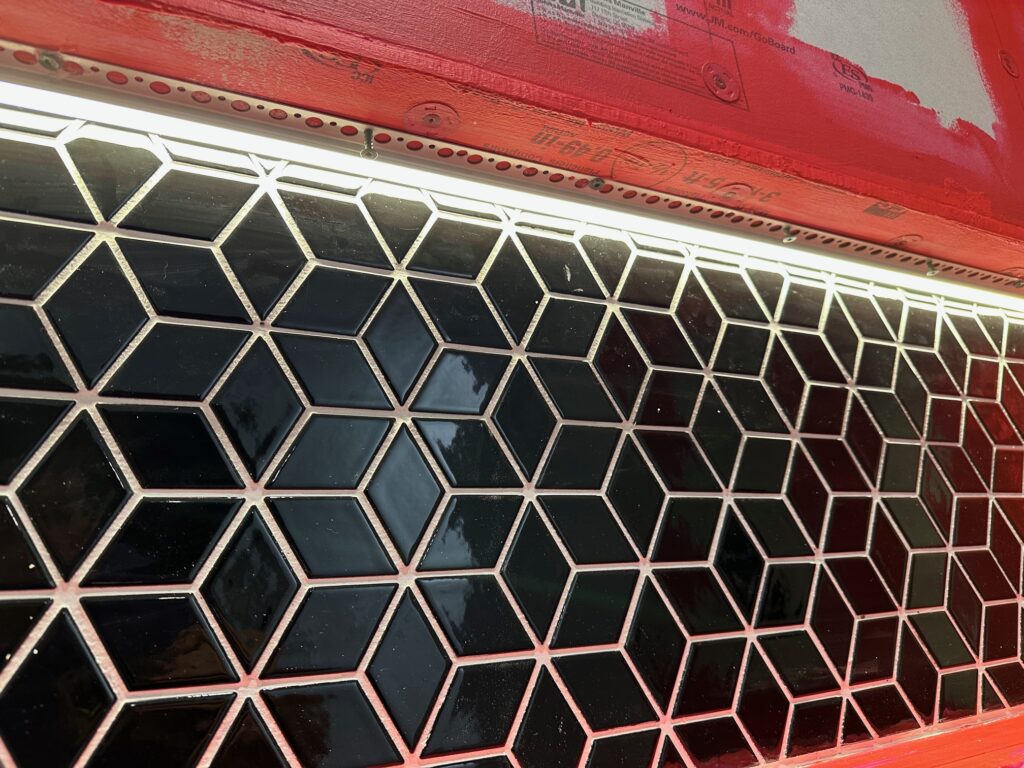
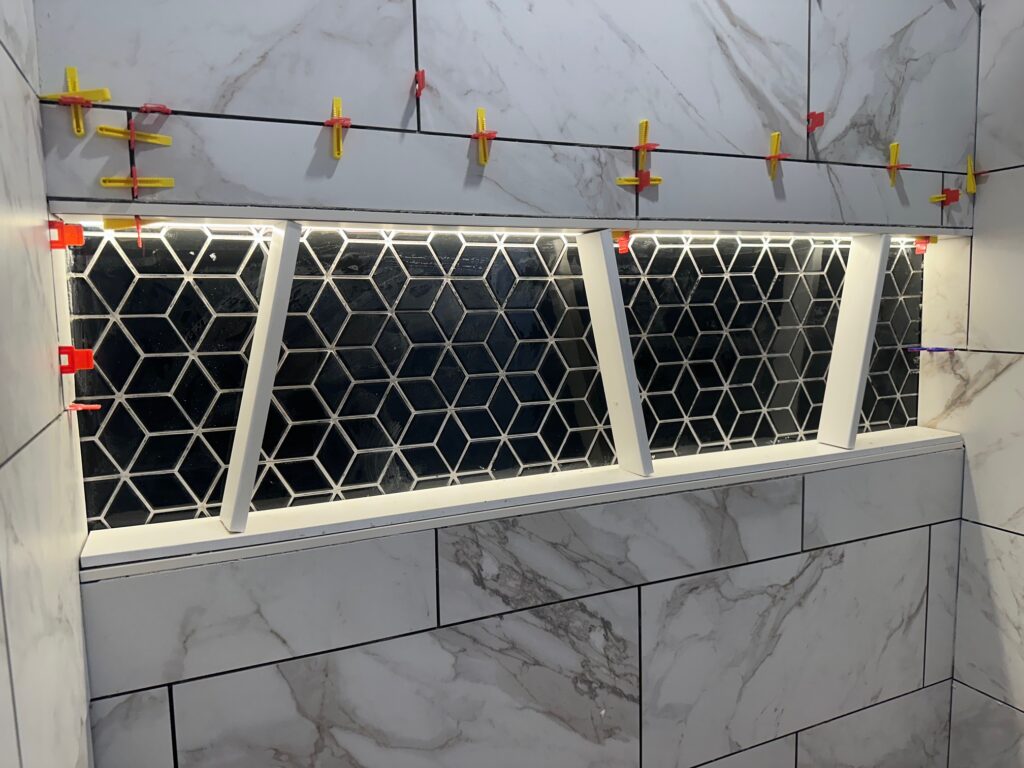
With the tiles finally in place, it was time to move on to the finishing touches of our bathroom renovation! One of the trickiest parts turned out to be choosing the right vanity. We knew we wanted a white countertop and initially thought a black vanity base would create a nice contrast with the black tiles in the shower niche.

The finished shower niche with black mosaic tiles

But after two separate vanities arrived damaged, we took it as a sign to rethink our plan. Luckily, both were returnable—and in the end, it all worked out for the best.

One of the two vanities that arrived broken

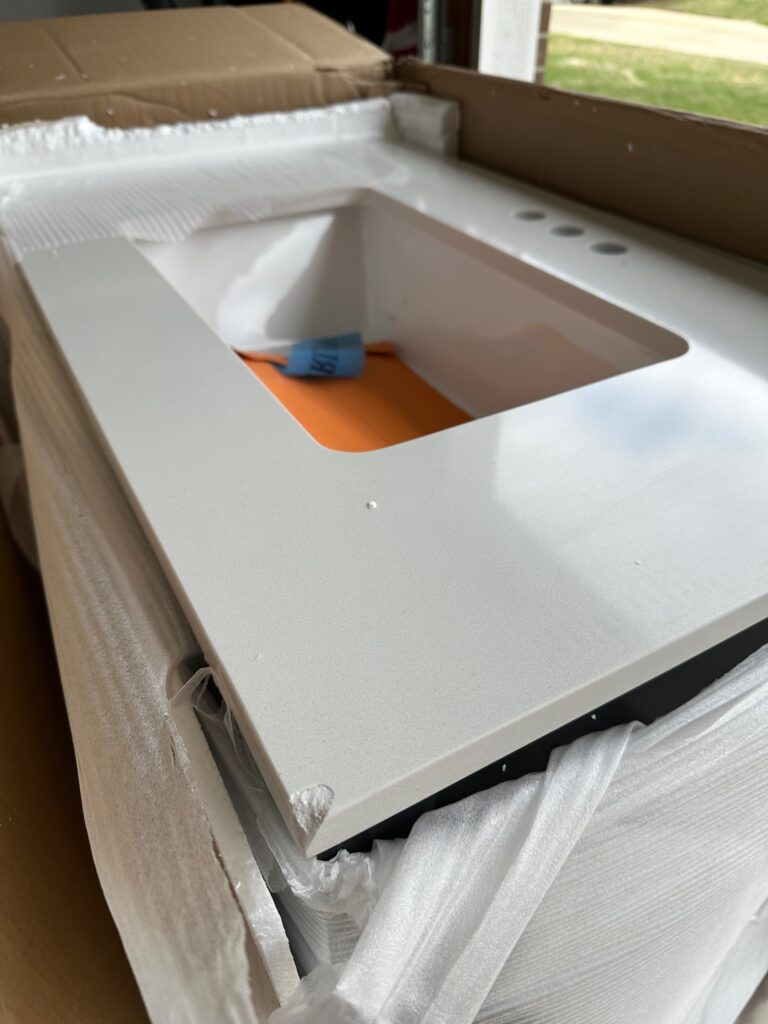
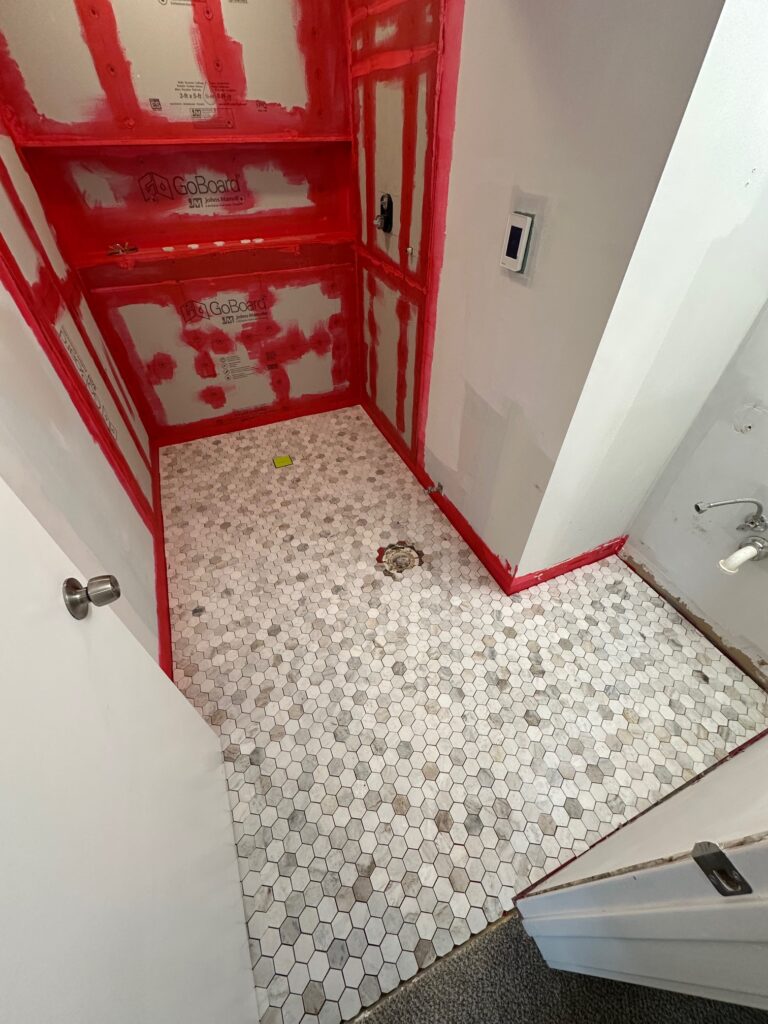
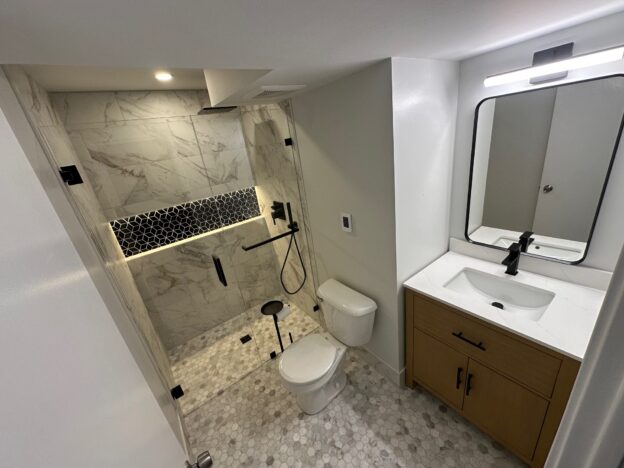
We found the perfect option at Costco: a vanity that fit our 32″ space perfectly. It has a sleek white countertop, came with a backsplash, and we love that it’s free-standing—it really gives us every chance to showcase our marble tile flooring.

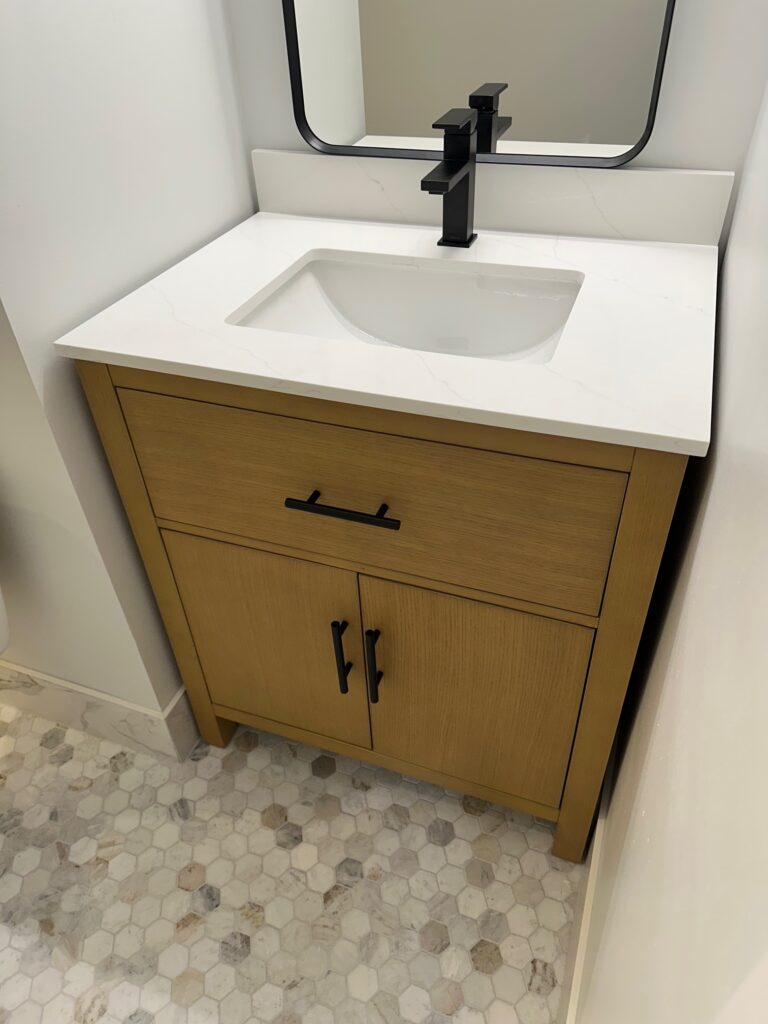
The Vanity is from Kohler. It also offers plenty of storage inside and, best of all, has a single hole on top, which let us install the faucet we had our eye on.

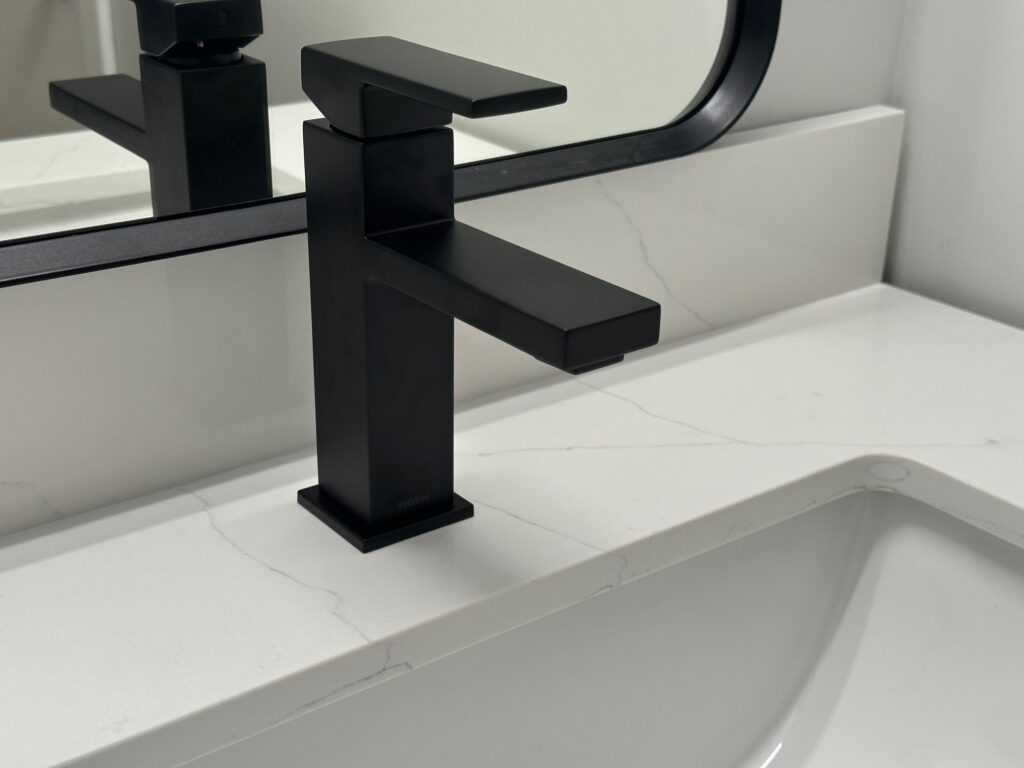
The sink faucet is from Moen (Revyl Matte Black).

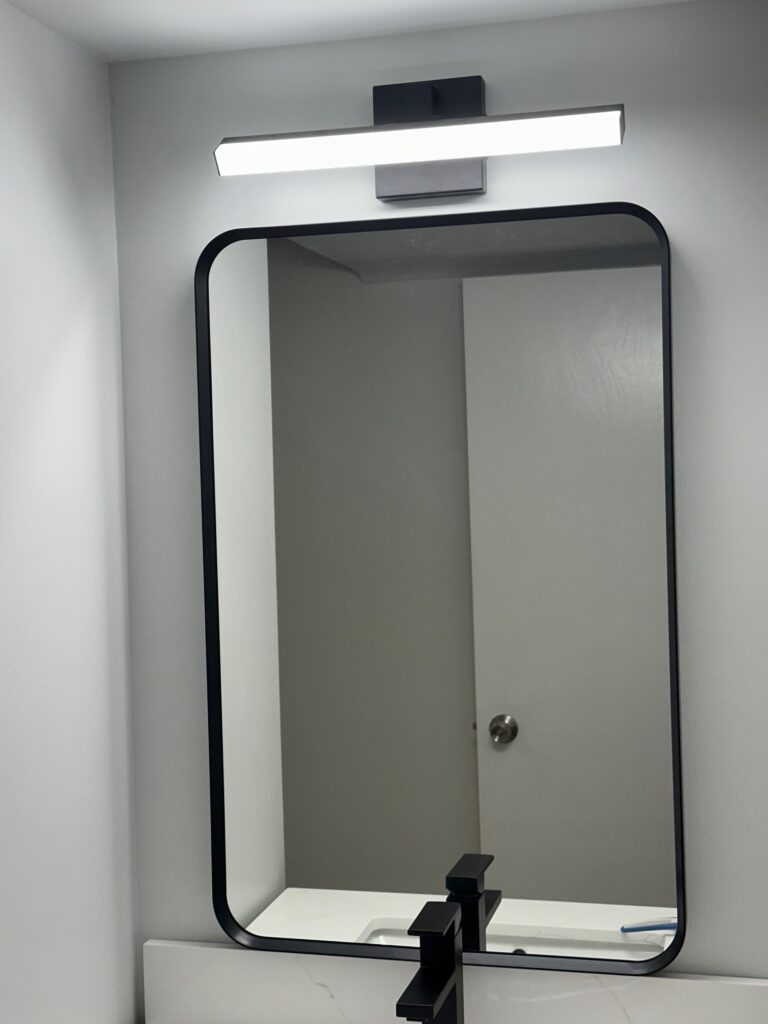
Costco really came through for us during this project—it ended up being our go-to spot for finding pieces we loved. That’s where we found the Kohler mirror, which looks great above the vanity. The light fixture came from Menard’s, and while we’re not 100% sold on it yet, it complements the modern-style of the space.

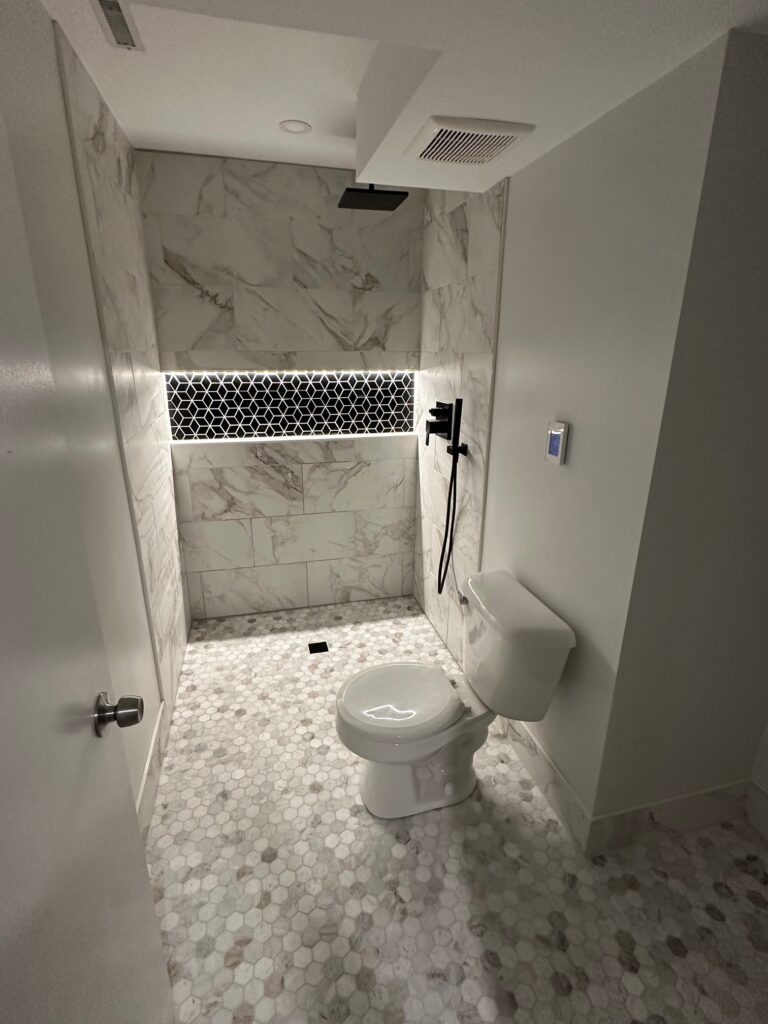
Choosing a shower door turned out to be more complicated than we expected. With the toilet so close to the shower, we assumed a sliding door would be our only option. But with a non-standard 54″ opening, finding something off the shelf proved tricky. I also wasn’t thrilled about a sliding door—mainly because of the extra effort it takes to keep clean and all the little spots where water can collect.

On the advice of Sara’s parents, we reached out to a few local glass experts to see what custom solutions might be available. The team at K&M Glass in Rochester was incredibly helpful. They suggested a fixed glass pane as a clean, simple, and budget-friendly option. After measuring our space, they walked us through different styles and materials.

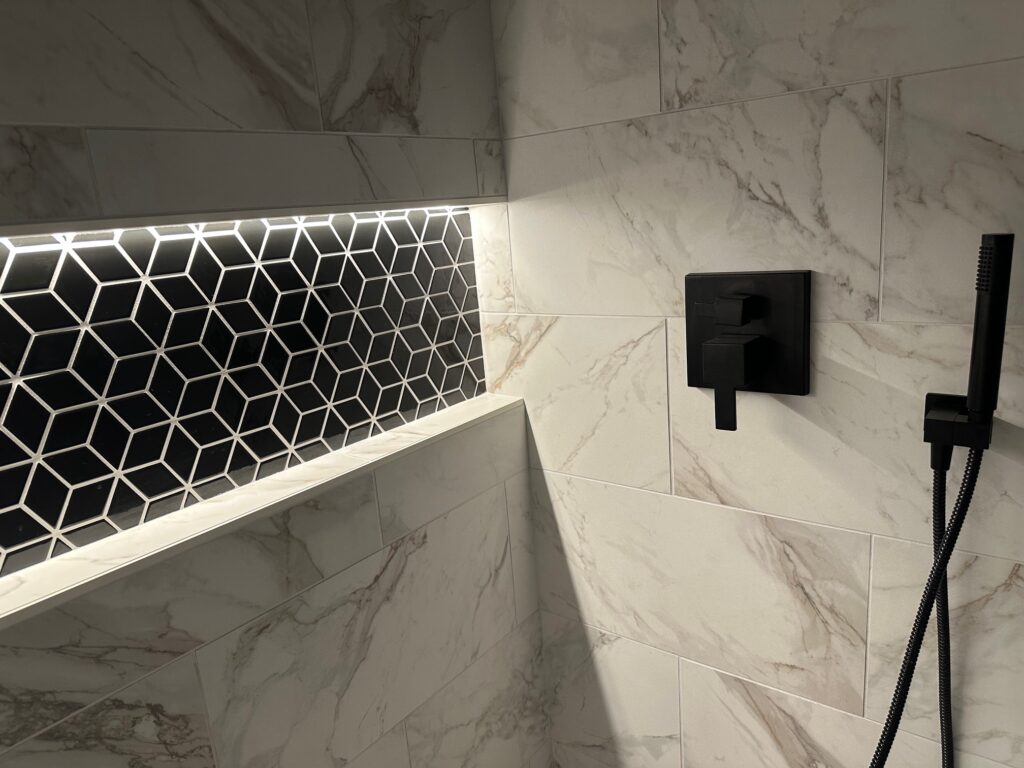
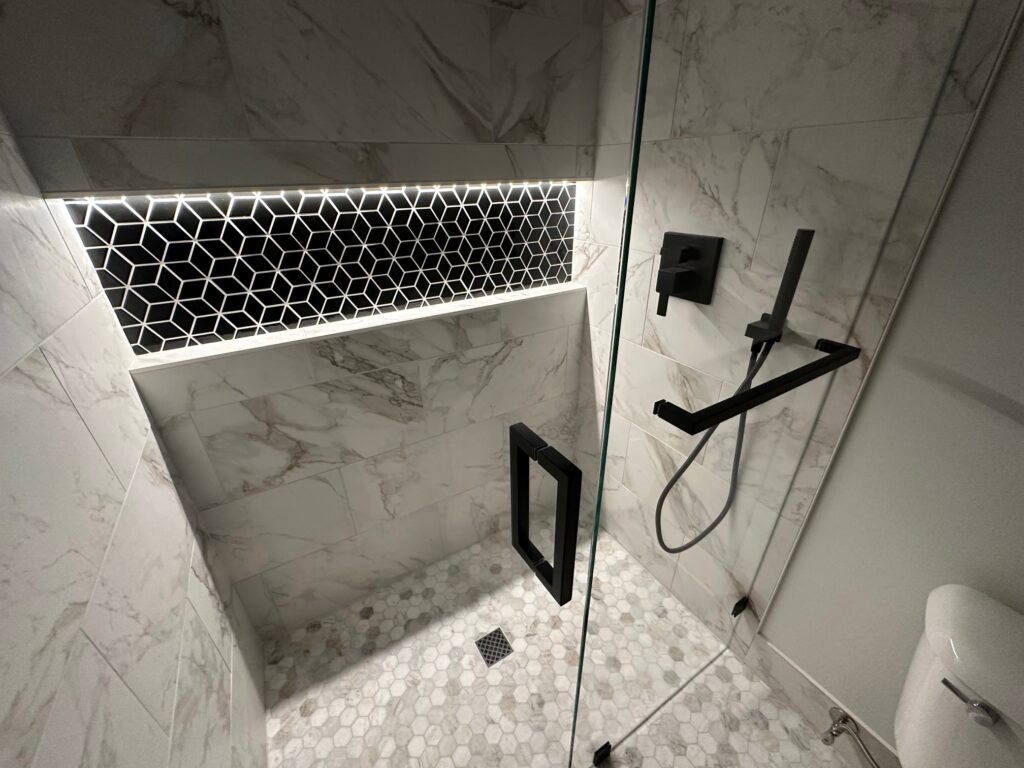
Since we have so much white tile in the bathroom, we chose a type of glass called Starphire—it’s ultra-clear and doesn’t have the greenish tint that standard glass can sometimes have. That small detail made a big difference in keeping the tile color true. The glass arrived in just a few weeks, and installation took less than two hours. We’re really happy with how it turned out.

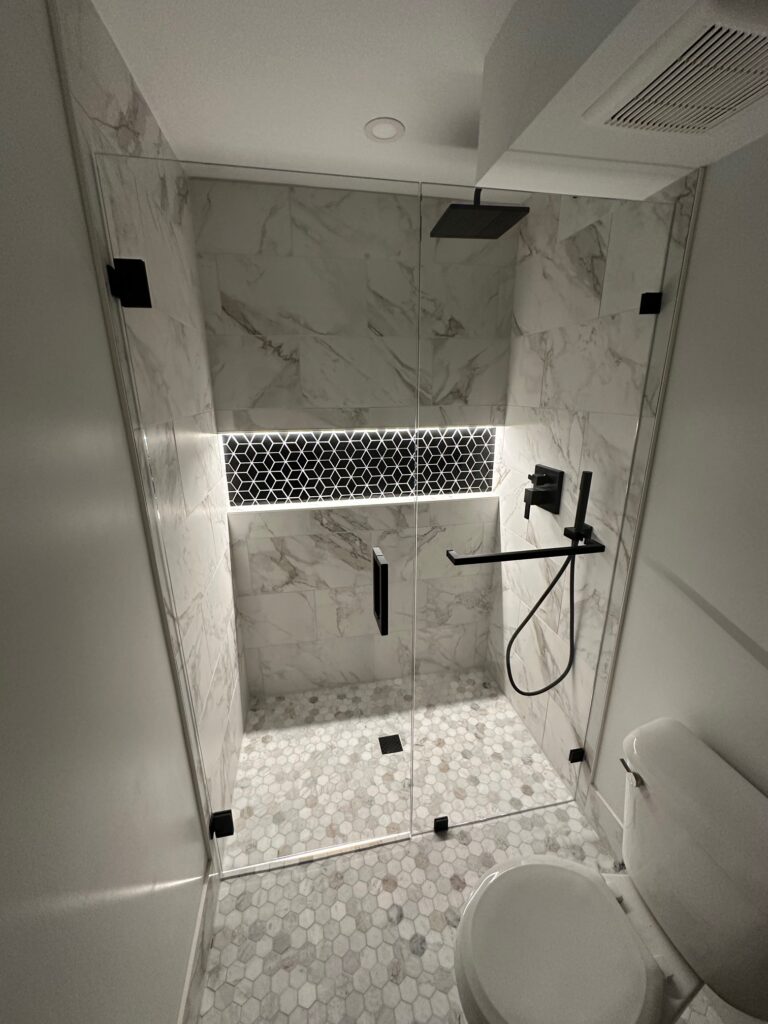
Staying true to the style of the Kohler shower system, the hardware for the shower door is also square and matte black.

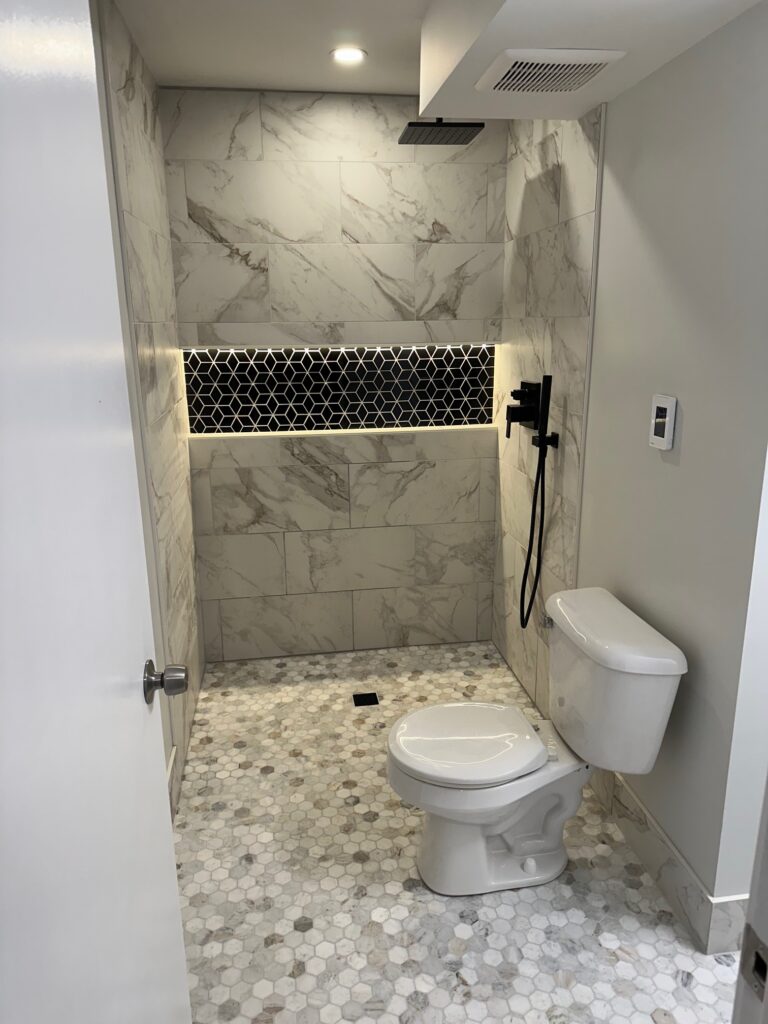
Finally, it’s time for the long-awaited before-and-after comparison of this bathroom!

This renovation is, without a doubt, the best one we’ve tackled so far. The bathroom now features heated floors, a zero-entry luxury shower, and soft ambient lighting that gives the whole space a spa-like feel.

It’s a dramatic upgrade from the original 90s builder-grade setup, which had a shower half the size of the one we have now. The transformation has made the space not just more functional, but also way more enjoyable to use every day.

Thanks for reading!
-Mike

Tiling the Basement Bathroom

Renovation projects can feel endless at first, especially with the way I approach them. Each step of the process can take days or weeks, since I am only able to work on them during my spare time. In this renovation, the demolition and foundation work alone took several weeks. Then, there was all the thought that needed to go into how to perfectly execute a heated floor, barrierless shower entry, expanded shower footprint and other improvements. I intentionally slowed the pace of this project so I didn’t accidentally skip a necessary step. The lengthy start of this project made choosing tile an exciting milestone. It meant we had passed the boring stuff and had begun to make the actual upgrades. Here’s the tile we chose:

The floor tiles are marble MSI Arabescato Venato White 2″ Hexagon. The wall tiles are FM10 Diamond 12×24 matte porcelain.

You may notice a theme with the tiles… We knew we wanted something bright for the space because the bathroom doesn’t have any windows to let in natural light. However, since there would be so much white in the room, we also wanted to offset it. That’s why we chose this black accent for the shower niche:

The black mosaic tiles are Color Wheel Retro 2×3 Cube Glossy Black ceramic tiles. The grout is called “Frost” from Mapei.

For this project, I decided to finally invest in a wet tile saw. I did this after realizing my normal method of cutting tiles, with an angle grinder, would struggle to rip 24 inch tiles in half in a clean manner. The angle grinder had worked fine for me in the first bathroom and second bathroom remodel, along with several other small projects in our first house. However, cutting tile without water creates a ton of dust and I knew I needed to make a lot of precision cuts in this bathroom. Also, as noted earlier, my slower pace would not make it financially feasible to rent a saw. I decided to buy this Ridgid Wet Saw from The Home Depot.

What I like about this saw: 1: The rolling table makes precision cuts a breeze. 2: It packs plenty of power. 3. I liked that the blade cuts from above and the laser is very handy!

I started with the floor, carefully placing tiles around the drain and using a laser level to guide a straight line out the door. I’d never used a laser level before. I was really happy with the Bosch one that I picked up.

Gus supervises.

I cut the tiles and placed them in the bathroom, then carefully moved the tiles into the basement living room so I could remember where they all went.

Next, I grouted the floor. Several days later, I applied Sealer’s Choice Gold to protect the tiles and grout from staining. Here’s how the “Frost” grout looked around the FloFX drain grate.

I’d never used locking tile spacers before but wanted these large-format tiles to look as good as possible. I used a little over 200 QEP LASH Tile Leveling Clips. They were very easy to use and made a big difference.

Around this same time, I installed the ambient LED strip to the top of the shower niche. The Nicho Series LED system, which I picked up from the website Wired4Signs, is designed to be used in showers. The light has a color temp of 3000K and requires a 24V driver. I hooked it up to a motion detected switch, so it turns on when someone walks into the room.

With the lights installed, I finished the shower tiles. Exposed edges, including the niche and baseboard tiles, got some special treatment with Schluter JOLLY. We went with A100 in white. It was easy enough to cut with my angle grinder and smooth out with a metal file.

The toilet took a little more work than previous projects because we installed a heated floor. While I accomodated for this height difference in the shower by lowering the foundation, the rest of the room ended up 3/4″ higher than it was before. Installing a toilet meant using toilet flange spacers.


Here’s what the shower looked like with grout:

With the tiles installed, the only work that remained was finding a shower door and vanity sink. We’re very happy with how the tiles look!
Thanks for reading!
-Mike