Monthly Archives: November 2022

2022 Color of the Year

This story all starts because we had an out-of-date front entry light that was gifted to us by Sara’s parents when we first moved into this house. The ceiling lamp served its purpose for many years, but it was beginning to look dated and the small bulbs did not provide enough light for the space.

The front entry always seemed so dark. The brown paint didn’t help, either.

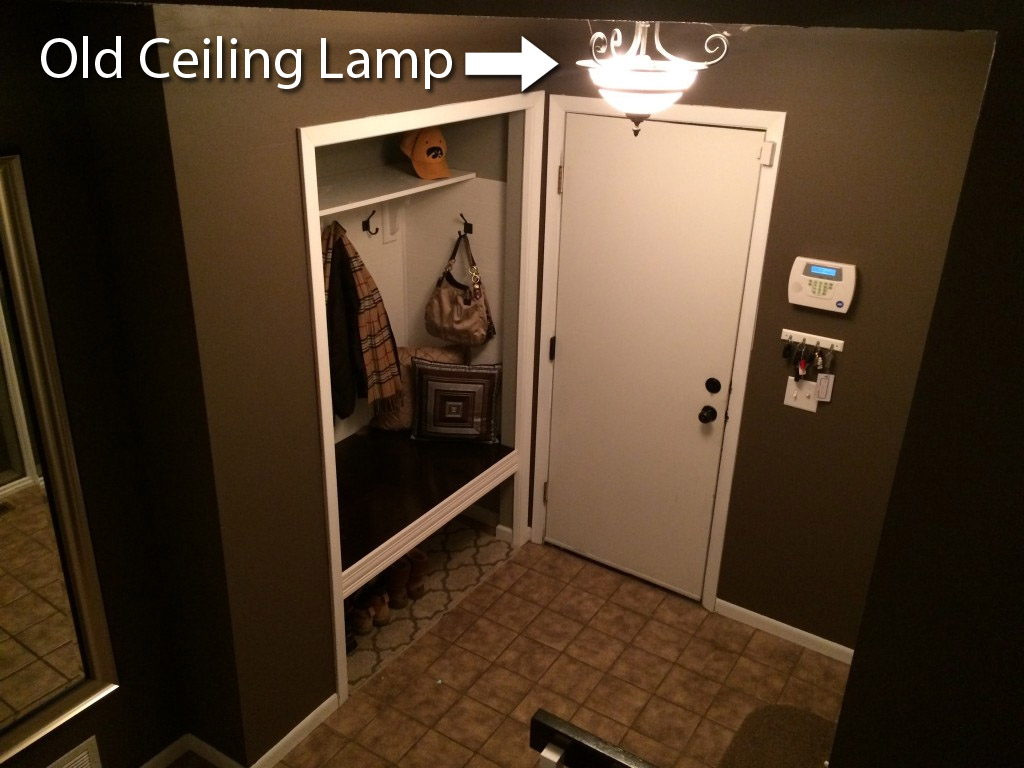
We found a new lamp at Menards. During the installation, we quickly realized that the mount of the lamp did not cover as much of the ceiling as the previous lamp, exposing discolored parts of the ceiling. My first thought was to simply paint the ceiling so it would have a uniform appearance. However, the paint caused yet another issue – as soon as I began to roll on the white ceiling paint, the popcorn began to peel off onto the roller! Fully aware that I had now unleashed a pandora’s box of a project, I accepted the burden ahead of me and got to work scraping off the popcorn.

The scraping was actually much easier than I feared. It worked best to spray water on the popcorn then use a drywall knife to scrape it clean.
Dust EVERYWHERE.

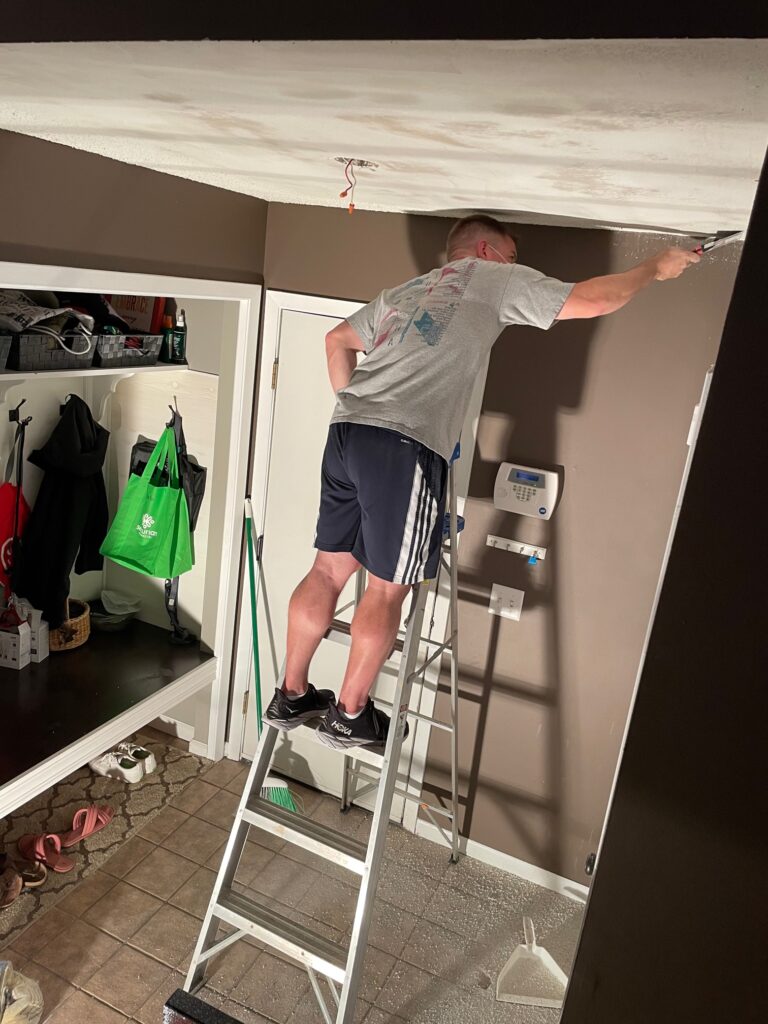
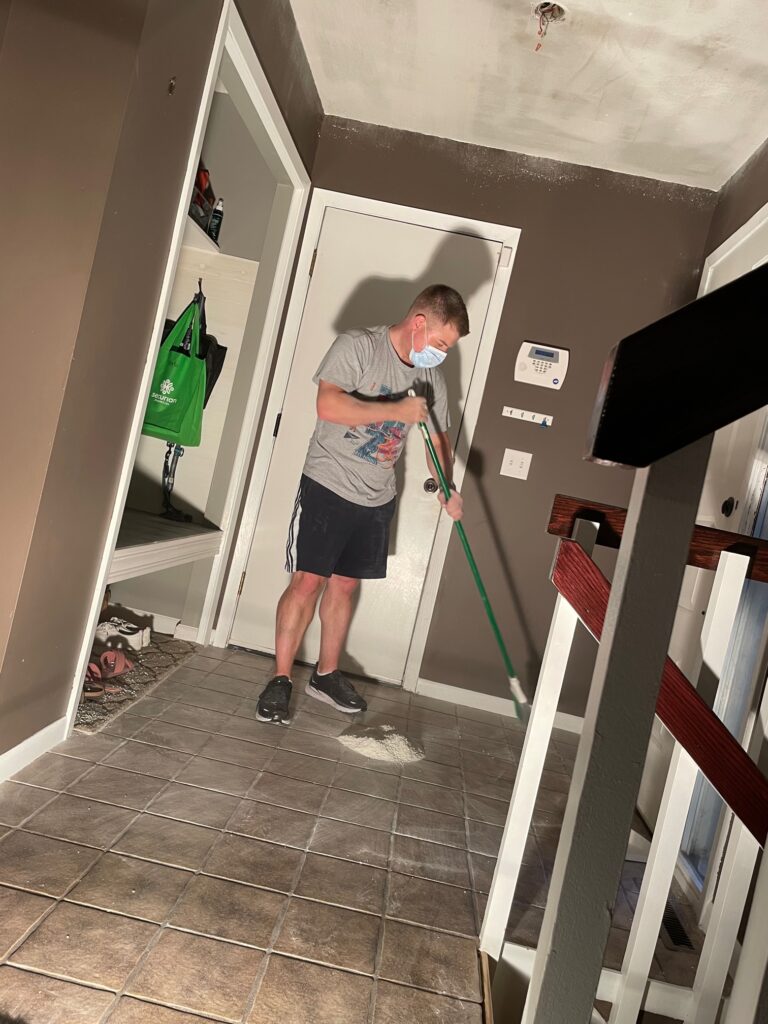
After scraping the ceiling completely, I spent some of my free-time over the next week mudding rough spots – sanding and repeating before priming and ultimately painting the ceiling. This step always seems to take the longest, perhaps because I’m still not terribly great at mudding.

Look at how bright the space is now!

We did end up swapping out the 100 watt bulbs seen in the photo above with slightly less overpowering 60 watt bulbs. The ceiling painted and new lamp secured in place, the next step was to prime and paint the brown walls.

This is a big space!

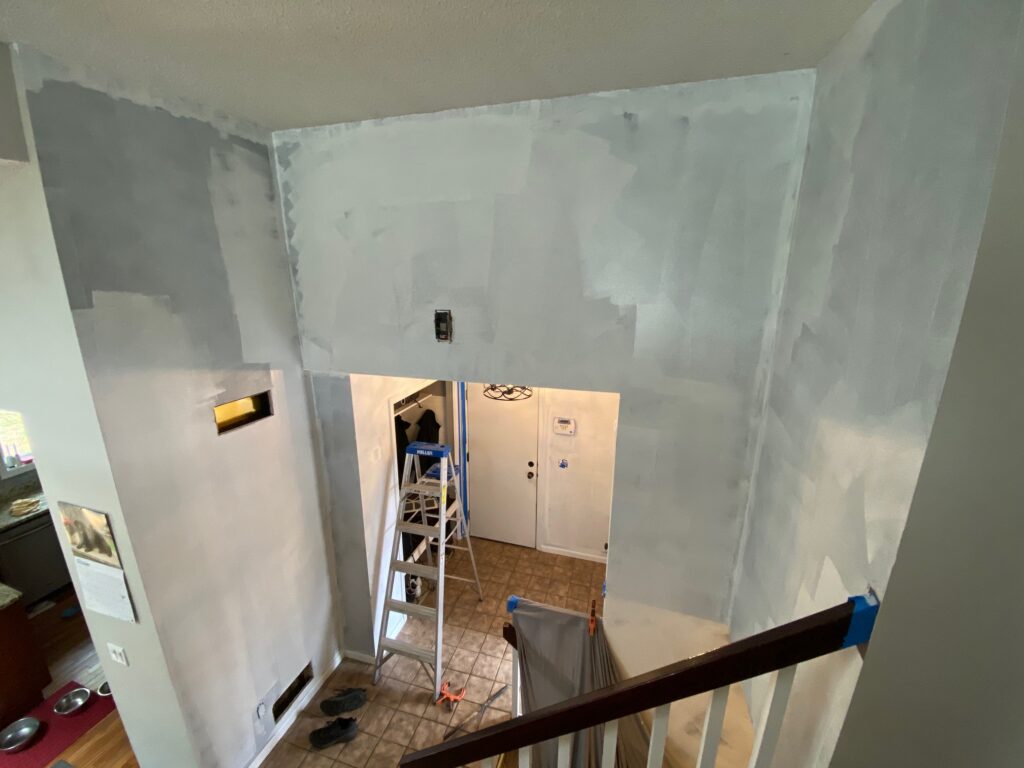
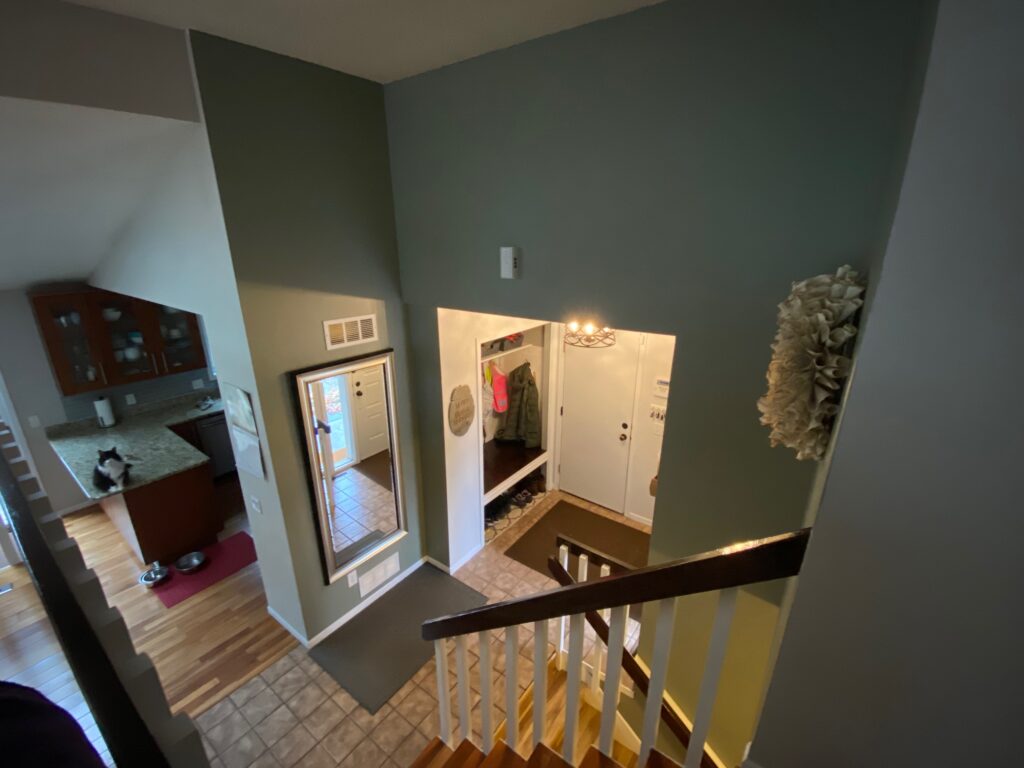
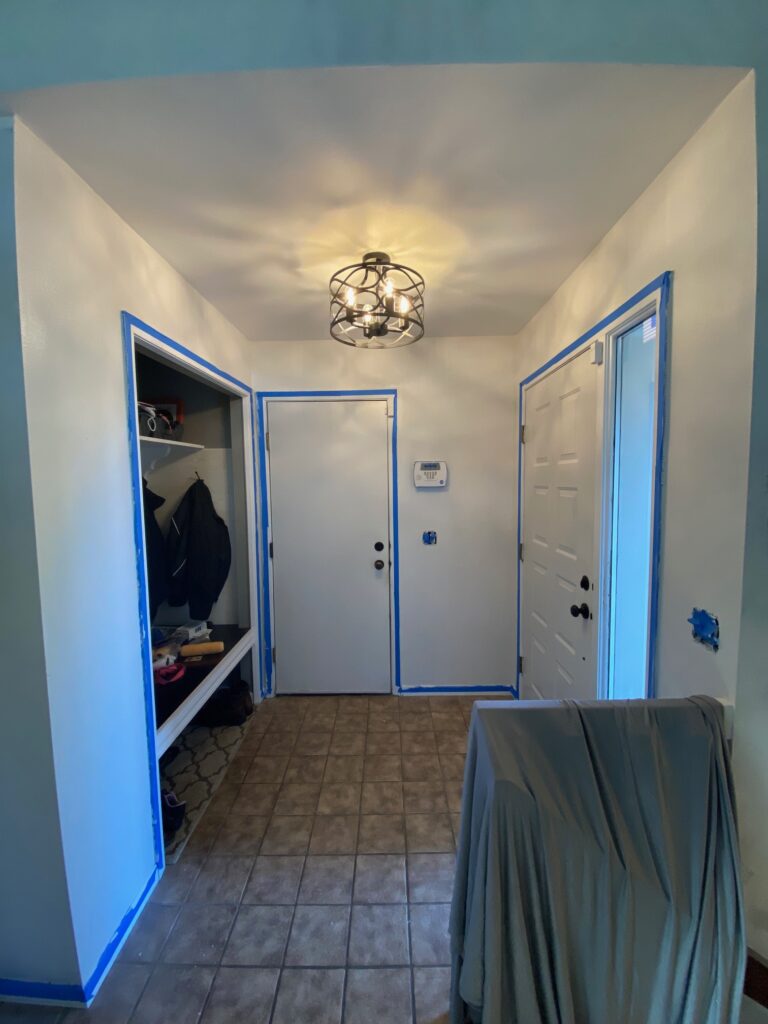
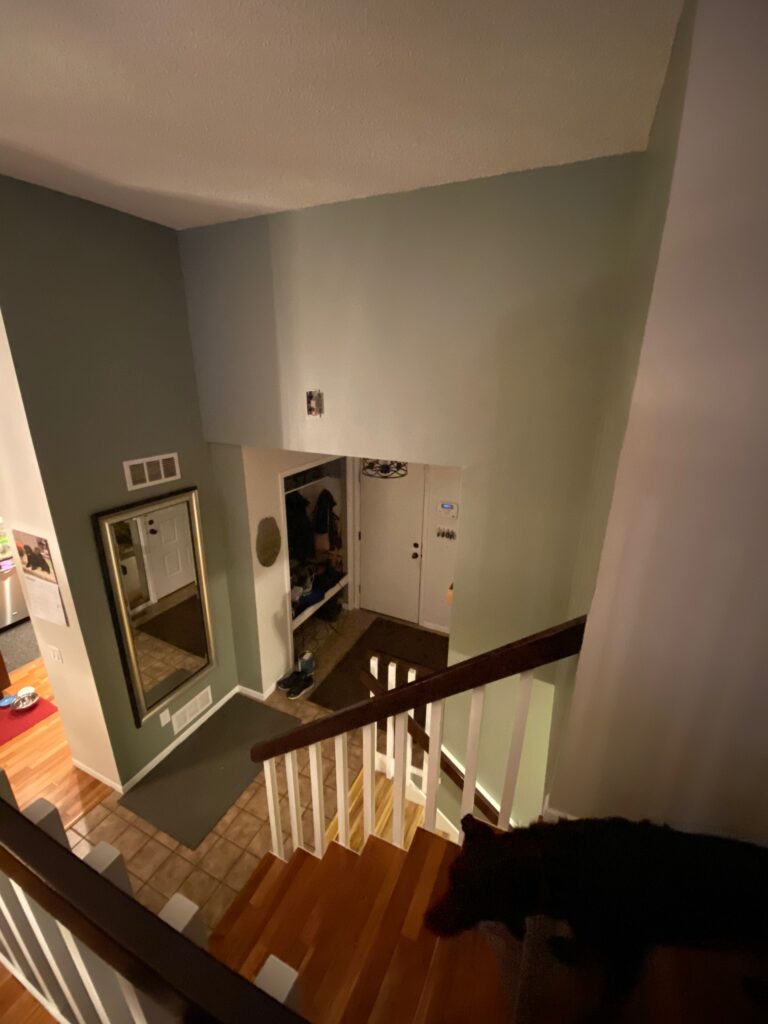
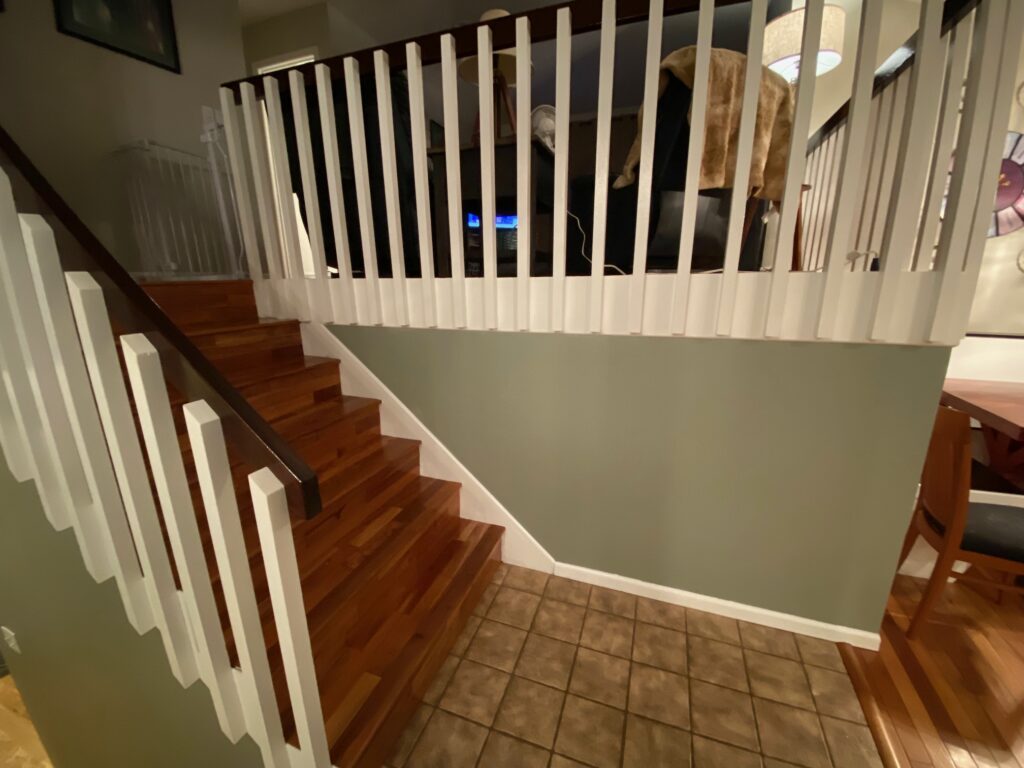
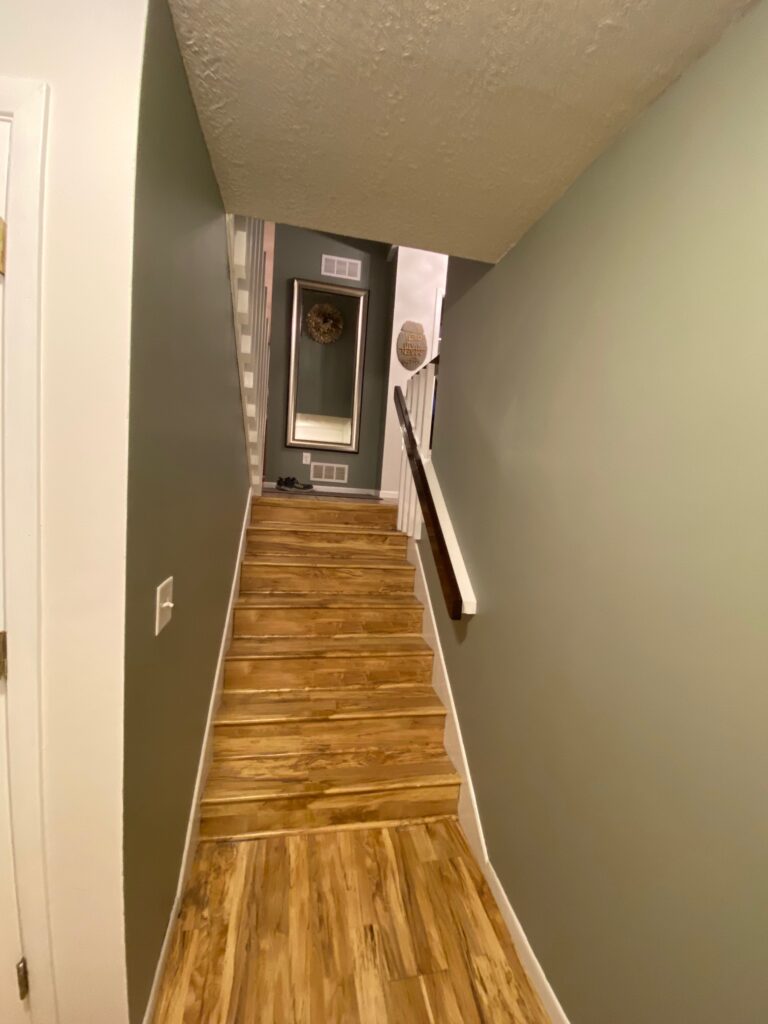
Sara had it in her head that she wanted to cover the dark brown. She had expressed that it wasn’t her favorite color that we picked out originally, but we still wanted to use these tall walls for an accent color. Through simple Googling we looked up the most popular paint colors and found a list of many options. Already leaning towards a green, we both agreed that we liked the 2022 color of the year: Evergreen Fog by Sherwin Williams. We sampled the color up against a couple of other gray/greens and after seeing it across several times of day, decided to get a gallon (by the way, a gallon of this stuff set us back $79 at Ace. Yikes!) Here are some of the after pics showing the paint color both at night and with daylight coming into the house:

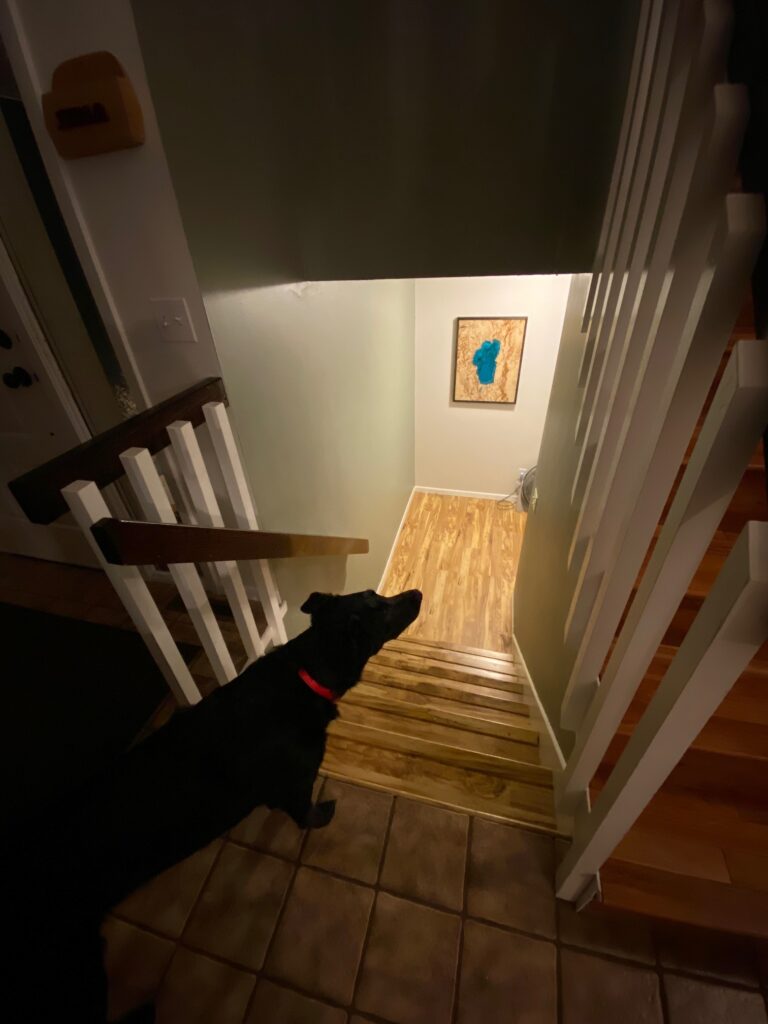
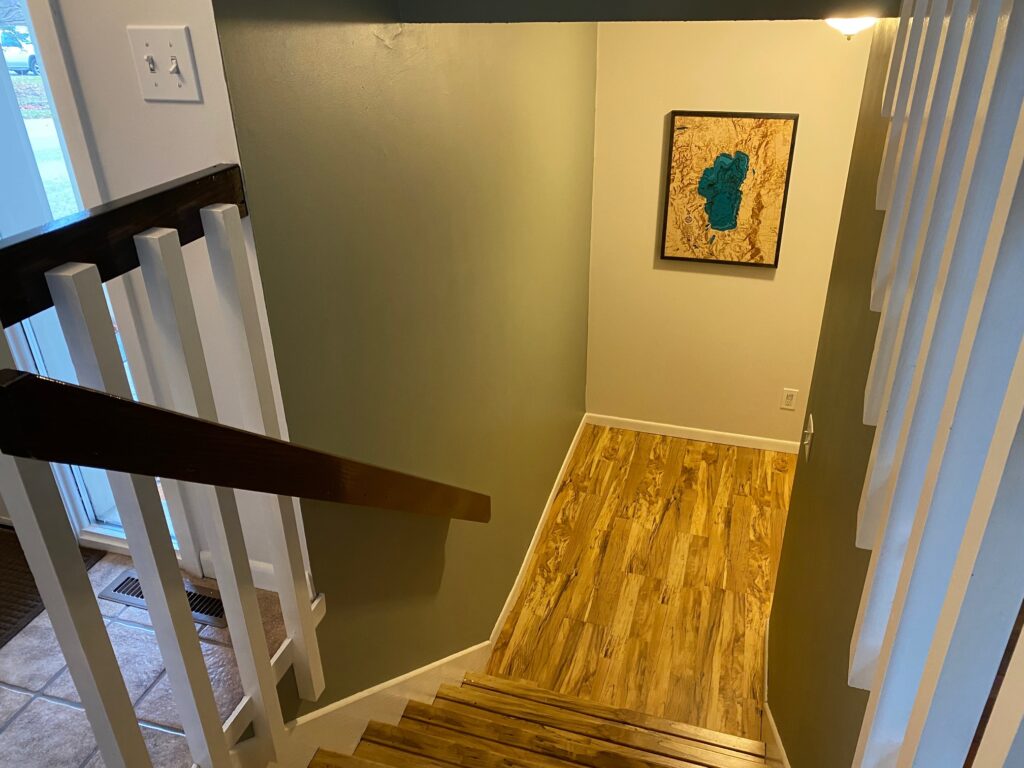
We painted the walls in the front entry Behr’s “Irish Mist” color from Home Depot, which we have used elsewhere in the house. Also, we want to note that we still prefer Behr paint. We had never worked with Sherwin Williams paint before and while we were not surprised that the color required two coats, the product was more tedious to work with in comparison to Behr.

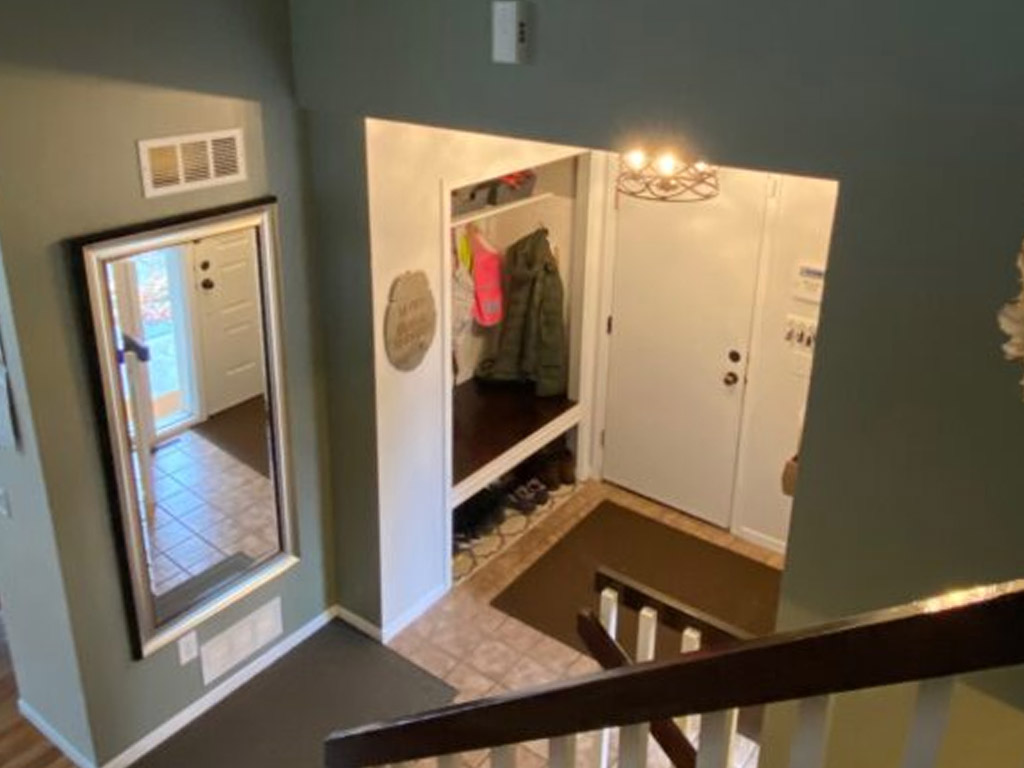
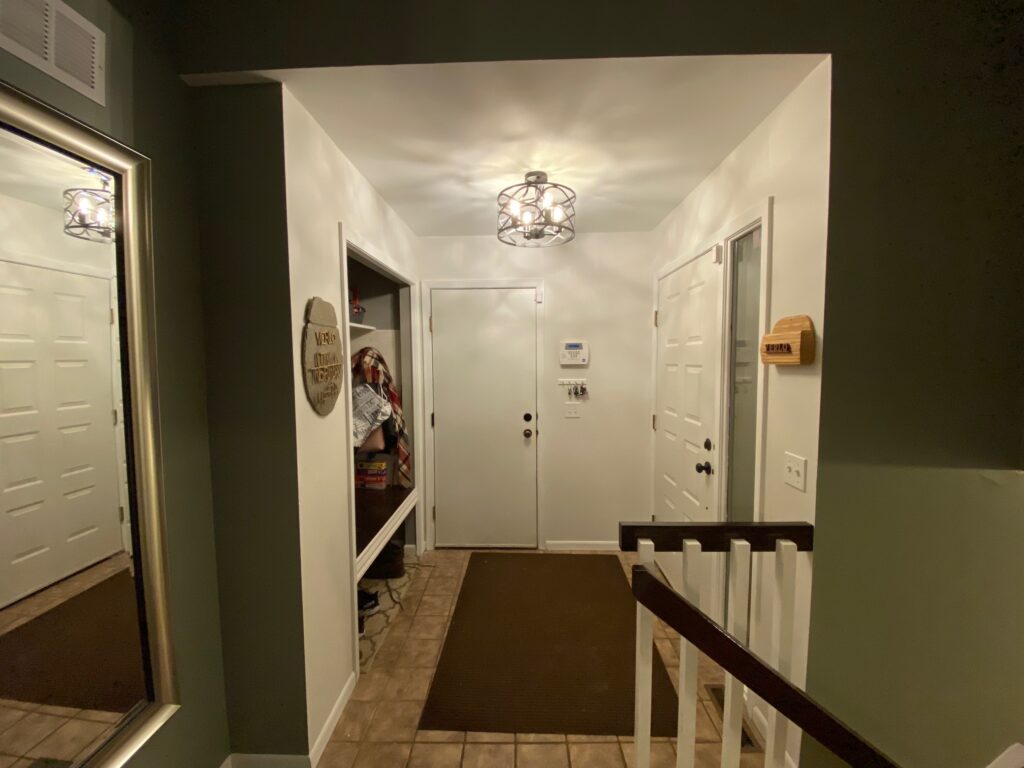
Here is a picture of how the front entry looks now, new ceiling lamp and all:

Thanks for reading!
-Mike

Kitchen Backsplash

The finished product!

Like many of our projects, this one started as something completely different. We wanted to replace the window over the kitchen sink.

Click to slide to see before and after. Winnie photobombs the after pic from the backyard and you can also see our new fence!

Part of the window installation meant cutting a larger hole for the space, which also meant removing some of the existing backsplash tiles. Knowing we wanted a fresh look, but more honestly because I like smashing things with a hammer, I decided simply to remove all of the tiles.

Next came replacing the drywall.

I got to use my new oscillating tool!

We found tiles we liked at Lowe’s. They’re glossy glass brick subway tile from Elida. I secured the tiles to the wall using a double-sided adhesive mat for the first time. The brand we used is MusselBound and it was simple and so much easier than working with mud.

One issue I ran into was the space between the countertop and the cabinet. In one of the photos above, you can see a roughly 1/2″ gap between the top edge of the tiles and the bottom of the cabinet. Since I don’t have a tile saw and wasn’t able to find any pencil border small enough in this tile design, I came up with another solution: I bought some pieces of 1/4″ thick aluminum, which I wet-sanded and polished, then used construction adhesive to mount in the gap.

I finished off the tile backsplash with pre-mixed white grout. The photo below shows where the new backsplash meets the existing tile feature behind the stove. We have always liked this design, so didn’t mess with it. We’re pleased with how the two tile styles compliment one another.

Existing metal tile feature on the left with gray grout. New glass subway tiles on the right with white grout.

The final piece of this project is something we were both super excited about. We wanted to install a new single-bowl kitchen sink. We have been pleased with the sturdy aluminum Kraus sink we picked up from The Home Depot. However, the new sink was too big for the existing hole in the granite, which meant I needed to make the hole wider (A task not suited for my hammer). Cutting this hole may have been the most stressful experience in all my years of DIY. I could feel the sweat pouring down my face, quickly getting covered by granite dust as I pushed my Makita circular saw equipped with a masonry blade further into the rock. Thankfully, I made all of the necessary cuts without breaking the countertop. A replacement would have been $$$. That momentous task behind me made redoing the plumbing and moving the disposal feel like a walk in the park!

We are pleased with the outcome. Especially because we now have a larger window over the sink that we can actually open.

Thanks for reading!
-Mike