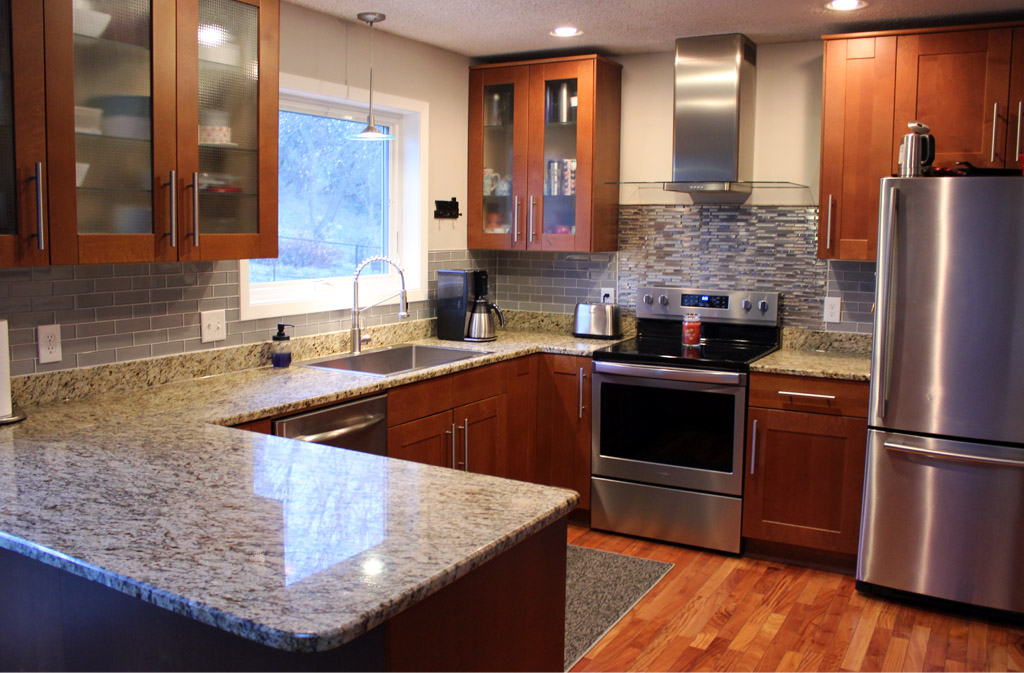
Like many of our projects, this one started as something completely different. We wanted to replace the window over the kitchen sink.


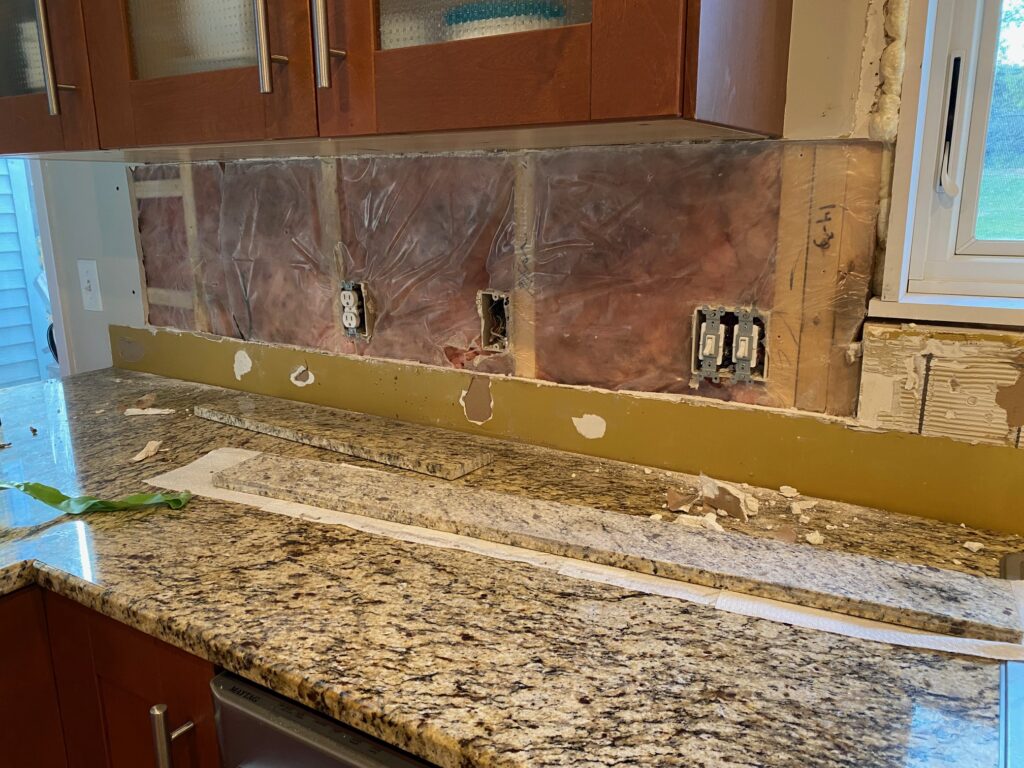
Part of the window installation meant cutting a larger hole for the space, which also meant removing some of the existing backsplash tiles. Knowing we wanted a fresh look, but more honestly because I like smashing things with a hammer, I decided simply to remove all of the tiles.
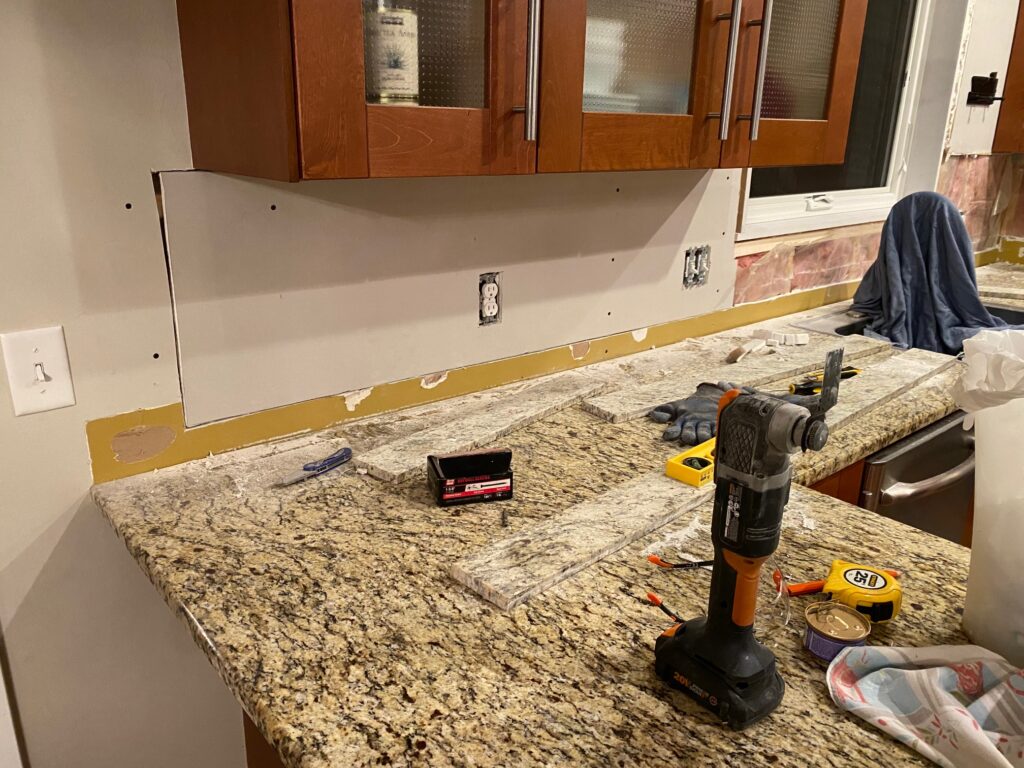
Next came replacing the drywall.
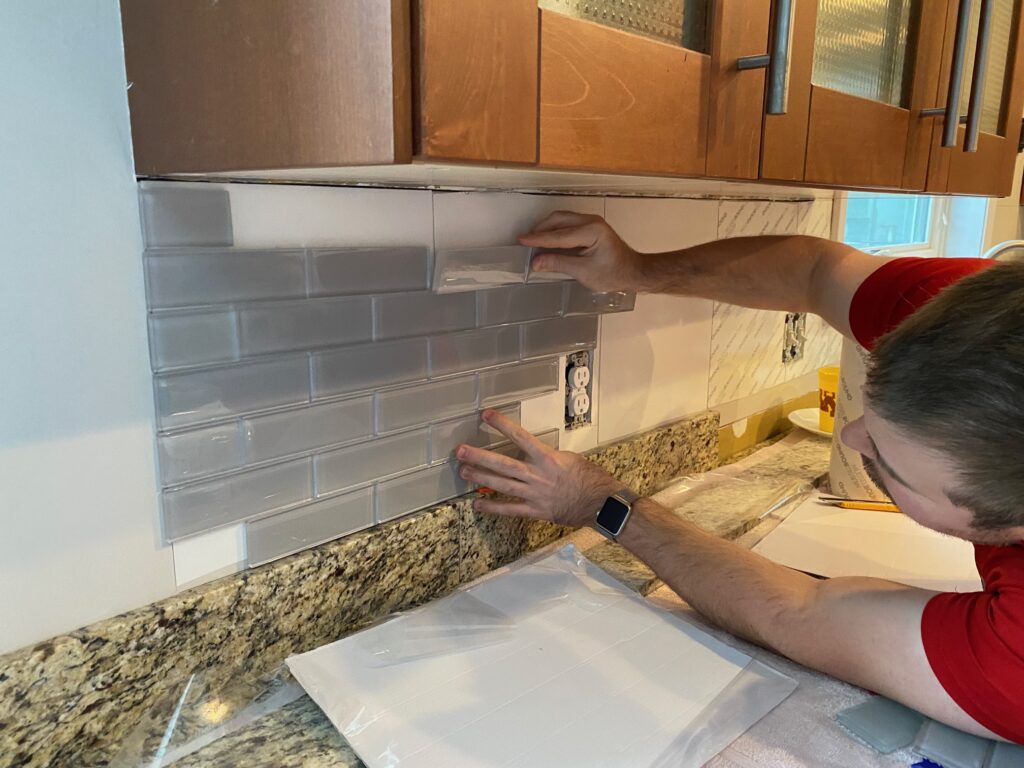
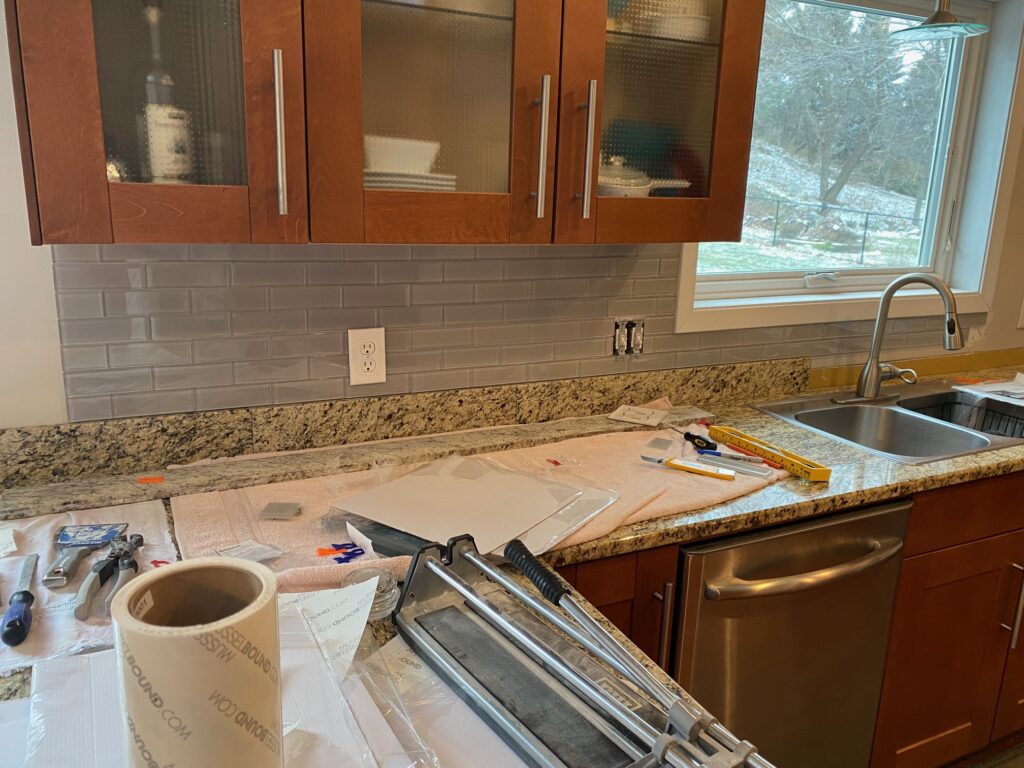
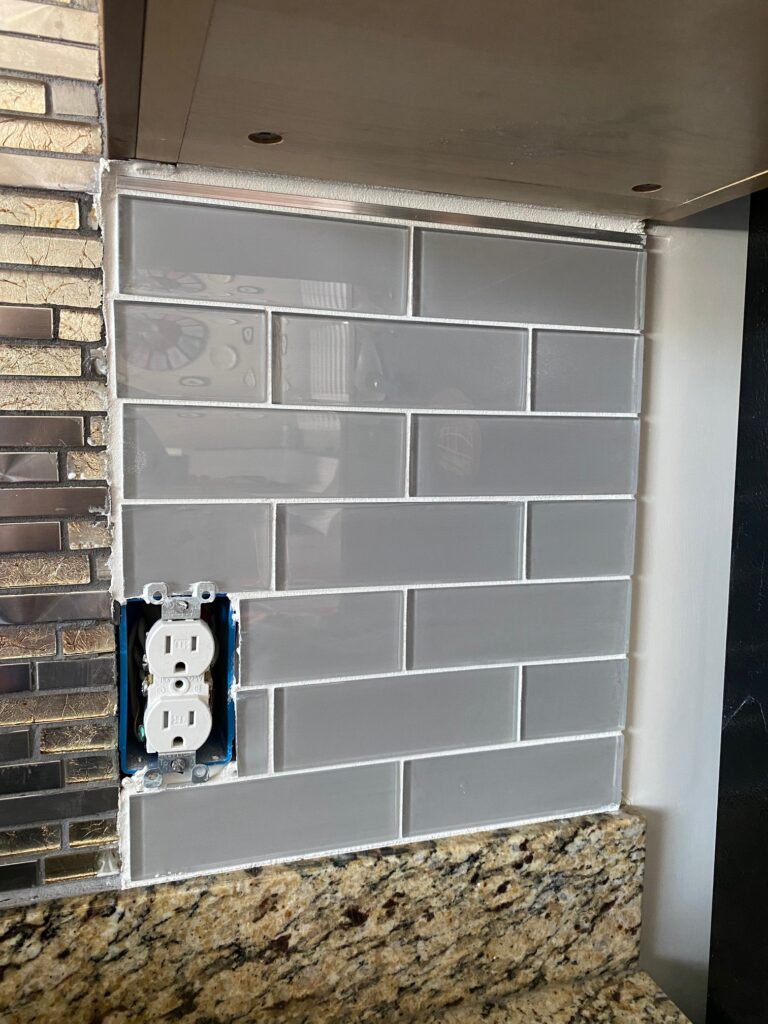
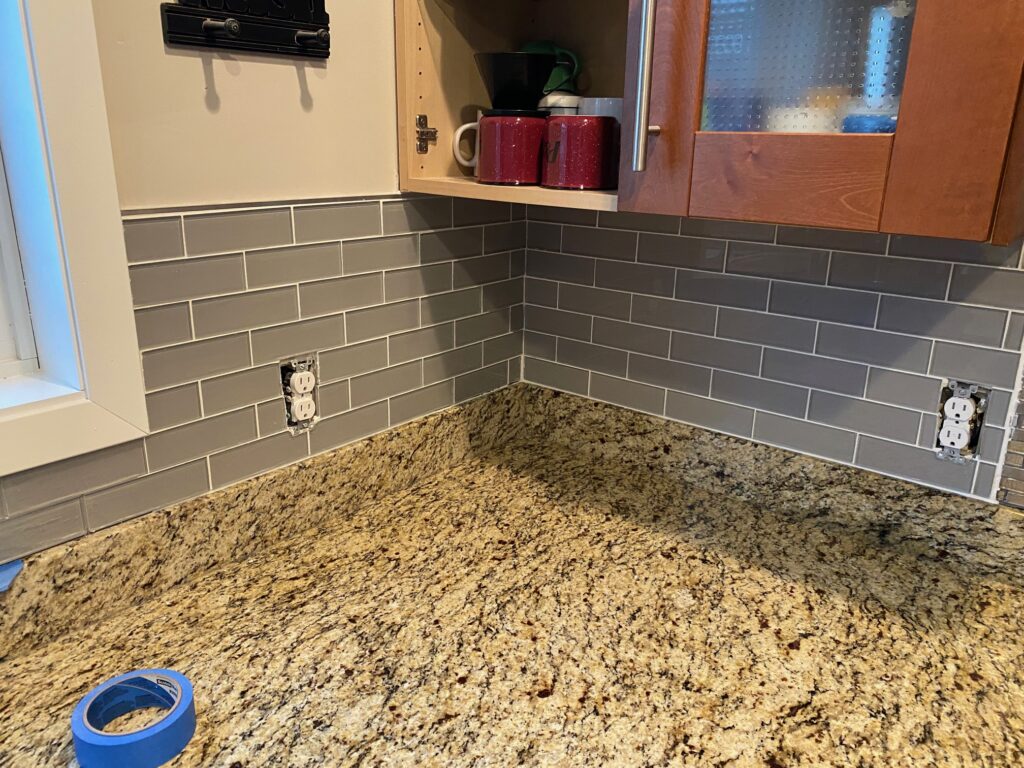
We found tiles we liked at Lowe’s. They’re glossy glass brick subway tile from Elida. I secured the tiles to the wall using a double-sided adhesive mat for the first time. The brand we used is MusselBound and it was simple and so much easier than working with mud.
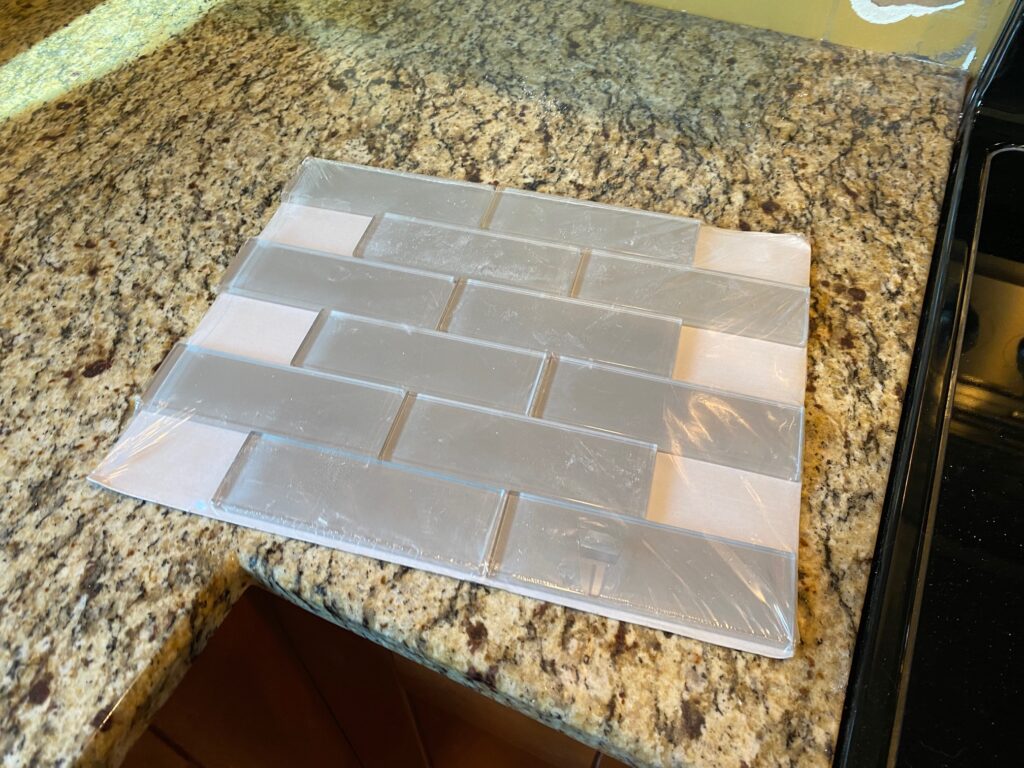
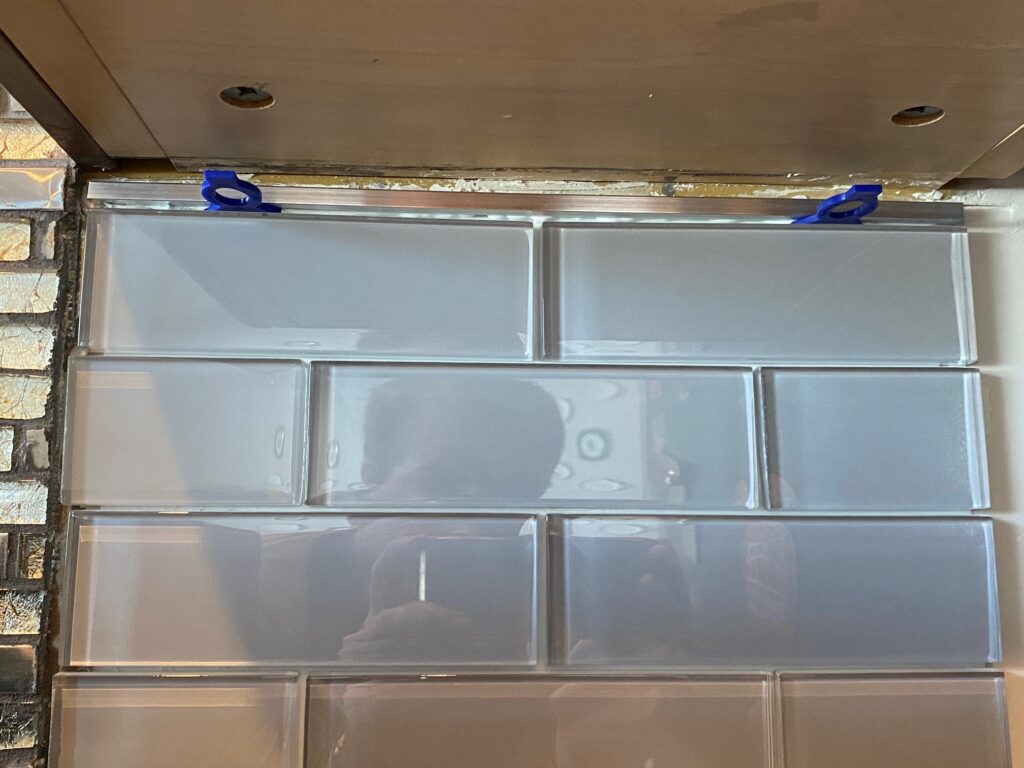
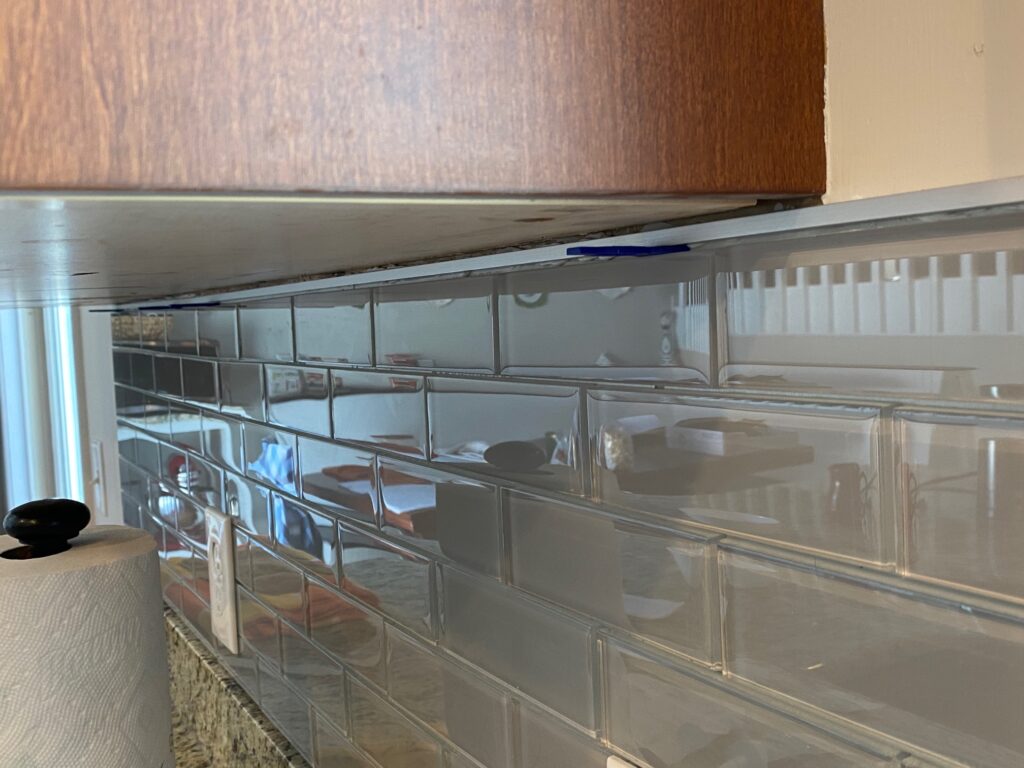
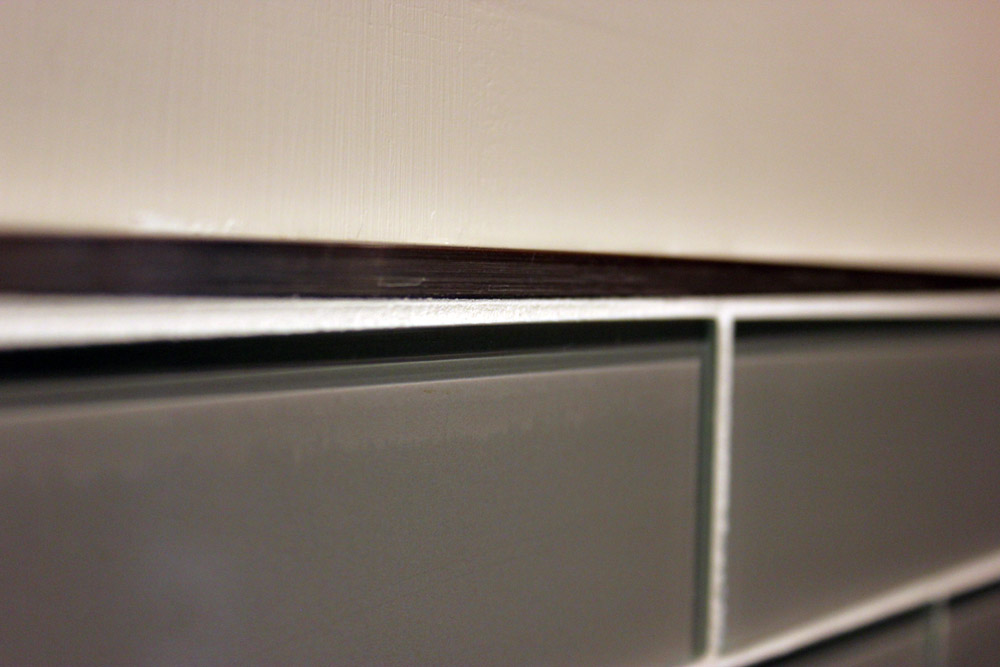
One issue I ran into was the space between the countertop and the cabinet. In one of the photos above, you can see a roughly 1/2″ gap between the top edge of the tiles and the bottom of the cabinet. Since I don’t have a tile saw and wasn’t able to find any pencil border small enough in this tile design, I came up with another solution: I bought some pieces of 1/4″ thick aluminum, which I wet-sanded and polished, then used construction adhesive to mount in the gap.
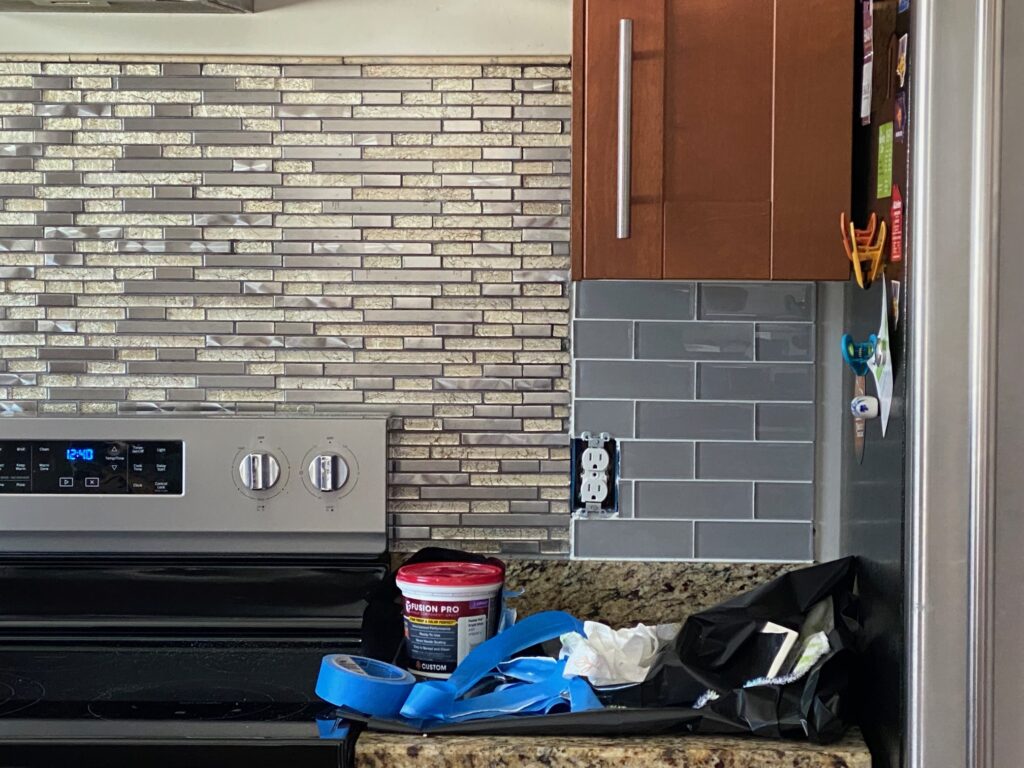
I finished off the tile backsplash with pre-mixed white grout. The photo below shows where the new backsplash meets the existing tile feature behind the stove. We have always liked this design, so didn’t mess with it. We’re pleased with how the two tile styles compliment one another.
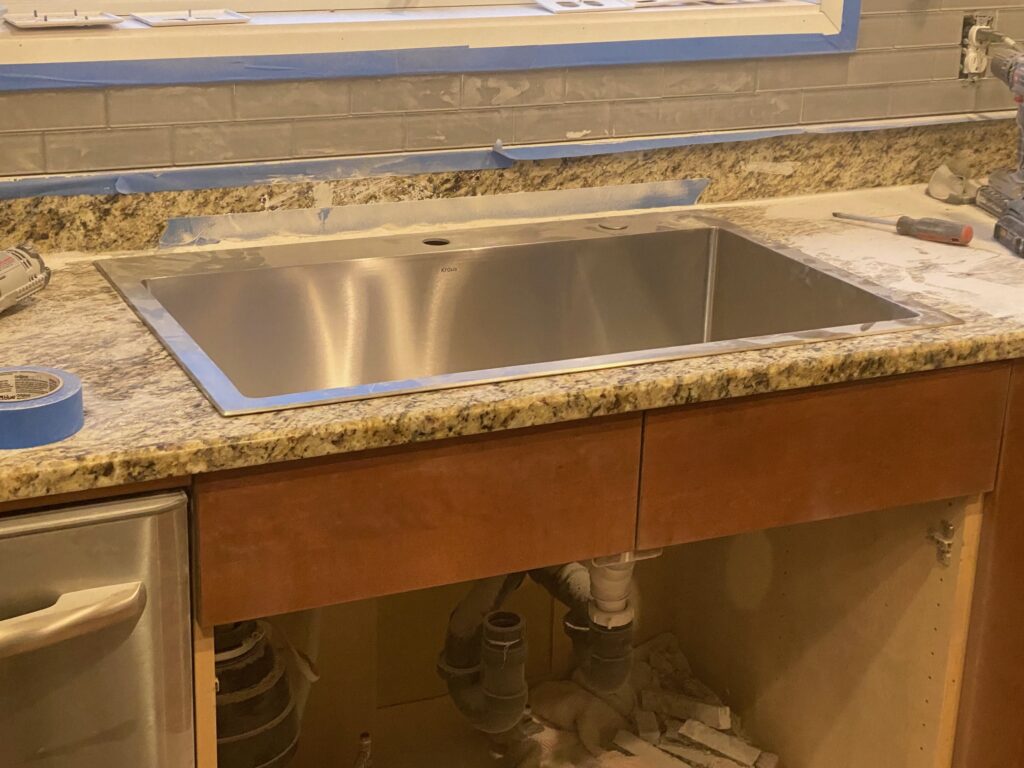
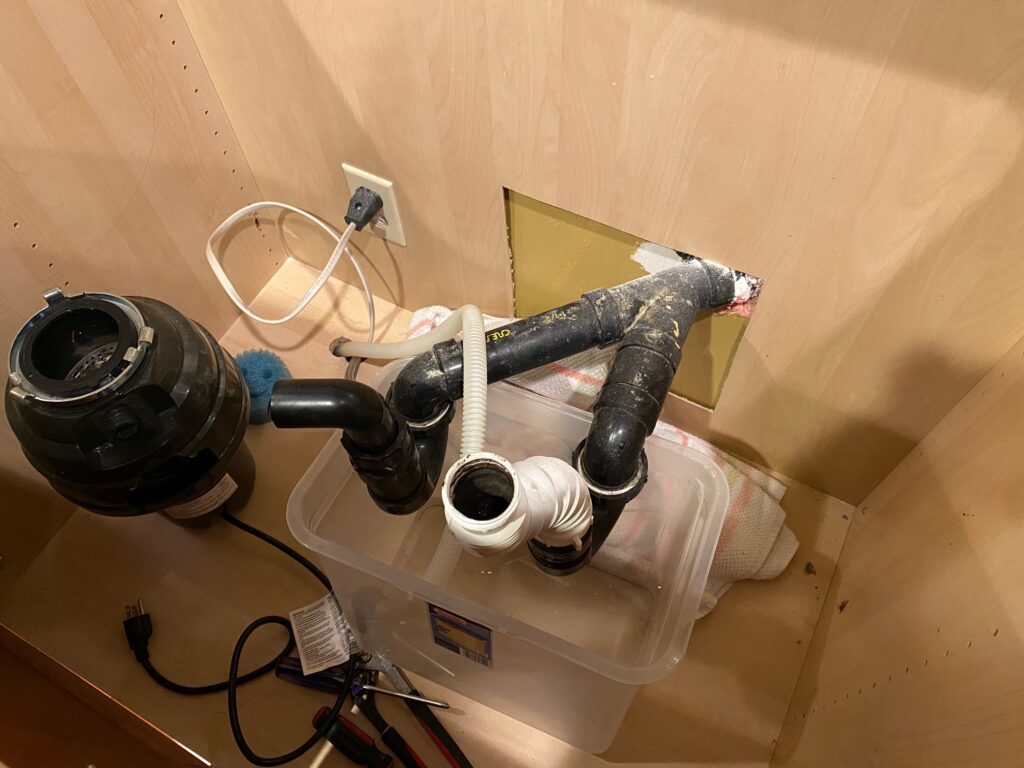
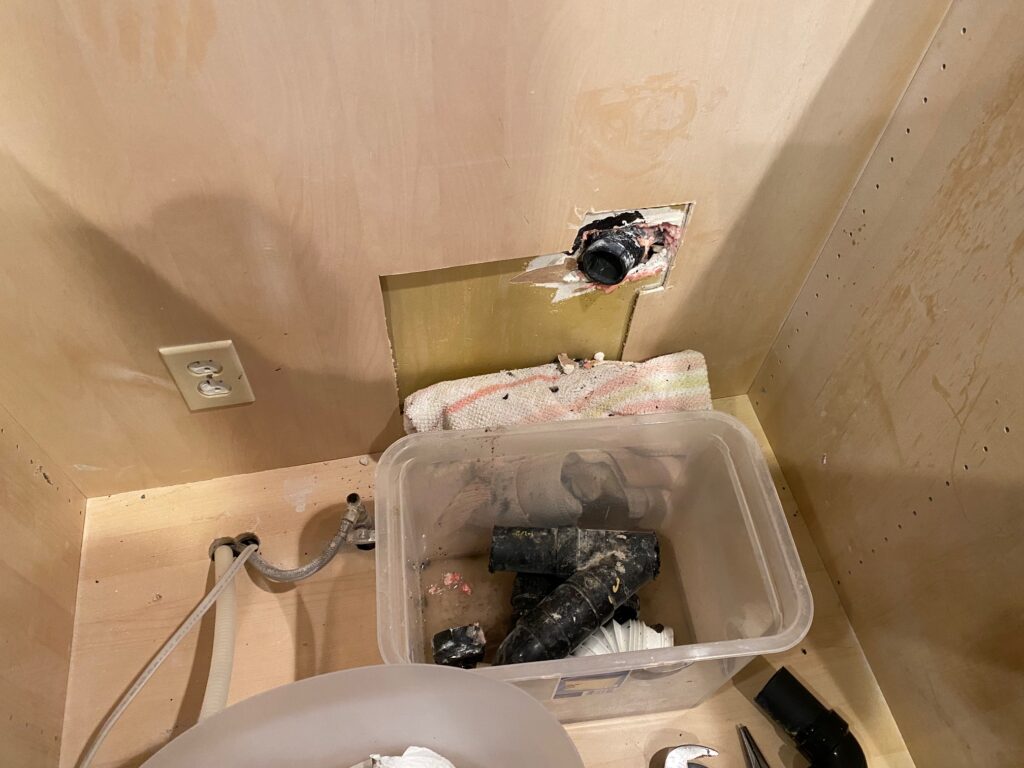
The final piece of this project is something we were both super excited about. We wanted to install a new single-bowl kitchen sink. We have been pleased with the sturdy aluminum Kraus sink we picked up from The Home Depot. However, the new sink was too big for the existing hole in the granite, which meant I needed to make the hole wider (A task not suited for my hammer). Cutting this hole may have been the most stressful experience in all my years of DIY. I could feel the sweat pouring down my face, quickly getting covered by granite dust as I pushed my Makita circular saw equipped with a masonry blade further into the rock. Thankfully, I made all of the necessary cuts without breaking the countertop. A replacement would have been $$$. That momentous task behind me made redoing the plumbing and moving the disposal feel like a walk in the park!
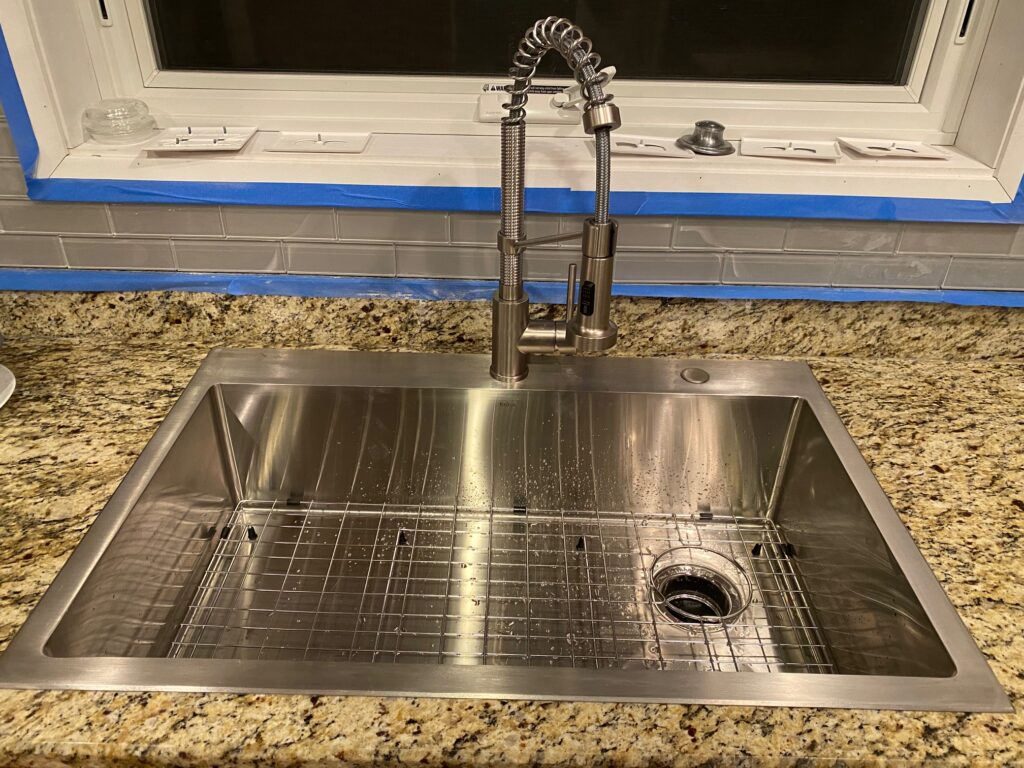
We are pleased with the outcome. Especially because we now have a larger window over the sink that we can actually open.


Thanks for reading!
-Mike