By Mike:
Living in Minnesota, you have to get as much enjoyment as you can out of the summer months. It often seems like snow lingers more than half the year in these parts. With outdoor enjoyment in mind, Sara and I want to make the most of our backyard. We saw Adirondack chairs in Home Depot a year ago but the price tag of $100+ was not appealing. We thought there has to be a cheaper way to build chairs on our own. I searched around on Google images, found a few plans, bought the necessary materials and got to work. I assembled the first chair in the summer of 2015 and just completed a second. Each cost roughly $40 in supplies.
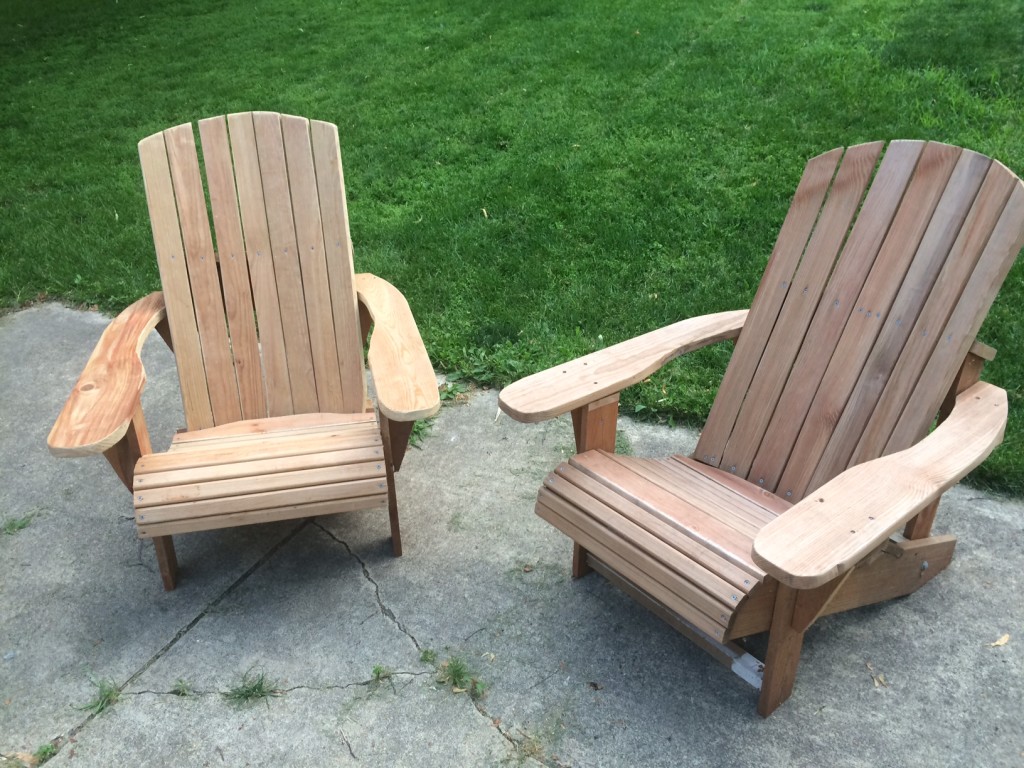
The first chair (right in the photo above) took about 6 hours to complete as I did not have perfect measurements and often had to guess when it came to angles, etc. Some of the more intricate cuts involved using a sawsall to shape the arms and seat supports, and also cutting 6” deck boards down the middle for the seat back.
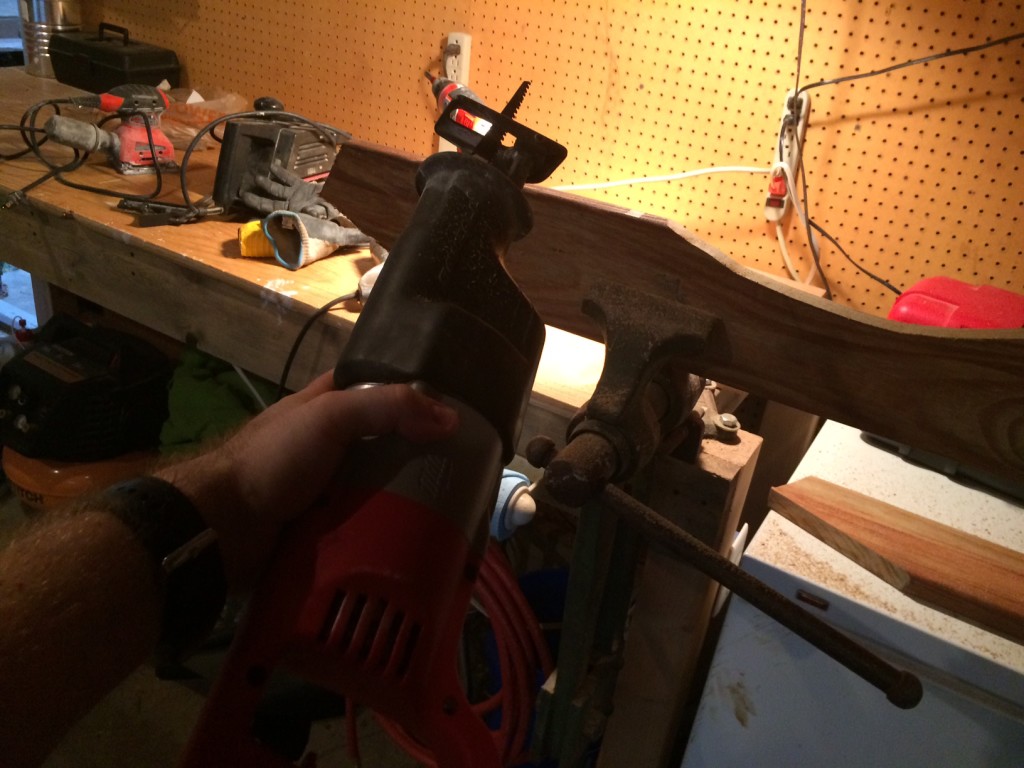
The sawsall I used to make detailed cuts
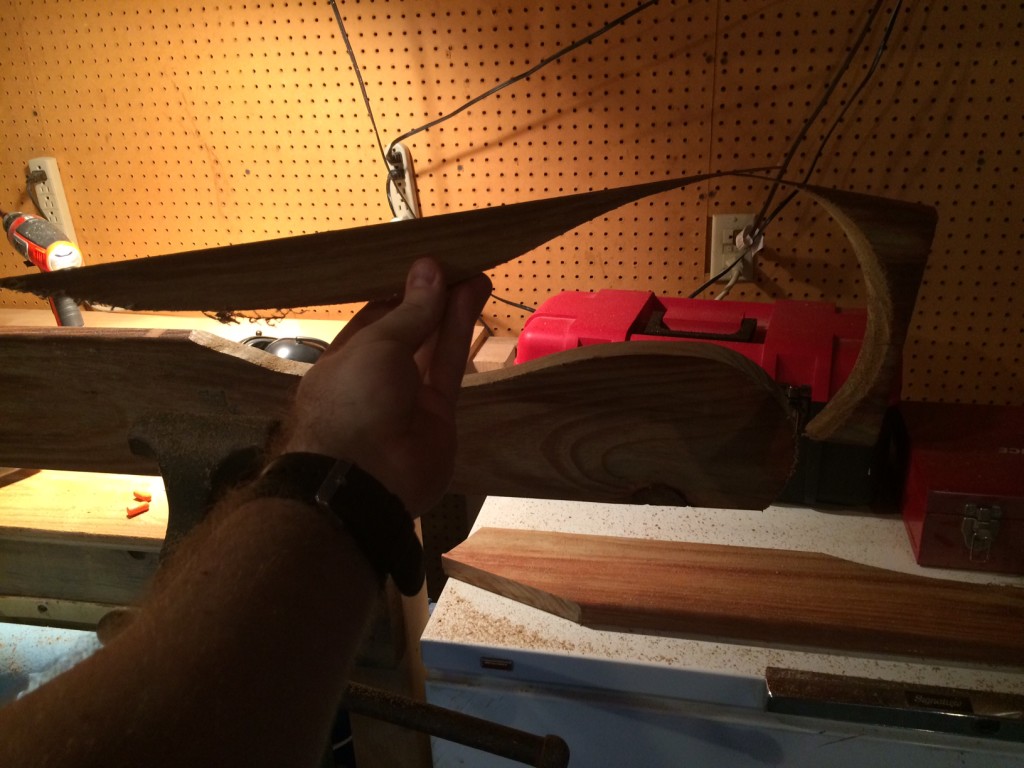
One of the pieces of scrap wood from the chair arm
The supplies needed for each chair: All of the wood is pressure-treated to prevent damage from bugs. I needed three 12 foot lengths of 6” deck board, three 10 foot lengths of 3” boards, and five 8 foot lengths of 1.5” boards. I also bought a box of deck screws (which will not rust) and needed four carriage bolts.
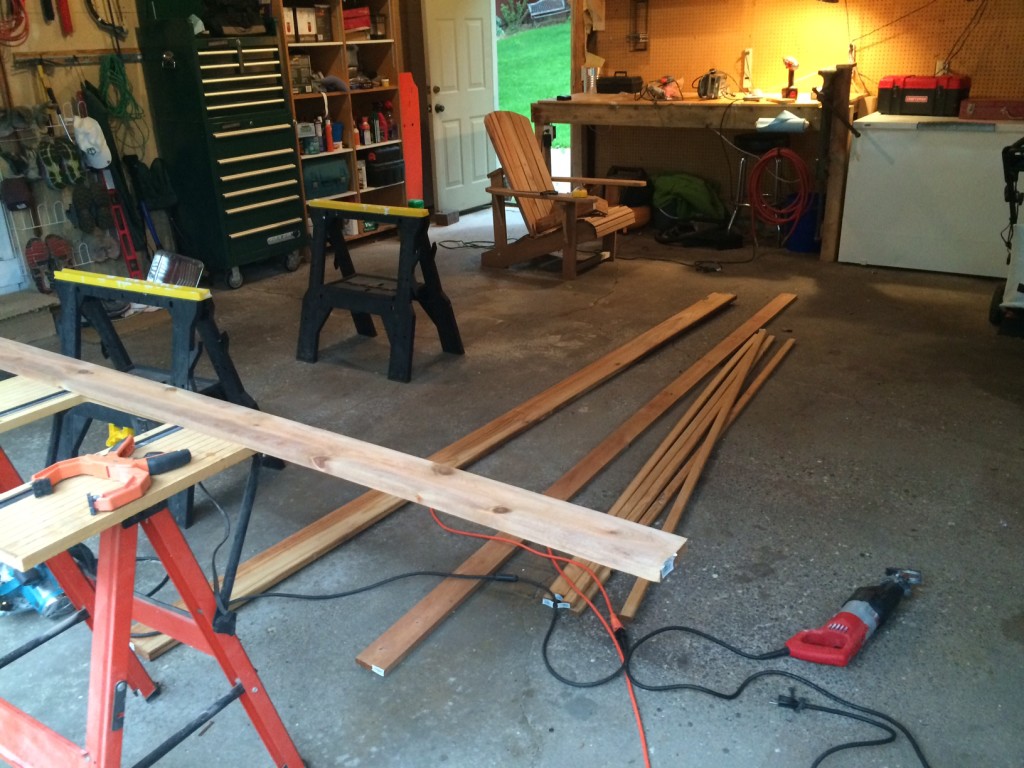
Building the second chair proved to be much less of a challenge than the first chair because I had an example standing in front of me instead of a picture on an iPad. I could easily walk over to the first chair, take measurements, then cut new pieces. I also made several improvements from the first design for a more stable seat.
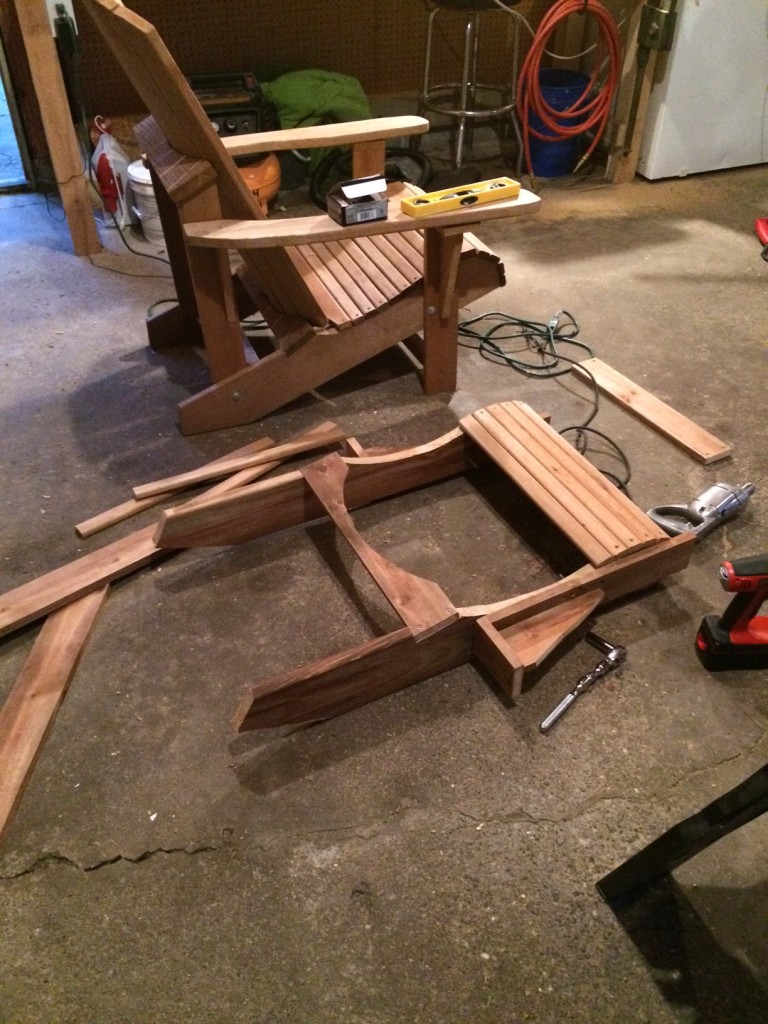
The frame of the second chair taking shape
More of the seat coming together. It helped having two drills, one to drill holes and a second (cordless drill) to drive in the screws.
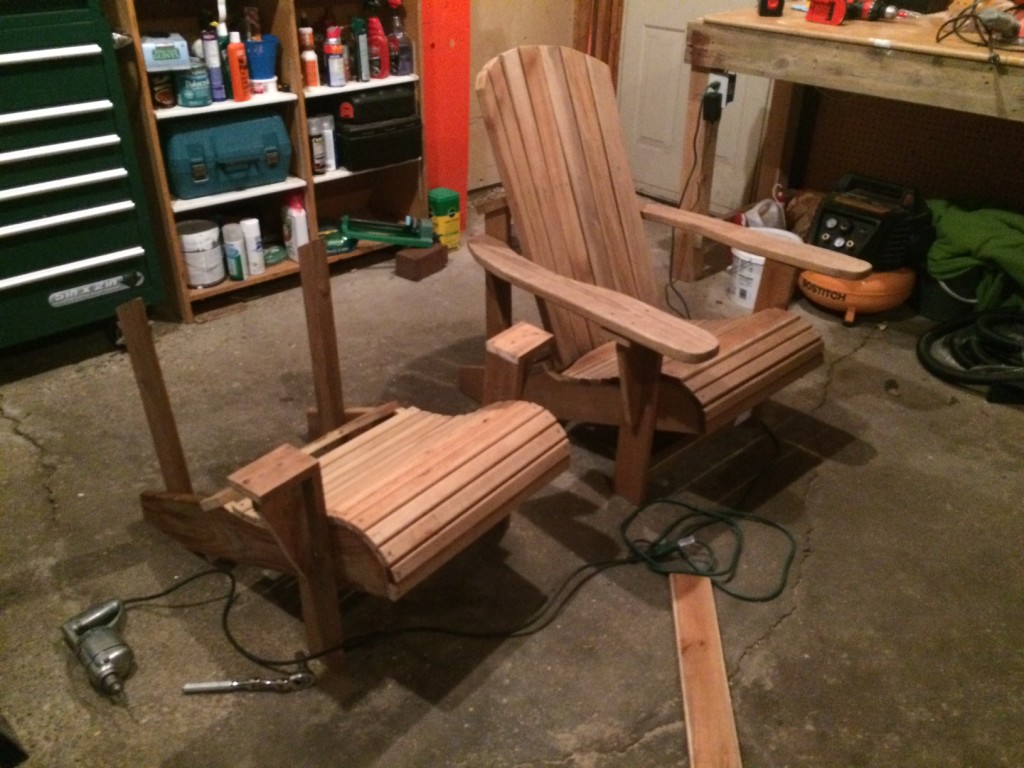
We are pleased with how the second chair turned out. The next project will be building a couple of foot rests and a table for our drinks (maybe even one with a cooler build into it). Stay tuned for that update.
For the second chair (left), I secured the arm rests from the bottom. This helped me avoid having screw holes visible from the top, as you see in the original chair (right)