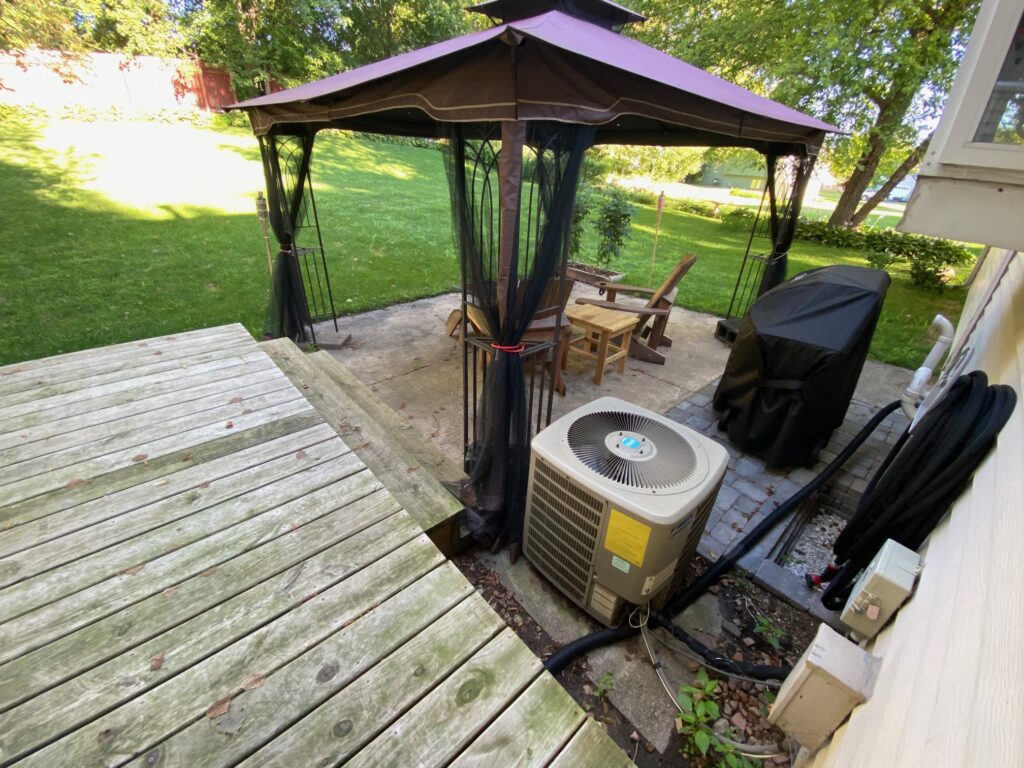
This post is long overdue because it’s been a couple of years now since we completed this project. Moving the noisy air conditioner condenser had been something we wanted to do since moving in back in 2013. The noisy unit, located right outside the back sliding door and next to the patio, made it impossible to entertain or carry on a conversation with guests. Often on summer evenings, Sara and I would find ourselves shouting back and forth in our adirondack chairs until one of us got around to turning off the A/C.
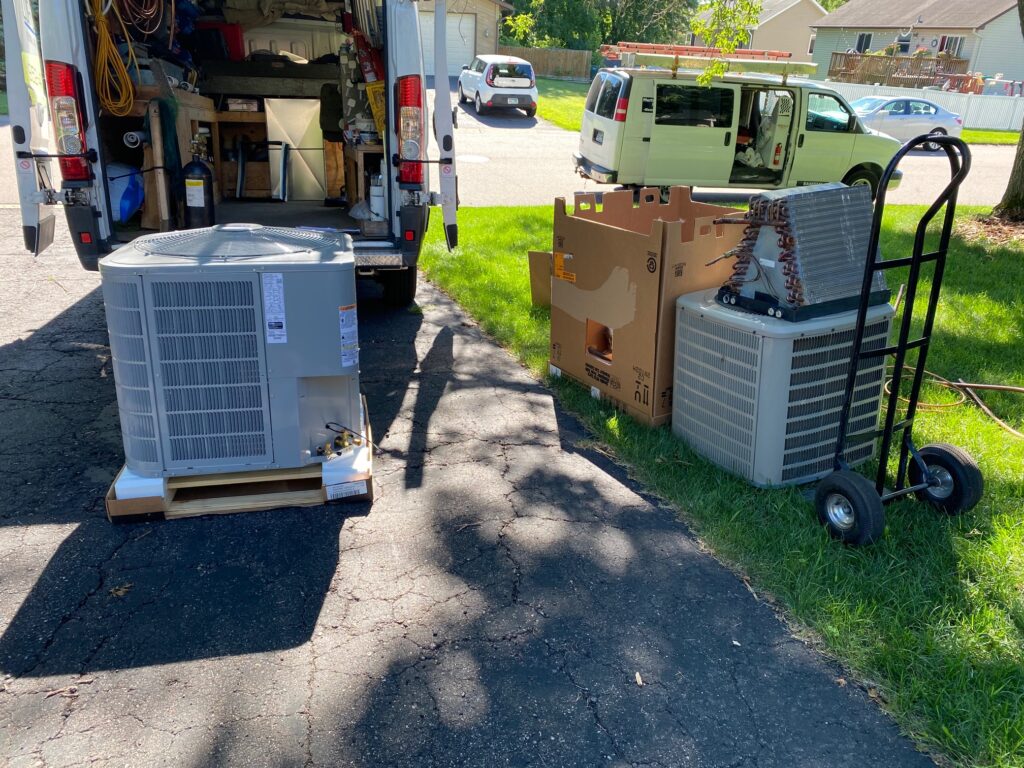
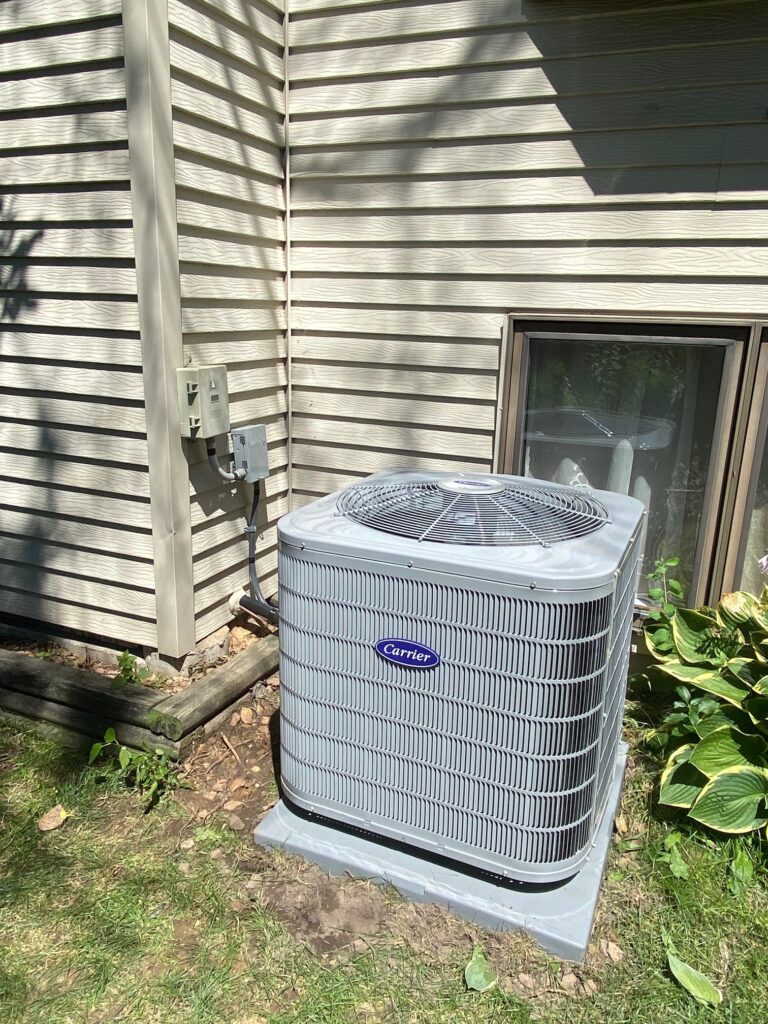
Out with the old and in with the new!
The installers made a difficult job look easy!
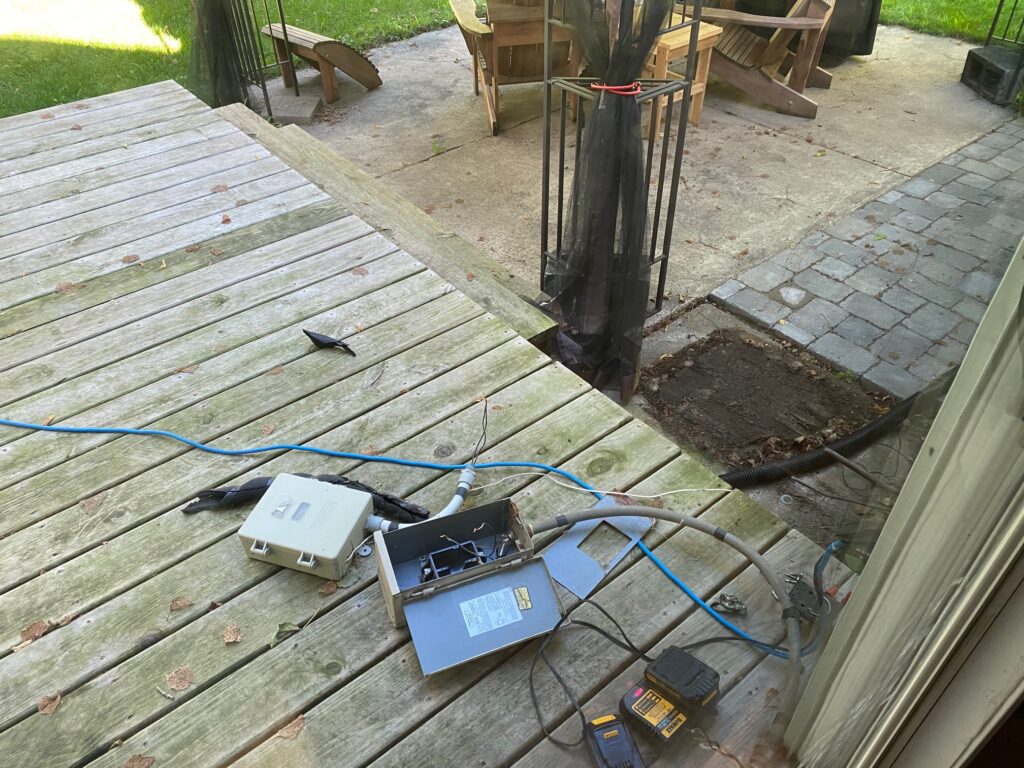
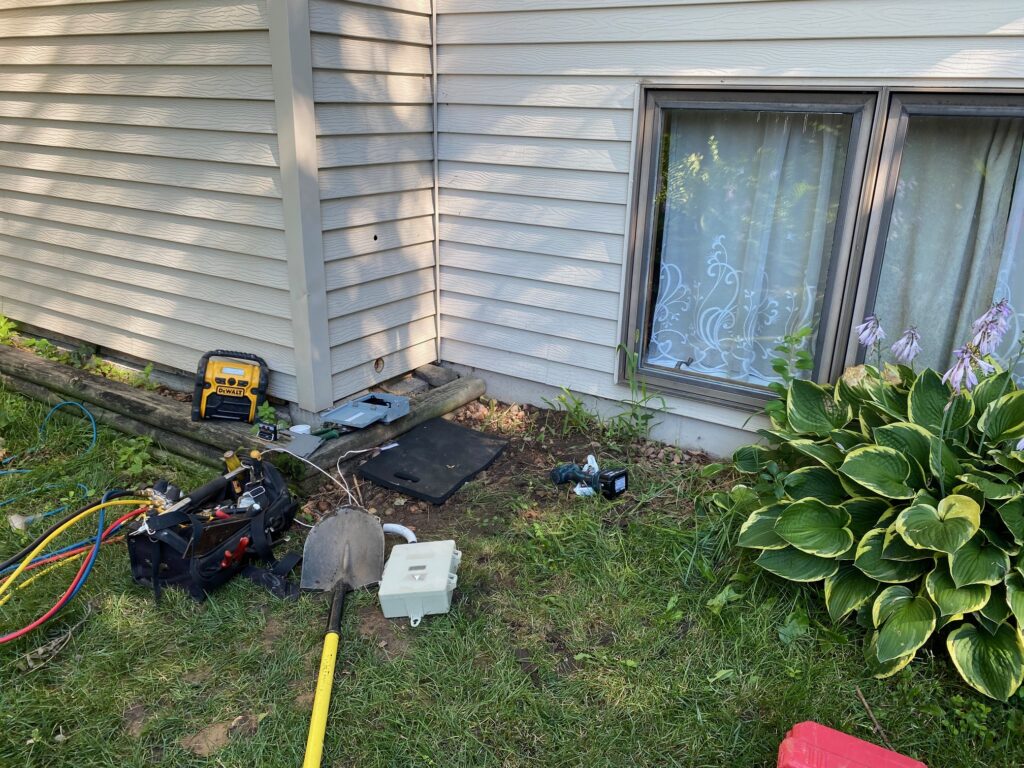
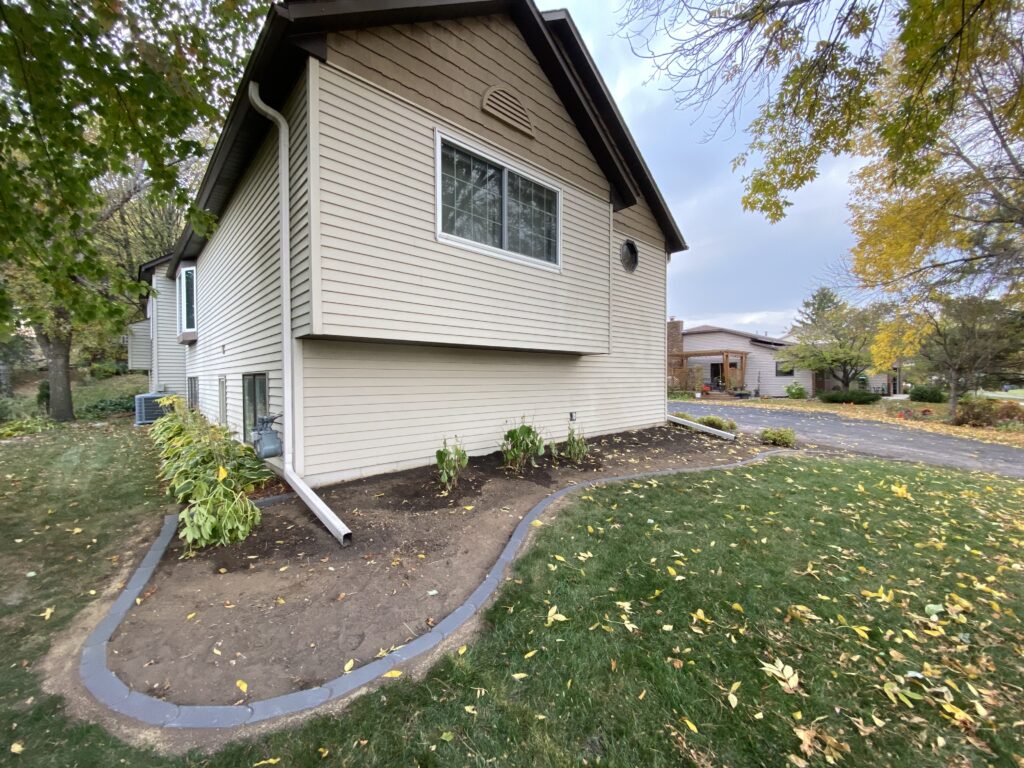
We moved the air conditioner from the west side of the property to the south side (an area out of sight and where noise would not be an issue).
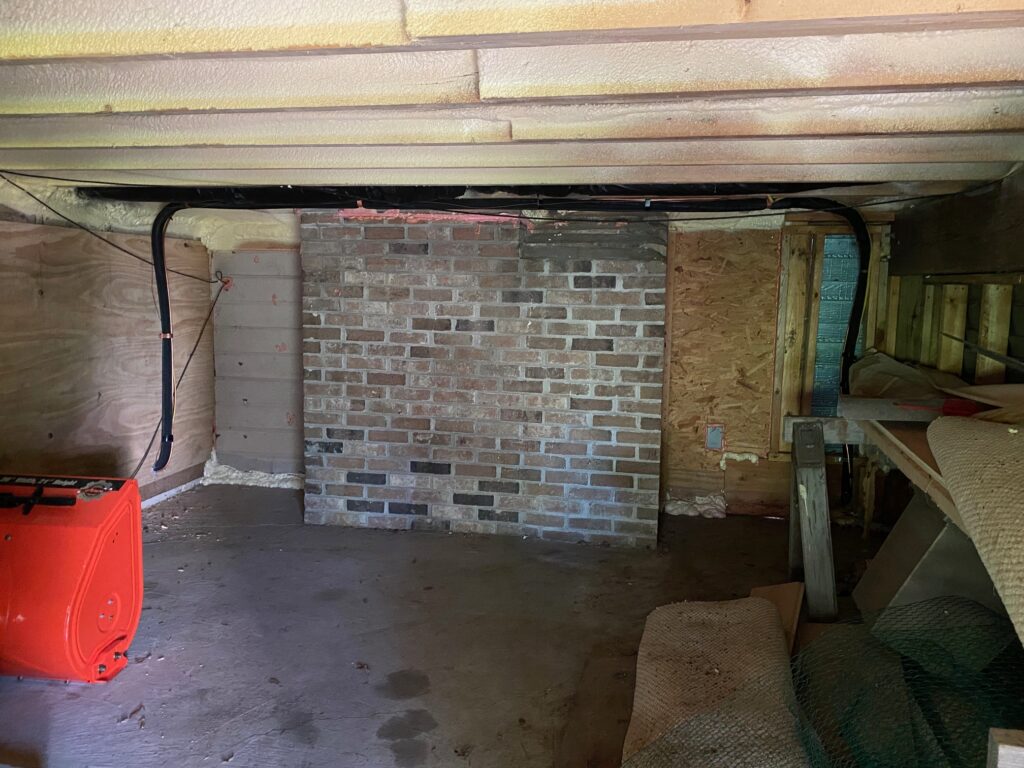
The installers ran the piping/wires through our shed, which is beneath the 4-season porch. We appreciated the extra attention to detail they took to make sure the pipes would not get in the way of any future storage needs.
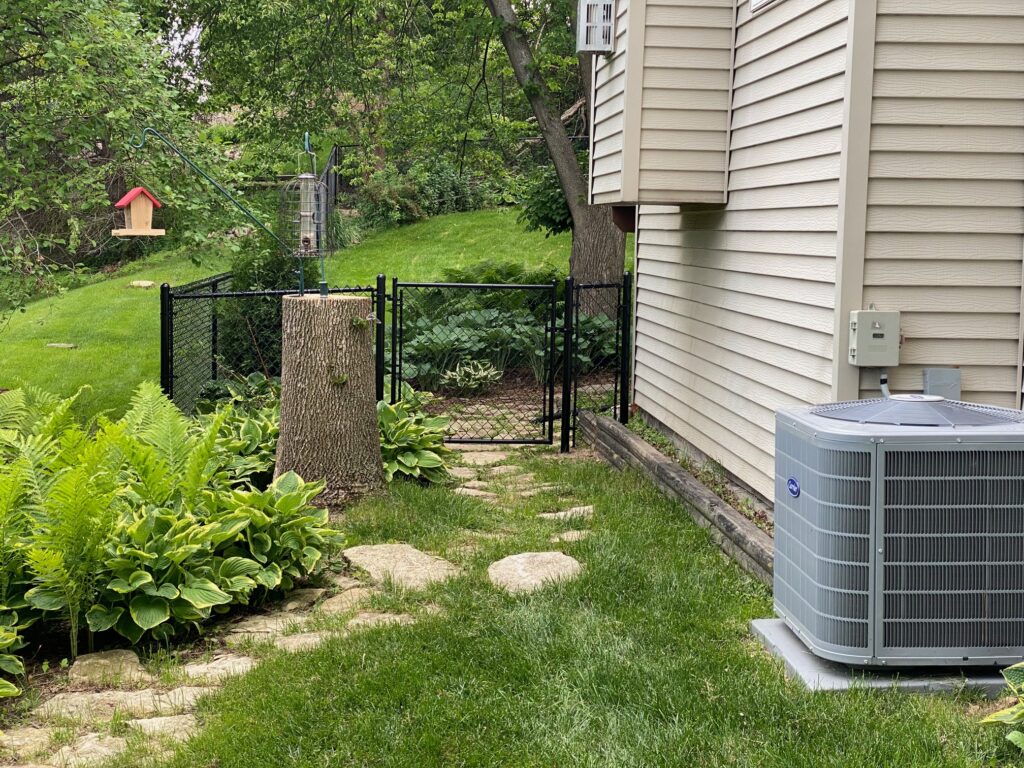
The air conditioner with another pandemic project – the fence!
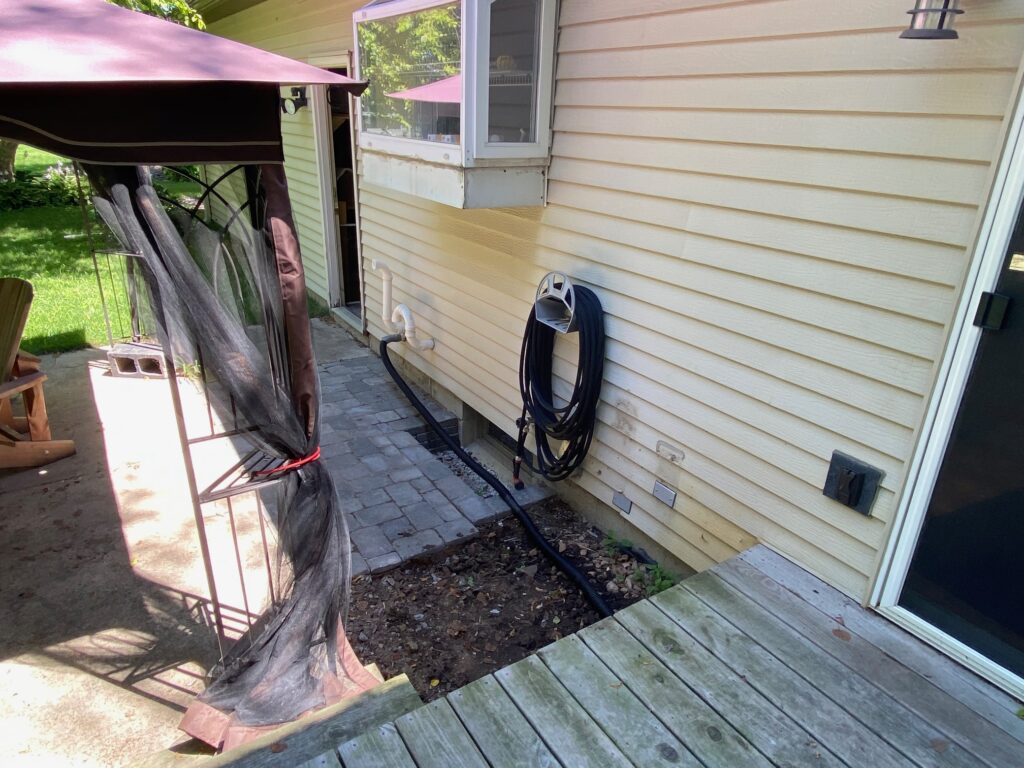
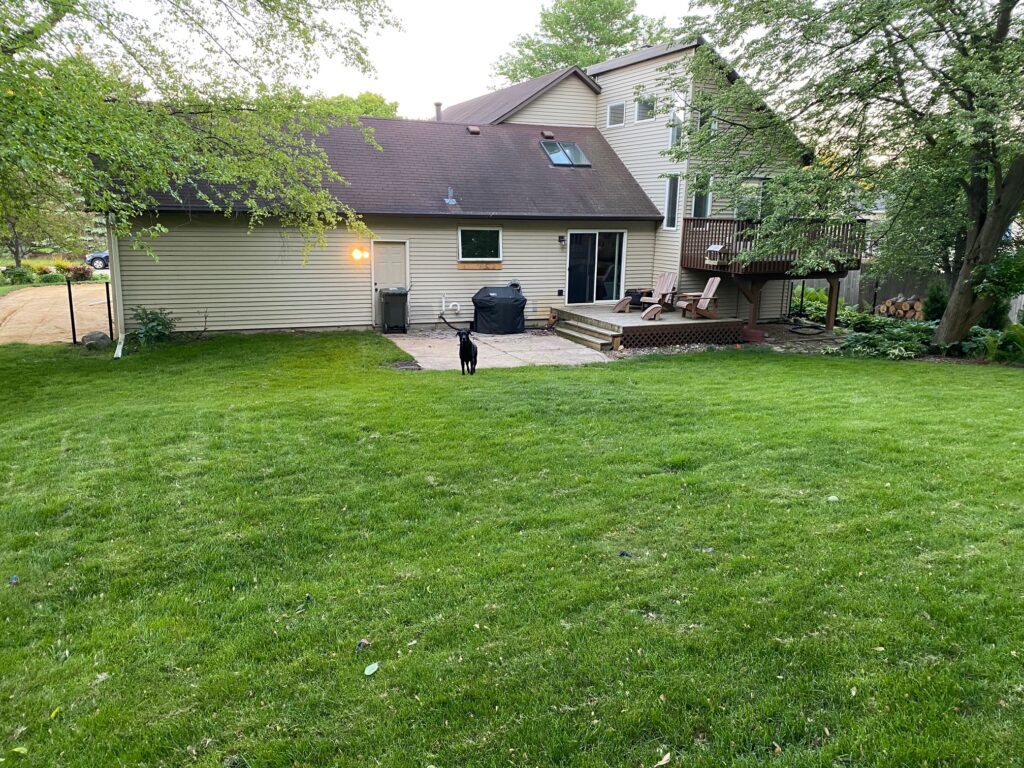
With the condenser unit out of the way, all I needed to do was add a few more pavers from an earlier project and we could finally enjoy our backyard the way we always wanted.
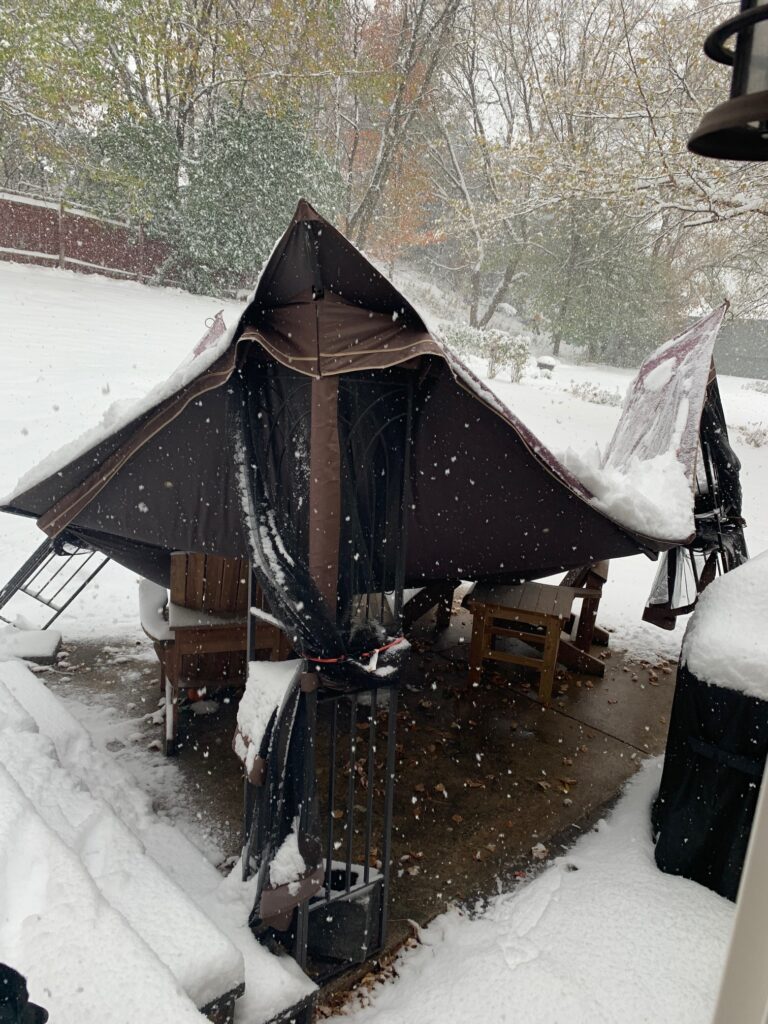
Winnie wondering why I am in her yard 🙂One final update: A few months after this project, the gazebo gifted to us by Sara’s parents came crashing down in a heavy snow that caught us unprepared. The gazebo is long gone, but the A/C will be around for years to come!
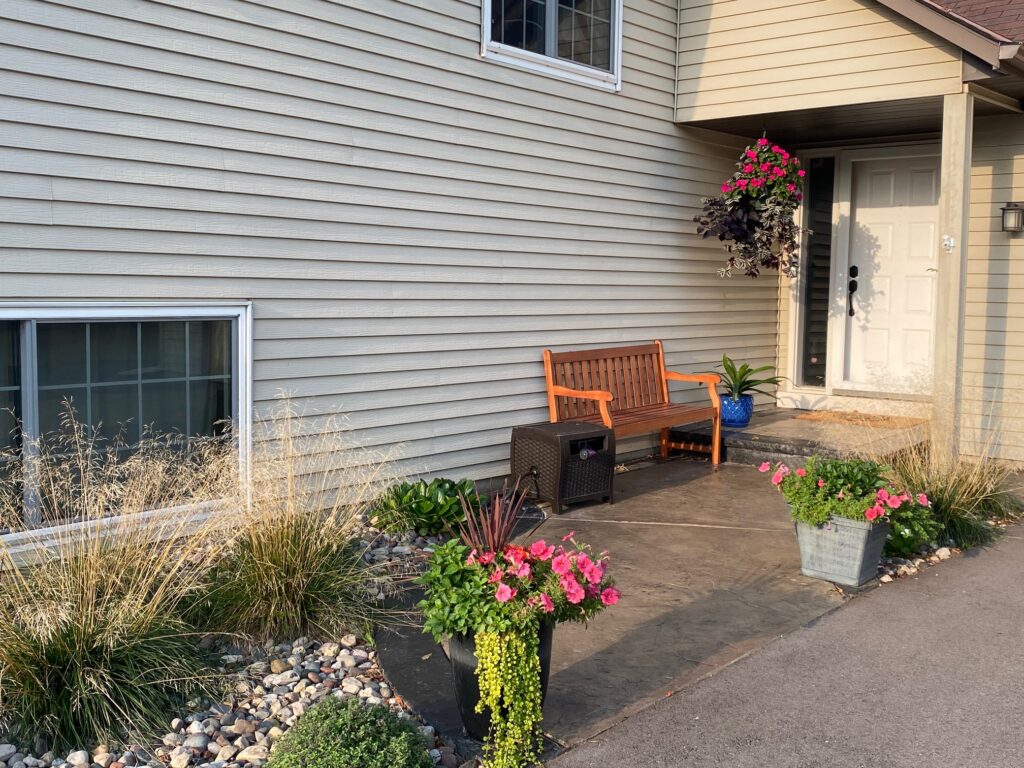
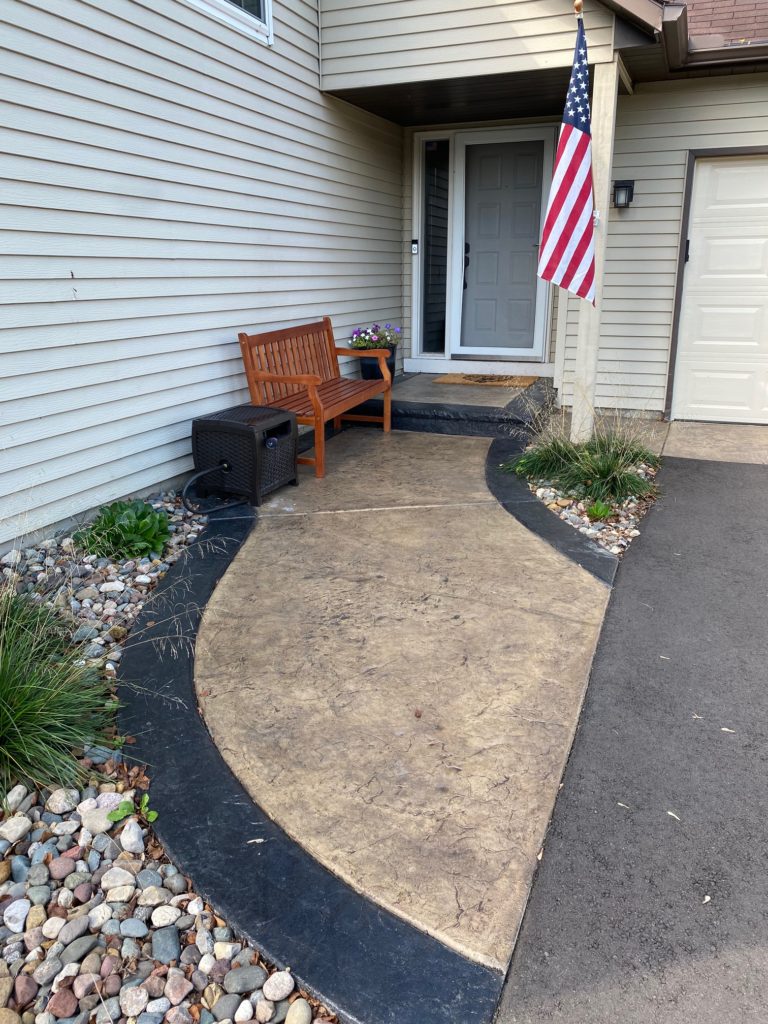
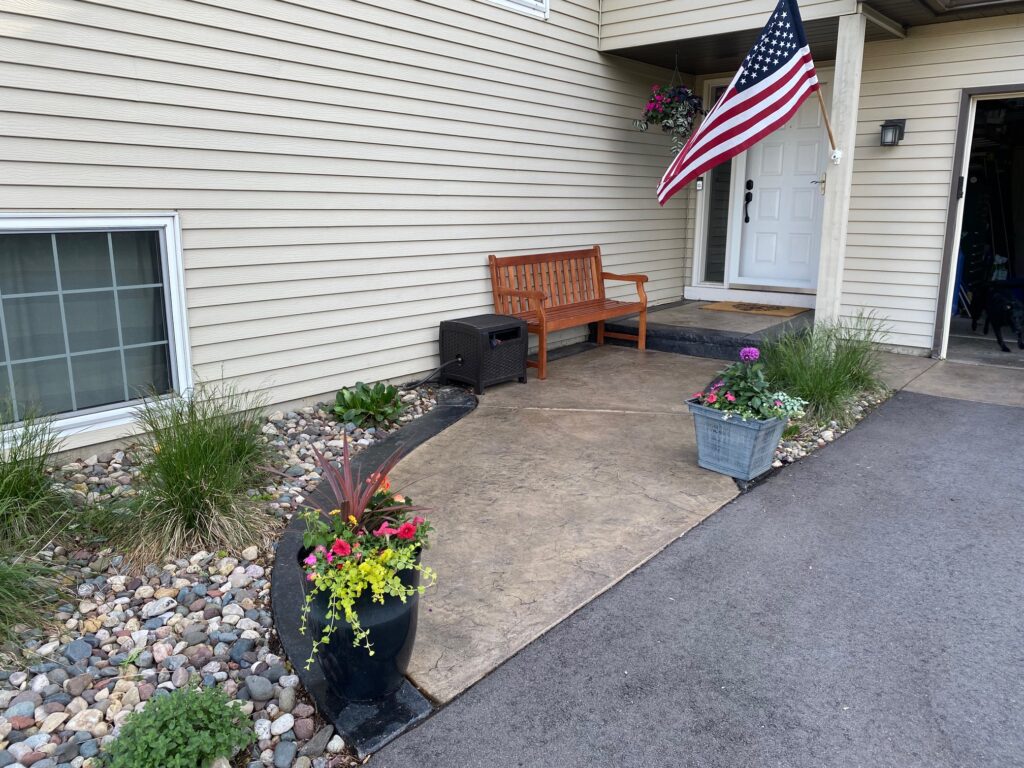
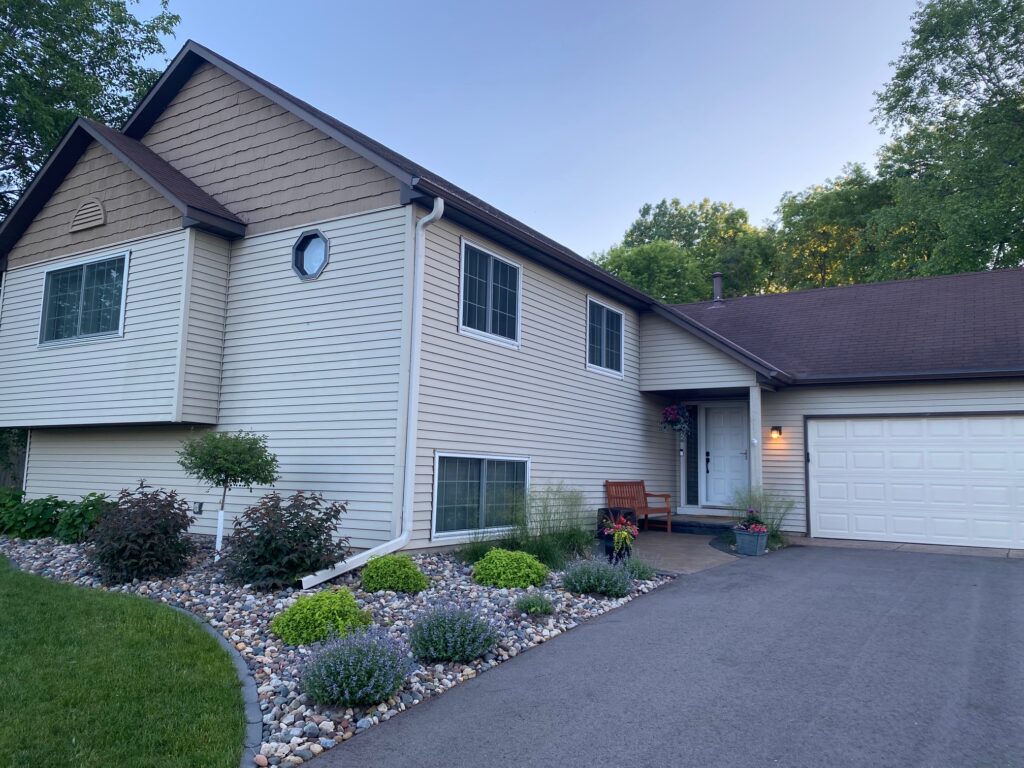
It’s always fun to begin a new blog post about our home improvements with one of the photos of the finished product!
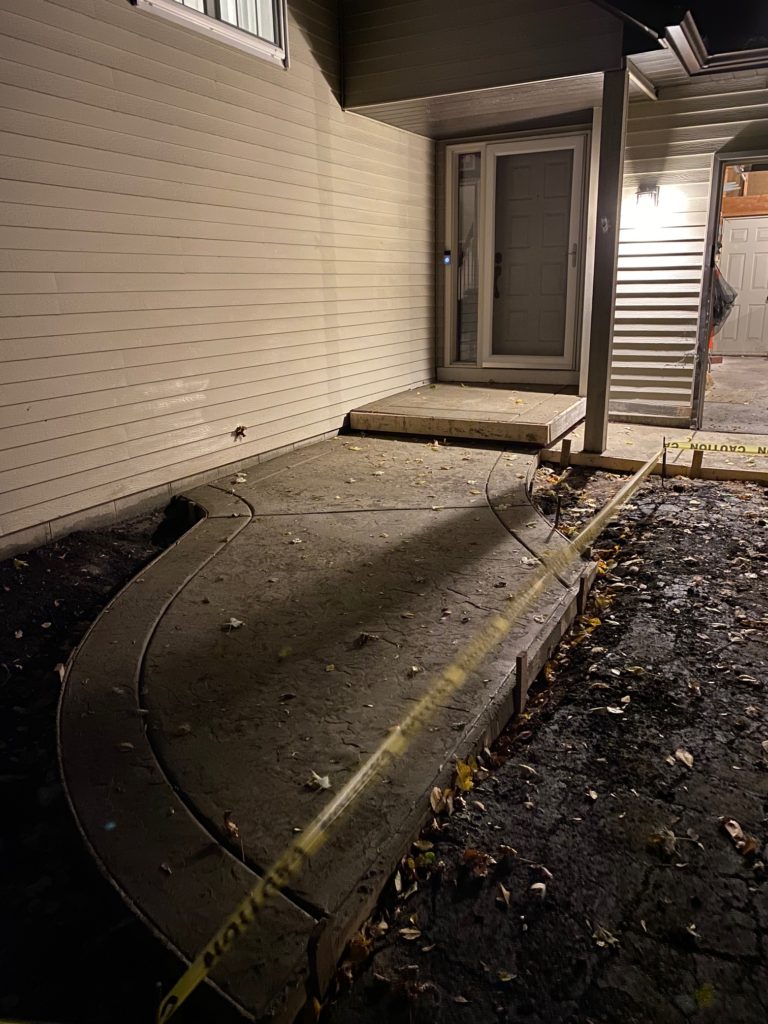
We are so pleased with how this project turned out and excited to share what it took to make possible. That process begins with these following images:
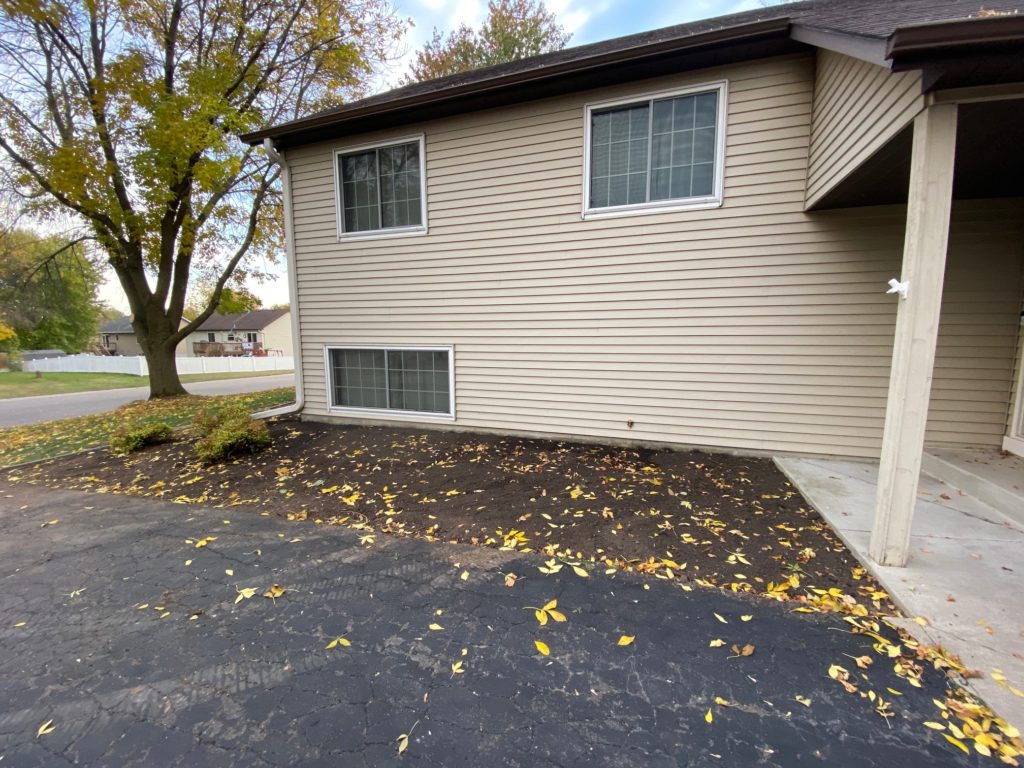
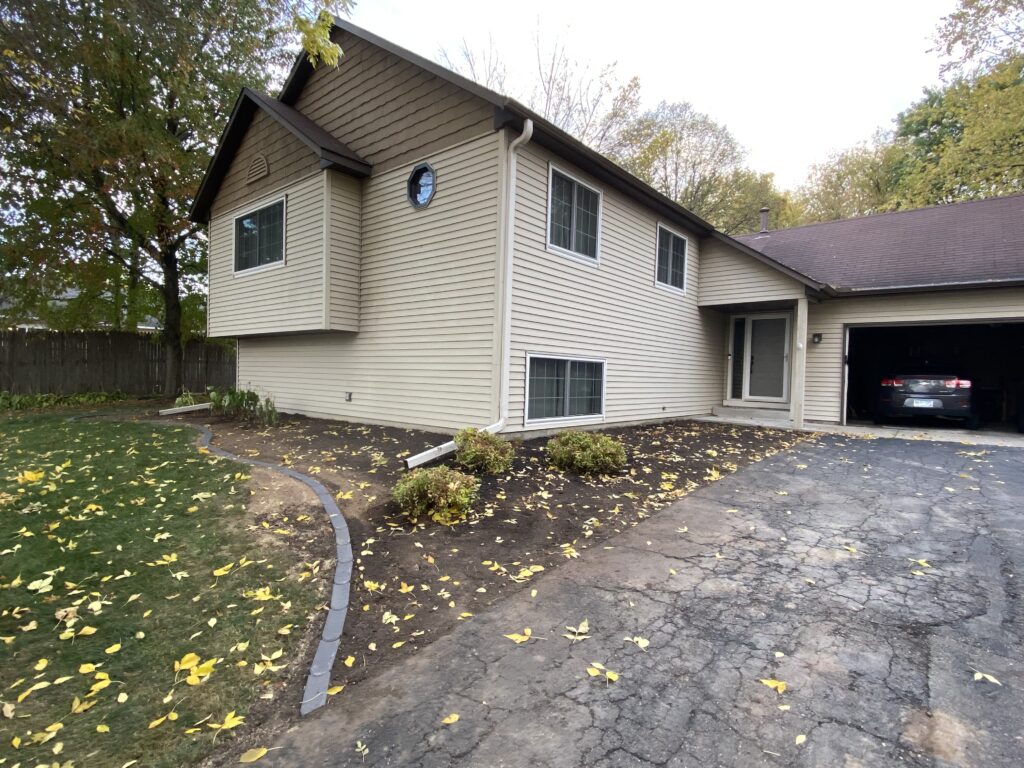
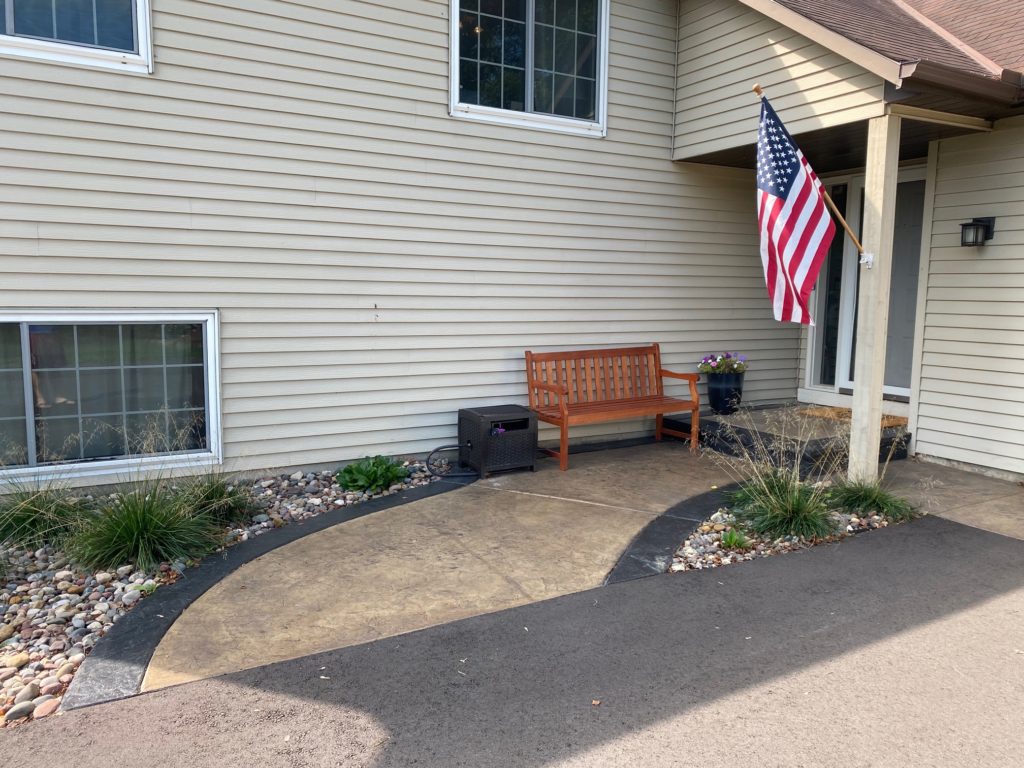
Can you see why we decided to change things up? Between the overgrown bushes, red lava rock and even more hostas (they’re literally everywhere on our property!), we felt it was time for an update.
We’ll be completely honest – this project was not a high priority; it was only on our wish list. However, it became a real possibility when we struggled to find a concrete company to replace our garage apron as part of our driveway project. It was the summer of Covid lockdowns and seemed everyone in Minnesota was prioritizing home improvement projects with all of the time stuck at home.
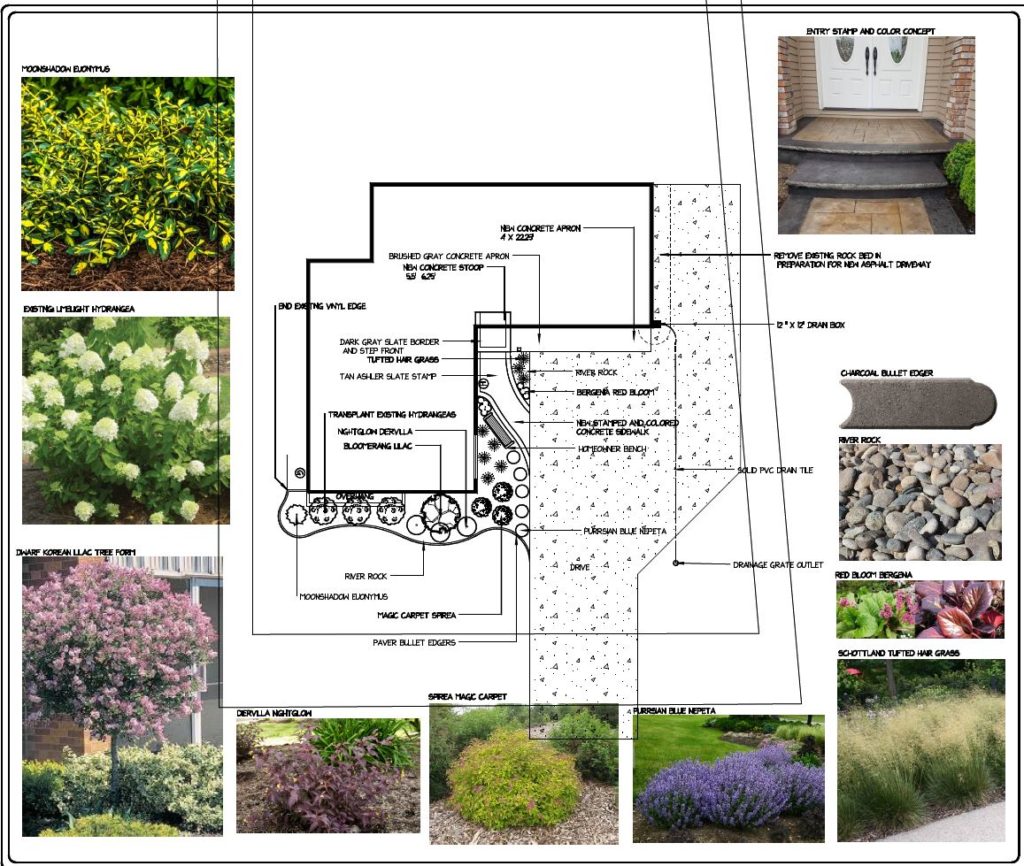
We managed to find a landscaping company that had a good relationship with a concrete company. We were happy with their estimate, especially with how much they would do to improve our property, so we pressed ahead. They quickly removed the old landscaping and helped us design a new, much more grand front entrance. Here is the plan they drew up for us:
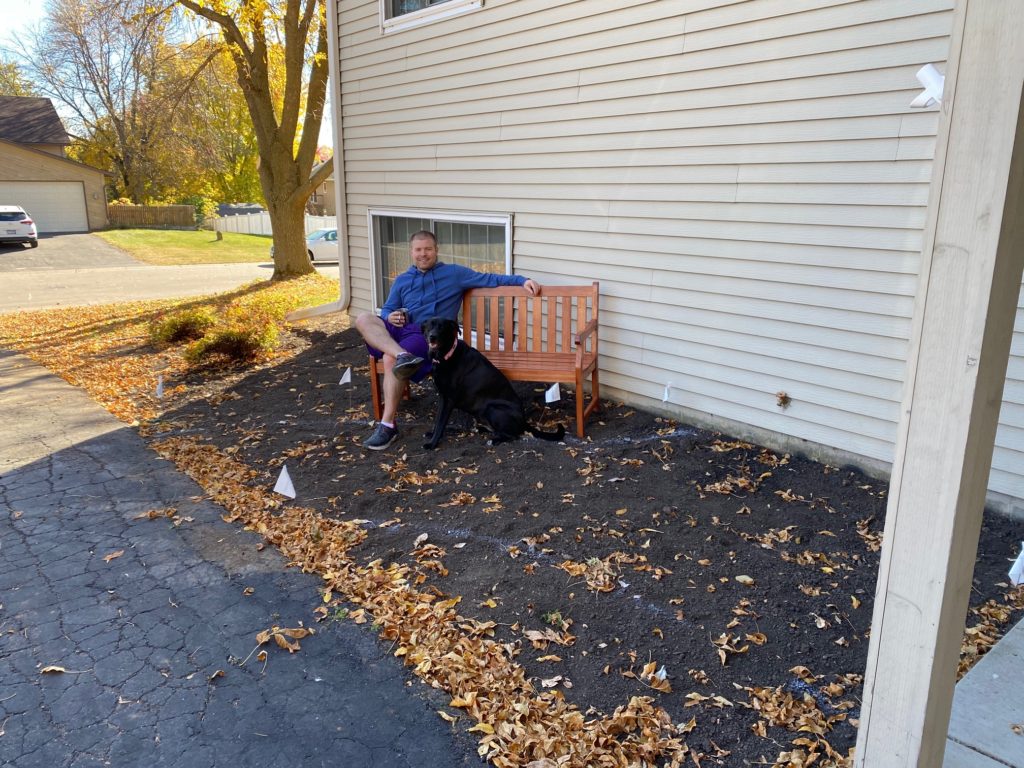
The new entrance path marked with white flags, we had some fun experimenting with where we would put our new bench once the project was finished. Winnie was happy to sit in the dirt!
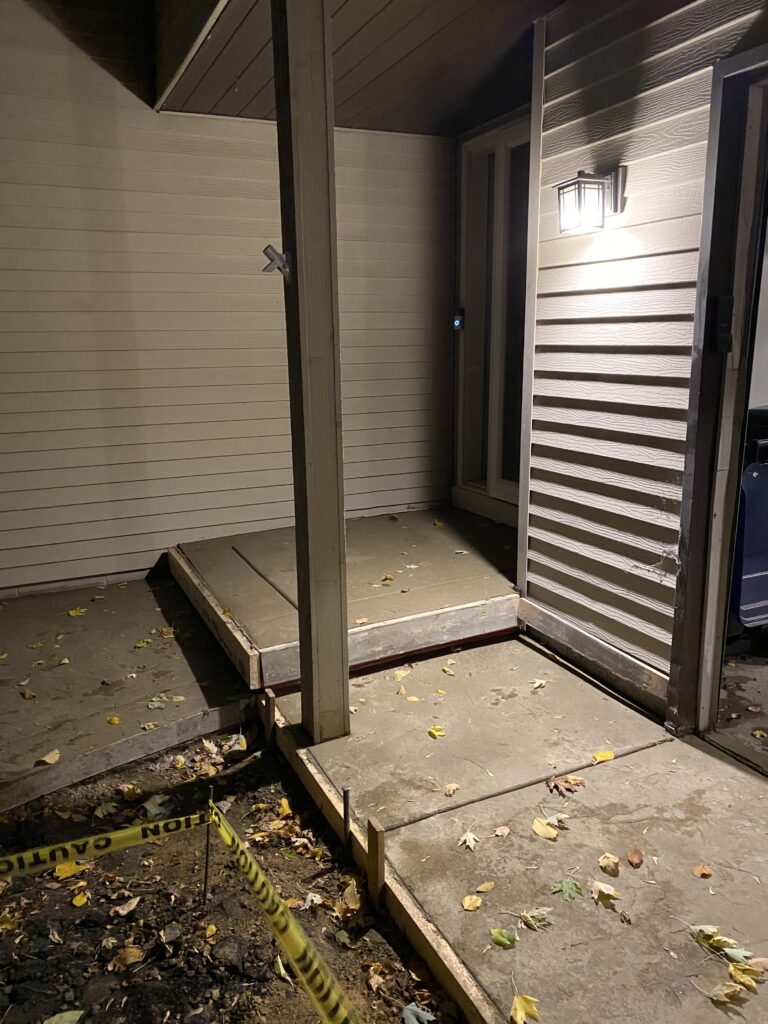
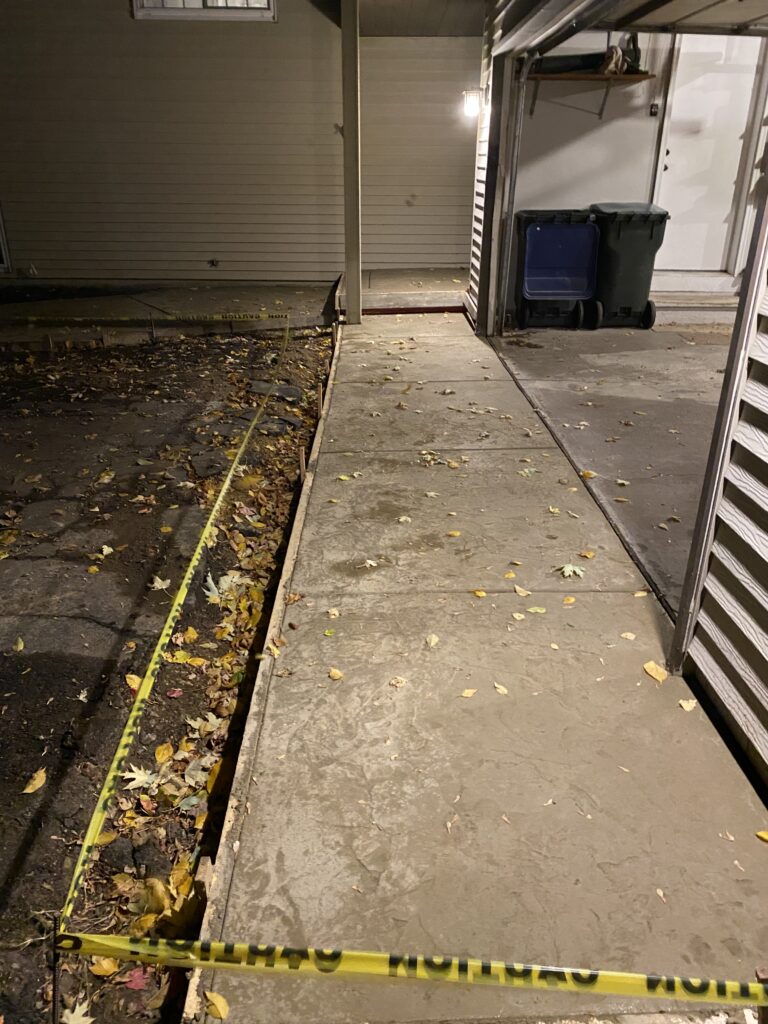
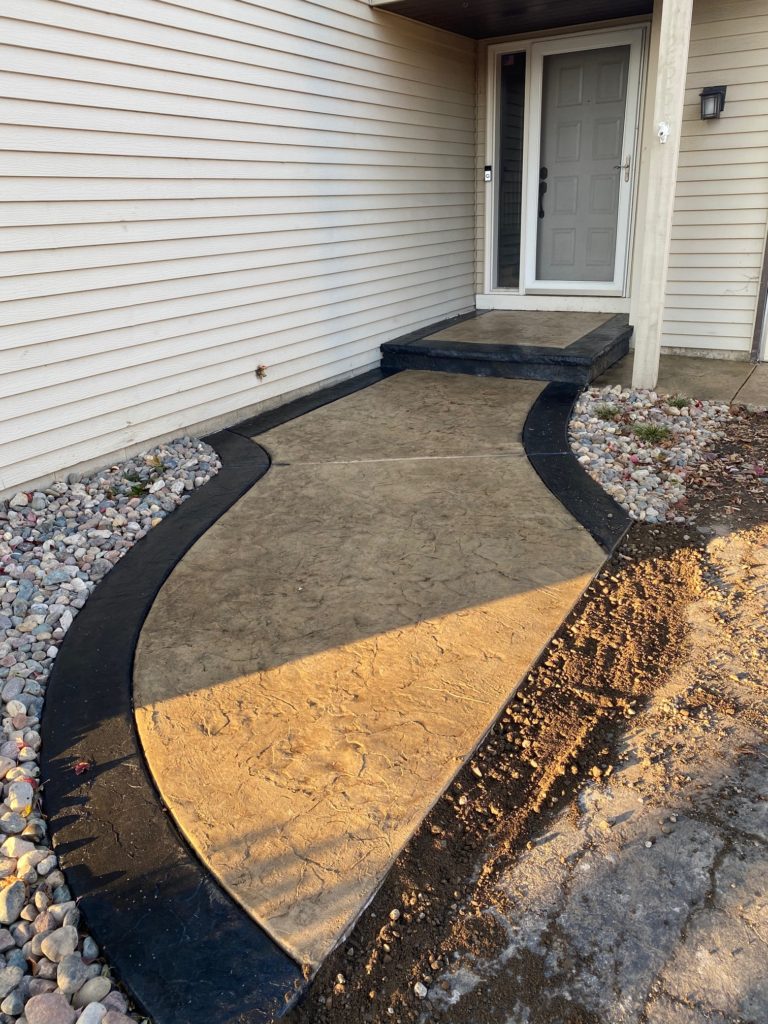
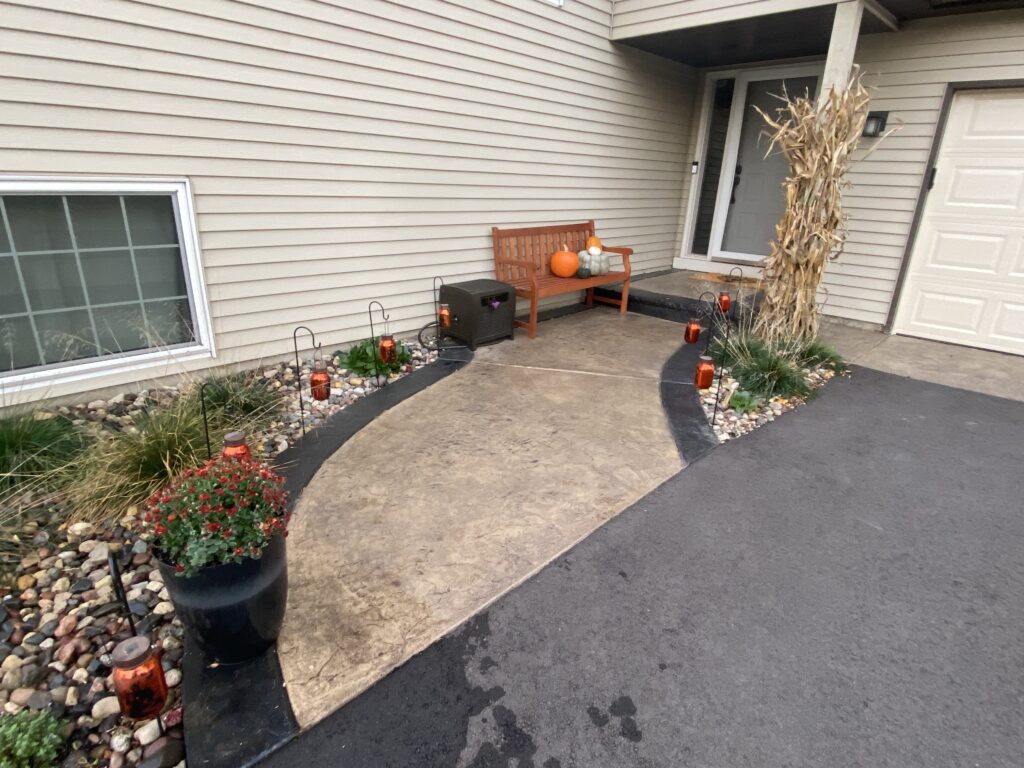
Anyone who knows me knows I‘m a true DIY enthusiast. However, I never looked forward to clearing out all of the landscaping rock and after seeing how well the crew did this job, I‘m glad we hired it out. The photo sequence below shows the concrete being poured, stained and sealed, along with some photos we took shortly after the new plants were put in and what it looked like the following summer.
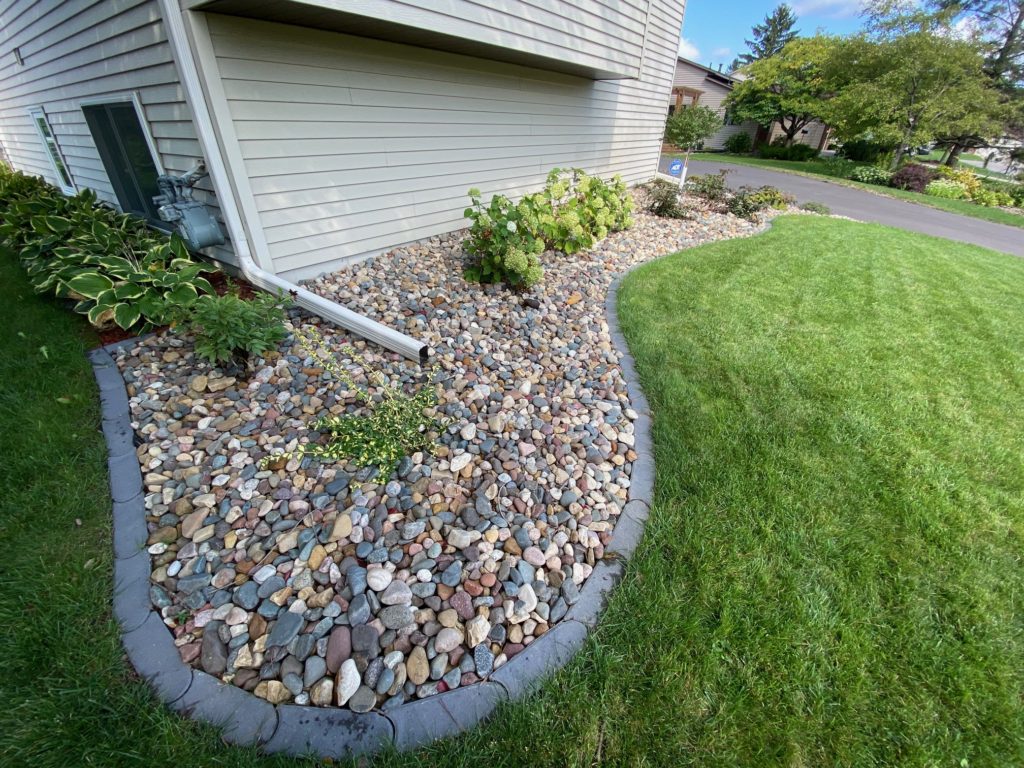
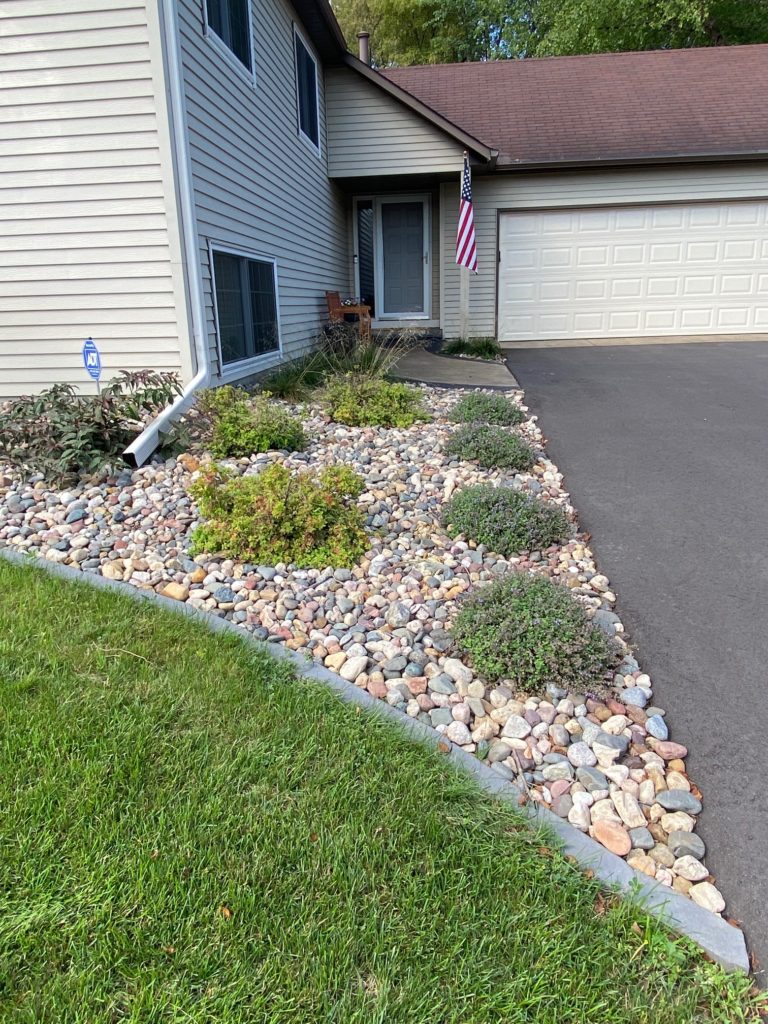
For anyone curious about all of the plants and other landscaping materials, here is the full list: 1. Moonshadow Euonymus 2. Limelight Hydrangea (We salvaged this from our existing landscaping) 3. Dwarf Korean Lilac Tree 4. Dervilla Nightglow 5. Spirea Magic Carpet 6. Purrsian Blue Nepeta 7. Schottland Tufted Hair Grass 8. Red Bloom Bergena 9. The color of the edgers is “Charcoal Bullet” and we used large River Rock 10. The concrete is tan and the edges were stained with a charcoal color. The stamp pattern that was used is called “Roman Slate.”
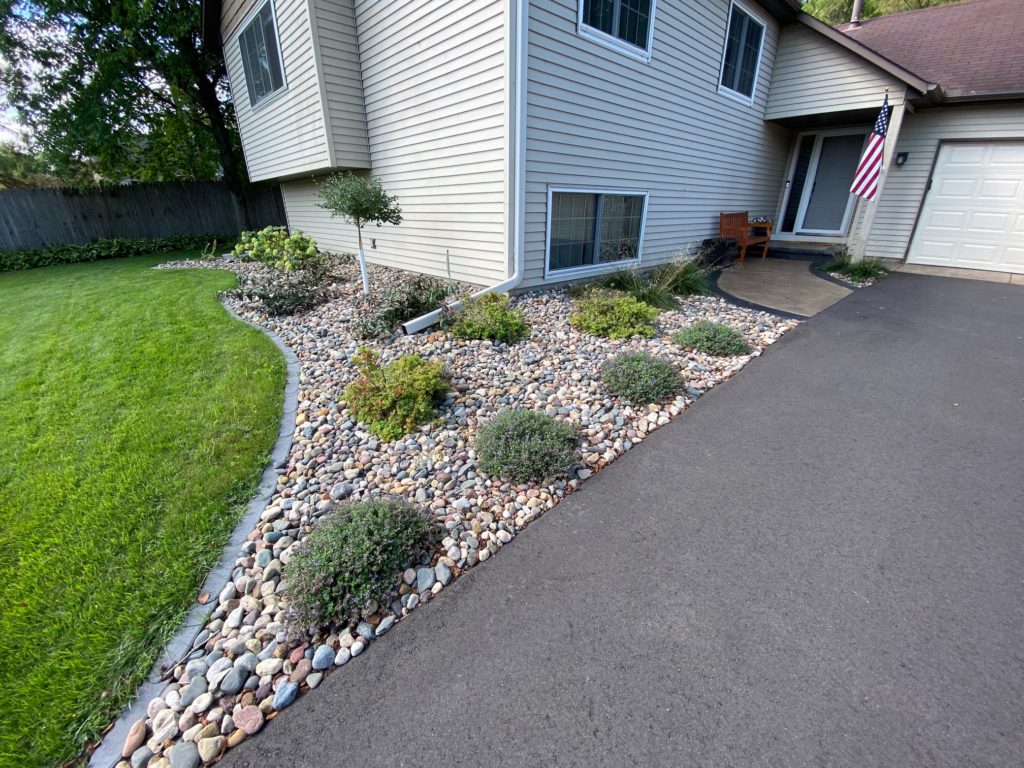
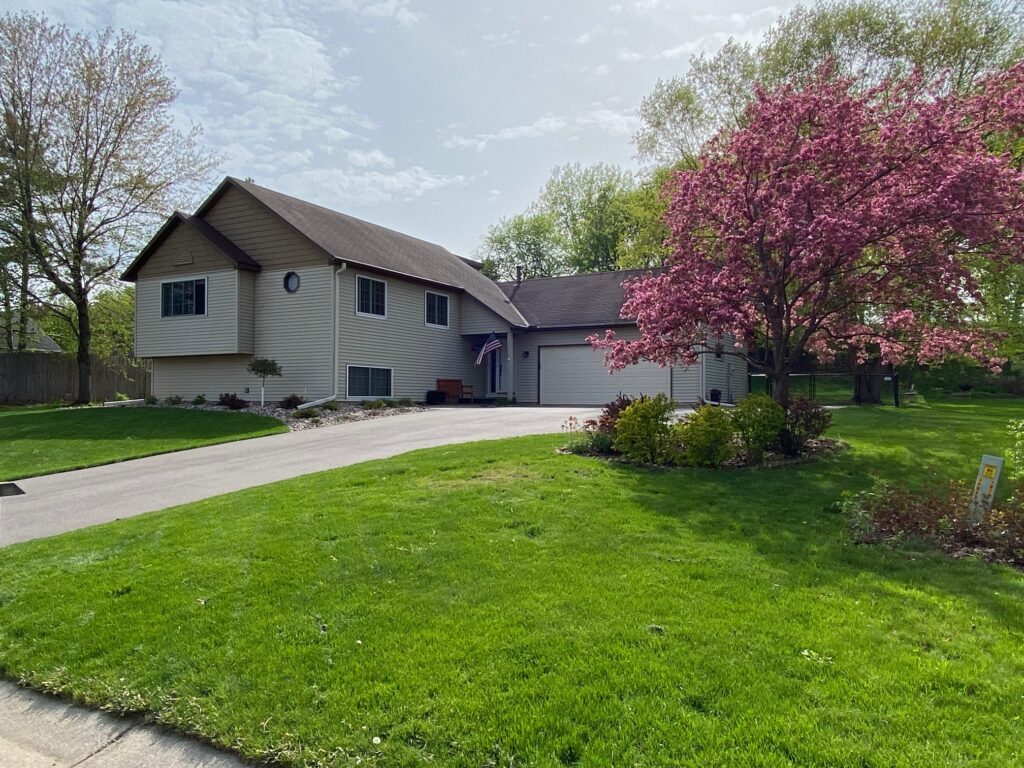
This is what the front yard looked like the following spring. The blooming tree was a nice surprise! It’s really thriving after we lost our Ash Trees the year before to the Emerald Ash Borer. Sara might be the most excited about the Dwarf Korean Lilac Tree out front. She has always loved the smell of lilac and we’re hoping the delightful scent will find a way into the front windows.
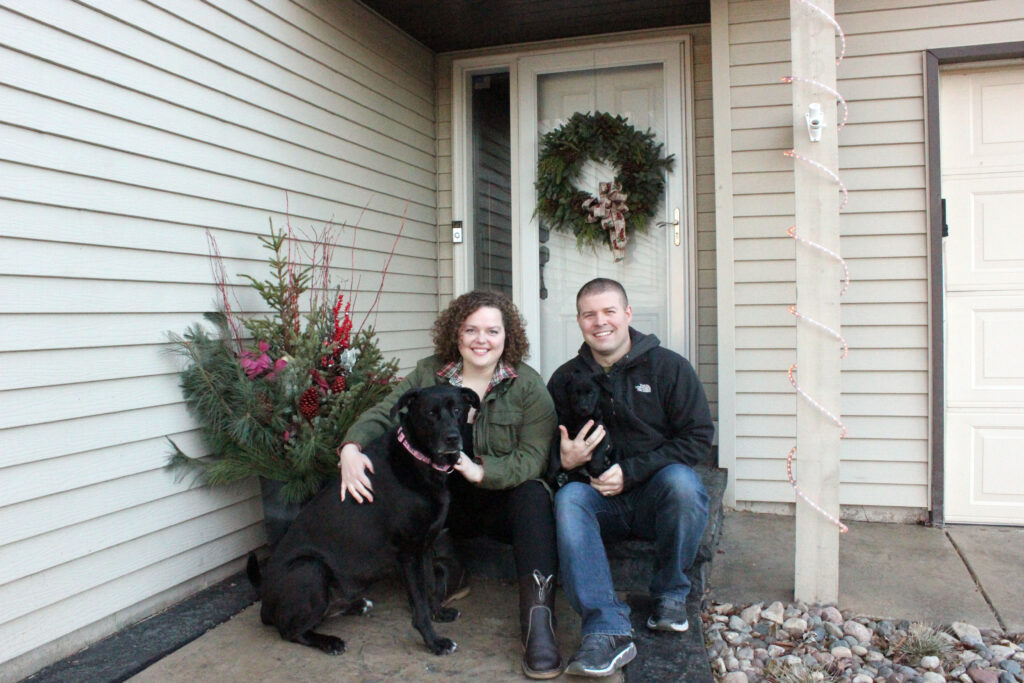
Overall, we are very pleased with the results. Winnie and Stella took a nice holiday picture in the photos above and Winnie was so happy with the front lawn, she decided to roll around in it in the video below.
Stella, meanwhile, prefers to run laps in the front yard!