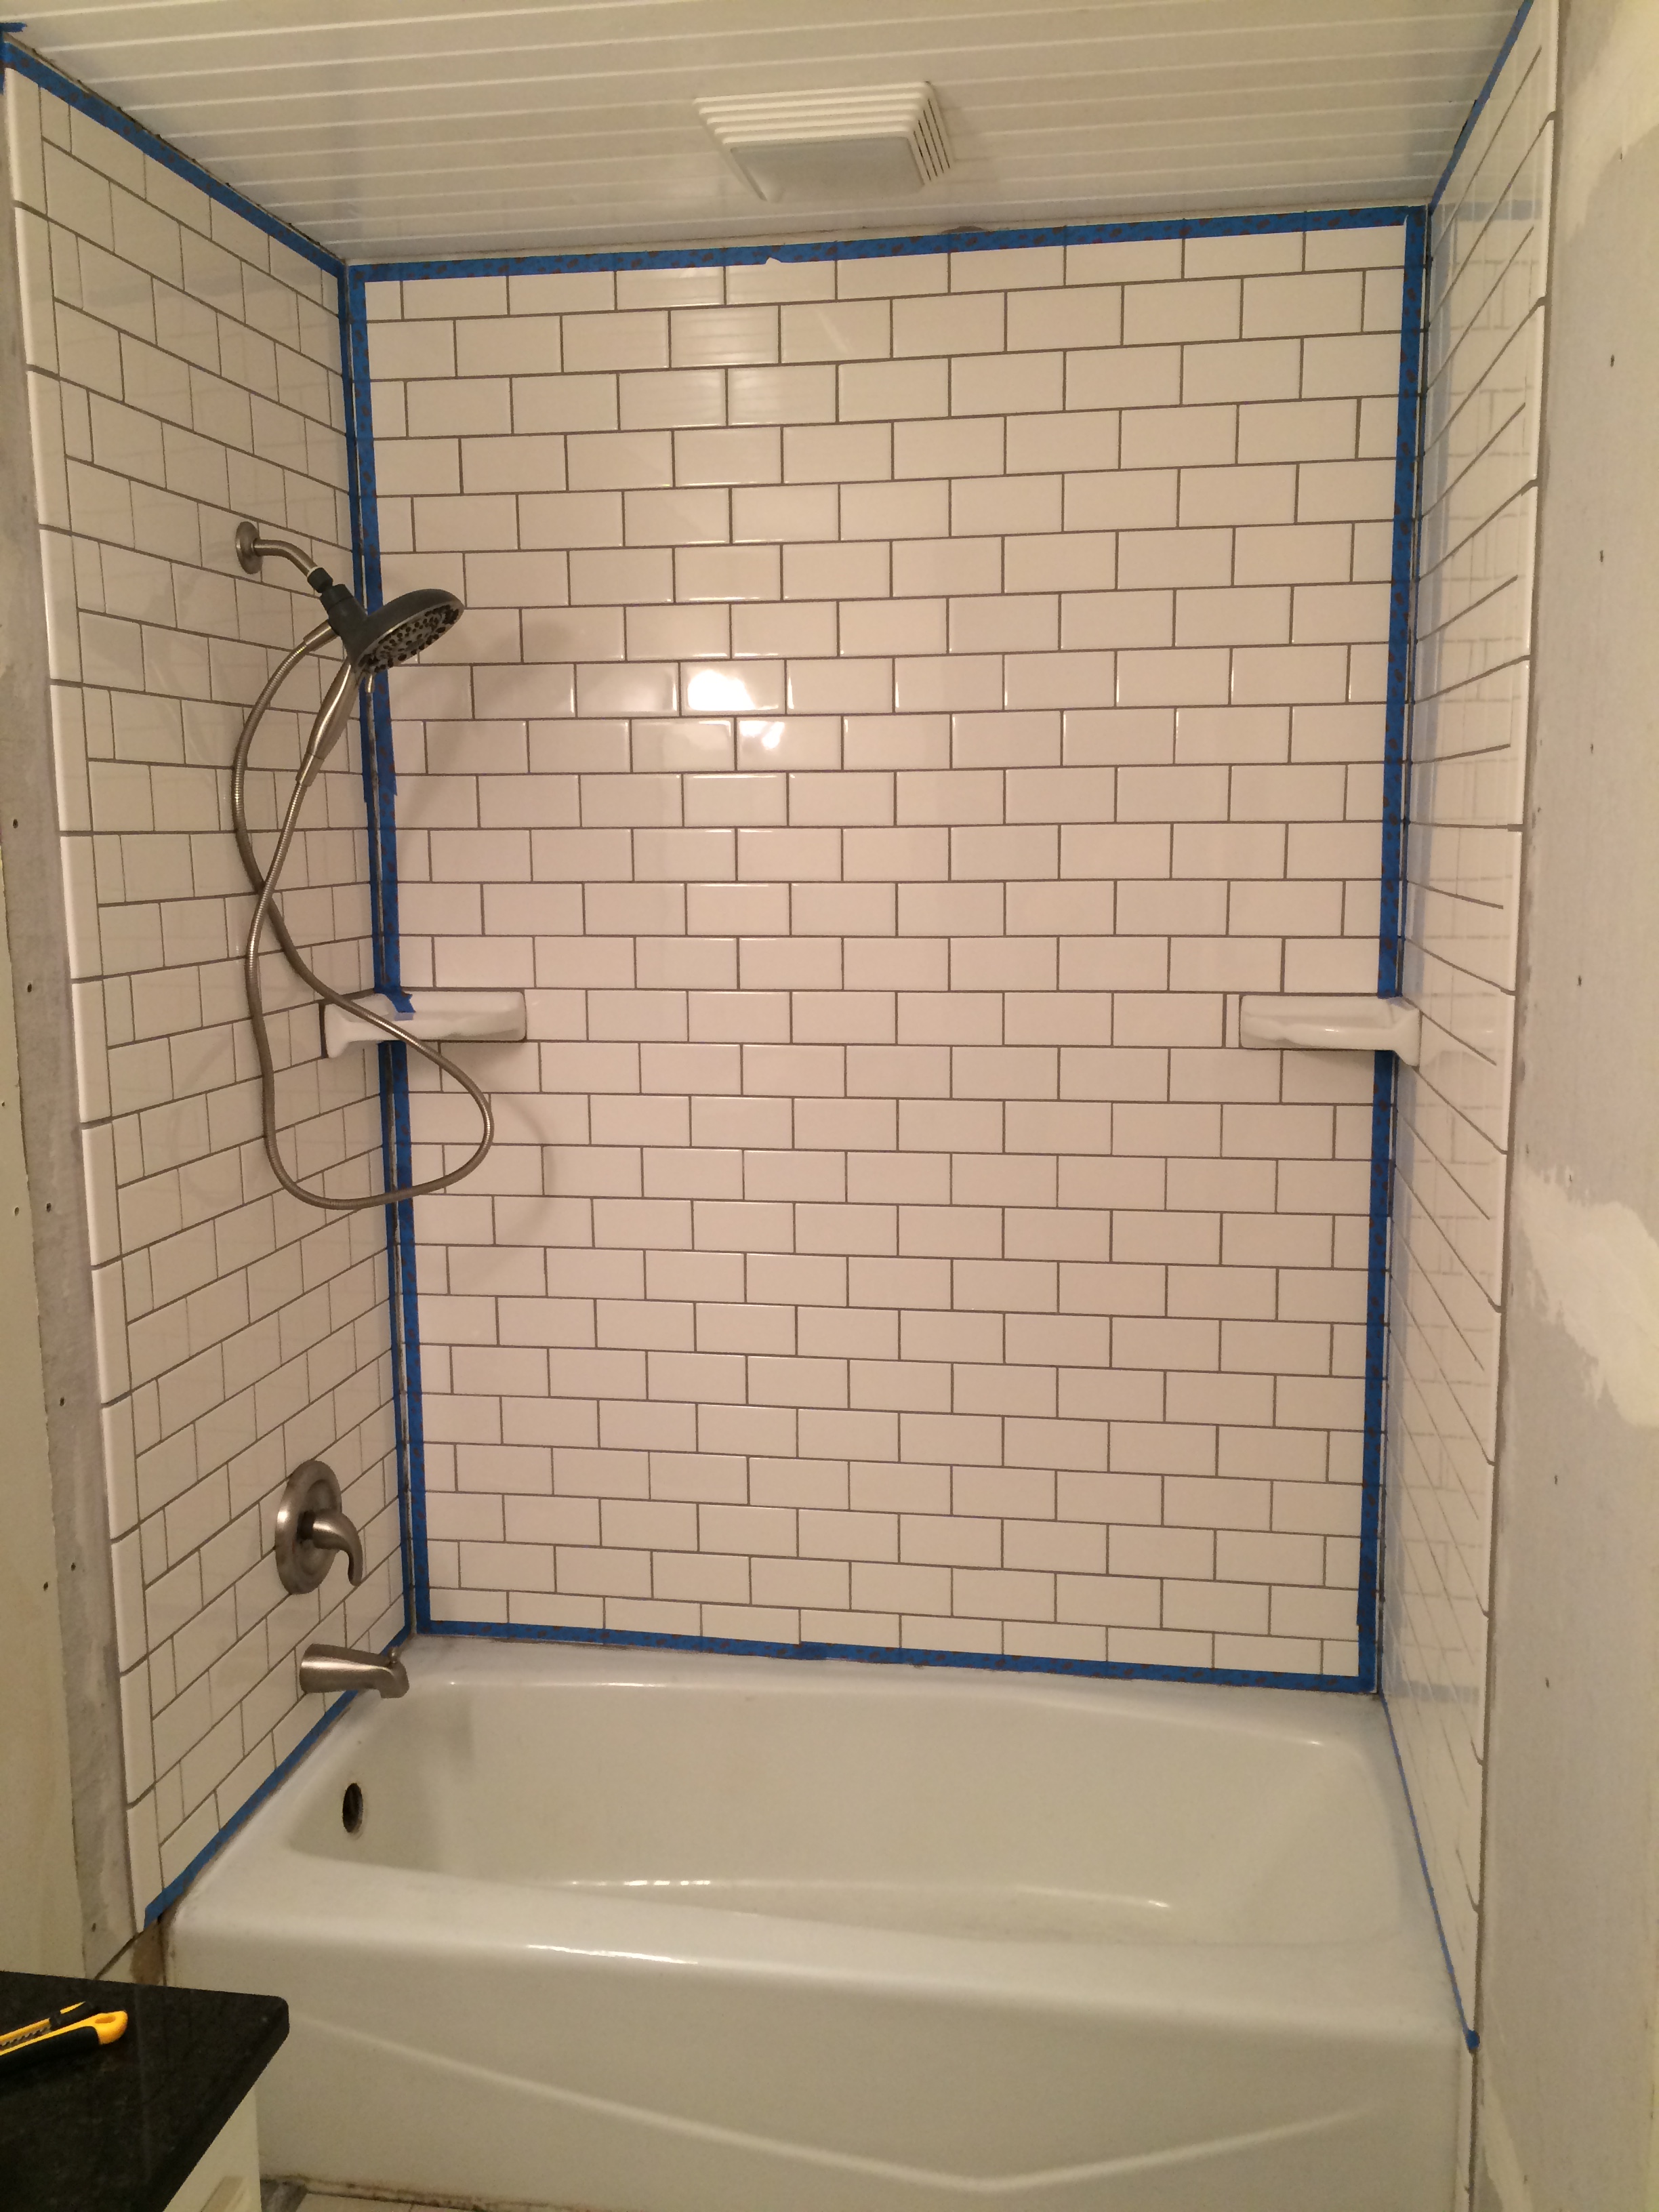
With the shower tiles in place, the next task was working on the ceiling. We are not fans of popcorn ceilings and wanted to go with wood panels. To avoid having to scrape off all of the popcorn, I simply scraped lines and attached wood slats. I would use those slats as supports for the new ceiling panels.
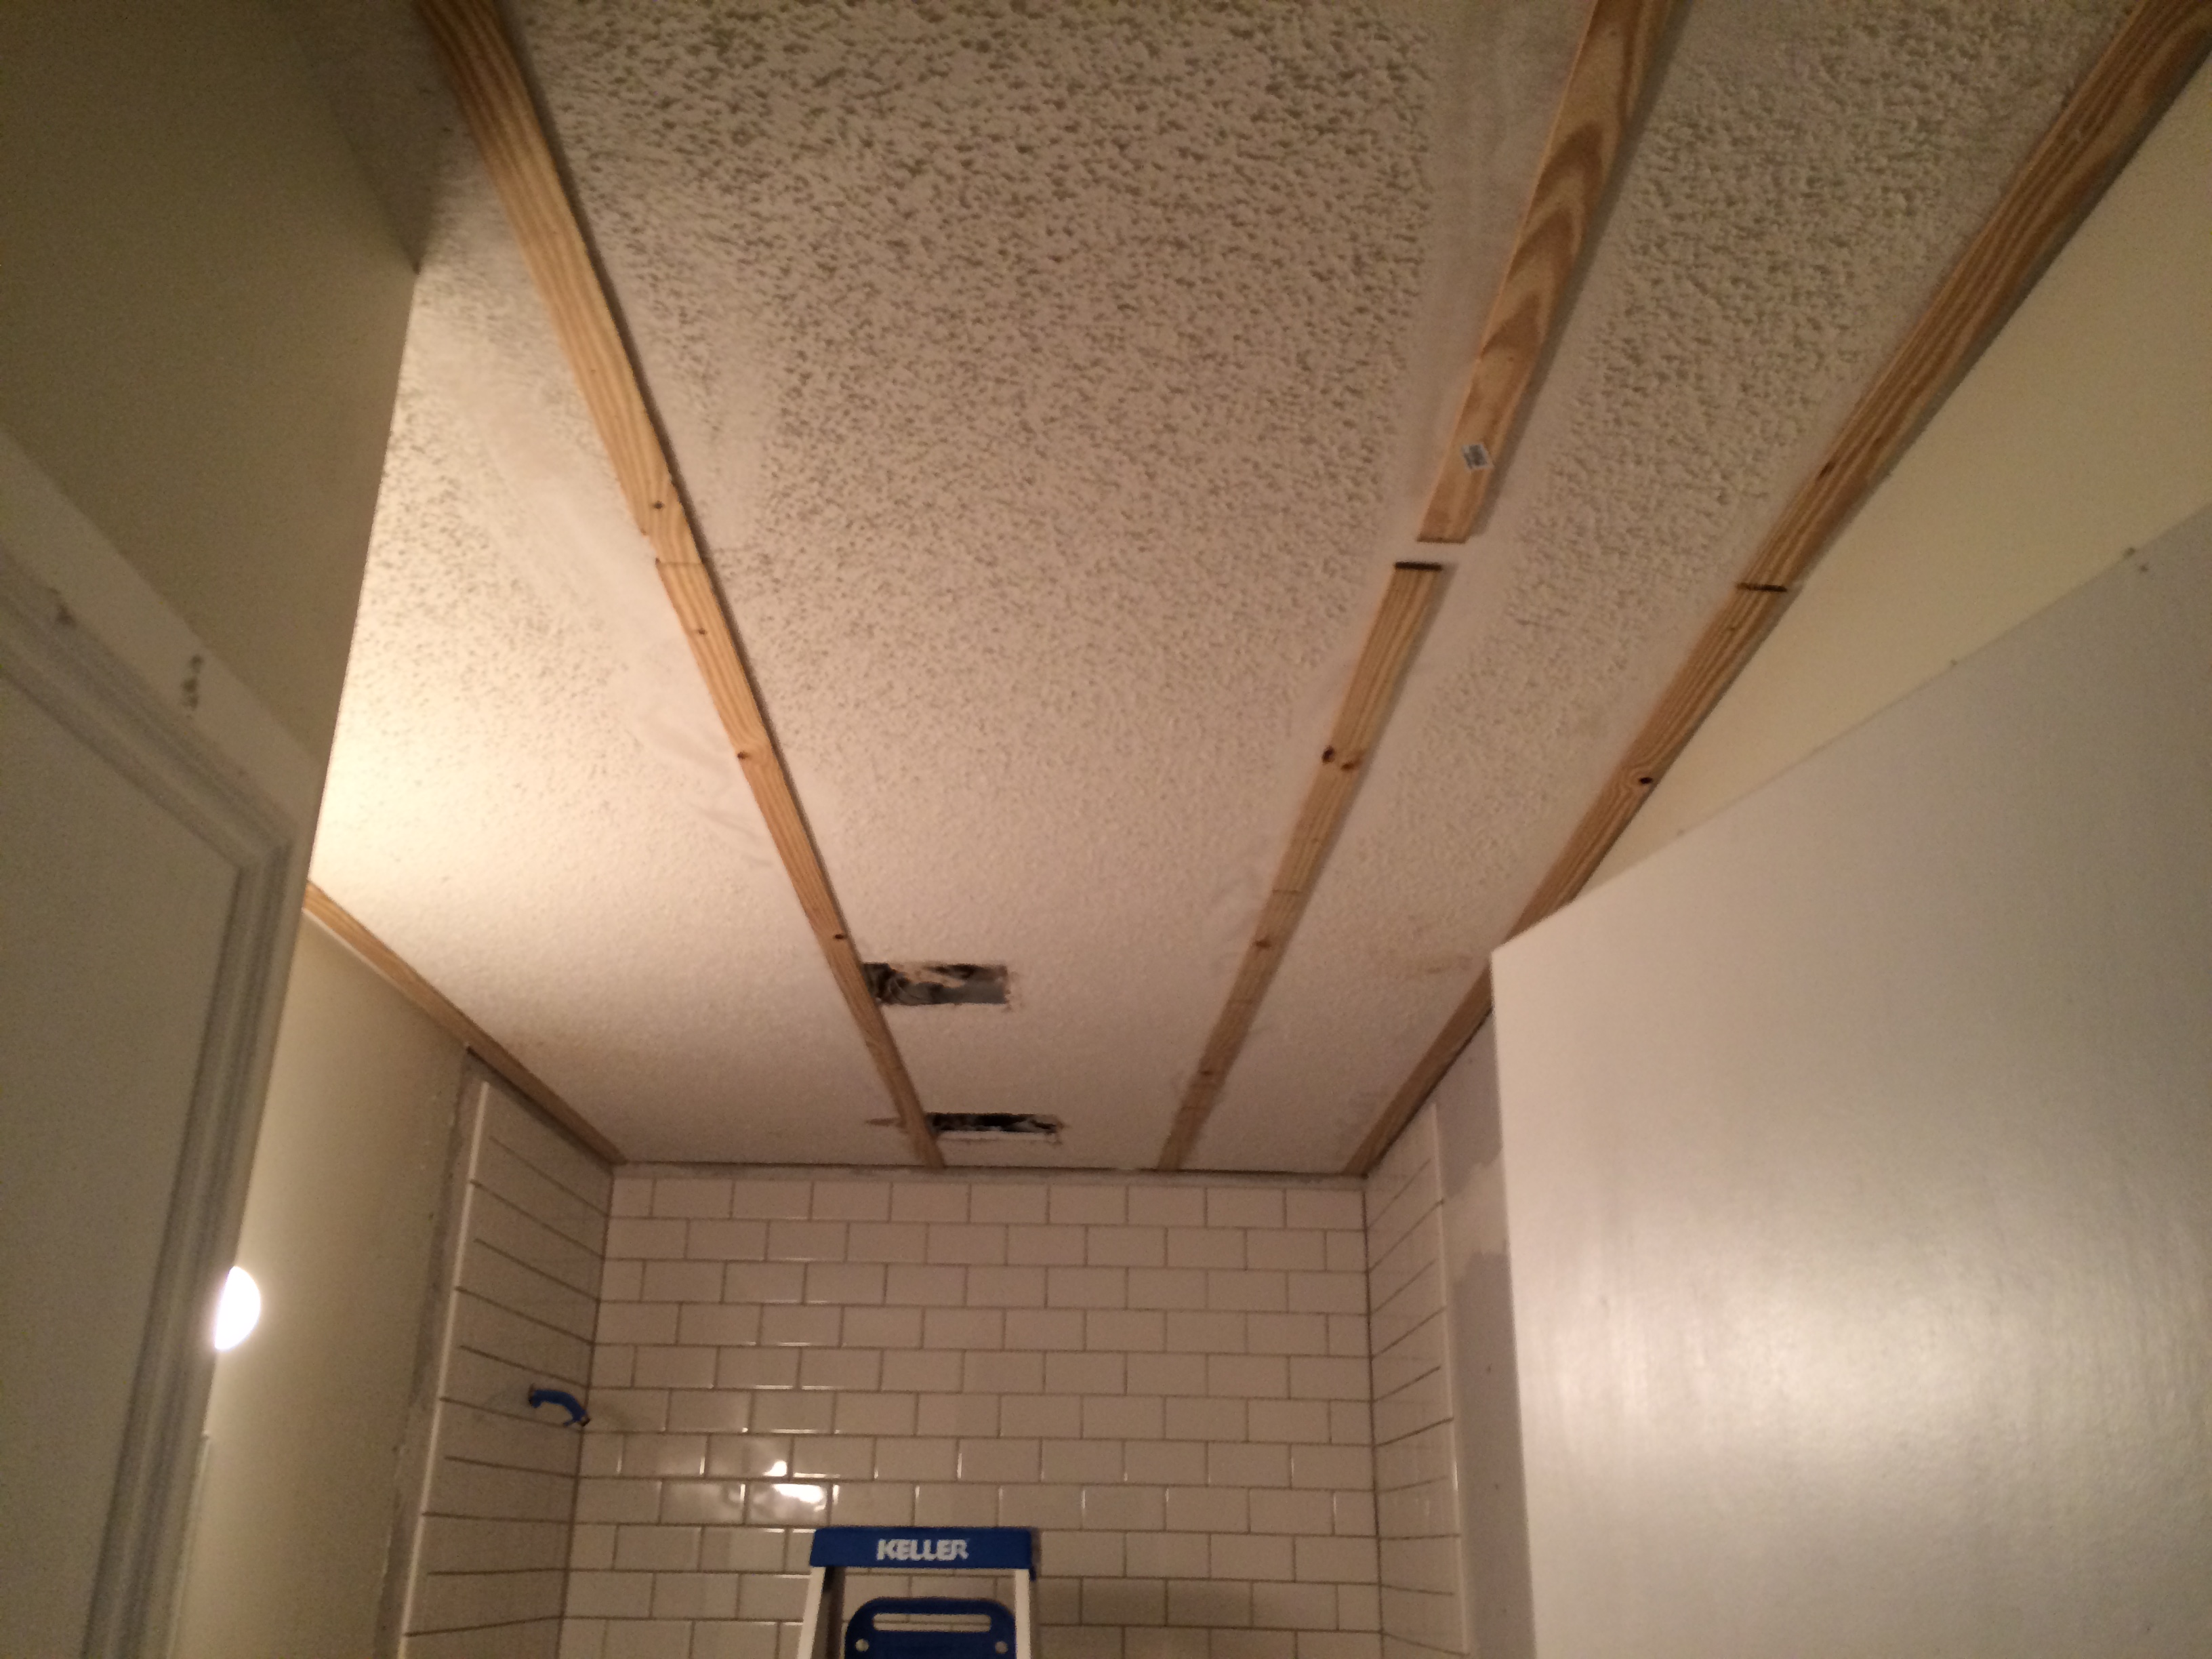
Notice, there is also a hole cut for a new ceiling fan in the shower.
The new ceiling fan was not the most fun home improvement project I have ever tackled. To install it, I had to cut a new hole in the ceiling, climb into the attic, rewire the new fan, move the exhaust pipe and seal it all up afterward. This was late June and even though Minnesota summers are mild, attics are HOT! I think I lost 2 pounds in sweat up there (note to self: never install an at-home sauna – just go sit in the attic). Along with physically moving the fan in the attic, I needed to install a GFCI circuit breaker to meet code, because the fan would be in the shower.
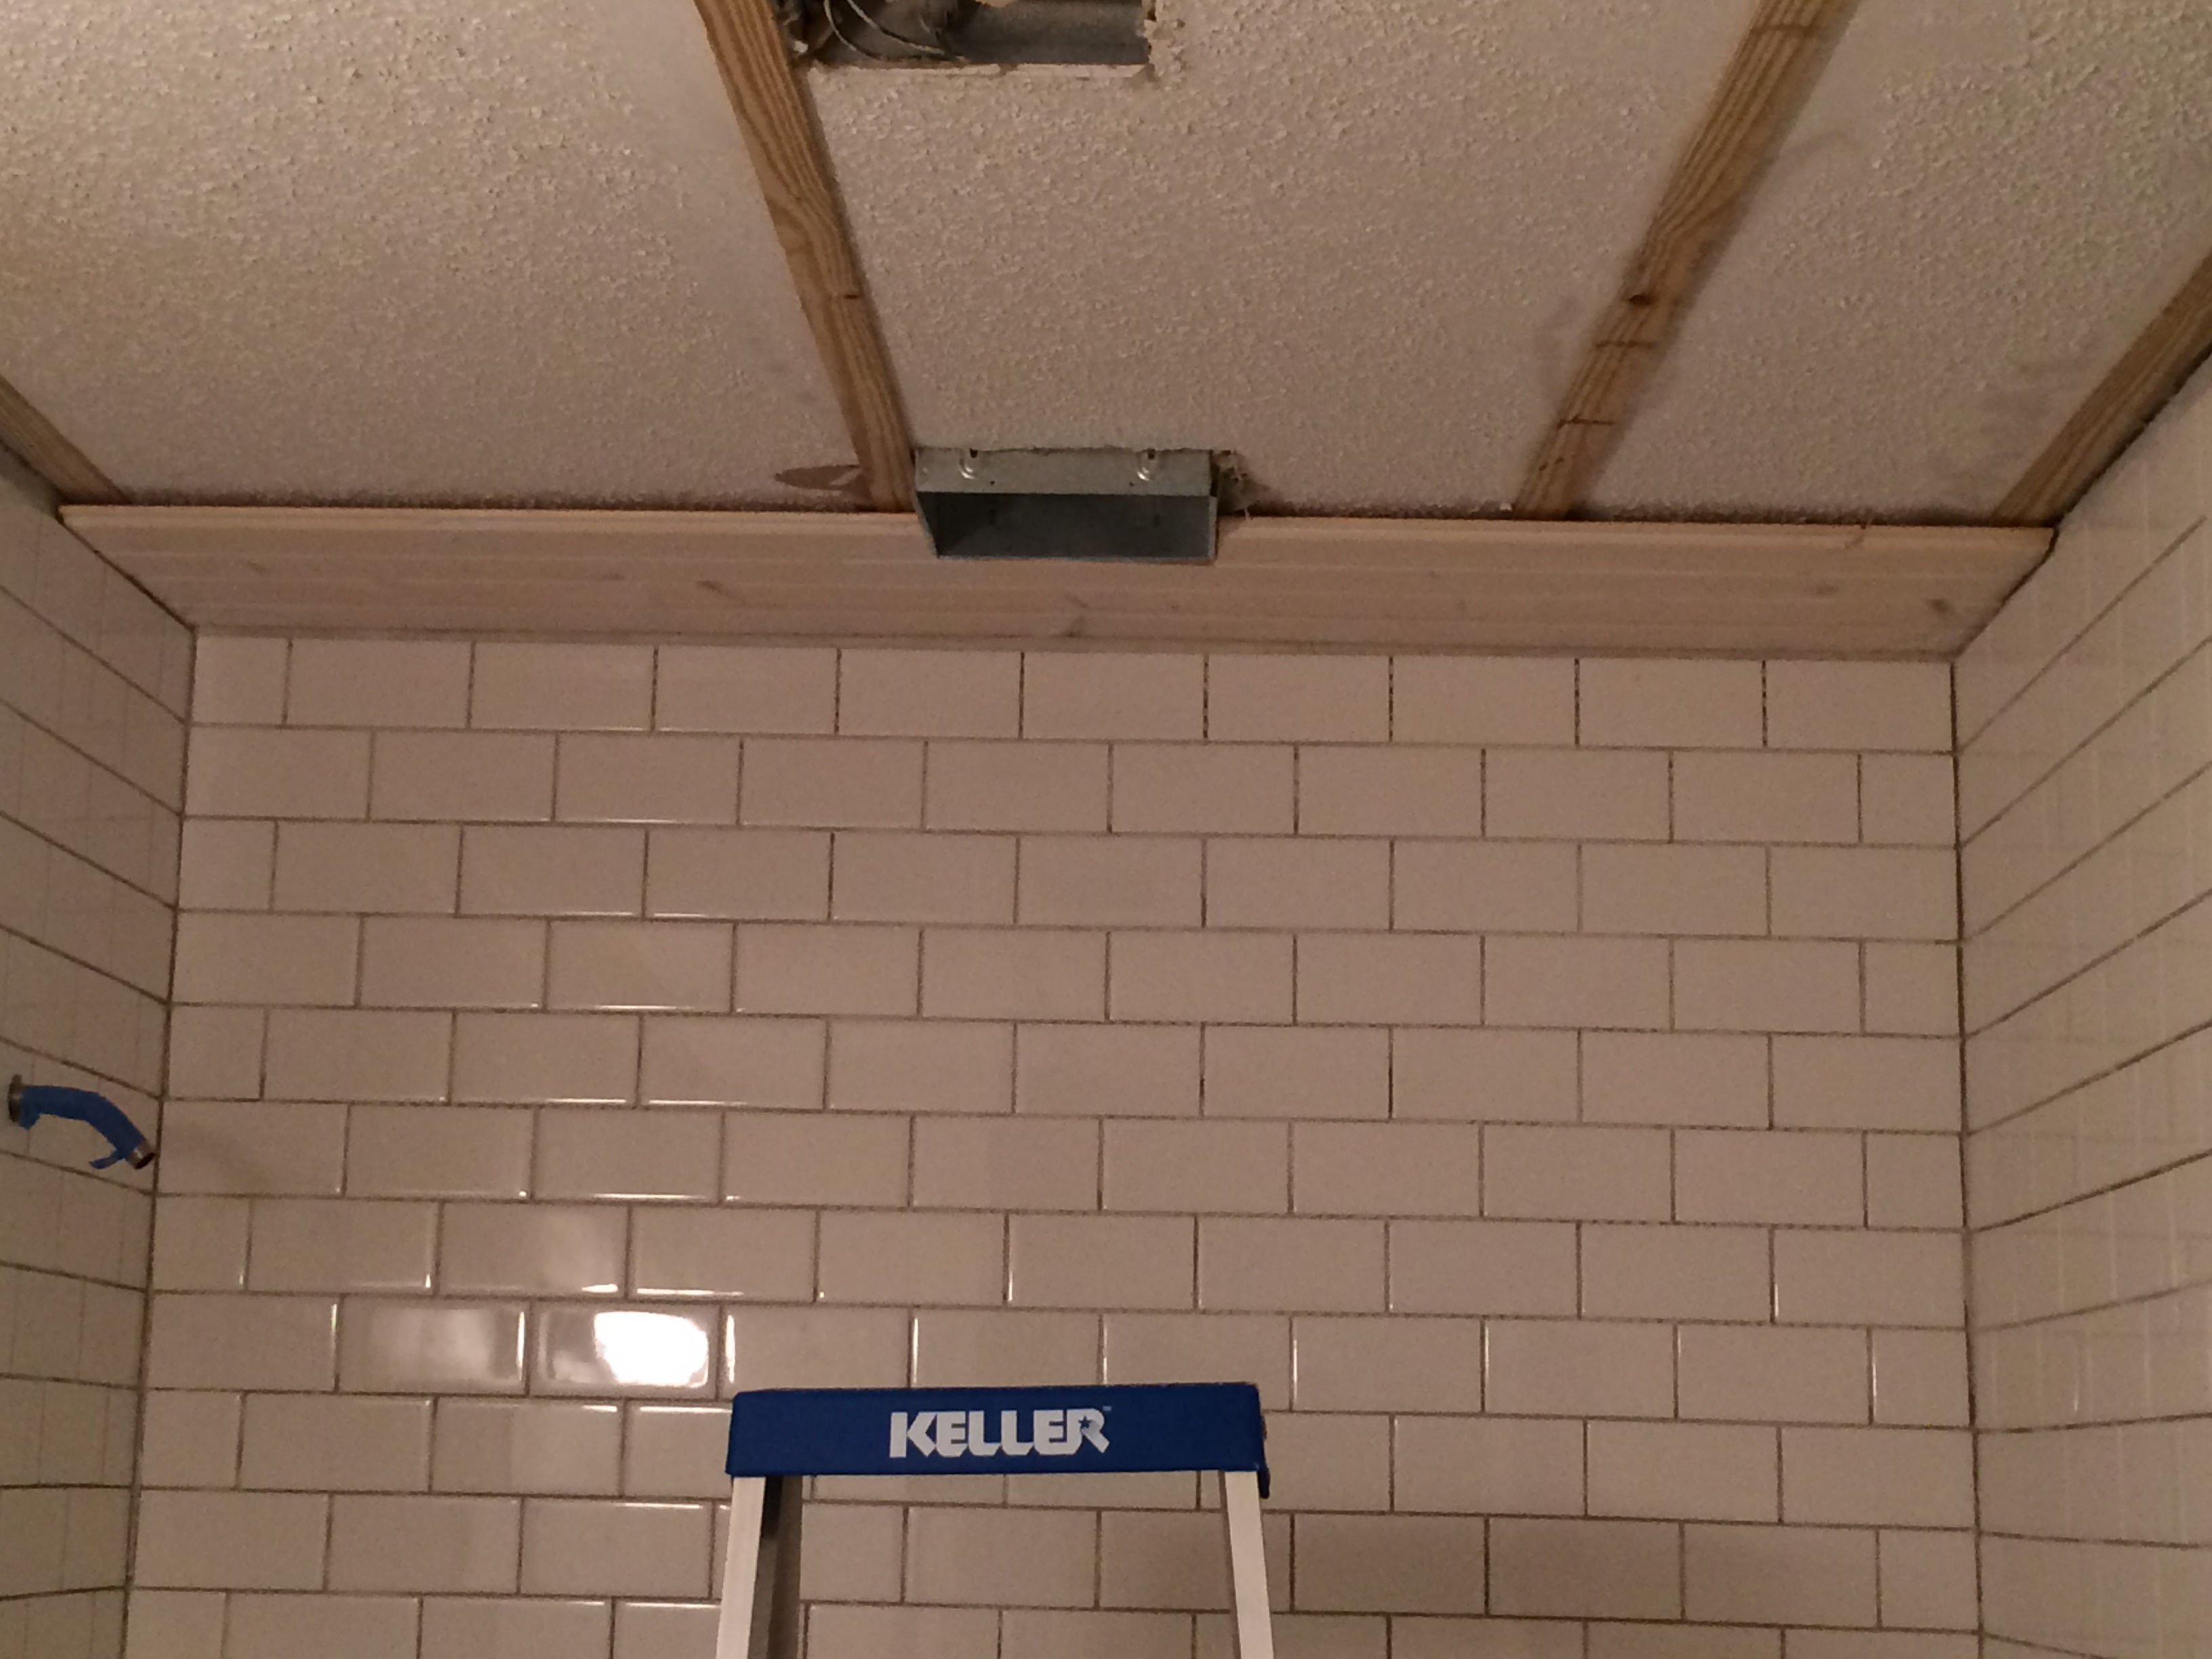
The housing for the new fan is in place, and ceiling boards are starting to surround it.
I used trim screws to attach the boards to the ceiling, carefully hiding each screw in the notches between boards so they would not be visible later. After all of the boards were in place, I painted them to cover up any imperfections.
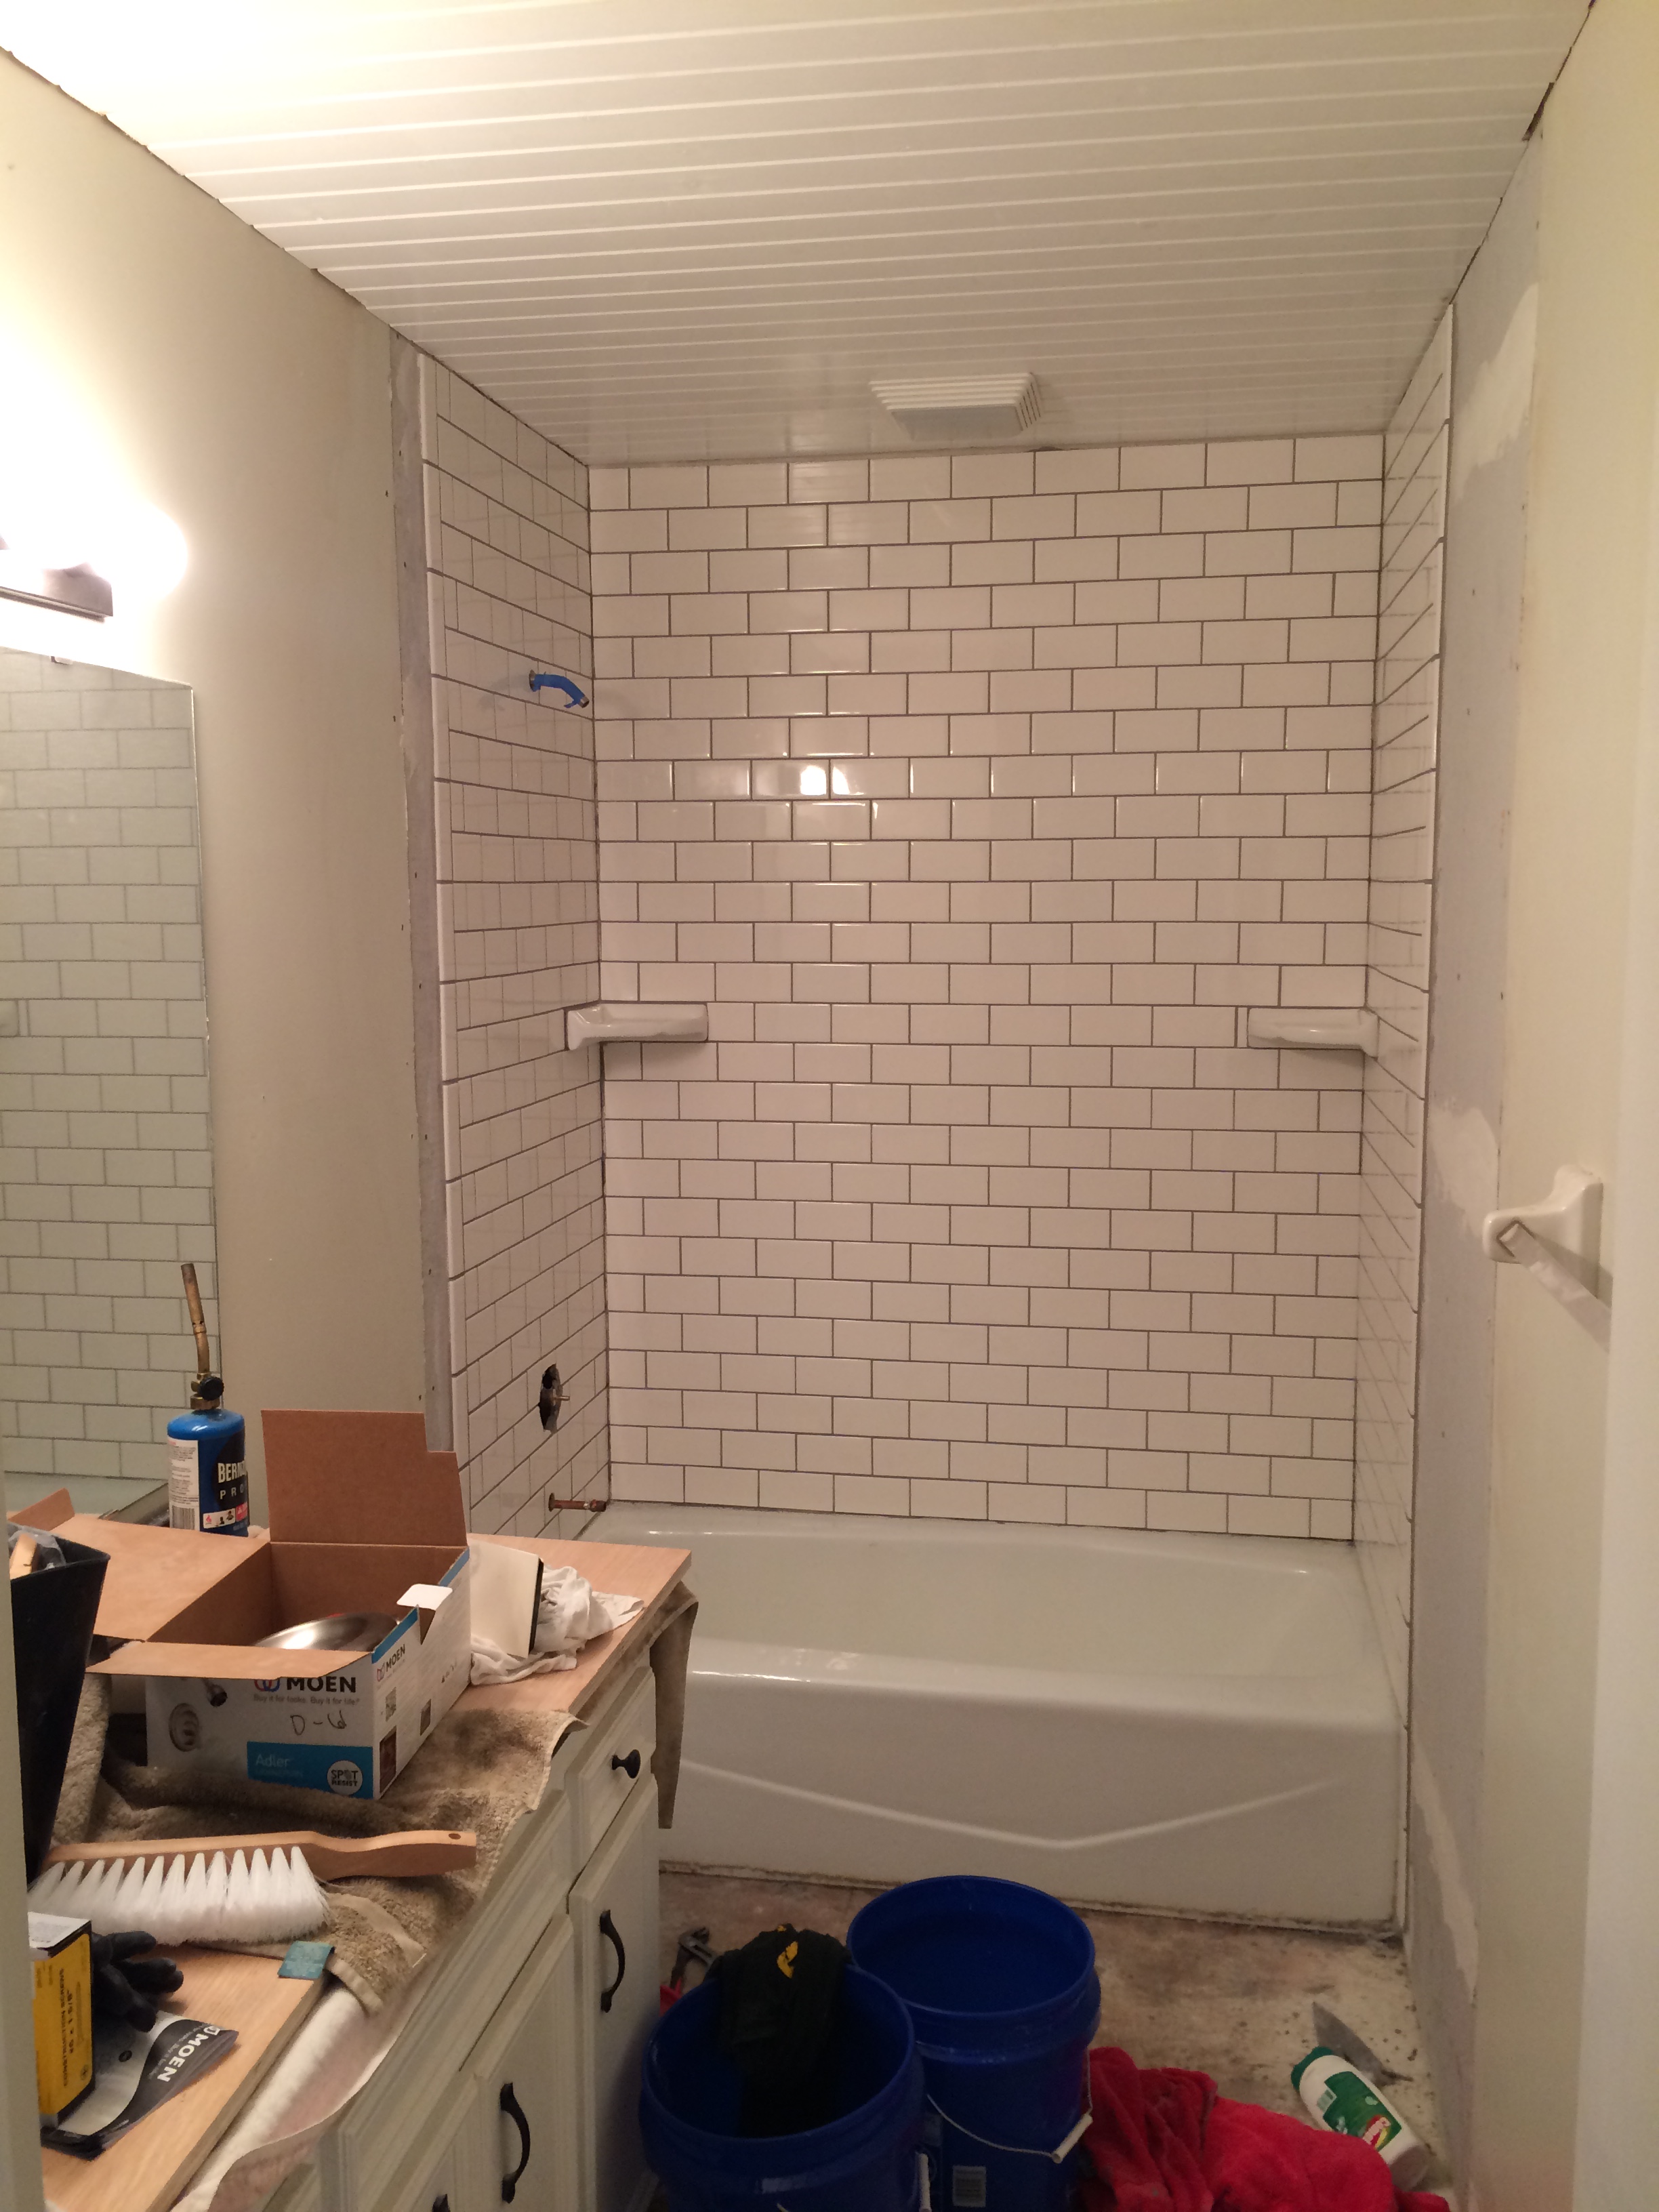
With the ceiling in place, and the shower tiles finished, it was time to start on the floor.
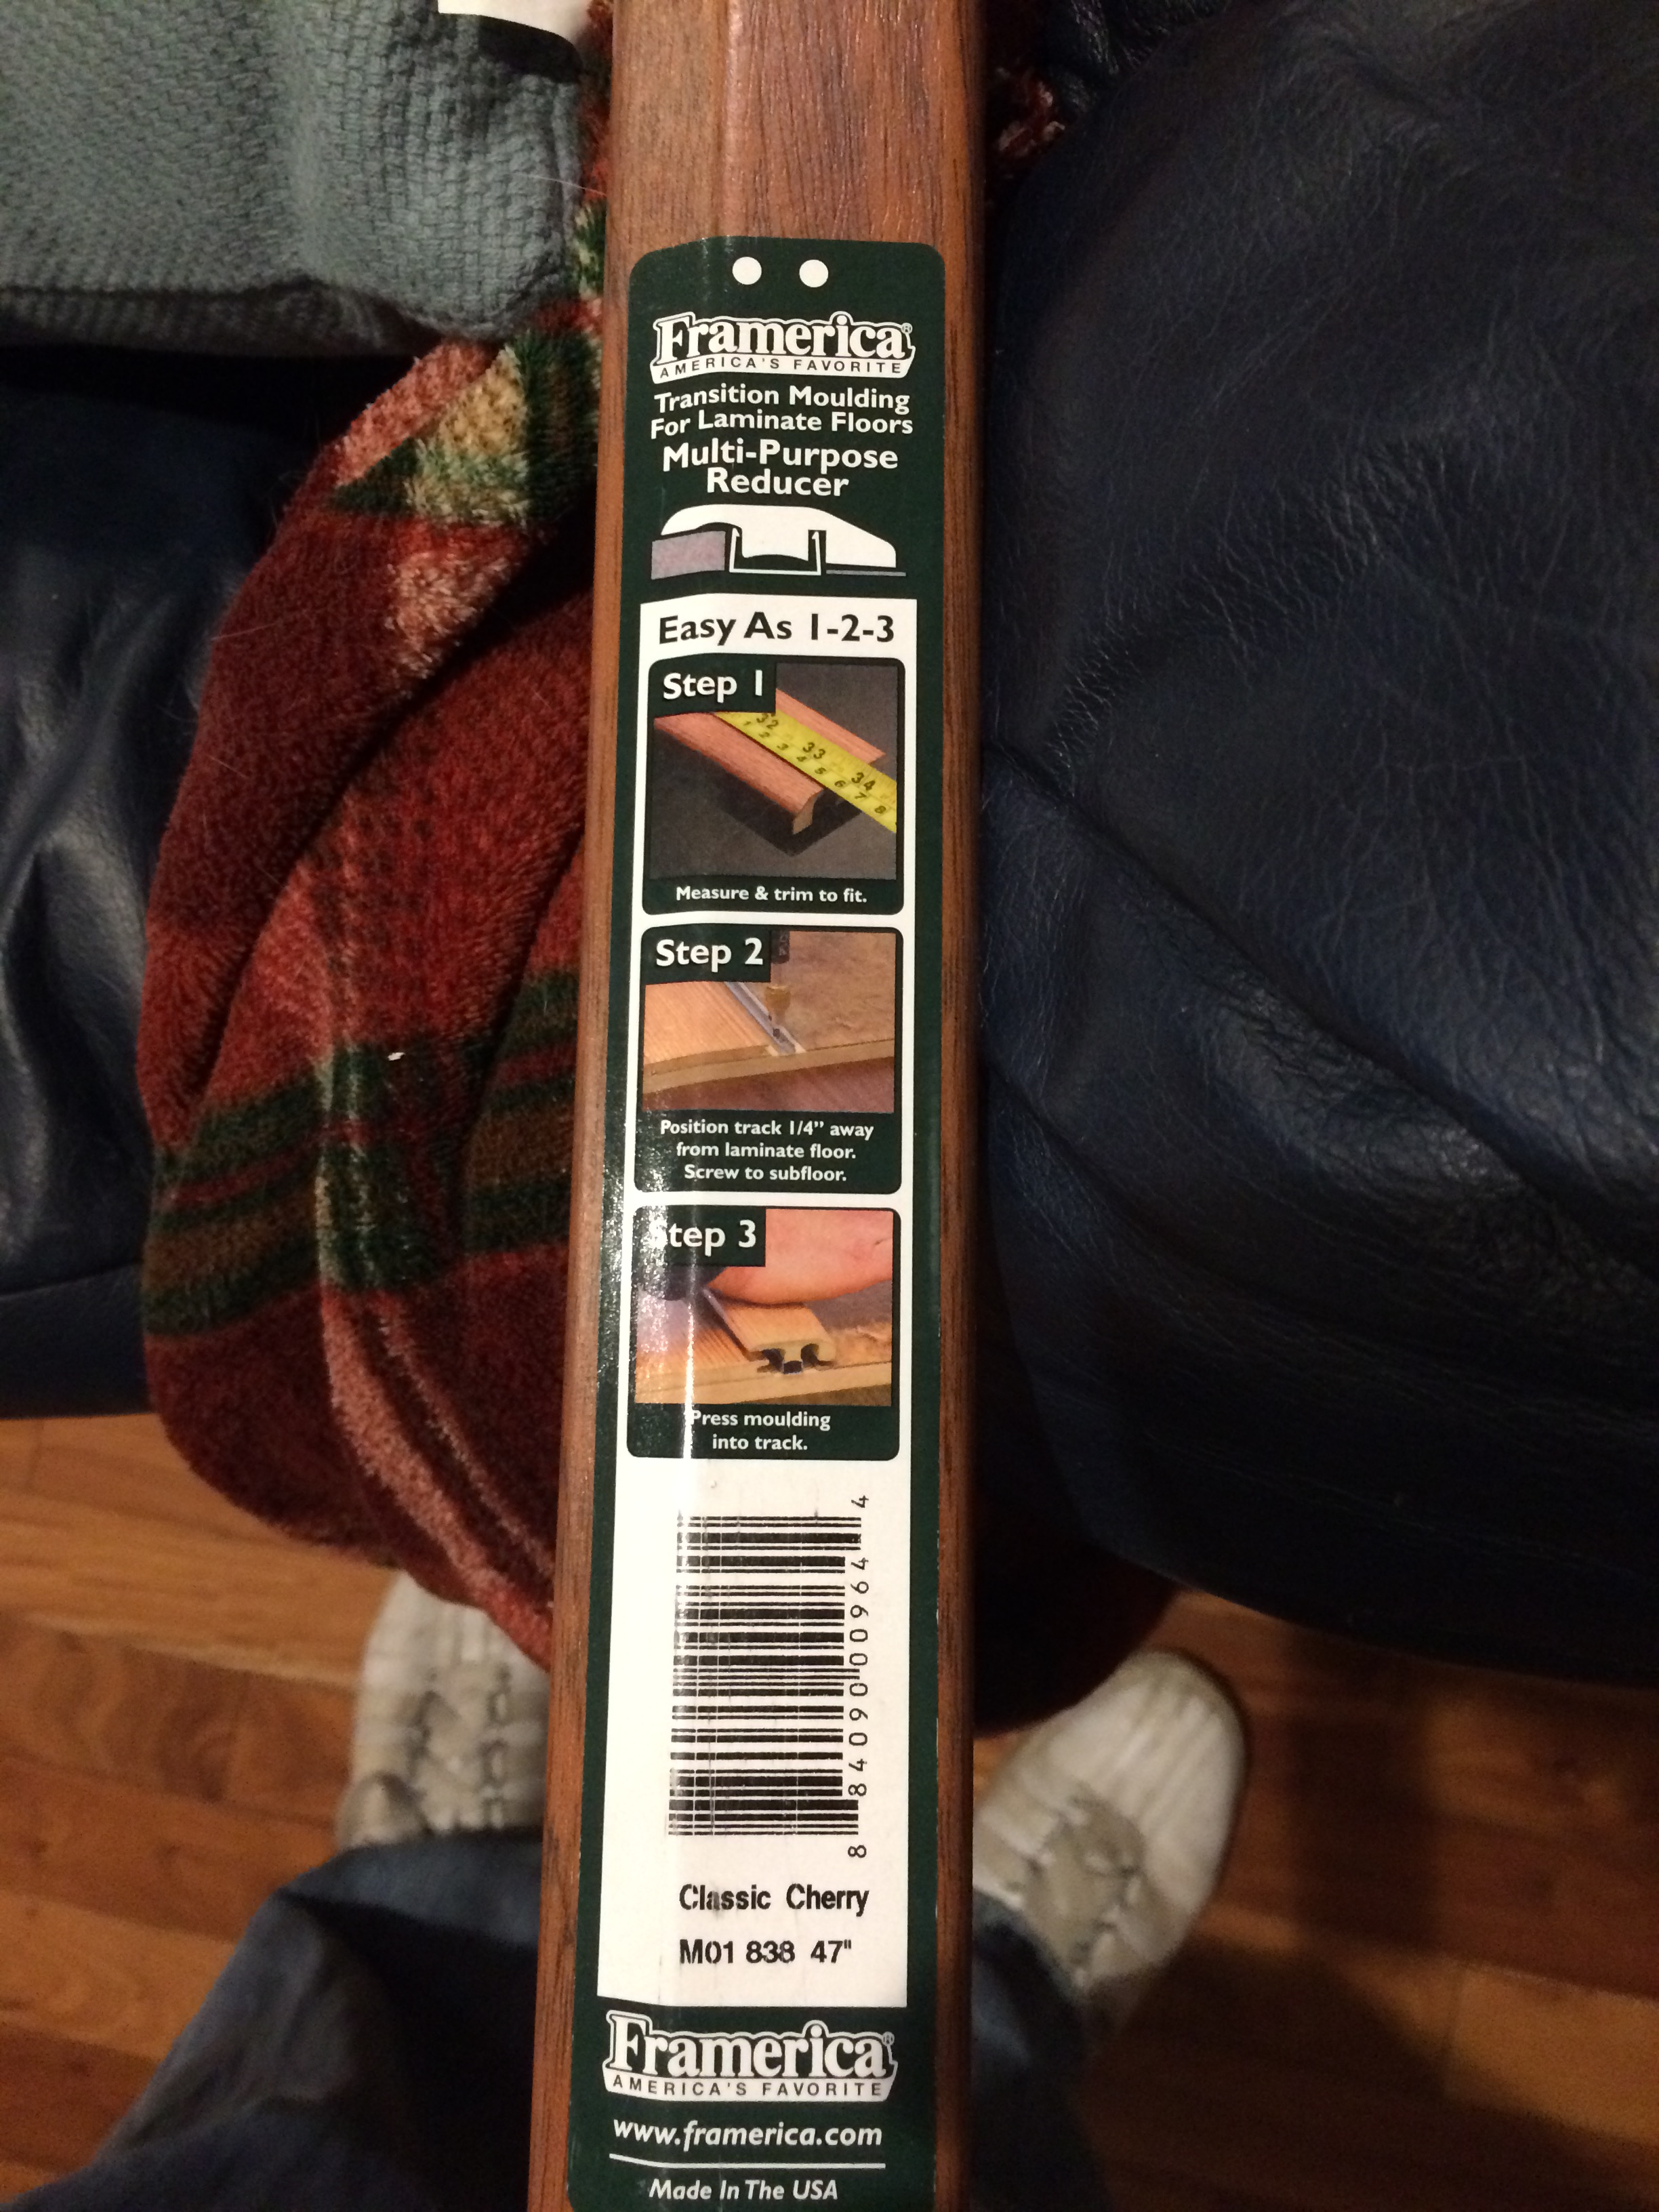
Now that the shower and ceiling were finished, I turned my attention to the floor. The first step was to lay down 1/4 inch backer board. This backer board is the same that I used on the walls, just thinner. It provides a solid base for the tiles. If you put tiles on wood floor boards, the tiles could crack. But concrete backer board does not bend the same way that wood does. After putting down the backer board, I needed to find a pattern that would work for the tiles themselves. The picture below shows what the floor tiles would have looked like if I had simply laid them out in a simple grid. Not very nice.
The picture below shows the floor tiles after I have made cuts and placed them in a staggered pattern. The hardest tile to cut was probably the one with the heat vent in the middle of it. I bought a diamond blade for my angle grinder to help ease this process along.
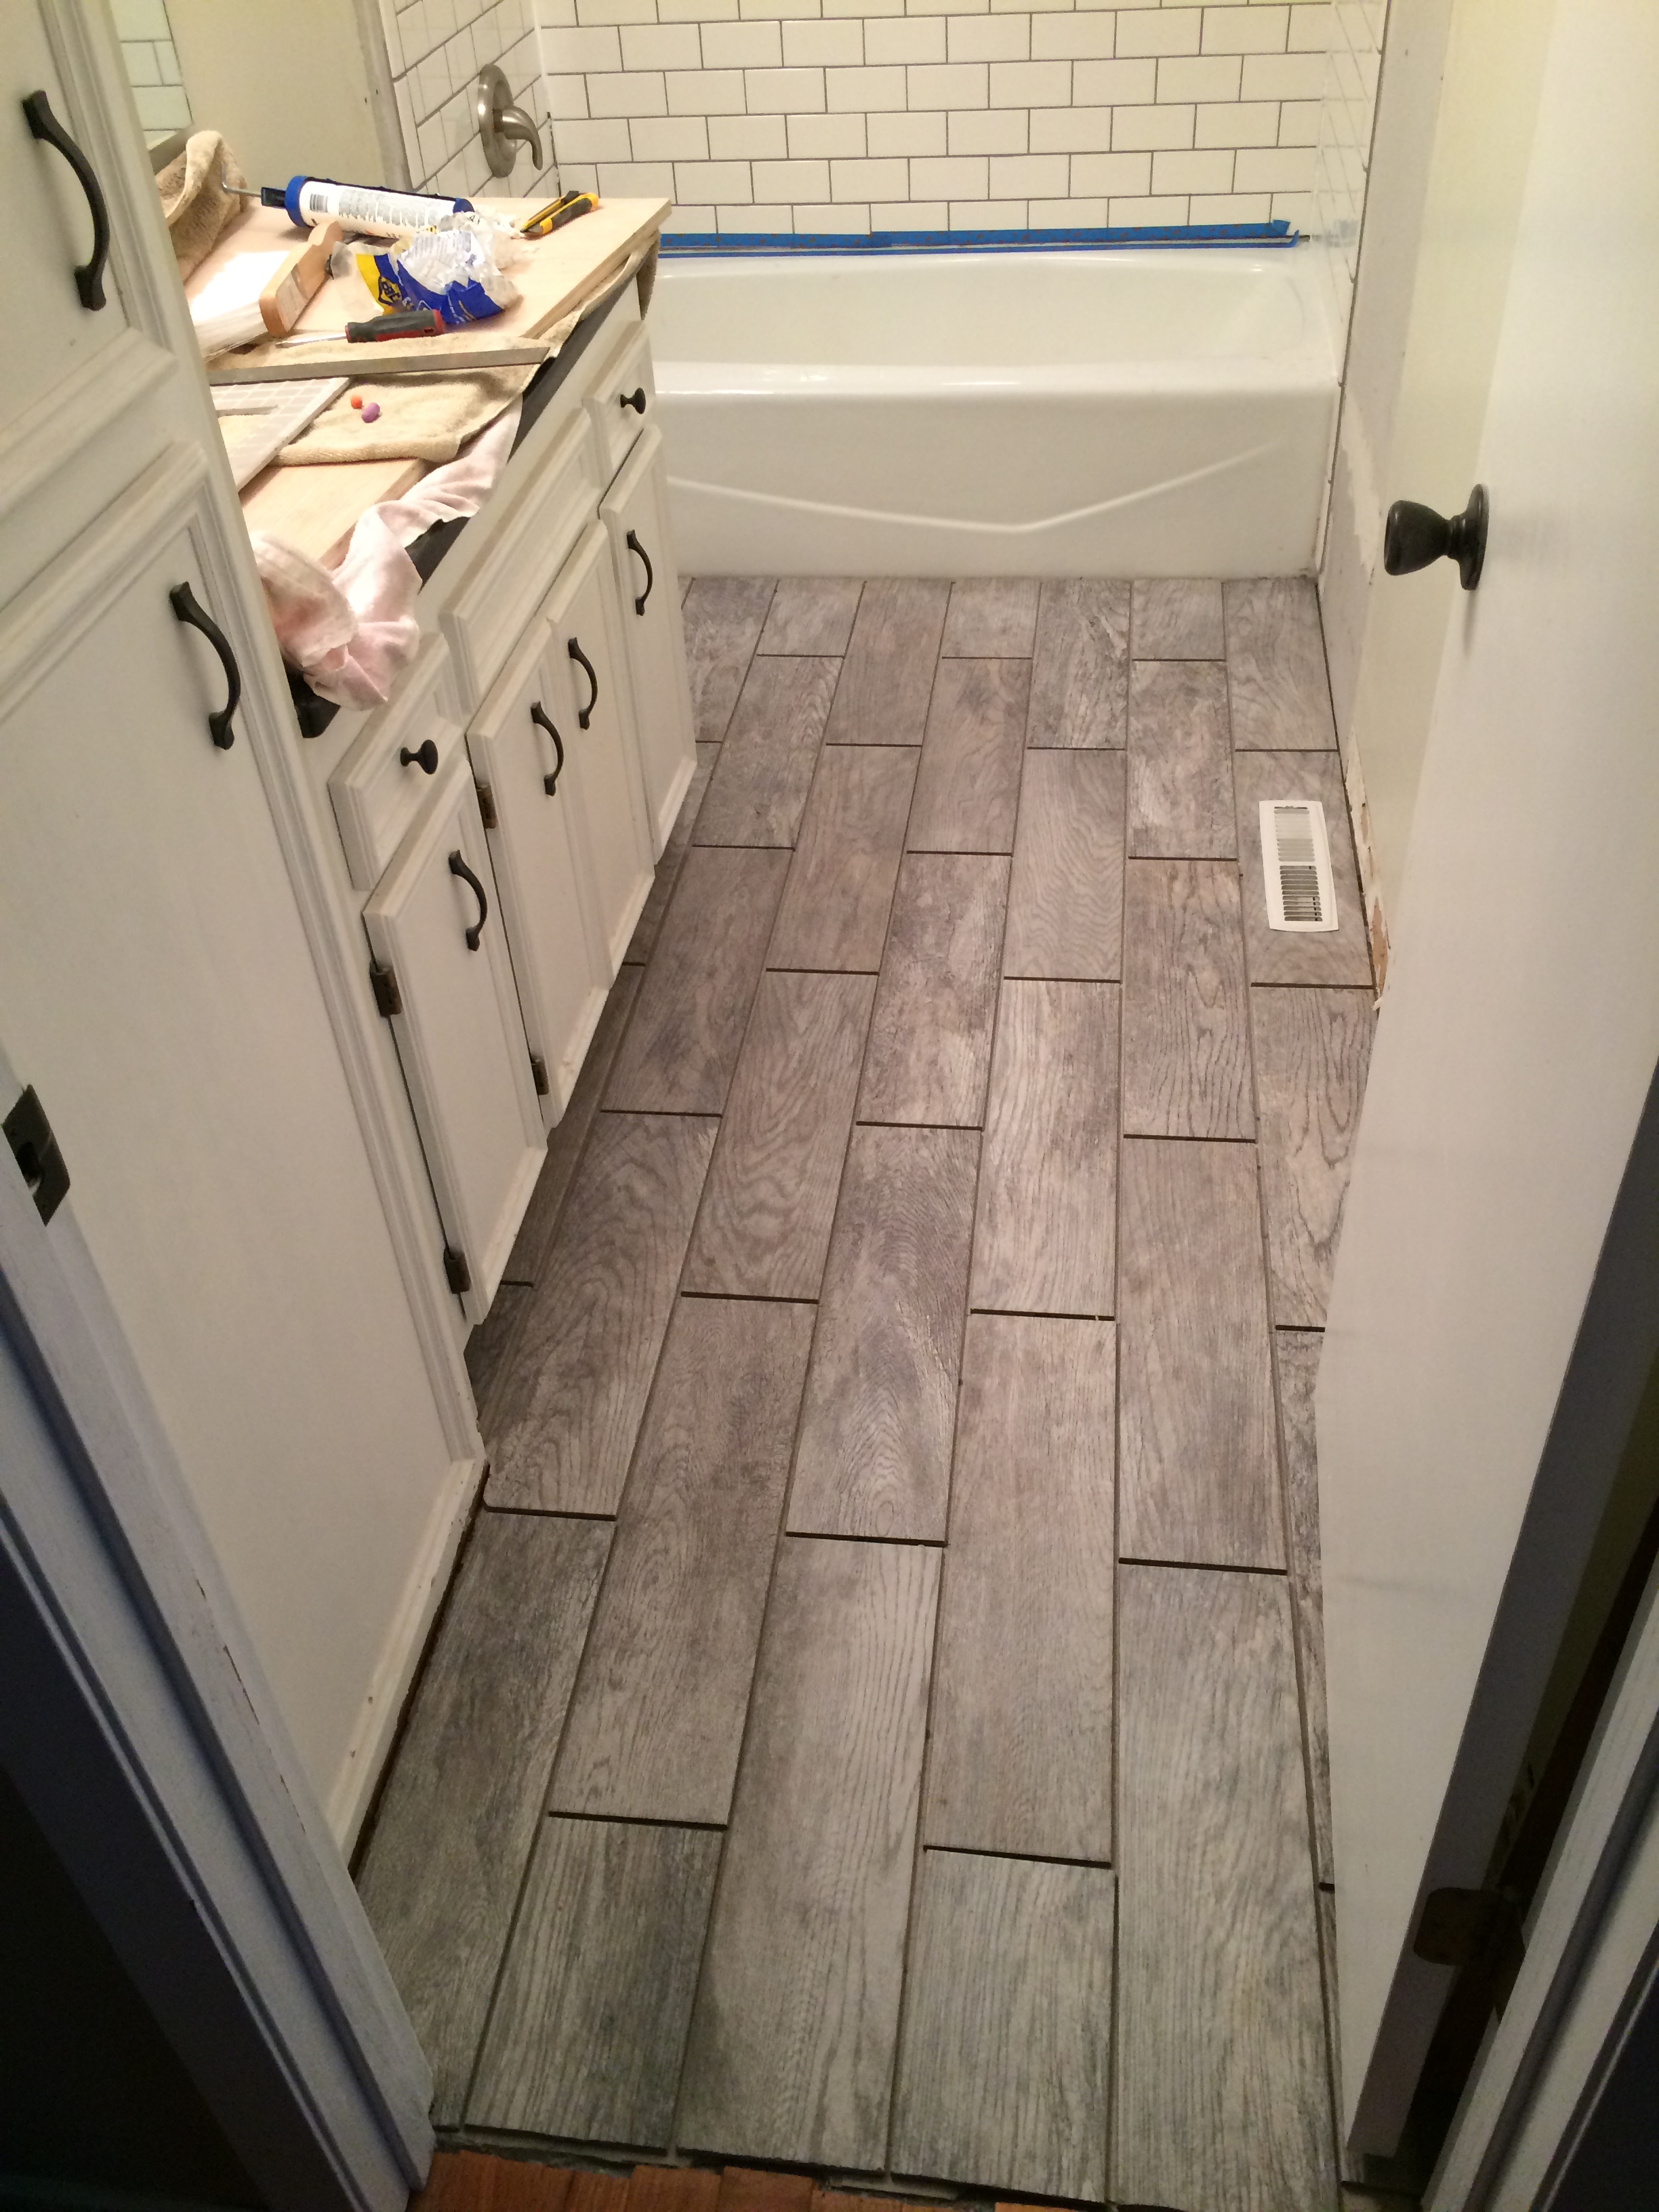
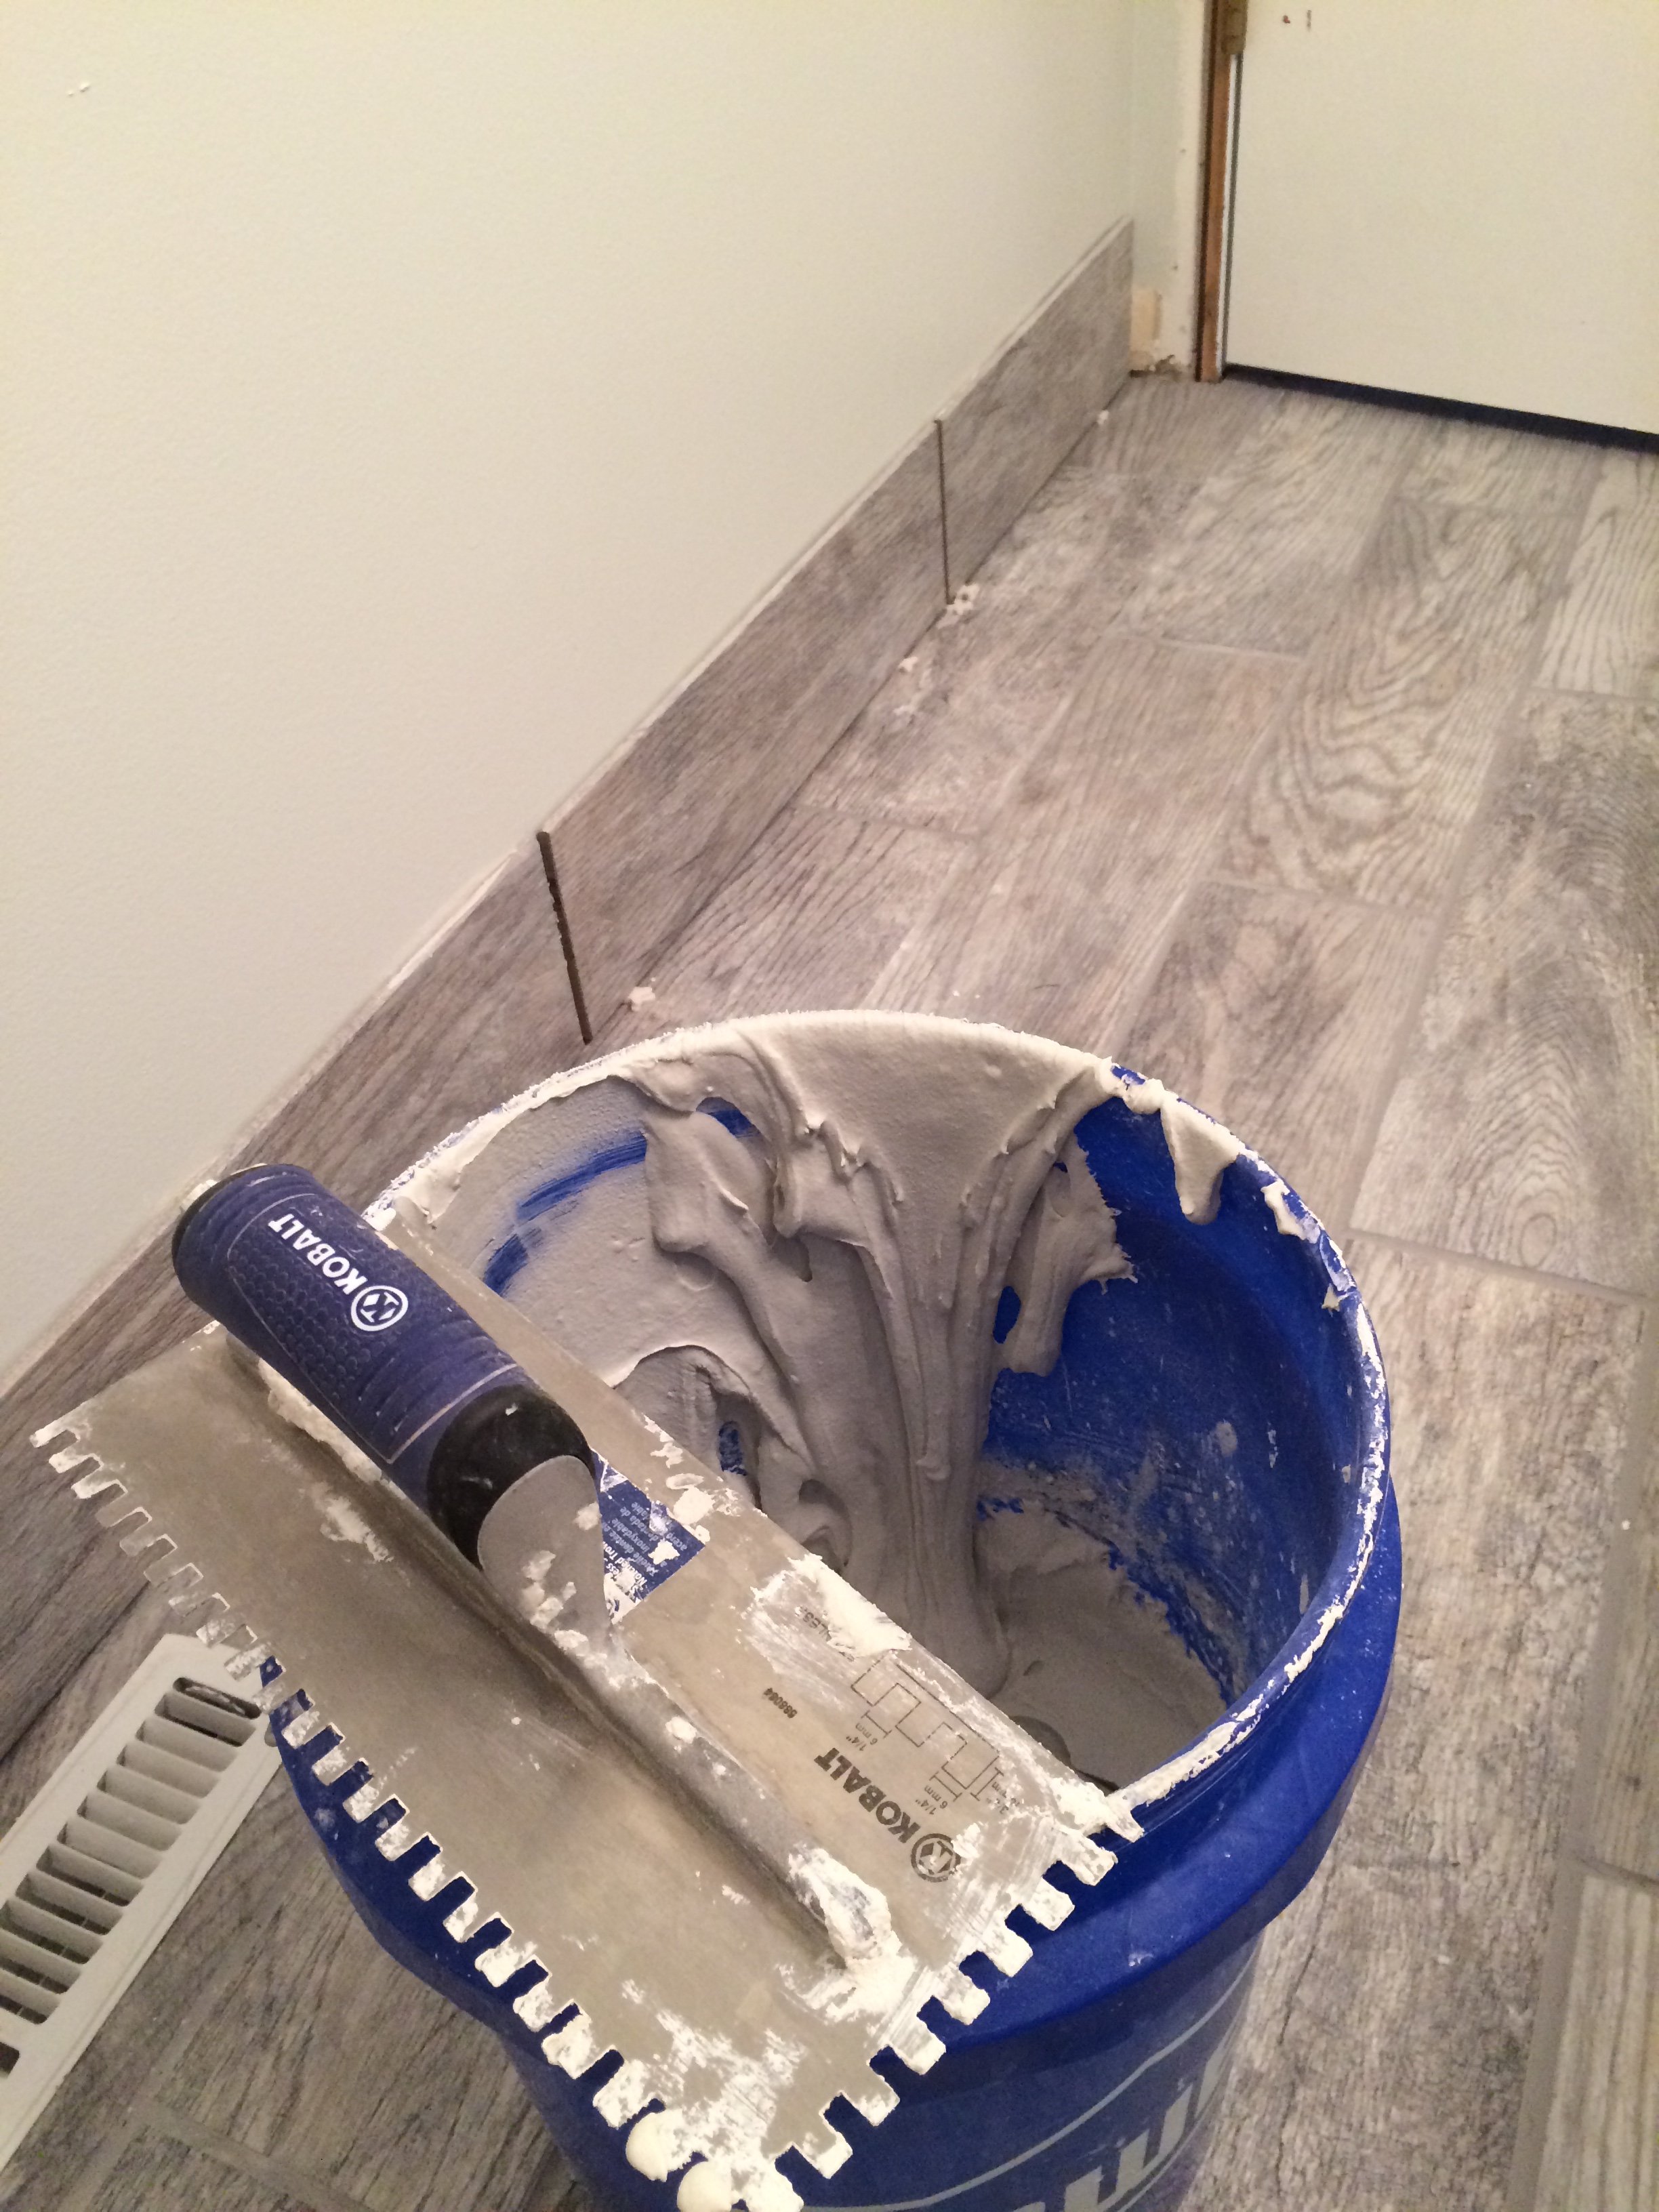
With the floor tiles being much larger than the shower tiles (18″ by 6″ as opposed to 3″ by 6″) I used quarter inch spacers between each of the floor tiles, different from the eighth inch spacers used in the shower. I used the spacers when loosely placing the tiles, but they are not shown in the photo above. After using mud to secure the tiles in place (the same mud used on the shower tiles), it was time to start grouting. The grout fills the gaps between each tile. I used the same pre-mixed grout from the shower. Delorean gray. The pre-mixed costs more than the powder, but you never have to worry about the color being off, or worry about sealing it.
Shower and floor now grouted, everything is really coming together.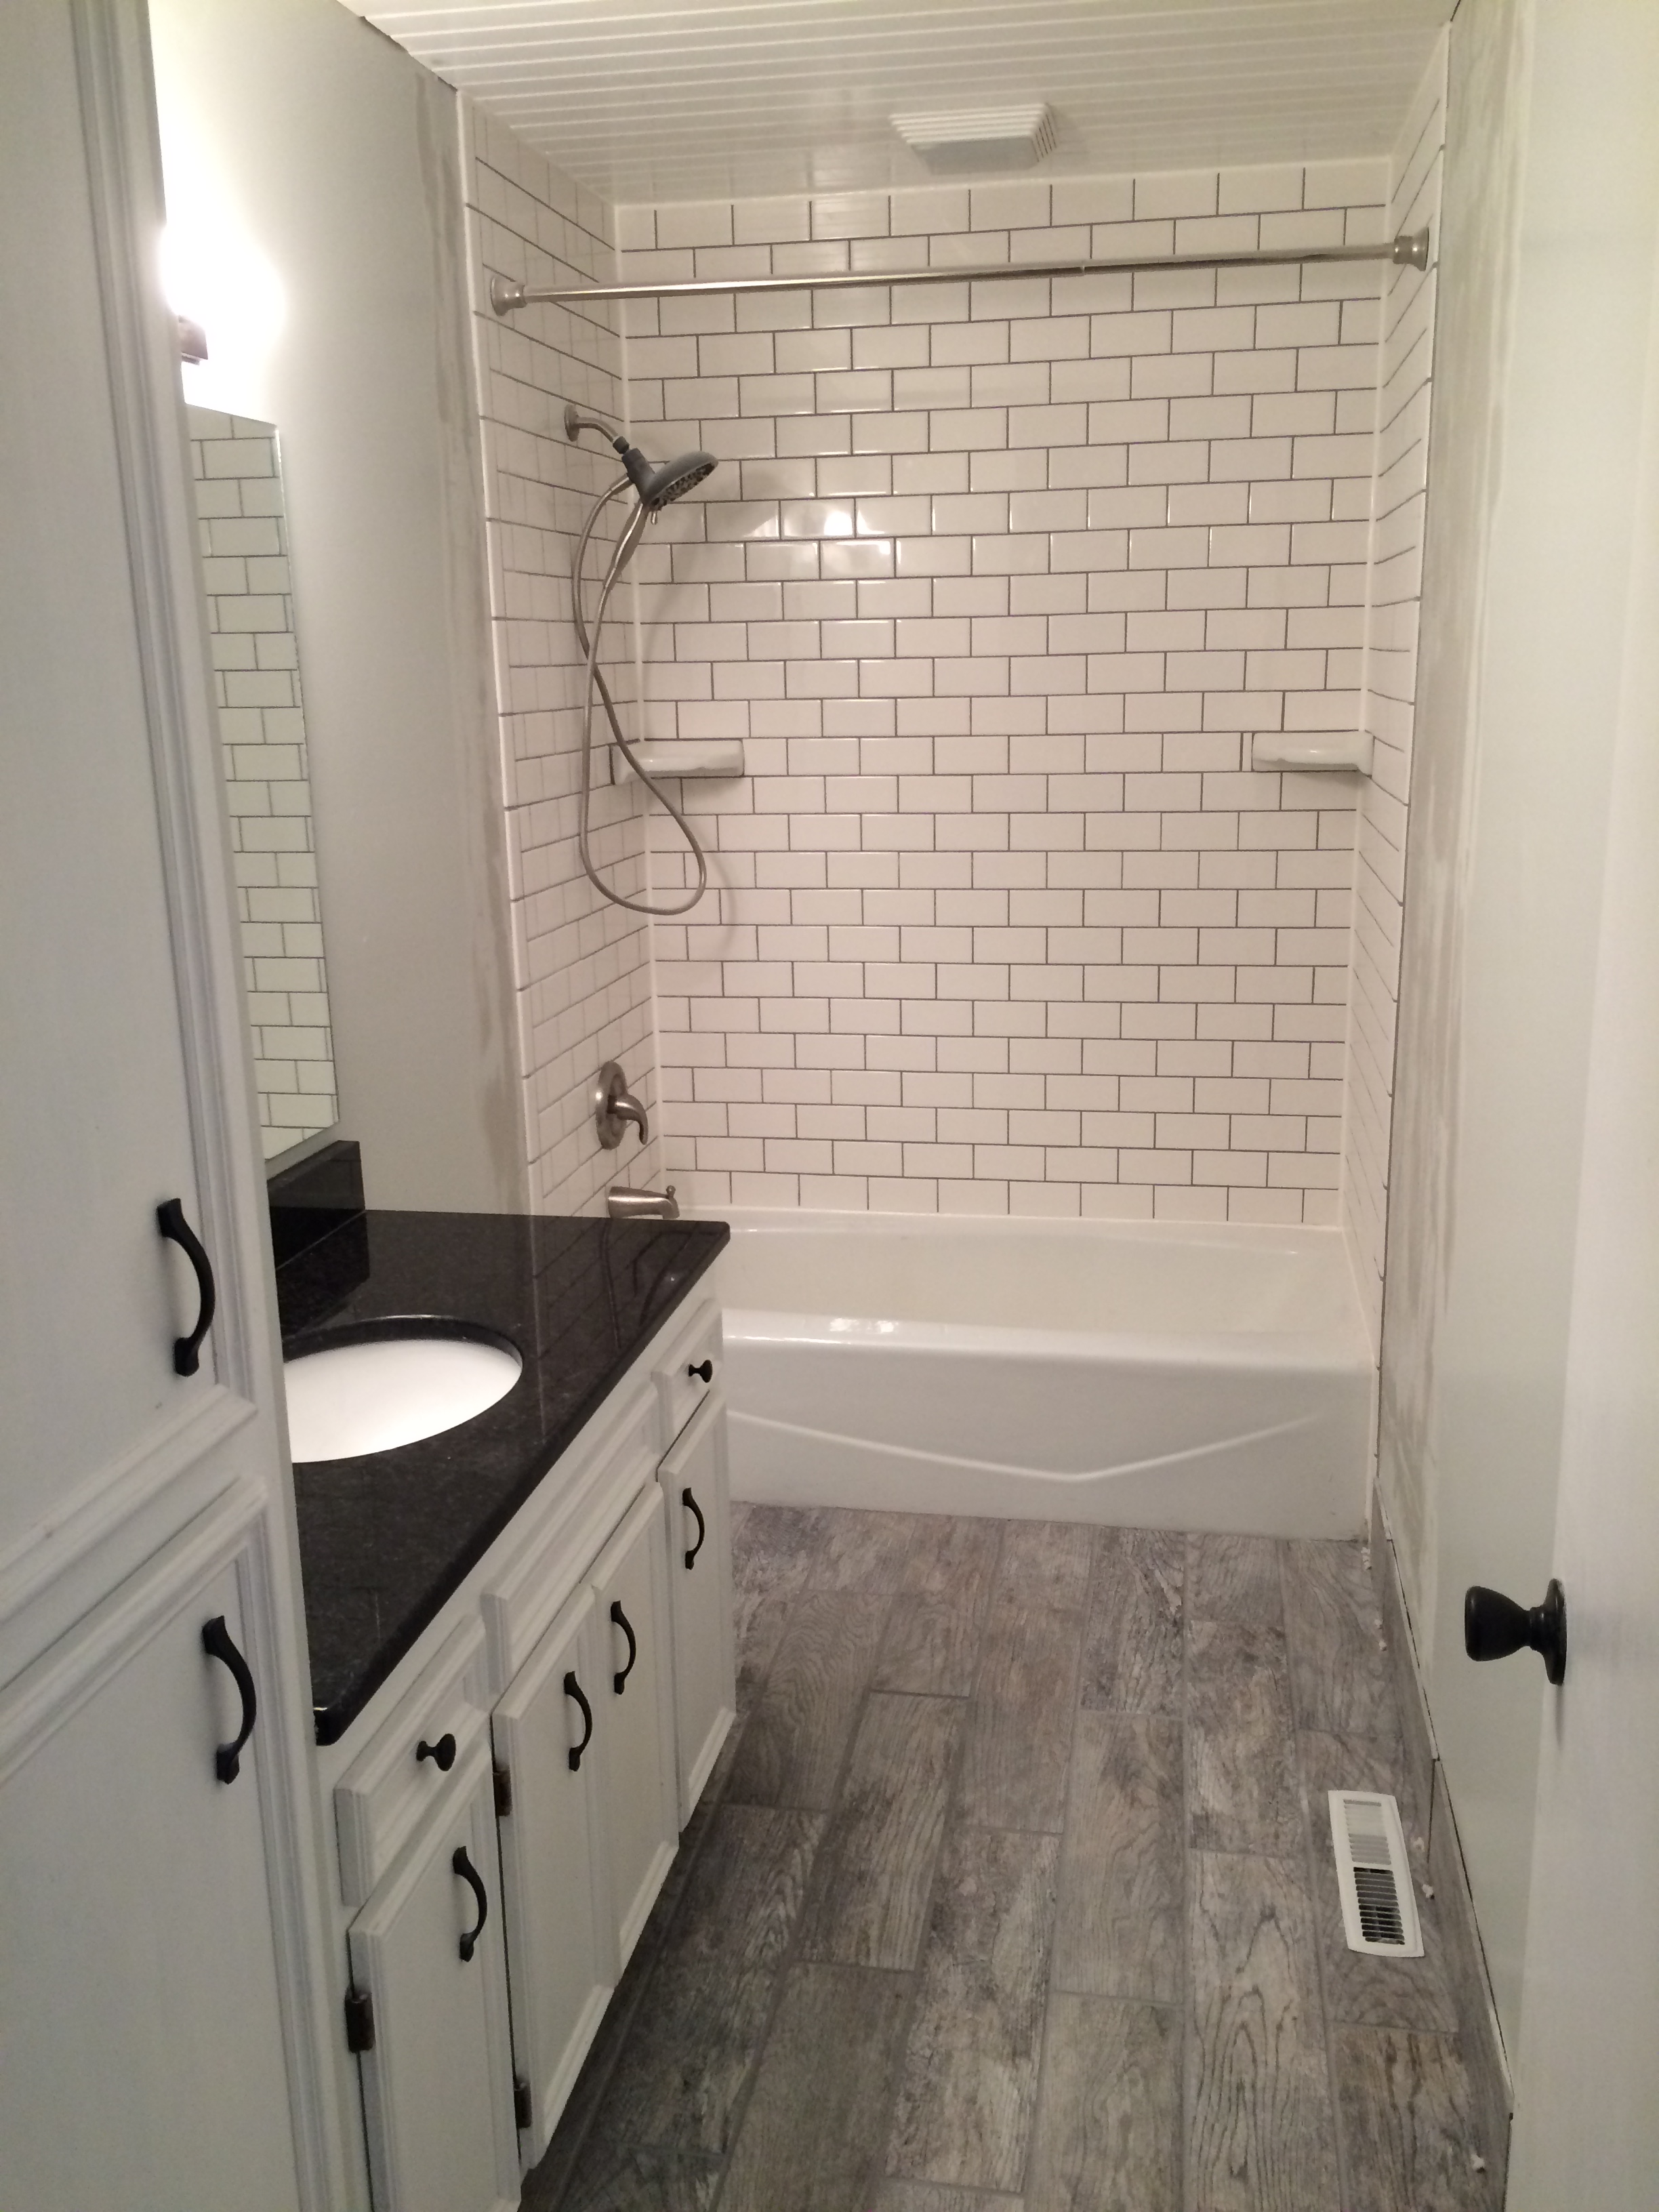
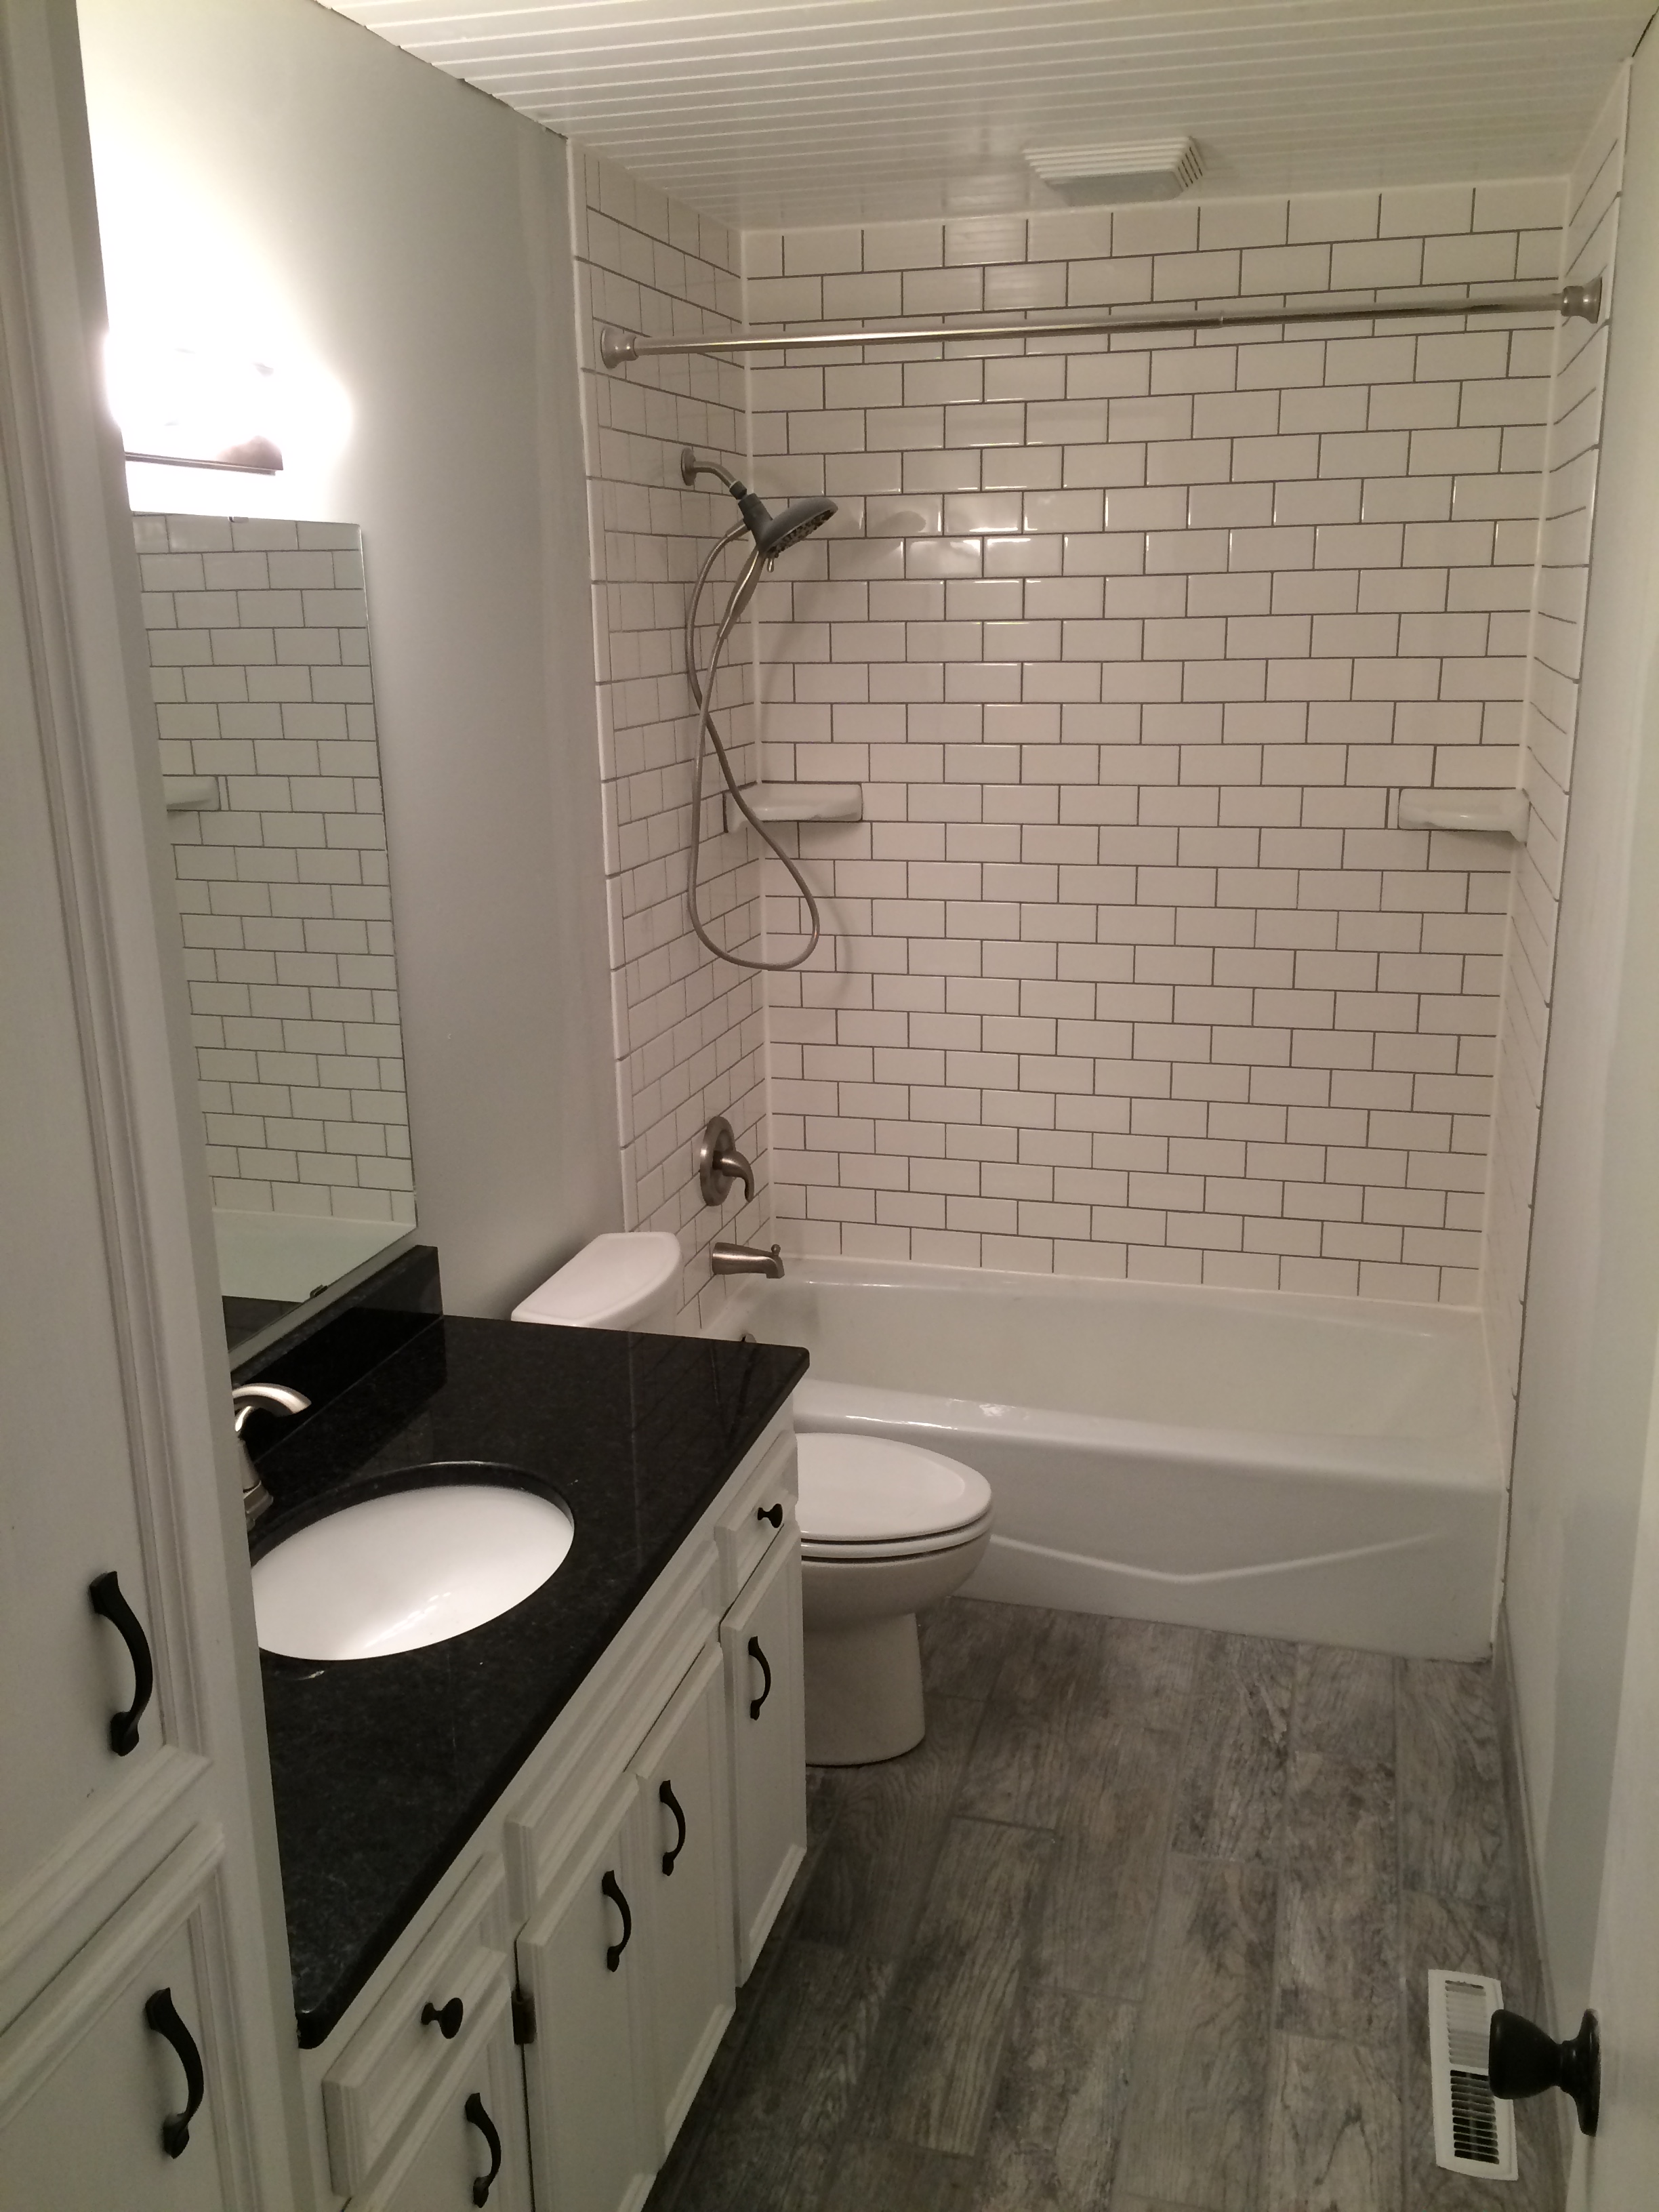
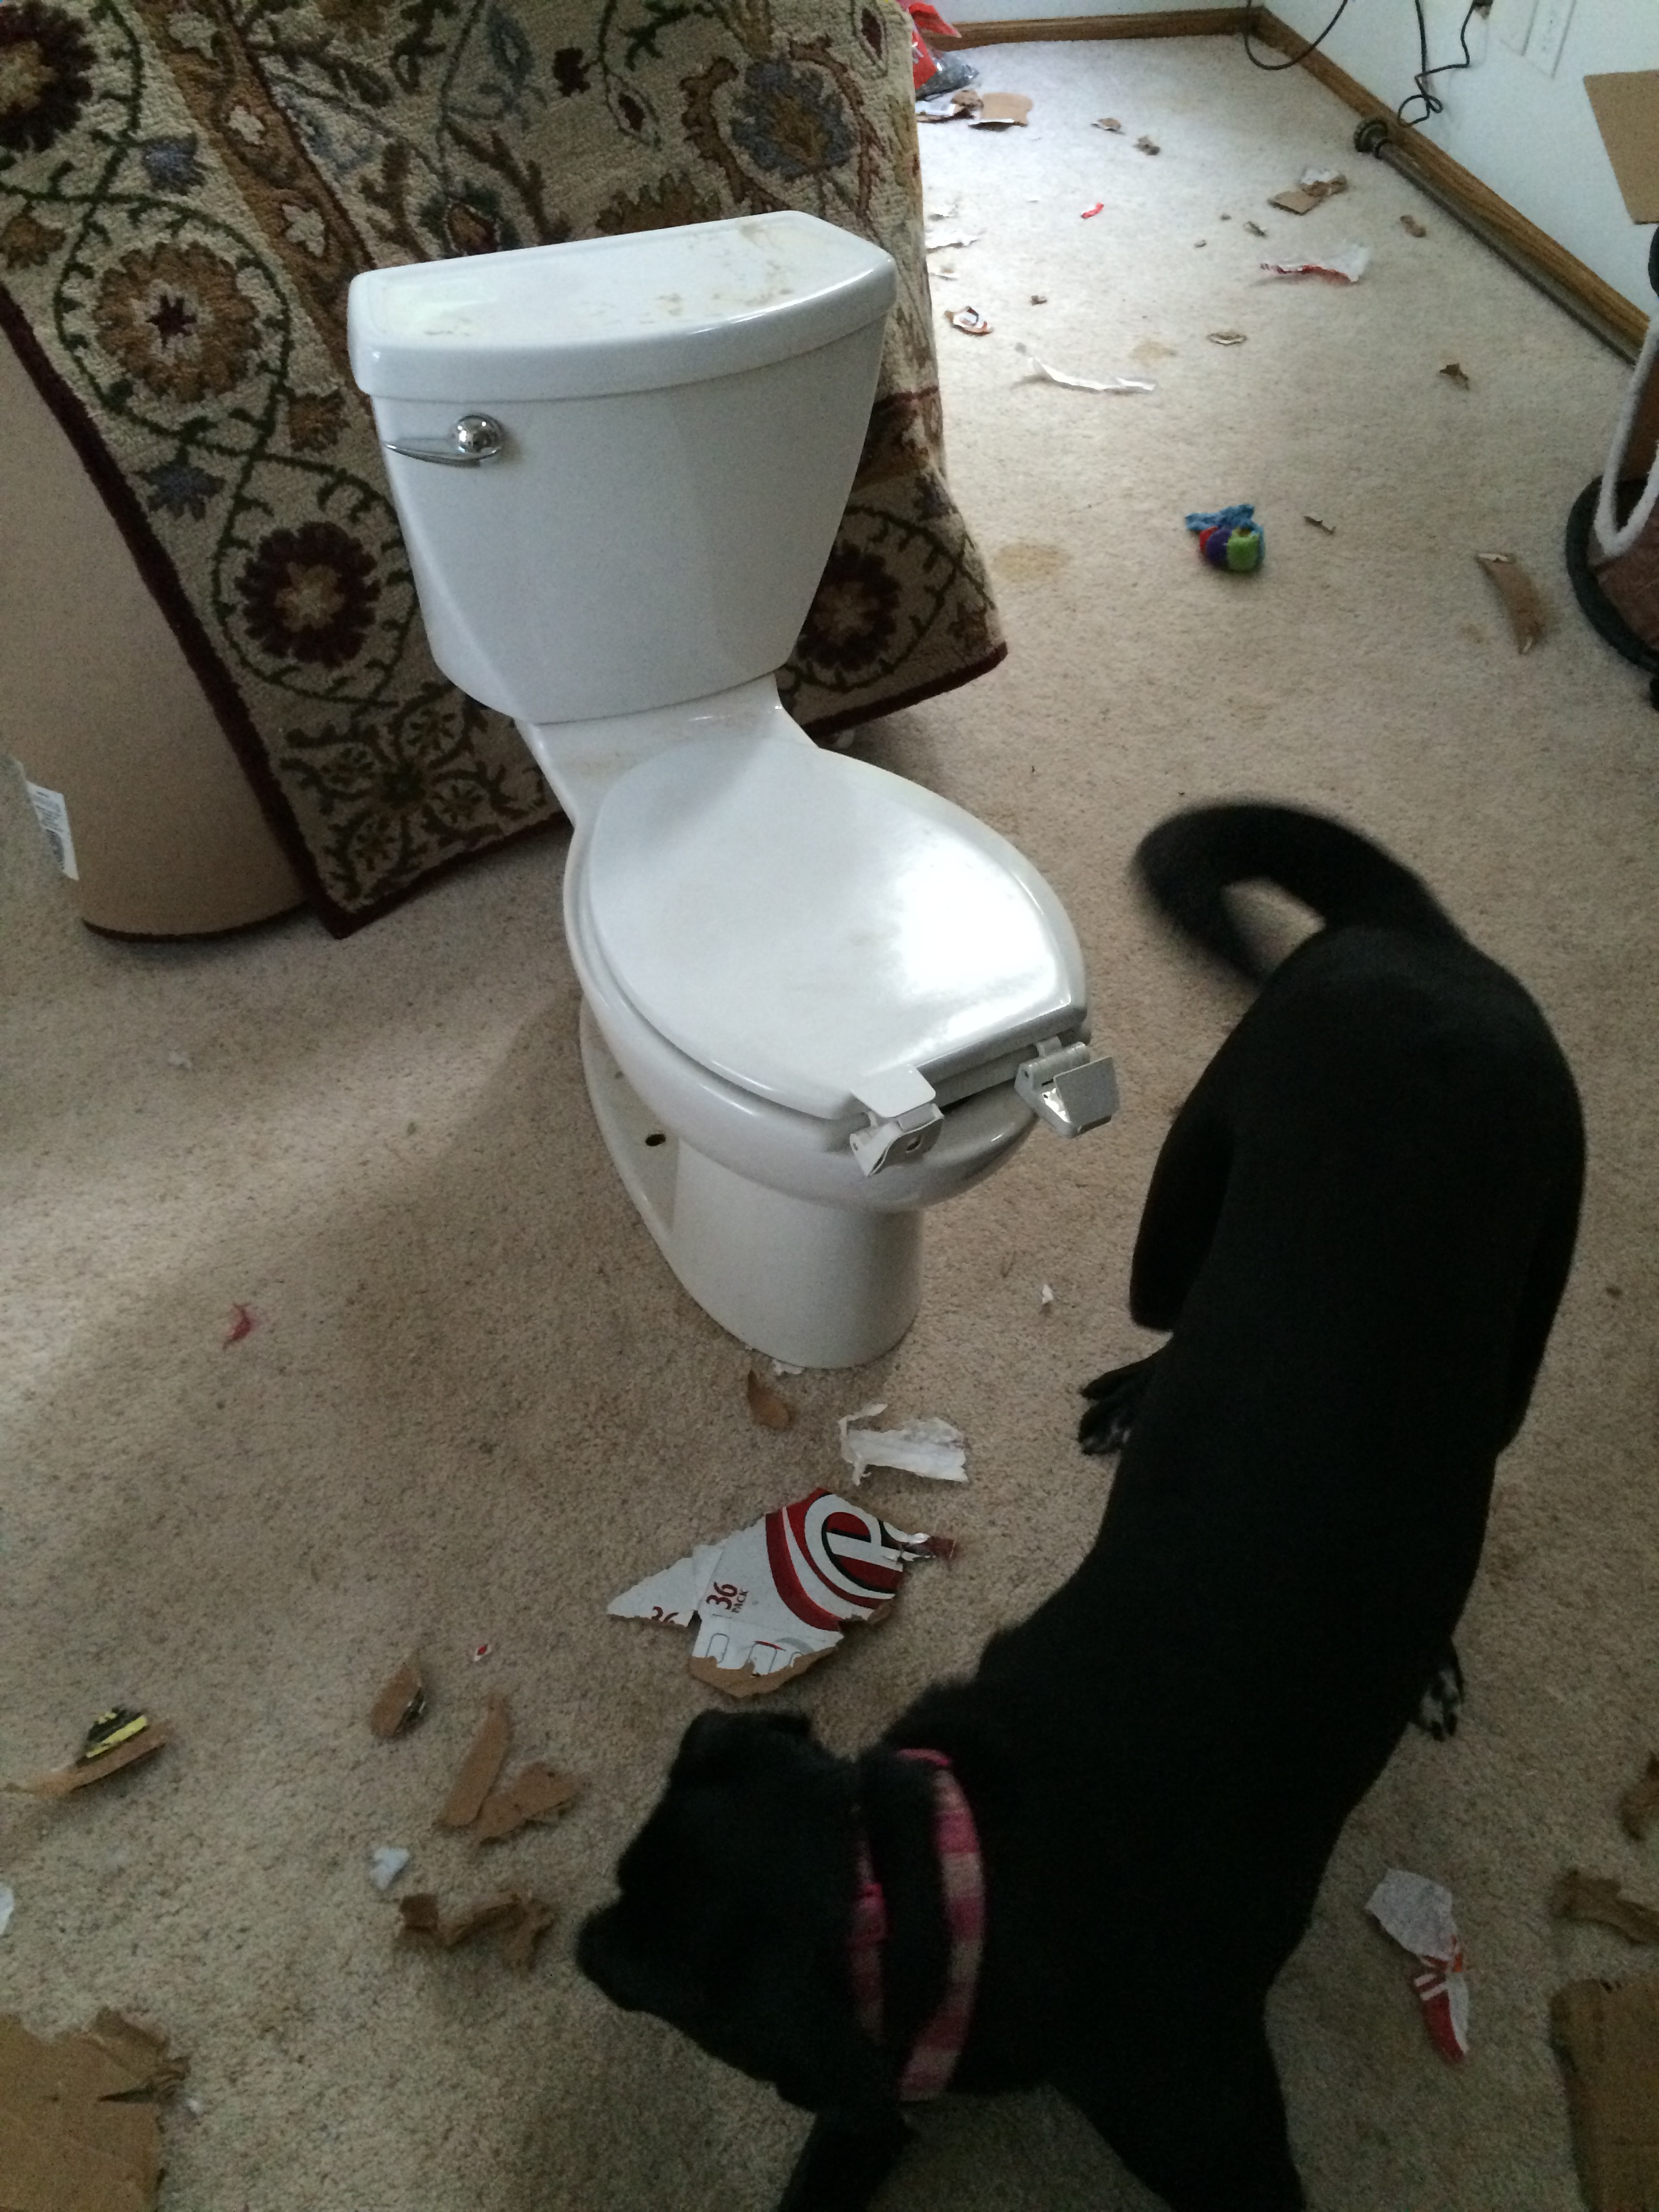
One thing was still missing from the bathroom, re-installing the toilet!
One thing you do not see in the photo above is the hole I cut, once again using the hole drill described in the first section of this renovation. I had to cut a hole for the toilet shut-off valve. 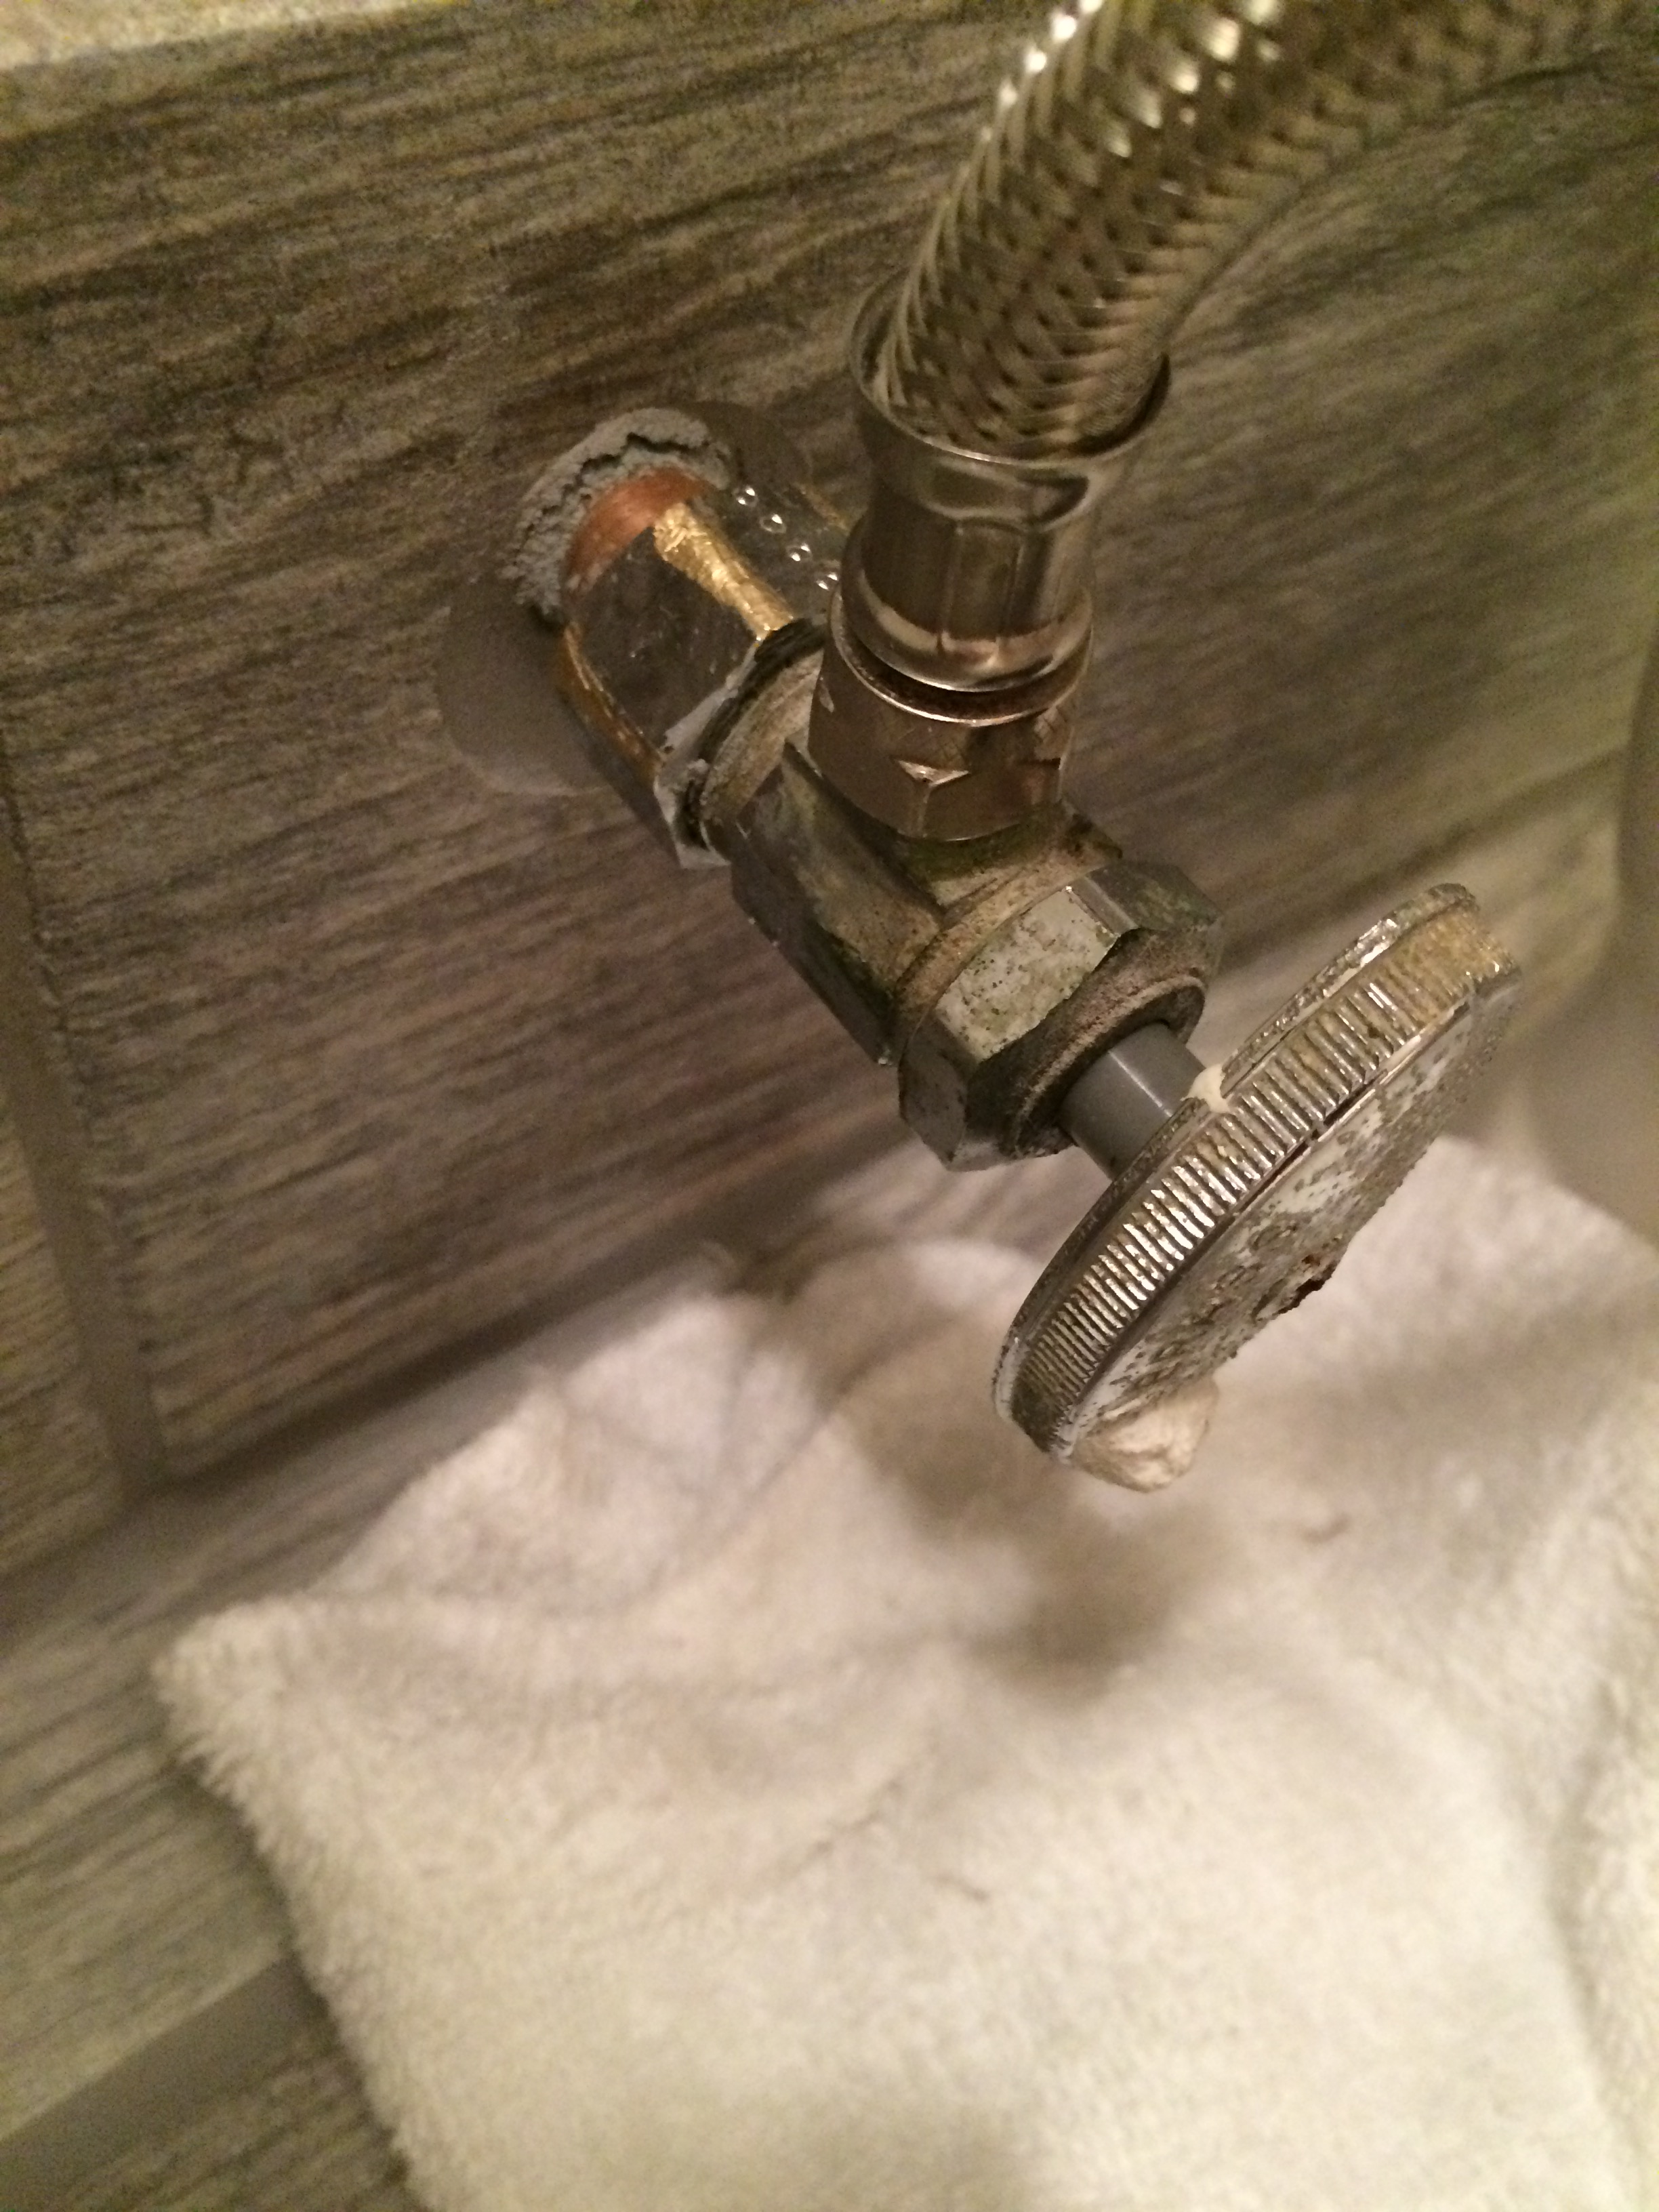
When I installed the toilet, the water shut off valve started to leak. I figured it was a good time to replace it (since it was also old and dirty).
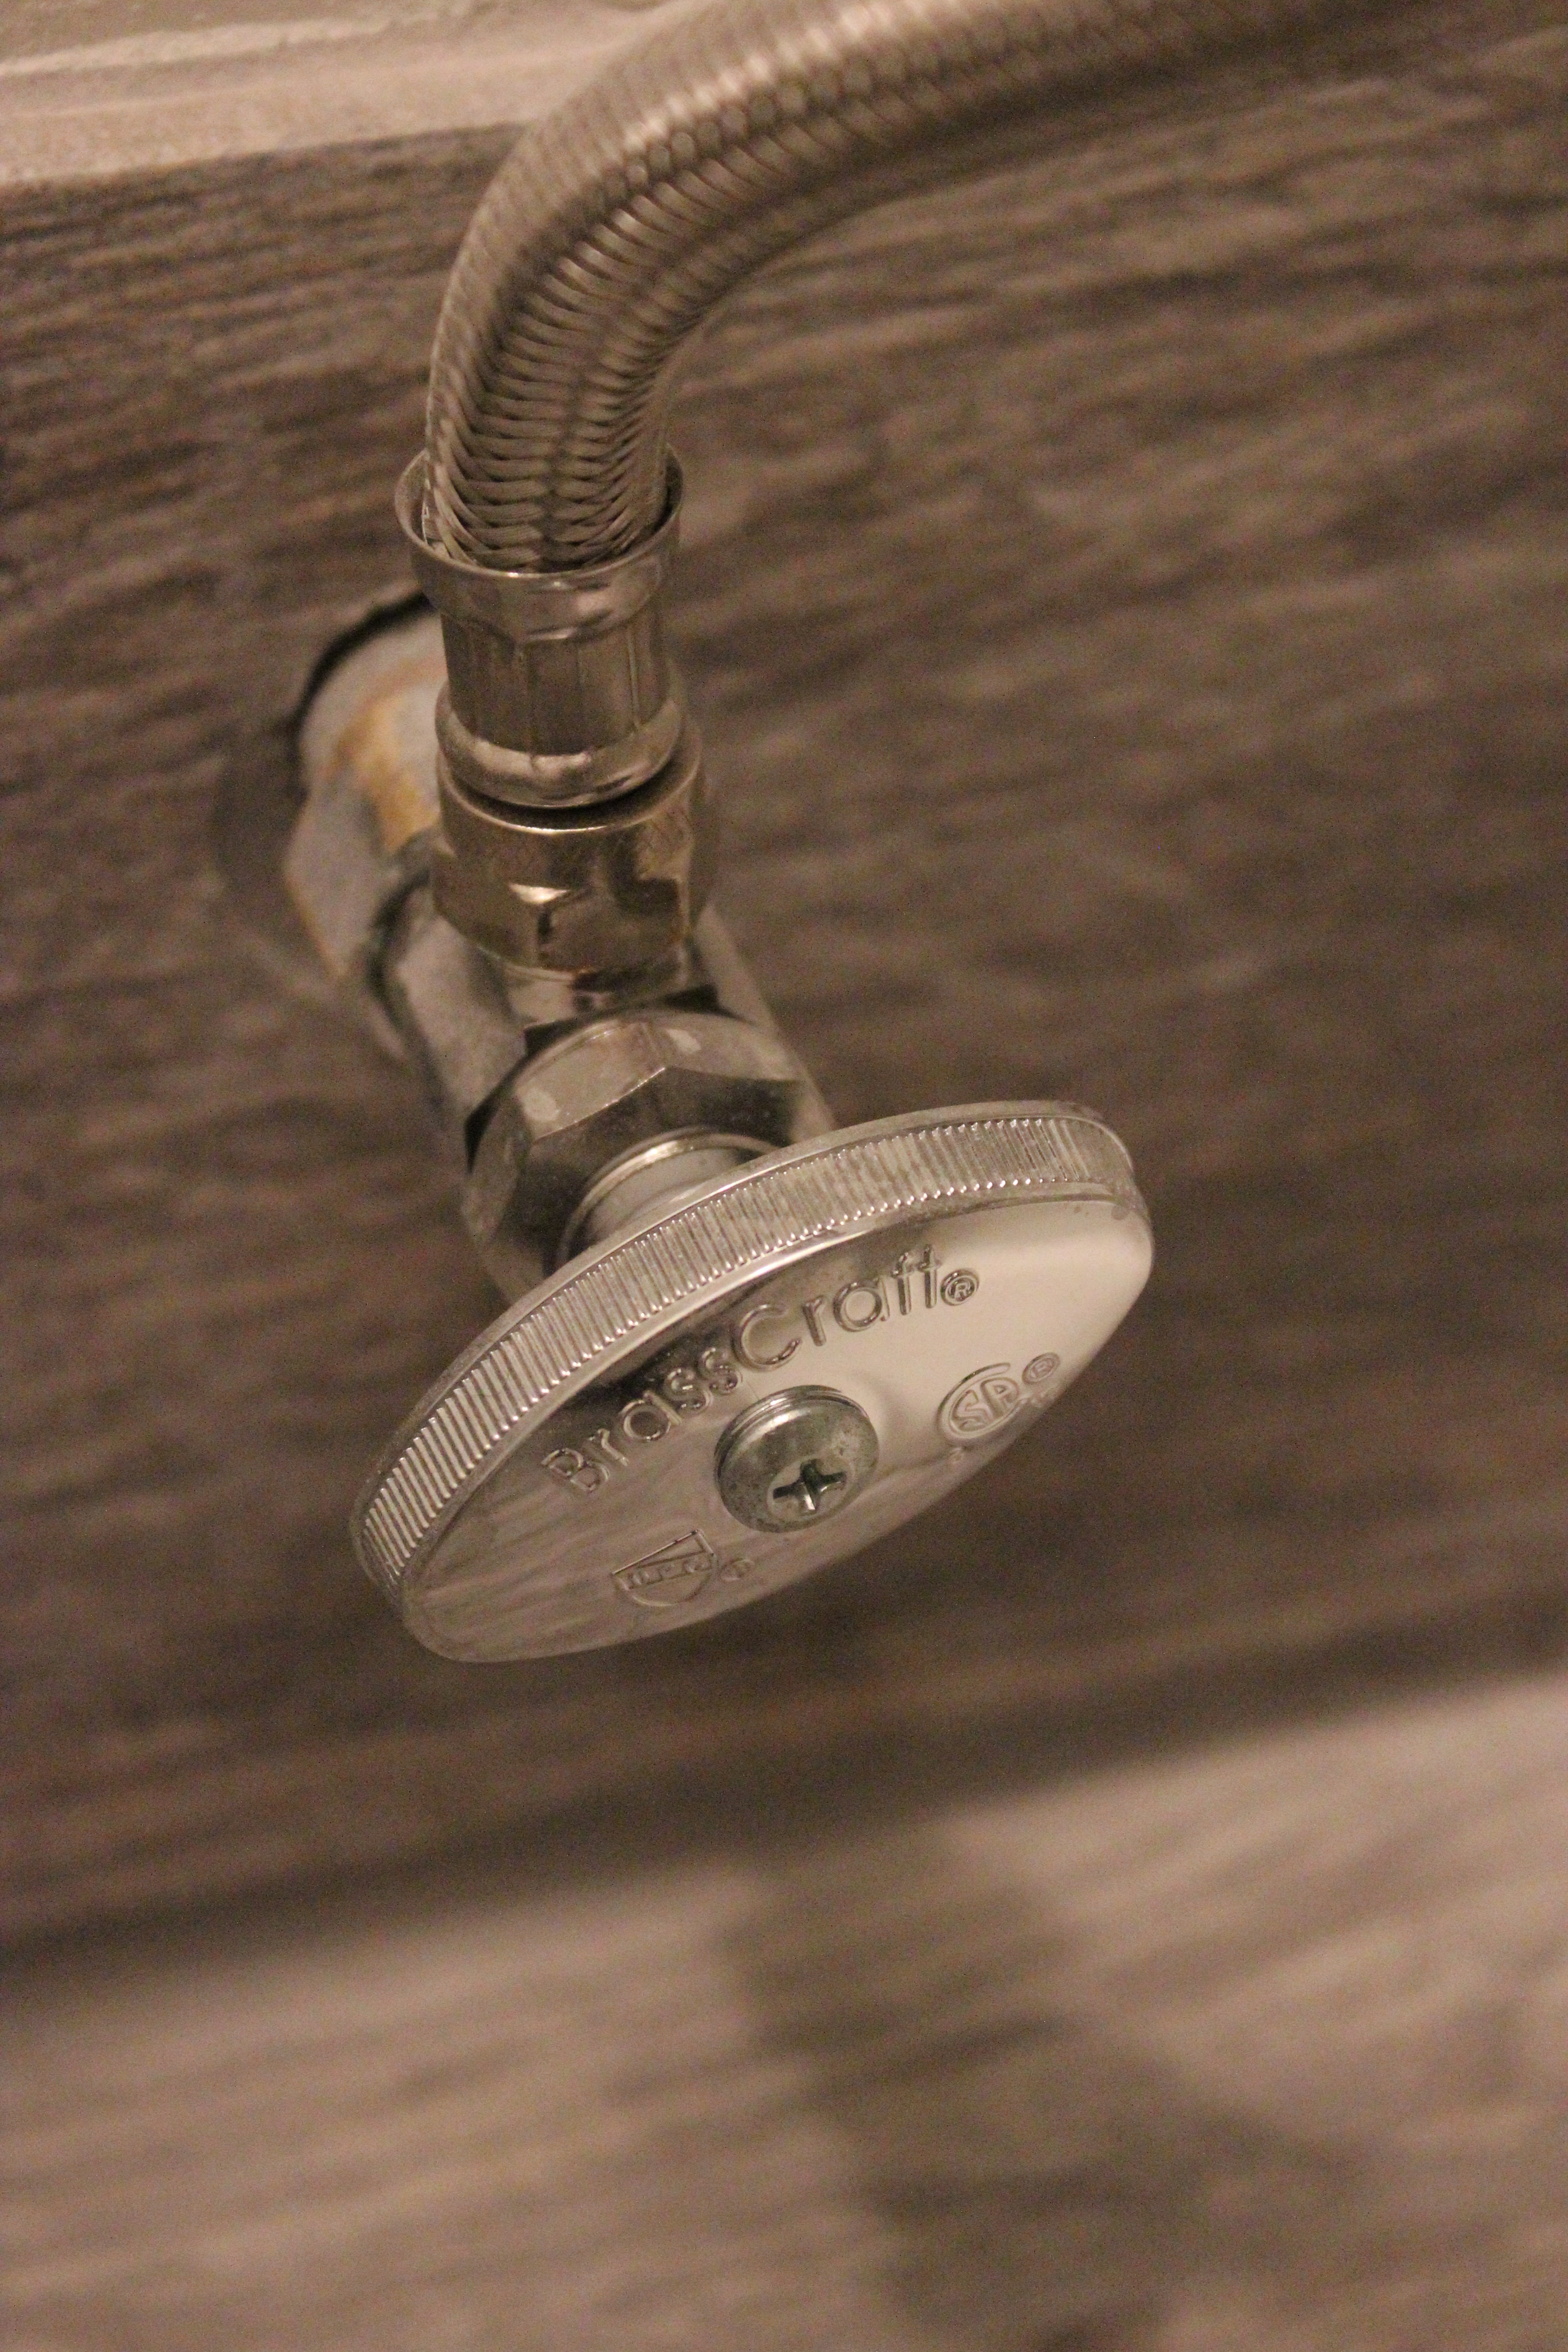
Much better!
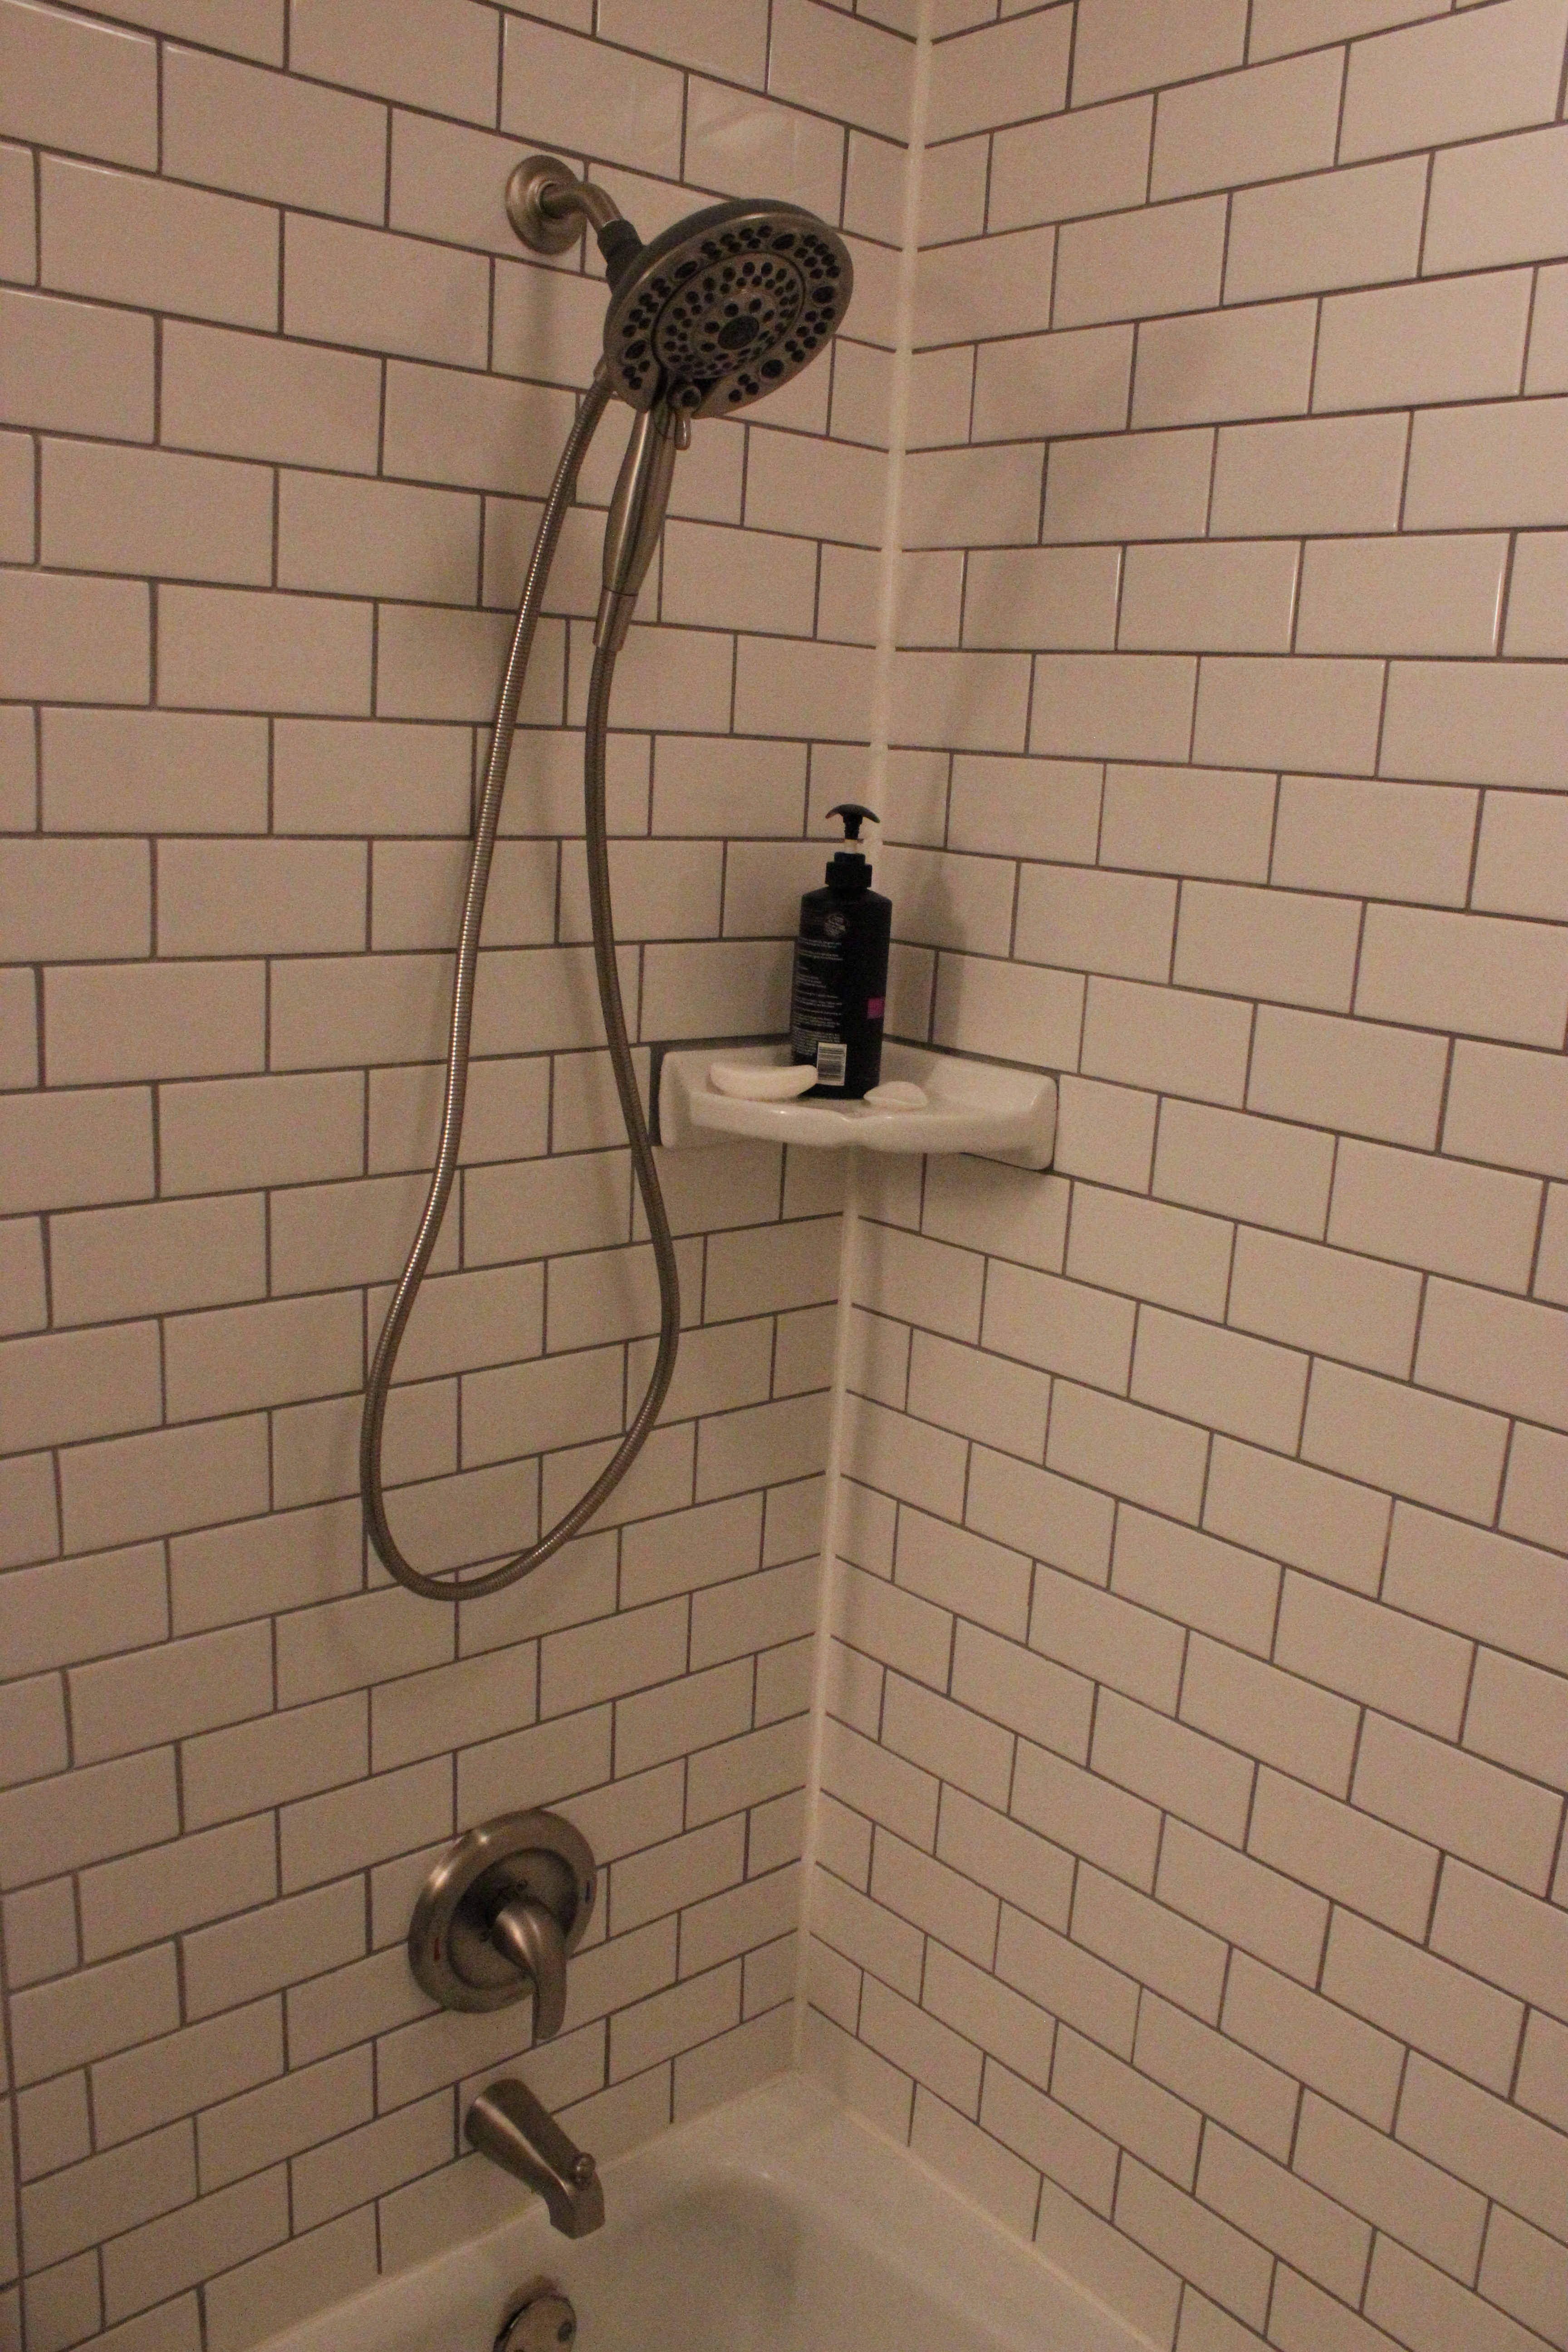
Another finishing touch was installing the fancy new shower head.
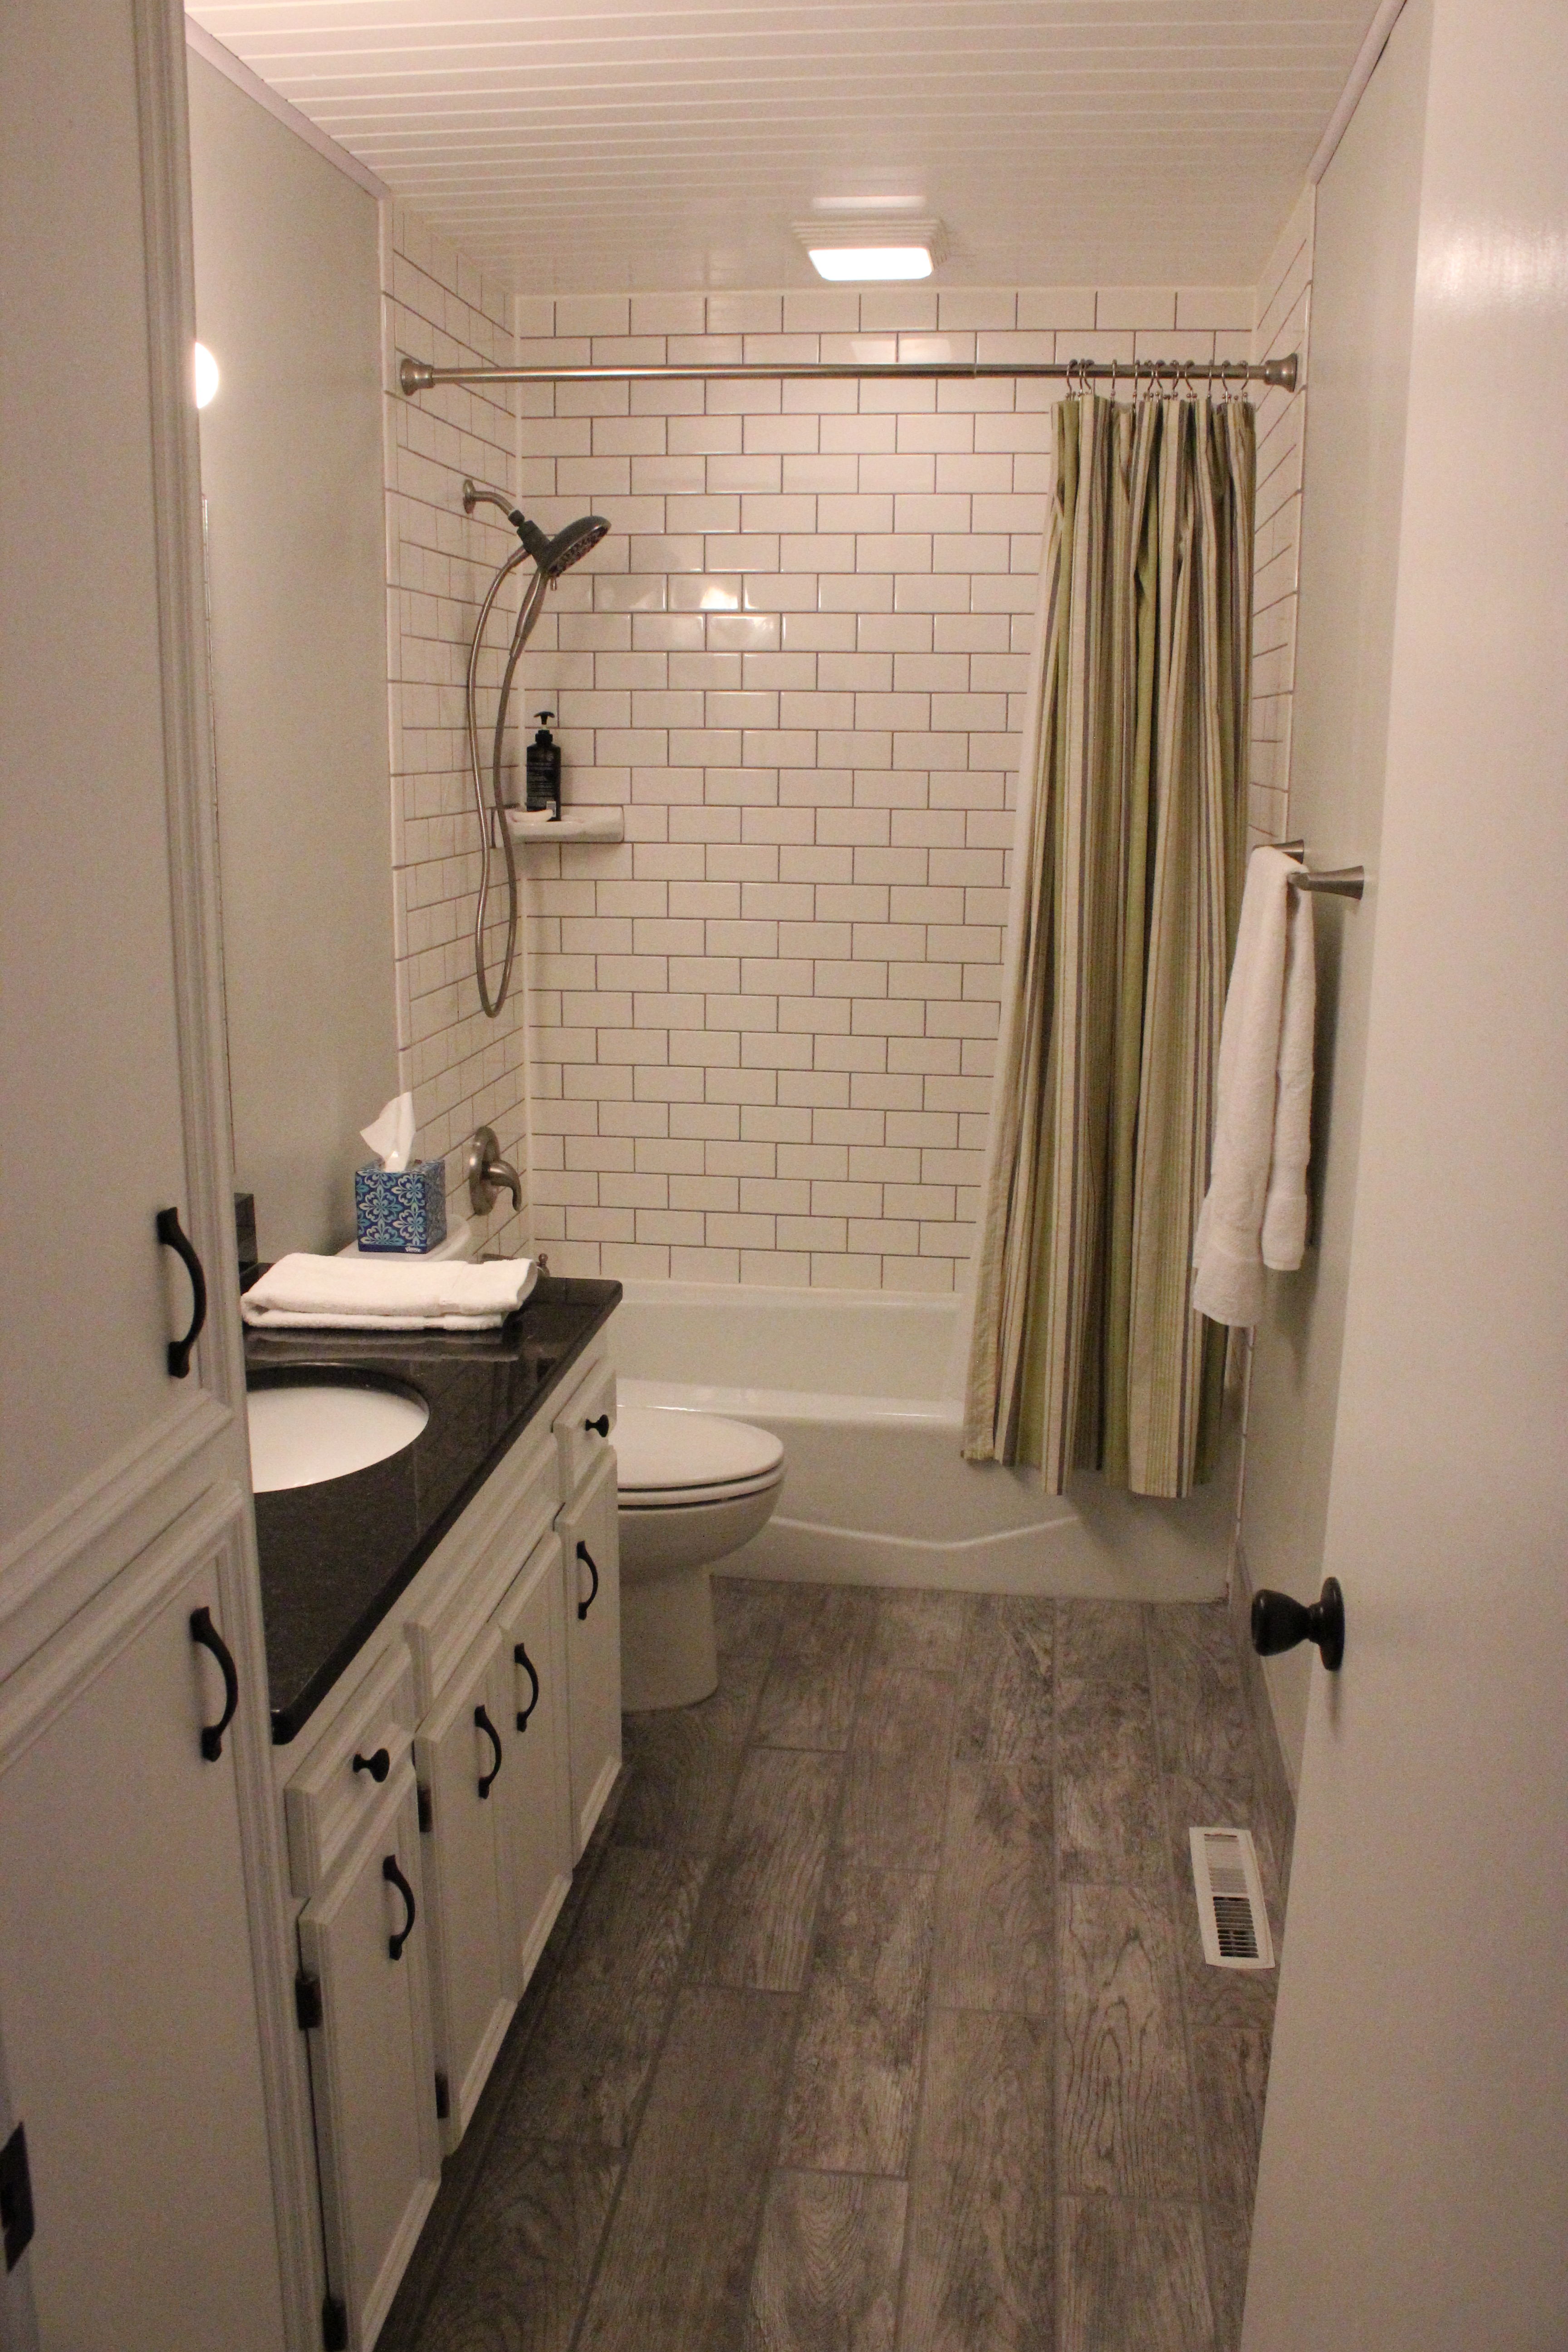
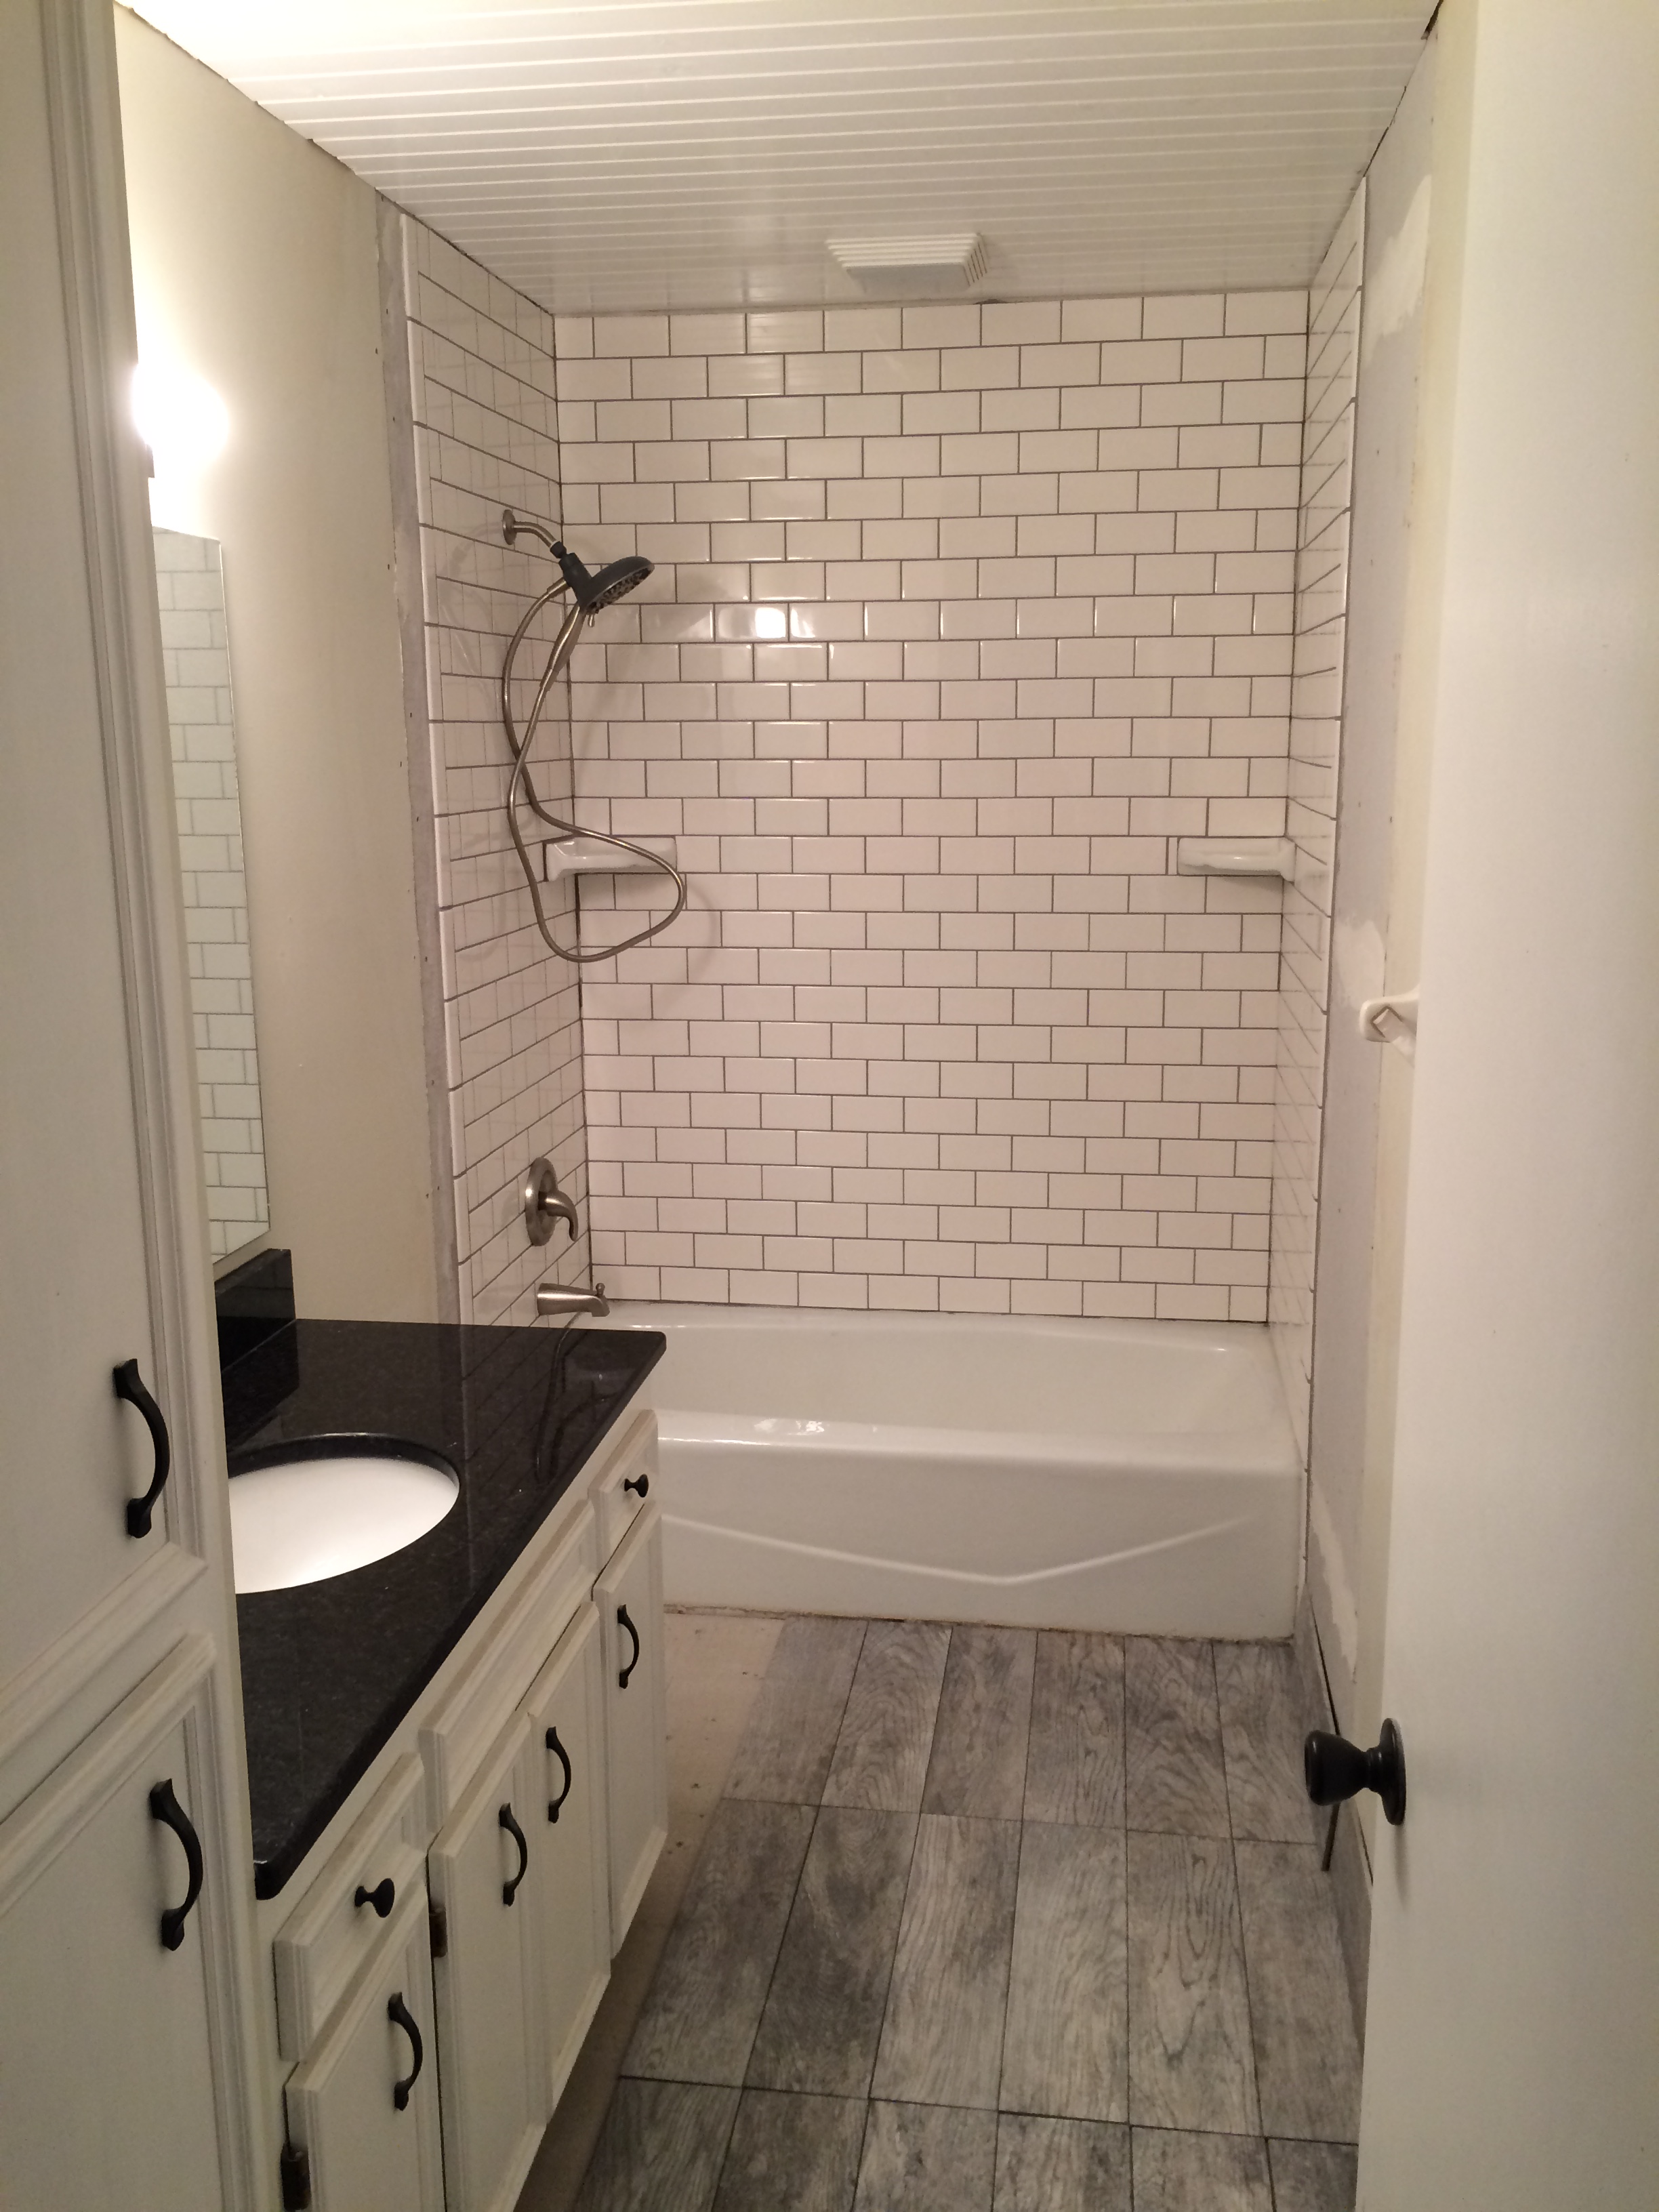
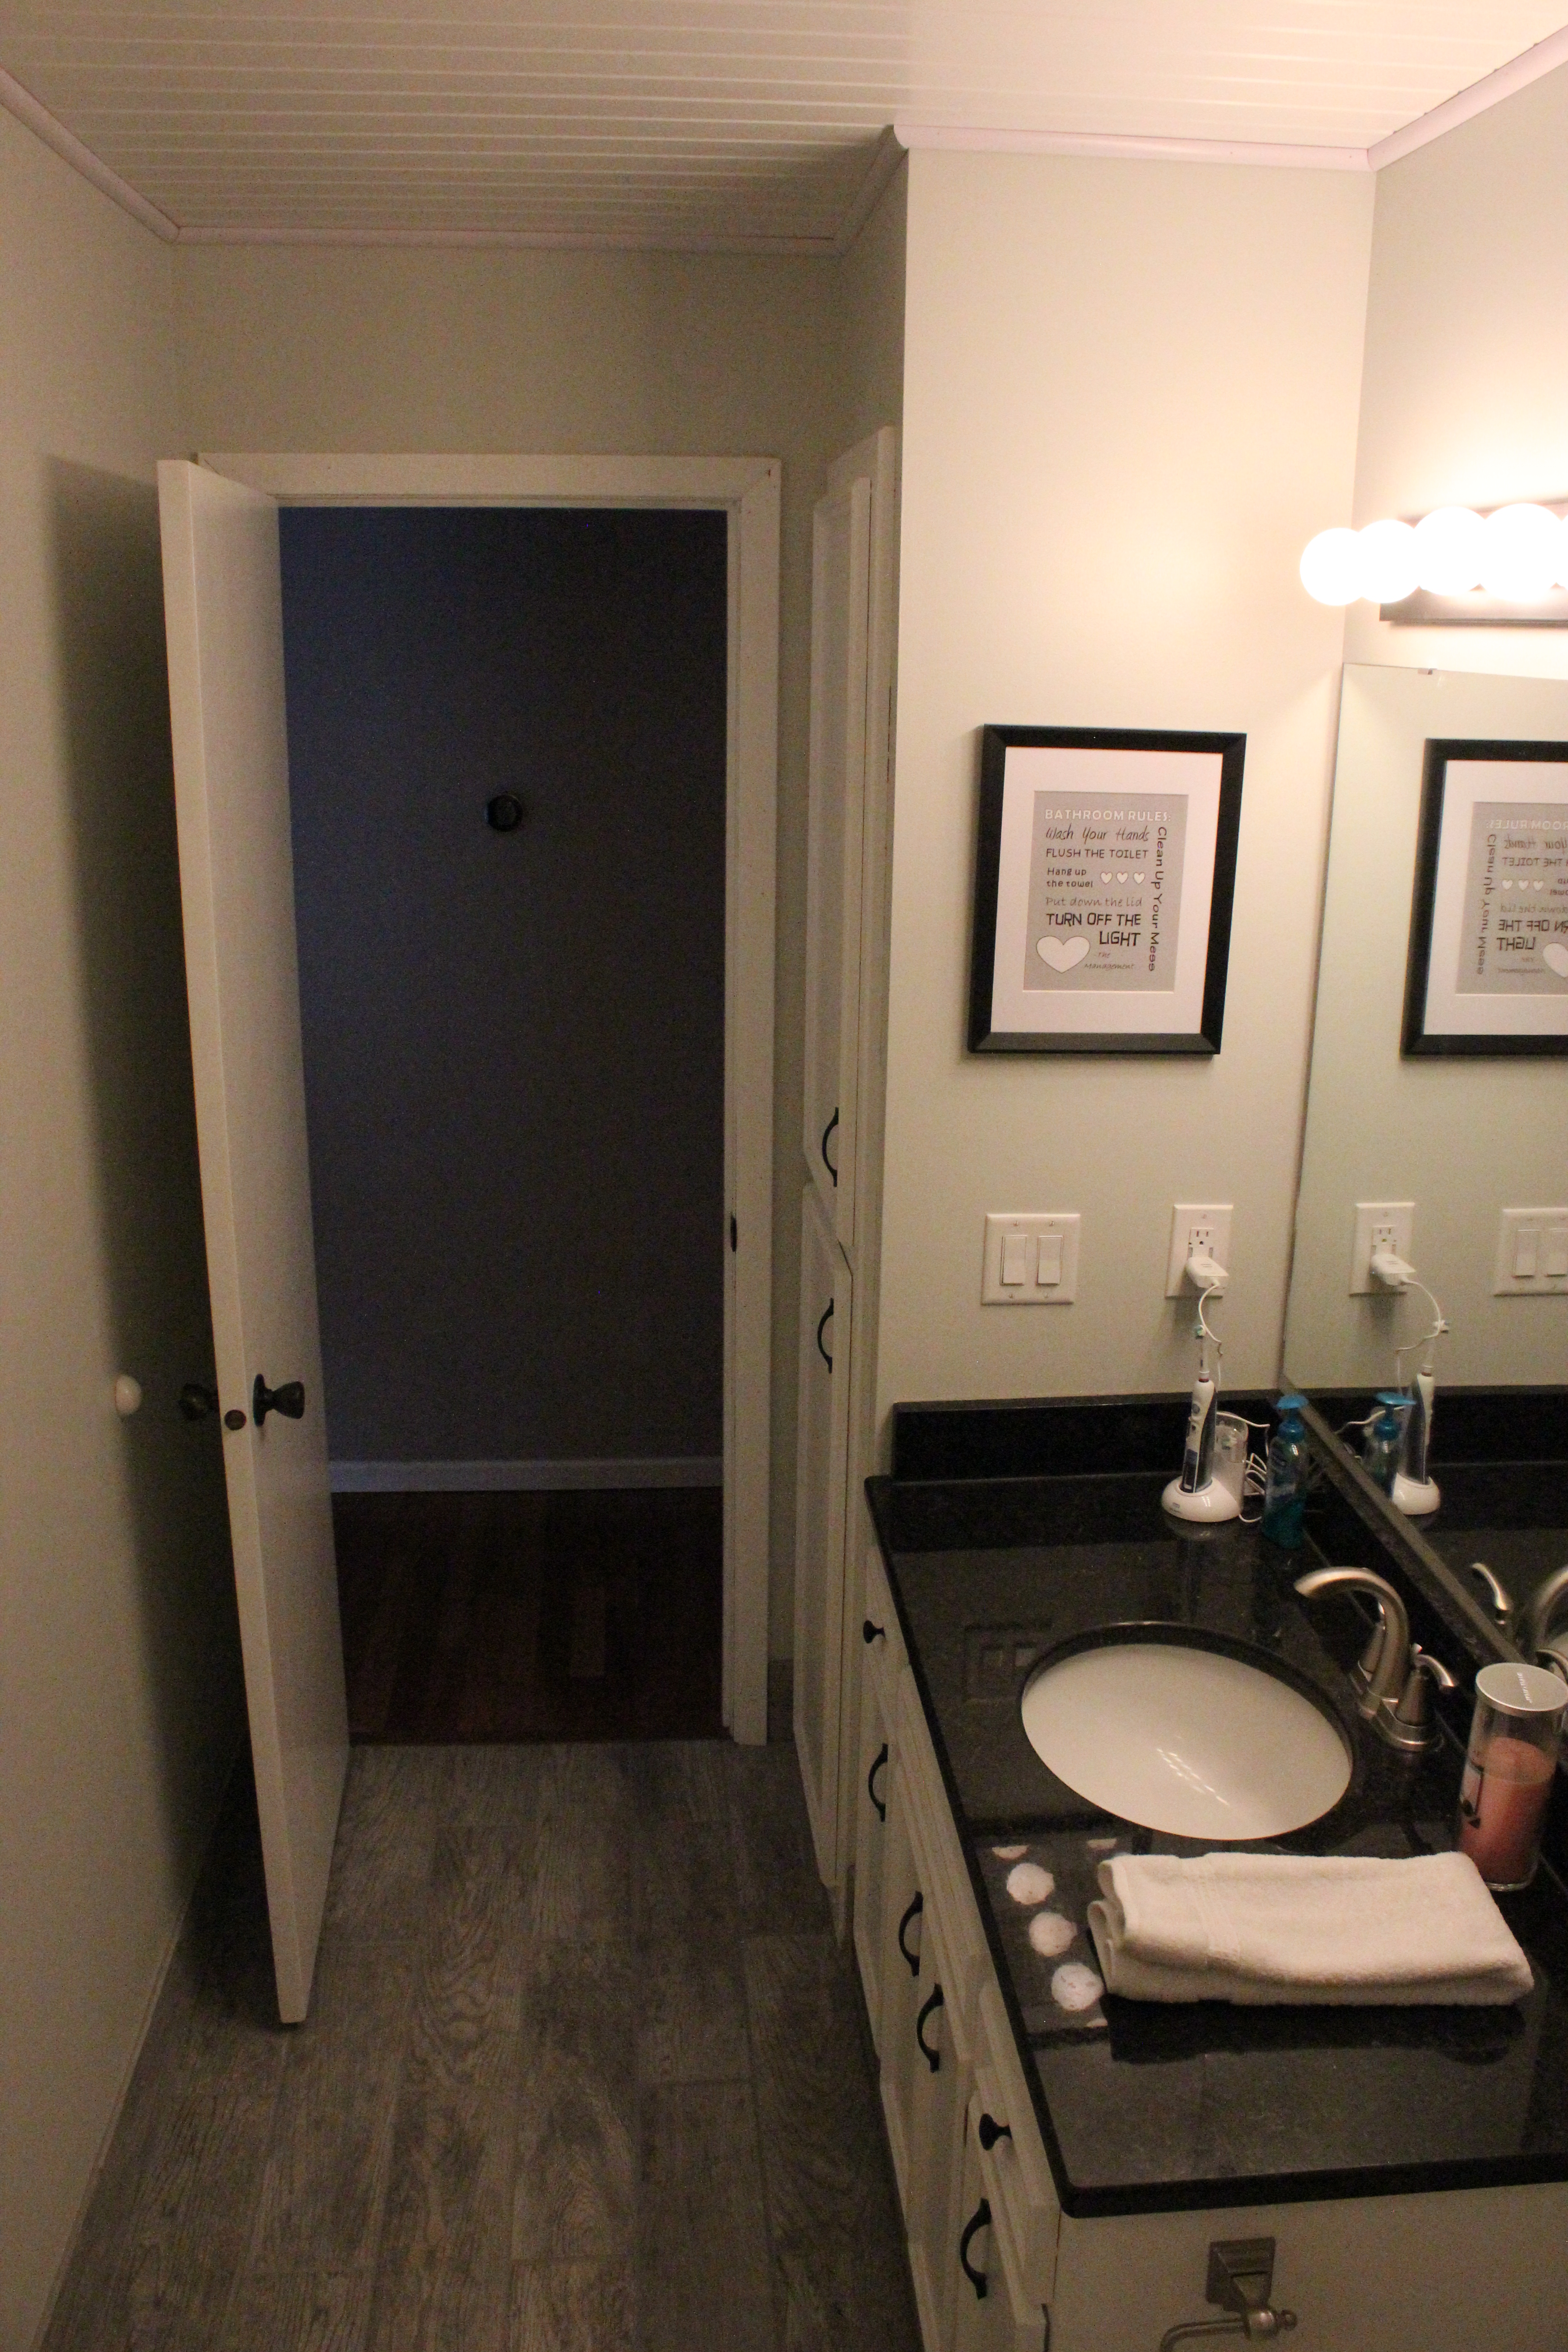
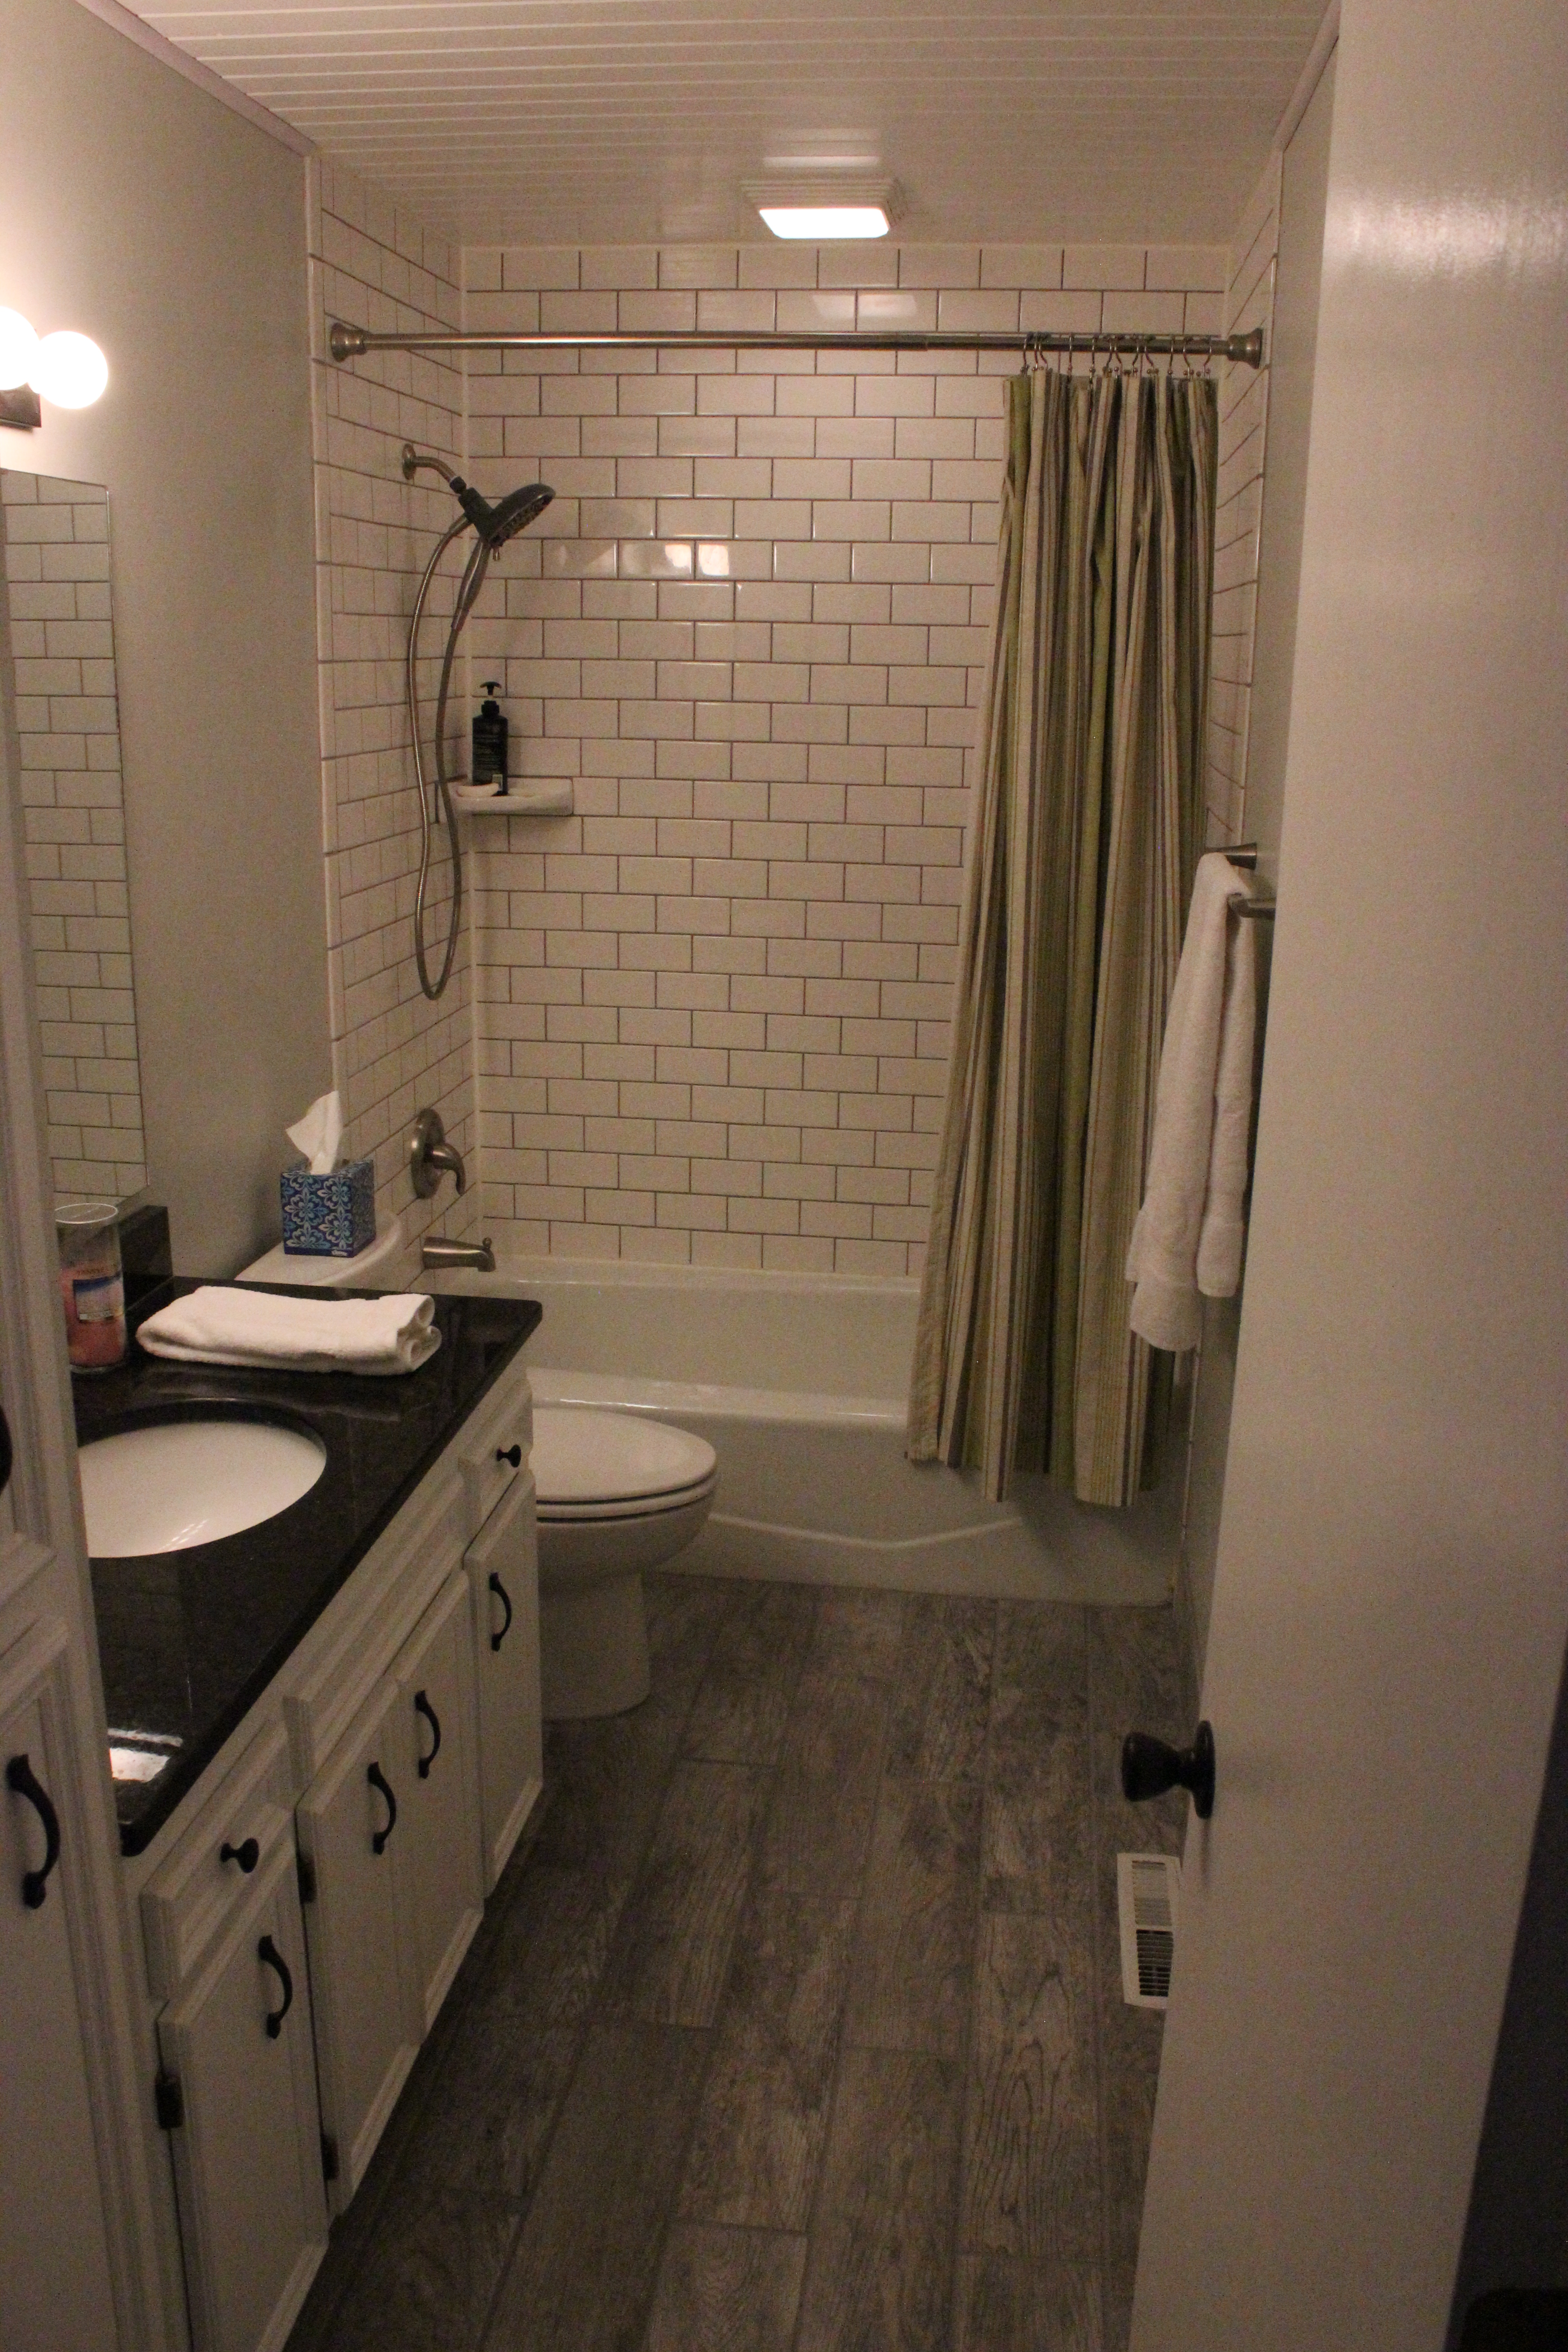
Giving this bathroom a face lift was time consuming but completely worth it. I learned it takes a lot of patience to install tiles, but quickly improved my technique, which should help me down the road.
-Mike