This post is all about refurbishing a desk we picked up for $25 at the University of Minnesota ReUse Store. Sara gets weekly emails with all the new items that the program brings in, and it was a different table that caught her eye which brought us to the store one early Saturday morning. Unfortunately, by the time we got to the warehouse, the coveted table that Sara wanted had already been claimed. Lucky for us, that never stops the adventure so we began wandering the aisles admiring the various junk. What did finally catch our eye? An enormous oak desk and its too good to be true price tag (ALL desks at the warehouse were $25)! Good thing we came with the truck that morning, because this thing was a beast.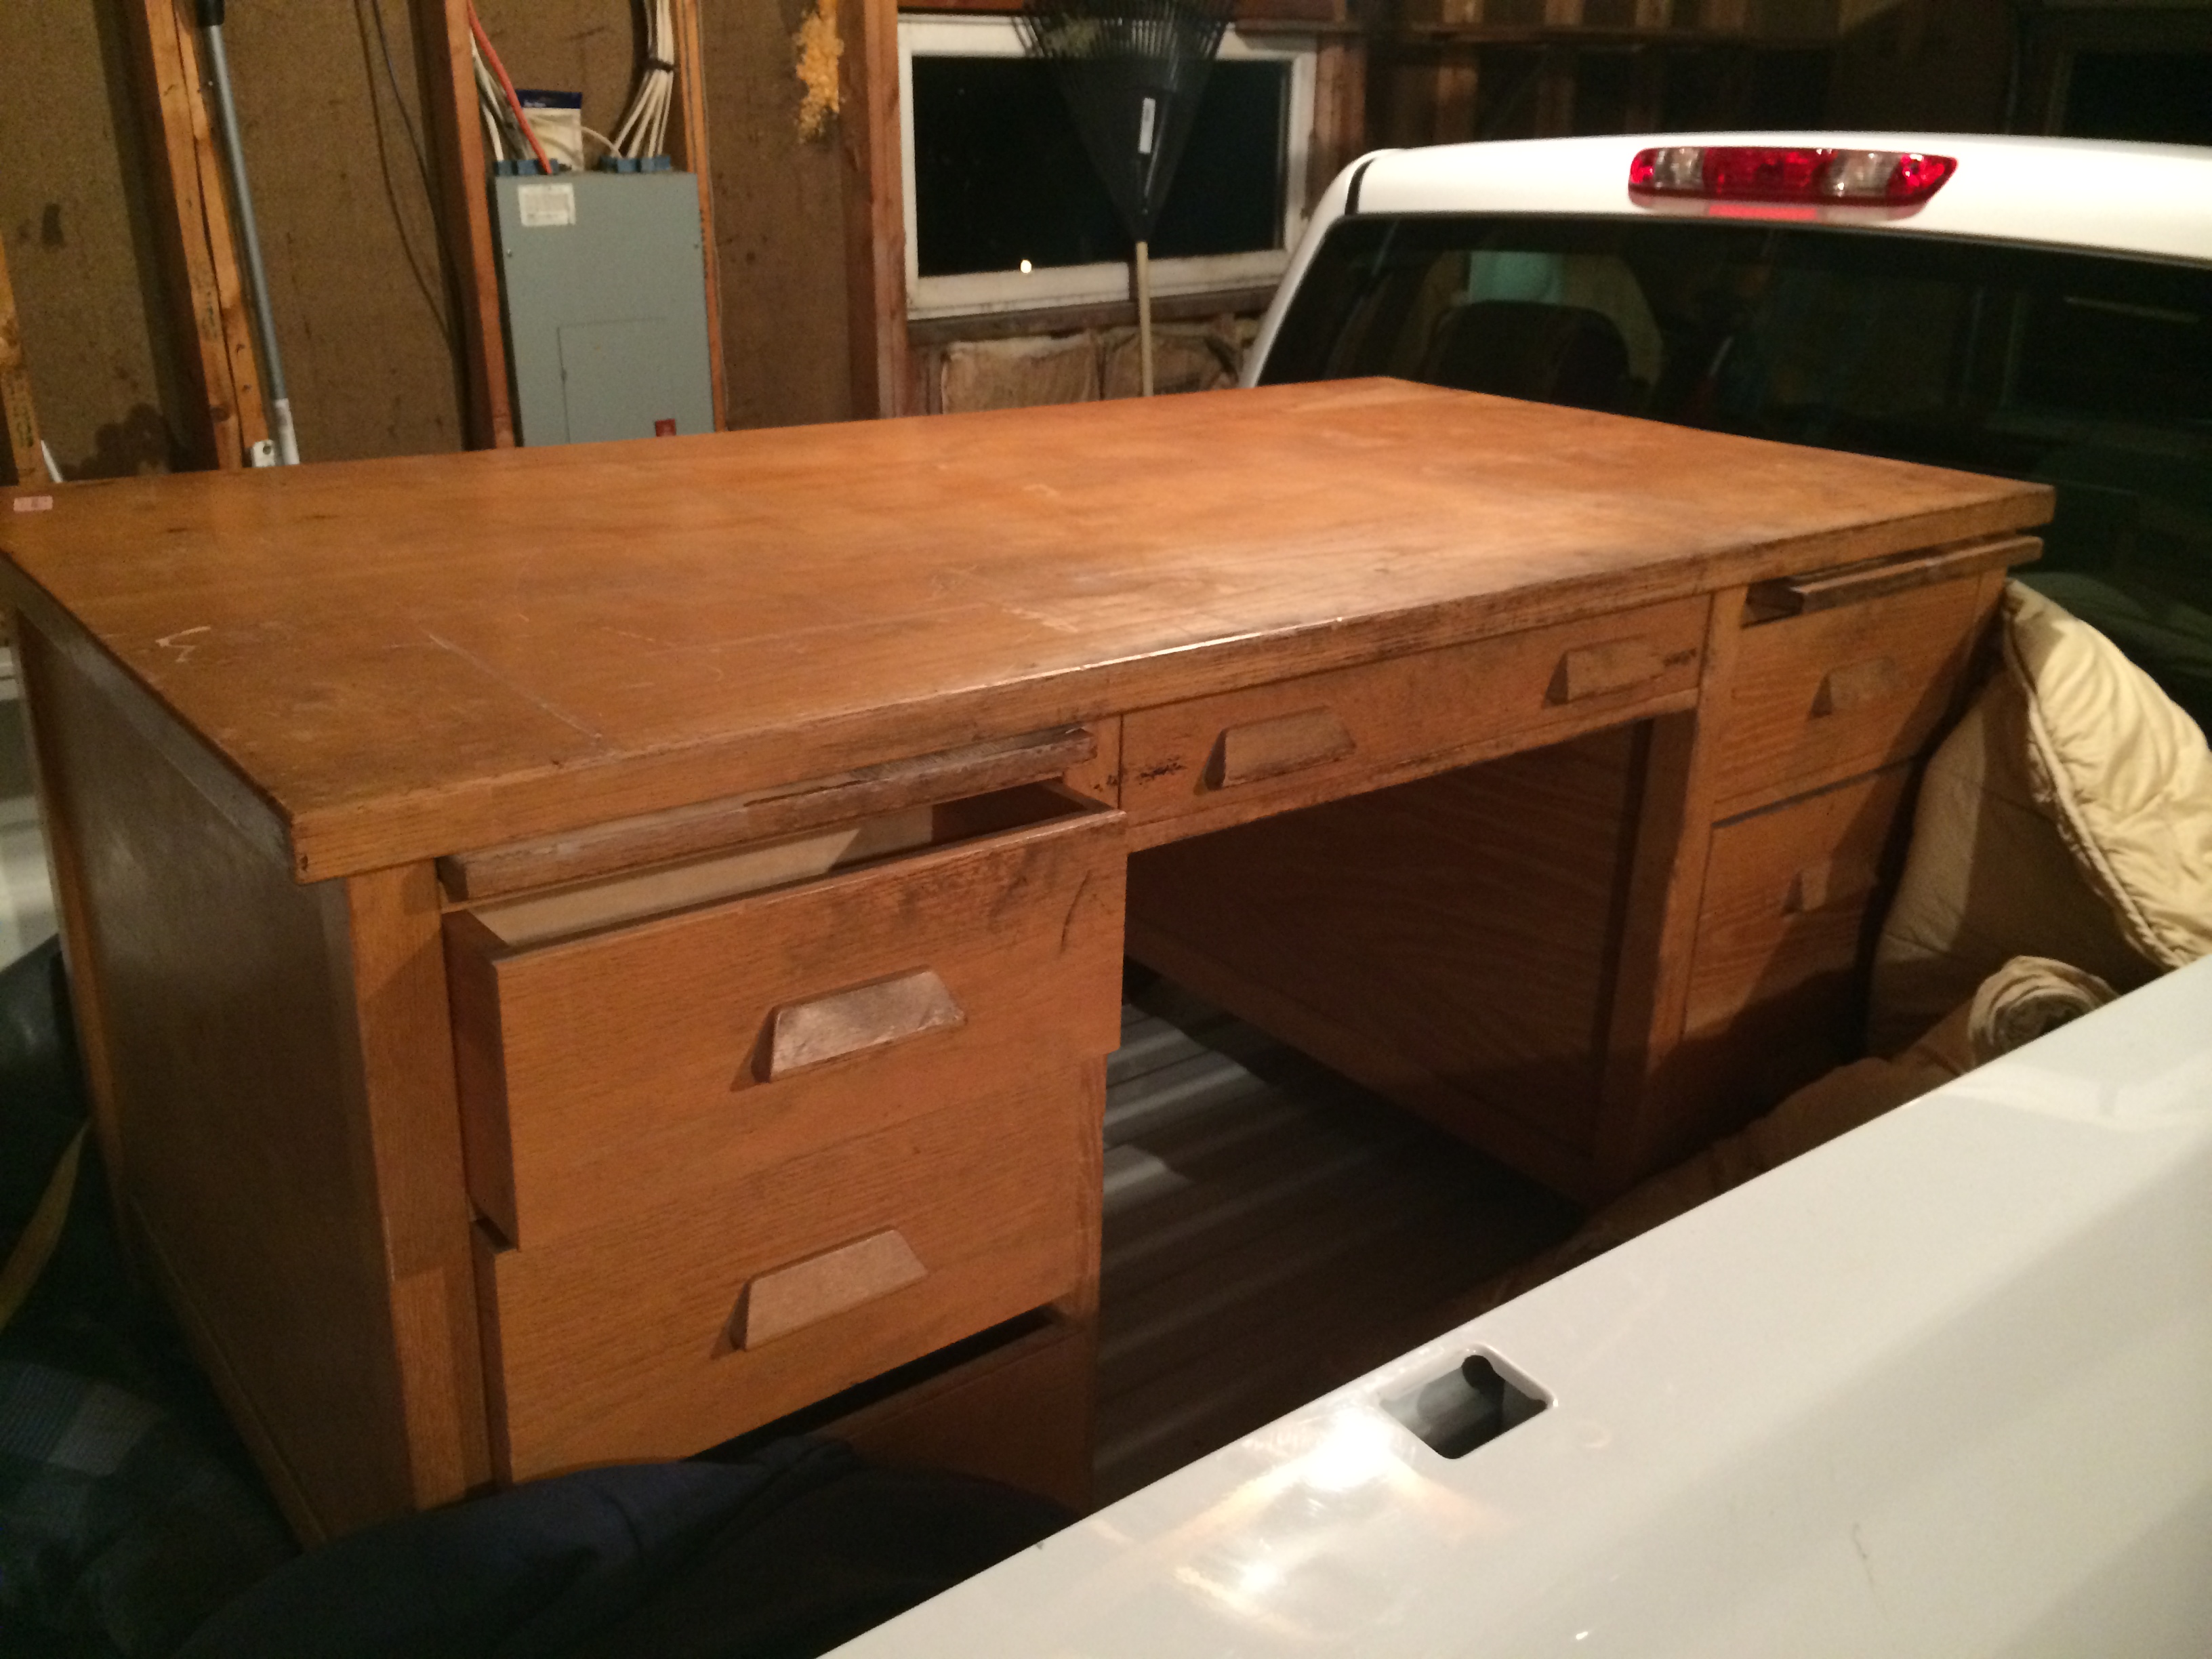
We had talked about adding a formal desk to the upstairs office, but the style that we wanted was often way out of our price range and never exactly what we were looking for. When we came across this desk at the ReUse store it was Mike that had the vision for what it could be. And with that it was decided that we would refurbish the beast.
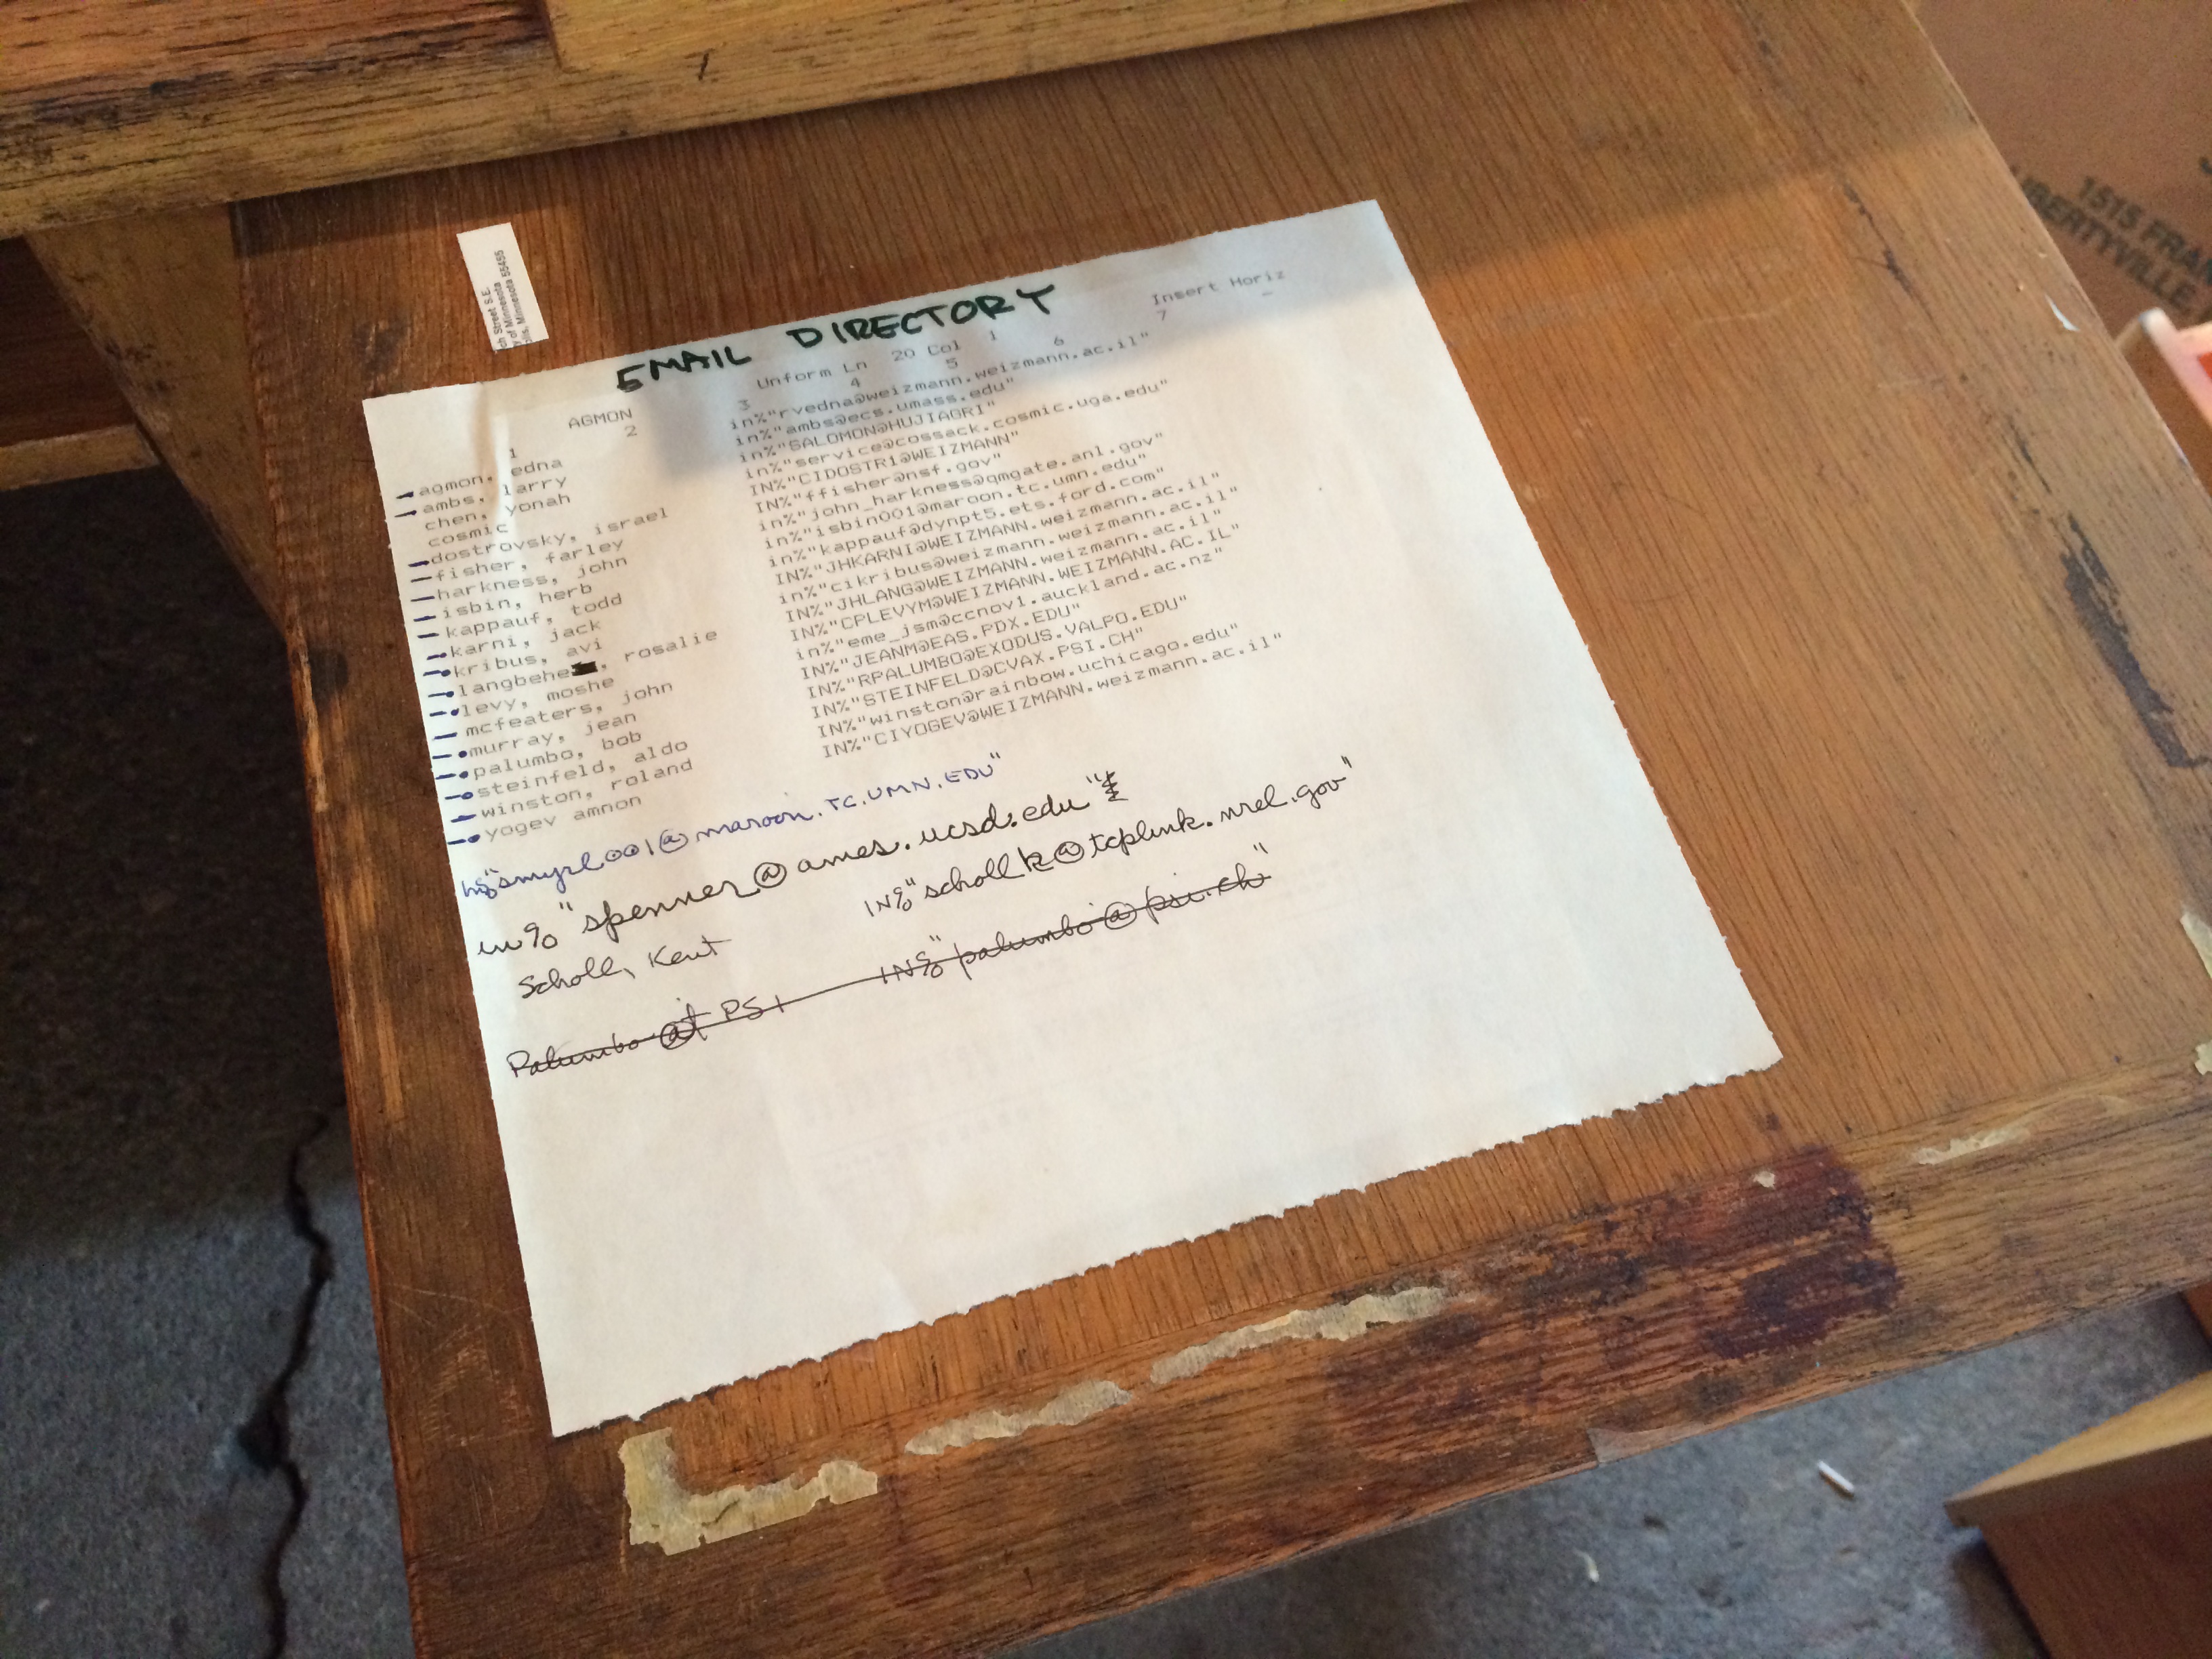
From the various items that we found in the desk, we’ve guessed that it was probably originally built in the 1940’s, and spent much of its life in a chemistry department. When we started taking the desk apart, we found all kinds of vintage stuff.
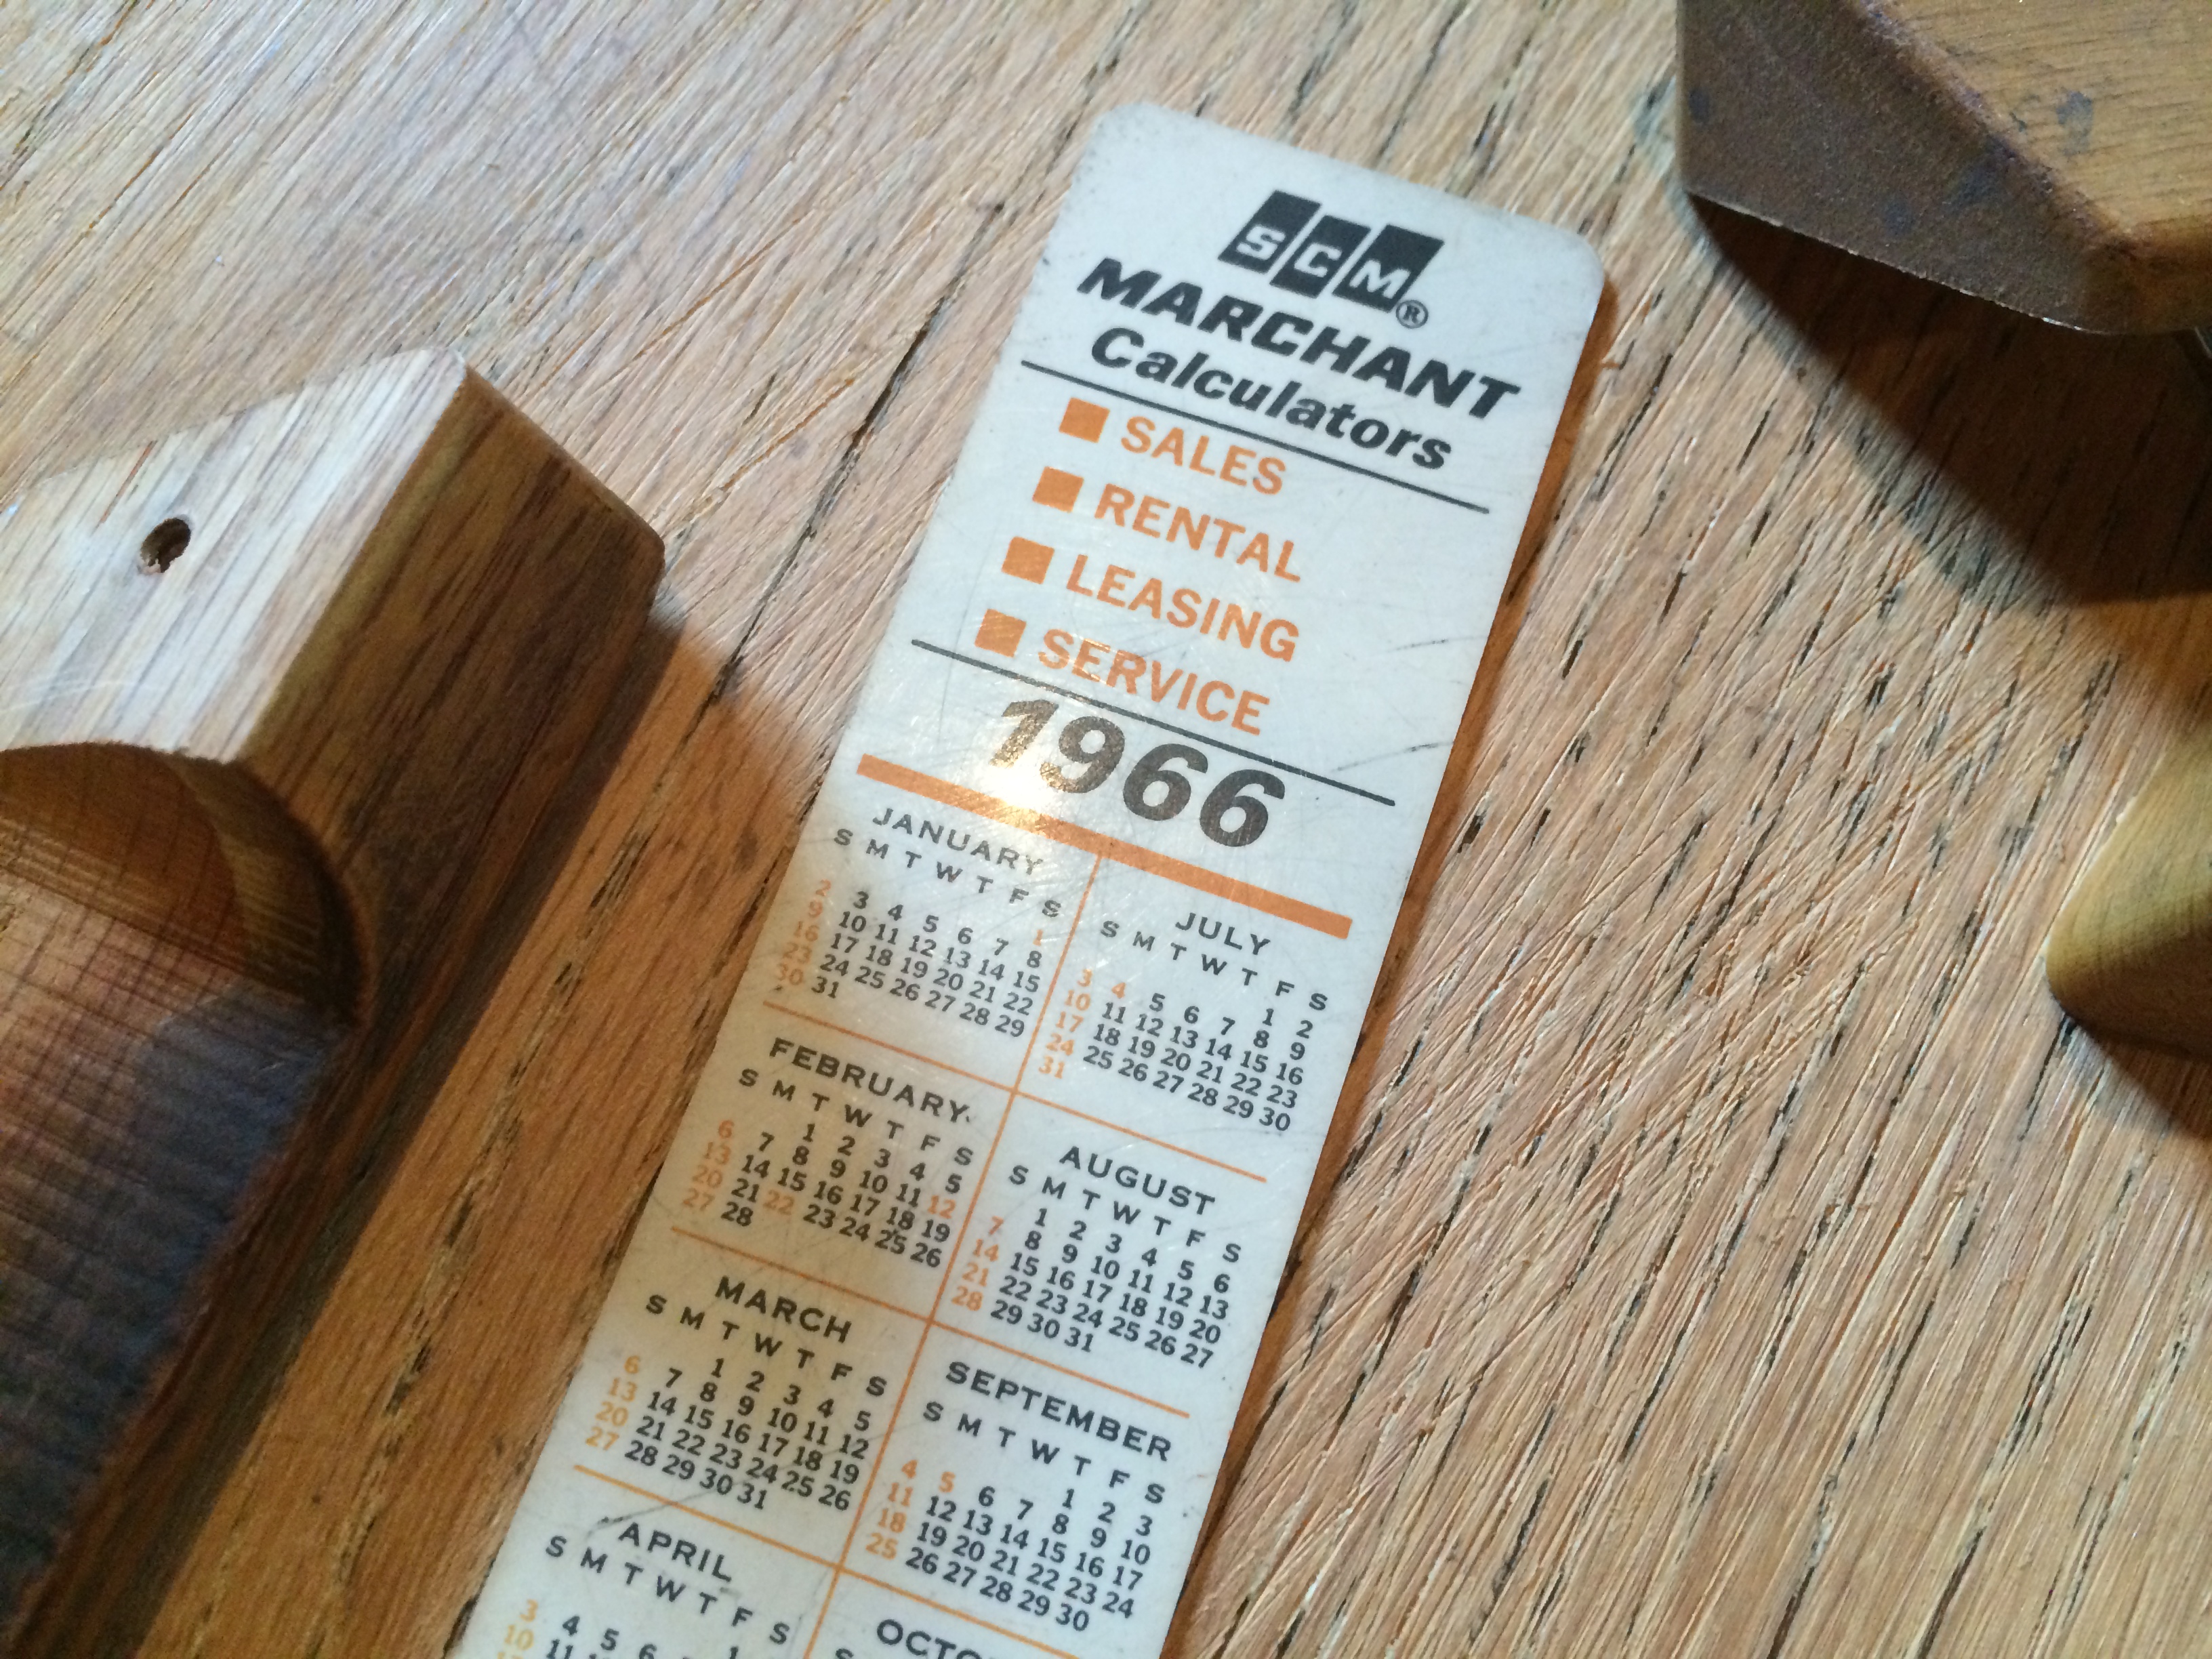
Calendar in case you were wondering what day of the week your birthday may have fallen on in 1966.
Check out the old email directory printed on dot-matrix.
And the shortcuts to old word processing software.

We’ve kept all the memorabilia, although it was all removed for the refurbishing. We haven’t decided yet what to do with it, but its too cool to just throw.
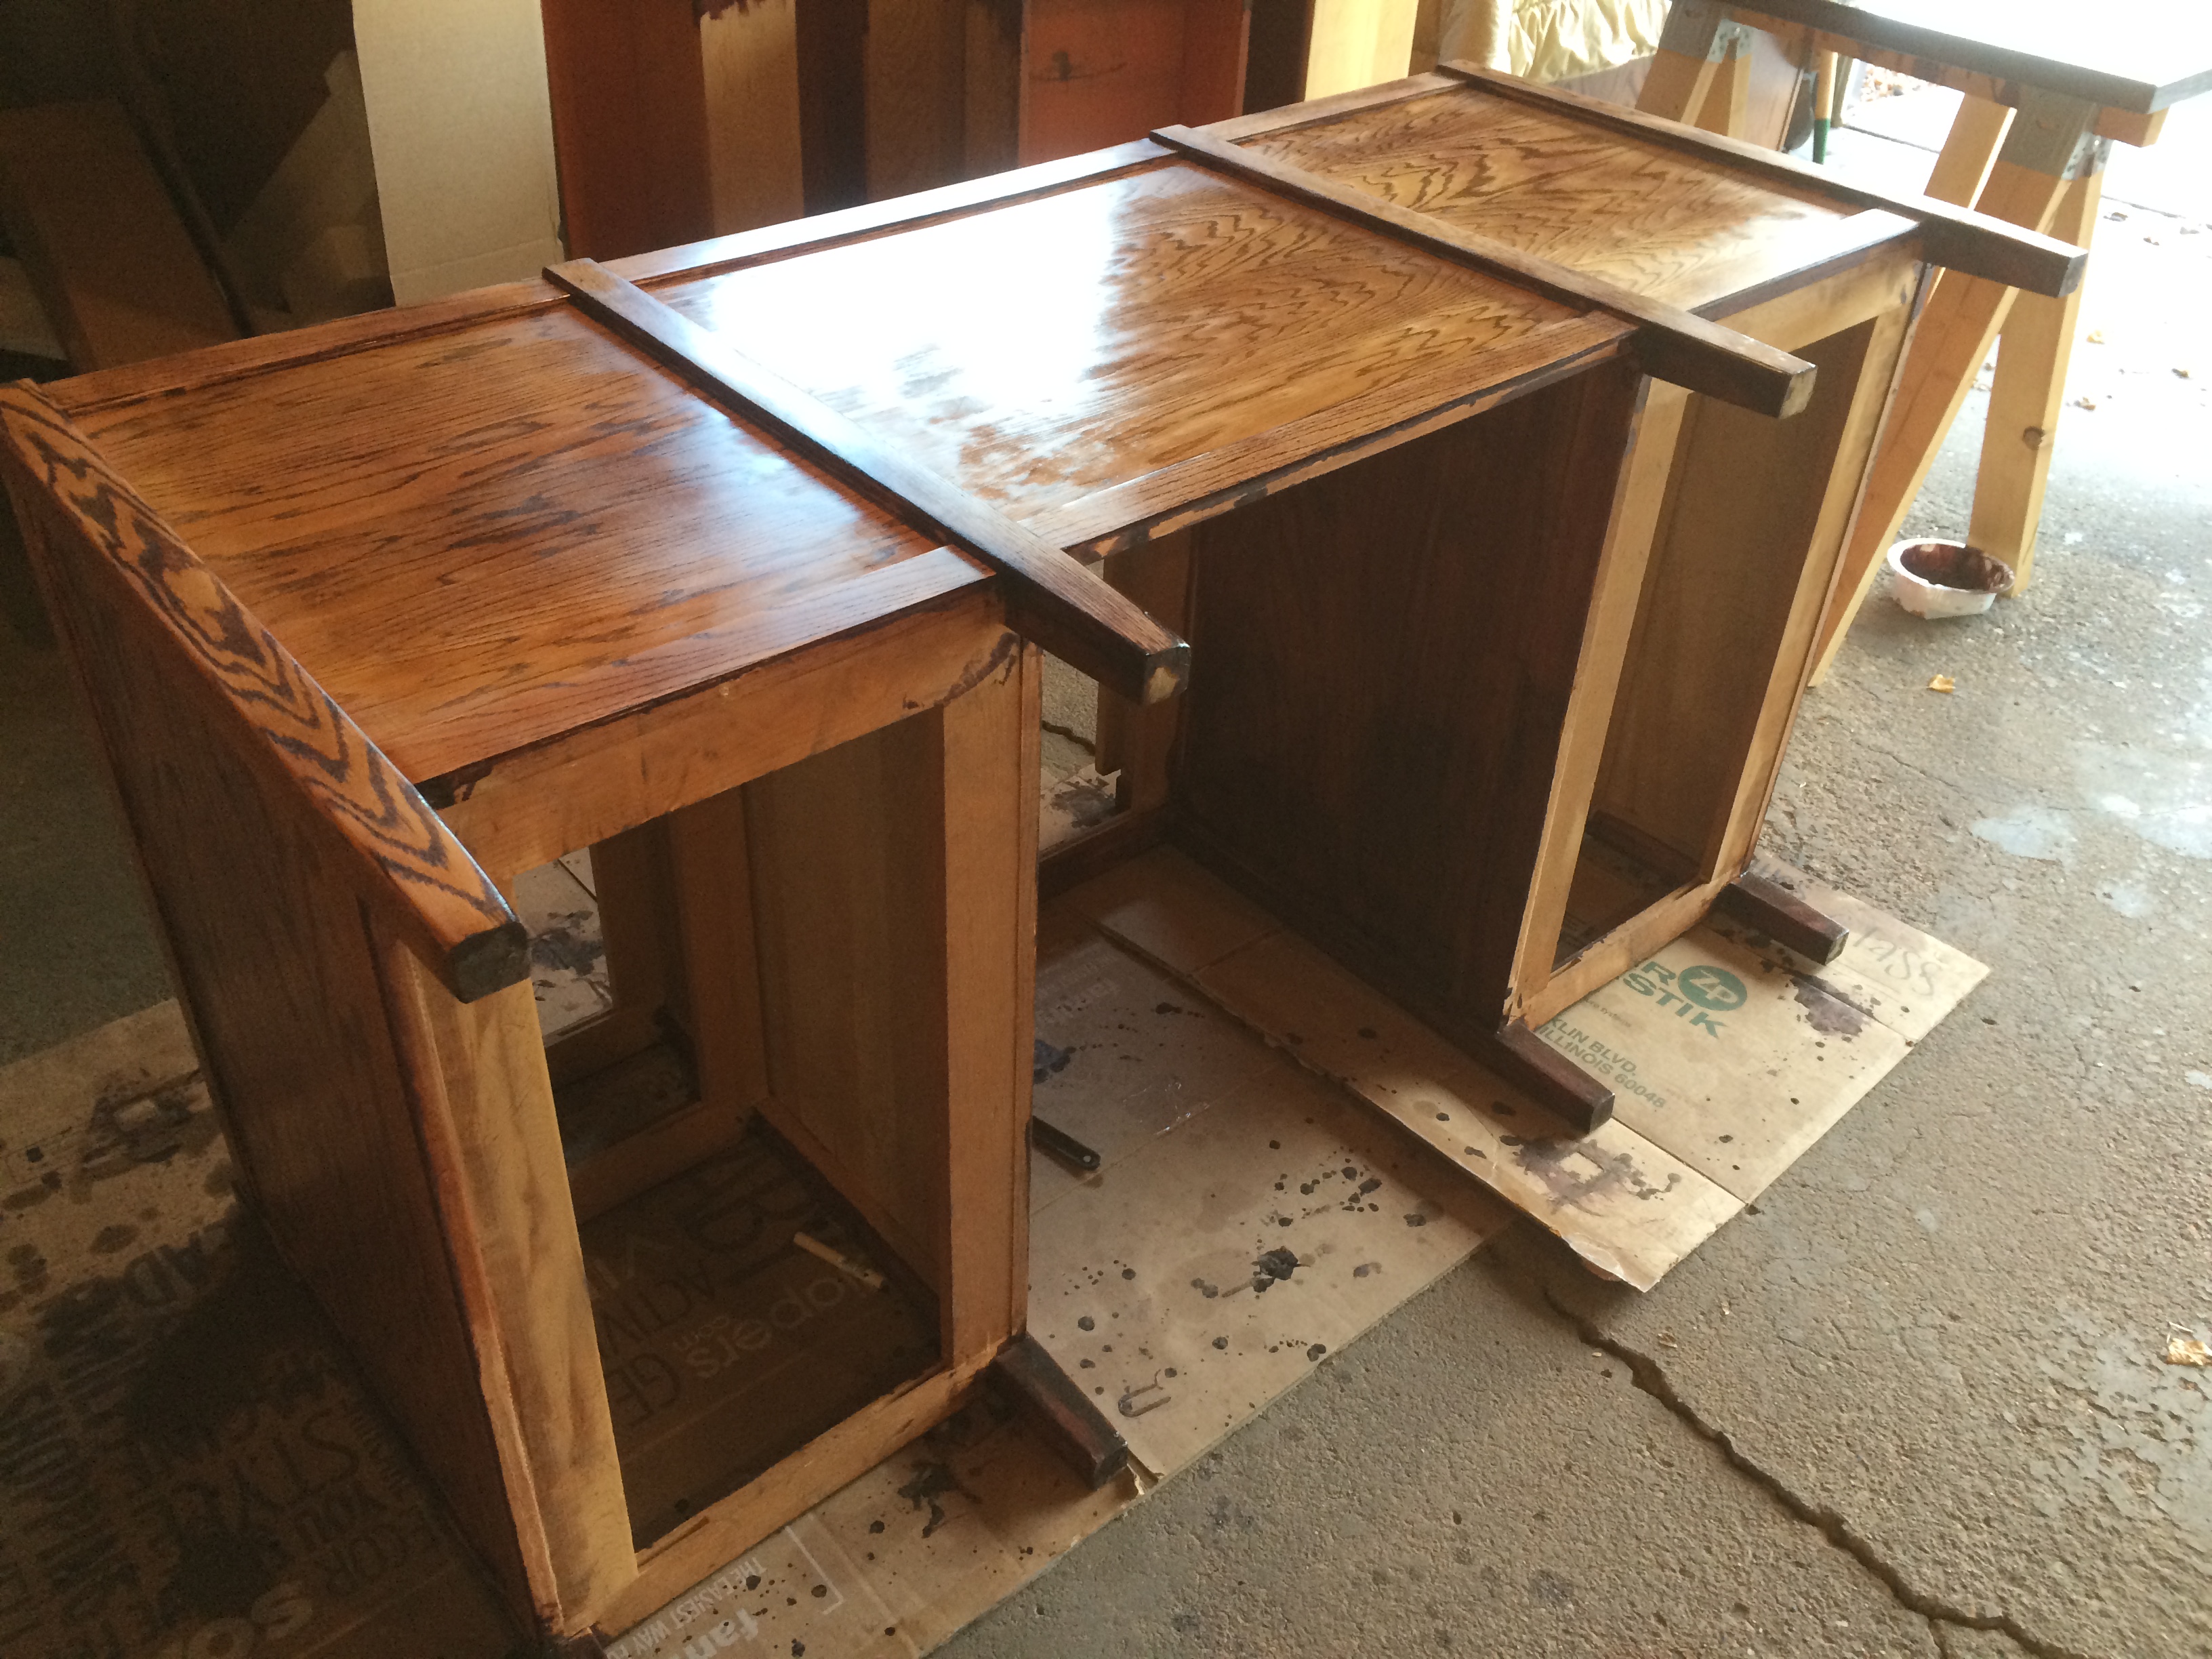
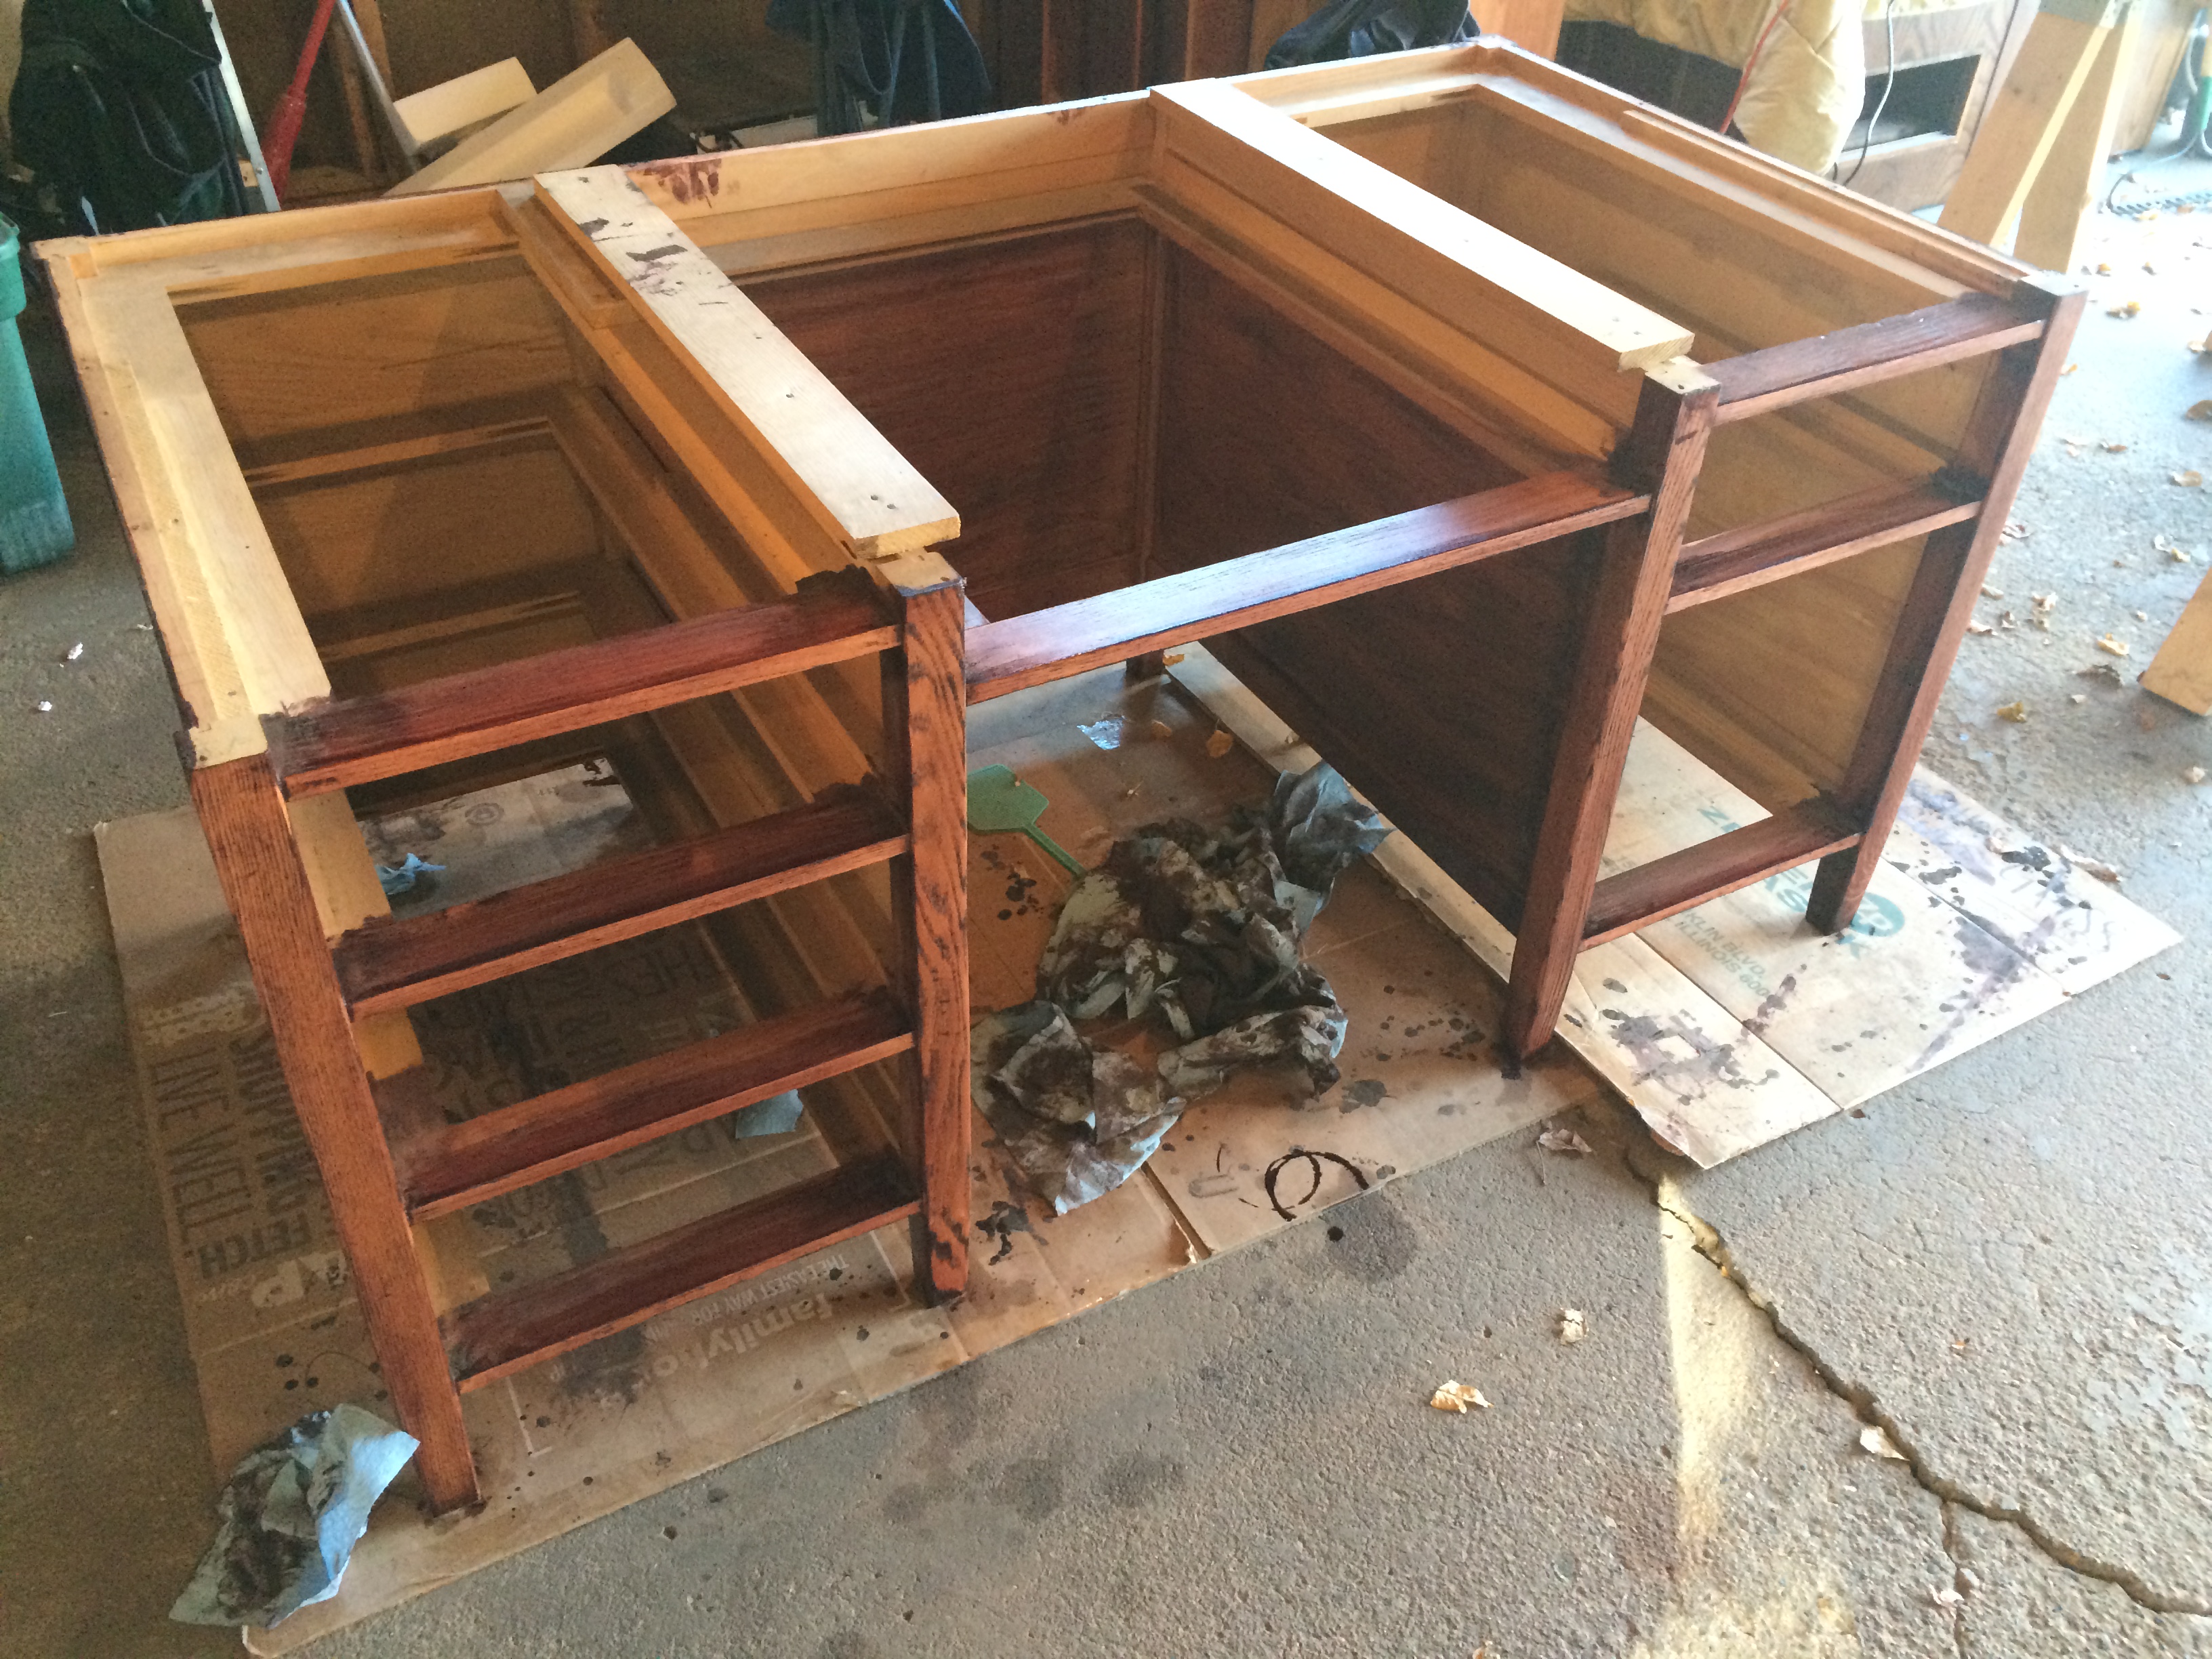
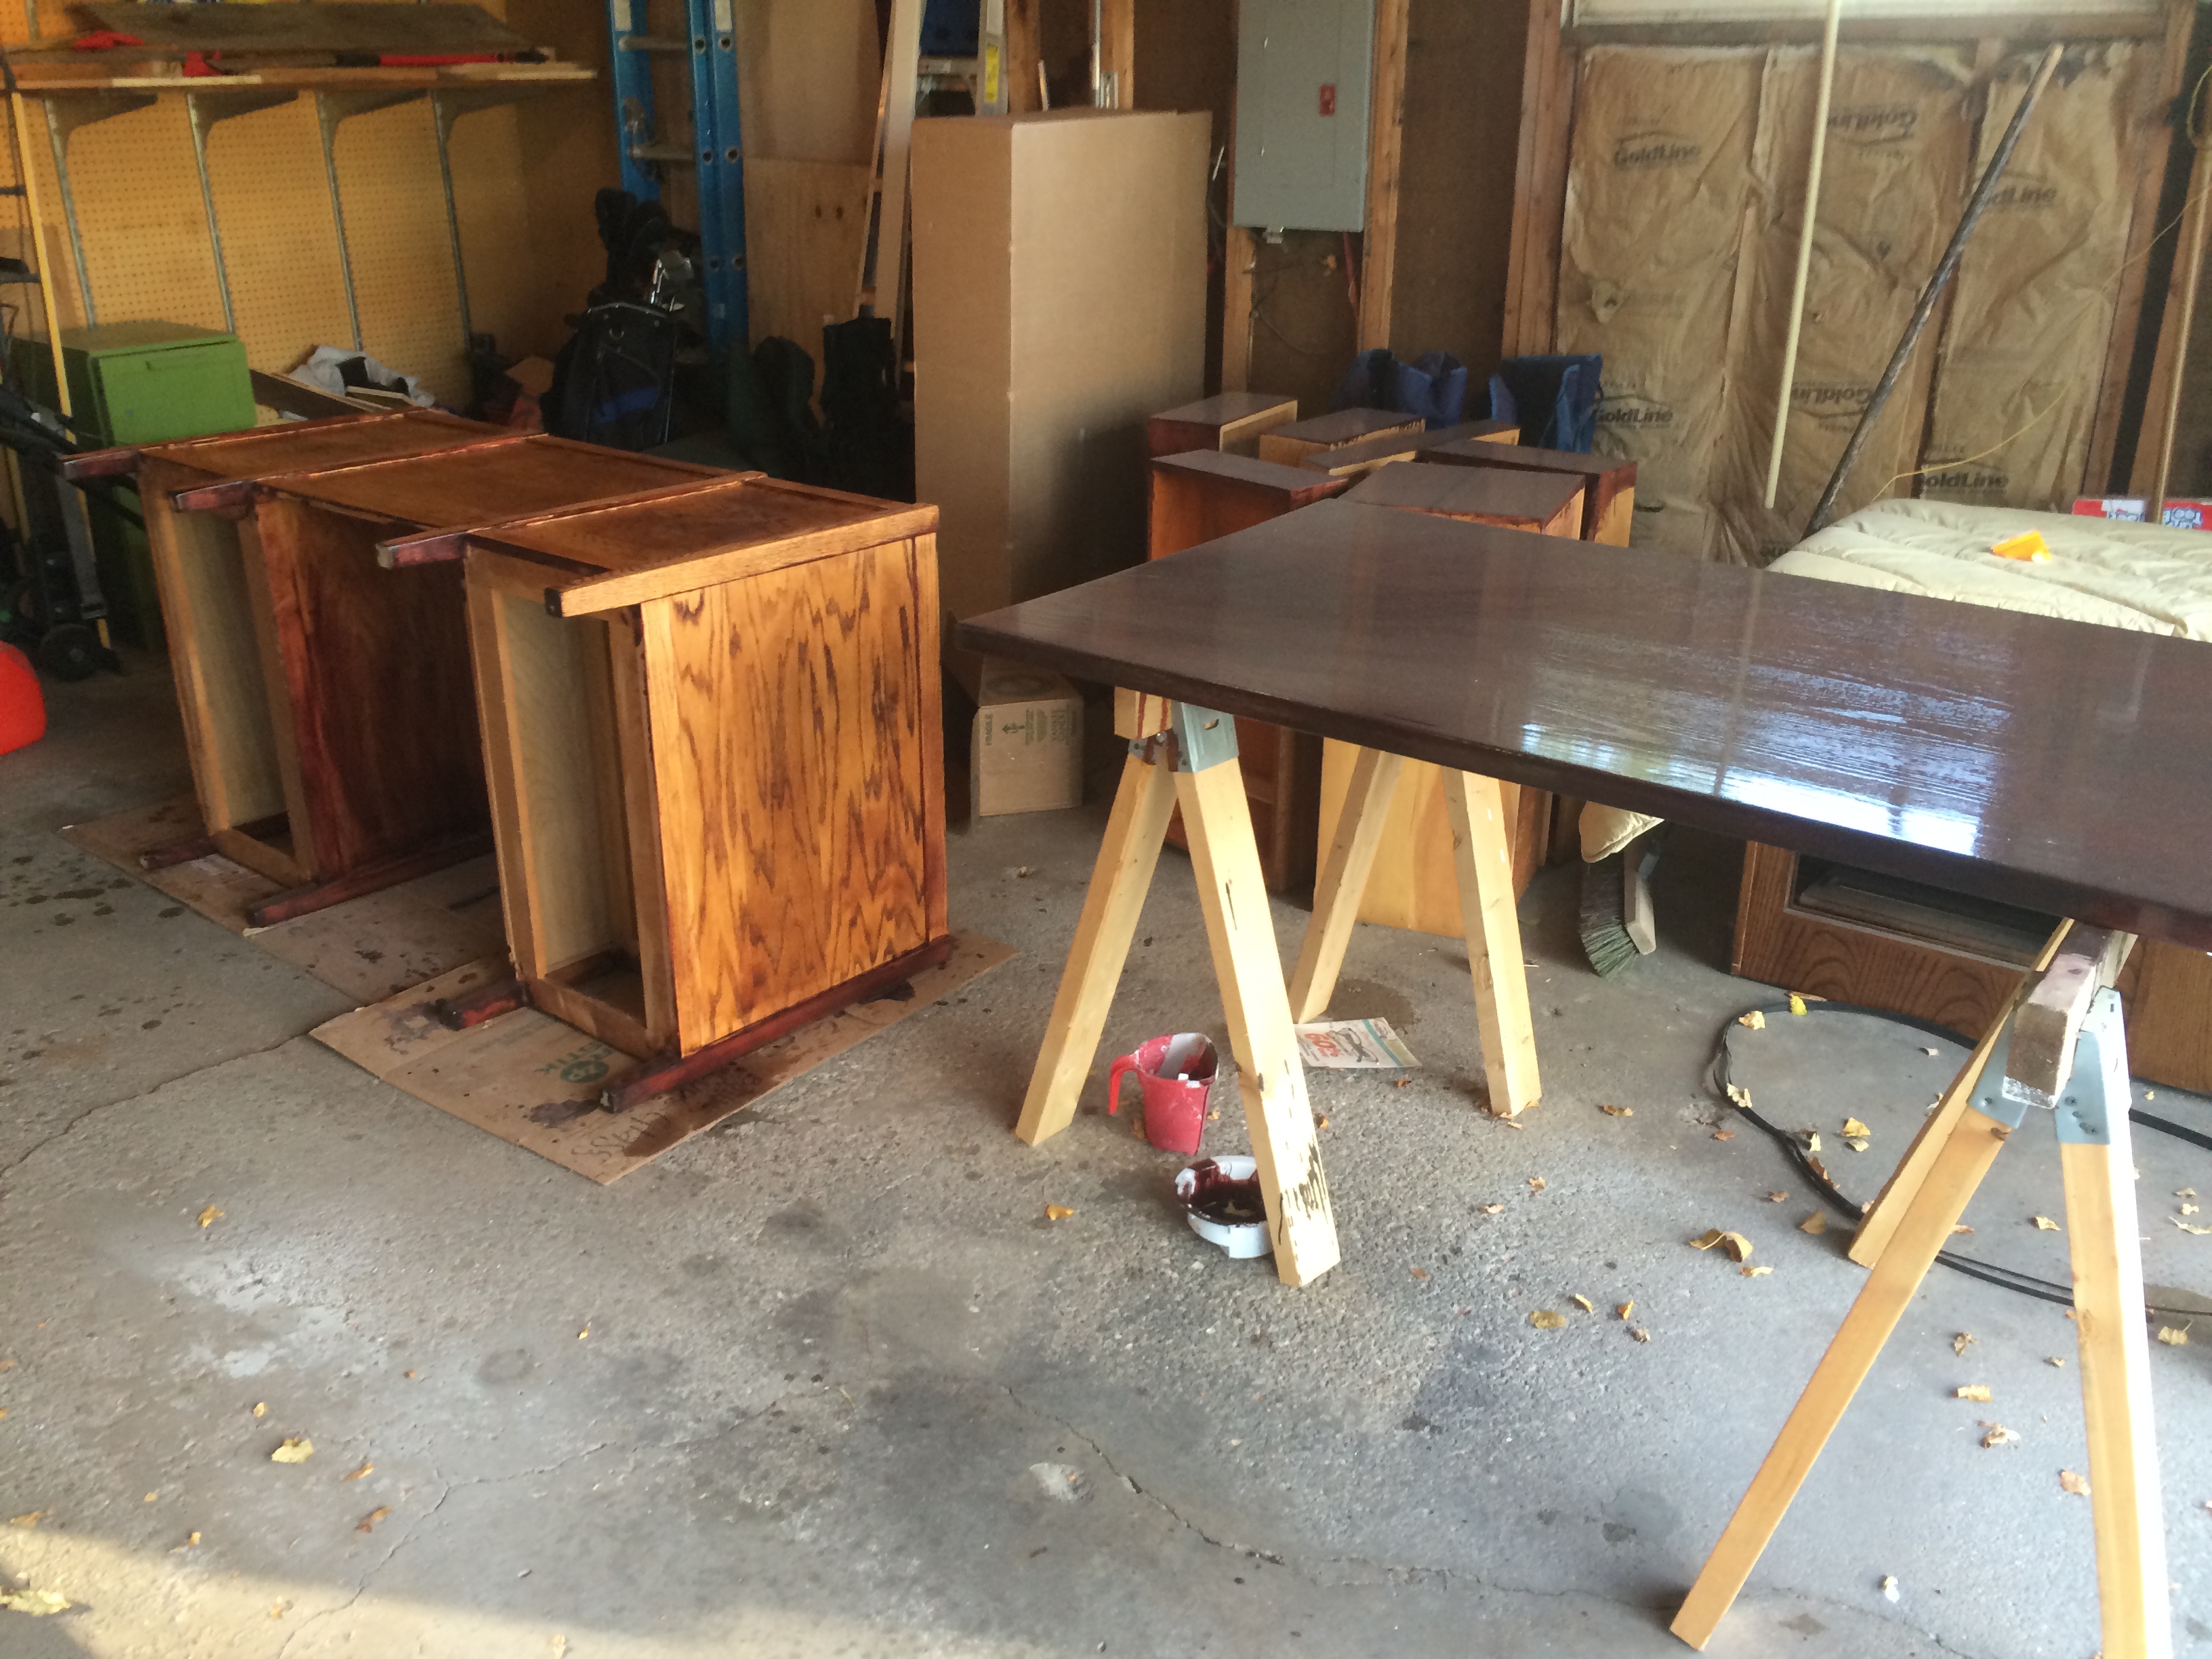
Below is a photo of the desk with all of the drawers taken out with their handles removed. After this photo was taken, we removed the top of the desk and put it on sawhorses to give us easier access to hard-to-reach areas of the desk bottom.

After sanding (which took way longer than anticipated), we applied Minwax pre-stain wood conditioner. This is a trick Mike learned from his dad growing up that will give the stain an even look, and prevent the color from soaking in too much in softer areas of the grain. It’s one more step, but worth it in the end.
![IMG_1296[1]](http://verlohousetohome.com/wp-content/uploads/2014/11/IMG_12961.jpg)
Below is a photo of the desk with pre-stain applied, already looking revitalized.
For the stain, we picked out a red mahogany color, which is very similar to the stain we’ve been using in multiple areas of the house. We went with Cabot brand, found at our local Fleet Farm. Next to the stain in the picture below is the can of fast-drying Polyurethane clear coat that we’ll apply after the stain is completely dry.
![IMG_1295[1]](http://verlohousetohome.com/wp-content/uploads/2014/11/IMG_12951.jpg)
At first, we applied the stain using a foam paintbrush, which was a mistake. ![IMG_0246[1]](http://verlohousetohome.com/wp-content/uploads/2014/11/IMG_02461.jpg)
We’re so accustomed to staining small surfaces with foam brushes and by the time Mike made it all the way around the base, much of it had dried and what was left was a very deep, uneven color.

There may have also been a slight delay due to Mike taking selfies.
Here is a photo of the desk after it was re-sanded and started staining small areas with a rag.
![IMG_0245[1]](http://verlohousetohome.com/wp-content/uploads/2014/11/IMG_02451.jpg)
Top getting first coat of stain.
![IMG_0248[1]](http://verlohousetohome.com/wp-content/uploads/2014/11/IMG_02481.jpg)
I have a personalized apron, like a BOSS.
![IMG_0247[1]](http://verlohousetohome.com/wp-content/uploads/2014/11/IMG_02471.jpg)
Fronts of the drawers getting beautified.
Patience is a virtue.
The giant desk did end up claiming the life of one victim. We gave him a proper burial in the garbage can then re-sanded the area using 220 grit paper.
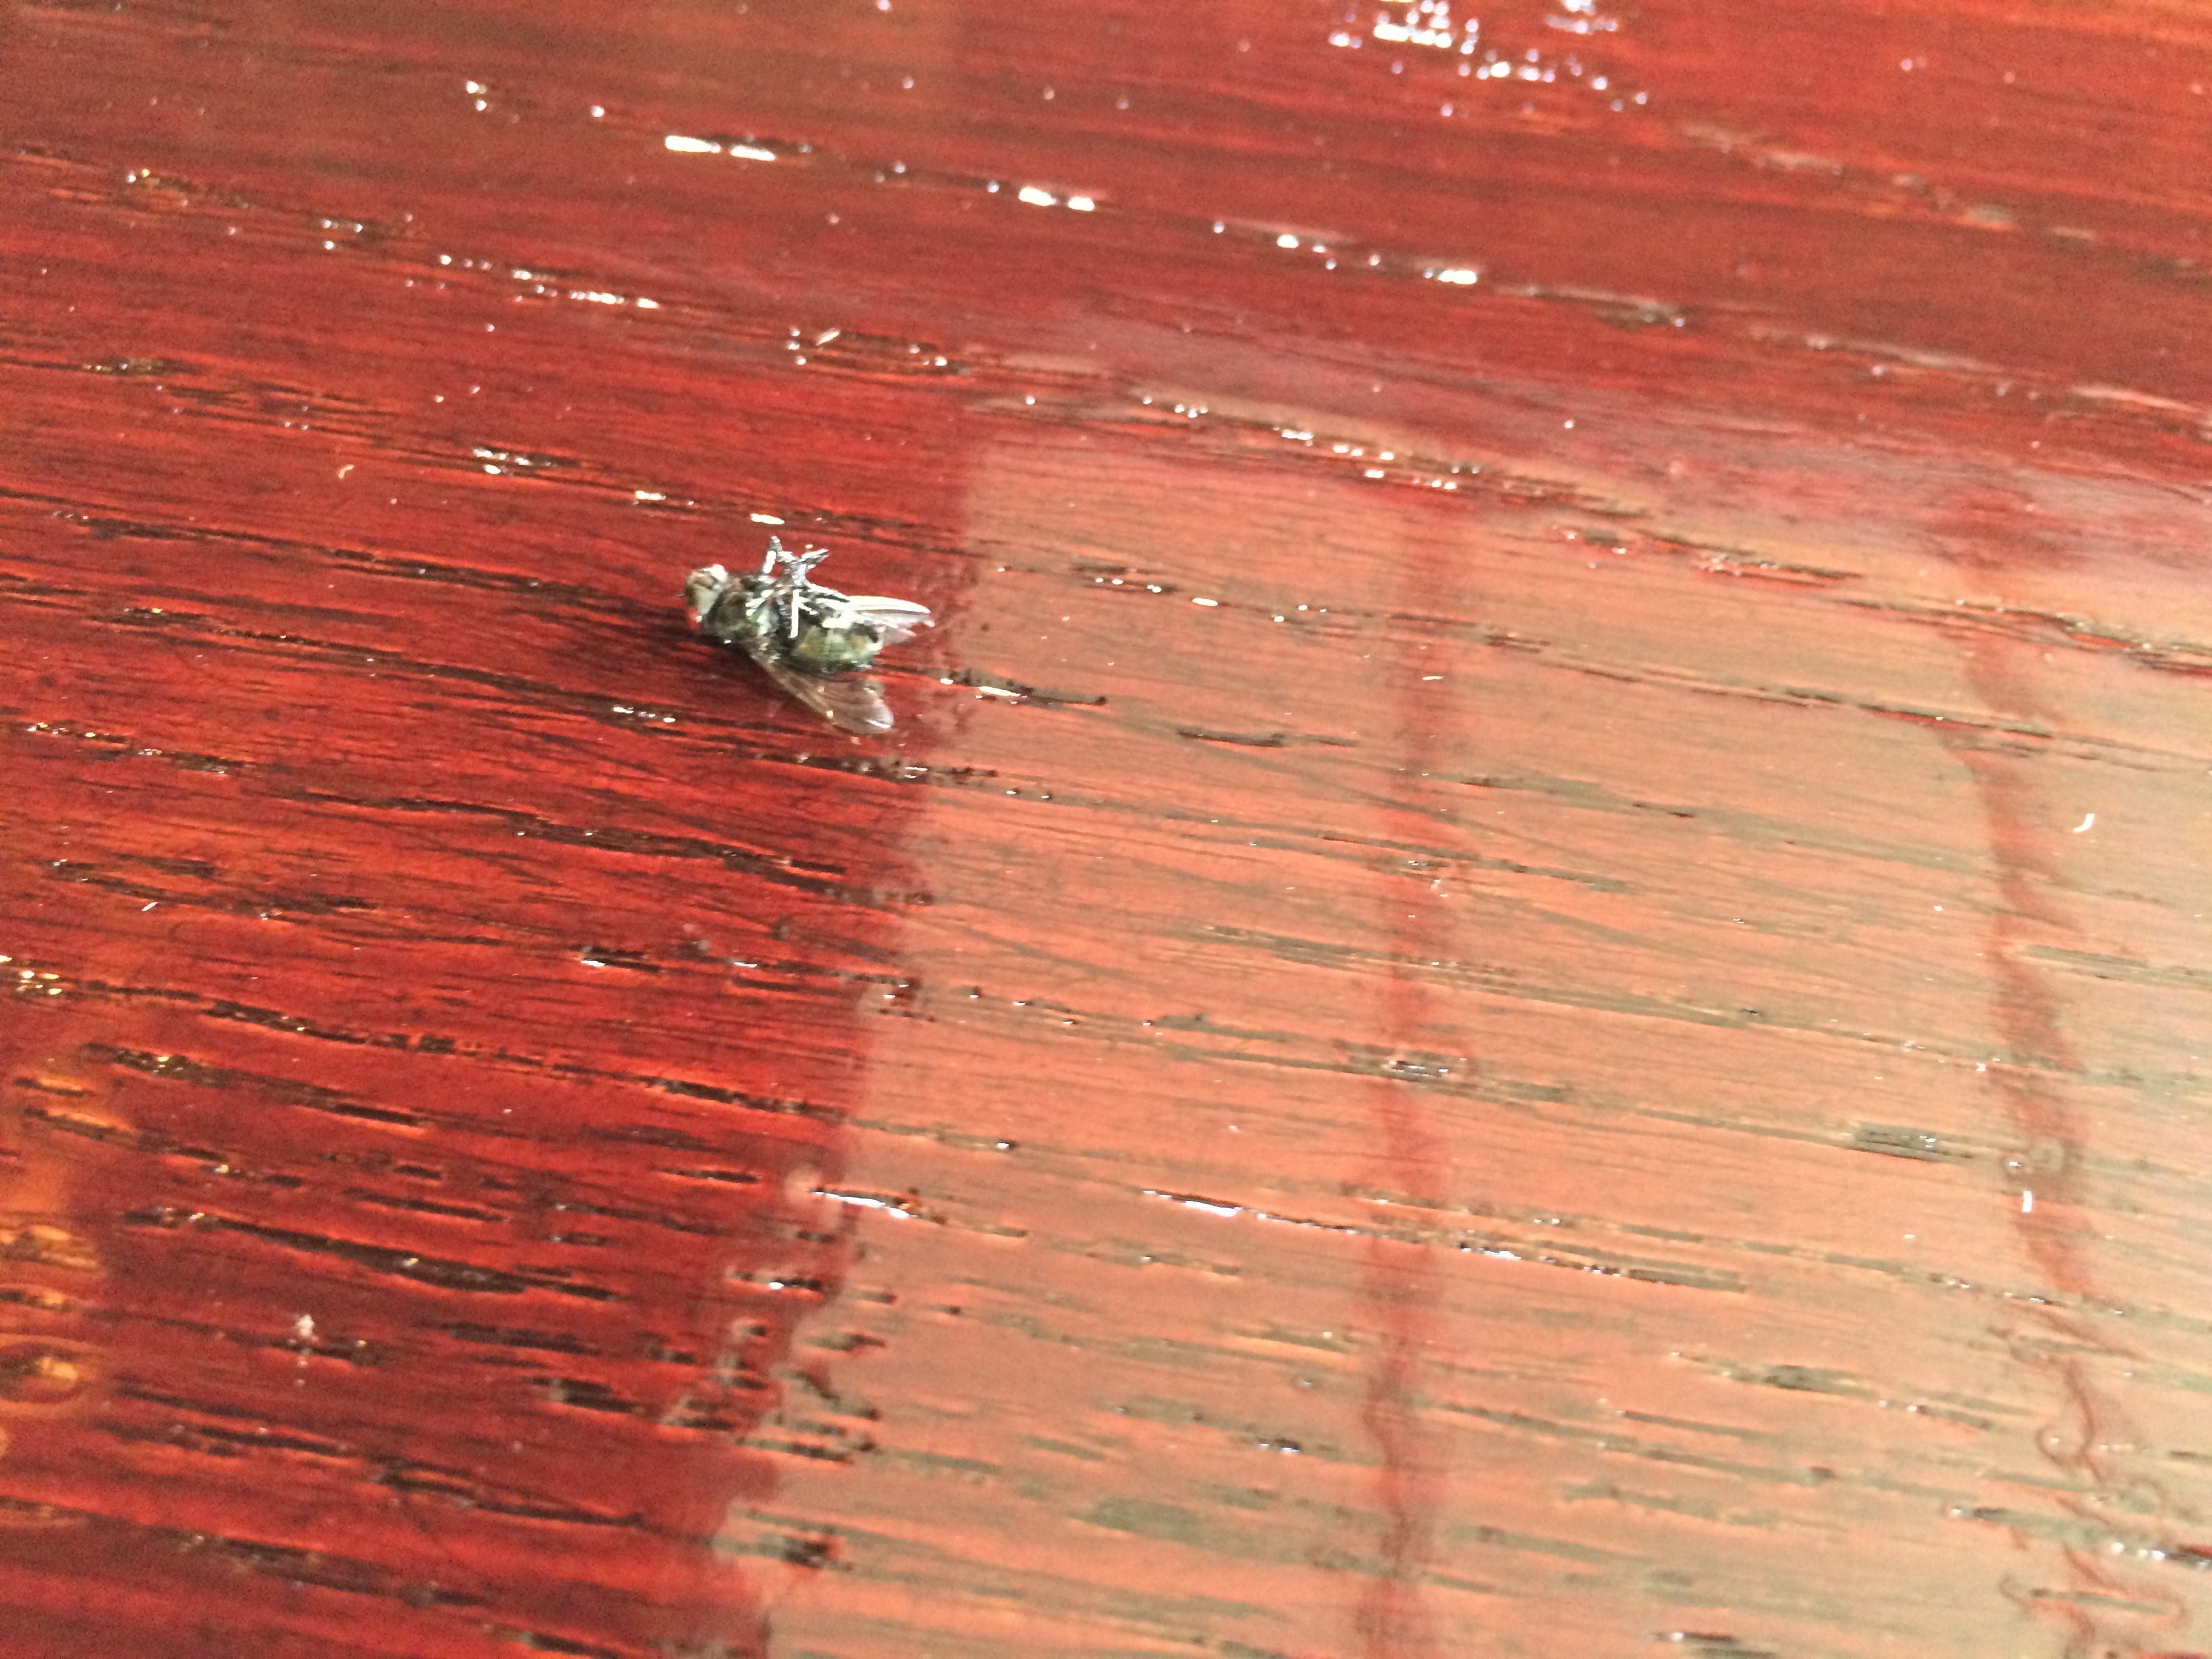
R.I.P. Fly Guy
After all of the clear coats were applied, we carried each individual piece into the house and began putting the desk back together. The desk was so heavy and bulky that carrying it in in pieces was the only option. It wasn’t too much of a hassle, just a little extra dust and dirt in the office that we promptly (within the week *wink*) took care of after everything was back together.
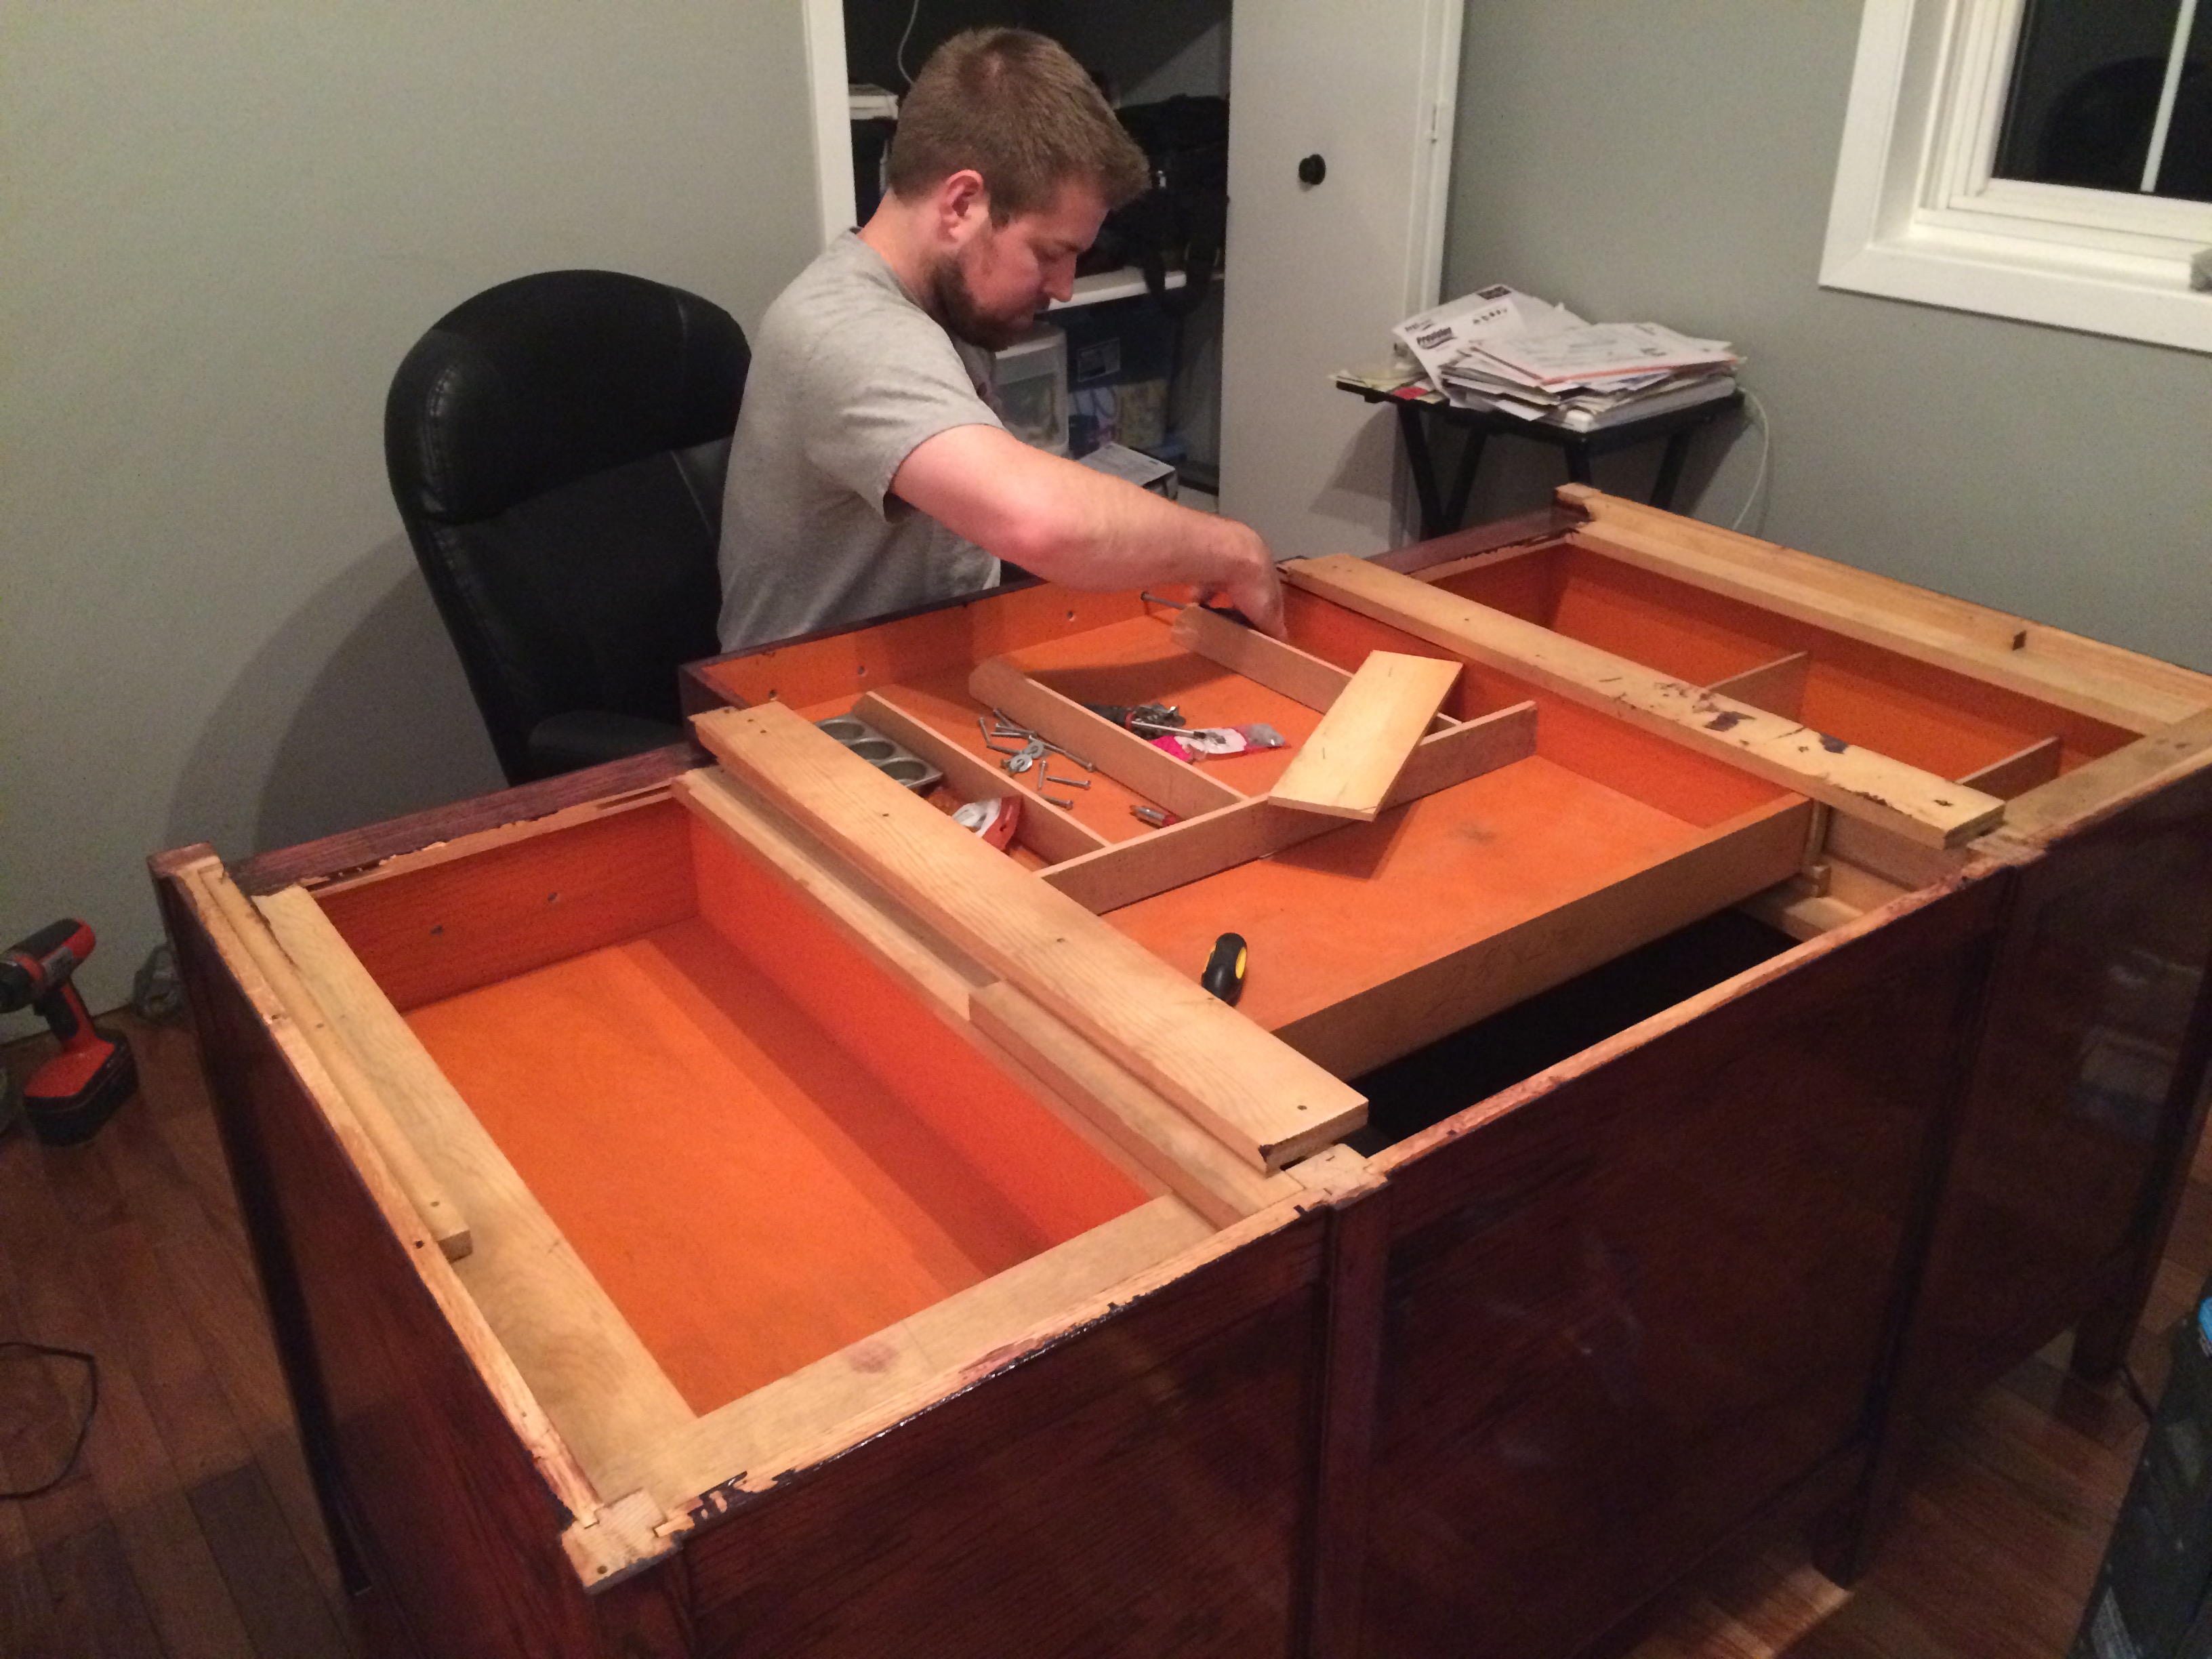
Assembling
We chose silver hardware for the drawers, which have a bulky look that really go well with the masculine feel of the desk as a whole.
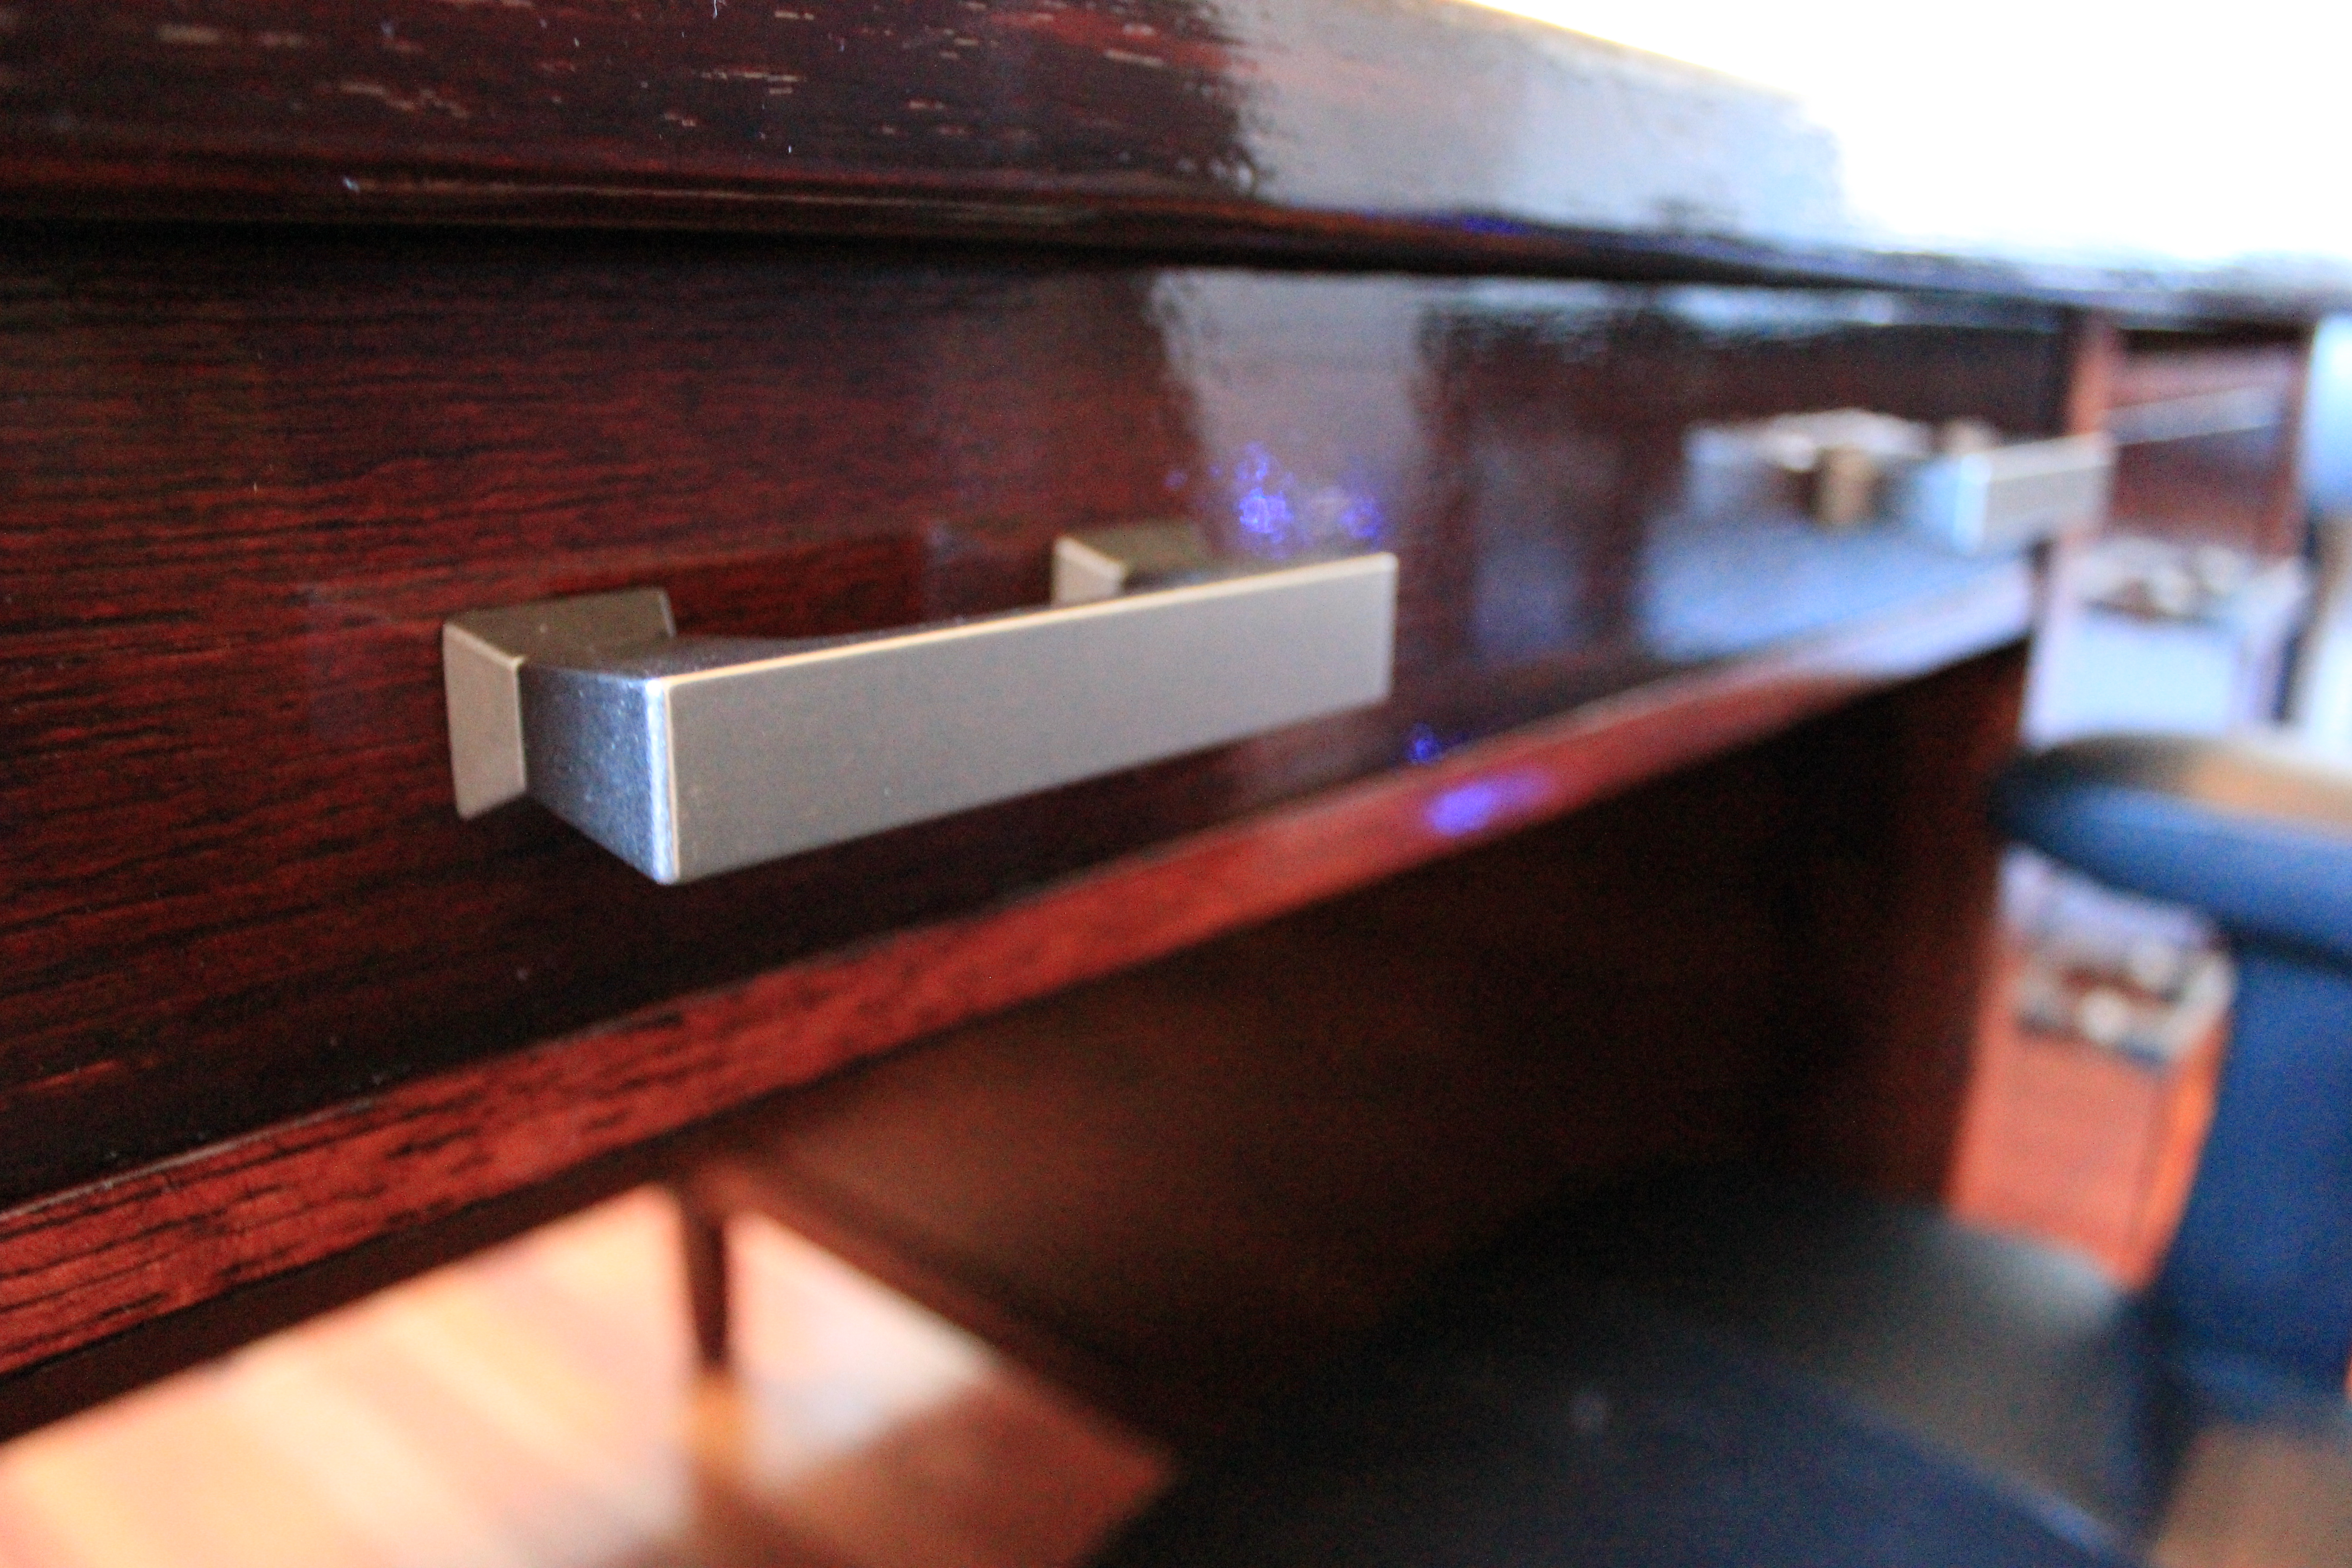
Snazzy.
Before the handles were done, we had one final hurdle to overcome. The two sets of bolts that came with the hardware were either too long or too short for the 3/4in drawers.
![IMG_1299[1]](http://verlohousetohome.com/wp-content/uploads/2014/11/IMG_12991.jpg)
Looks at us, we’re useless.
![IMG_1300[1]](http://verlohousetohome.com/wp-content/uploads/2014/11/IMG_13001.jpg)
Nope, that’s not gonna fly.
![IMG_1302[1]](http://verlohousetohome.com/wp-content/uploads/2014/11/IMG_13021.jpg)
Also, as an added bonus, now that the screws are recessed into the wood, the inside of the drawers are much cleaner looking.
Shiny.
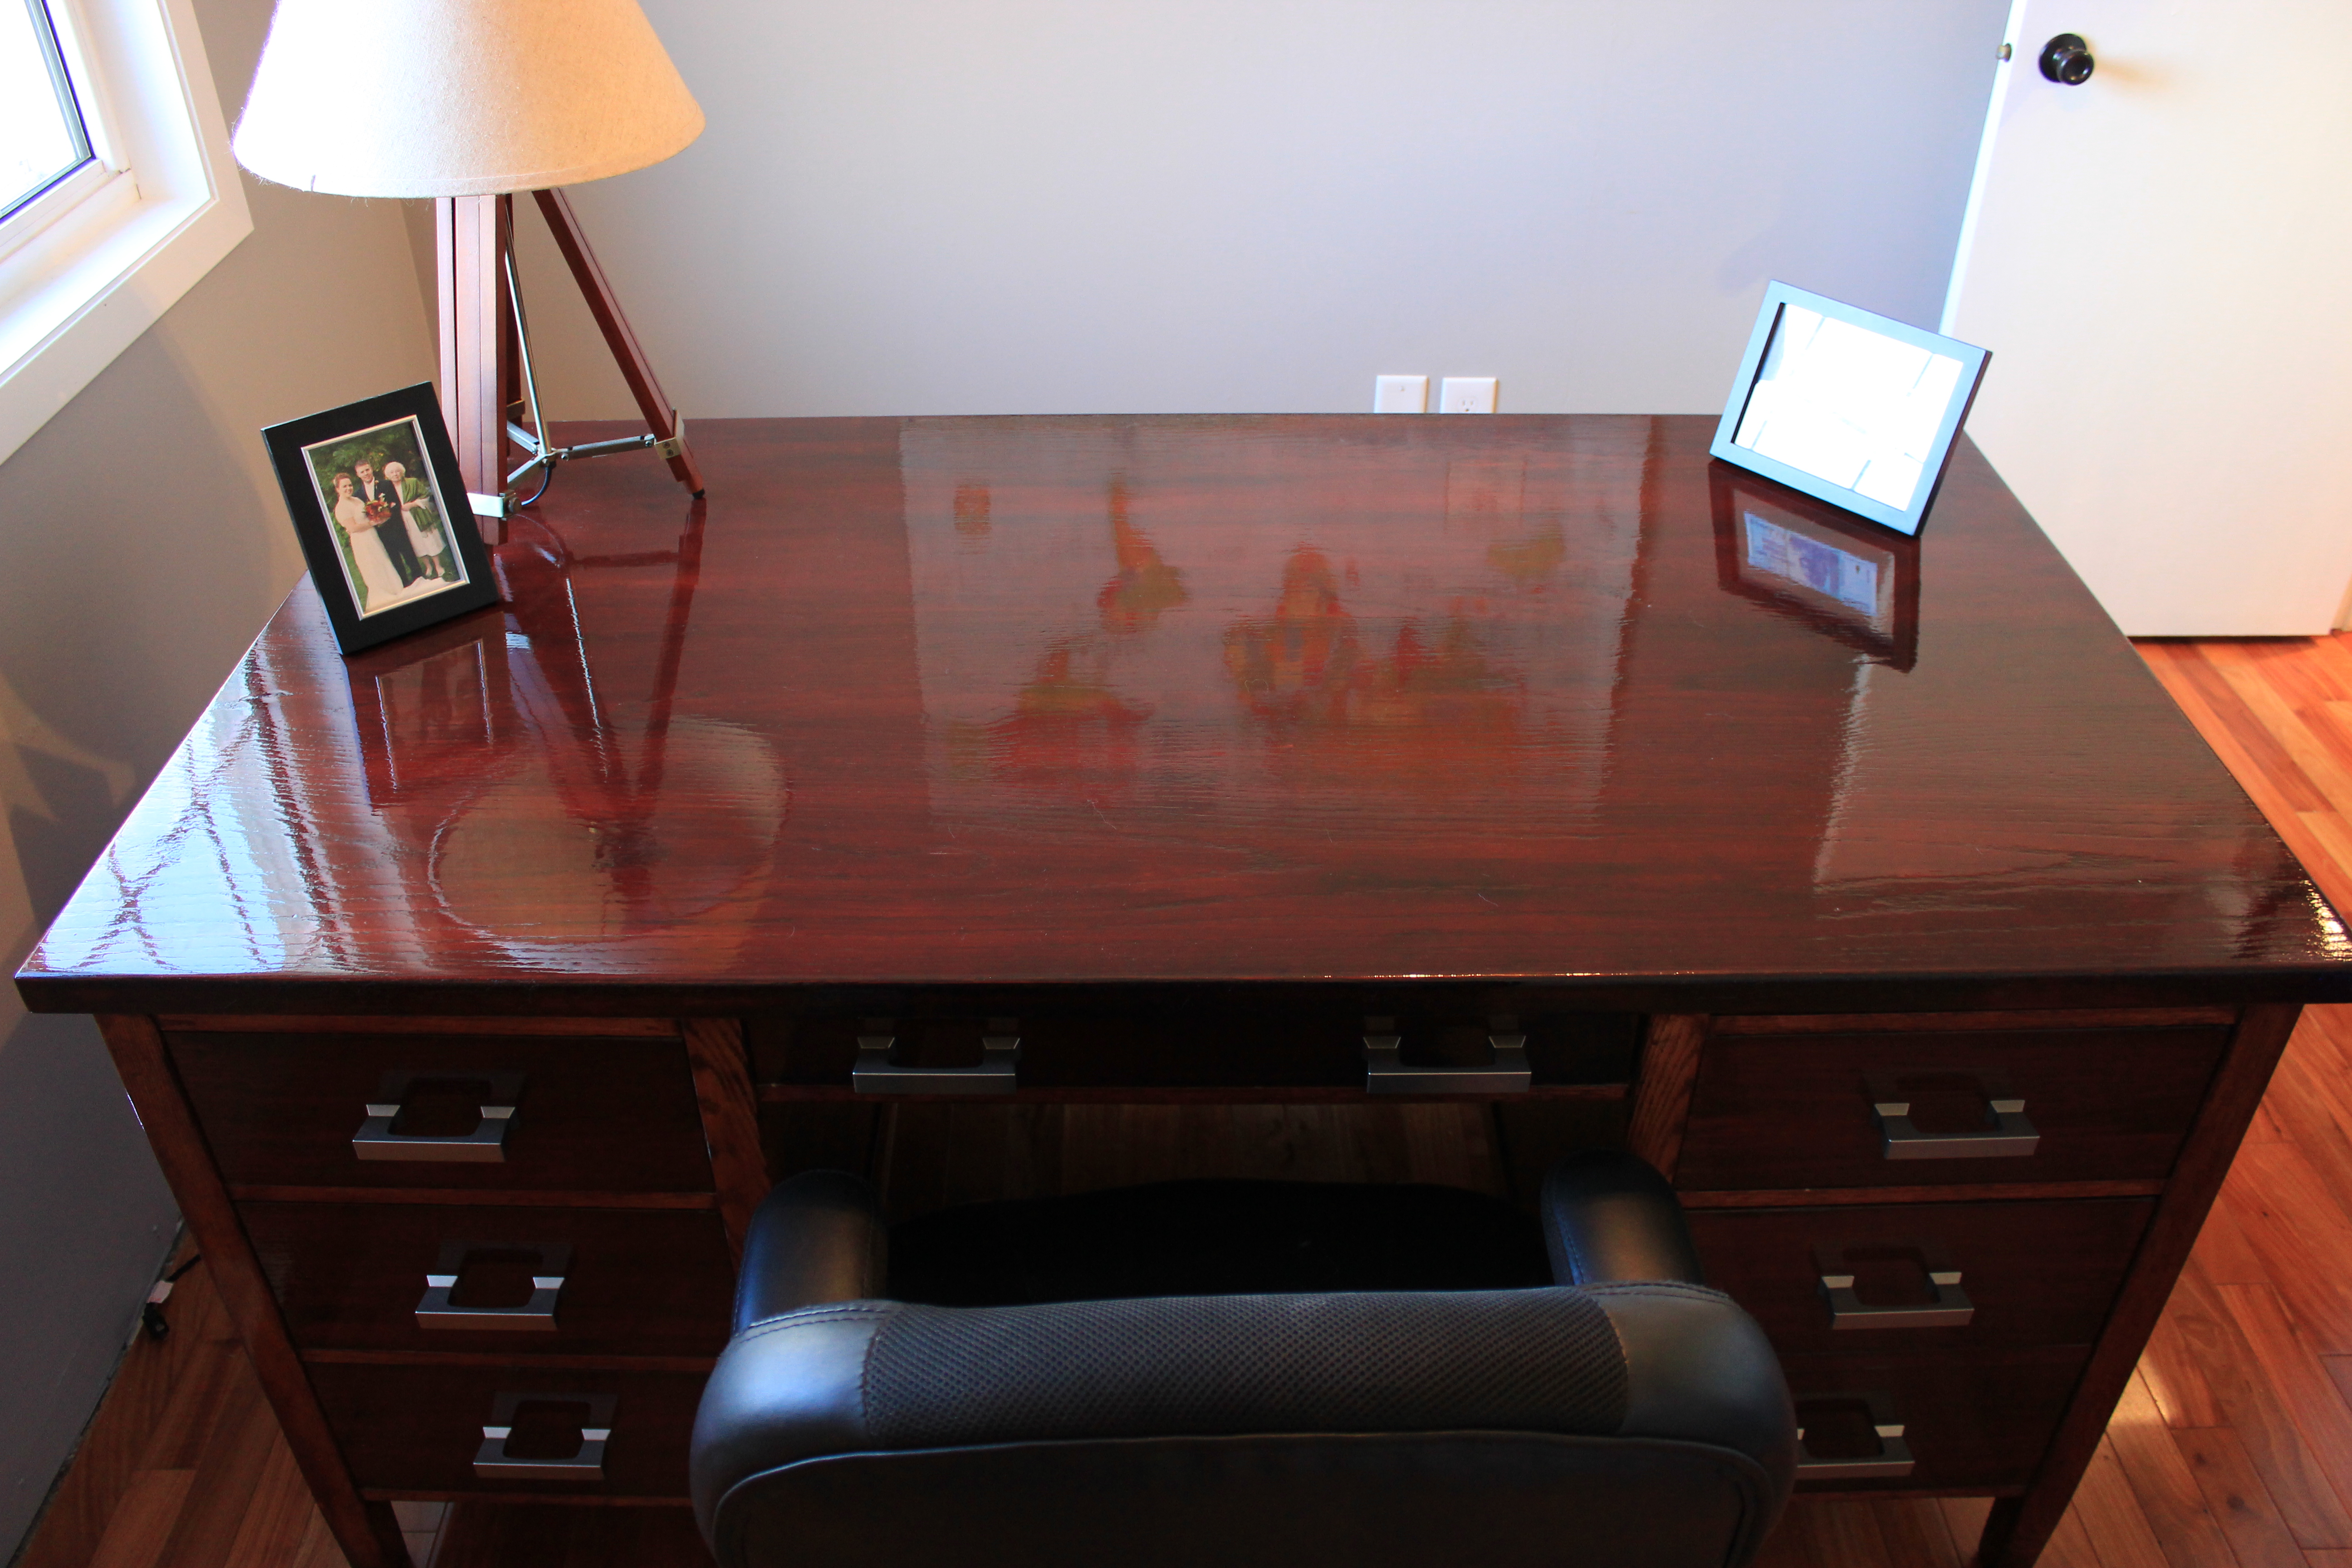
One more angle showing where we decided to place it in the office. The desk is so pretty, we would hate to shove it up against a wall. We have also agreed to keep computers off of the desk and use it for paperwork (taxes, etc.) so as not to cover its beauty.
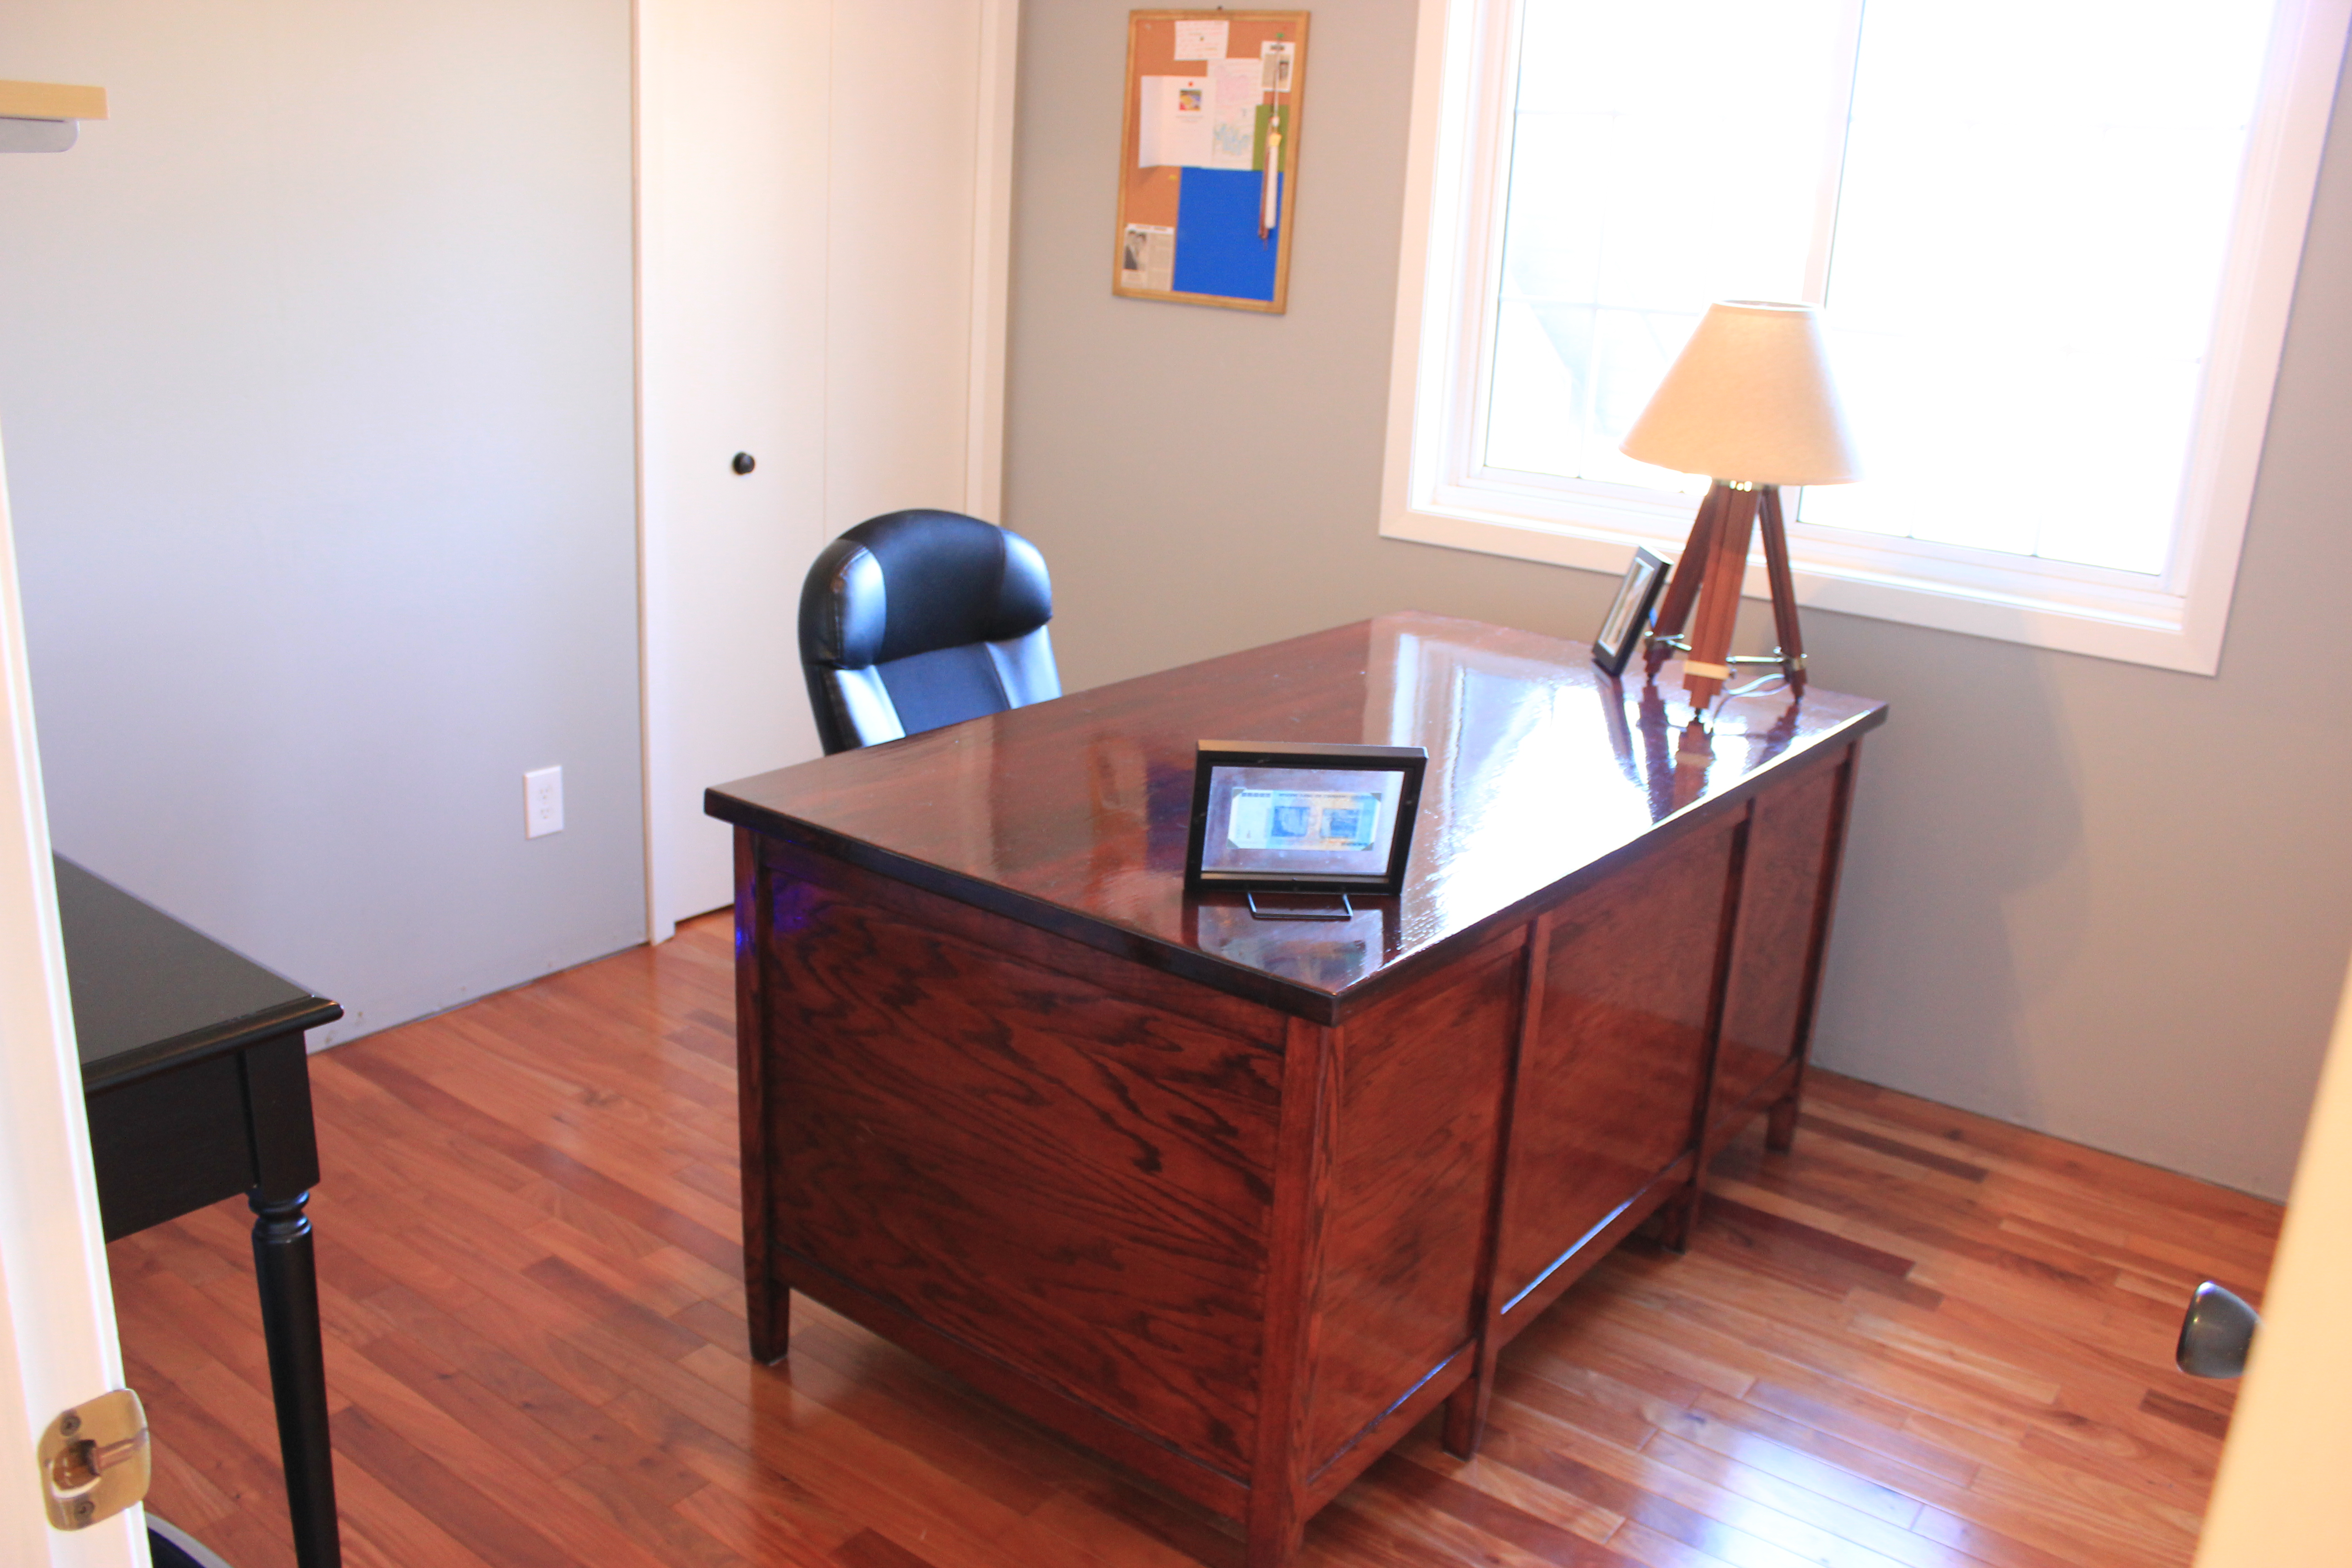
Fancy desk says, “Buy me a rug bitches.”
So in sum, the desk itself was probably the least expensive part of the DIY. We love the way it turned out, another project that took much longer than anticipated but totally worth it in the end!
Thanks so much for stopping by our blog!