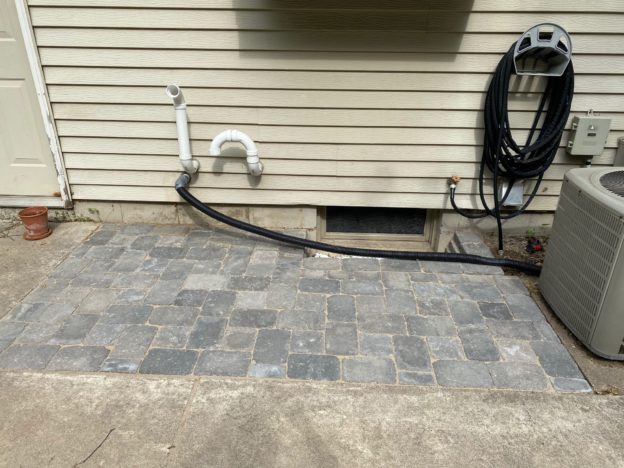
Welcome to the jungle behind our house! For years, this is where the weeds would call home. This year, I decided to do something about it, and replace the unsightly window well in the process.
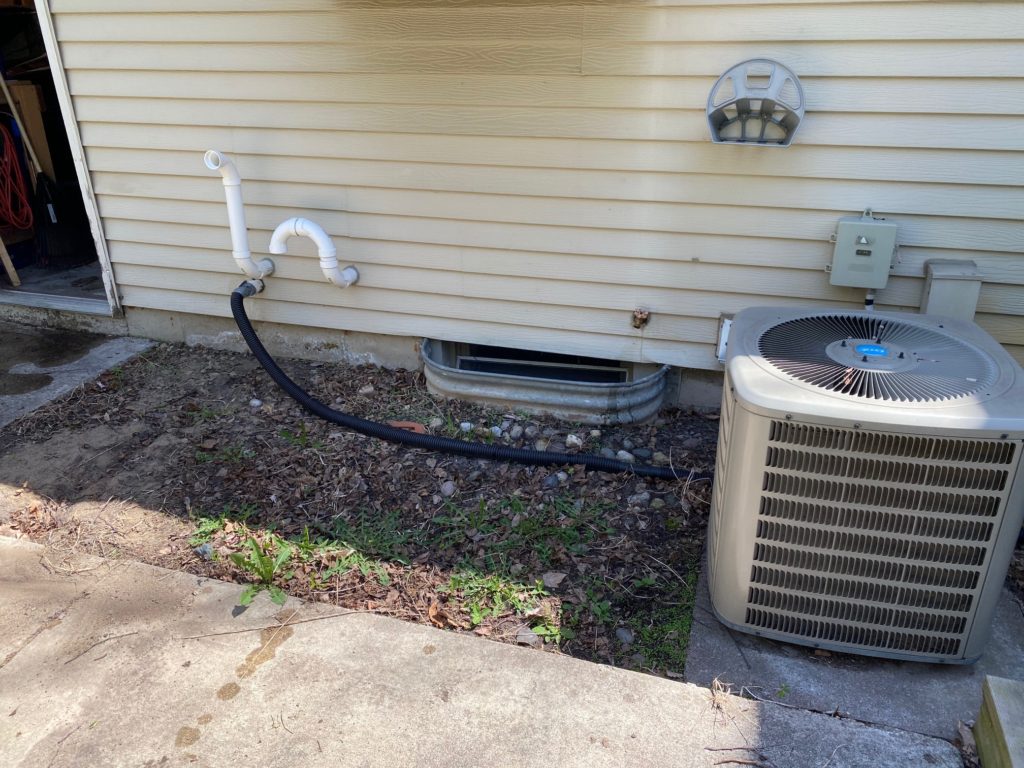
This project began, like many yard projects, with a shovel. I dug a hole around the steel window well, and pulled it out.

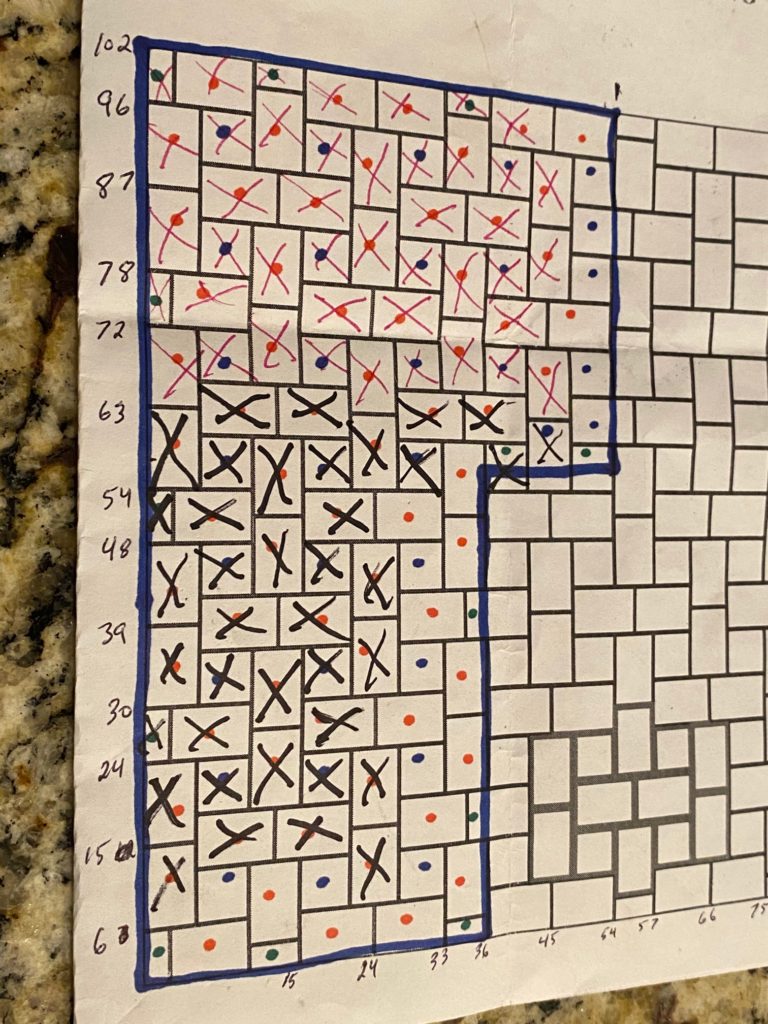
Next, I dug a little deeper, then put down “paver base,” which is a sand-gravel mix that I bought at Menards. I compacted the base layer, then started laying my bricks.
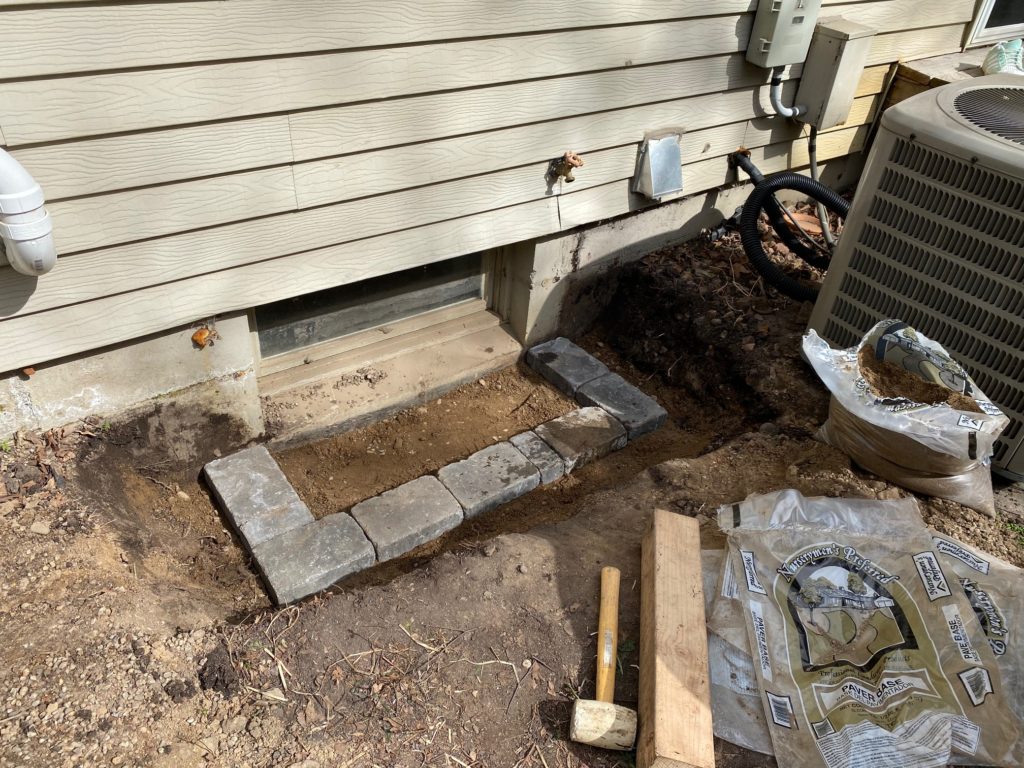
The window well bricks are spaced out 1/2″ further each layer, and are held together with landscape block construction adhesive.
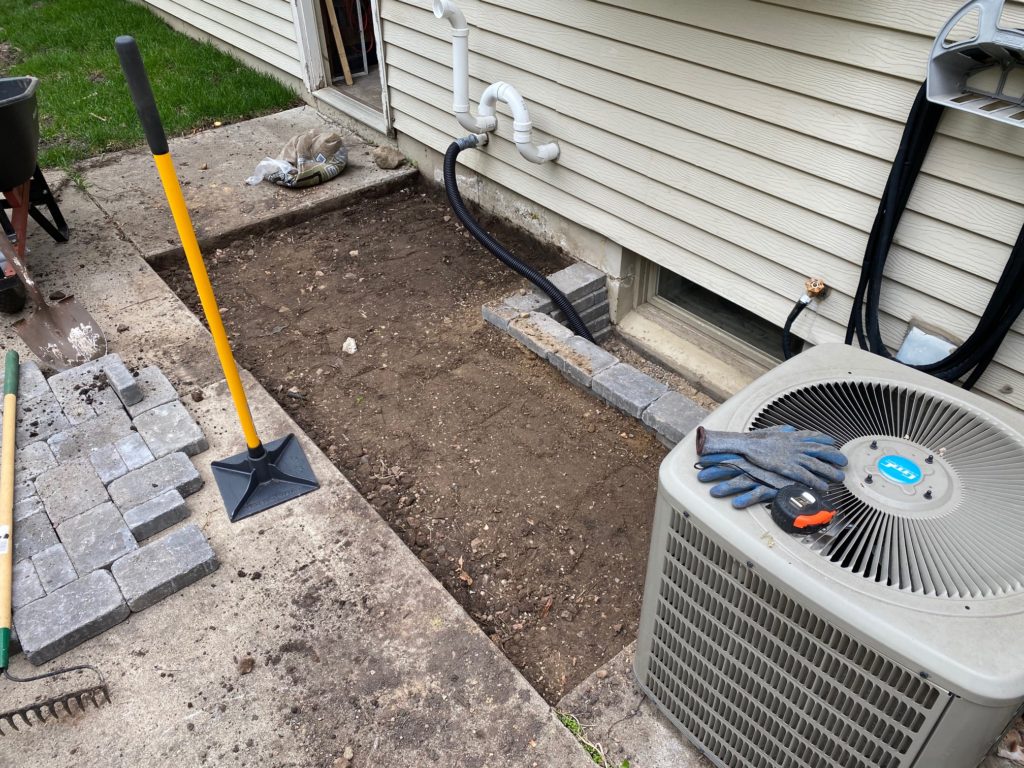
After creating the window well, I dug out 5″ deep all around the area where pavers would be placed. I needed to go 5″ deep, because I needed 3″ of paver base and the bricks themselves are 2″ deep.
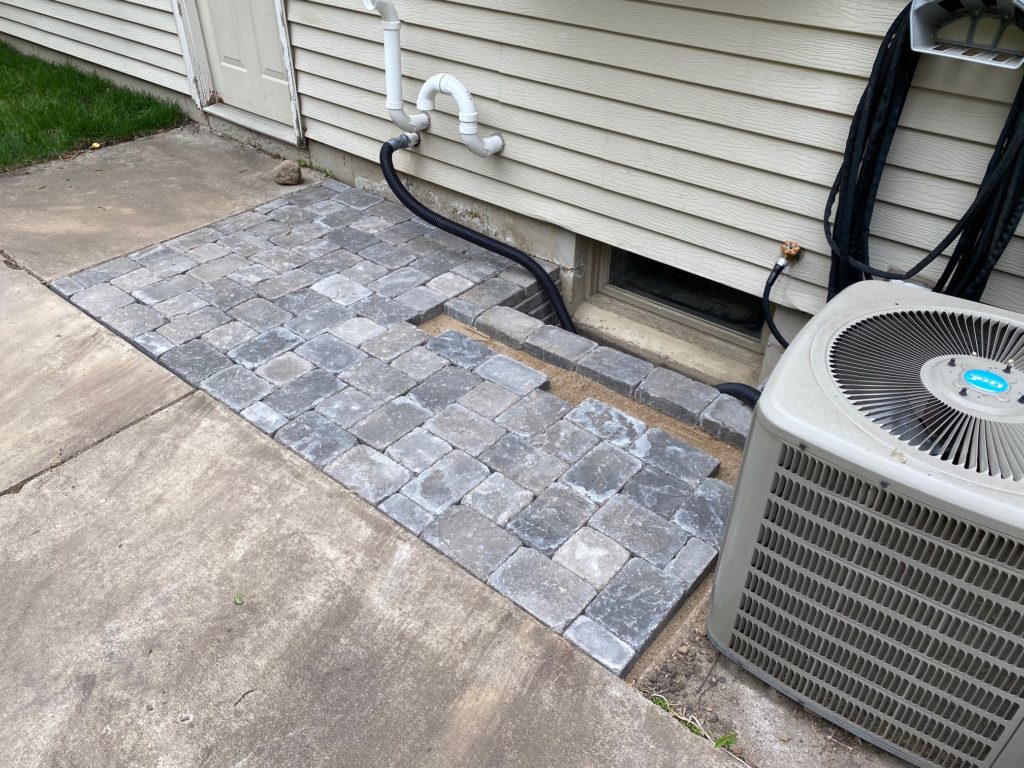
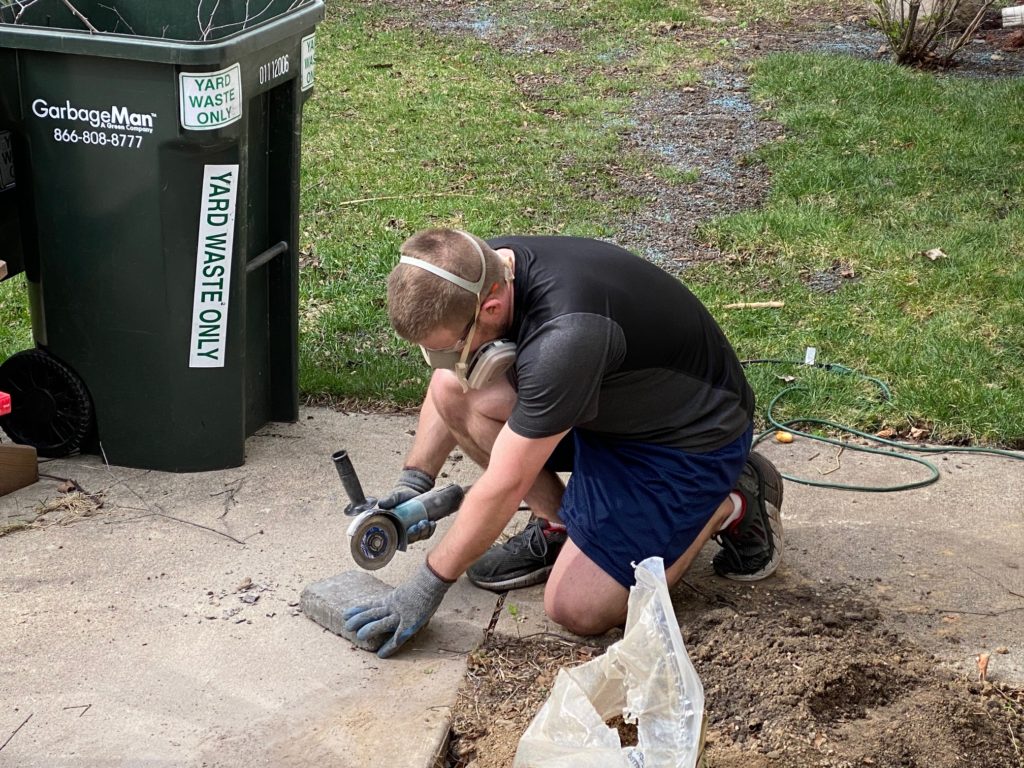
I was surprised at how easily the pavers went into place. I have always heard that the hardest part of making a patio is the preparation, and good prep certainly made the rest of the process very easy!
We finished the project by putting polymeric sand in the cracks (when mixed with water, it bonds together, preventing weeds from growing)

We’re very happy with the results. Maybe someday, we will get rid of the cement patio and expand it further!
Thanks for reading!
-Mike