We need to take a moment and thank our parents for all that they do. Our parents have been so wonderfully supportive through this whole home-buying process. Helping us move, cooking us meals, priming rooms, the list goes on and on and on! Thank you for all you have done for us, we are so lucky to have such wonderful families who are always there for us.
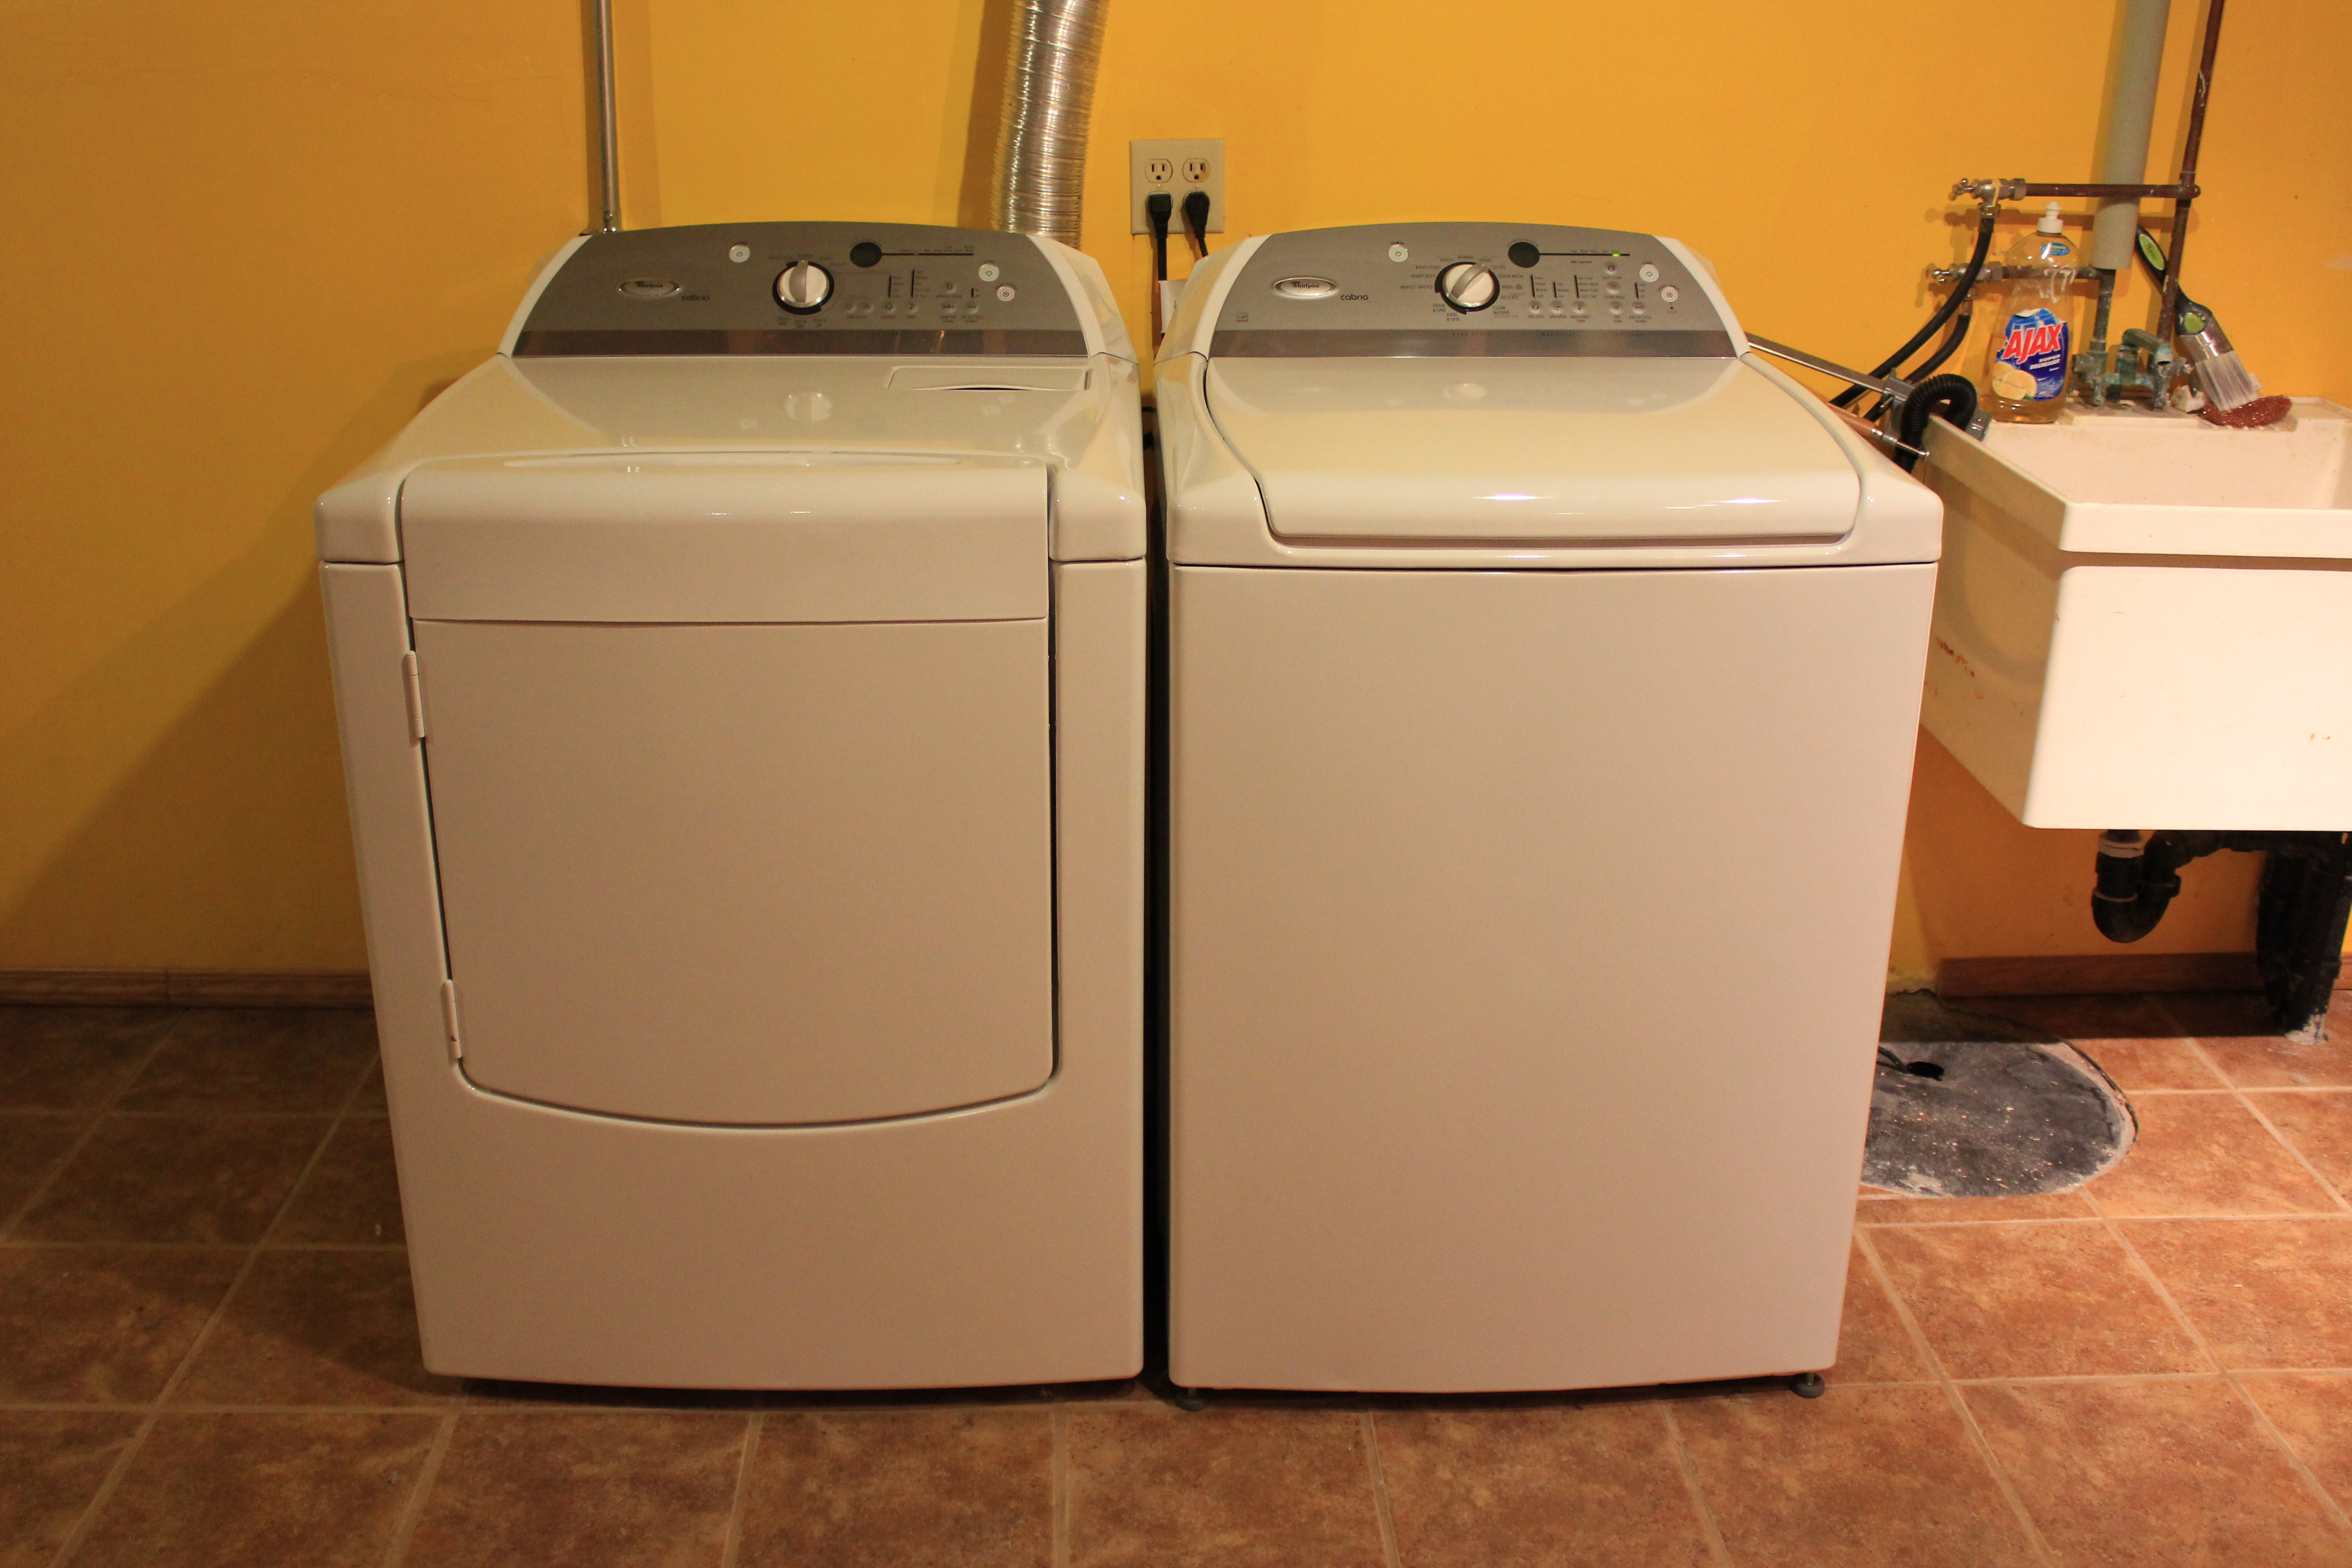
This particular post profiles (Sara’s Parents) Gary and Cindy Nelson’s hand-me-down electric washer/dryer set that they gifted us when we purchased this home.
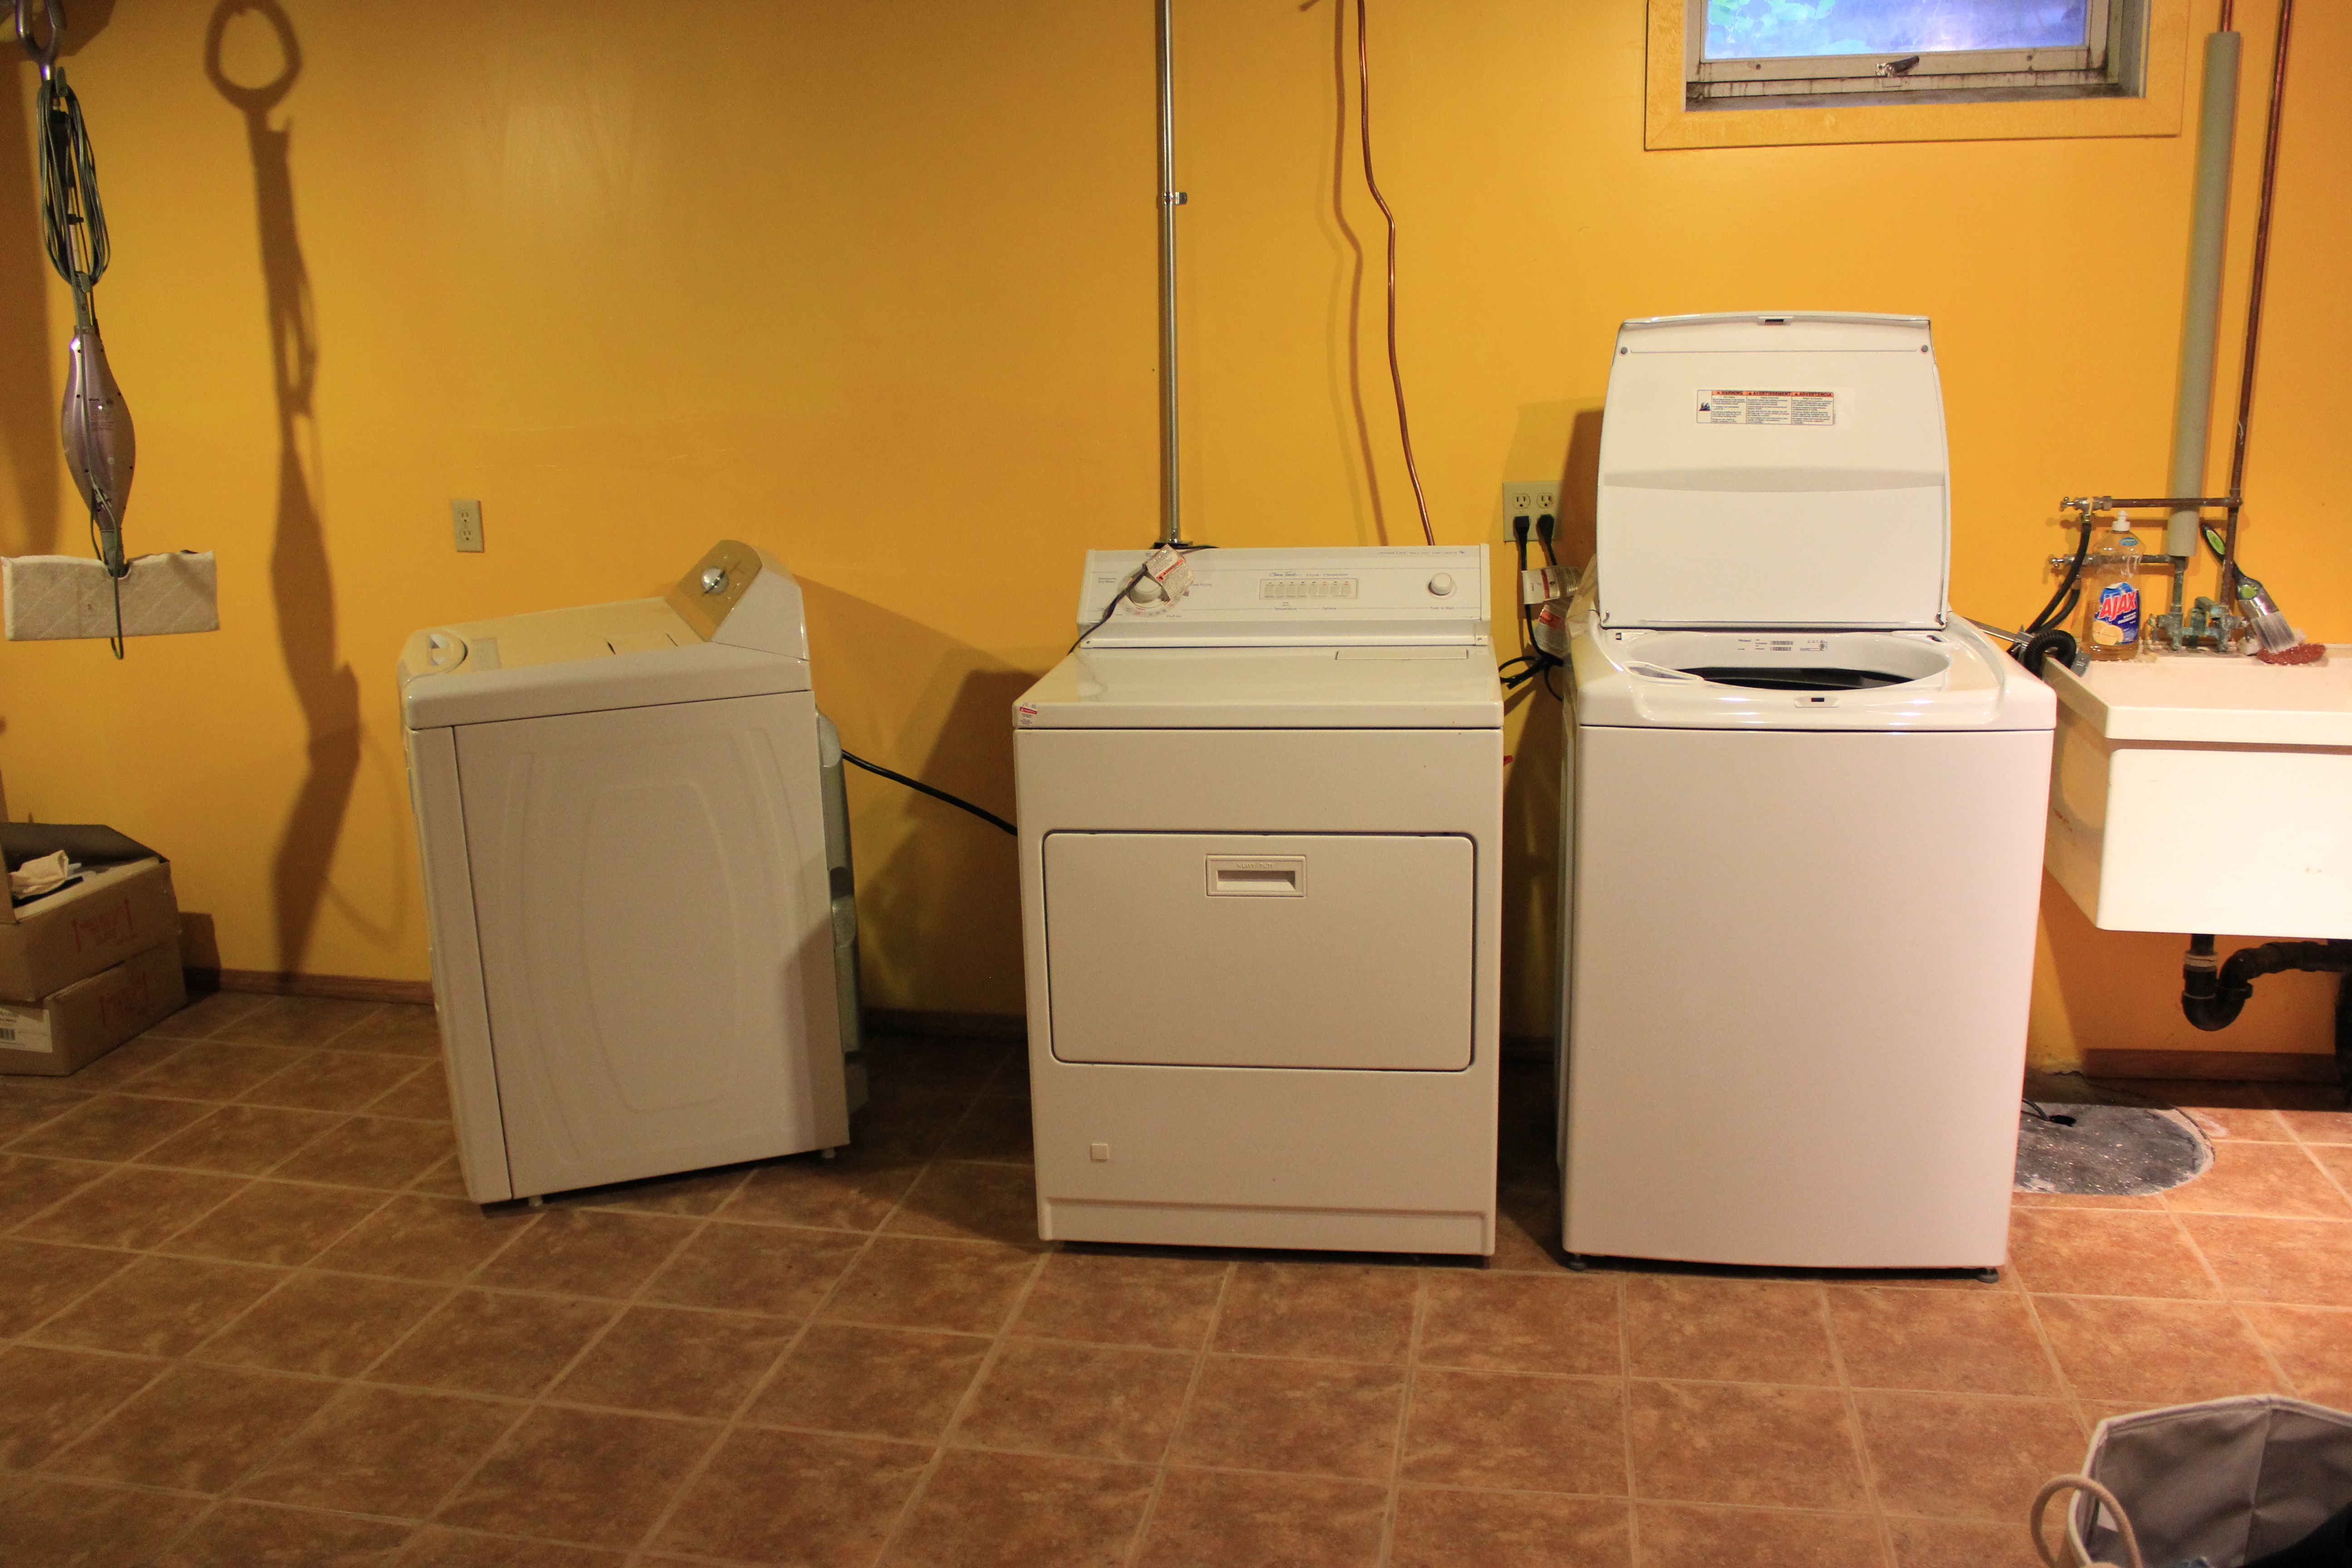
In case you’re wondering, the home did come with a working washer and dryer. Here is a peak at the washer:
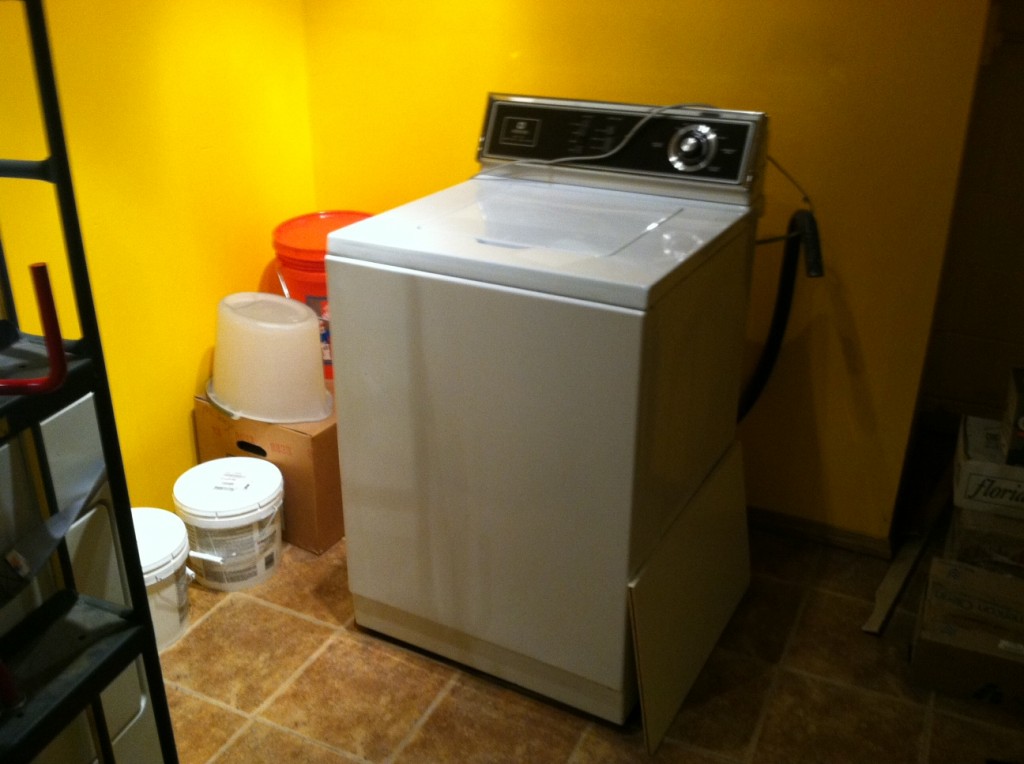
Yep, she has seen better days. Lets have a moment of silence for this Maytag workhorse. Also, how incredible are those yellow walls in our utility basement?! Go Hawks!
So, as you can imagine I was looking to replace that bad boy almost immediately. So, being the kind soul that she is, my mom decided that she could part with her old set, and buy new (as long as we transported the old duo out of her home). Anyways, as excited as I was to get a *new* washer/dryer, I didn’t realize that the home was set up for a gas dryer. Maybe some of you out there are really handy with electrical work, but we knew that this was a job for a professional, so we hired an electrician to install an electric outlet. After seeing all the work that went into this, I’m so glad that we did!
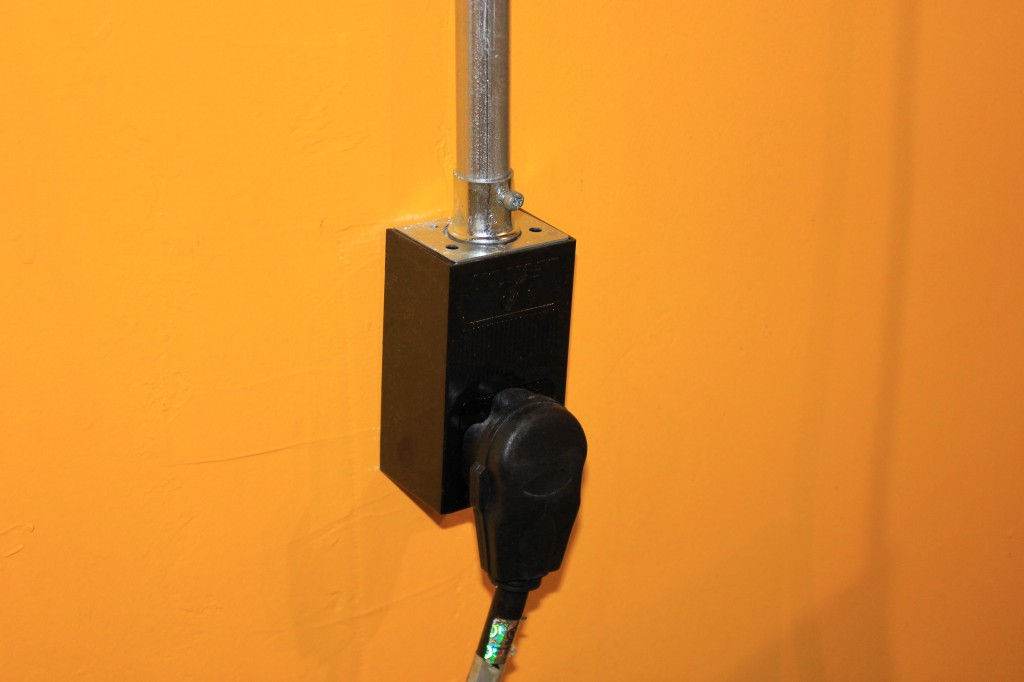
Dryer plug.
Since we were having an electrician out, we had him also install a camper hook-up for the other set of parents who support us, Arlyn and Paula Verlo (Mike’s Parents) and their sweet ride:
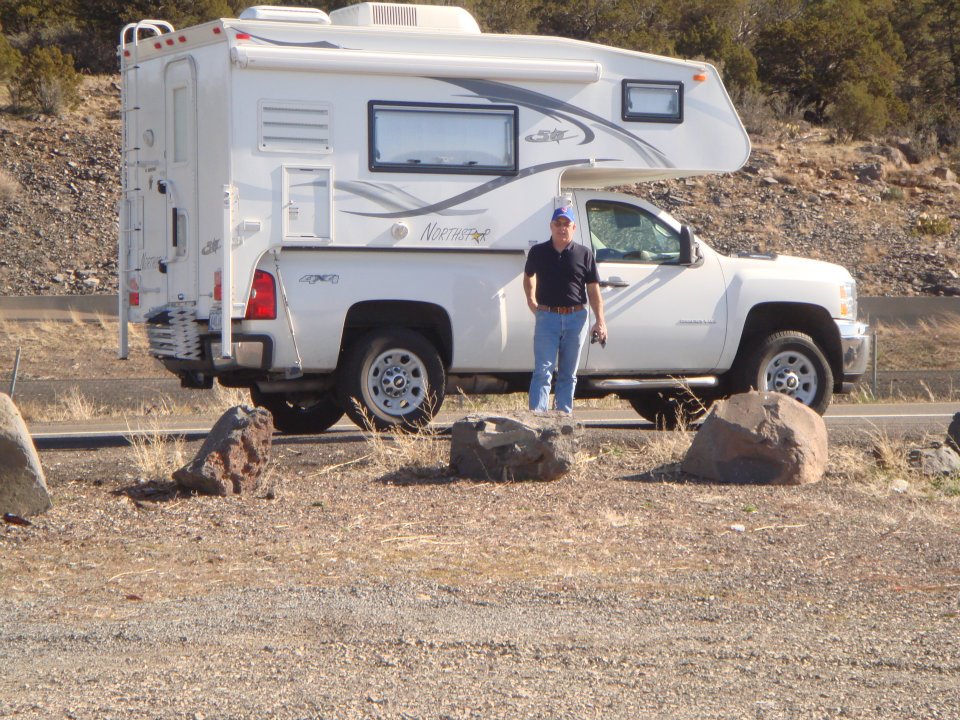
Arlyn and the Enterprise.
Back to the story, after the plug was in place Mike had the task of unhooking the old gas dryer, and sealing off the pipes.
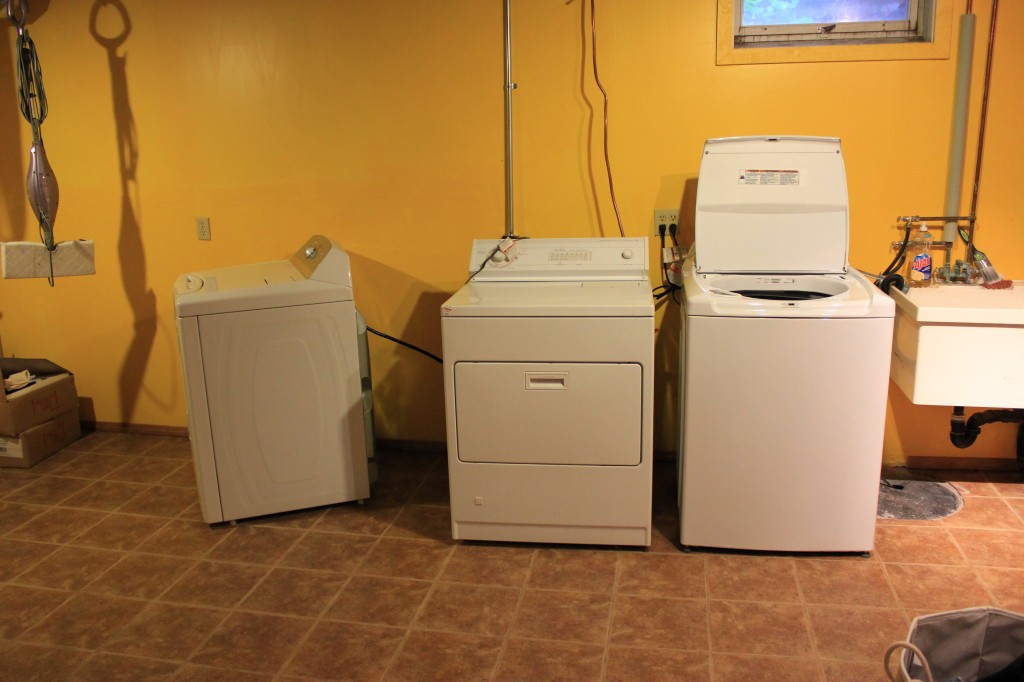
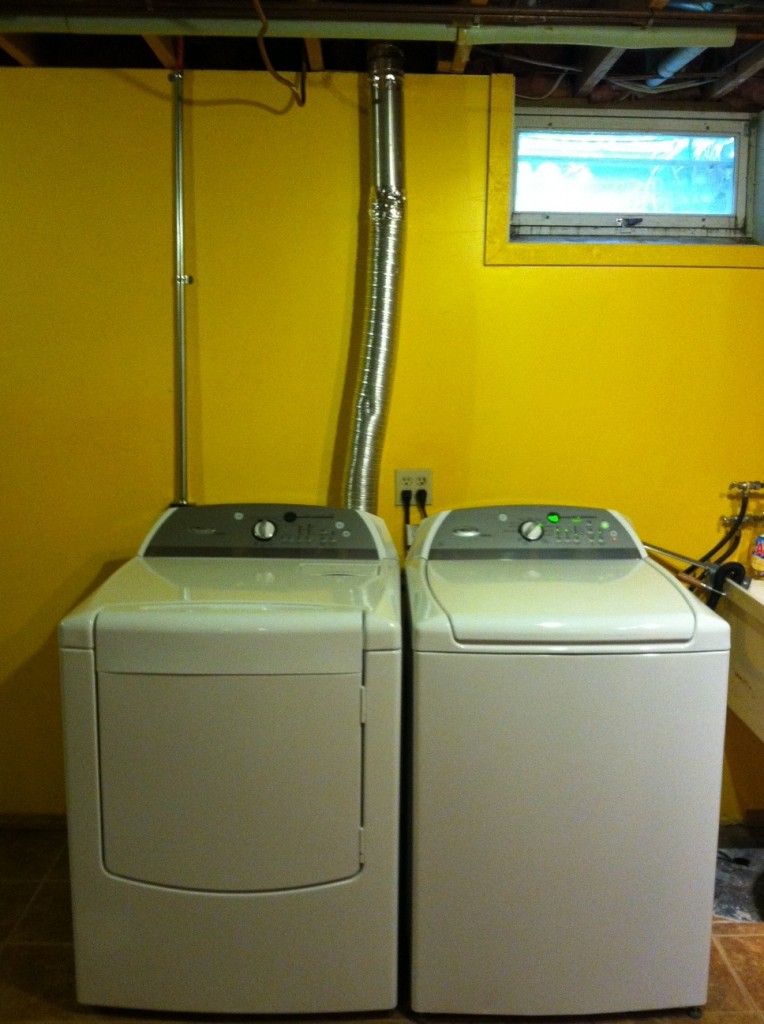
Left to Right: New dryer, old gas dryer, new washer.
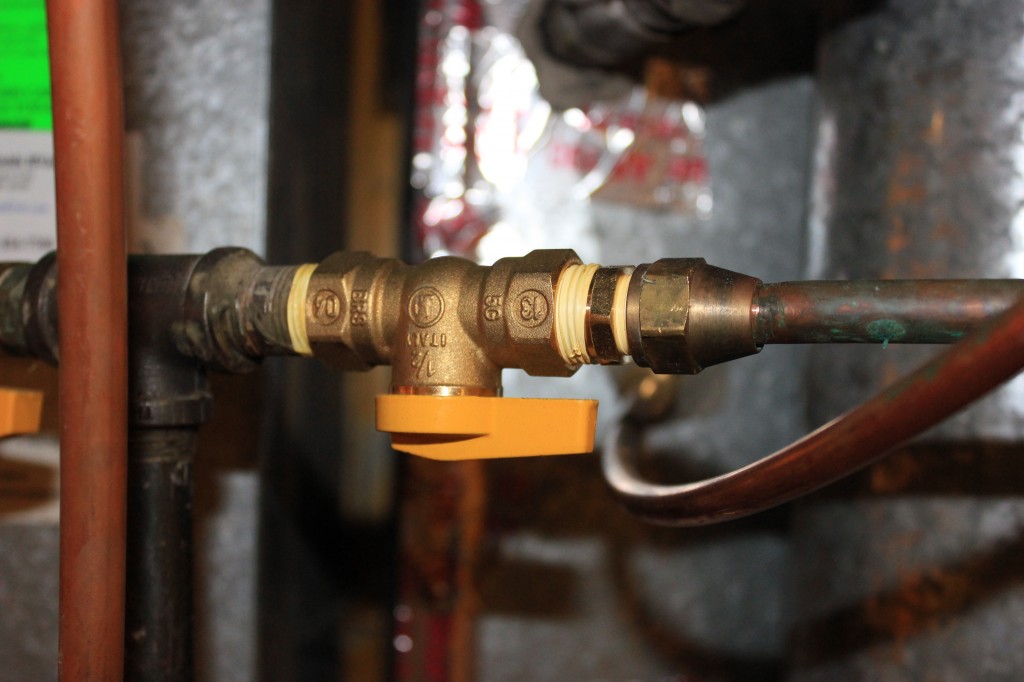
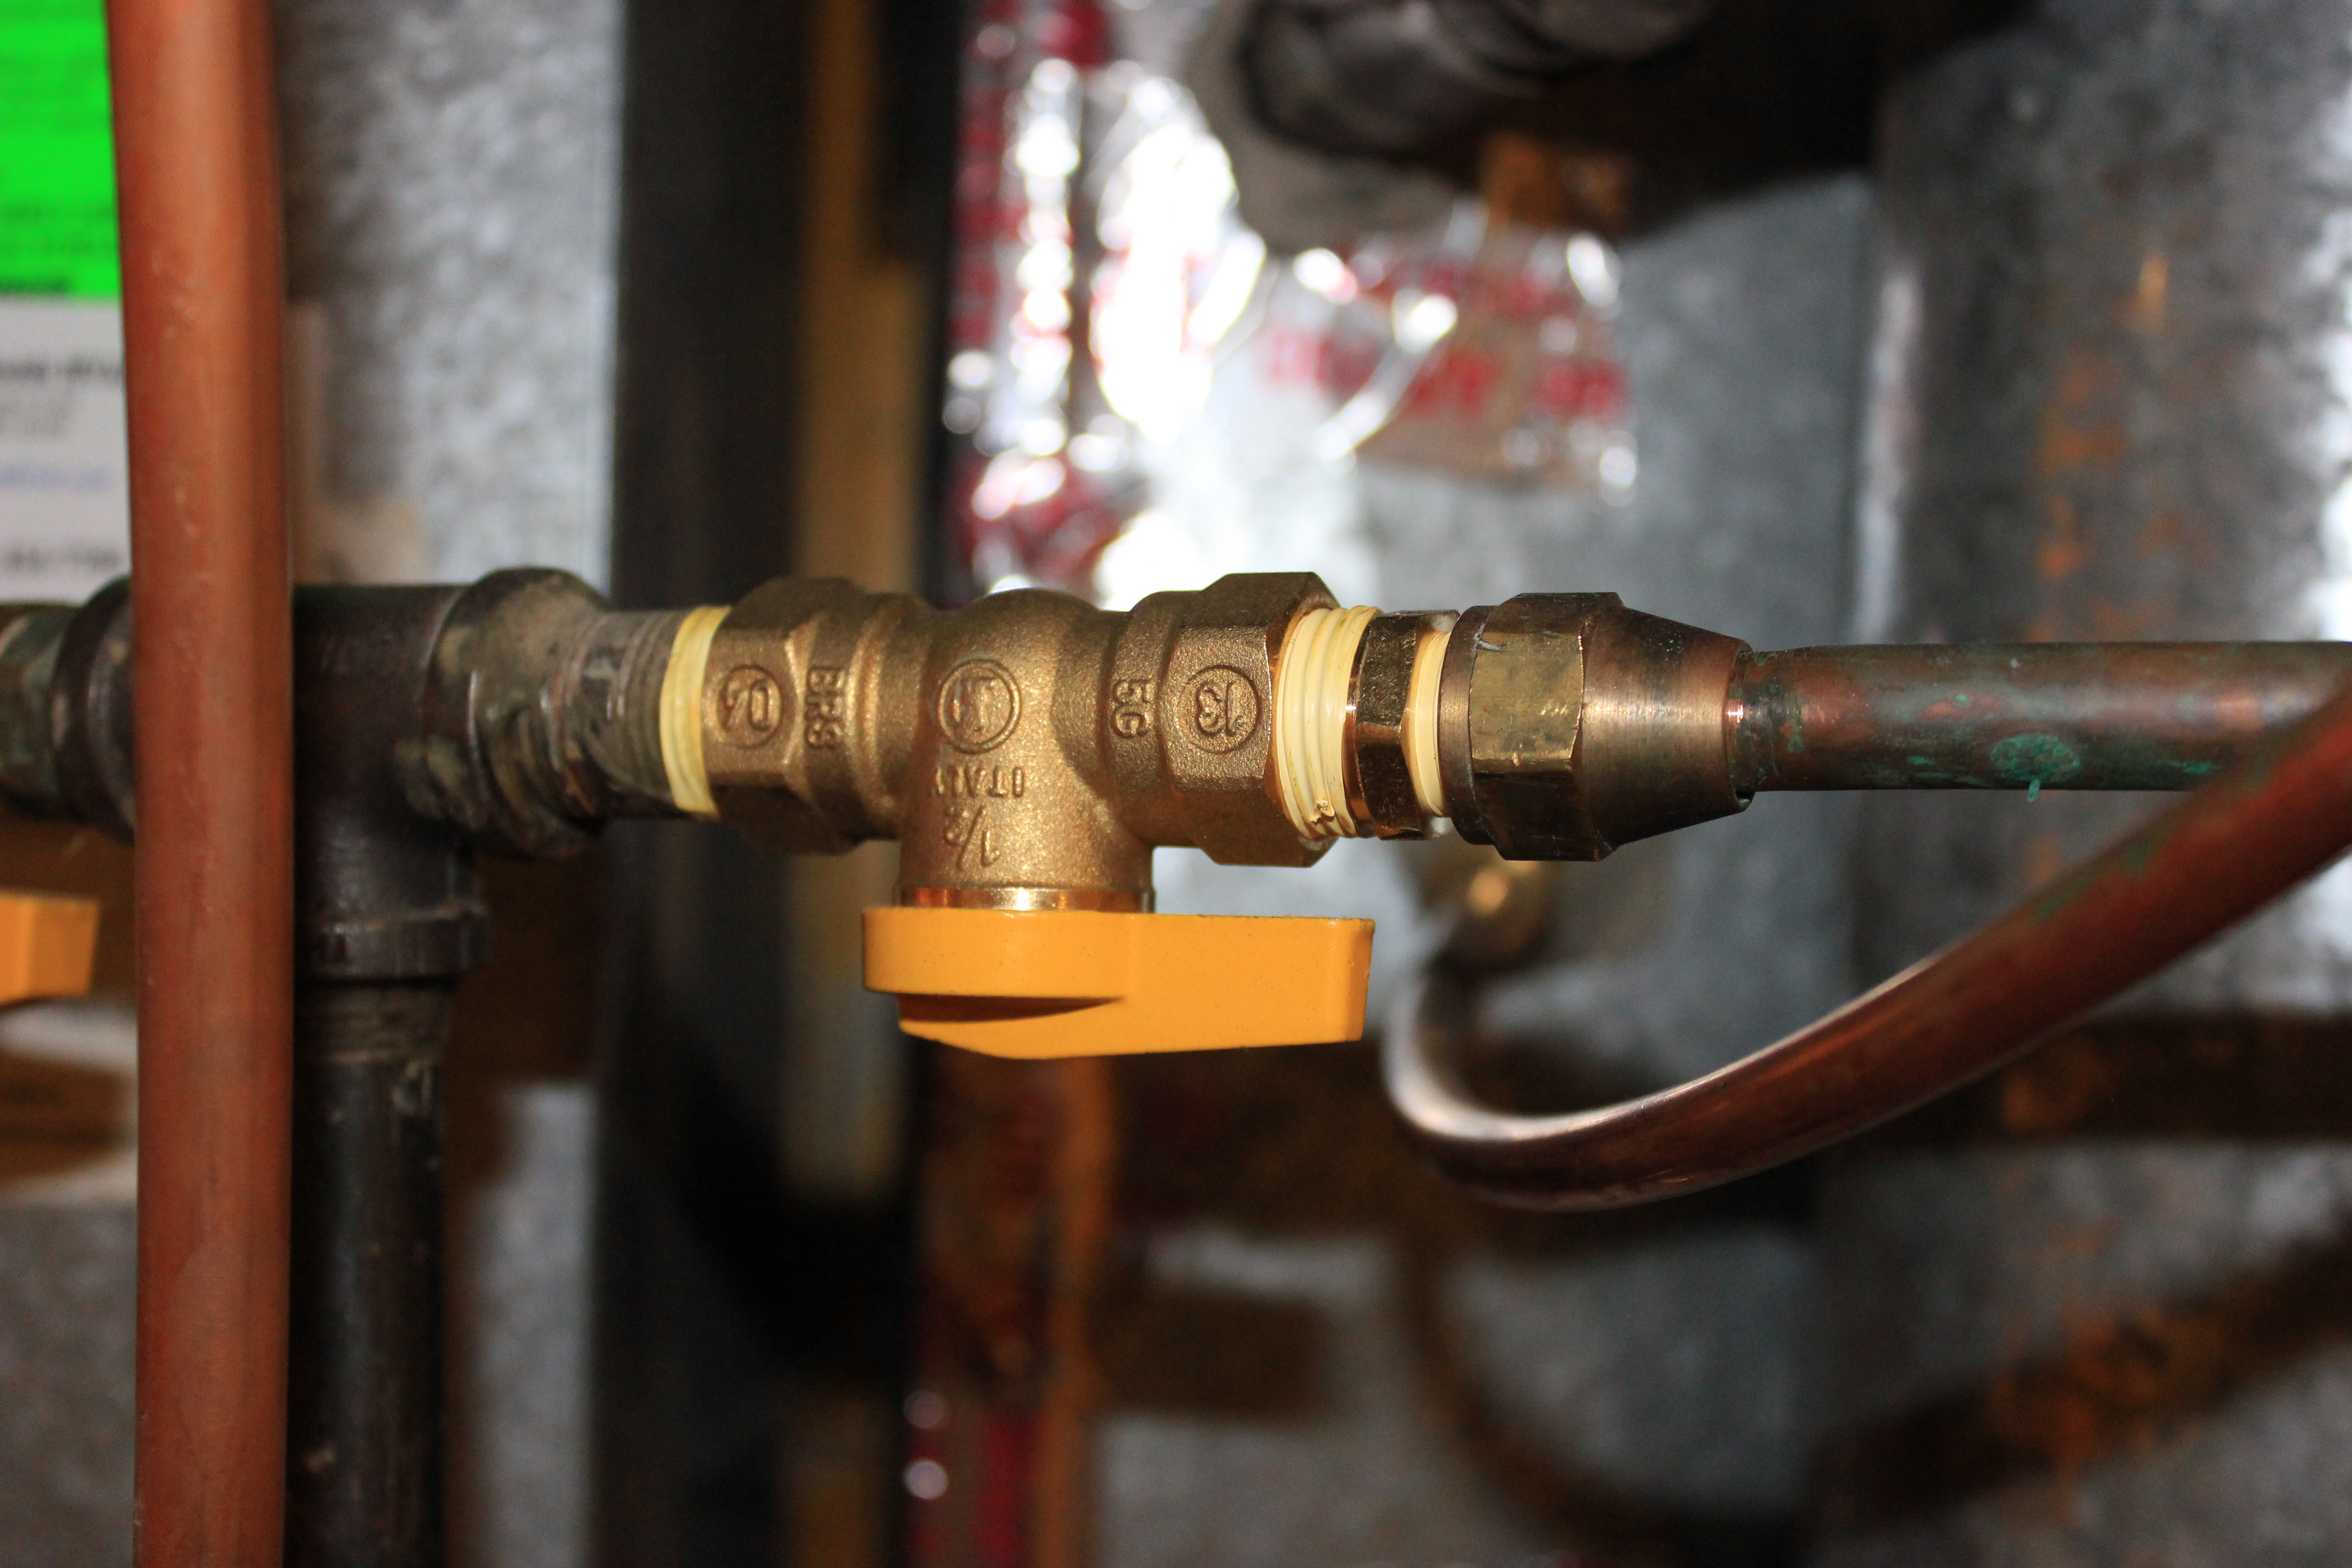
Gas is flowing. This valve was near the furnace in our home, where the gas line for the dryer originated.
Turn the valve to shut off the gas that is going to the dryer.
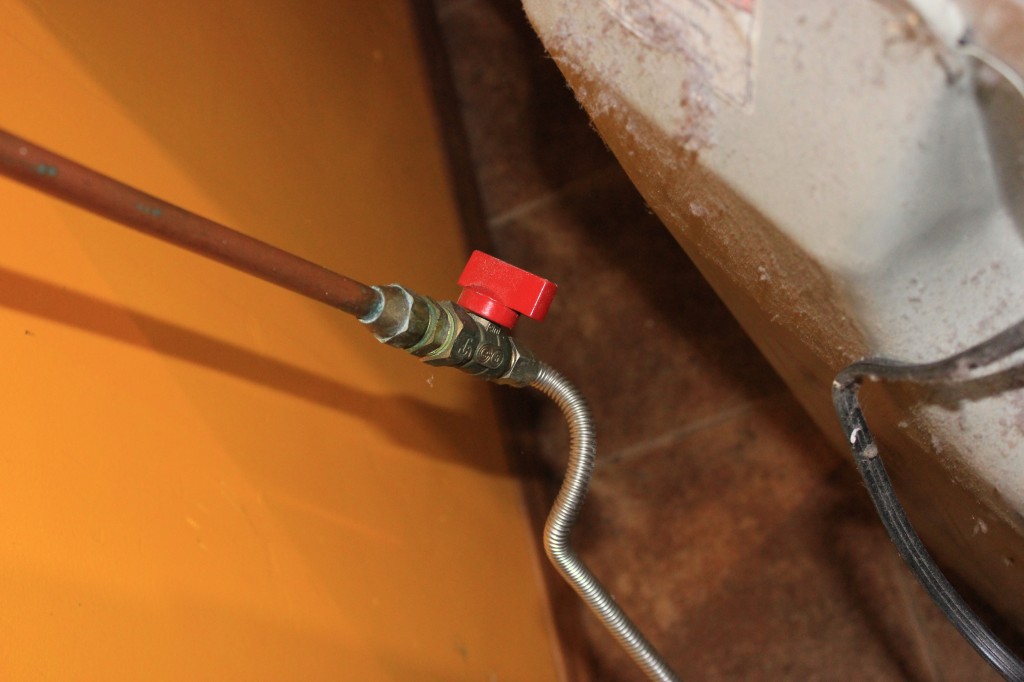
There is also a shutoff valve behind the dryer.

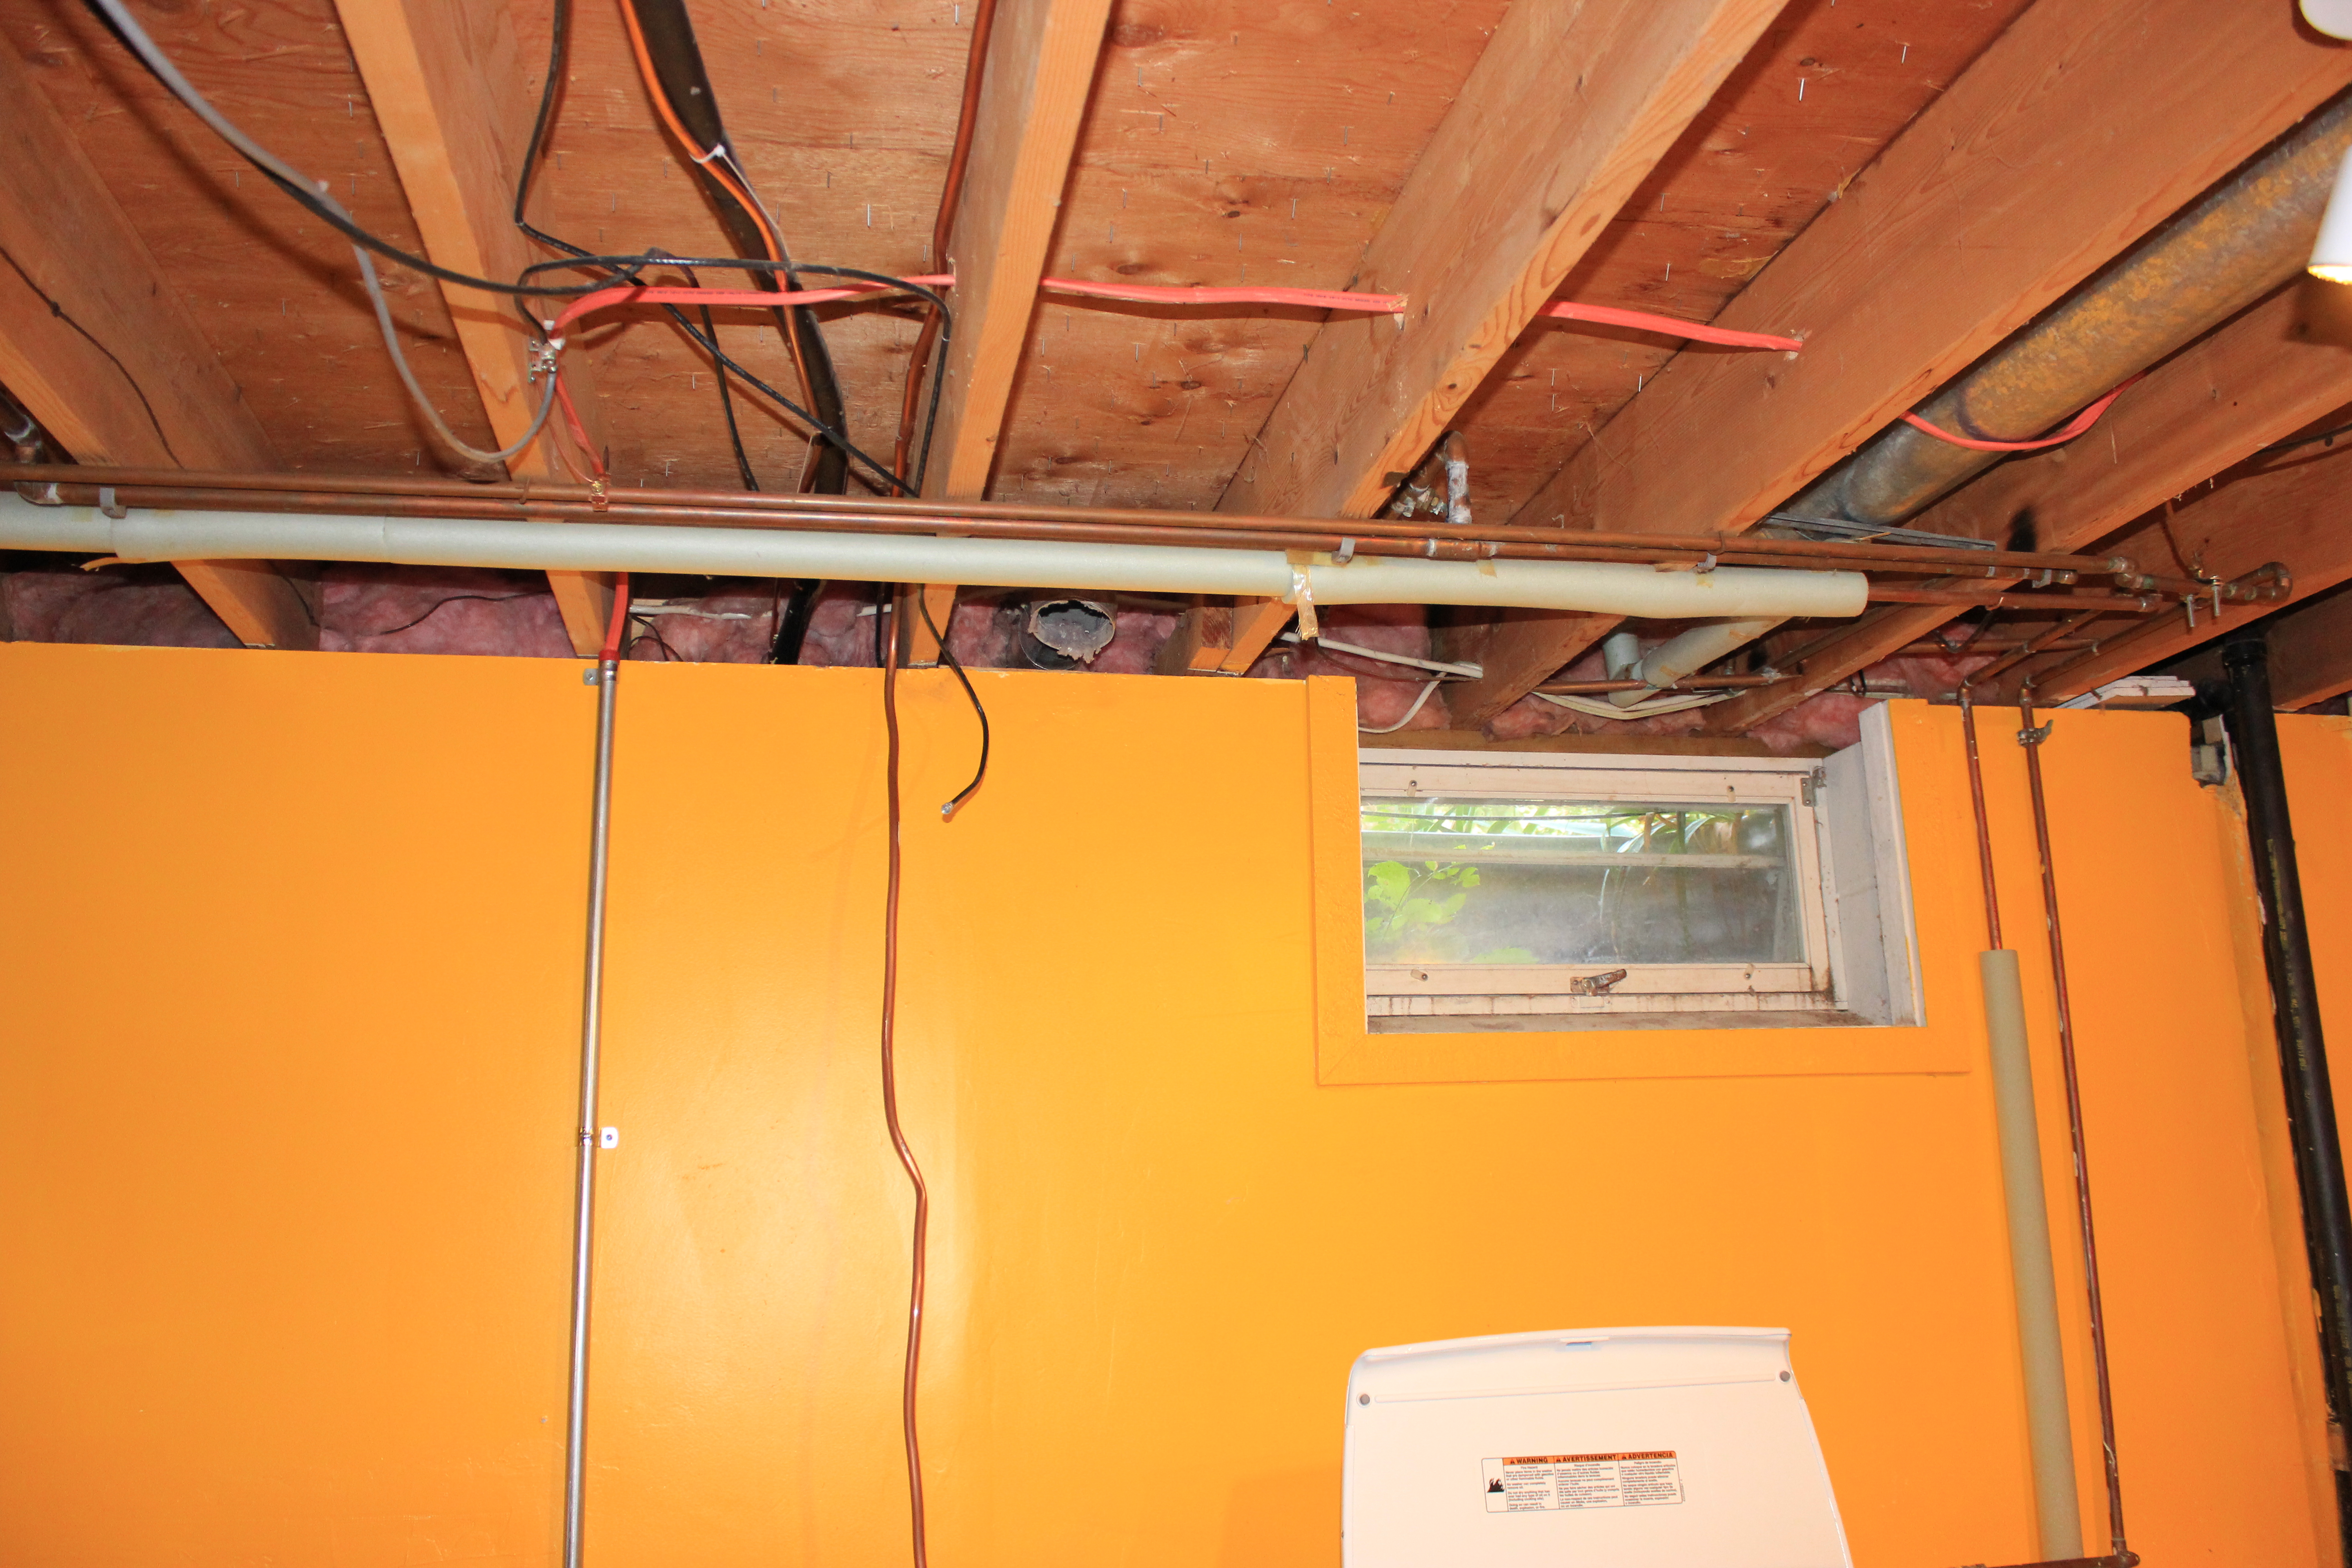
This picture shows the copper pipe that comes down from the ceiling for the gas dryer, next to the steel pipe that the electrician installed for the new electric dryer.
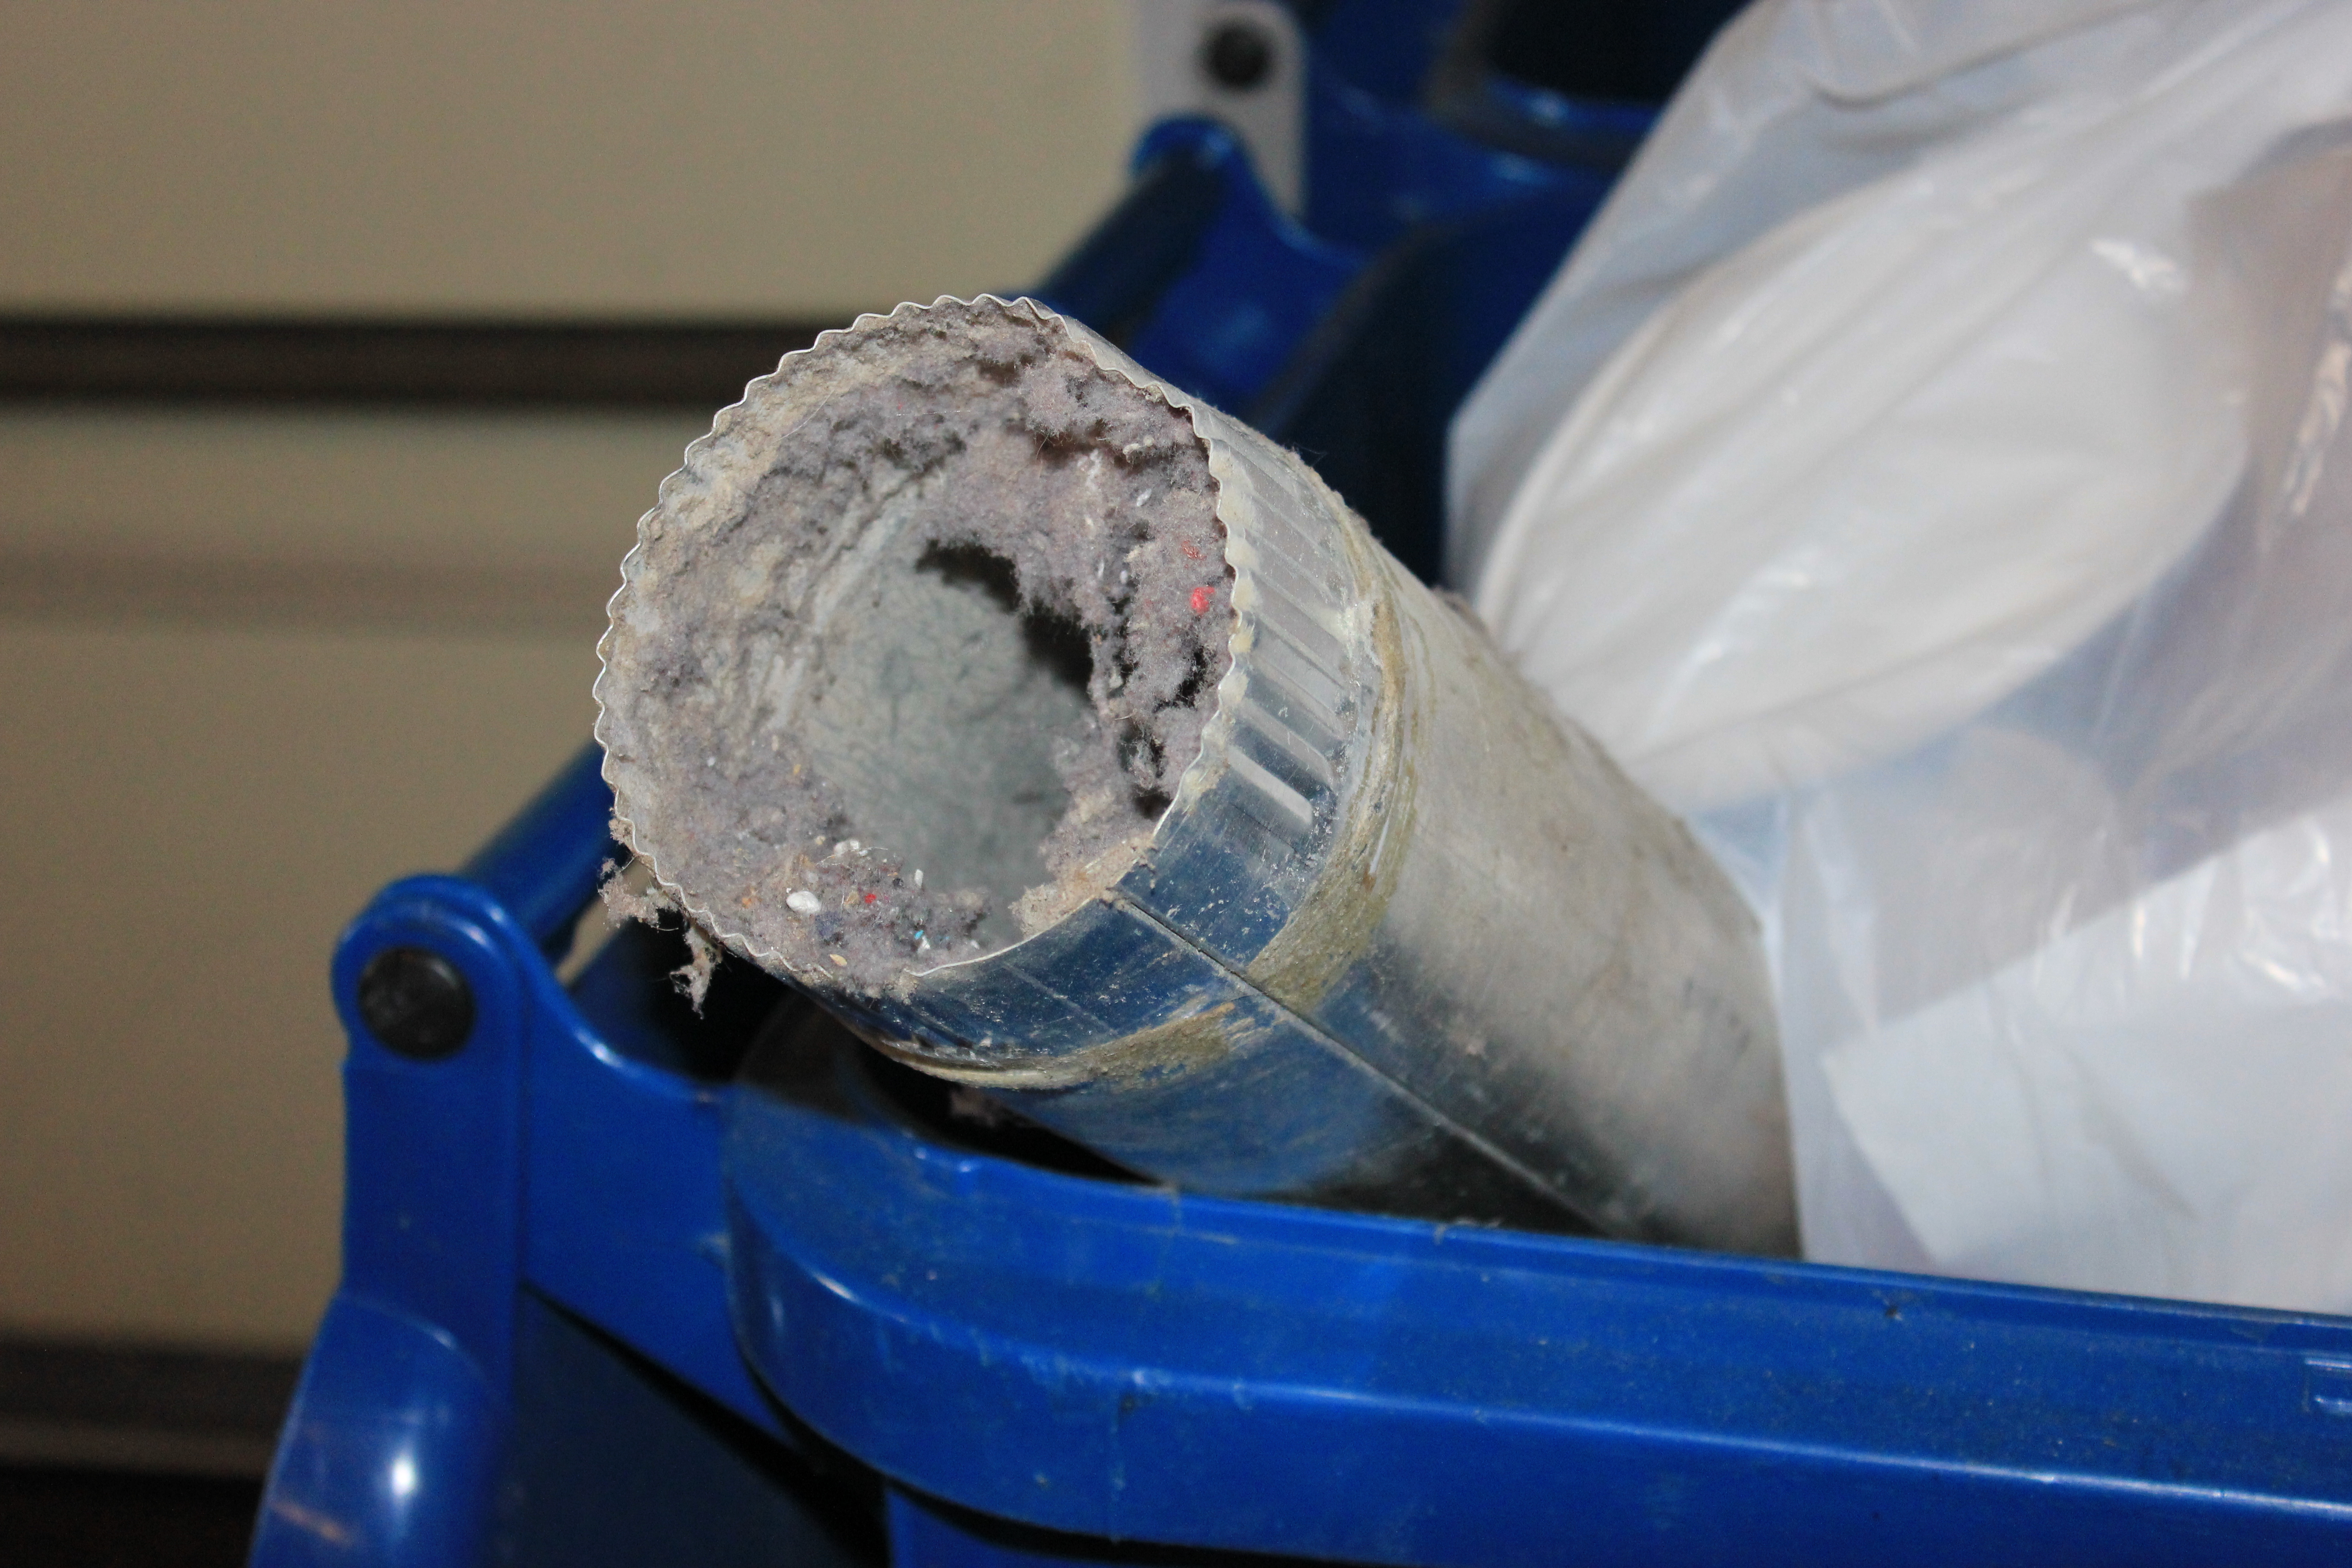
Holy Lint Batman! No joke, there was a small fabric doll inside that human dust canister. So, now that that fire hazard is out of the house, we can continue with the gas-line sealing process.
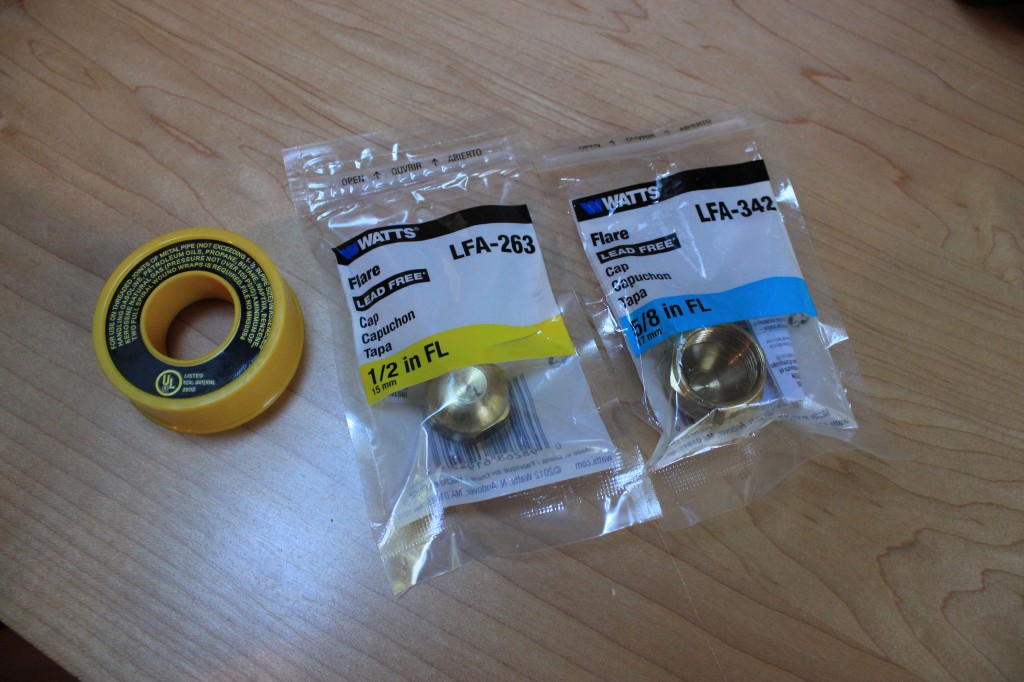
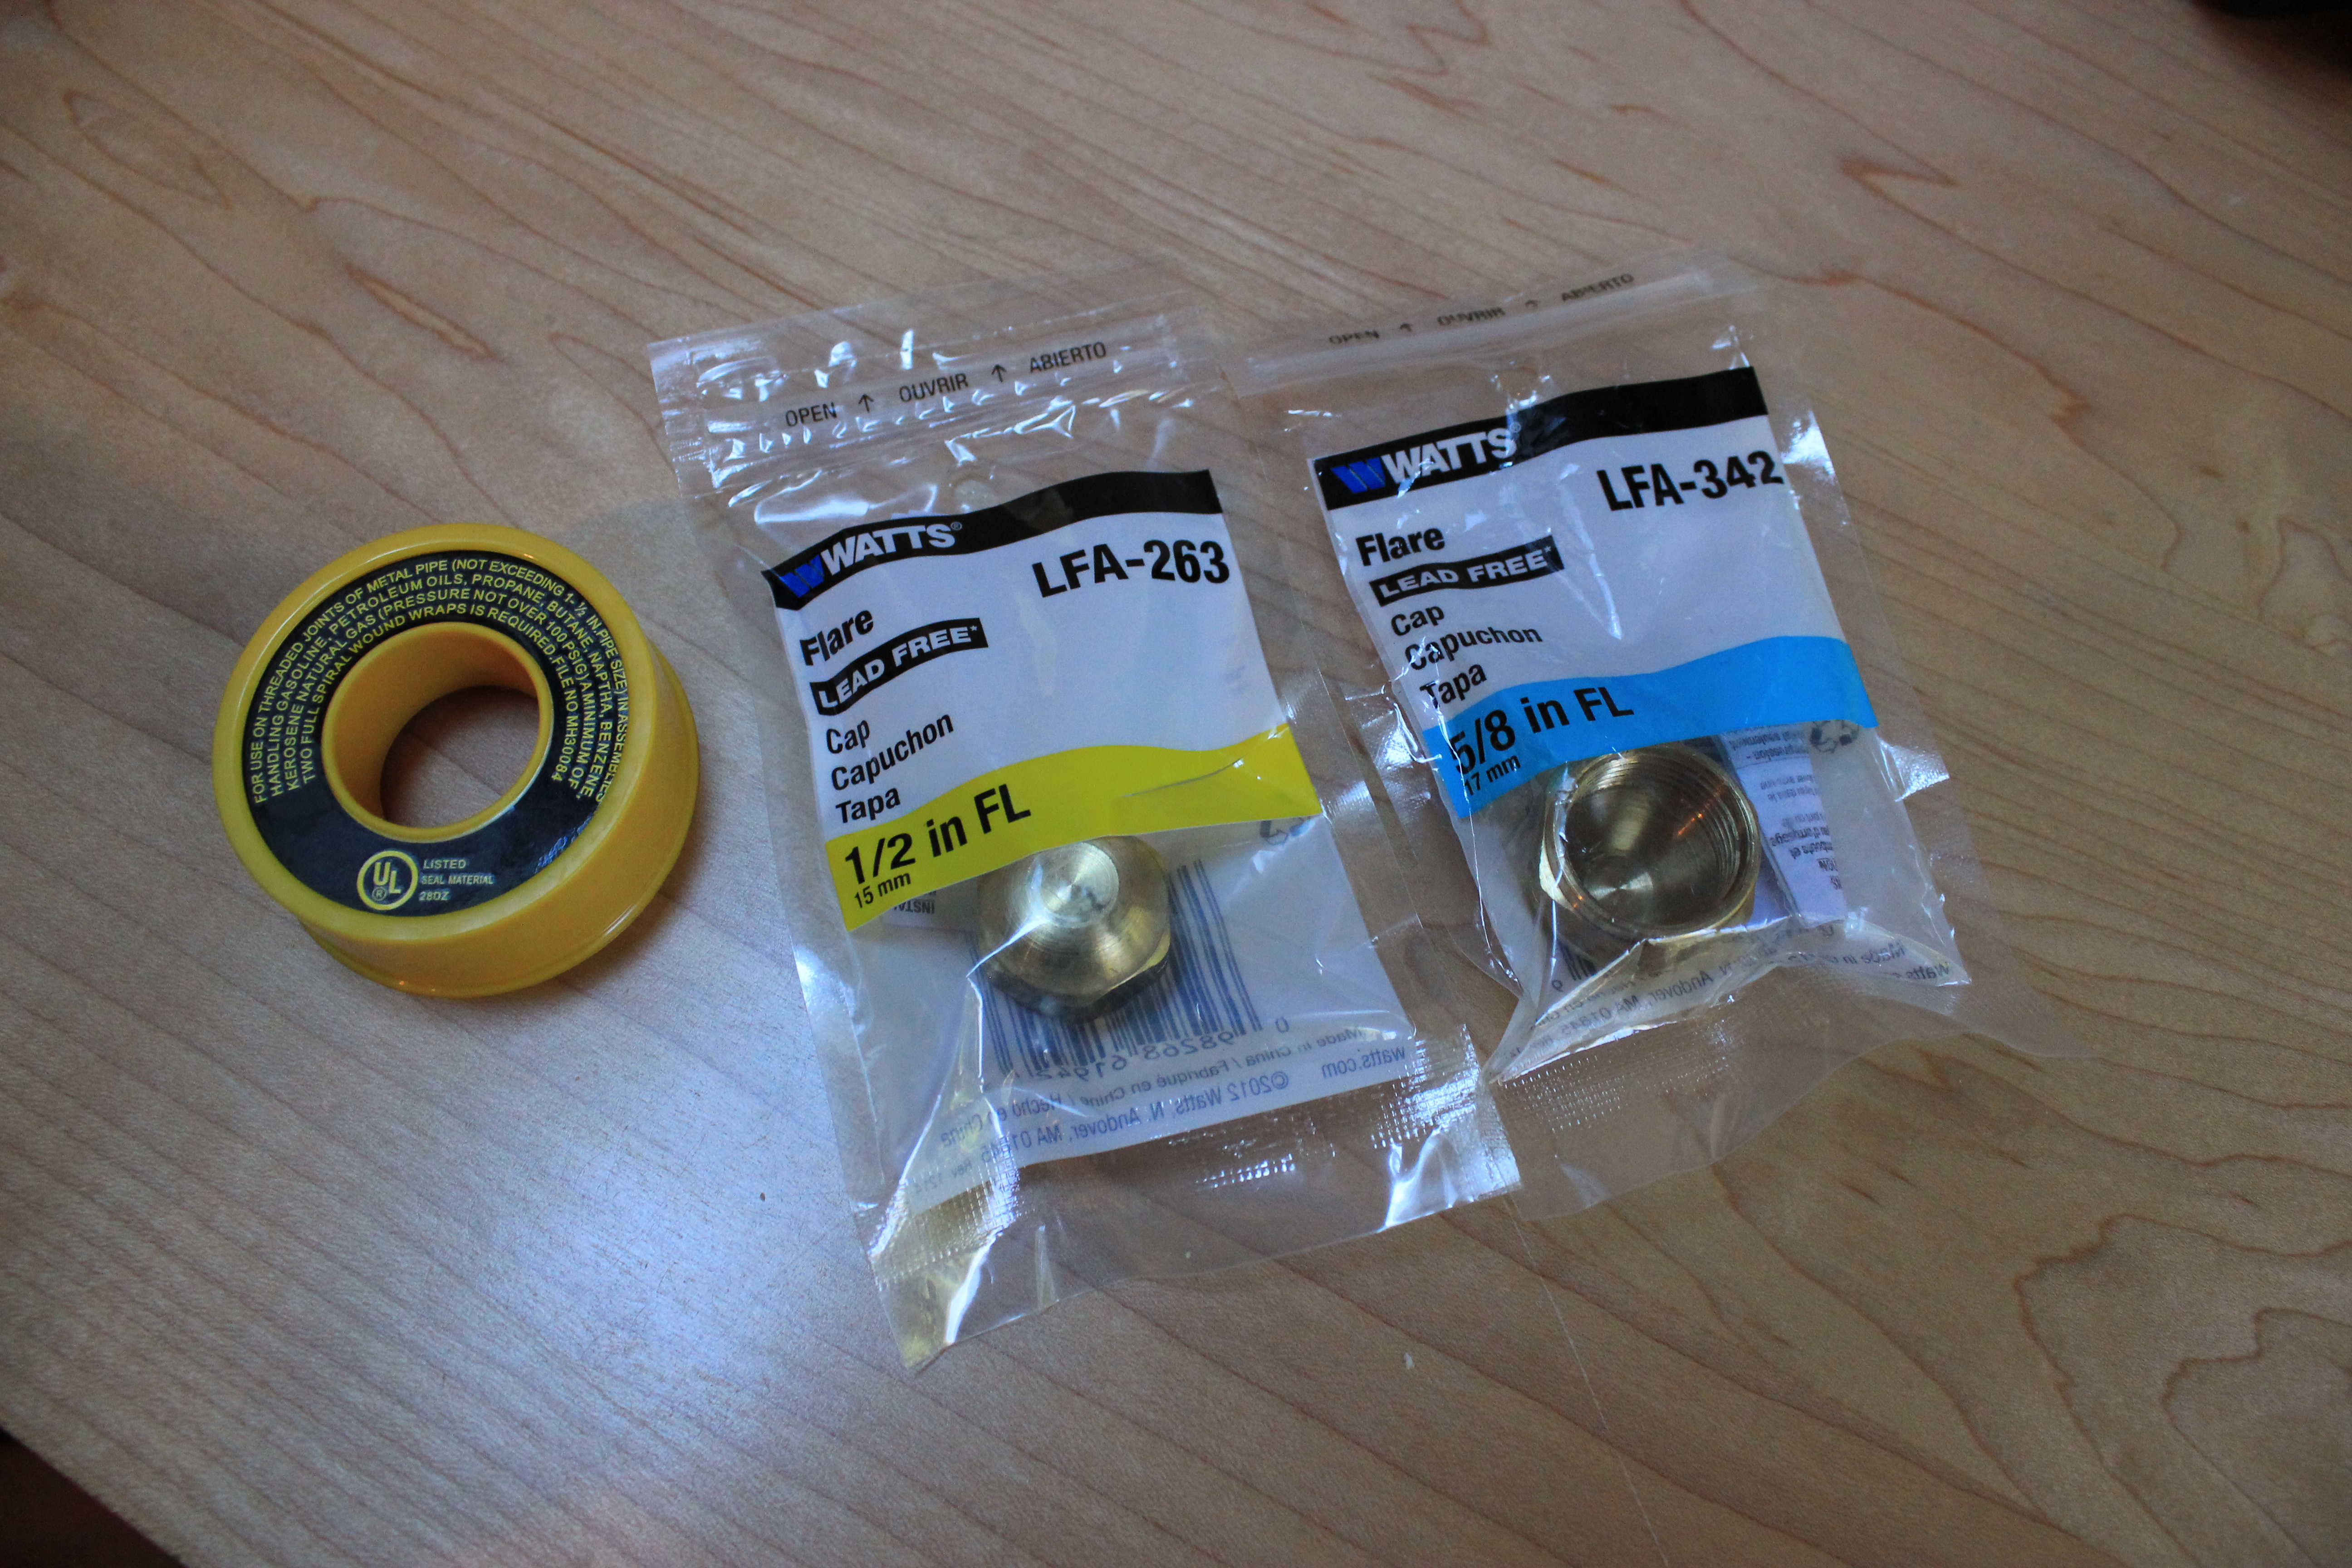
These are the parts purchased to seal off the gas line after disconnecting the gas dryer. We bought both 1/2 inch and 5/8 inch caps, because we weren’t certain which size would be needed (the unused cap was returned). Also pictured is the silicone tape purchased to ensure that gas wouldn’t leak out.
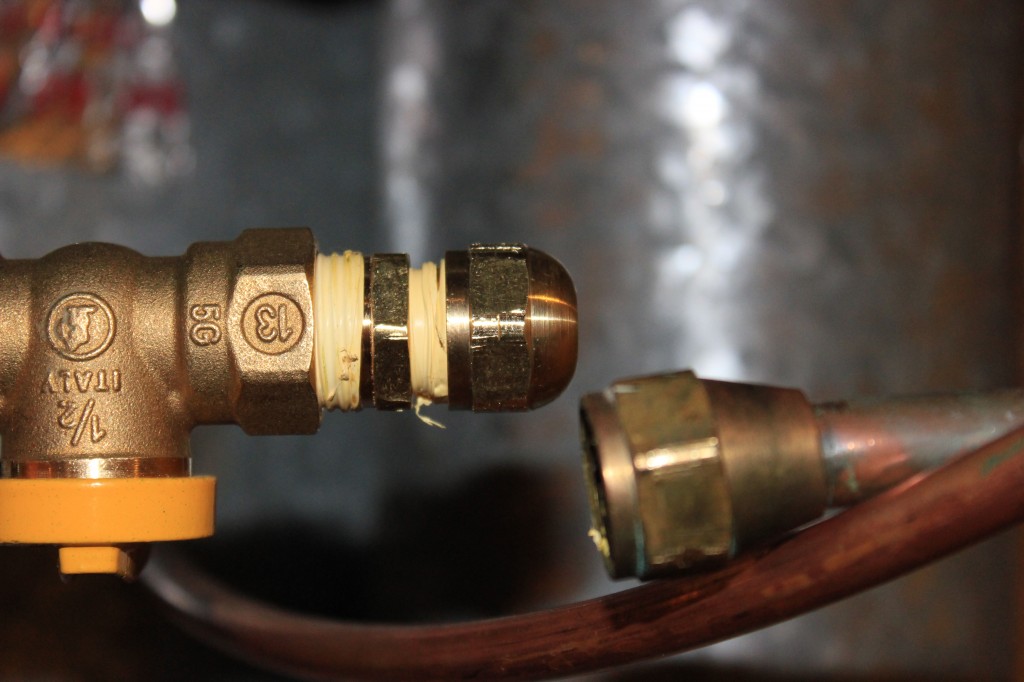
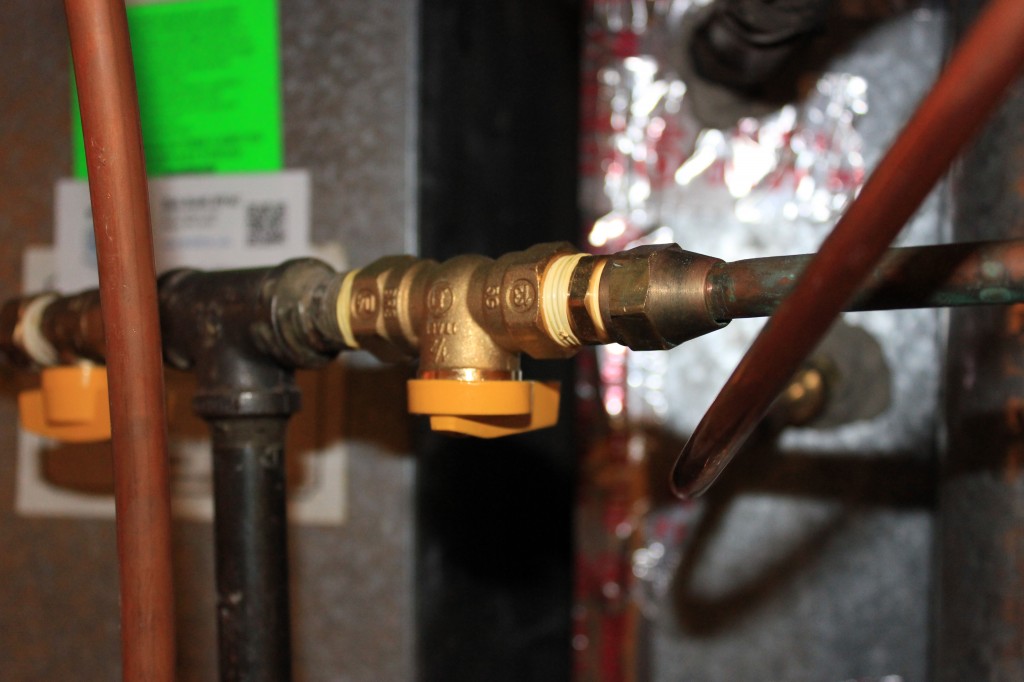
1/2 inch cap. The yellow tape you see was wrapped three times around before the cap was fastened into place. On the right, you can see the old pipe that goes to the dryer. You will also notice the shutoff valve is still closed, where it will stay permanently.
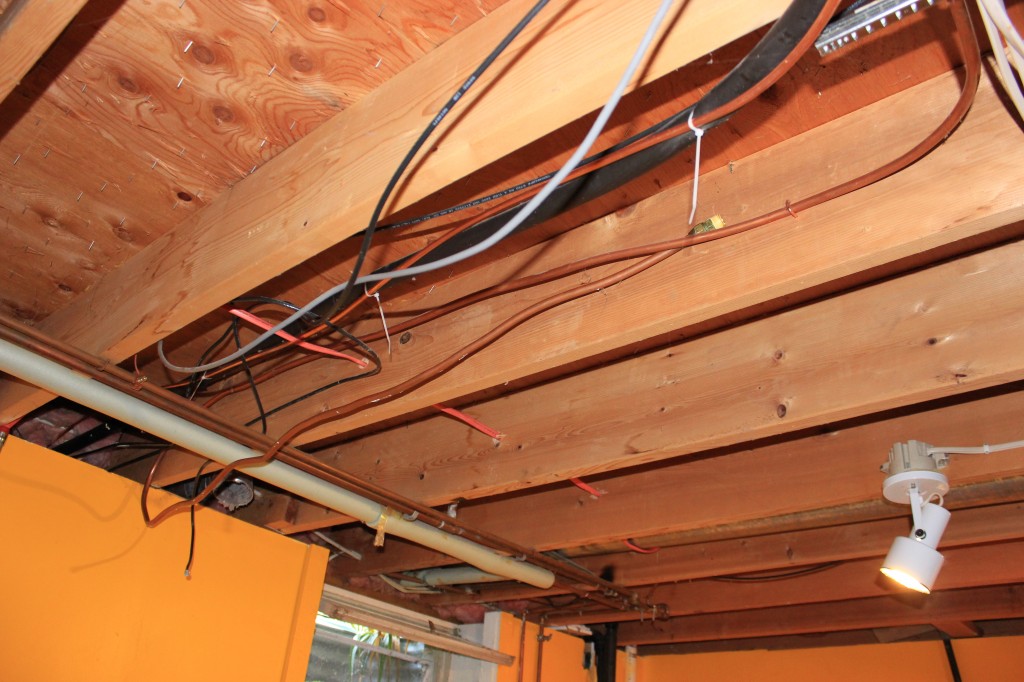
Looking up above the dryer, the copper pipe was bent towards the ceiling to get it out of the way. There is no longer gas flowing through anything, because it was capped back at the furnace (as you saw earlier). Eventually excess pipe will be removed (as opposed to just bent up into the beams).

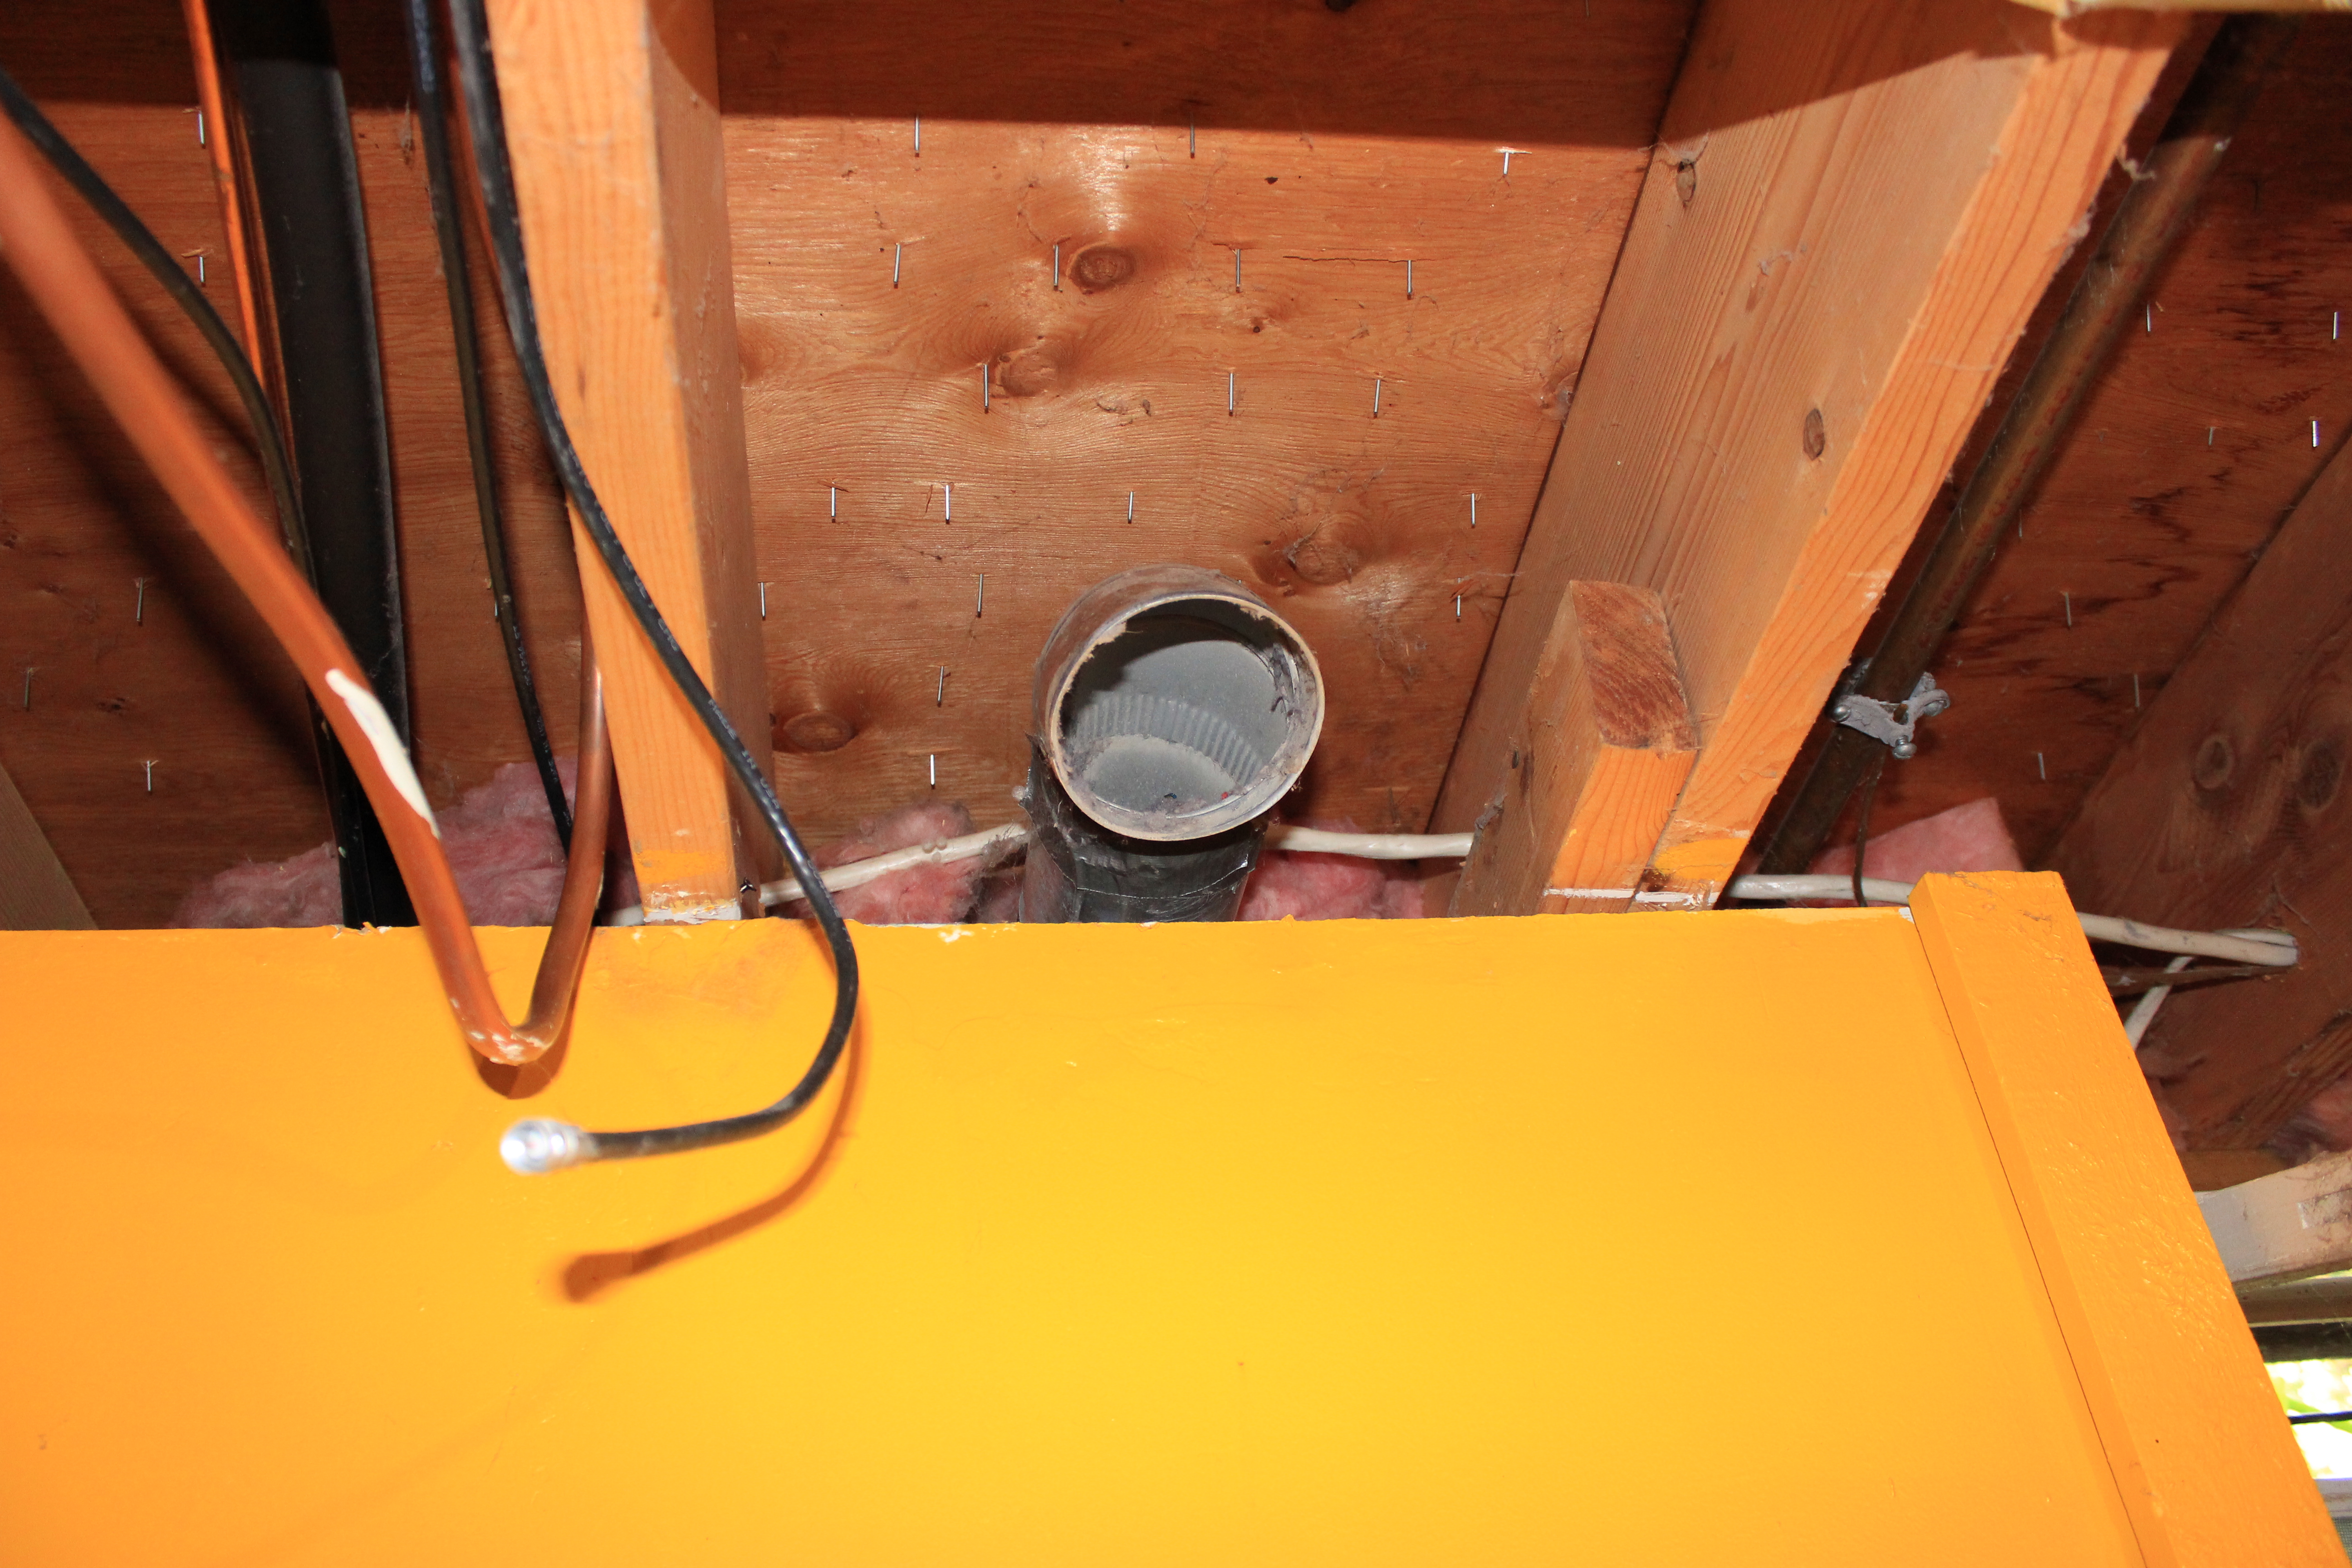
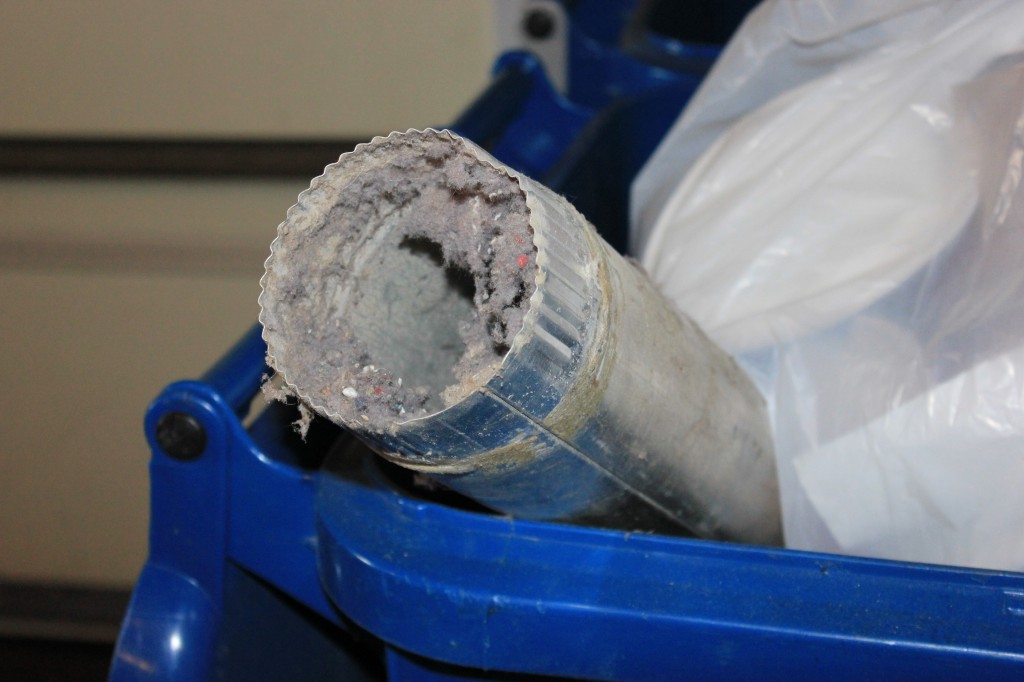
The exhaust pipe that leads outside the house. It looks relatively clean from this view.
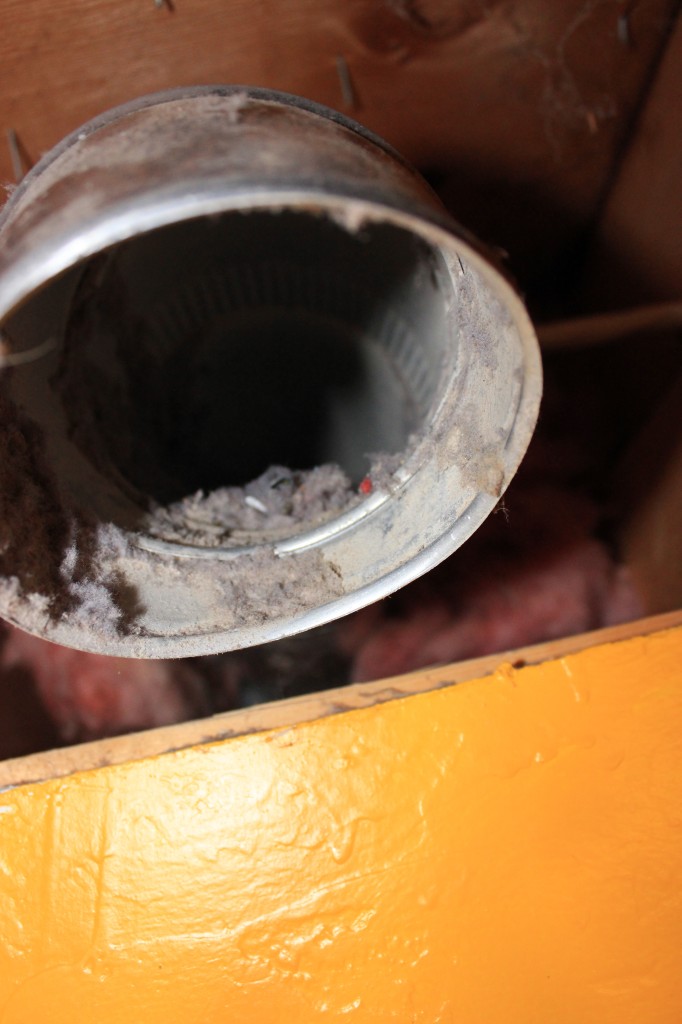
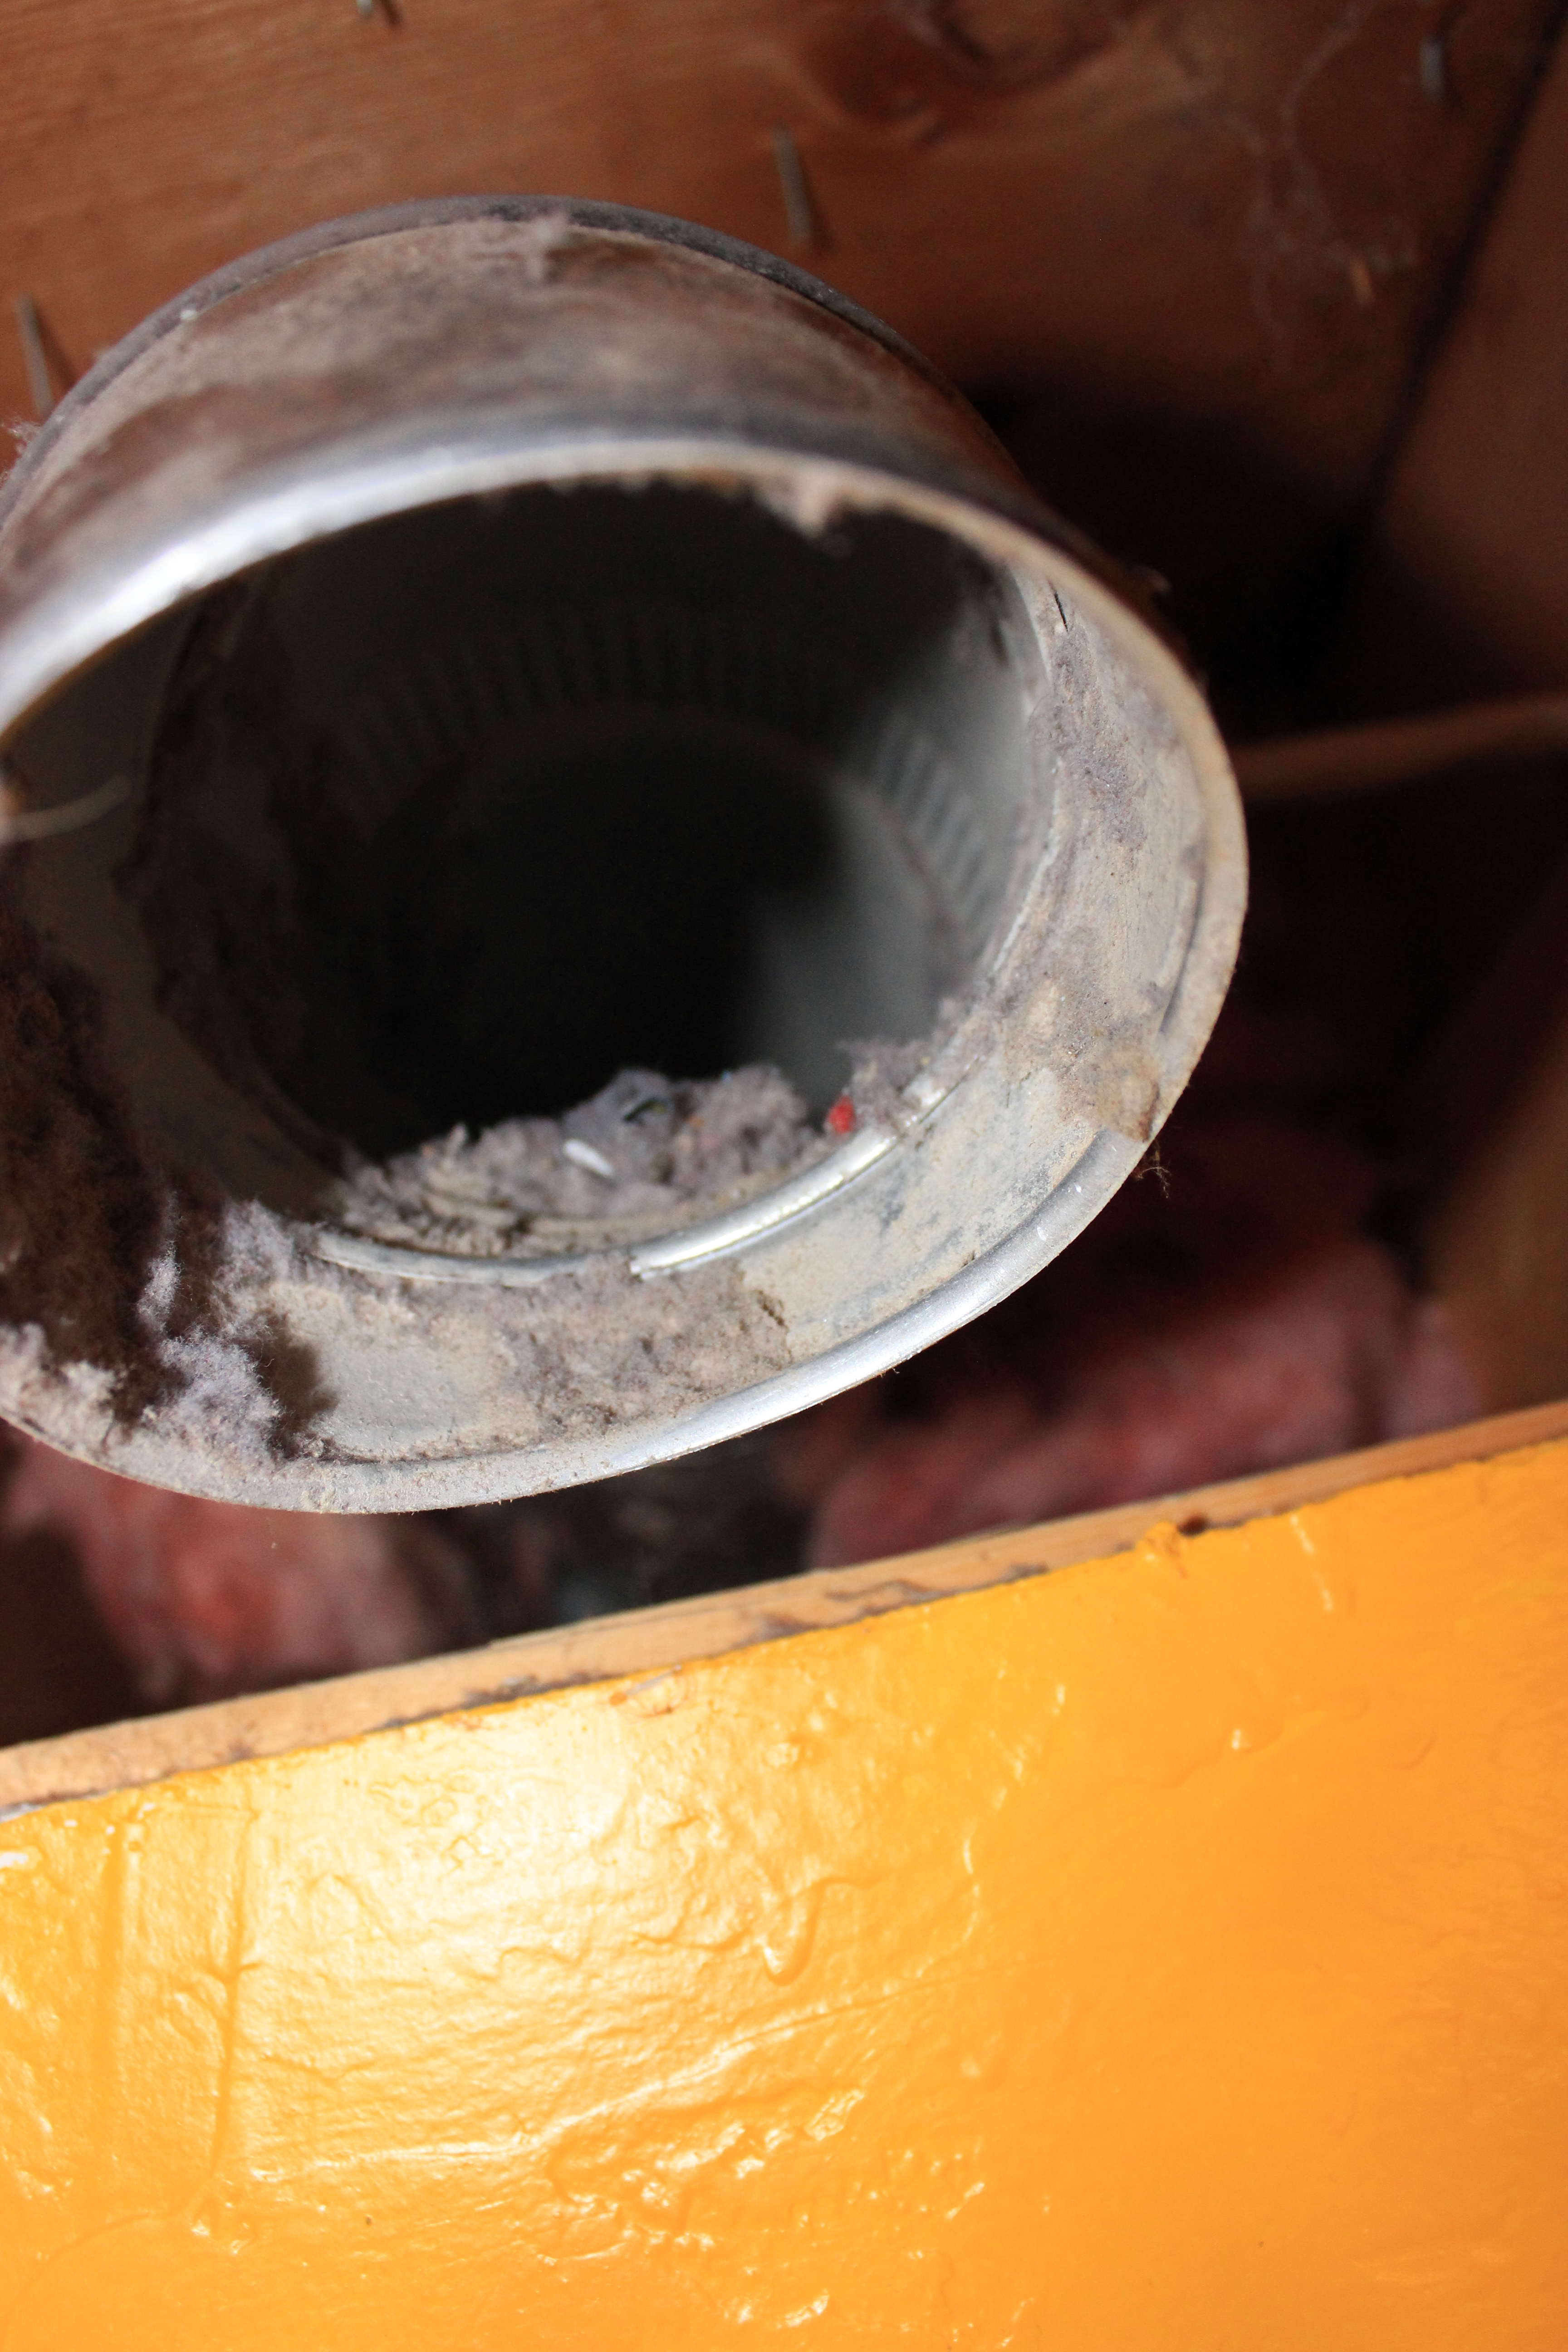
But when you stand on a ladder, you can see a bunch of flammable lint in the pipe. Used a vacuum to clean all of it out before attaching our new exhaust pipe.
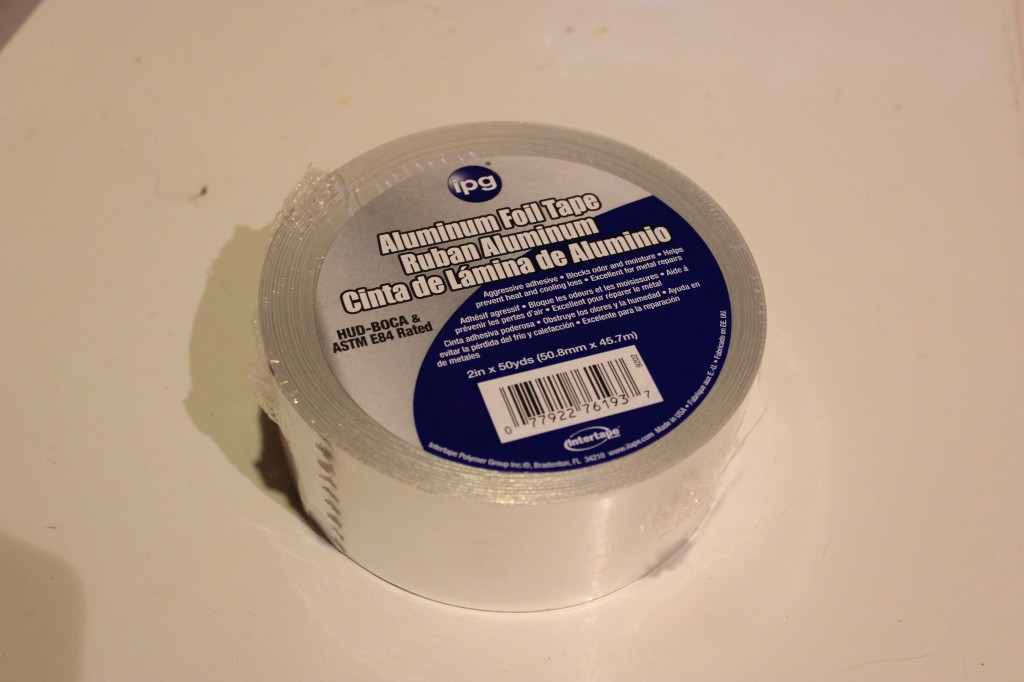
One of the last steps involved sealing the new exhaust pipe to the back of the dryer and also to the pipe that leads outside. We used aluminum foil tape because our electrician said it handles high temperatures a lot better than ordinary duct tape. It also looks much nicer.
Nearly finished, until we noticed that the dryer door opened away from the washer (not ideal).
So, what to do with this “Wrong side dryer” situation? First we thought, “Lets just switch them!” But realized that this wouldn’t work either, because of where the utility sink is located (where the washer drains), we cannot move the washing machine without doing some plumbing. I think we always will try to avoid plumbing when we can, its just generally more work than its worth. Easiest solution: flip the hinges on the dryer door! You cannot imagine the “a-ha” moment that this was. FINALLY, a simple solution to one of our problems! Fingers crossed for more ingenious moments like this.

Mike removing the hinges from the dryer door, to move them to the other side. Ignore that we didn’t even bother to empty the dryer.
Final reveal:

All finished with the dryer door opening the opposite direction for easy loading from the washing machine.
This was a very long post, which basically just lets you know we put in a new washer and dryer, and it was a process. Thanks for visiting! – Sara
p.s. We know how obnoxious the walls are (Hawkeye Yellow!). A fresh coat of paint in the utility basement is not high on the priority list. It will probably be a good winter project.