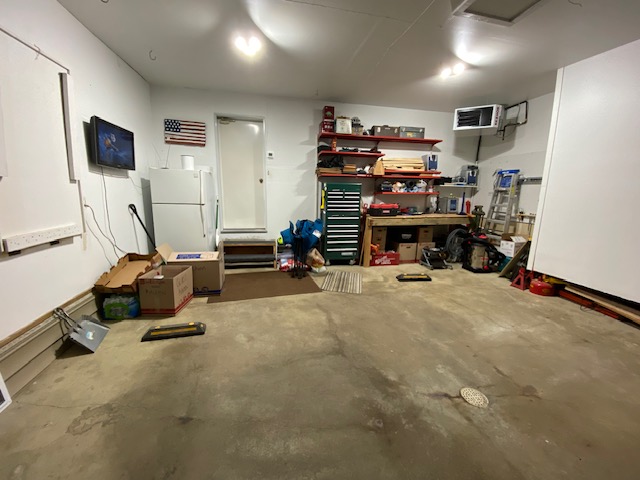
The finished garage in this new home was one of the things that I was most excited about. After nearly 10 years in an unfinished space, I was eager to have a bright, insulated space to work on projects.
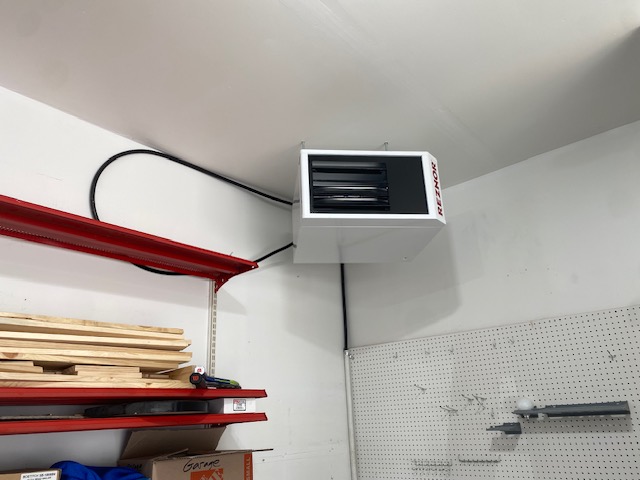
Days after moving in, I somehow managed to talk Sara into getting a heater for the garage. To me, it seemed like a no-brainer: The wall was already insulated and the floor had a drain, where melting snow from our vehicles could go. Several companies gave us estimates for installing a heater. We went with the lowest bid and the company installed a Reznor 45,000 BTU natural gas heater.
While the walls of the garage were insulated, previous owners overlooked the ceiling. I hired an insulation company to blow in the roughly 500 sq/ft. of insulation needed.
I’m so happy with the heater. On my first few tests, it had no trouble heating the space by about 20 degrees in a matter of minutes. I plan to leave it off during the summer, and keep it set to around 55 degrees during the cold months.
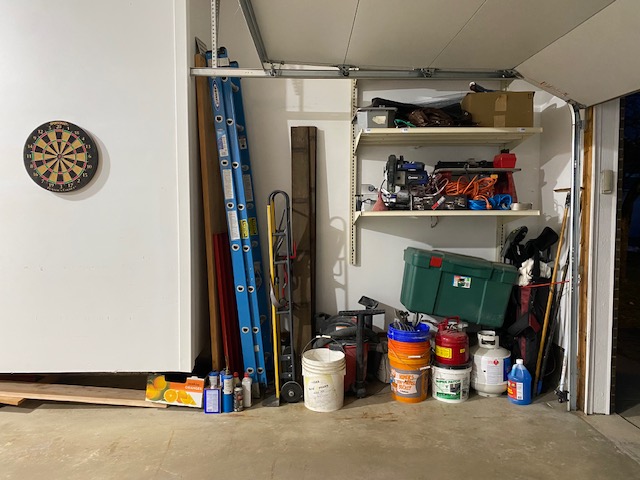
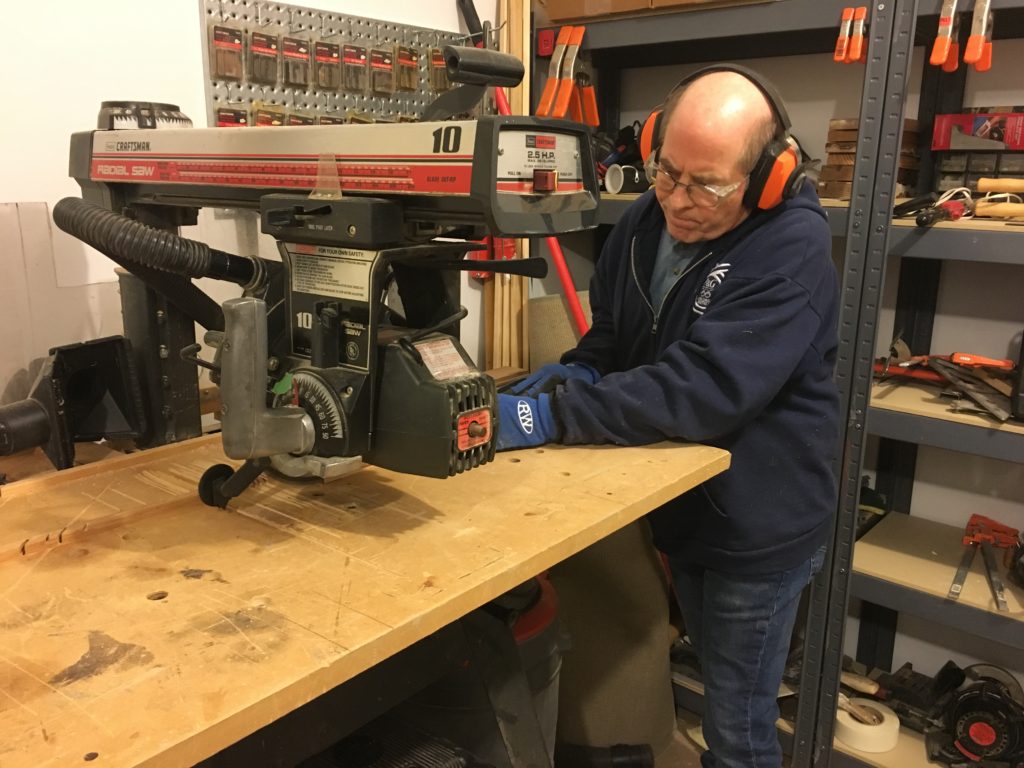
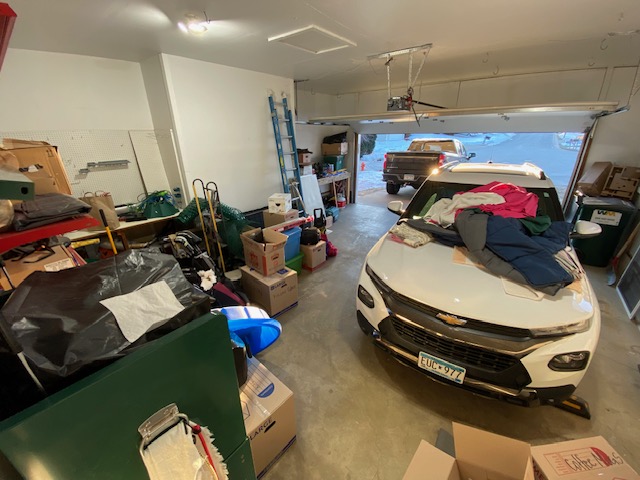
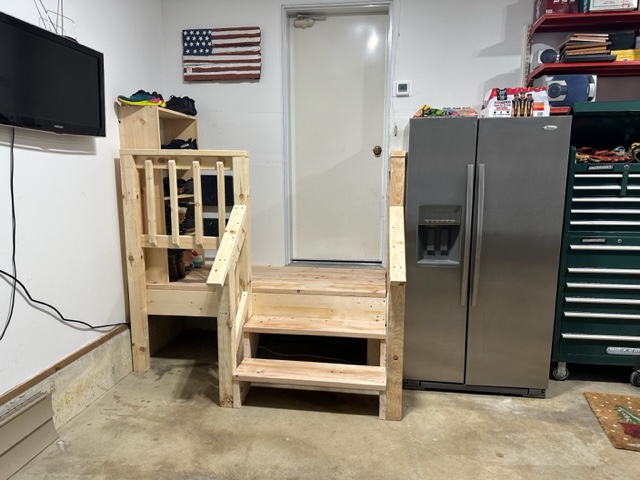
My next project in the garage was storage. I installed some shelving and found a home for my work bench and tools. Additionally, after we replaced the kitchen appliances, I put the older stainless steel fridge in the garage.
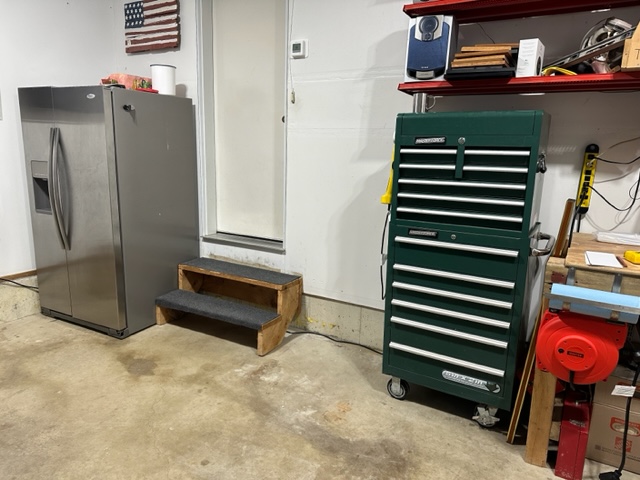
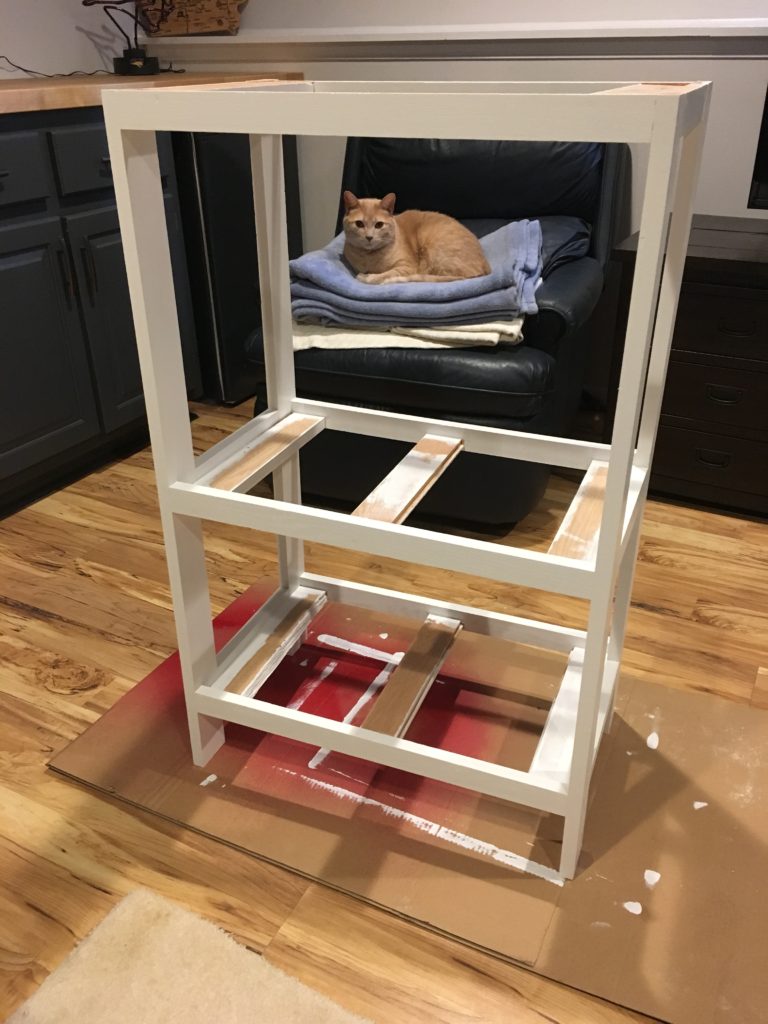
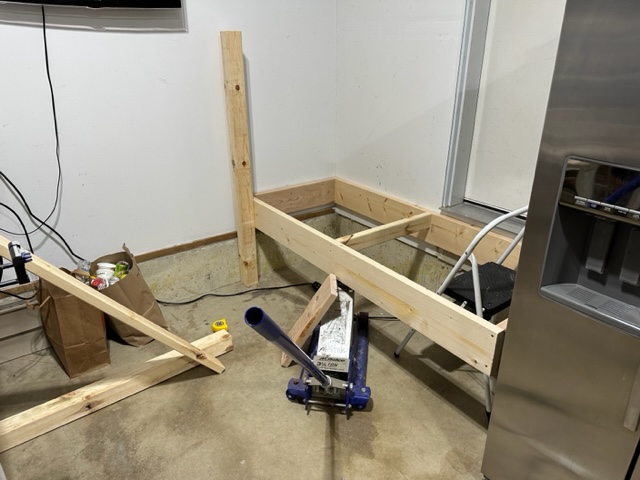
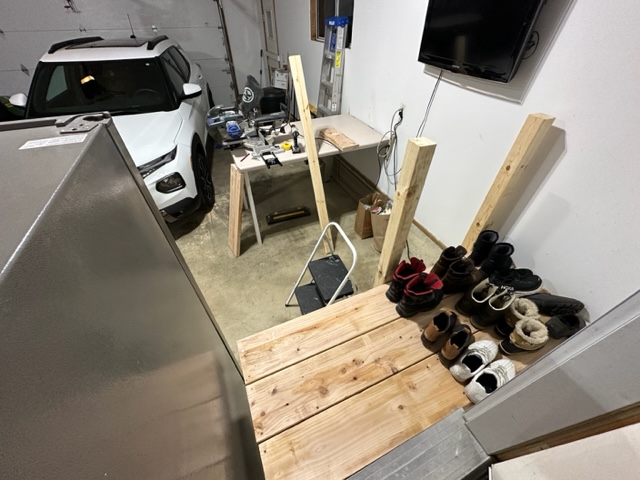
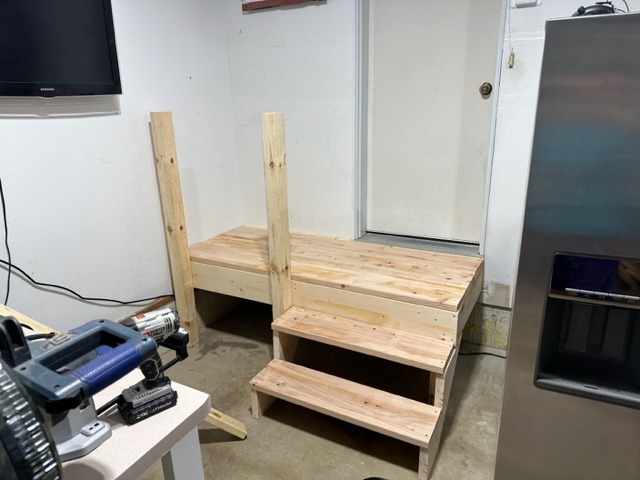
The final garage project I’ll discuss in this post is the updated staircase into the house. This upgrade came after I struggled to get into the house with an armful of groceries. I wanted a larger space to stand on when opening the door into the house and also wanted to build shelves for shoe storage.
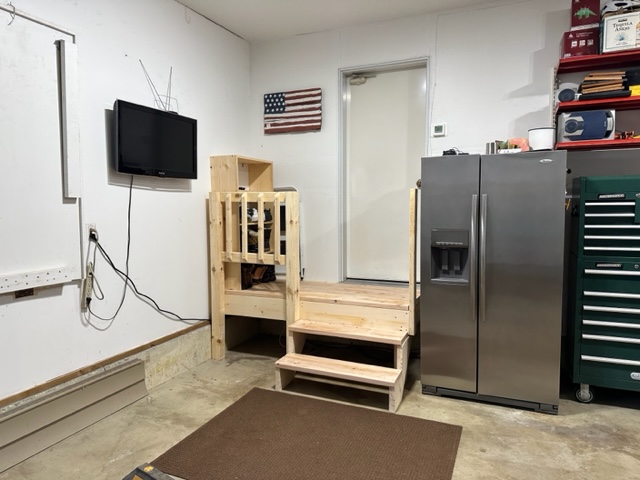
We’re so happy with the steps and all of our improvements in the garage so far. Thanks for reading!
-Mike