There are a great deal of projects we hope to get finished in our yard this summer. Many of them require having water. (cleaning gutters, planting grass, etc.) Unfortunately, our existing water faucet leaked heavily anytime we turned it on. We were worried about so much water pooling so close to the foundation. This made fixing the water spigot a top priority.
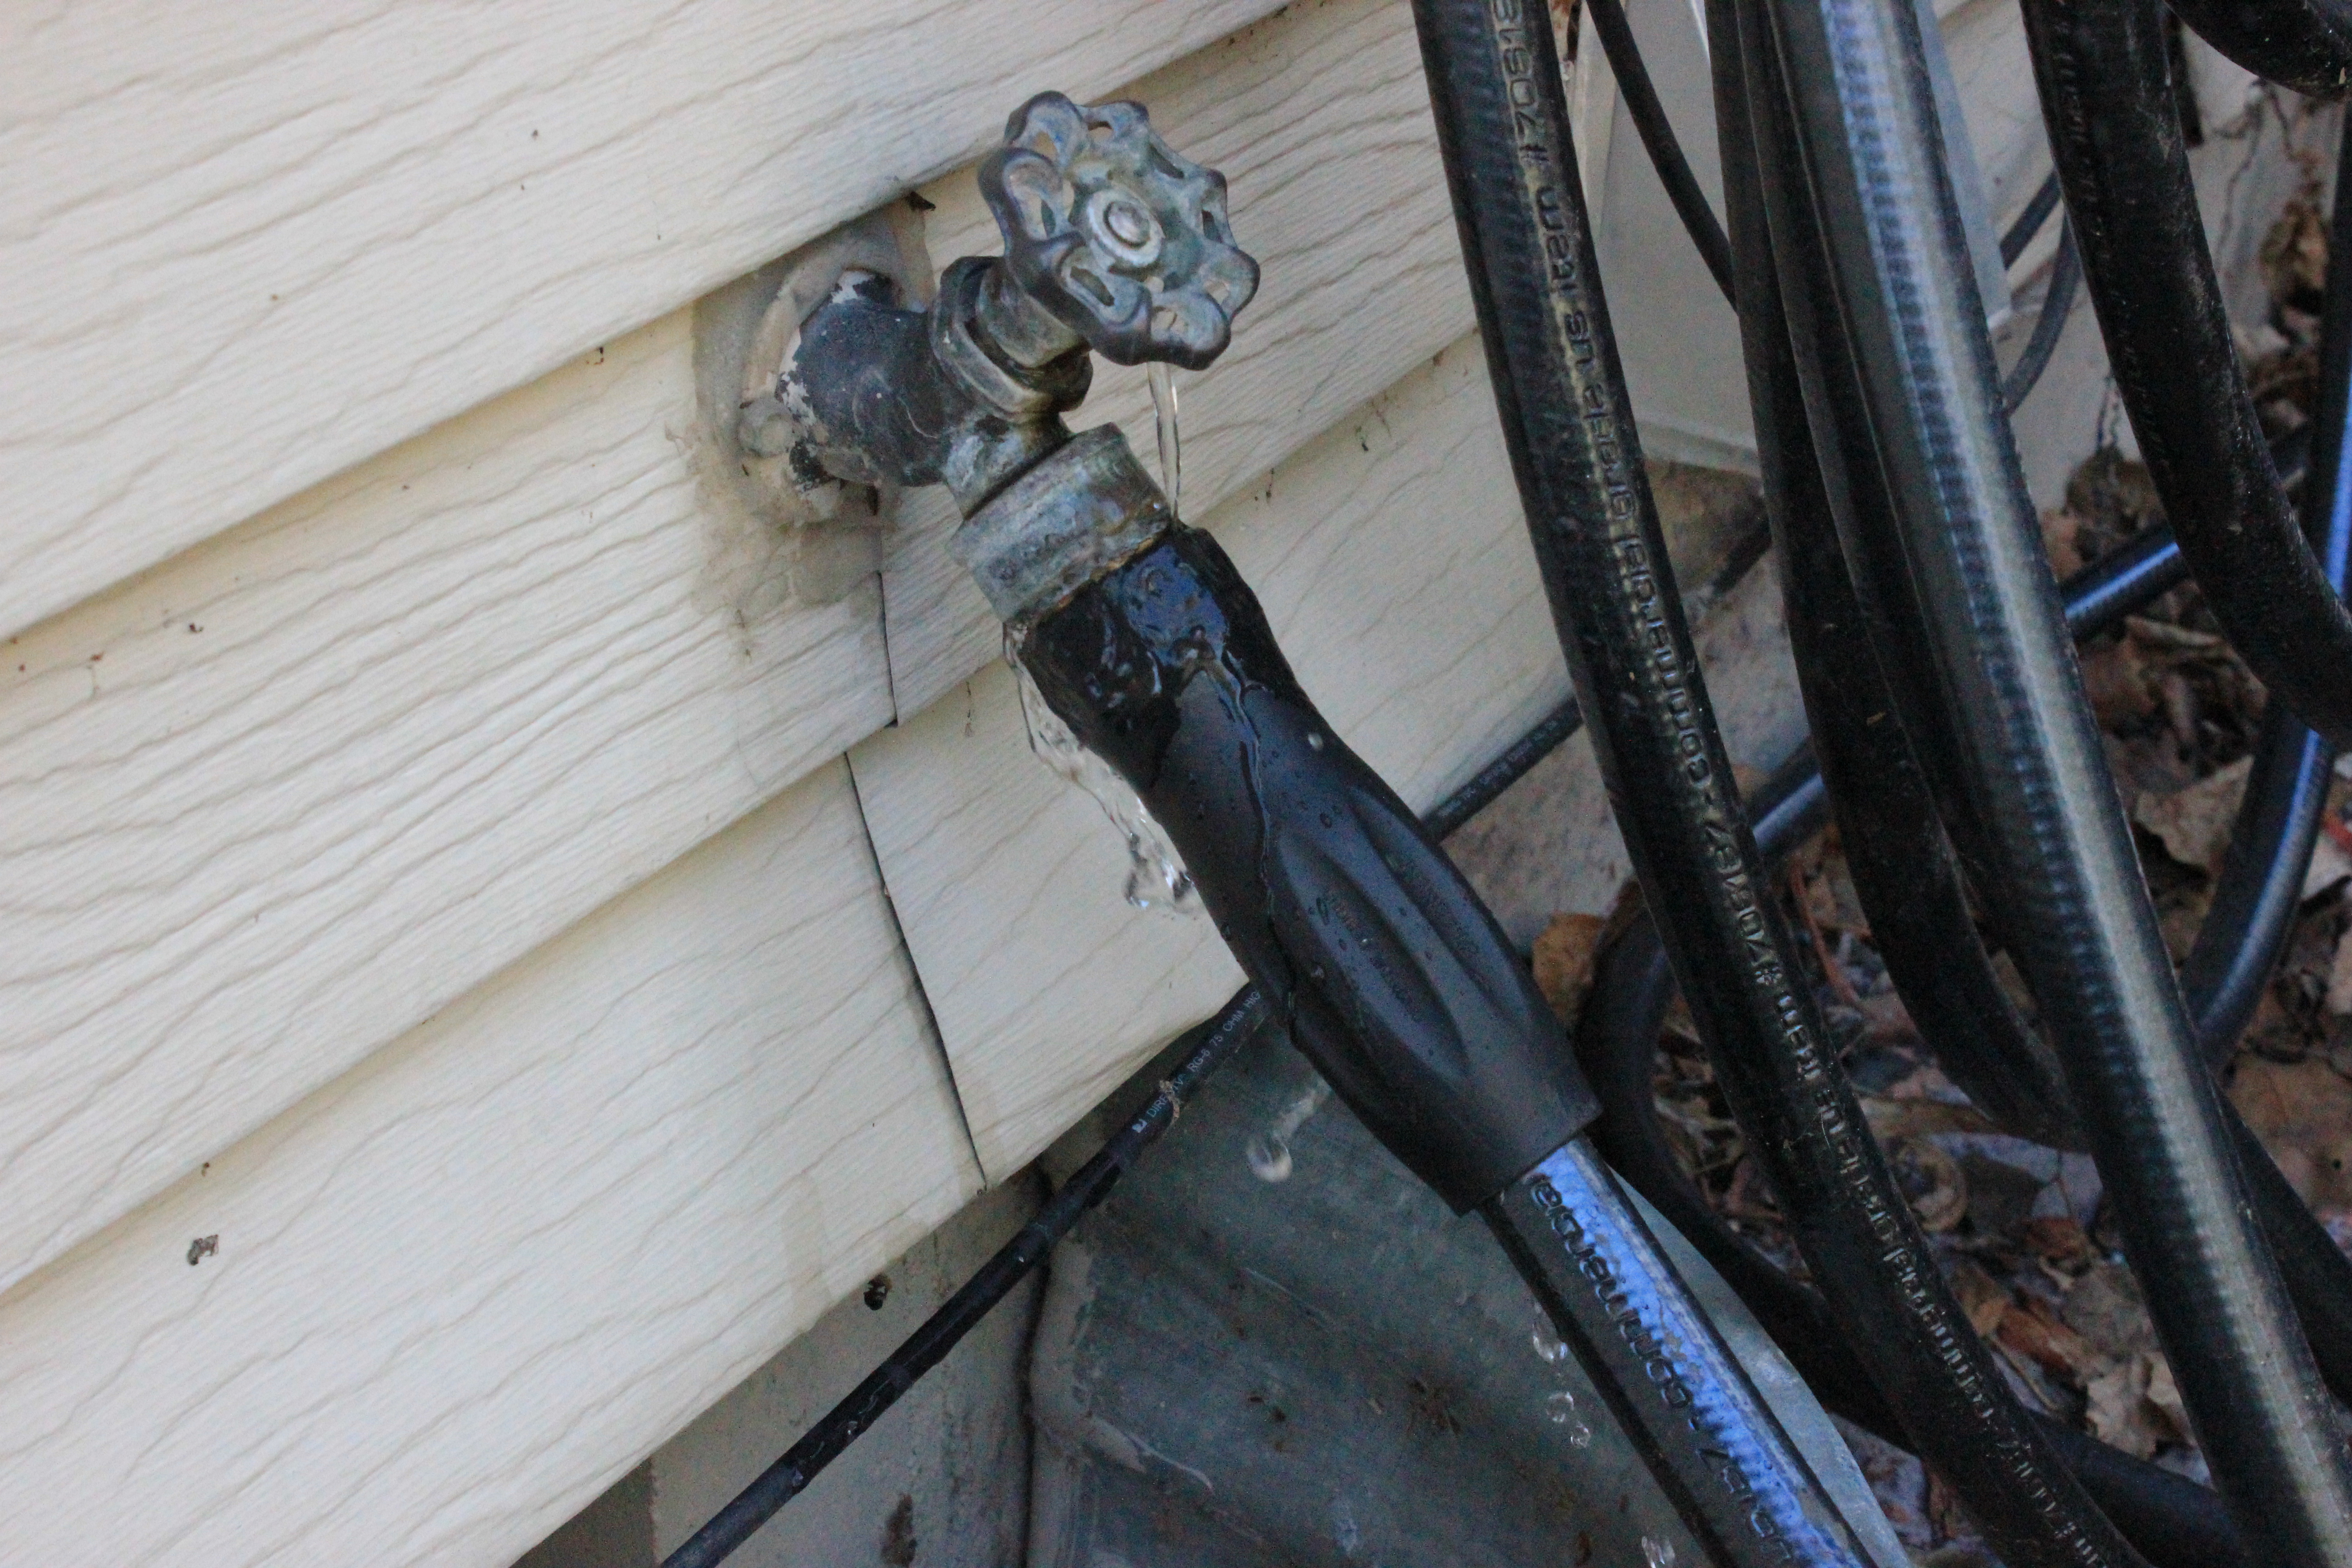
Water sprayed from two places whenever water flowed. It leaked from the handle and also from the hose bib vacuum breaker (where the hose attaches)
I was able to fix one of the leaks by tightening the packing nut just beneath the handle. That was fairly simple. However, the other leak was more complicated because it would have required a part I could not find at either Home Depot or Menards. The rubber seal inside the vacuum breaker was completely shot. (photo below)

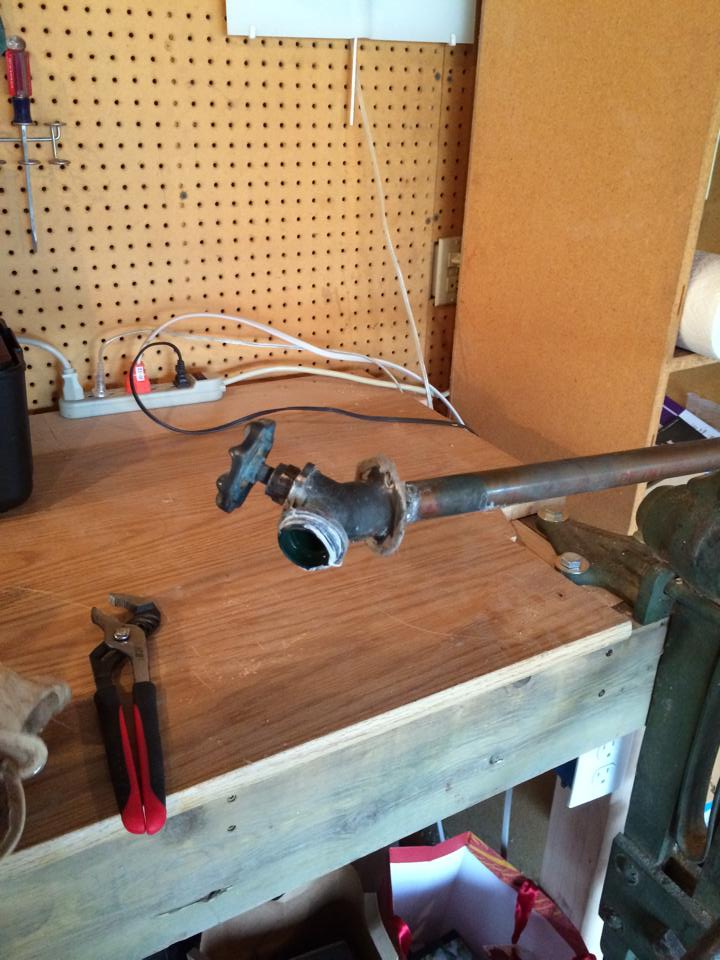
The seal on the hose bib vacuum breaker was shot. This meant water would spray through small holes in this device anytime the water was turned on.
I had trouble finding a replacement because the thread on this is 1″ in diameter. Most typically come with a 3/4″ thread (click for example). People I spoke with also said I would have a hard time finding a replacement rubber seal. So after much frustration, and many weeks weighing my options, I decided to replace the entire unit. It was not going to be as easy as unscrewing the old faucet and fastening a new one. I would have to learn how to cut brass and solder a replacement. I was lucky enough to have a shutoff valve just inside the house so that in the event that I needed to call for professional help, we could continue flushing toilets while we waited.
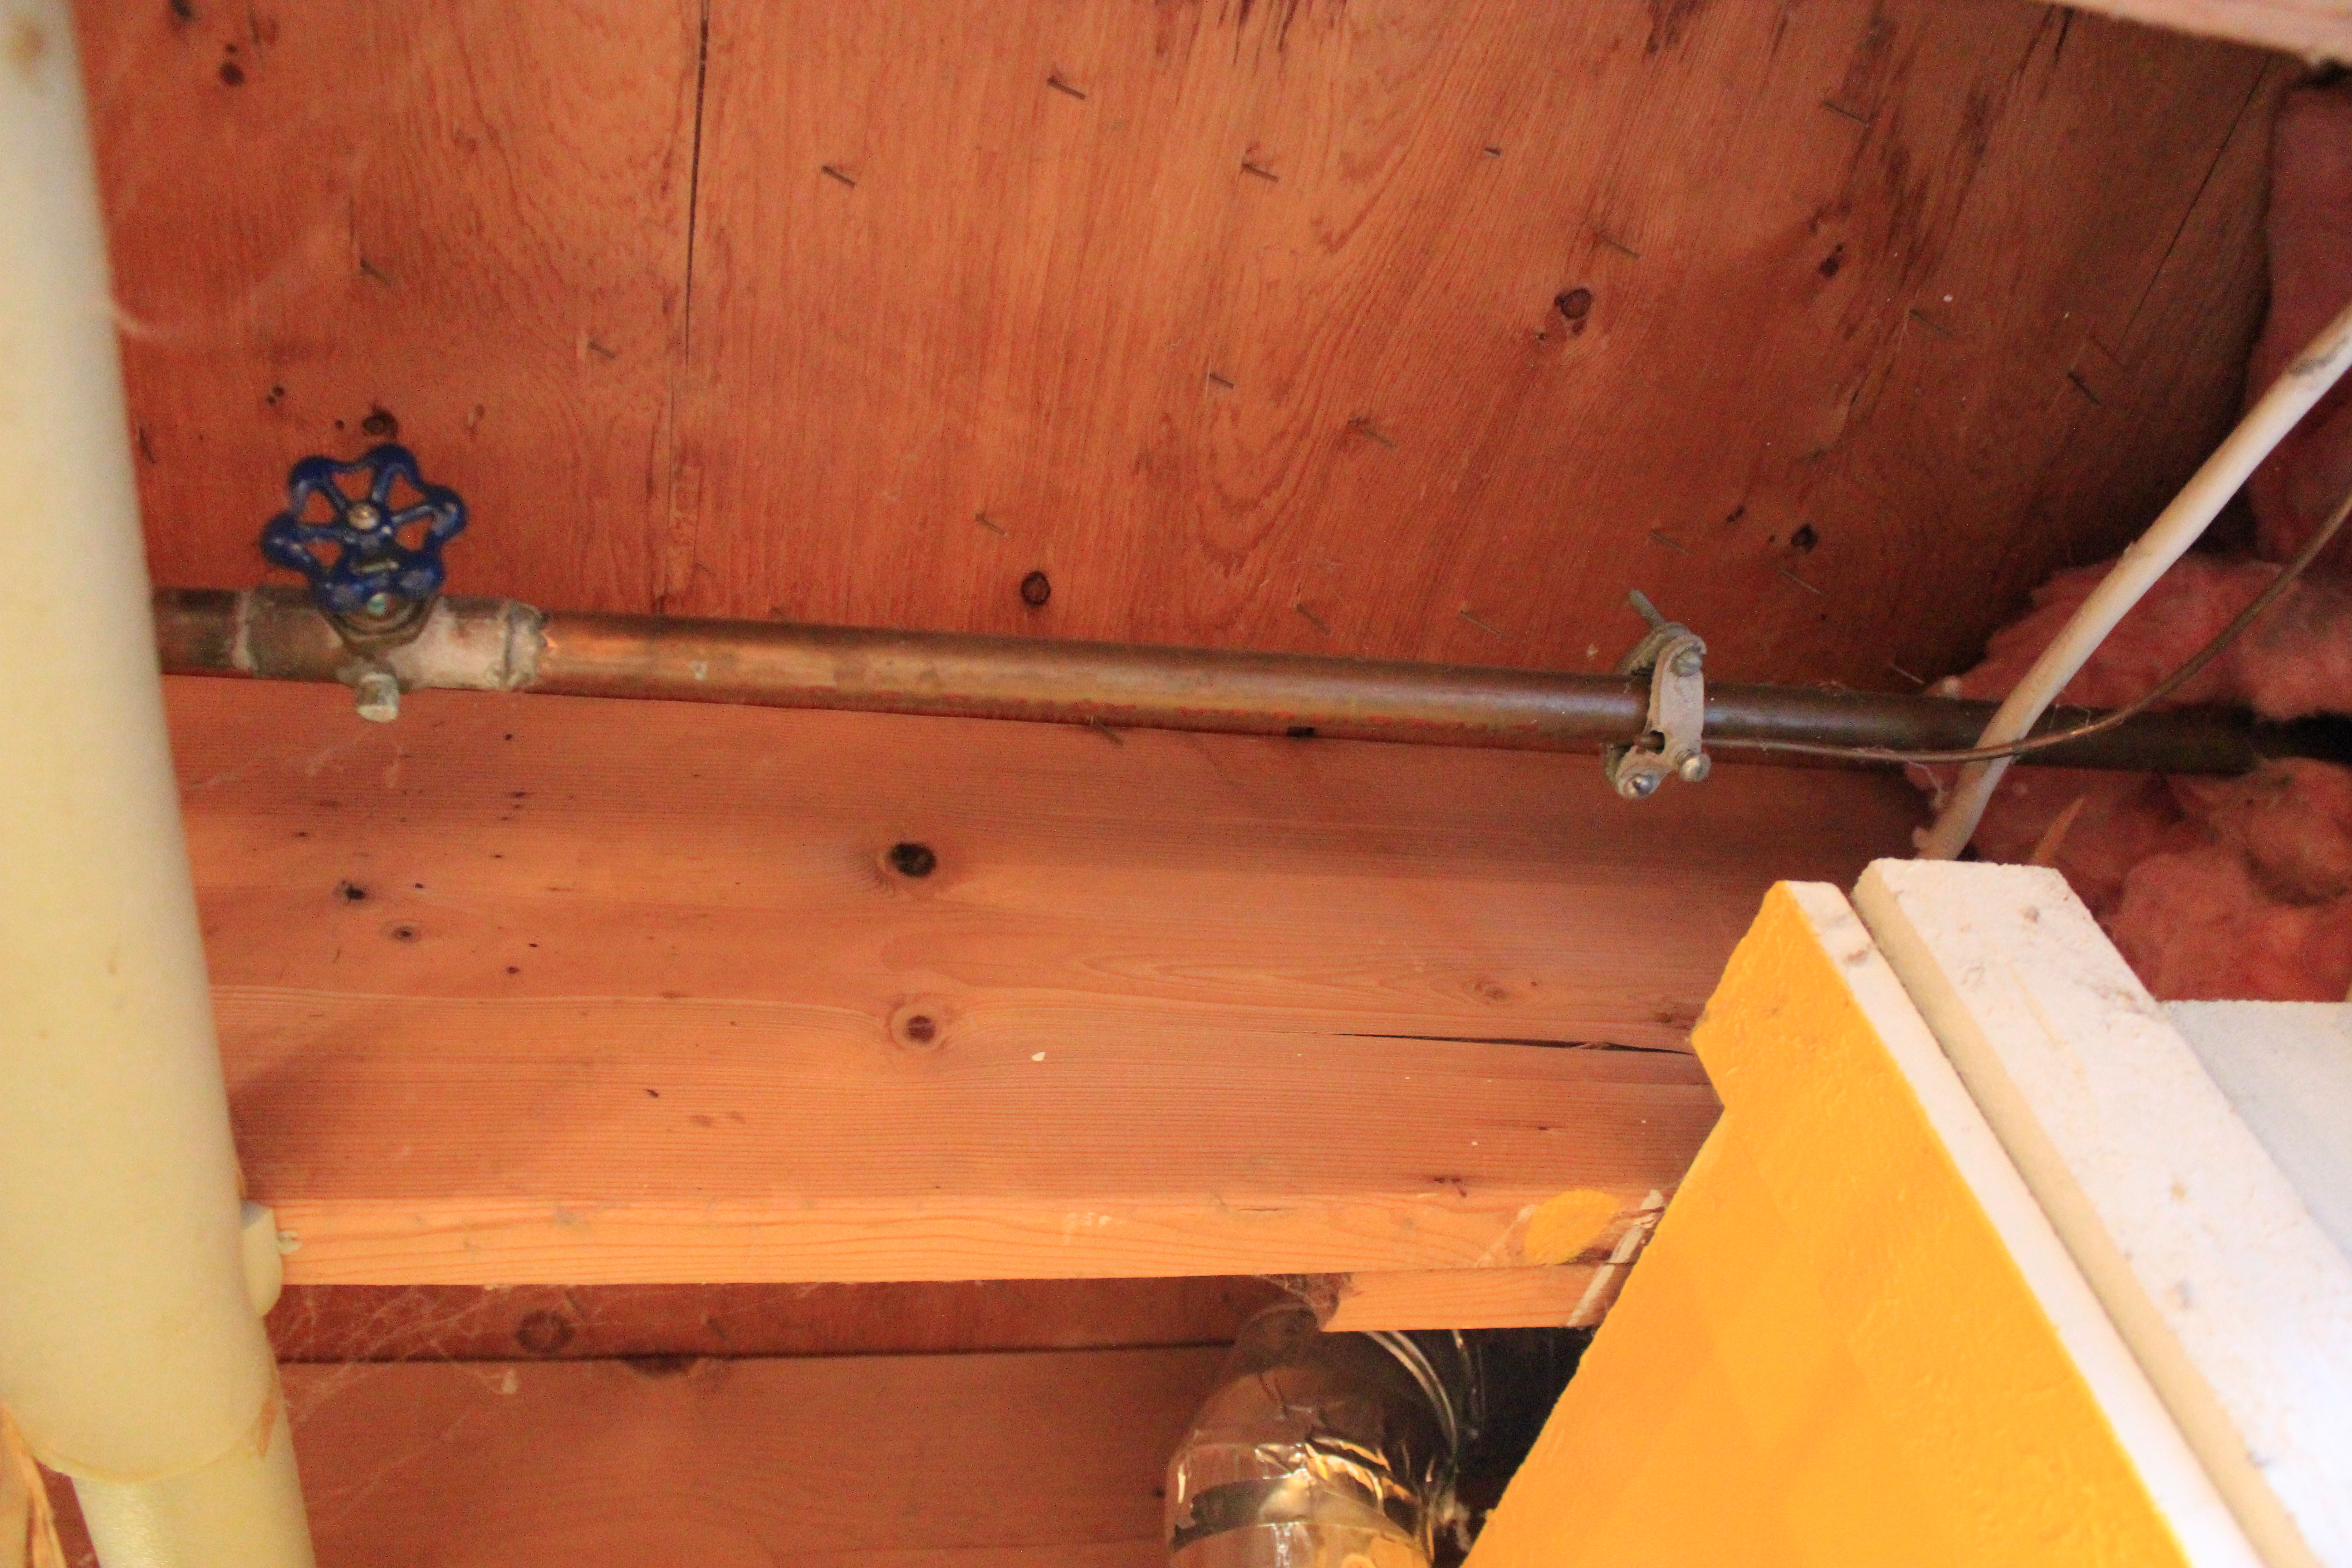
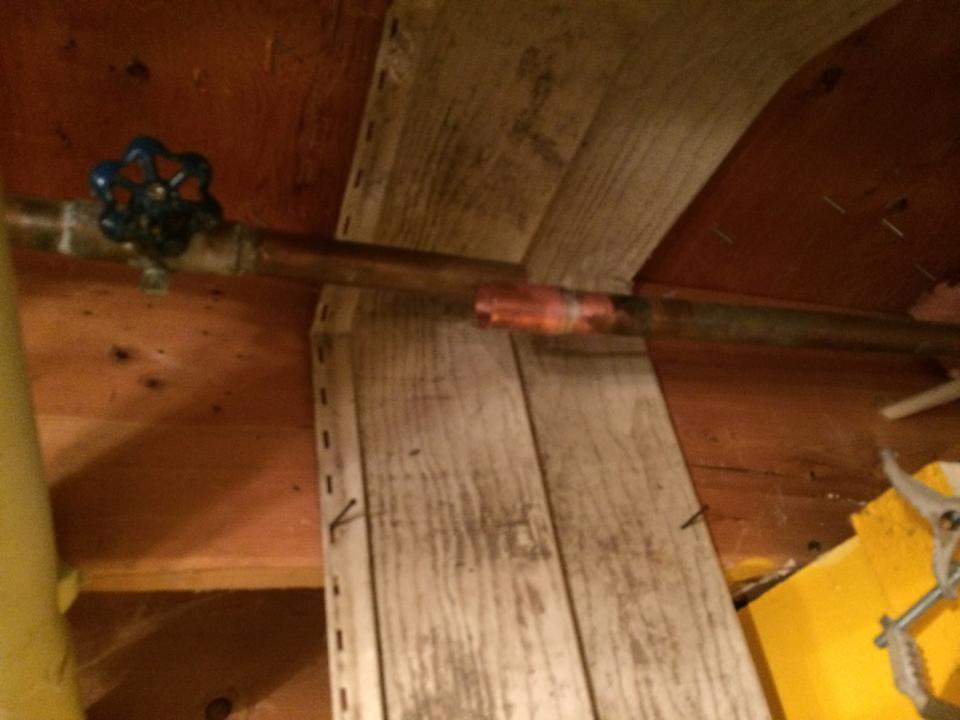
The shutoff valve for the faucet is about 2 feet away from the exterior wall leaving me plenty of space to work
To learn some DIY plumbing skills, I enlisted the help of my Dad. Over the course of my lifetime, he has remodeled every room of their home, which was built in 1889. We happened to be visiting them in Iowa and spent some time learning how to cut and solder brass.

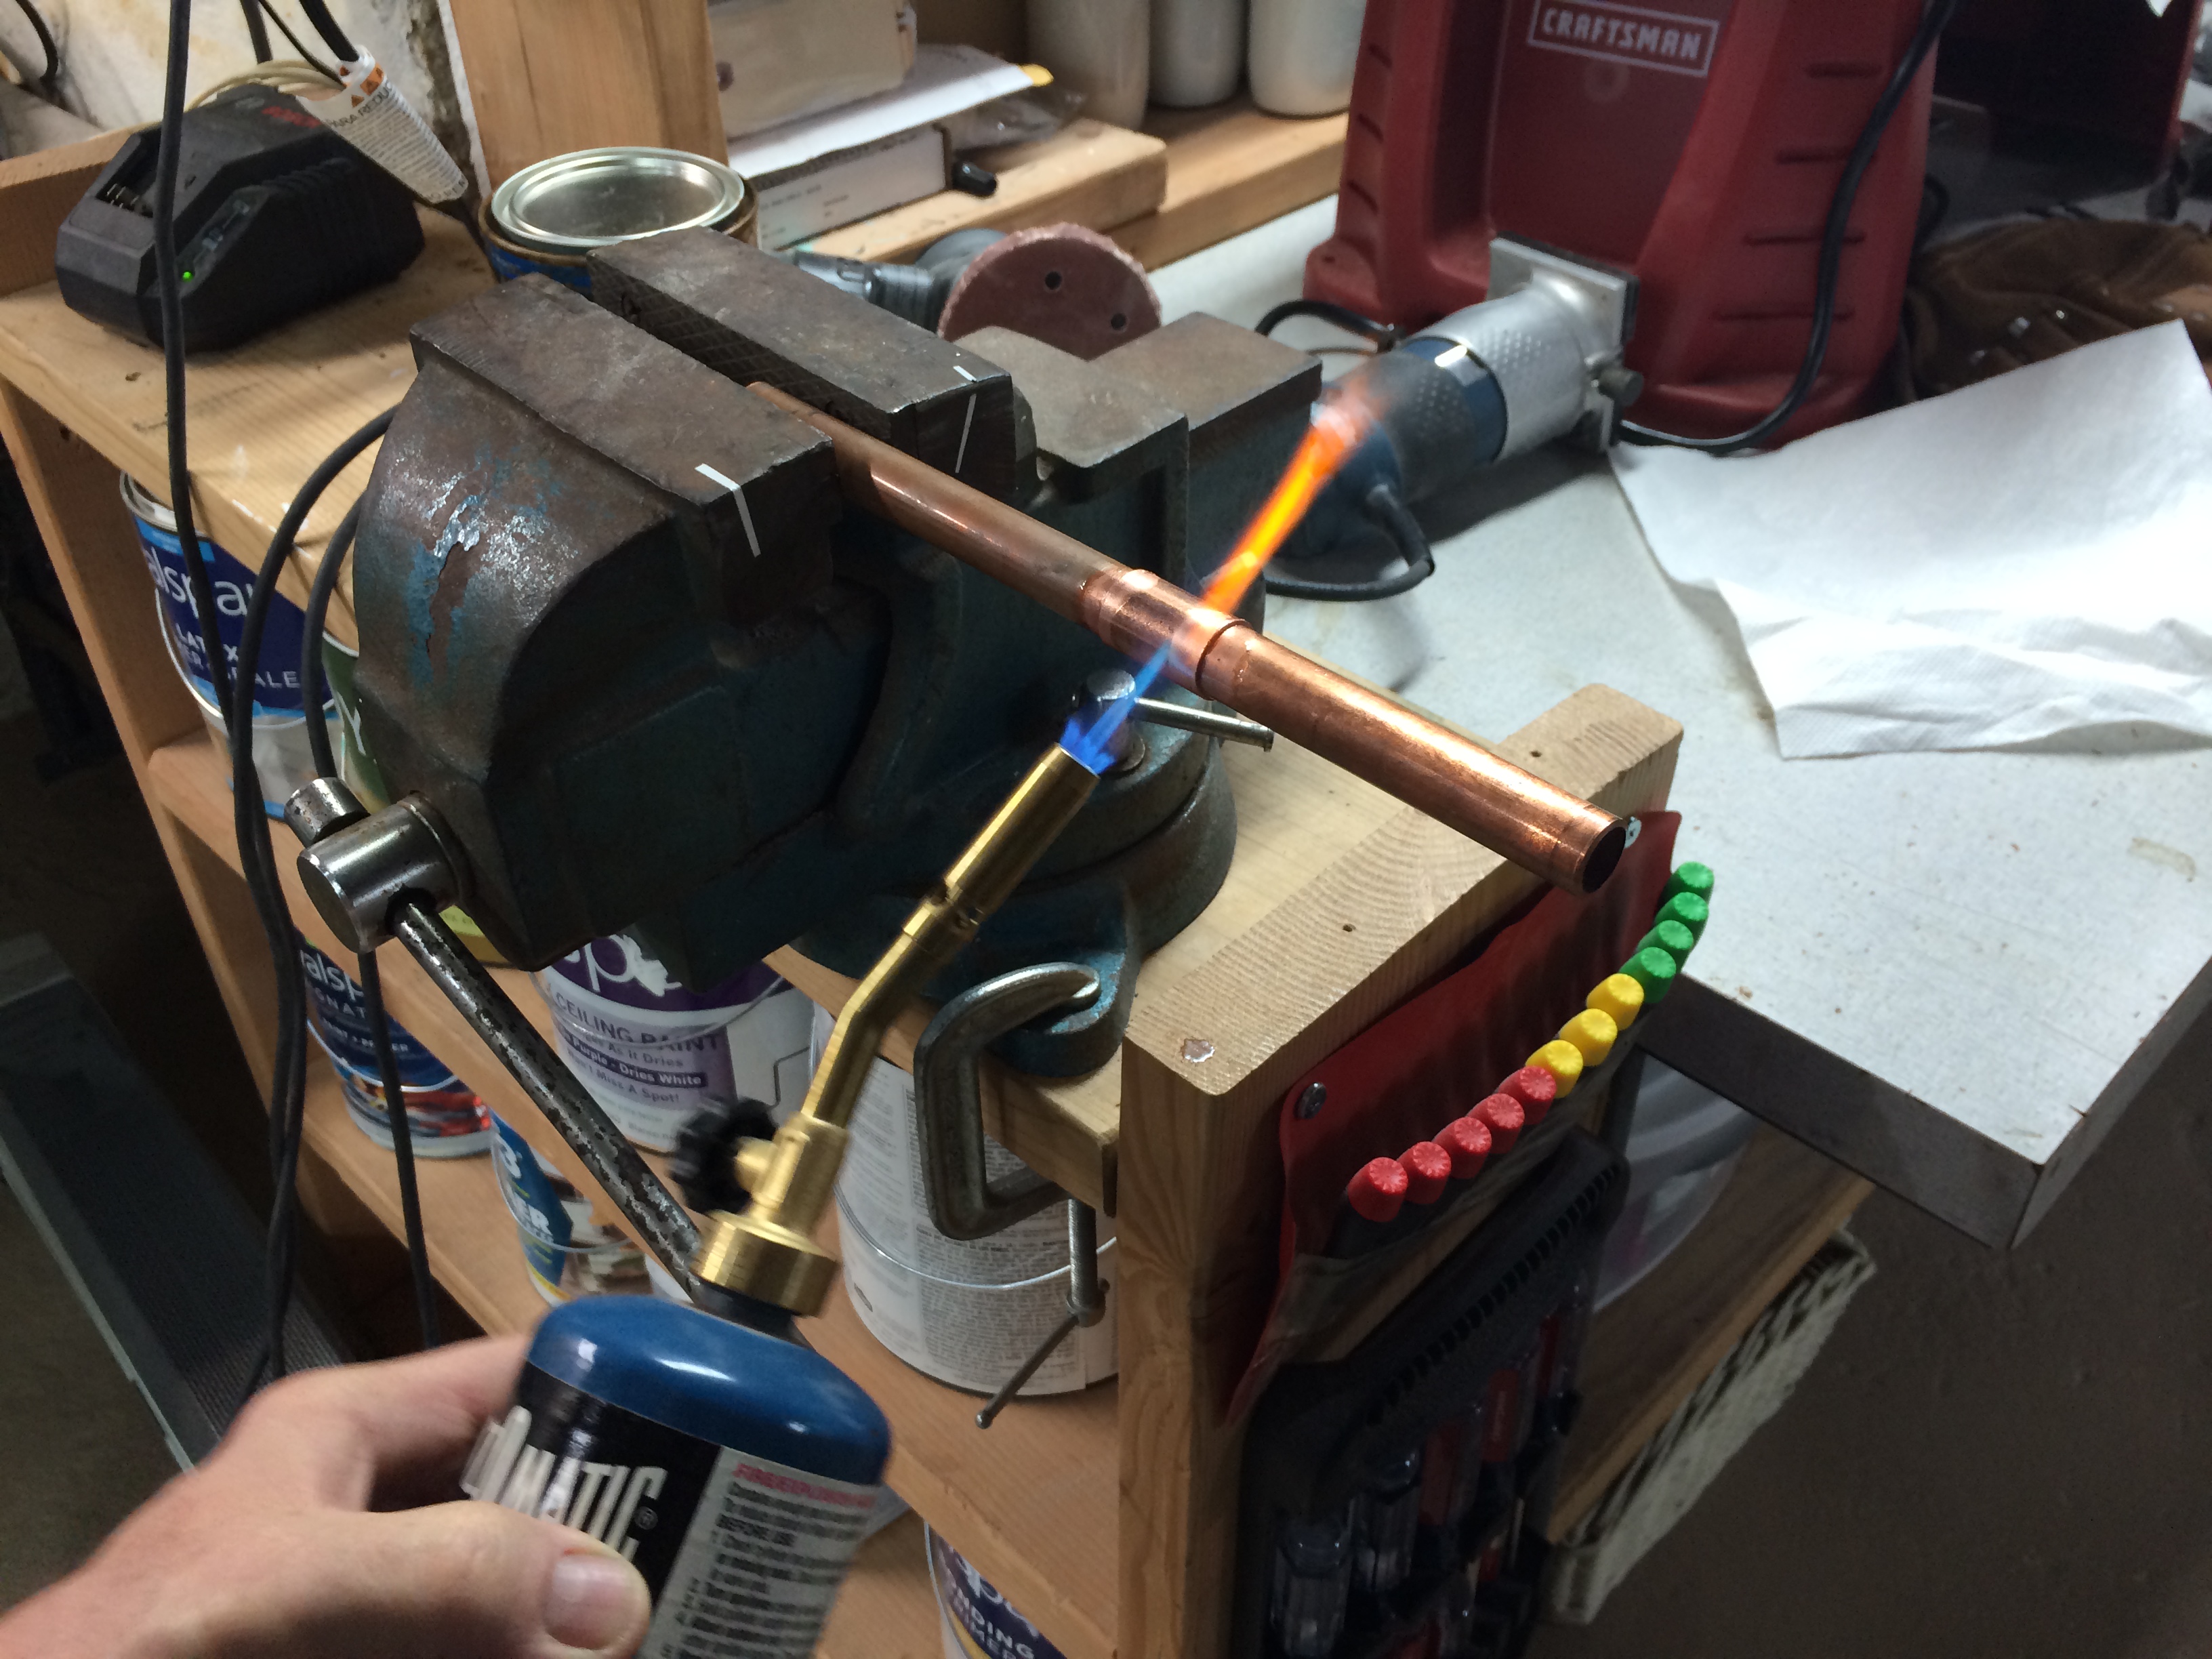
He taught me to use a propane torch to heat the brass until it starts to change color
He also taught me to clean the brass and prepare it using flux, which sucks the solder into place for a tight seal
See what I learned about applying soldering in the following video:
After giving me the “mental” tools to do the job, my dad also sent me home with some of the physical tools I would need (brush, flux, pipe cutter). After arriving back in Minnesota, we didn’t waste much time getting to work.
Old water faucet removed by cutting brass pipe on the inside of the house (water shutoff valve safely closed)
The pipe is secured in my vise so I can remove the old faucet and reuse the brass pipe

Fire it up!
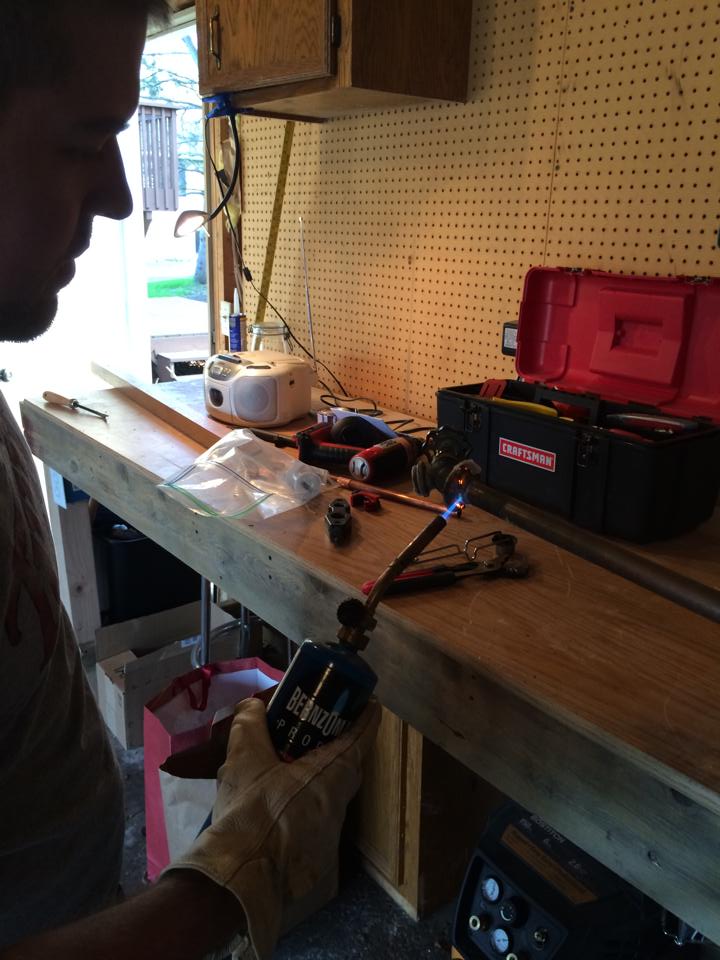
Heating the pipe to melt the old solder so I can remove the leaky faucet
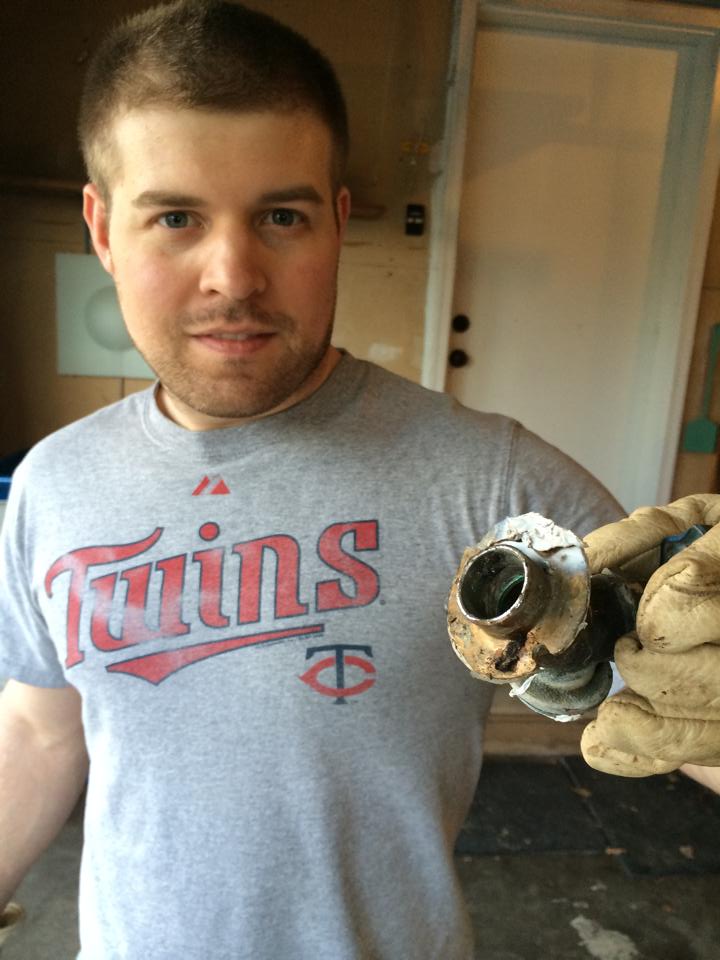
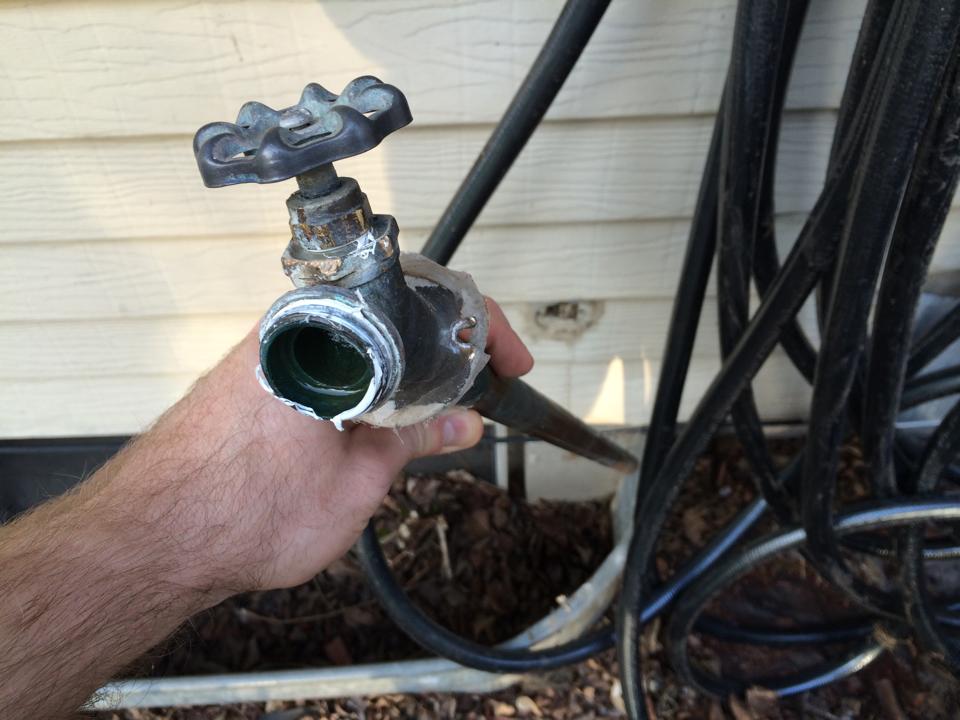
What the old faucet looks like
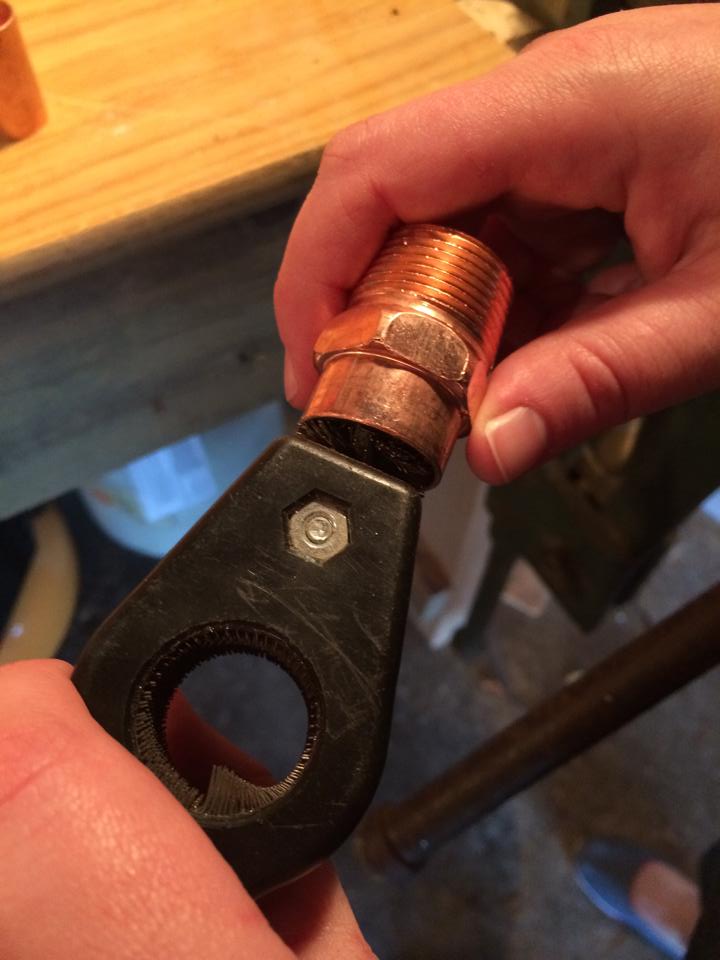
We had replacement parts standing by. In the series of photos below, you will see how I am using a different strategy mounting the new faucet to the pipe. Instead of soldering it directly to the brass pipe, I am attaching a thread to the pipe, so I have the option in the future of replacing the faucet head if it leaks in the future.
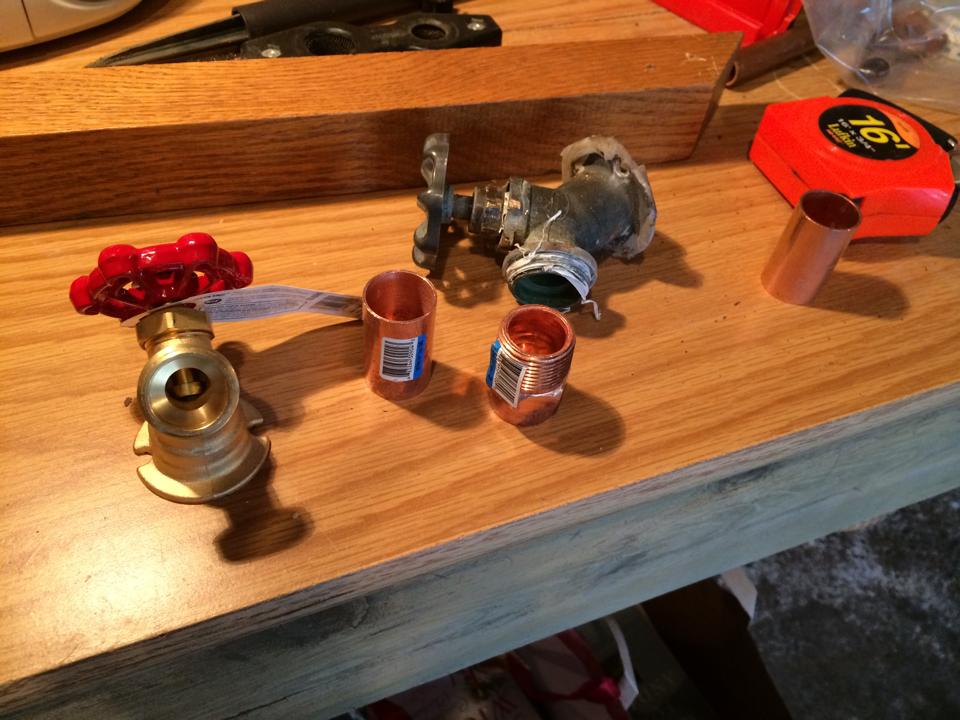
A new brass sillcock and several fittings to attach everything together. You also see a part of our banister sitting on the workbench (stay tuned for exciting future post!)
As I learned from my dad, I prepared each pipe I would be soldering by brushing it down, then applying flux with a small brush.
This pipe needed to be brushed on the outside. You can see the container of flux just behind it.
The threaded piece that will go over the pipe needed to be brushed from the inside
After applying heat until the metal started to change color, I touched the coil of solder to the brass and the flux sucked it into place. I have one fitting ready to go!
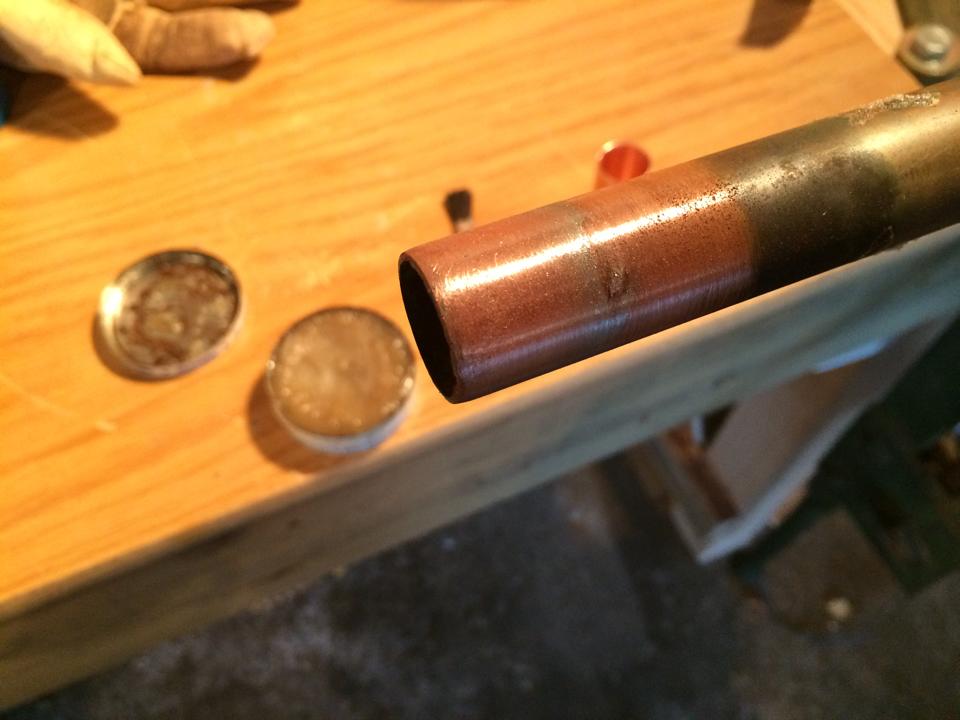
My first successful soldering job!
After the fittings were soldered into place, I made three revolutions around the threads with plumbers tape (which I later found wasn’t enough) and tightened the sillcock (faucet head) into place. The nearly-finished product below:
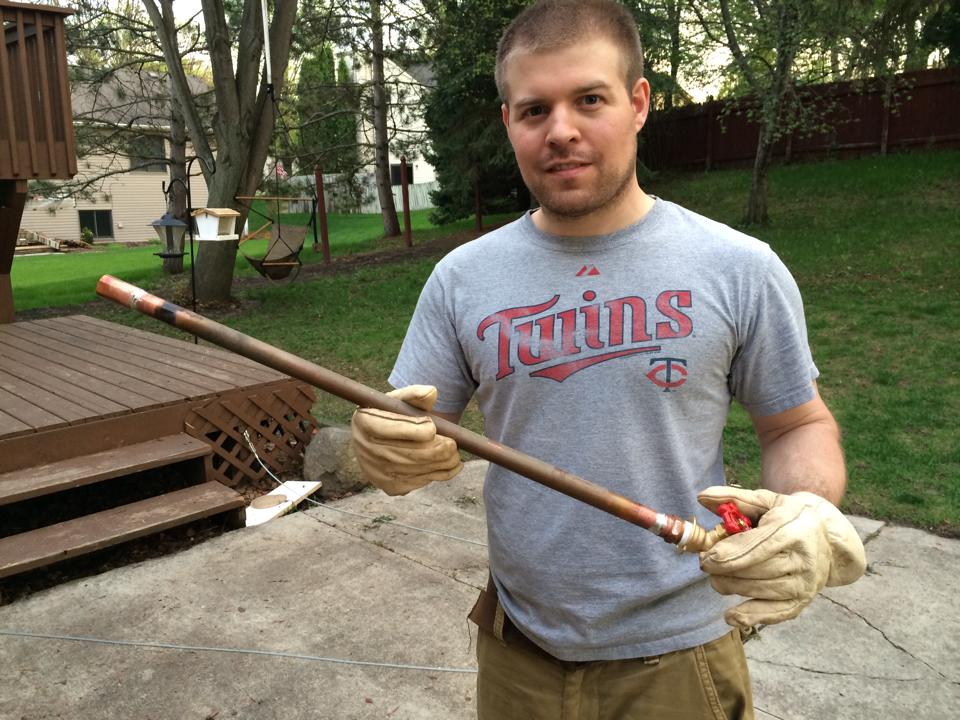
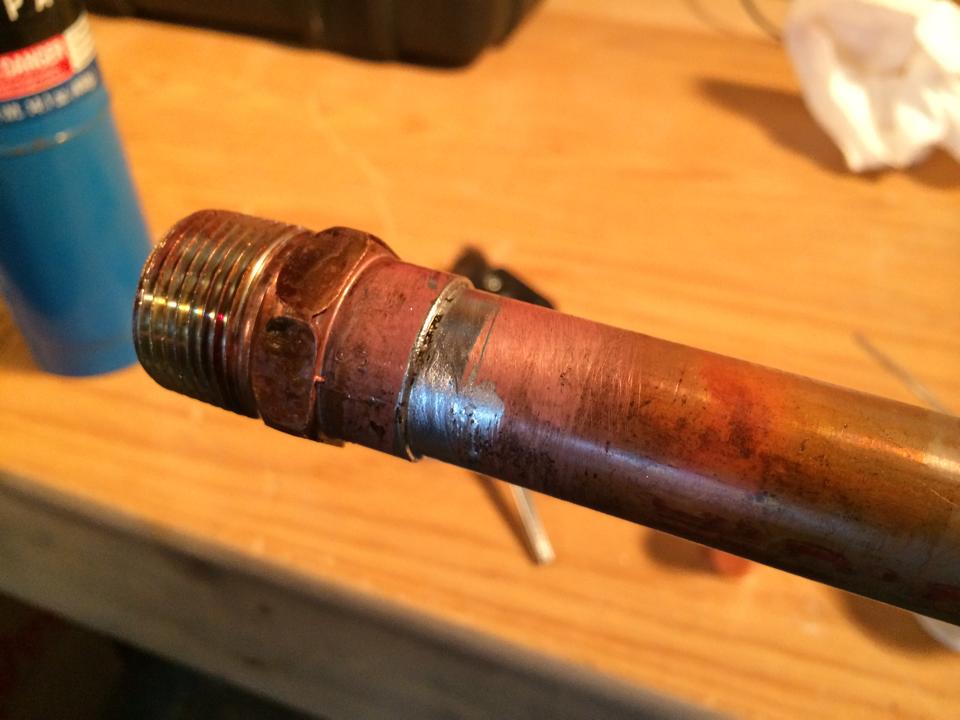
The pipe with attached faucet is ready to be put into place. It’s had about 30 minutes to cool.
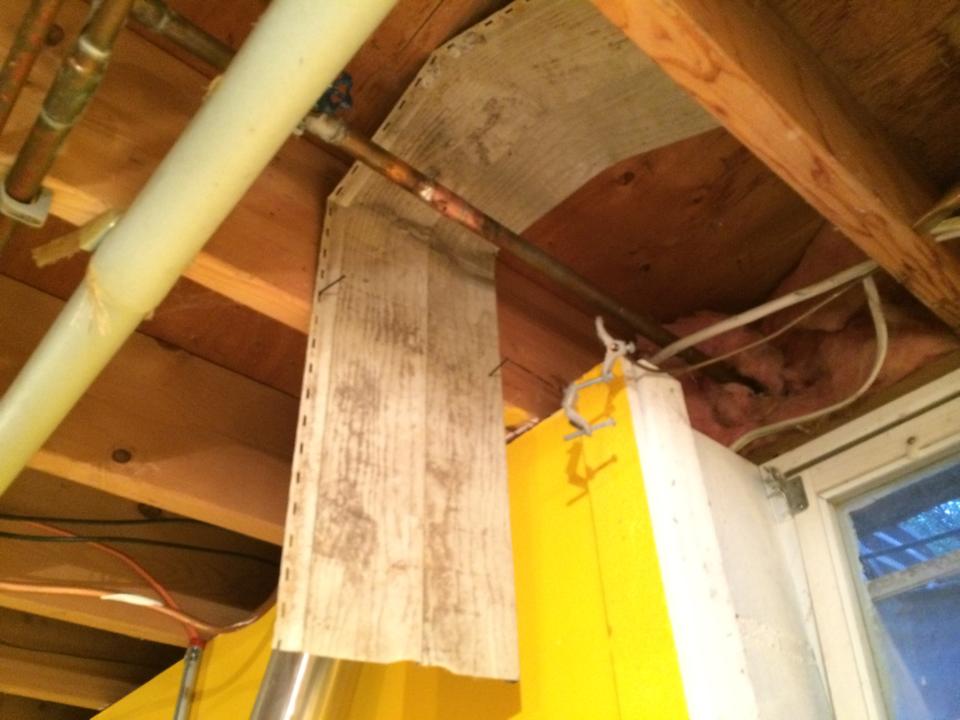
Adding the extra threaded piece made the pipe longer than it used to be. This meant I would need to shorten the pipe next to the shutoff valve, or have the entire thing stick out of the house about an inch too far.
I used a piece of metal flashing to protect the wood in our basement from the heat of the propane torch.
After the cut is complete, we just need to line up the two ends, make sure the faucet is facing the correct direction on the outside of the house and solder the two pieces together.
All sealed!
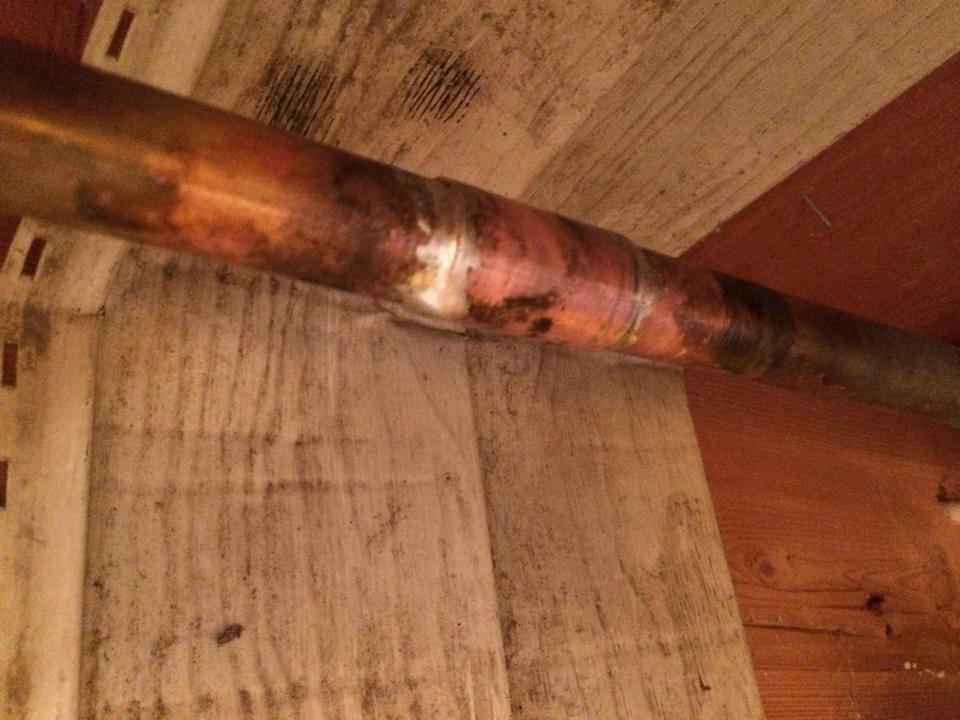
Another view of the finished product inside the basement.
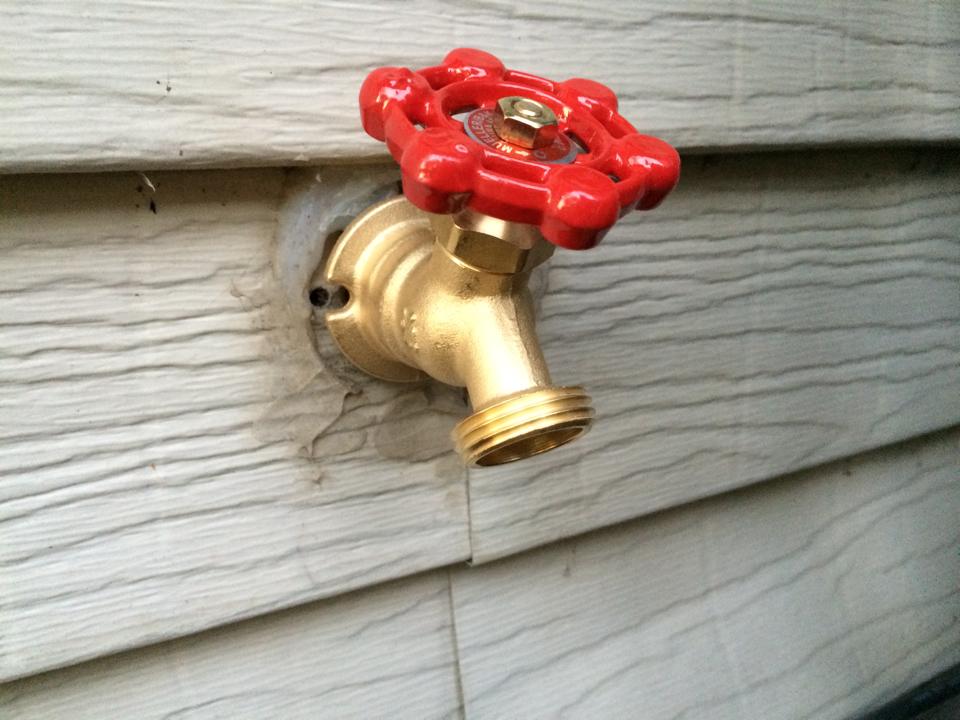
As you can see, the previous owners thought that caulk was the only solution.
I waited about a day before sealing around this because I wanted to check for any leaks. I did have a minor drip from the sillcock, but that was resolved after I applied 5 layers of plumbers tape instead of just 3.
Click here to see the second spigot I fixed.
-Mike