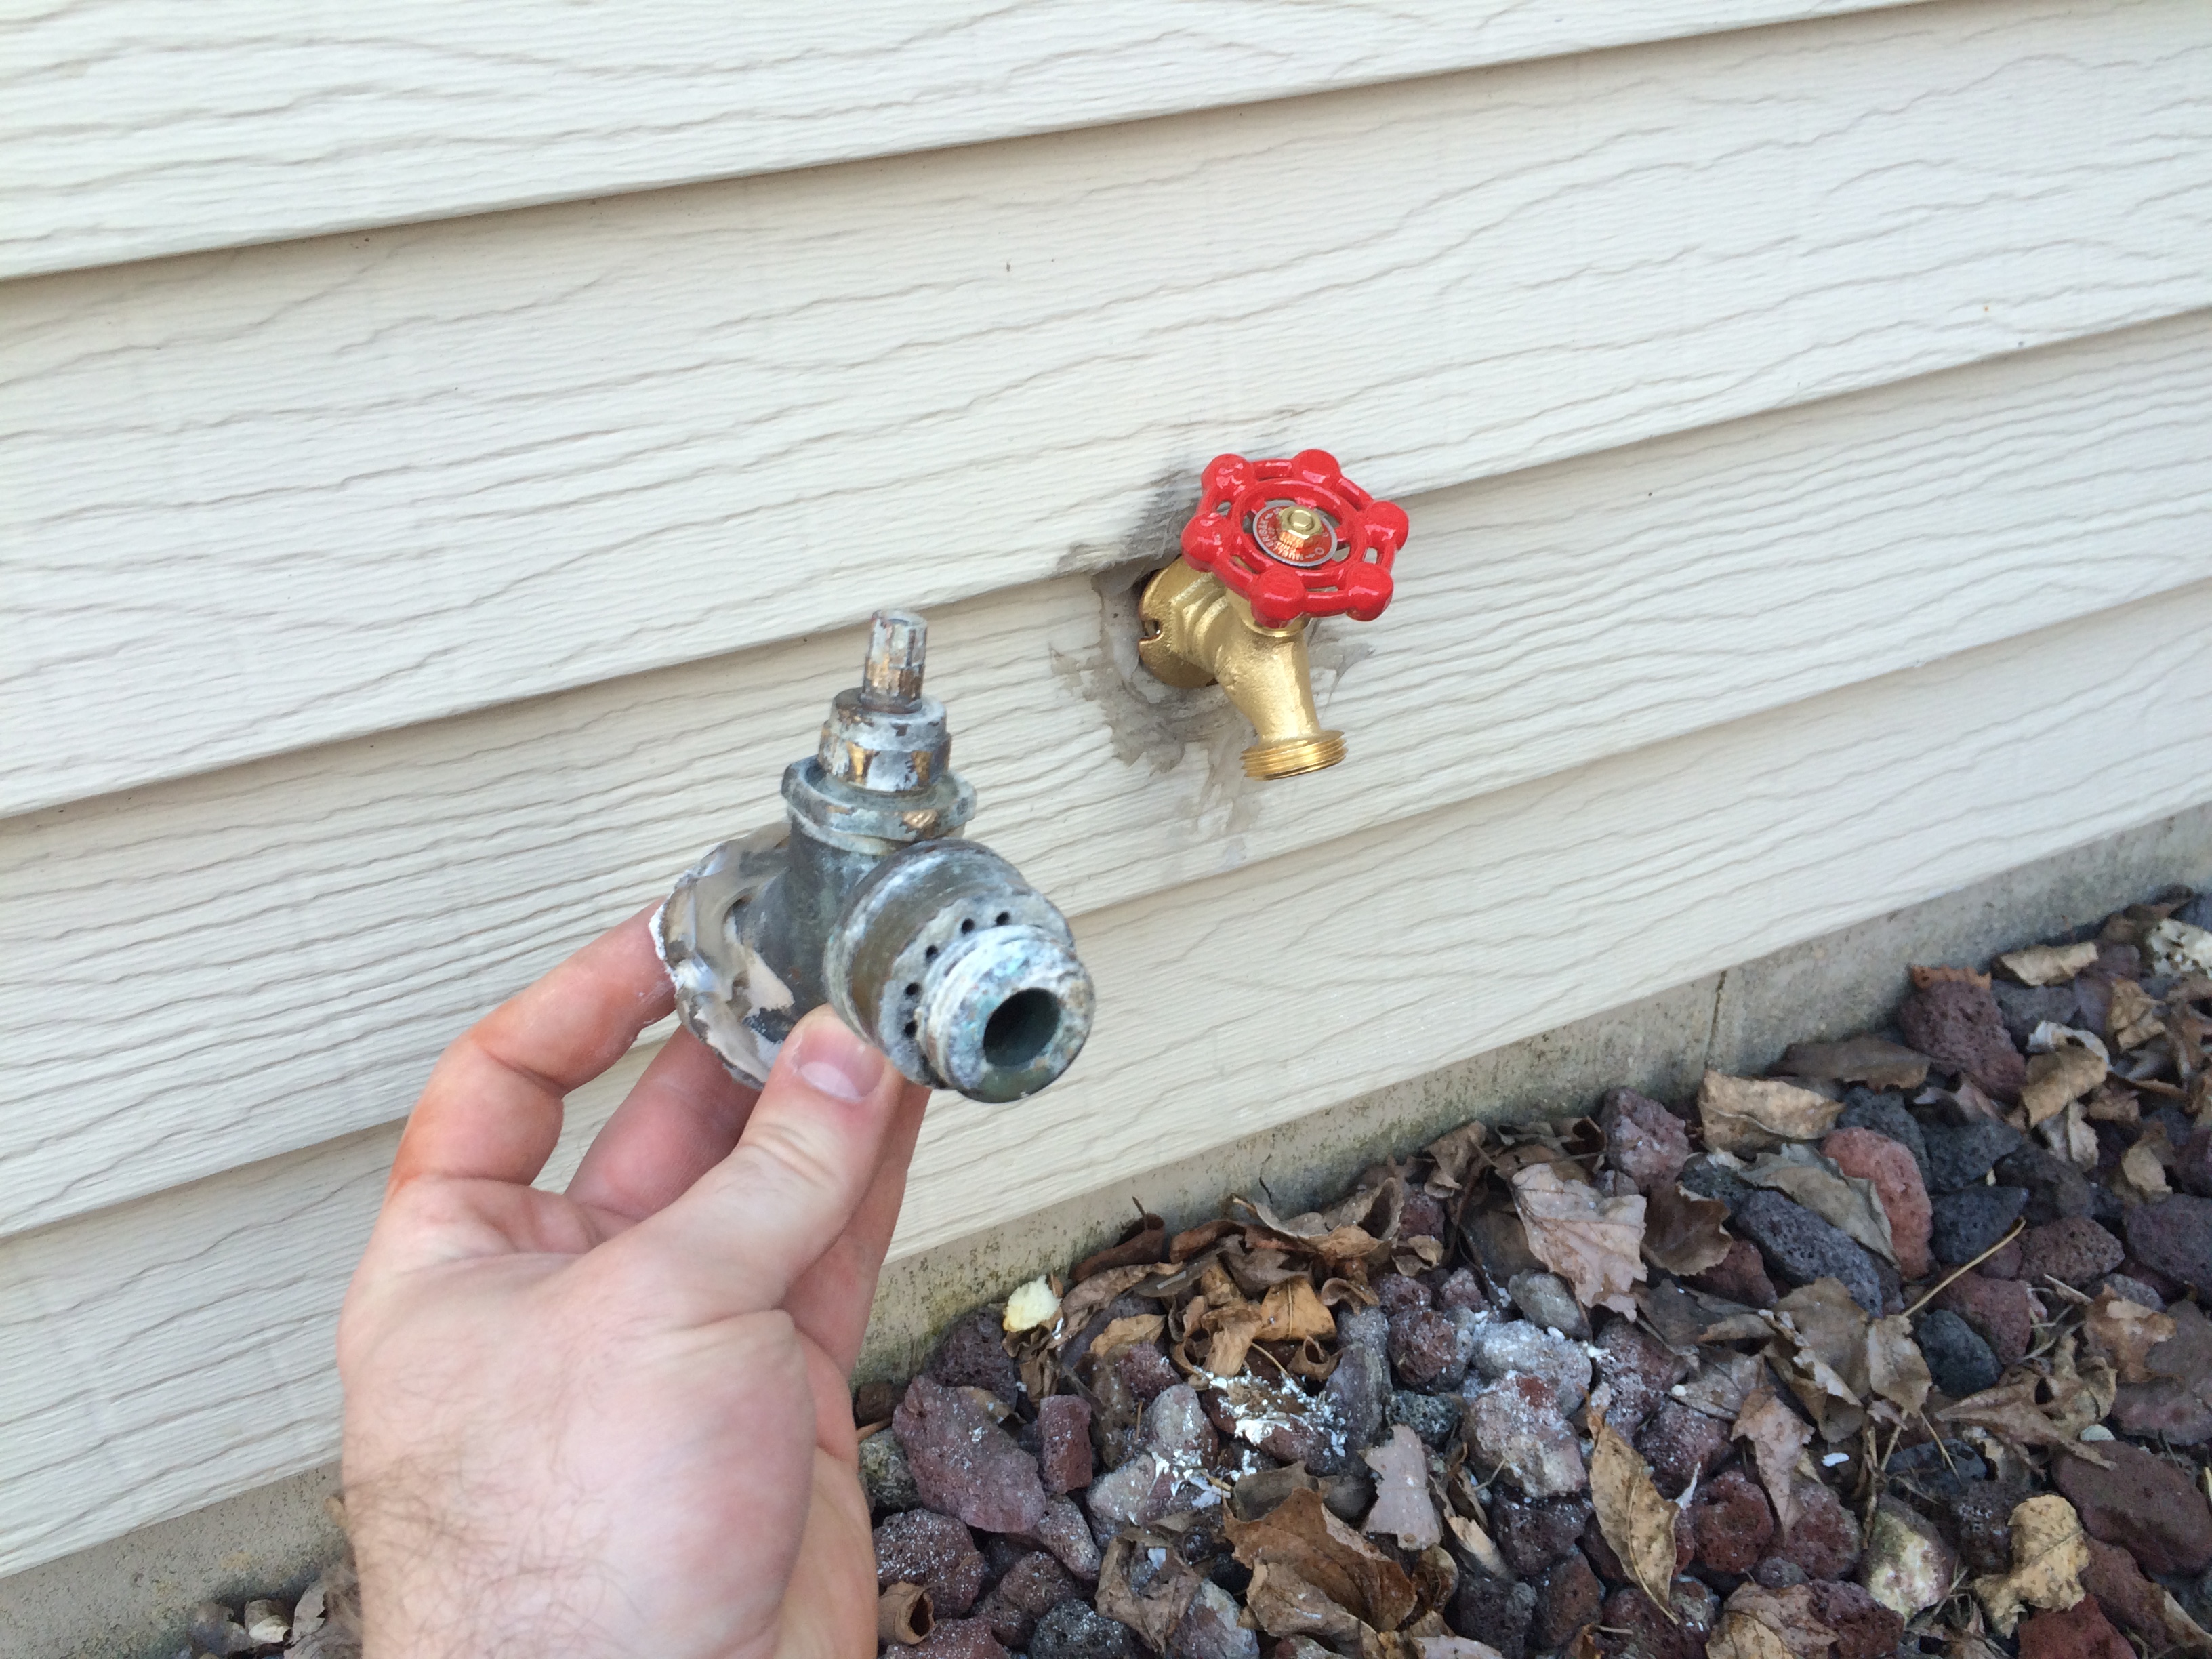
Since buying this house we have determined that the life of an outdoor faucet is about 30 years. Our home is 31 and shes leaking! We already replaced the spigot at the back of the house, since its used more often. We blogged about that process on this post.
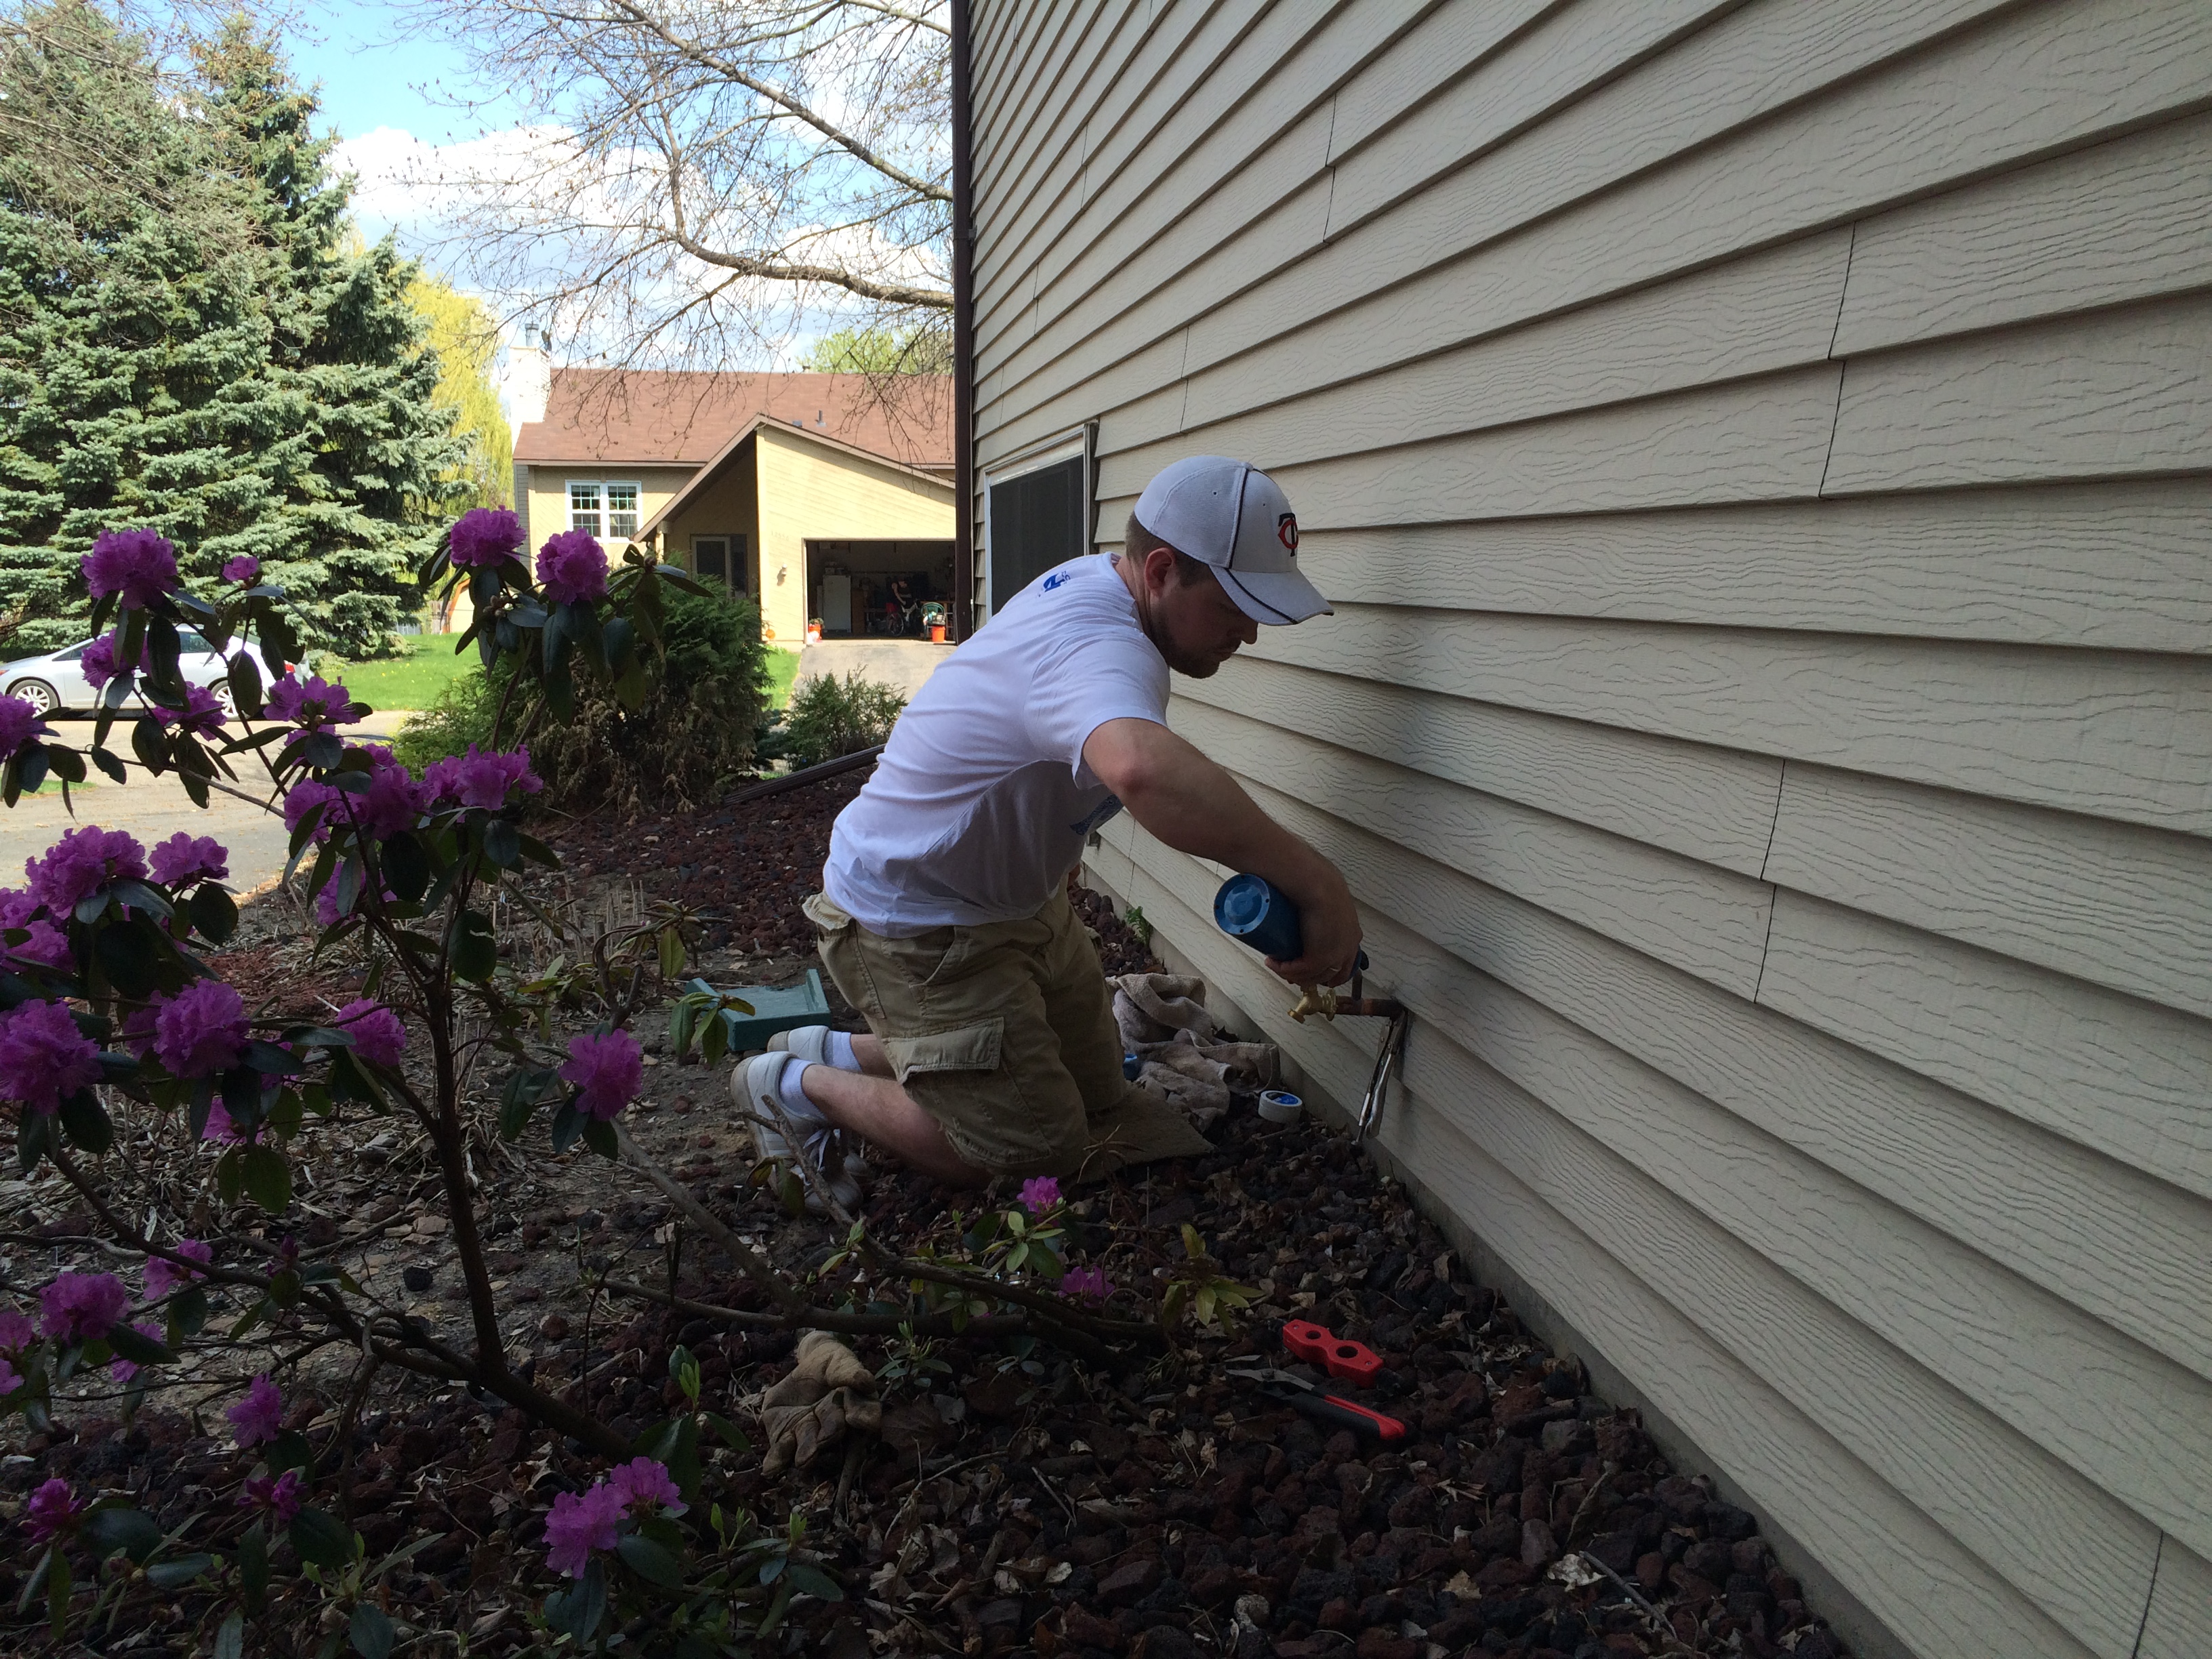
From the outside of the house, it all looks pretty simple. I had another old, leaky faucet at the front of the house that needed to be replaced. So, just like the tap at the back of the house, I cut the head off and have a wrench holding the piece of copper pipe away from the house for me to attach a new faucet. But on the inside of the house, it’s a different story.

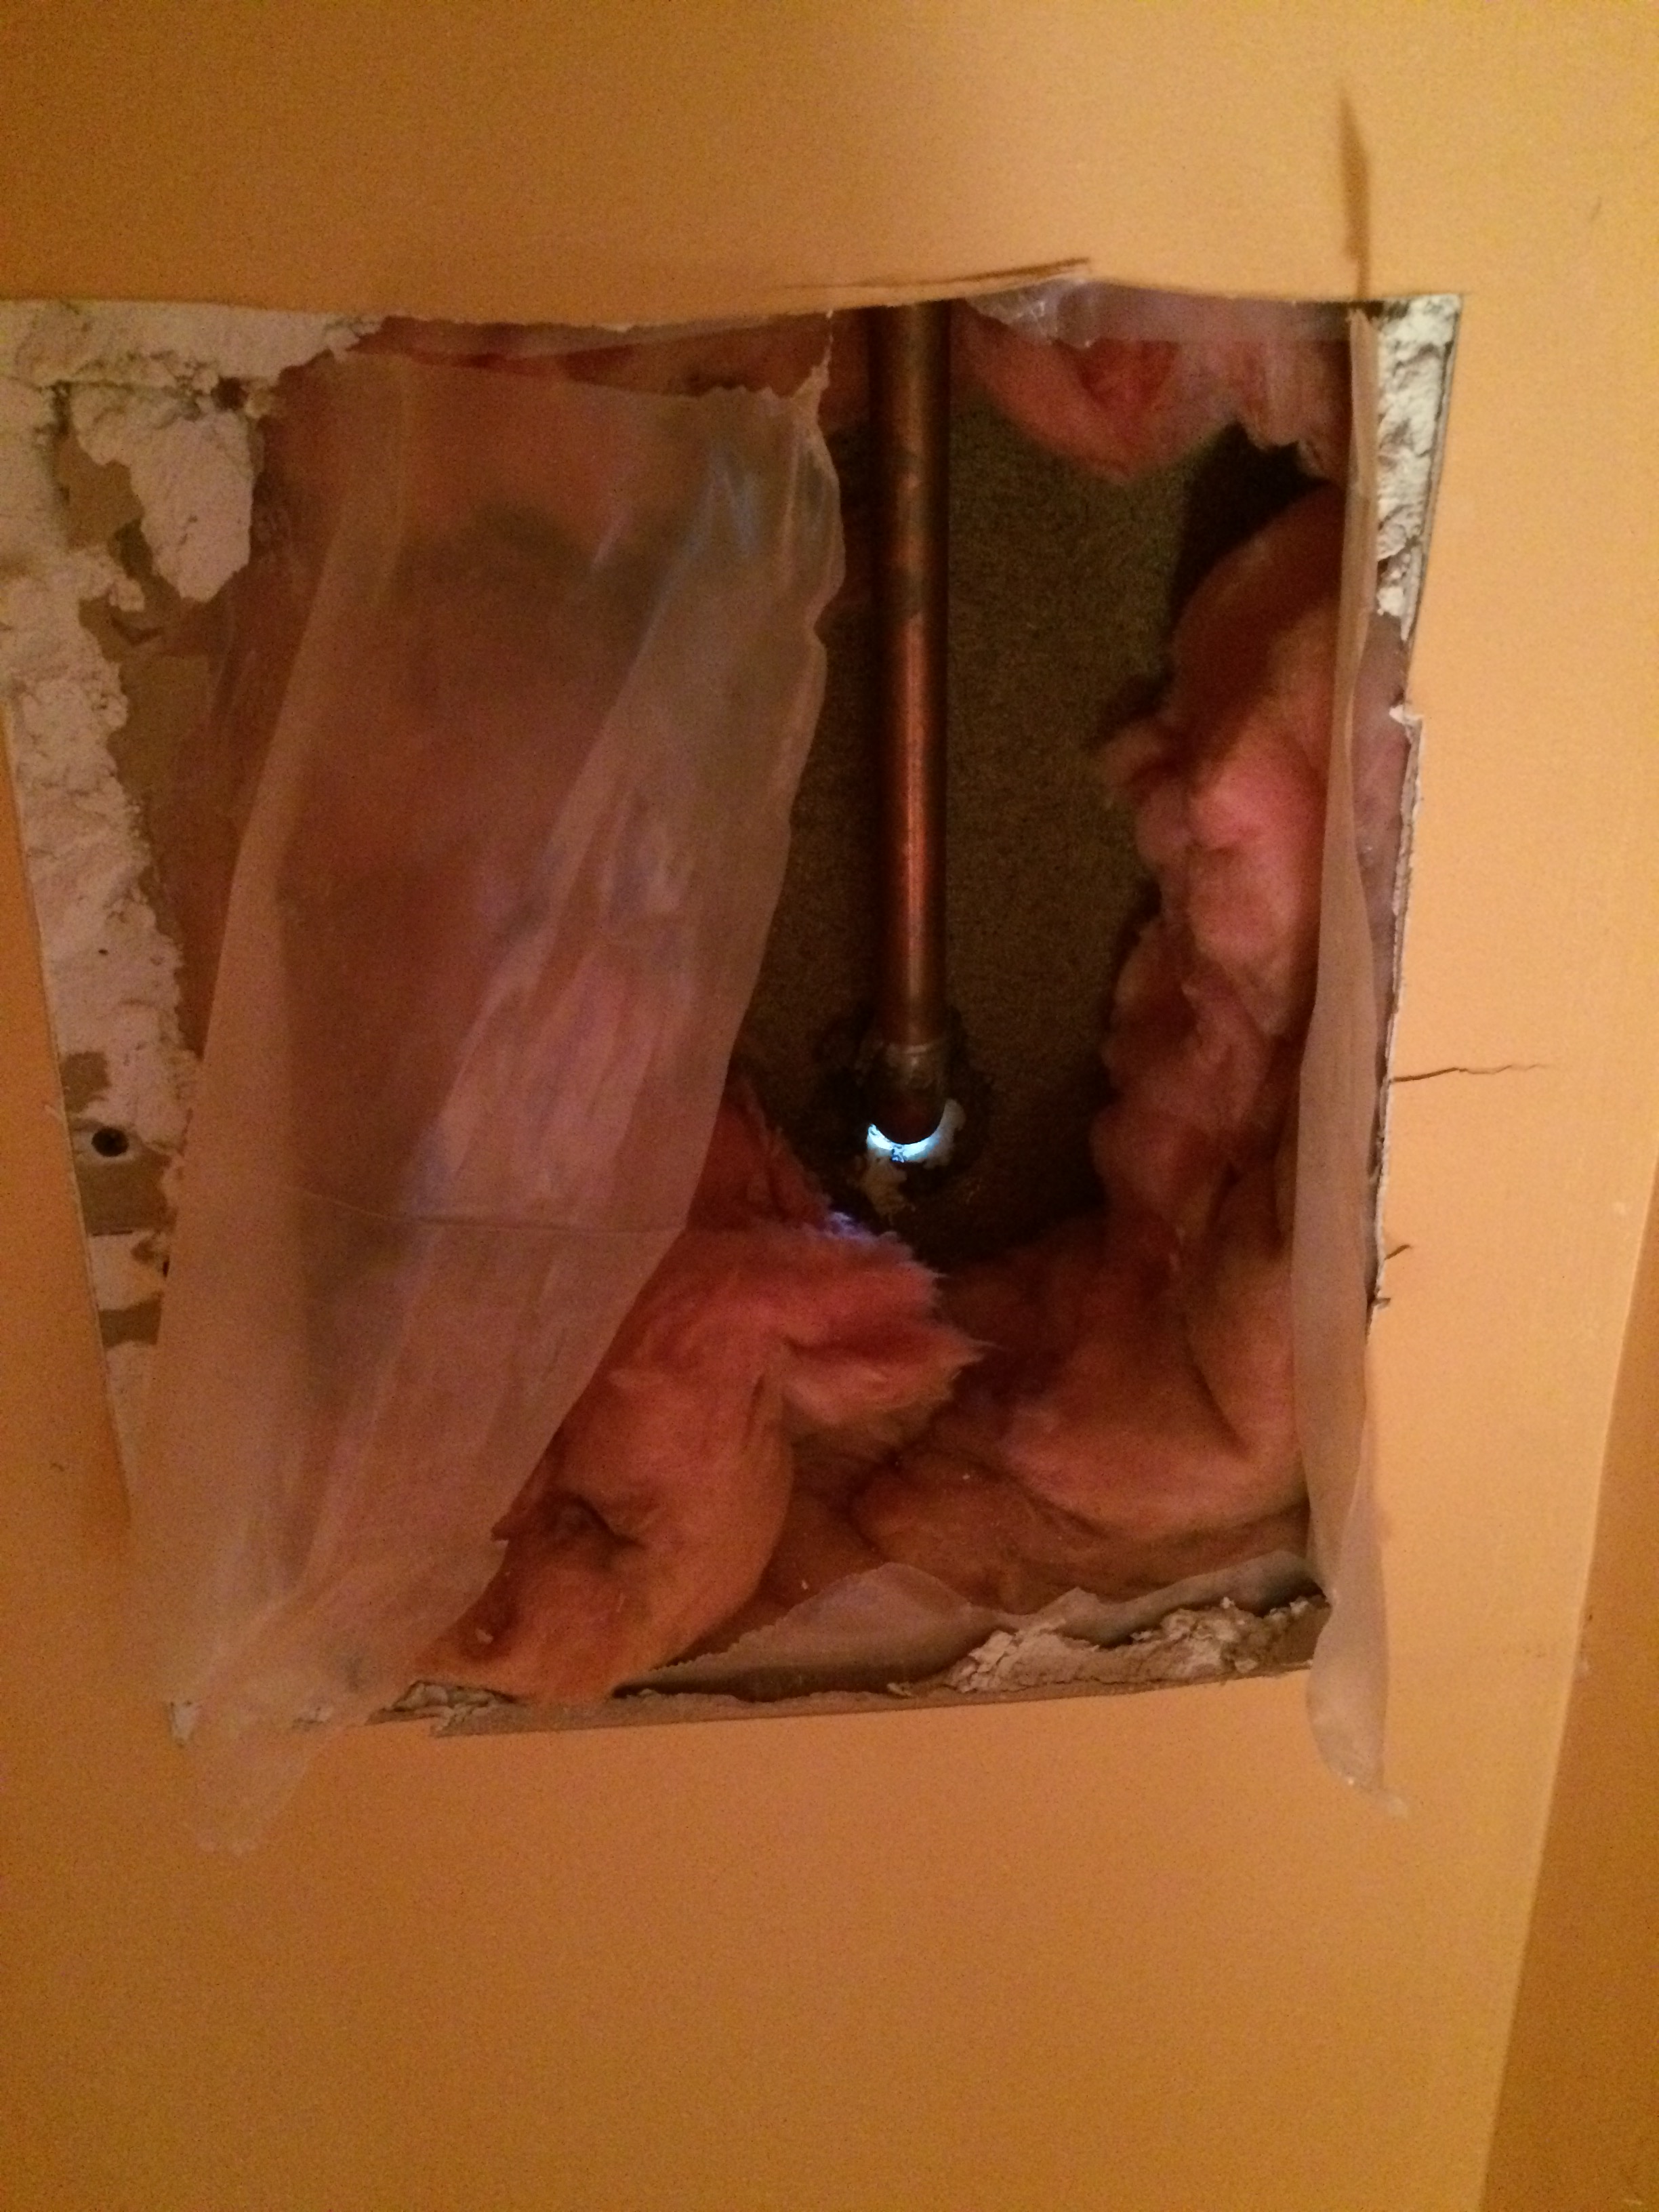
To get that piece of pipe to stick out a few inches, I needed to open the wall on the inside of a closet in the basement bedroom. The pipe had a piece of wood holding it in place, which needed to be temporarily removed to safely use a torch on the outside of the house.

Here is a closer look:
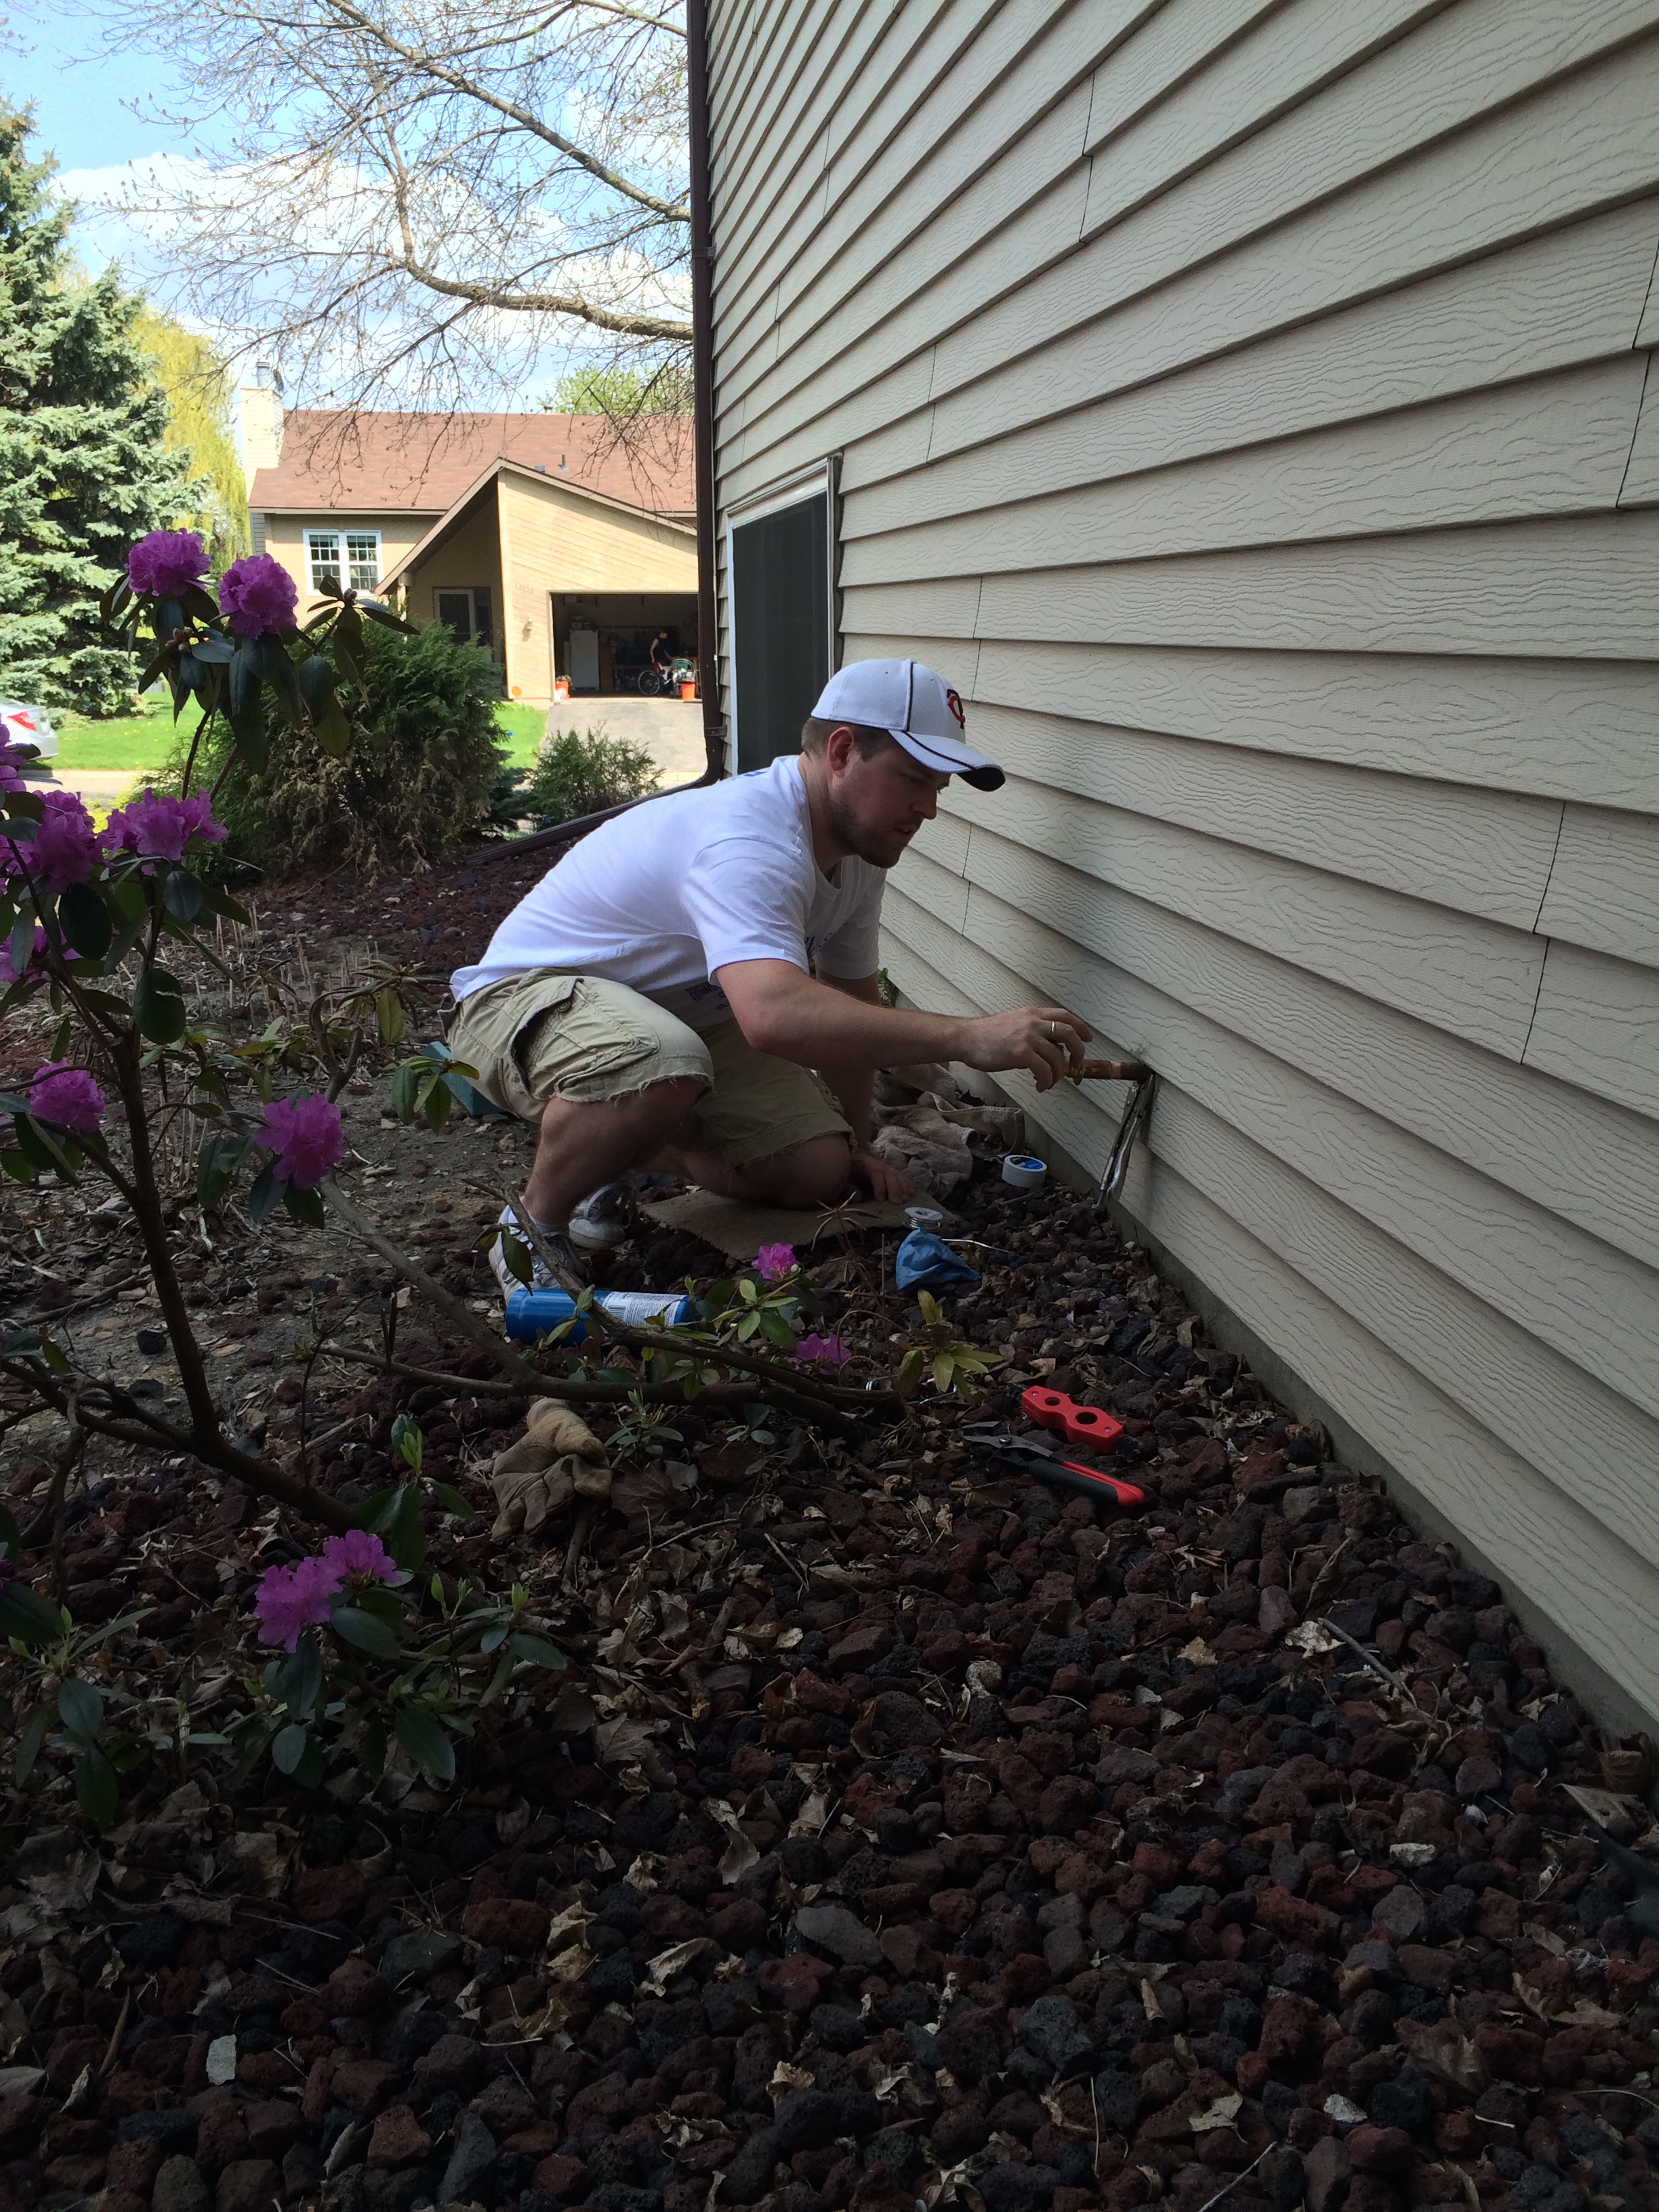
Back outside, I had all of the tools I would need. A torch, pliers, pipe cleaner, file, flux, solder wire, sawzall to remove the old fixture, and the new faucet head. Cleaning the copper pipes and applying flux:
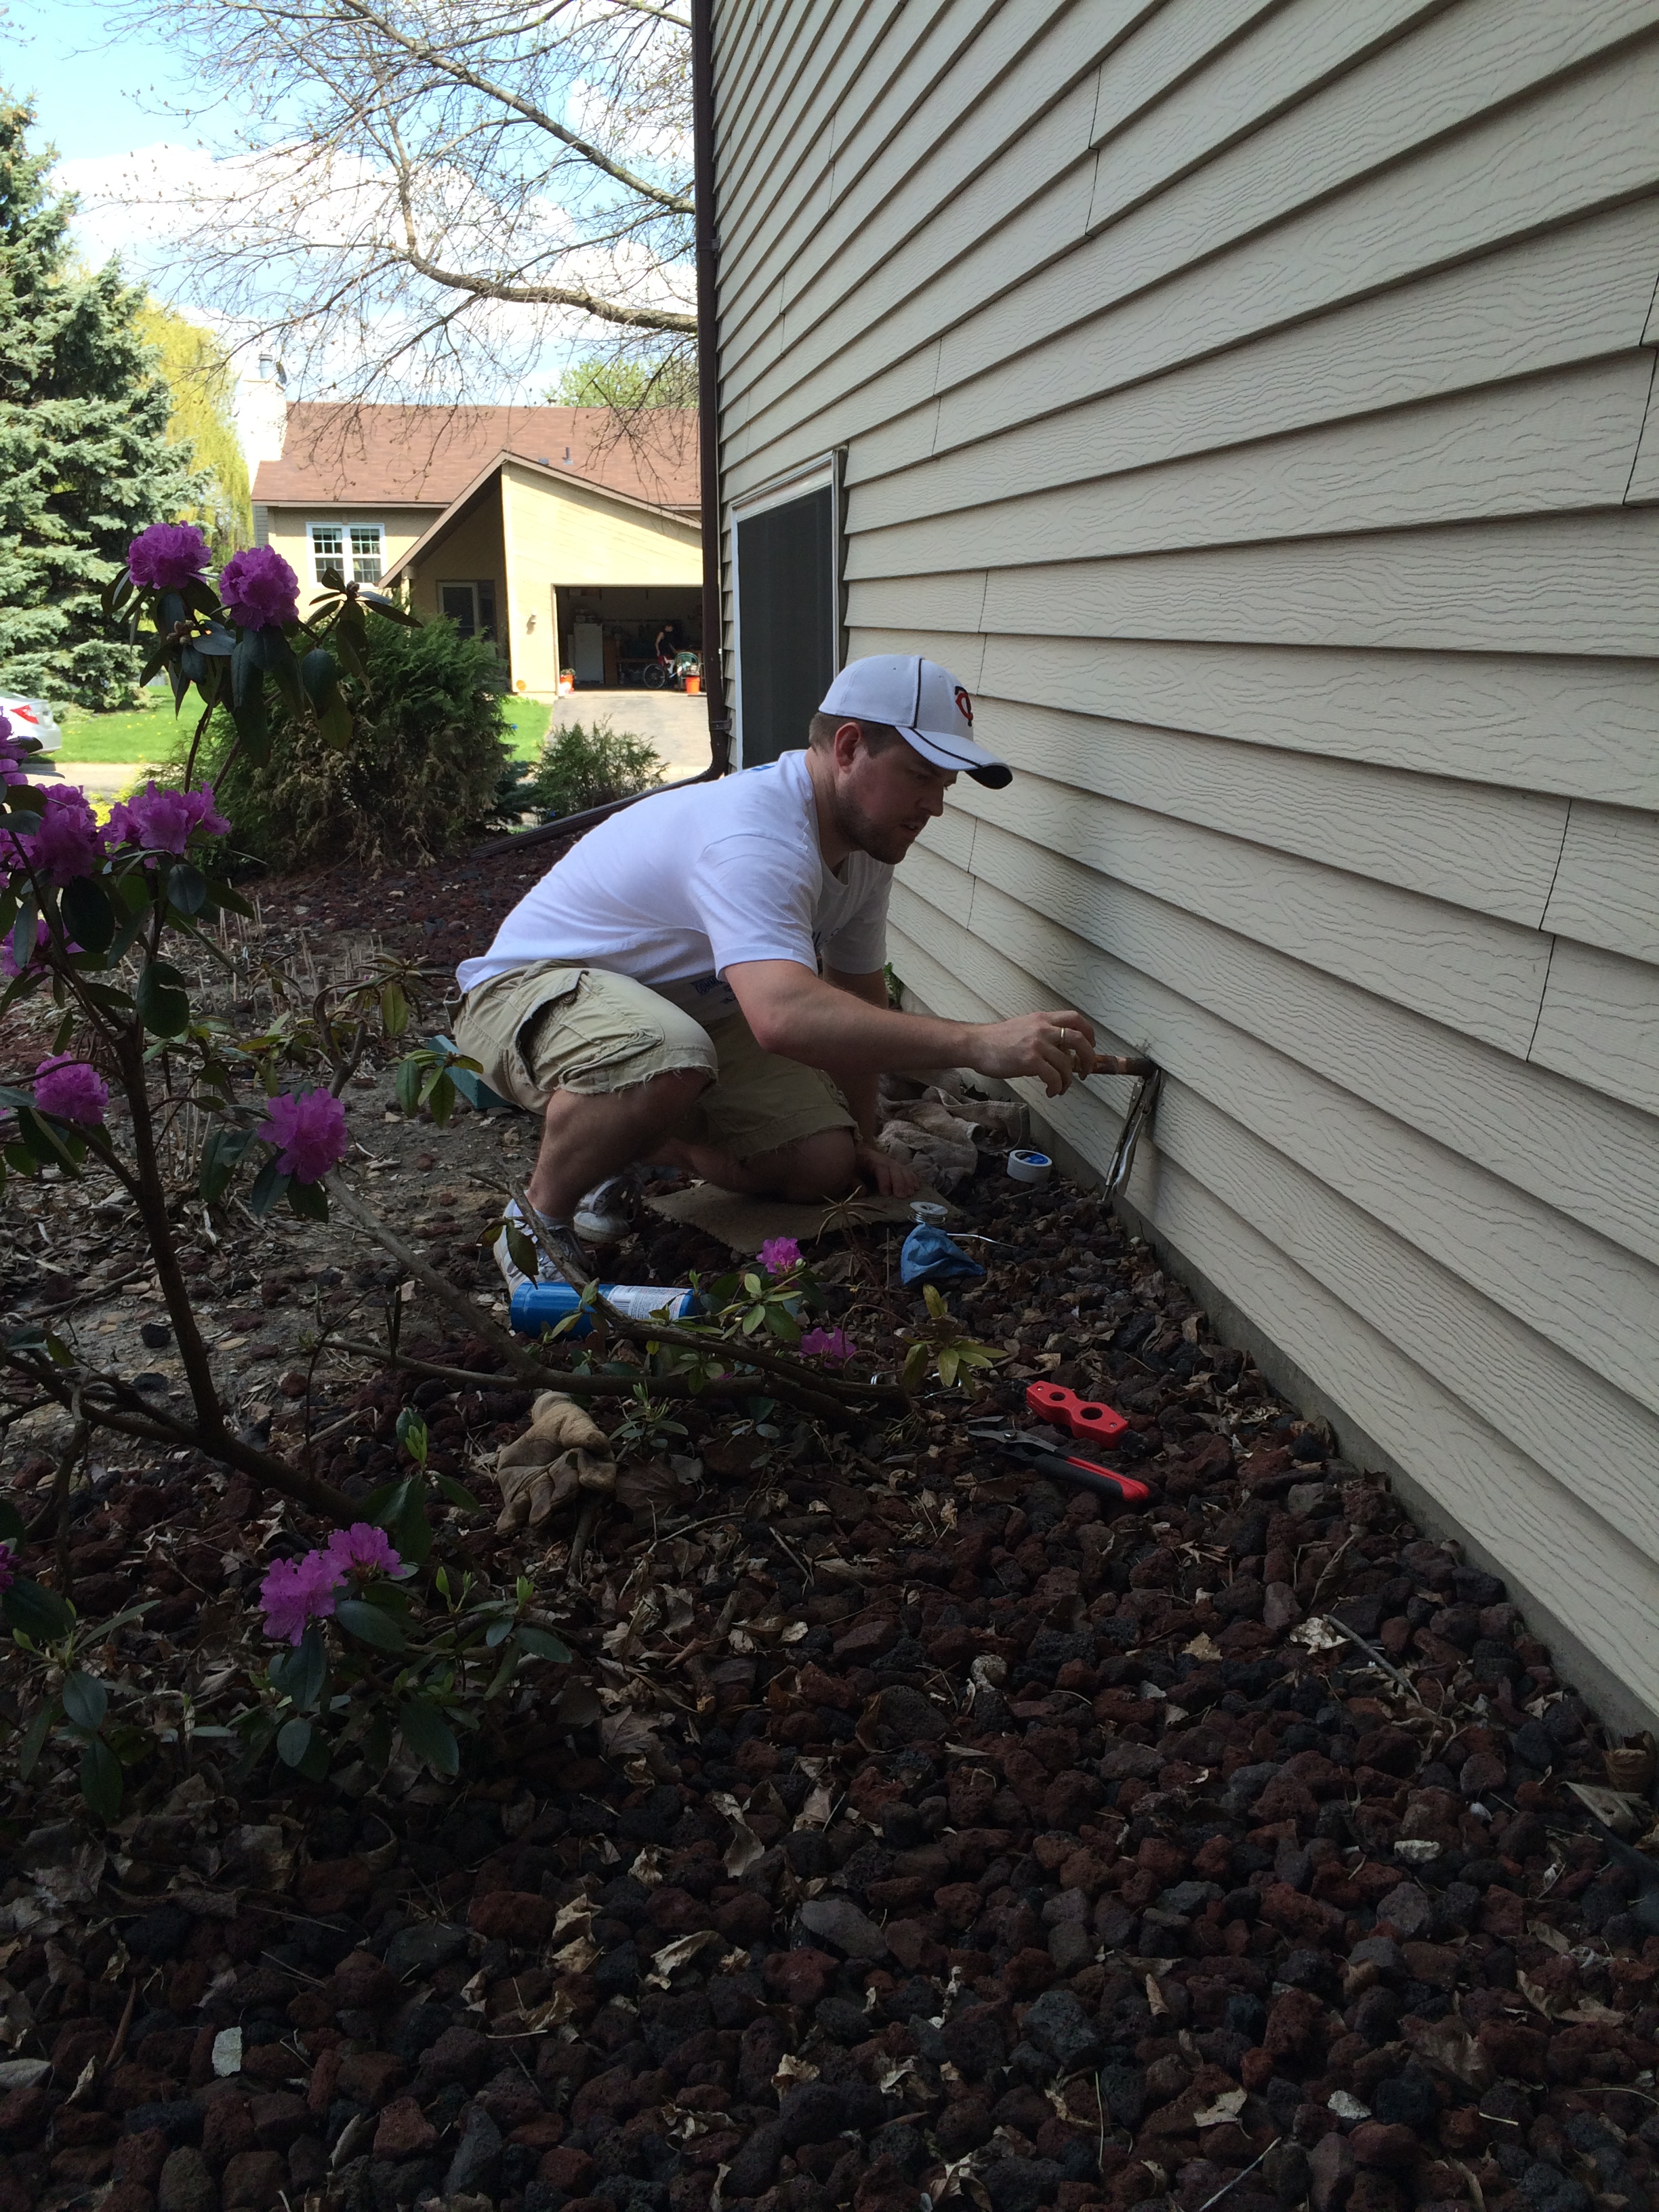
 Putting the faucet head into place:
Carefully heating the pipe until it starts to change color, then putting solder wire up against the pipe where it meets the faucet. The flux draws the wire into the gap and seals it.
Old faucet, new faucet. After this image, I screwed the new faucet to the siding, then added some caulk. On the inside of the house, I secured the wood board again to keep the pipes from vibrating or pulling out of the house, and sealed up the hole in the wall.