In earlier posts, you have seen the transformation of the trim throughout the house from stain to painted white. We had discussed doing this to the banister which separates the raised living room from the dining room and kitchen, but knew it would be a much more difficult job than just slapping a coat of paint on top of it.
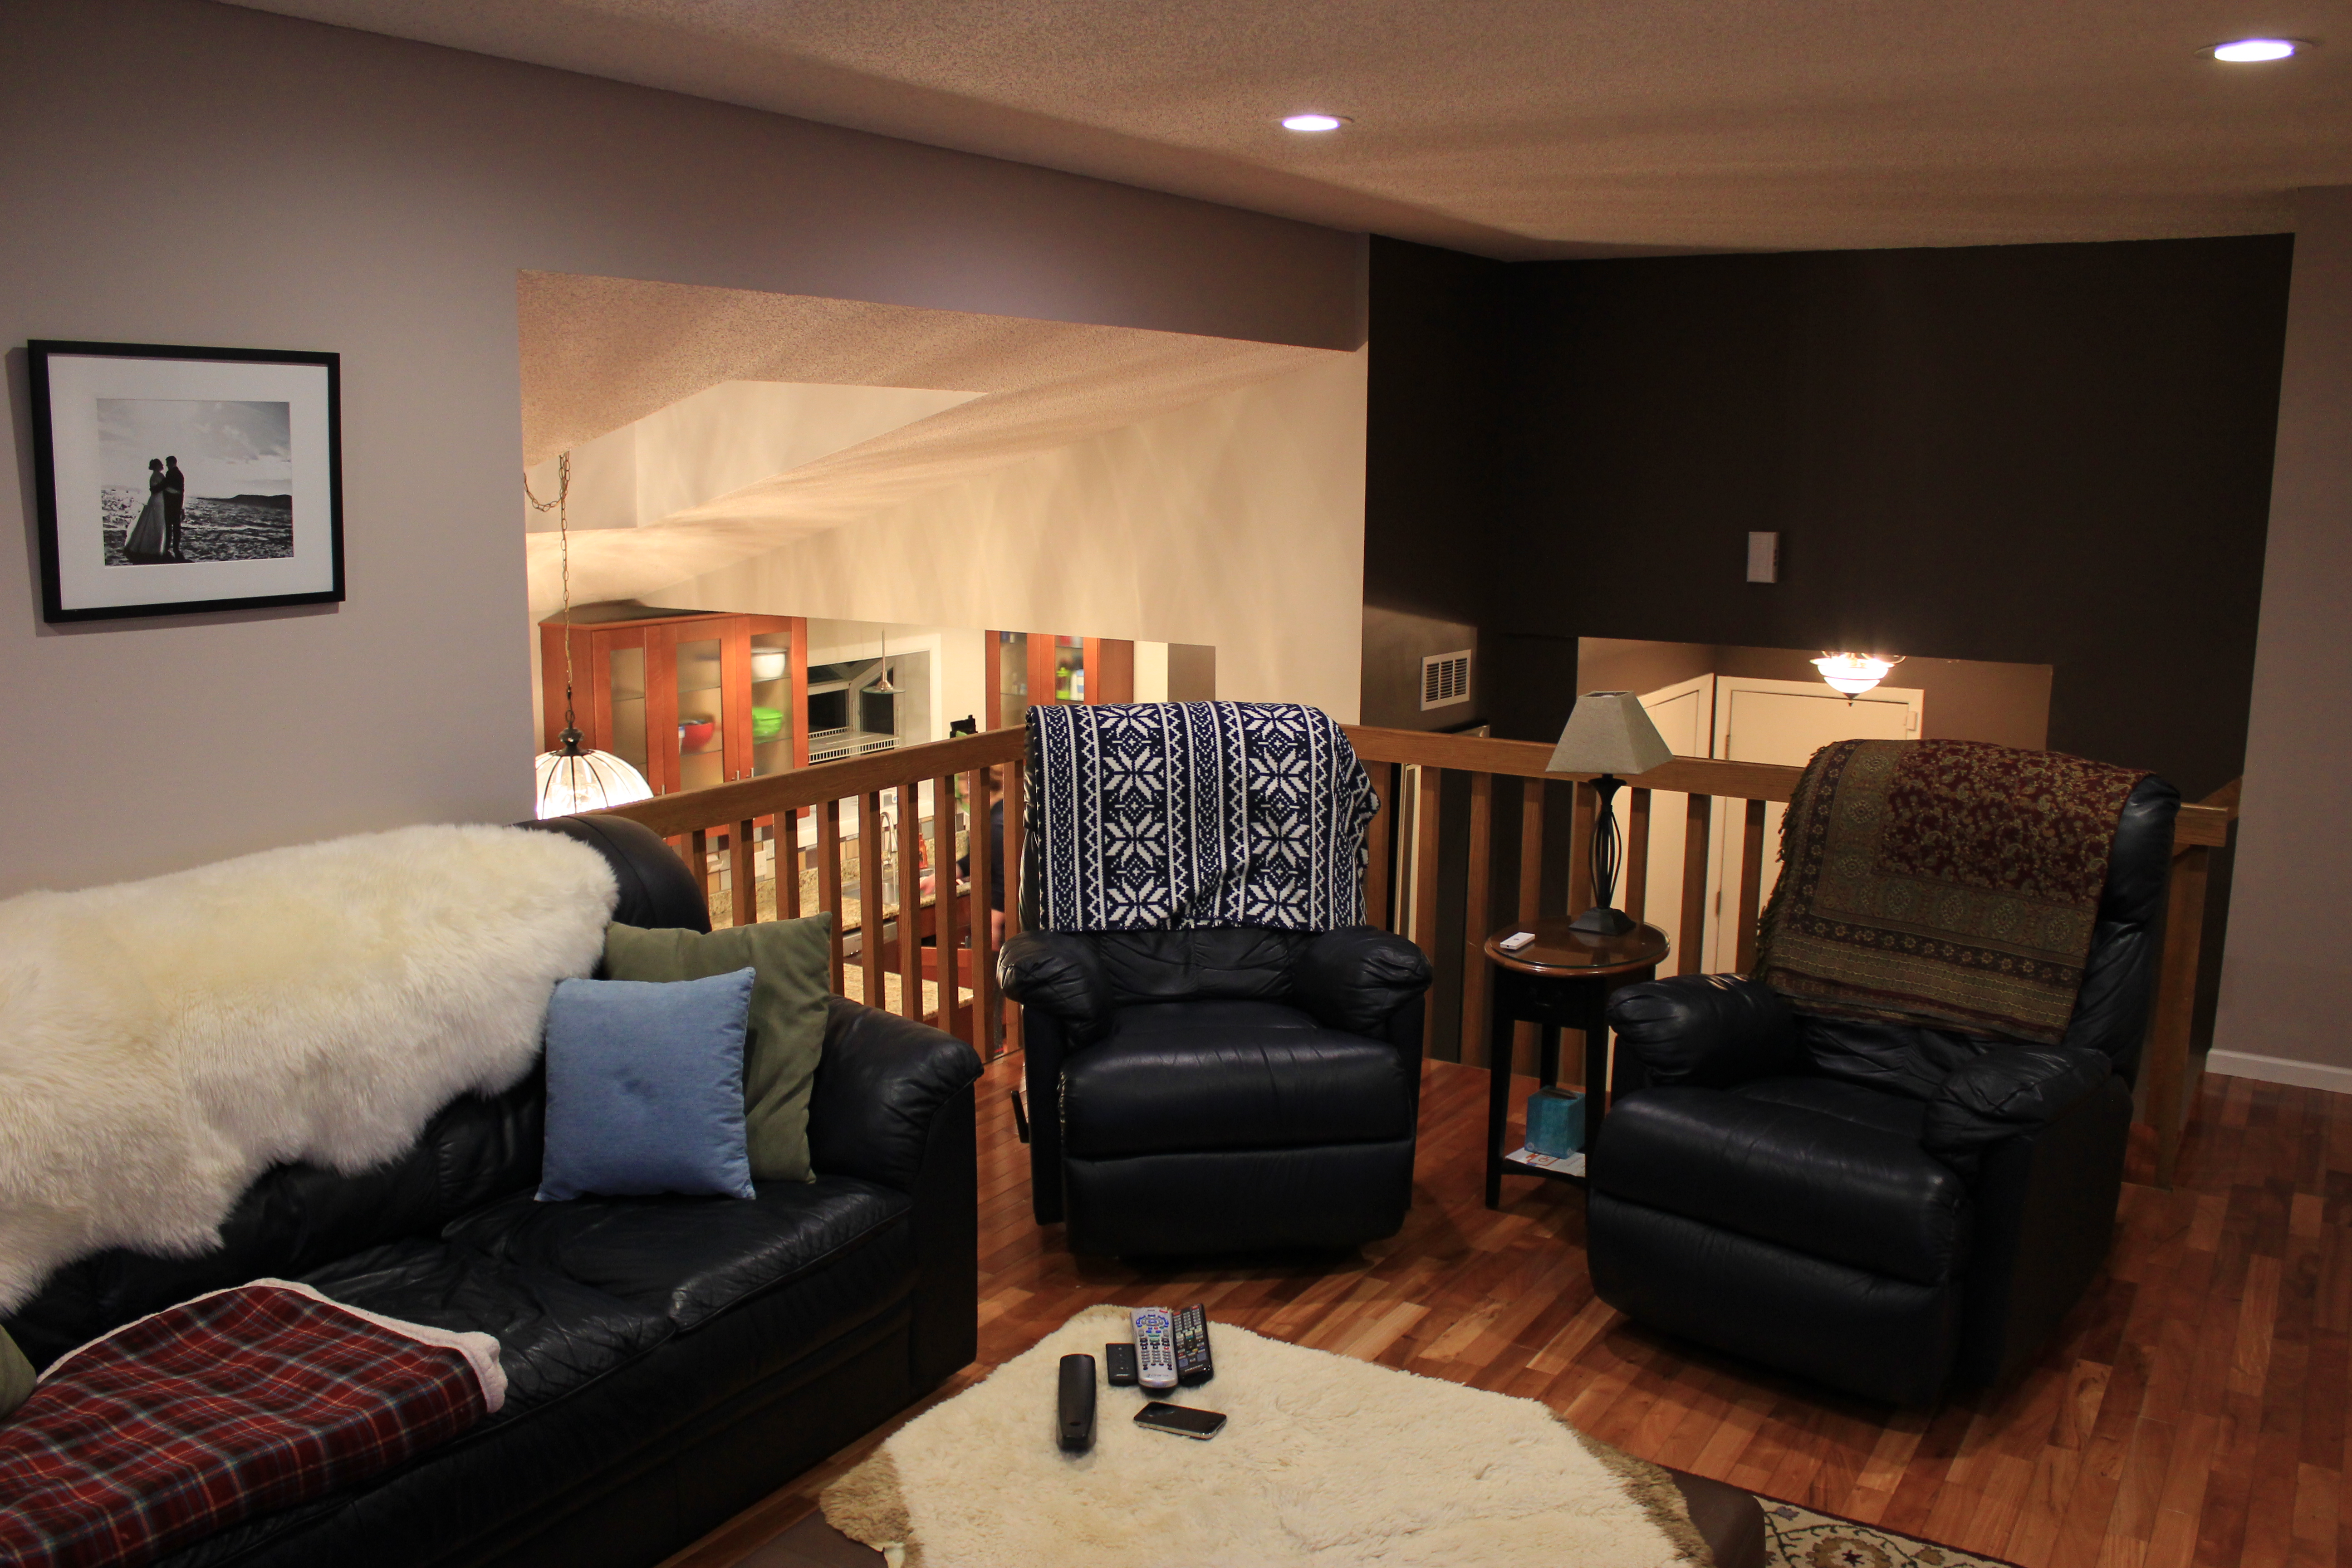
A good picture showing the banister behind the furniture still has the light stain that we replaced everywhere else in the house
The ultimate plan was to have the uprights painted white and stain the top railing. But doing this would mean removing the railing and a lot of slow steps. The first thing I did was prime and paint the uprights with the railing still attached.
Next, I removed the top railing and continued to paint the railings.

It was sort of scary walking down the stairs for several weeks as we feared we would be impaled if we lost our footing.
Yikes
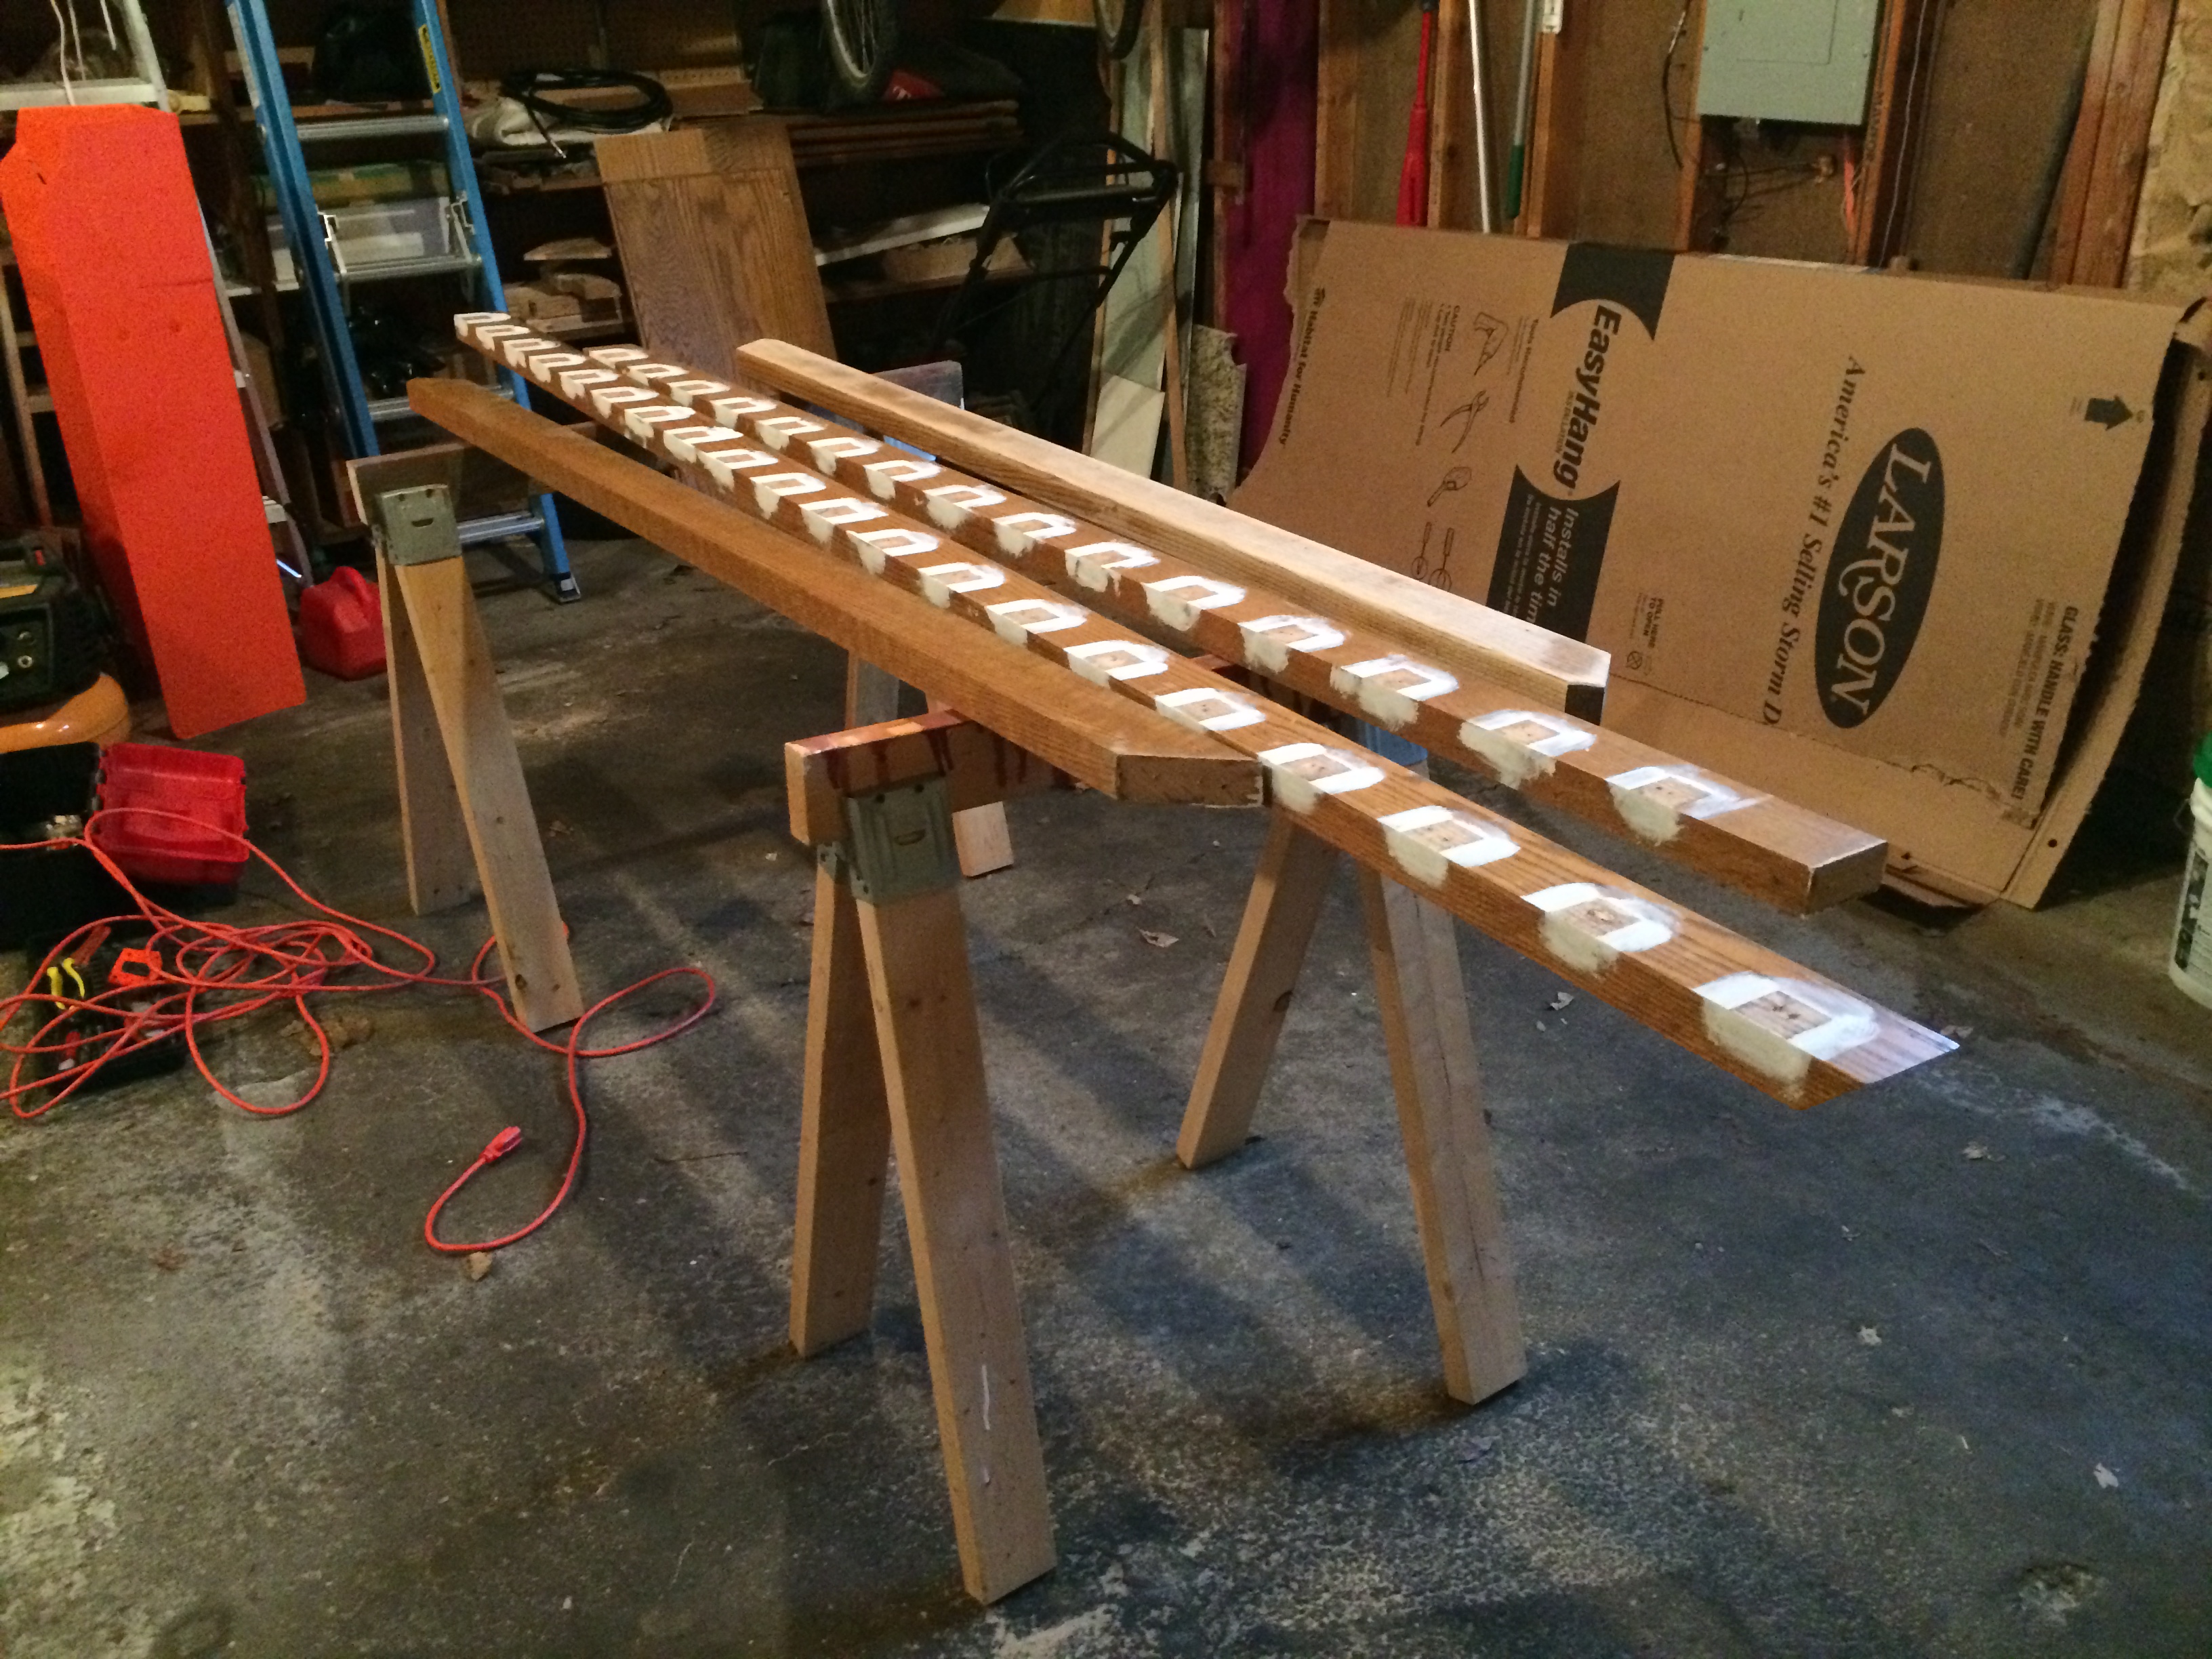
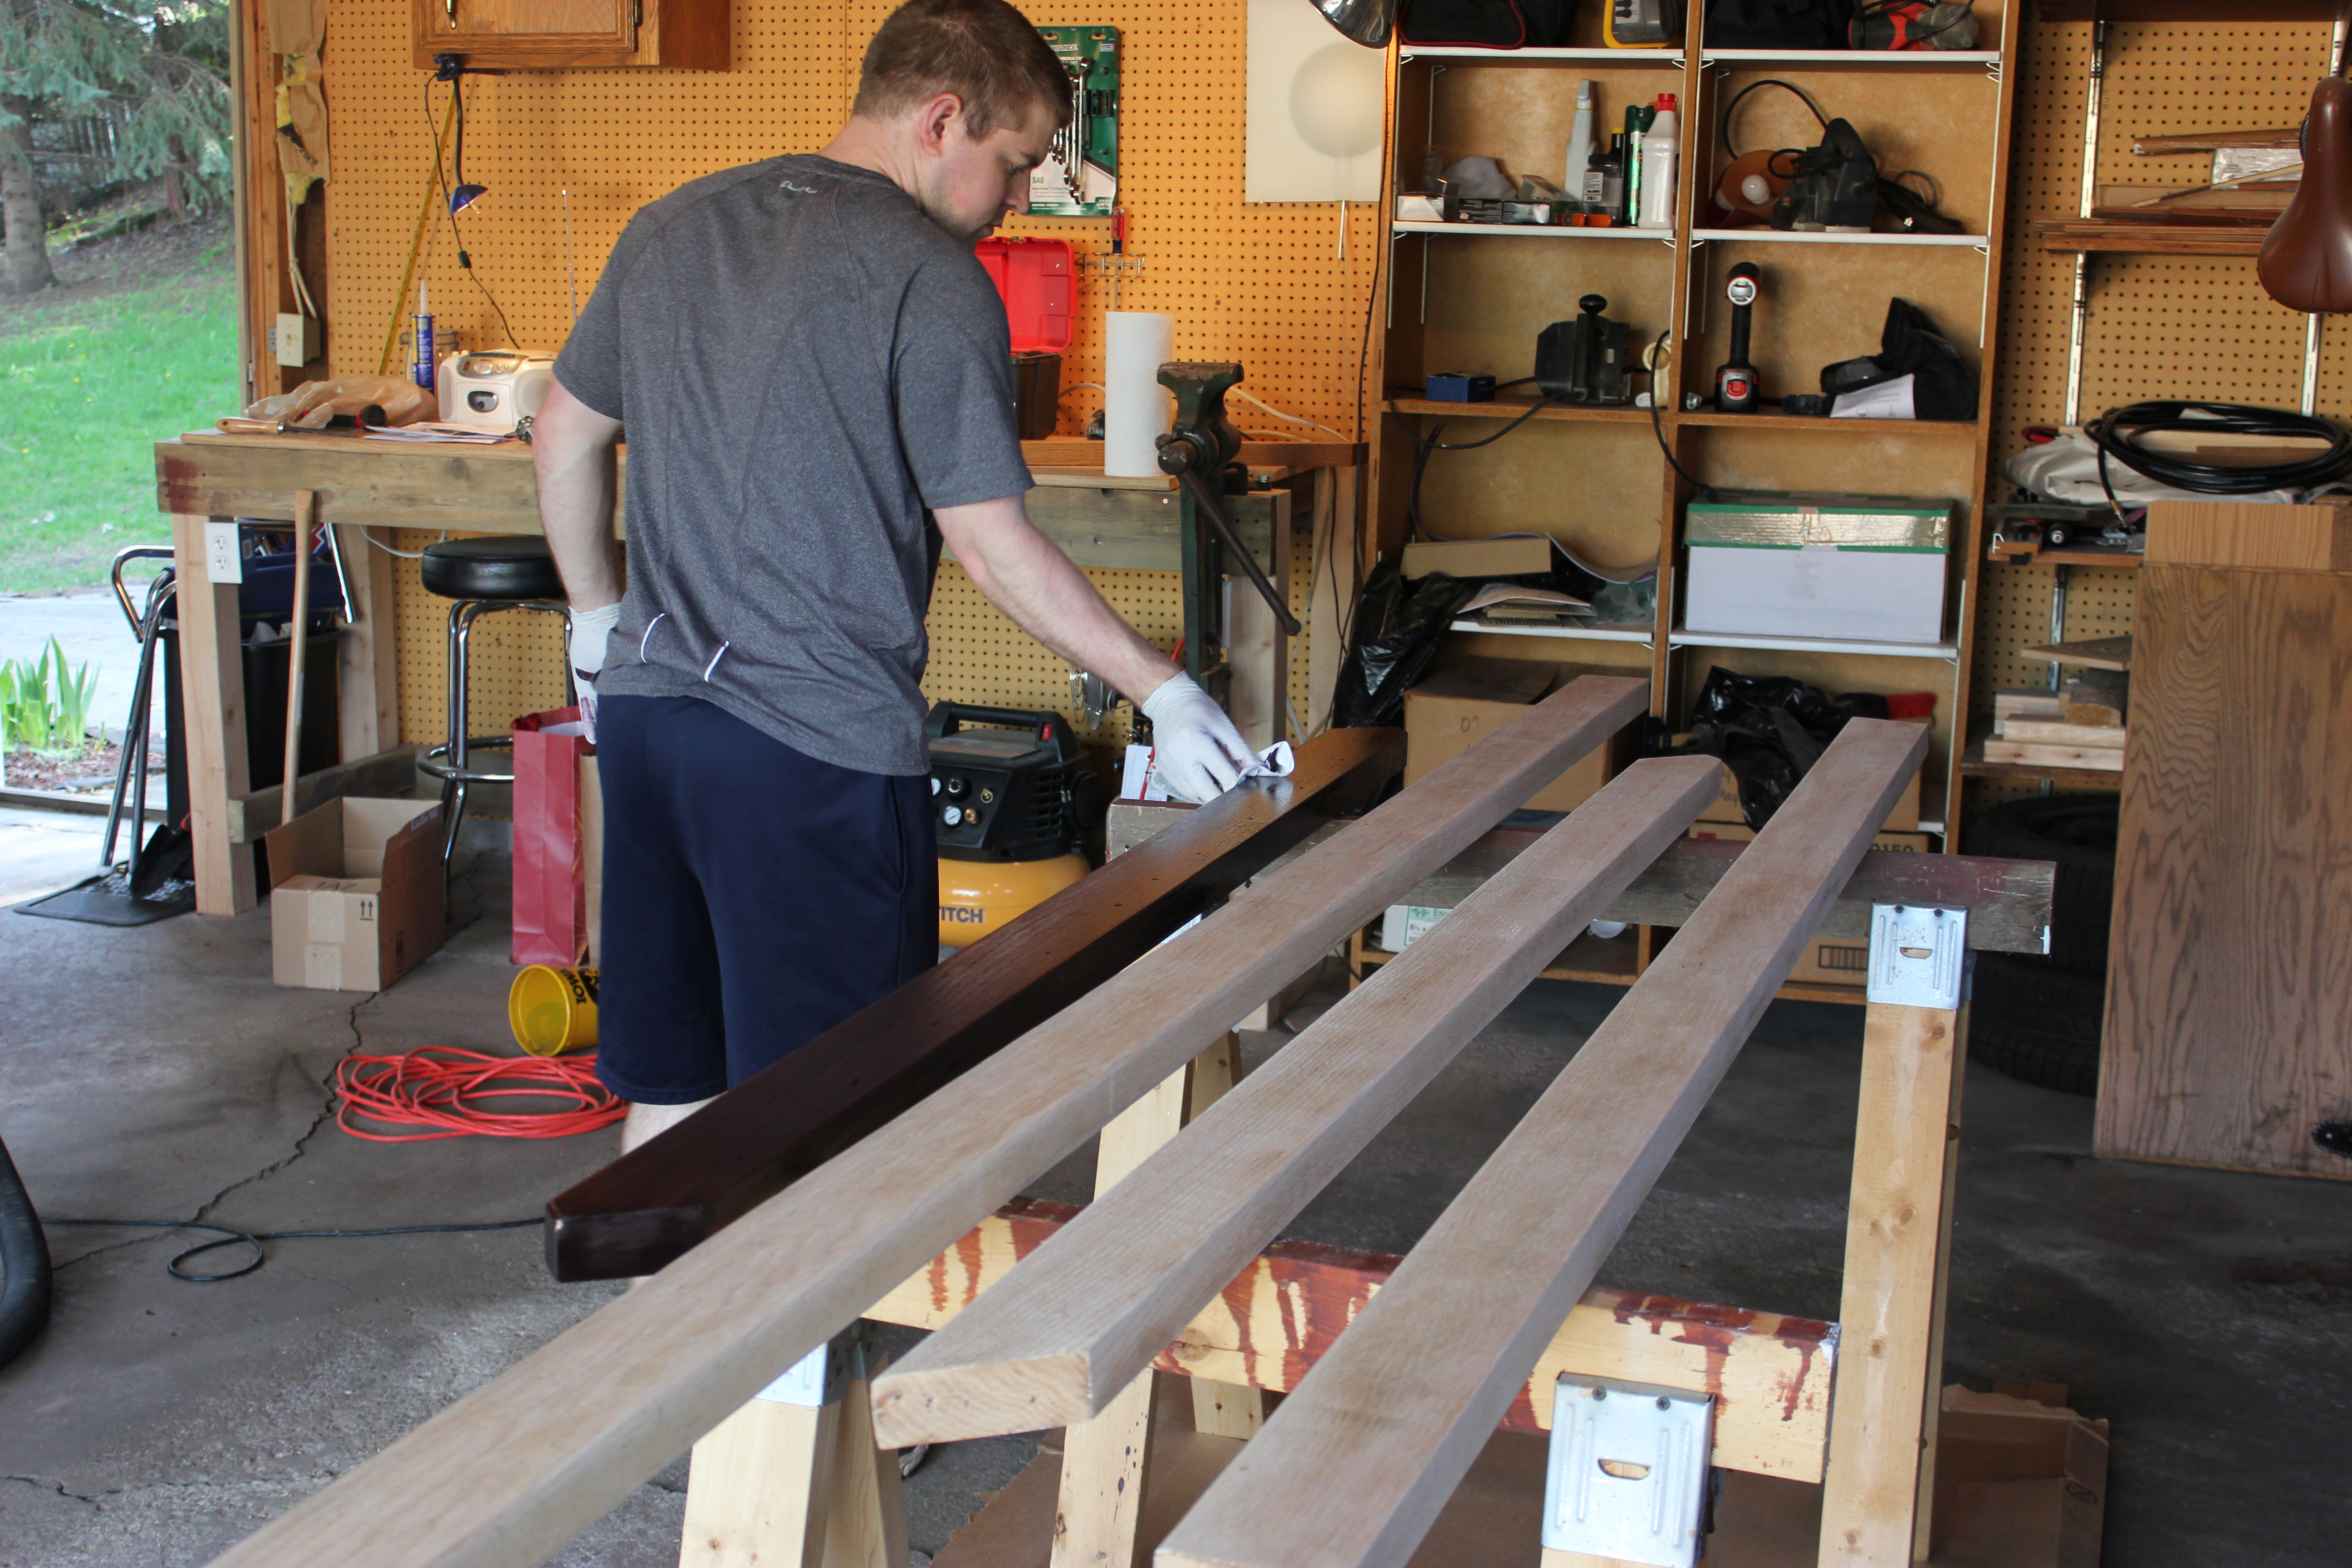
After setting the railings on saw horses in the garage, the next step was to clear away the coats of paint and stain to get the wood ready for staining.
I first thought I would need to use a belt sander to clear the stain, but we visited my parents in Iowa and my dad introduced me to a tool I had never even heard of: An Electric Planer.
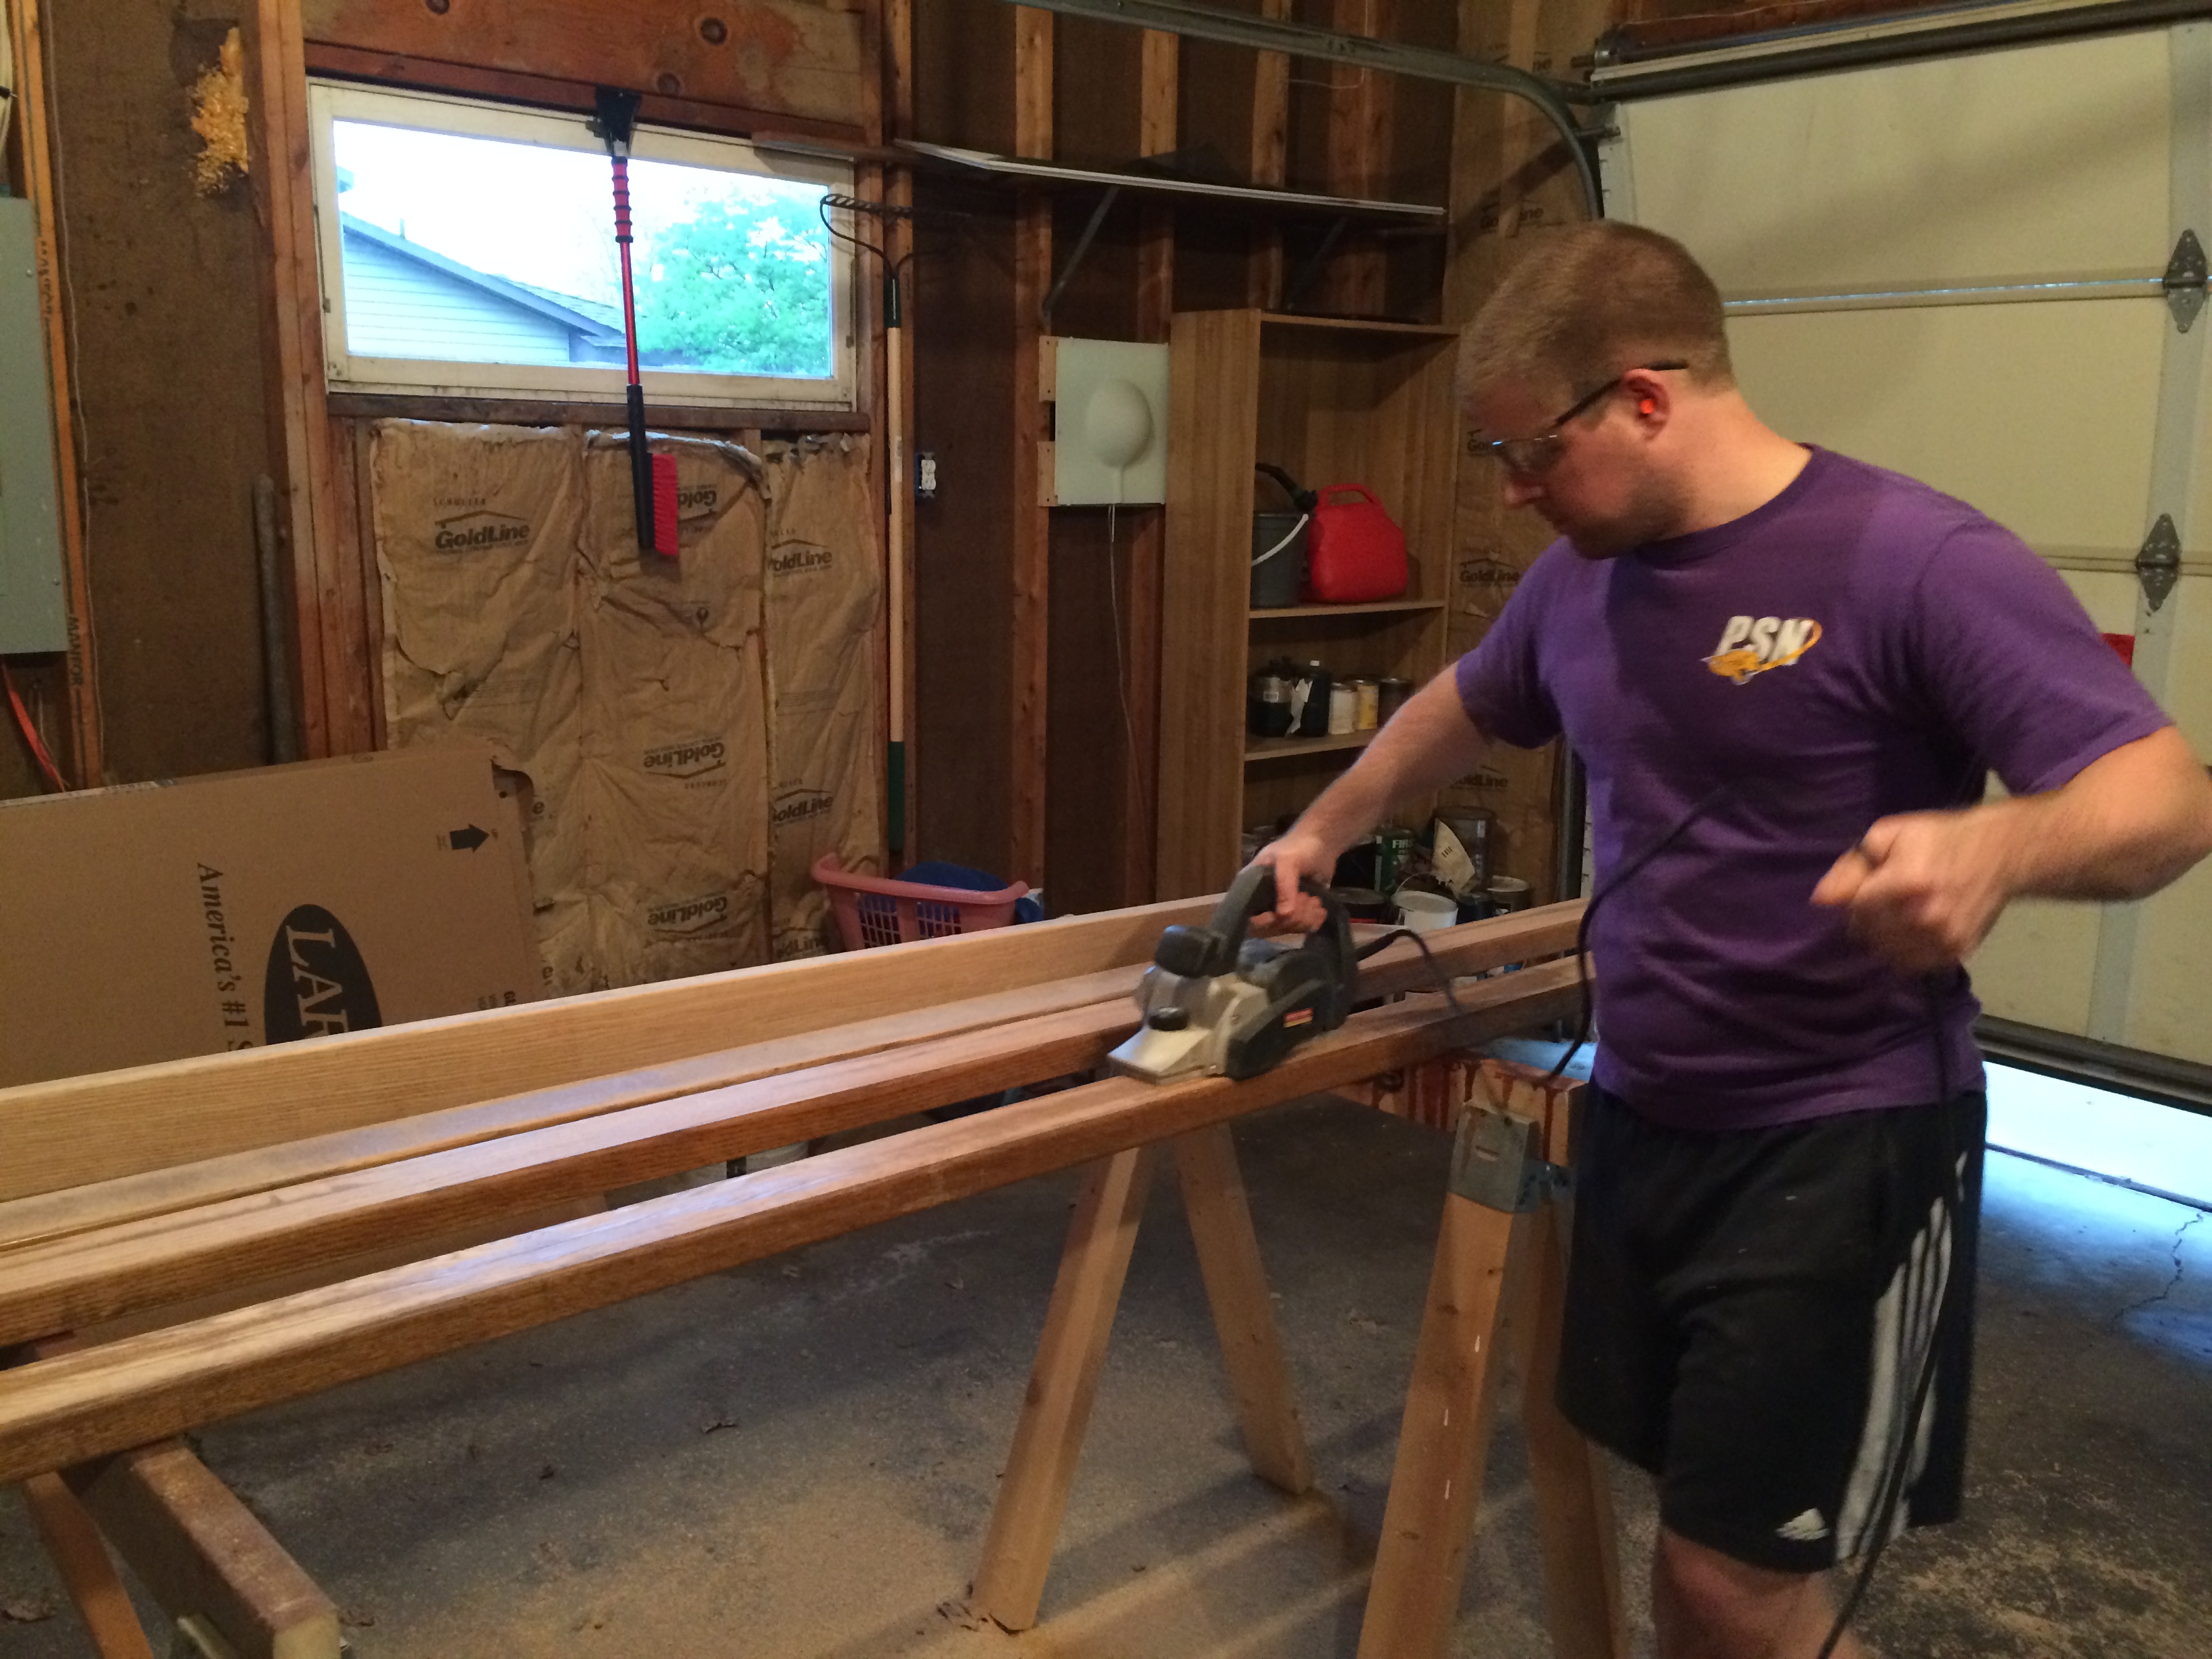
Planer borrowed from my dad (this thing is really loud)
This planer was great! It did in seconds what a sander would take hours to accomplish.
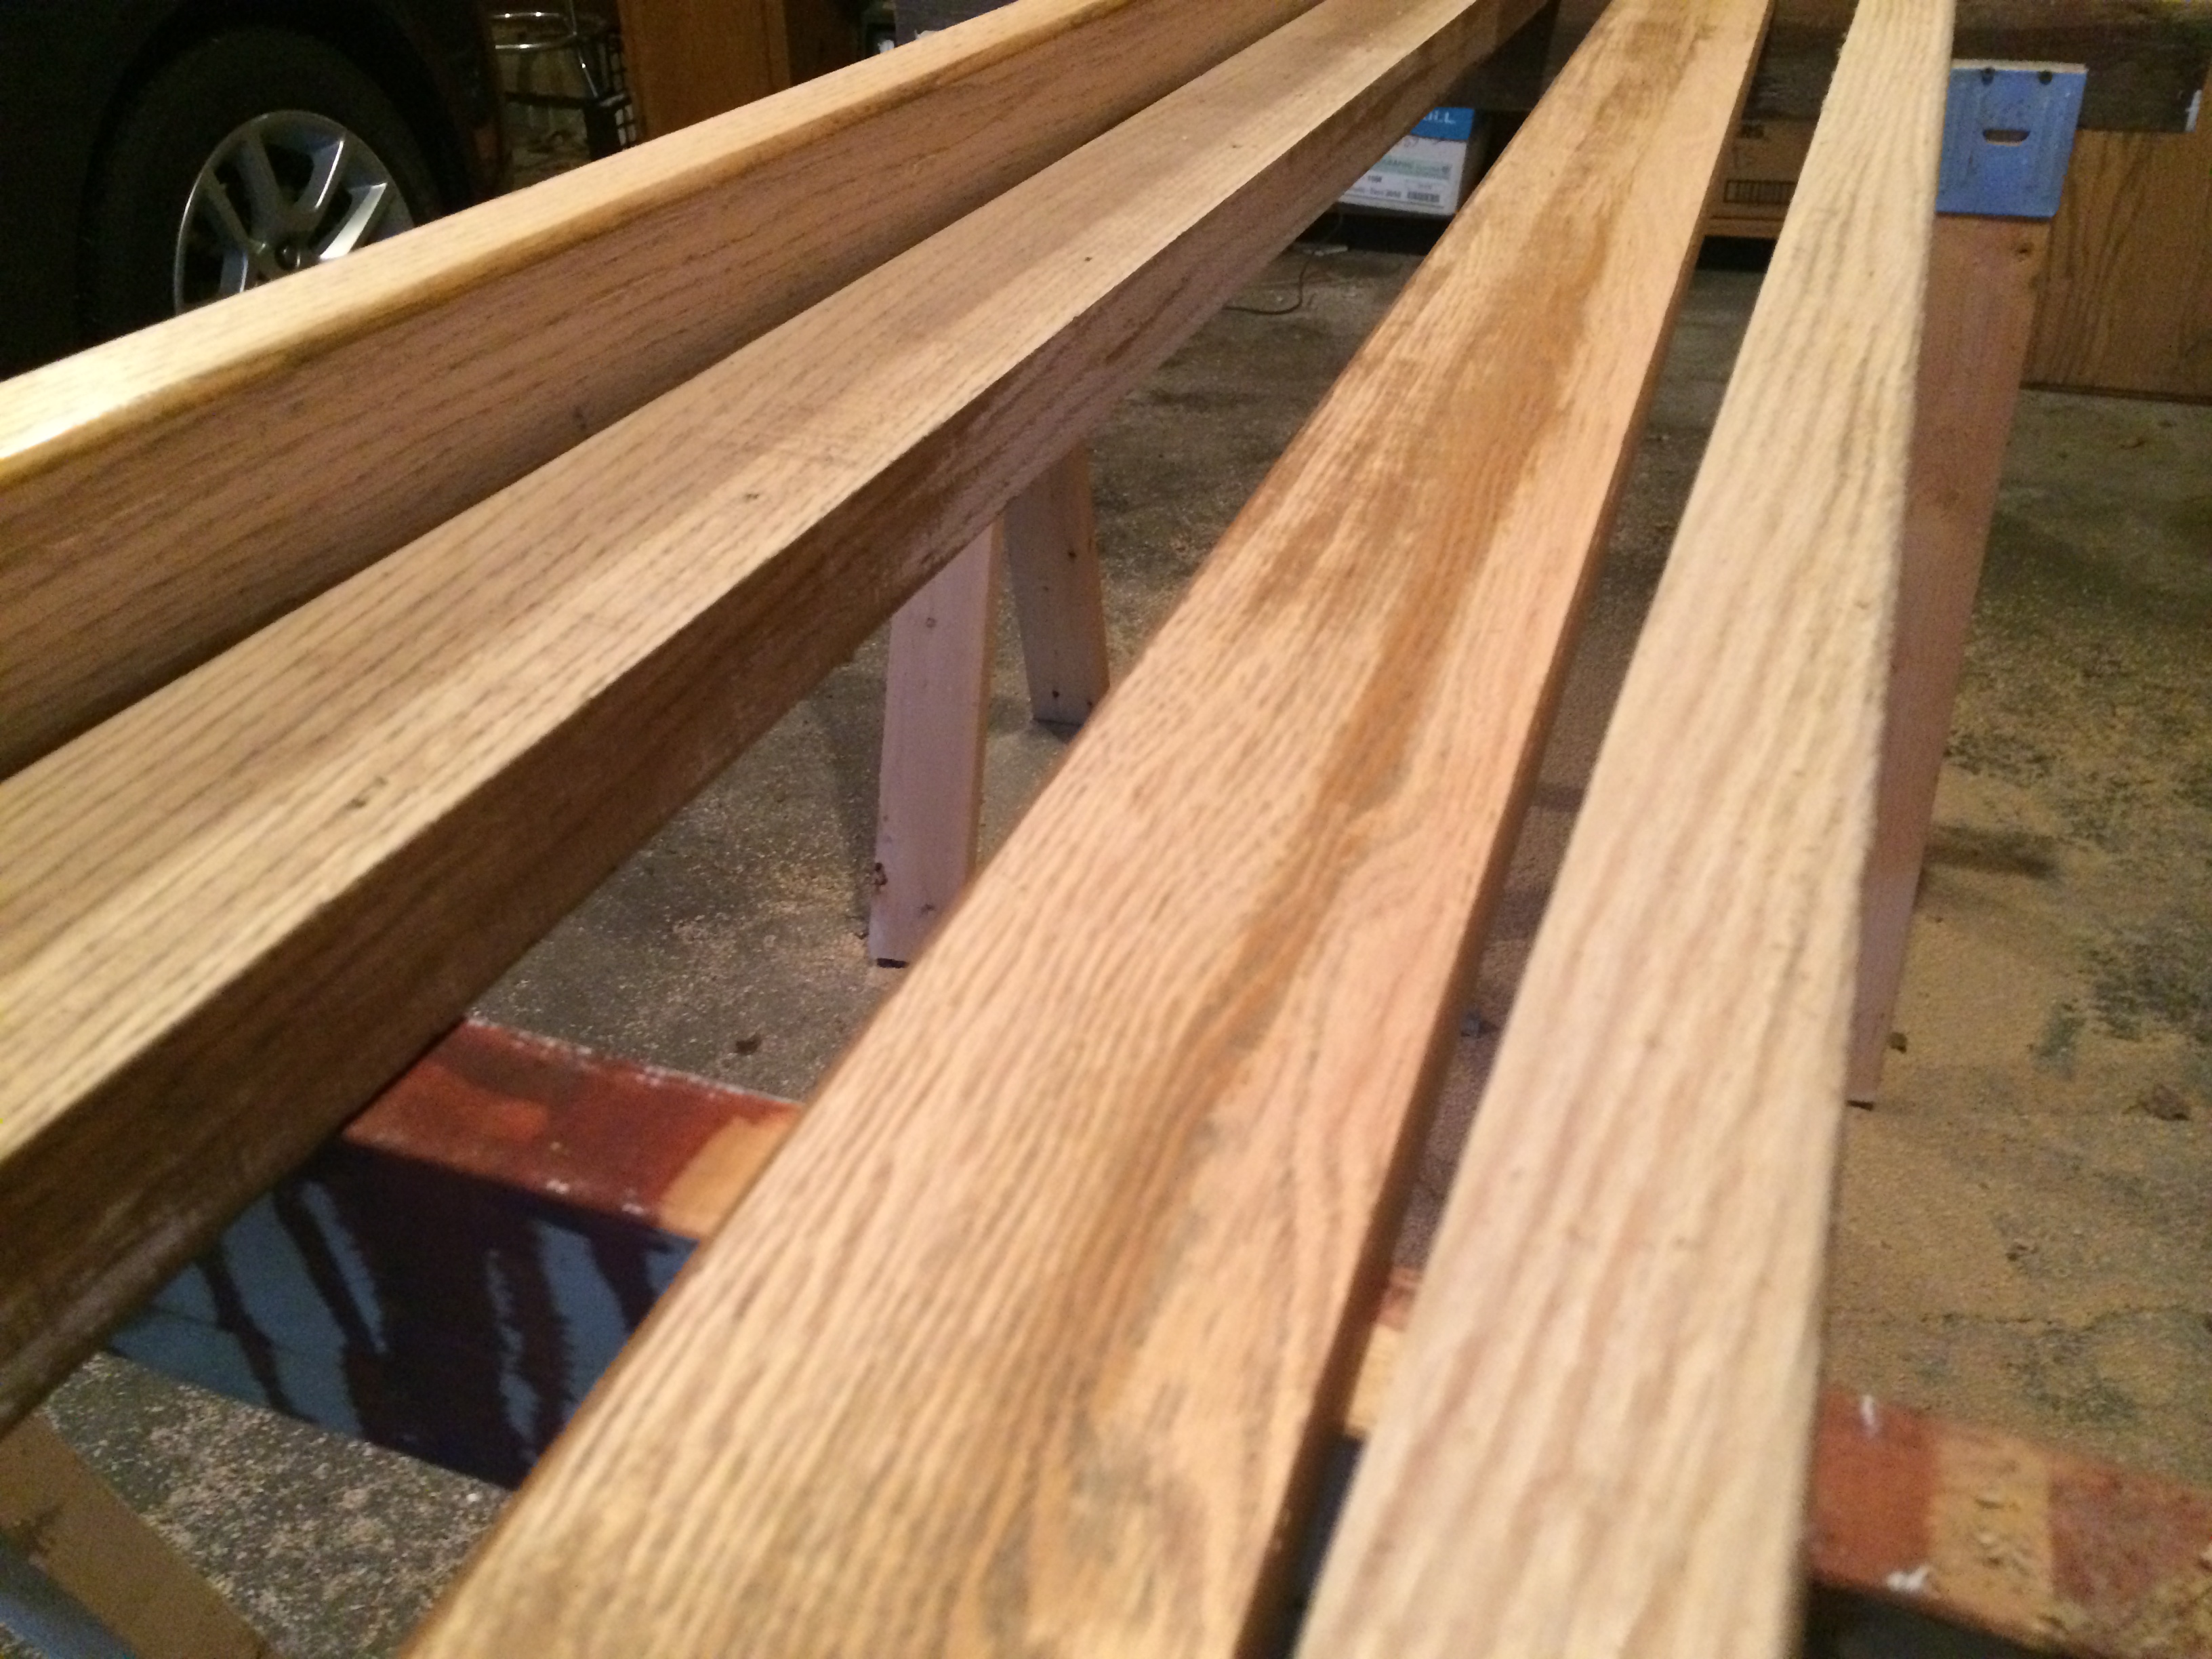
Wood is planed, sanded then cleaned to get ready for staining
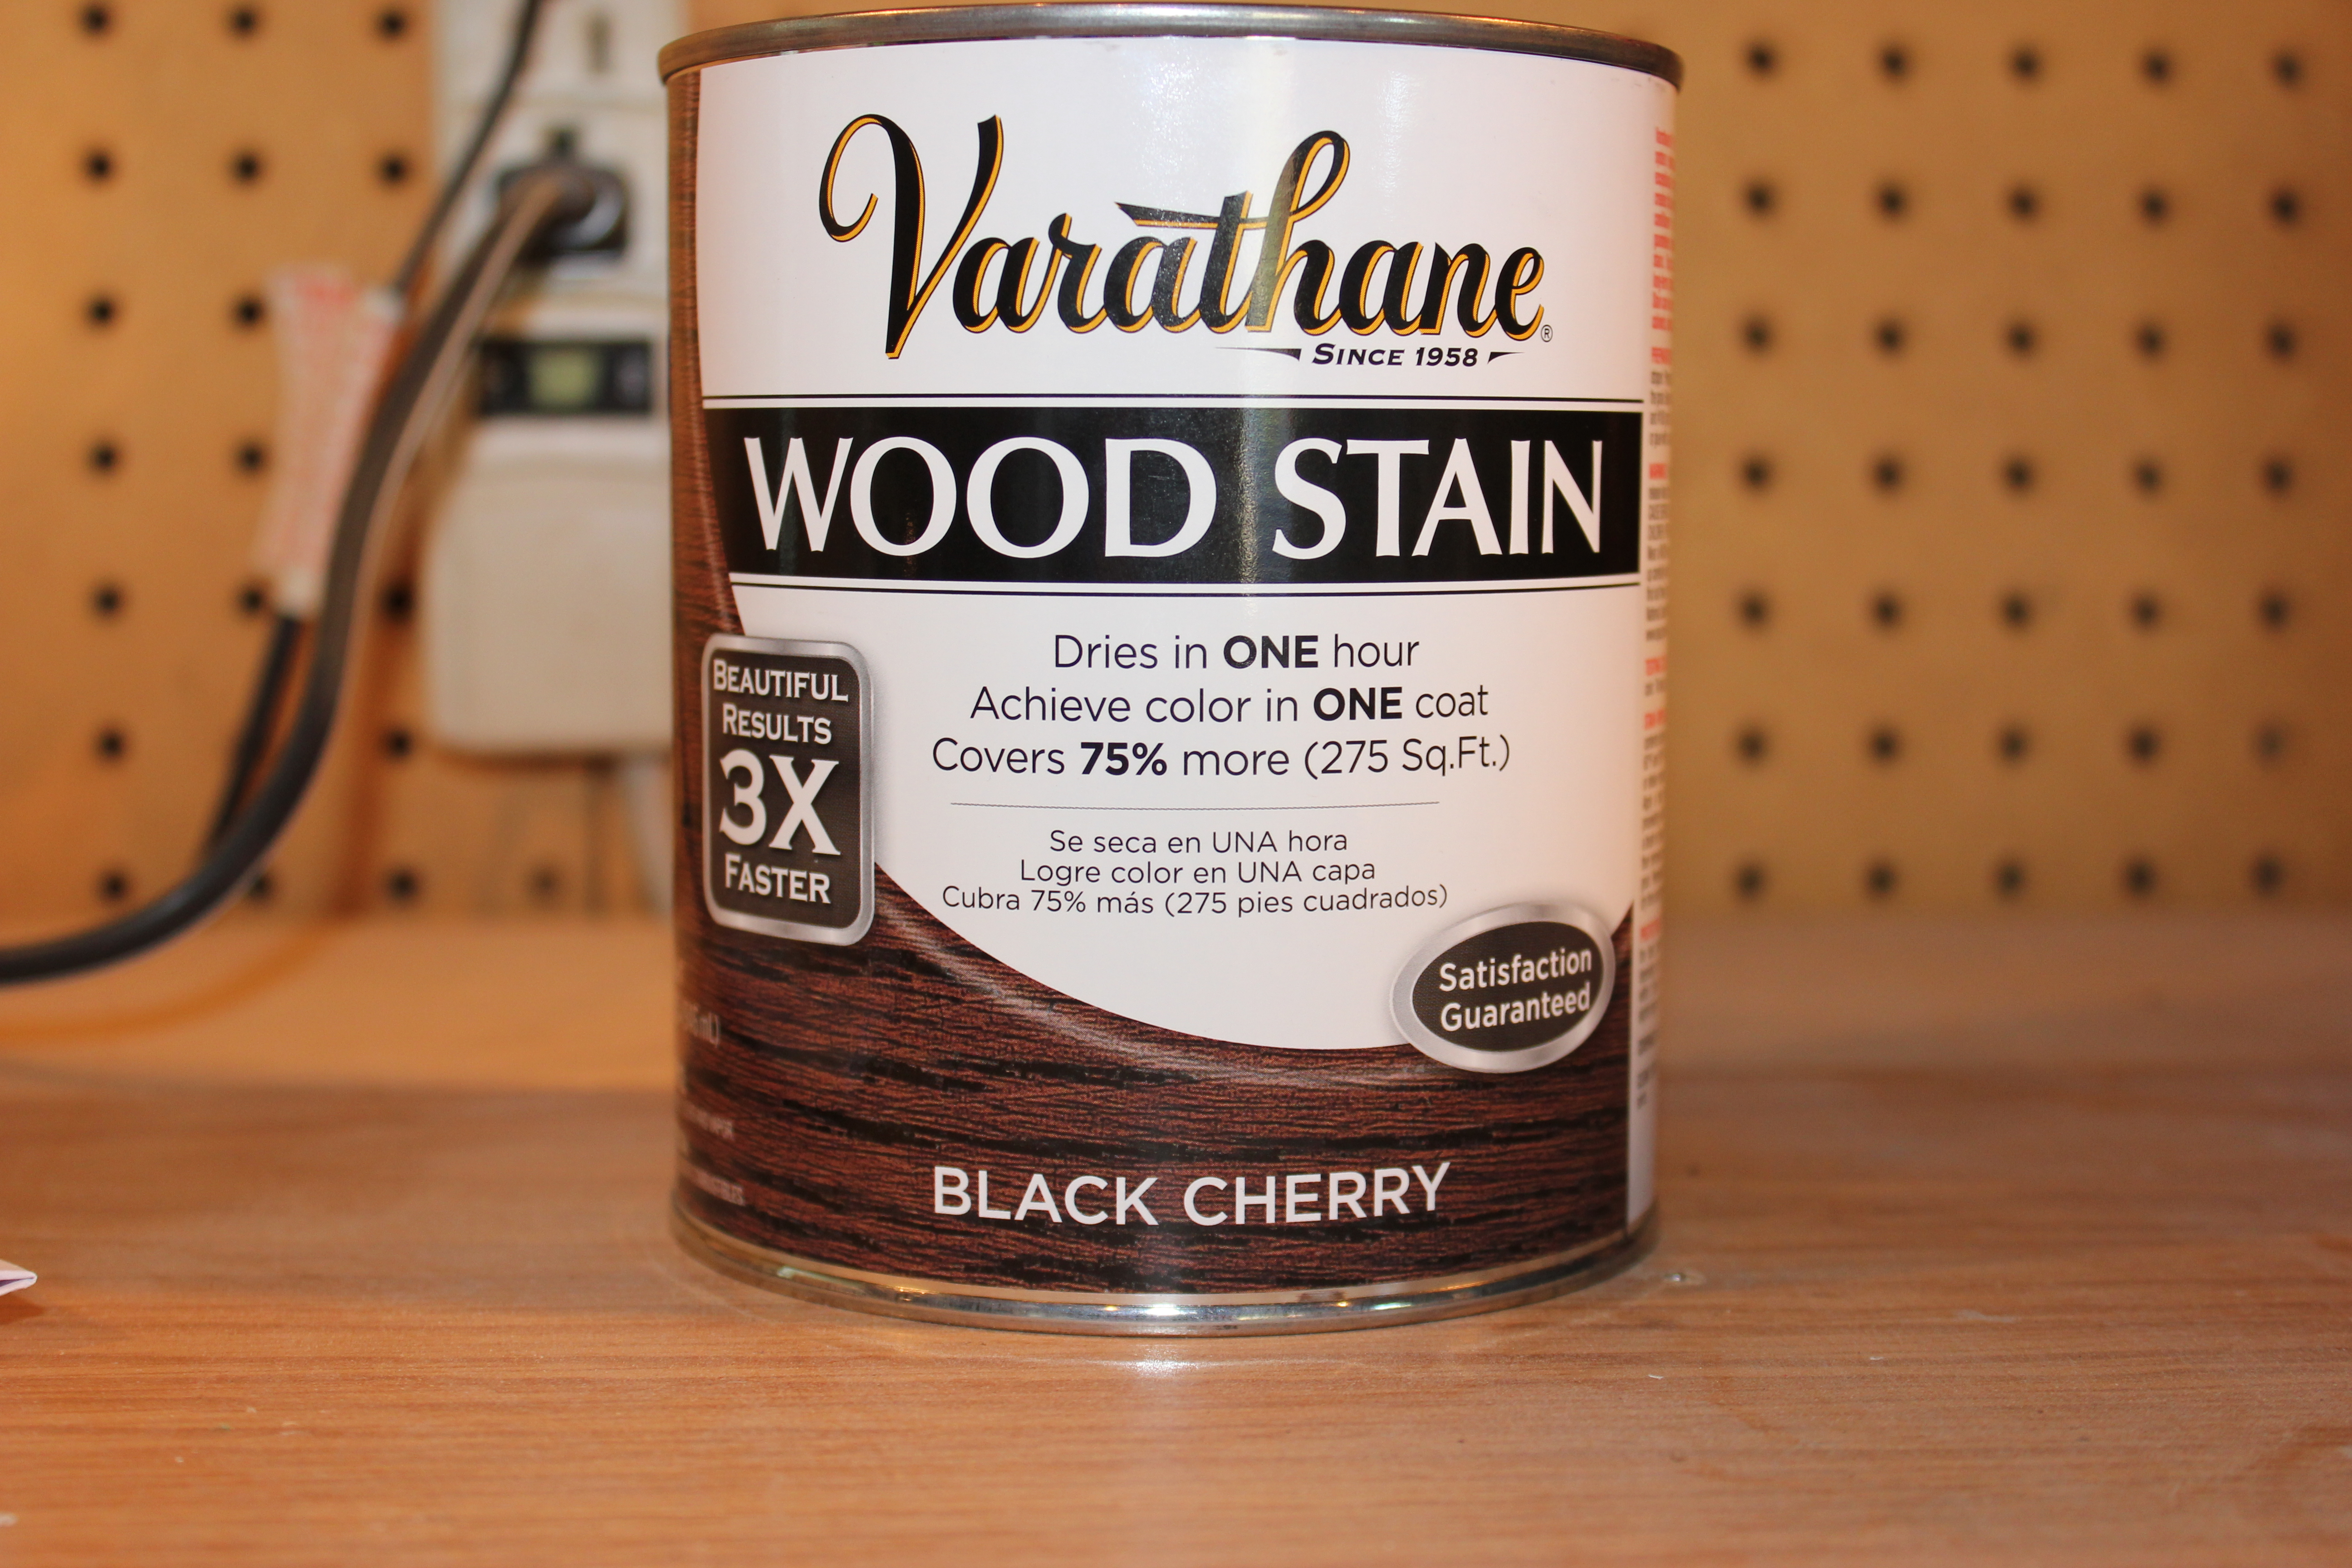
We decided to go with a black cherry wood stain to match other furniture in the house.
Slow application process. Many coats.
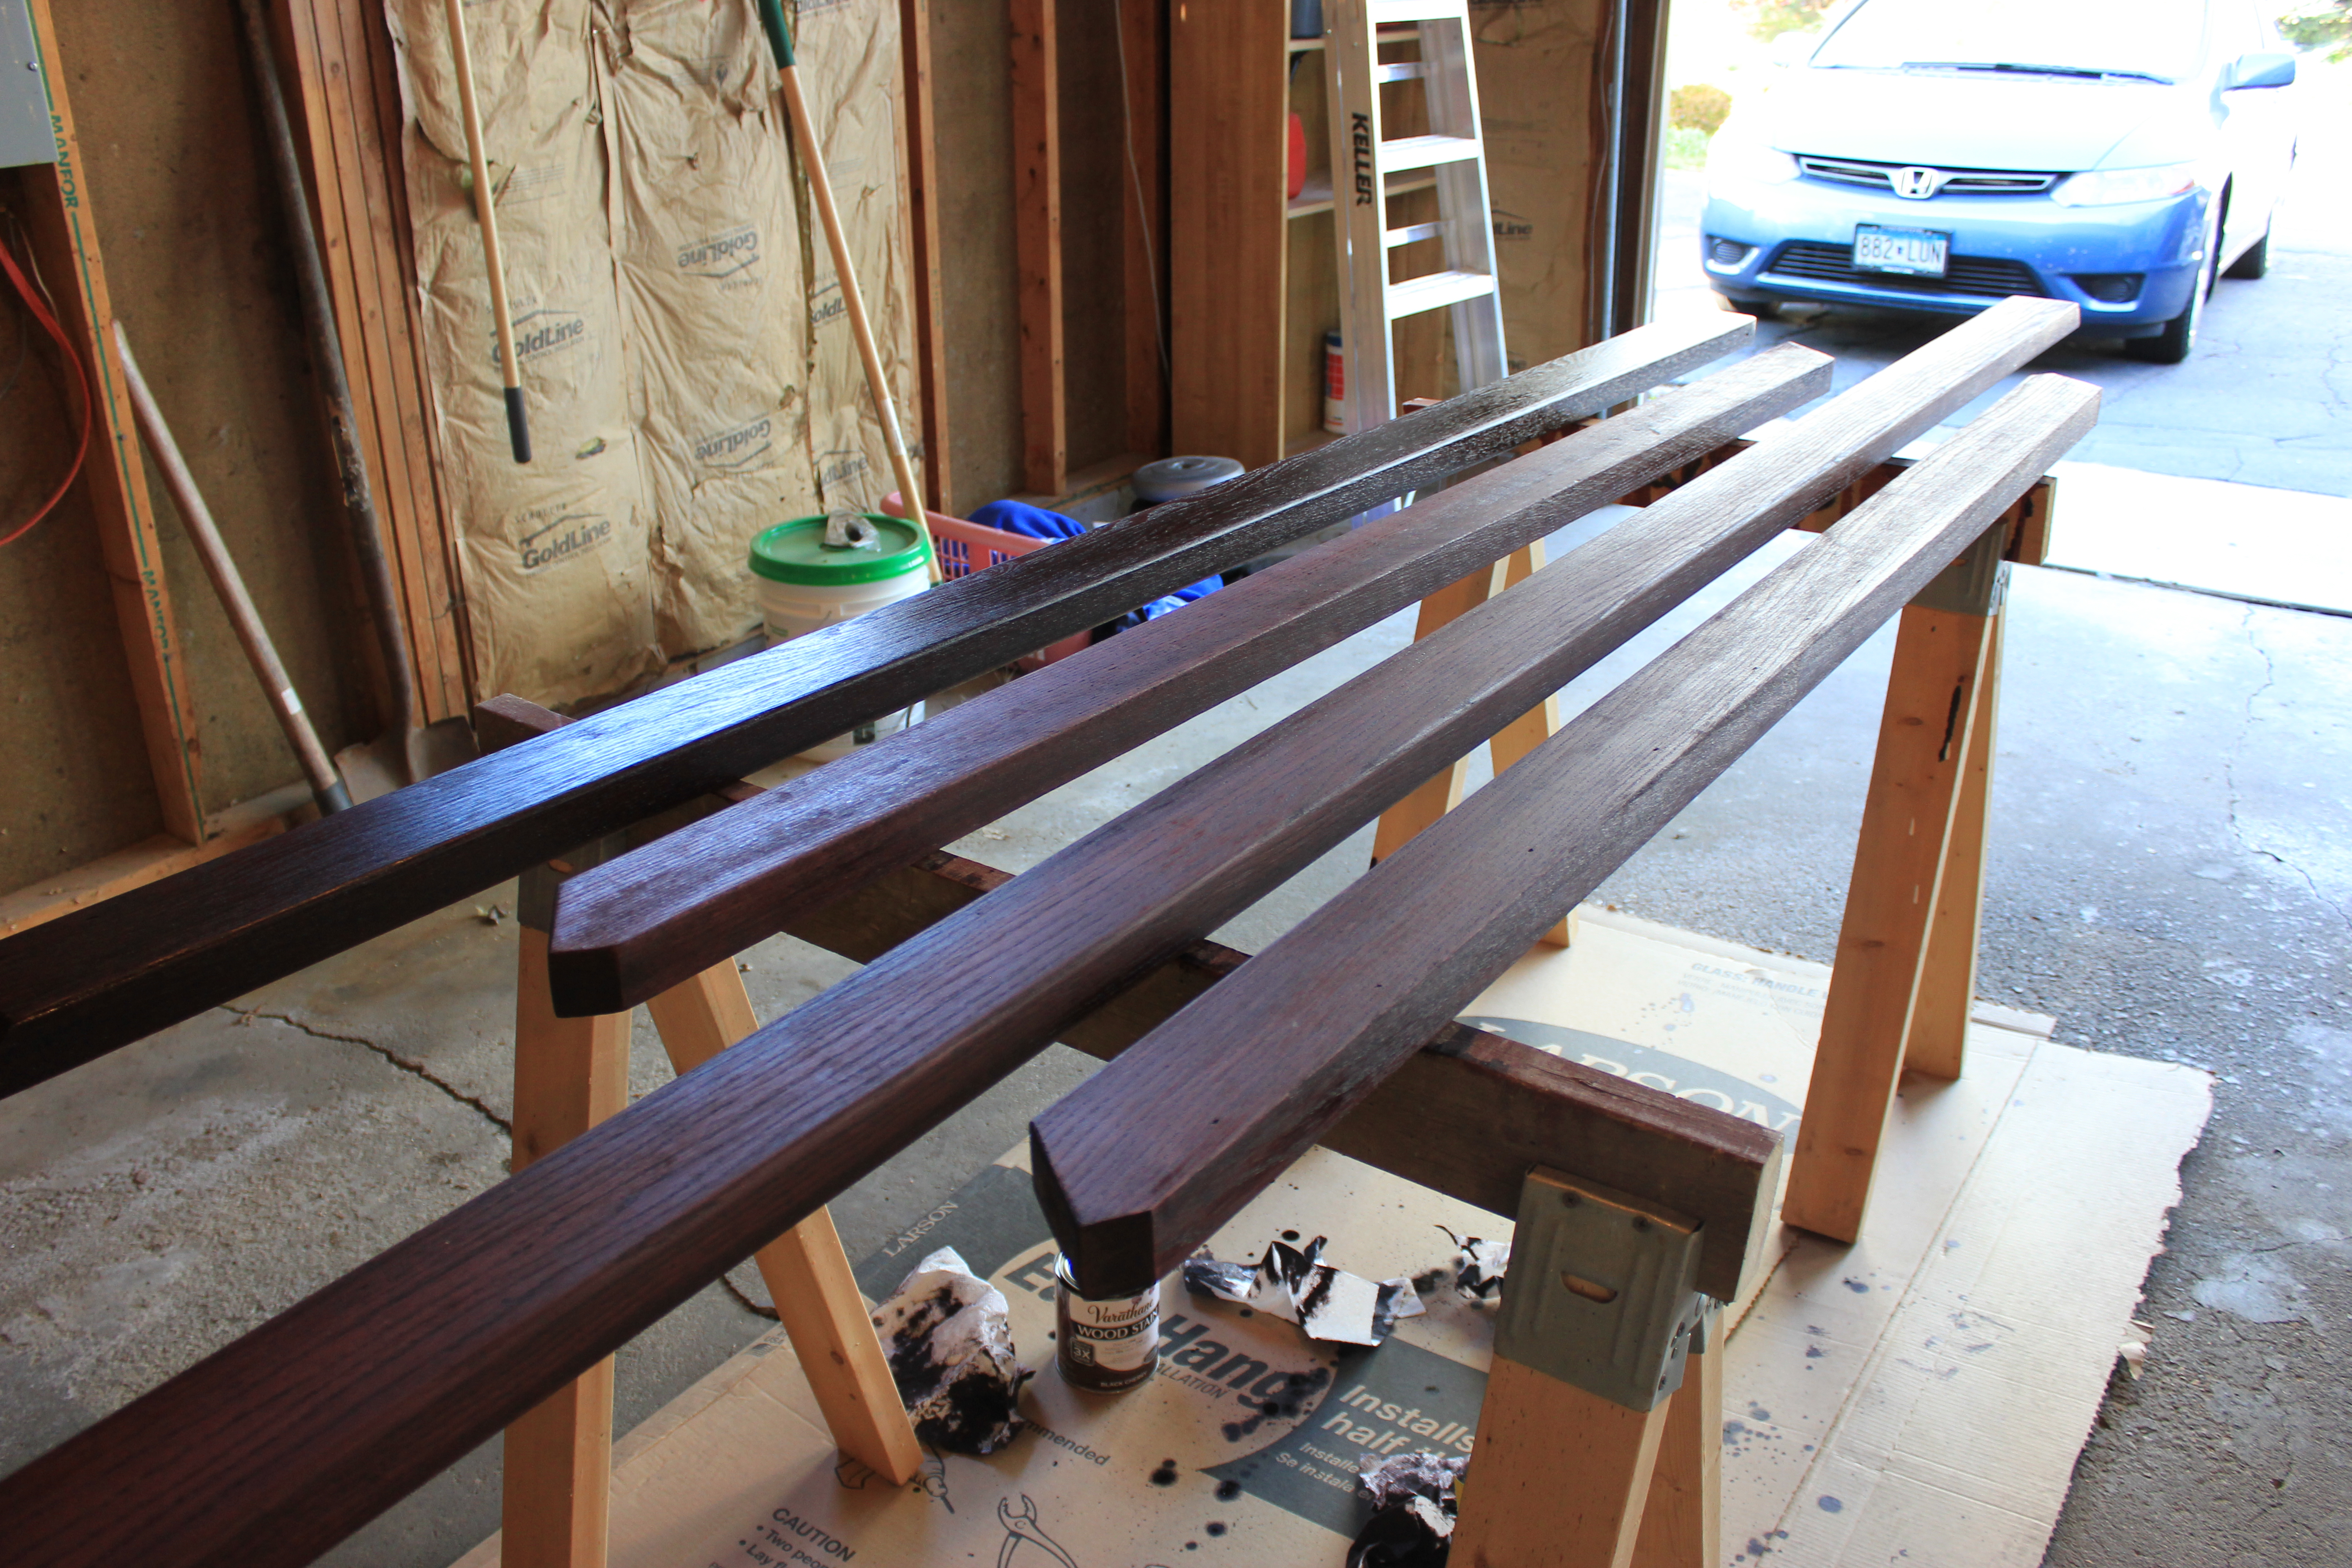
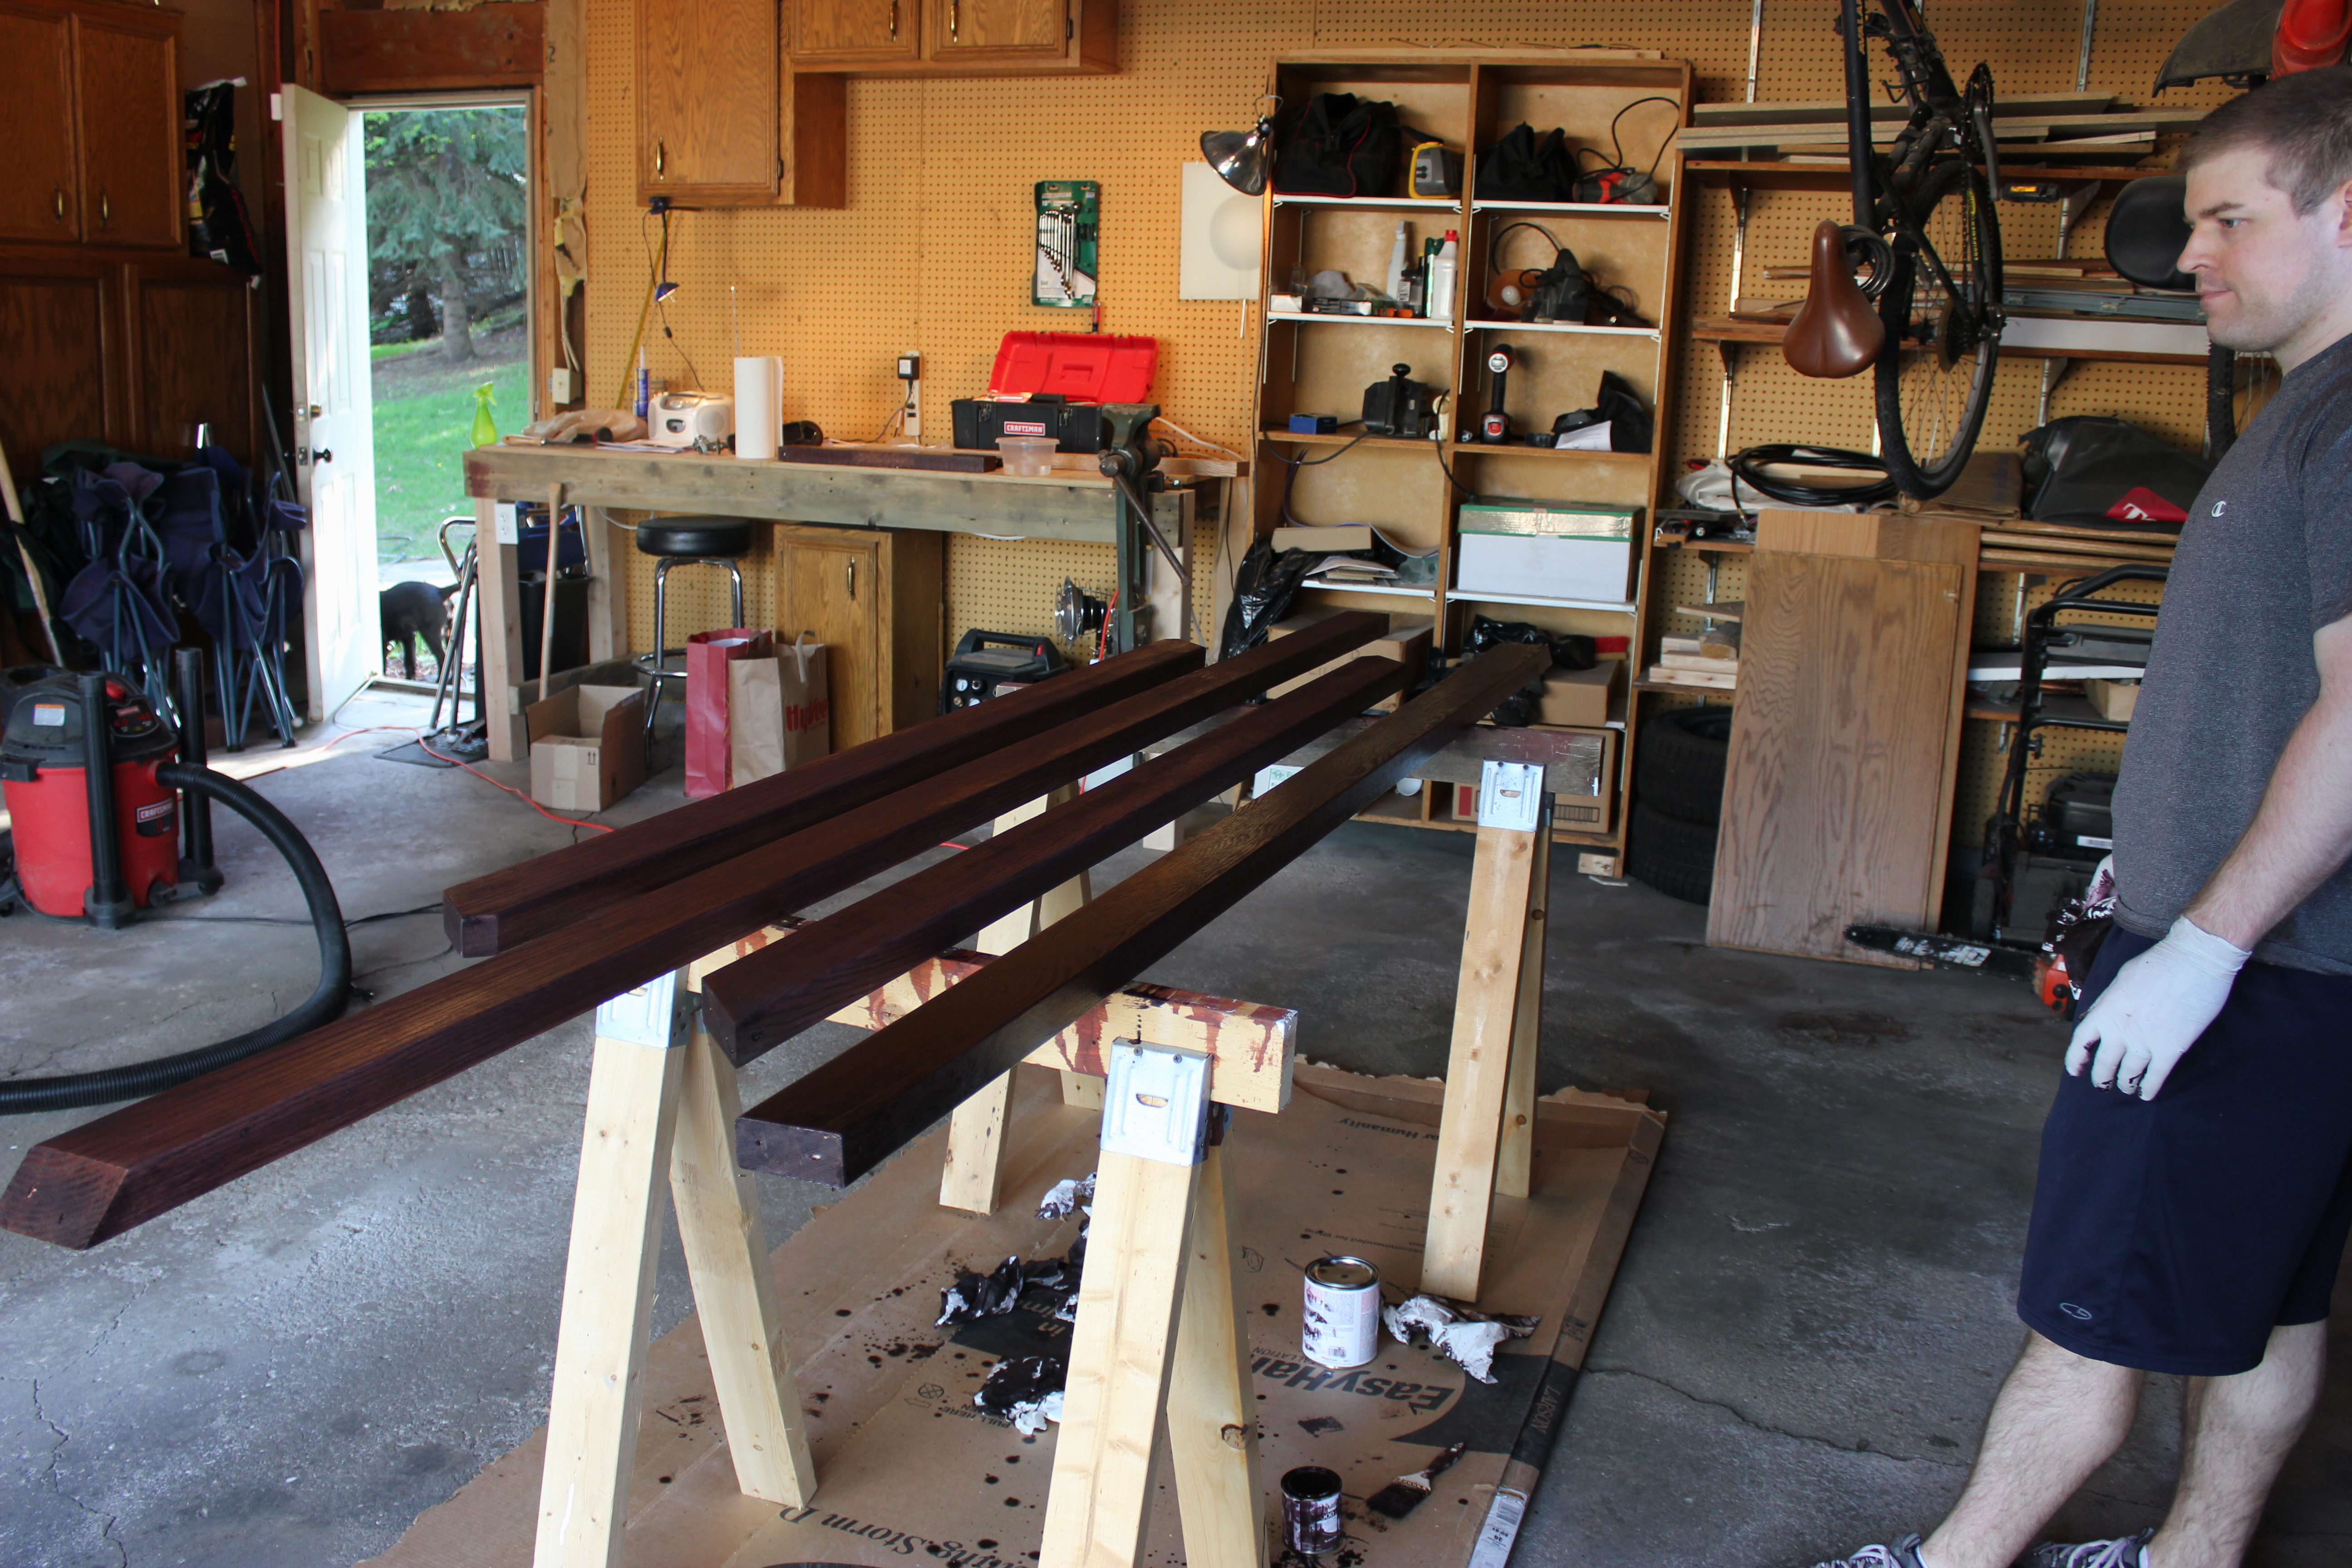
It took about five coats to get the color the way I wanted it to look. Next step: clear coat.
Notice the awesome key-shaped folding knife. A random find at Harbor Freight
I added about four coats of clear to the wood. I went too fast on the first coat and got bubbles, which I had to sand down. I went slower with my brush on later coats to avoid this problem.

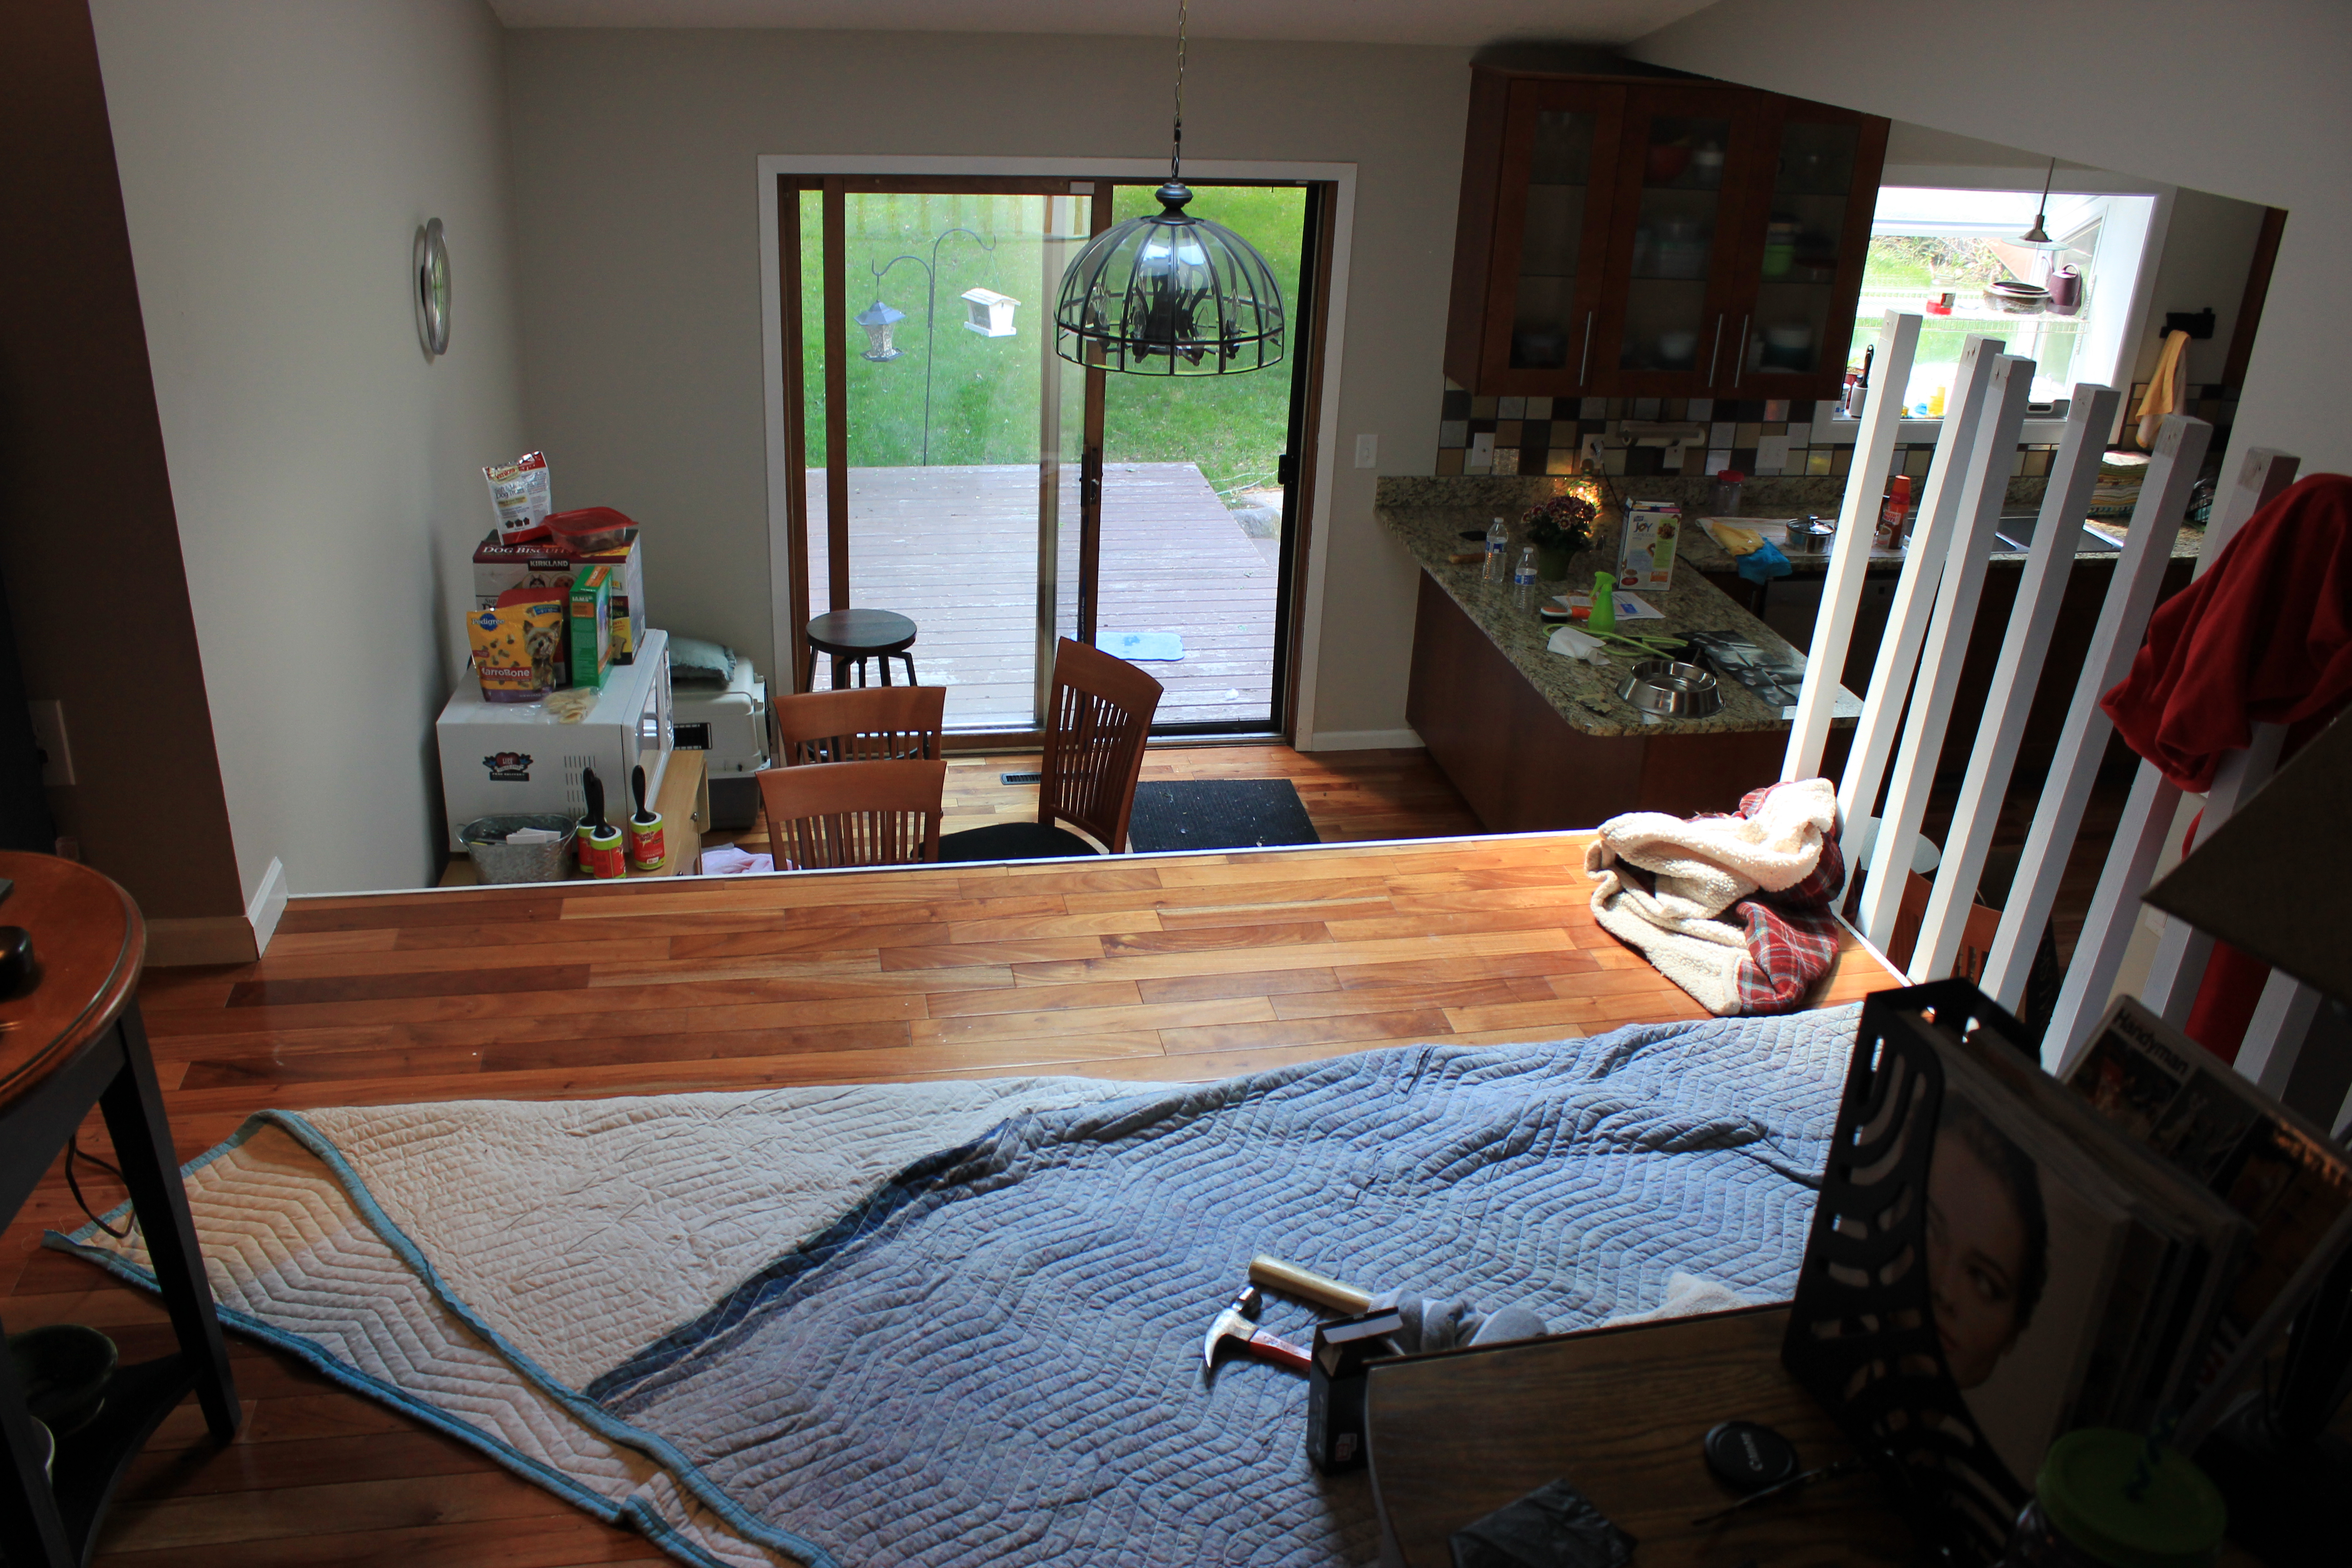
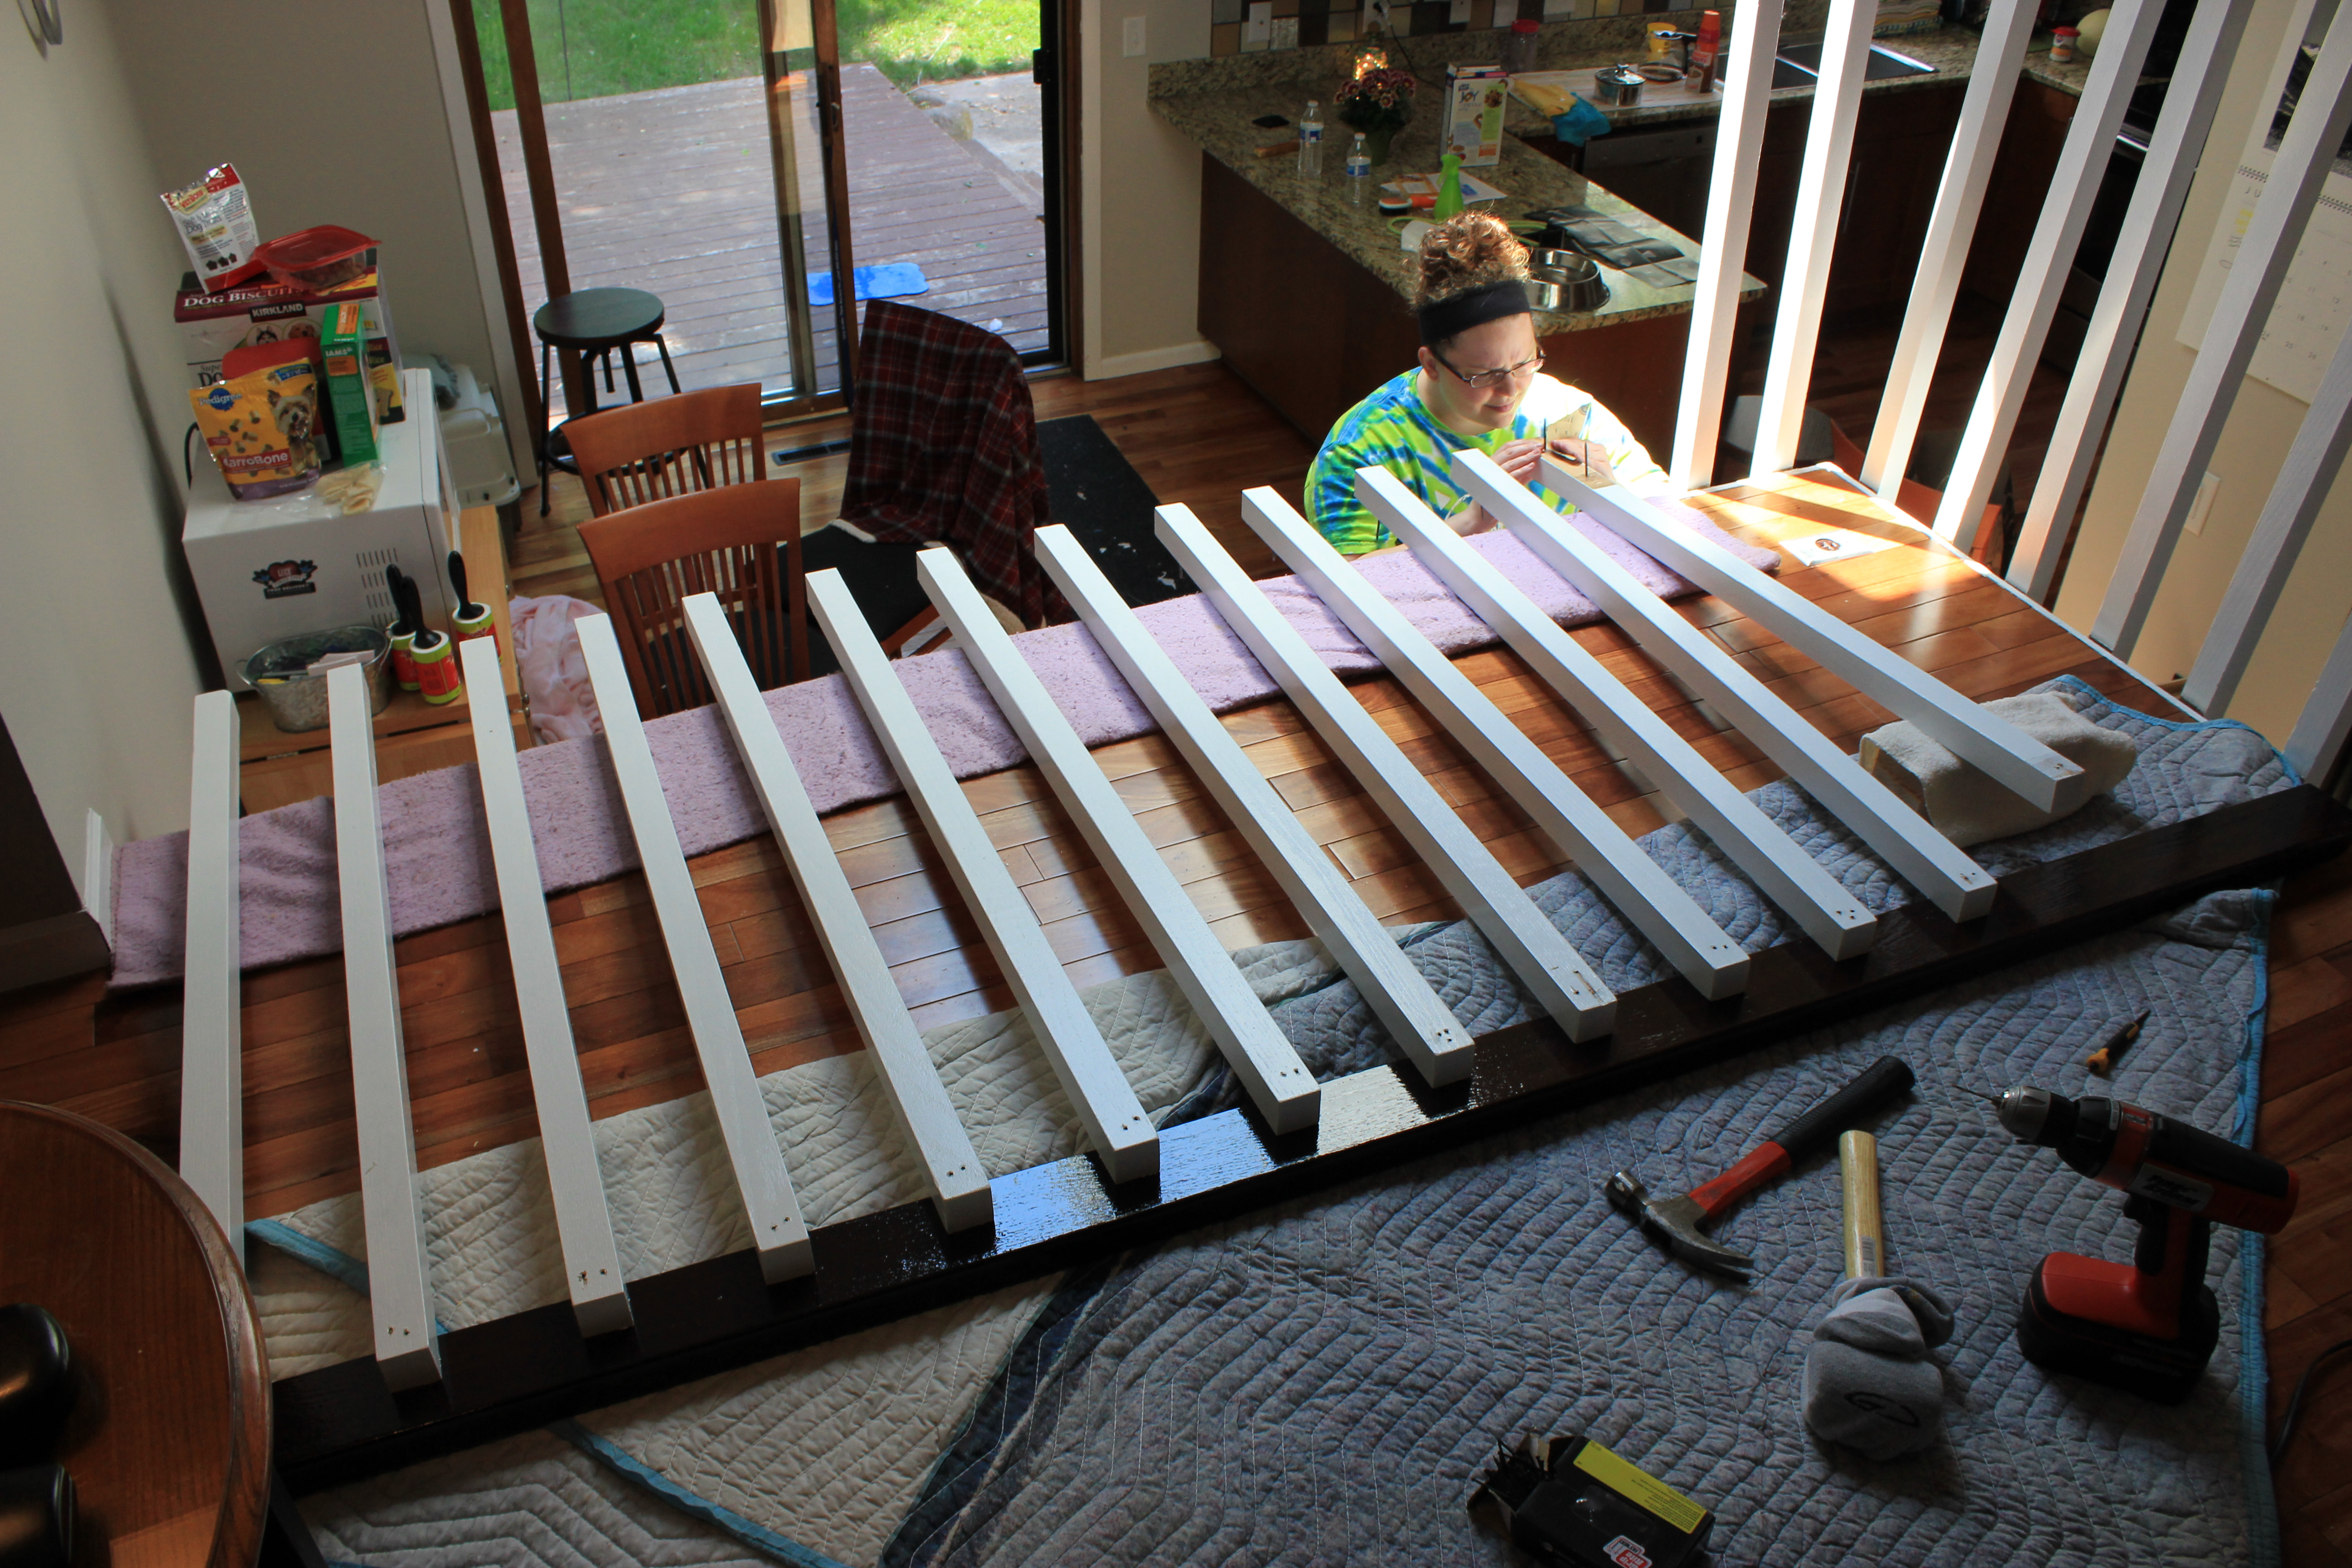
With the railings stained and clear-coated, the next step was to attach the railings to the uprights.
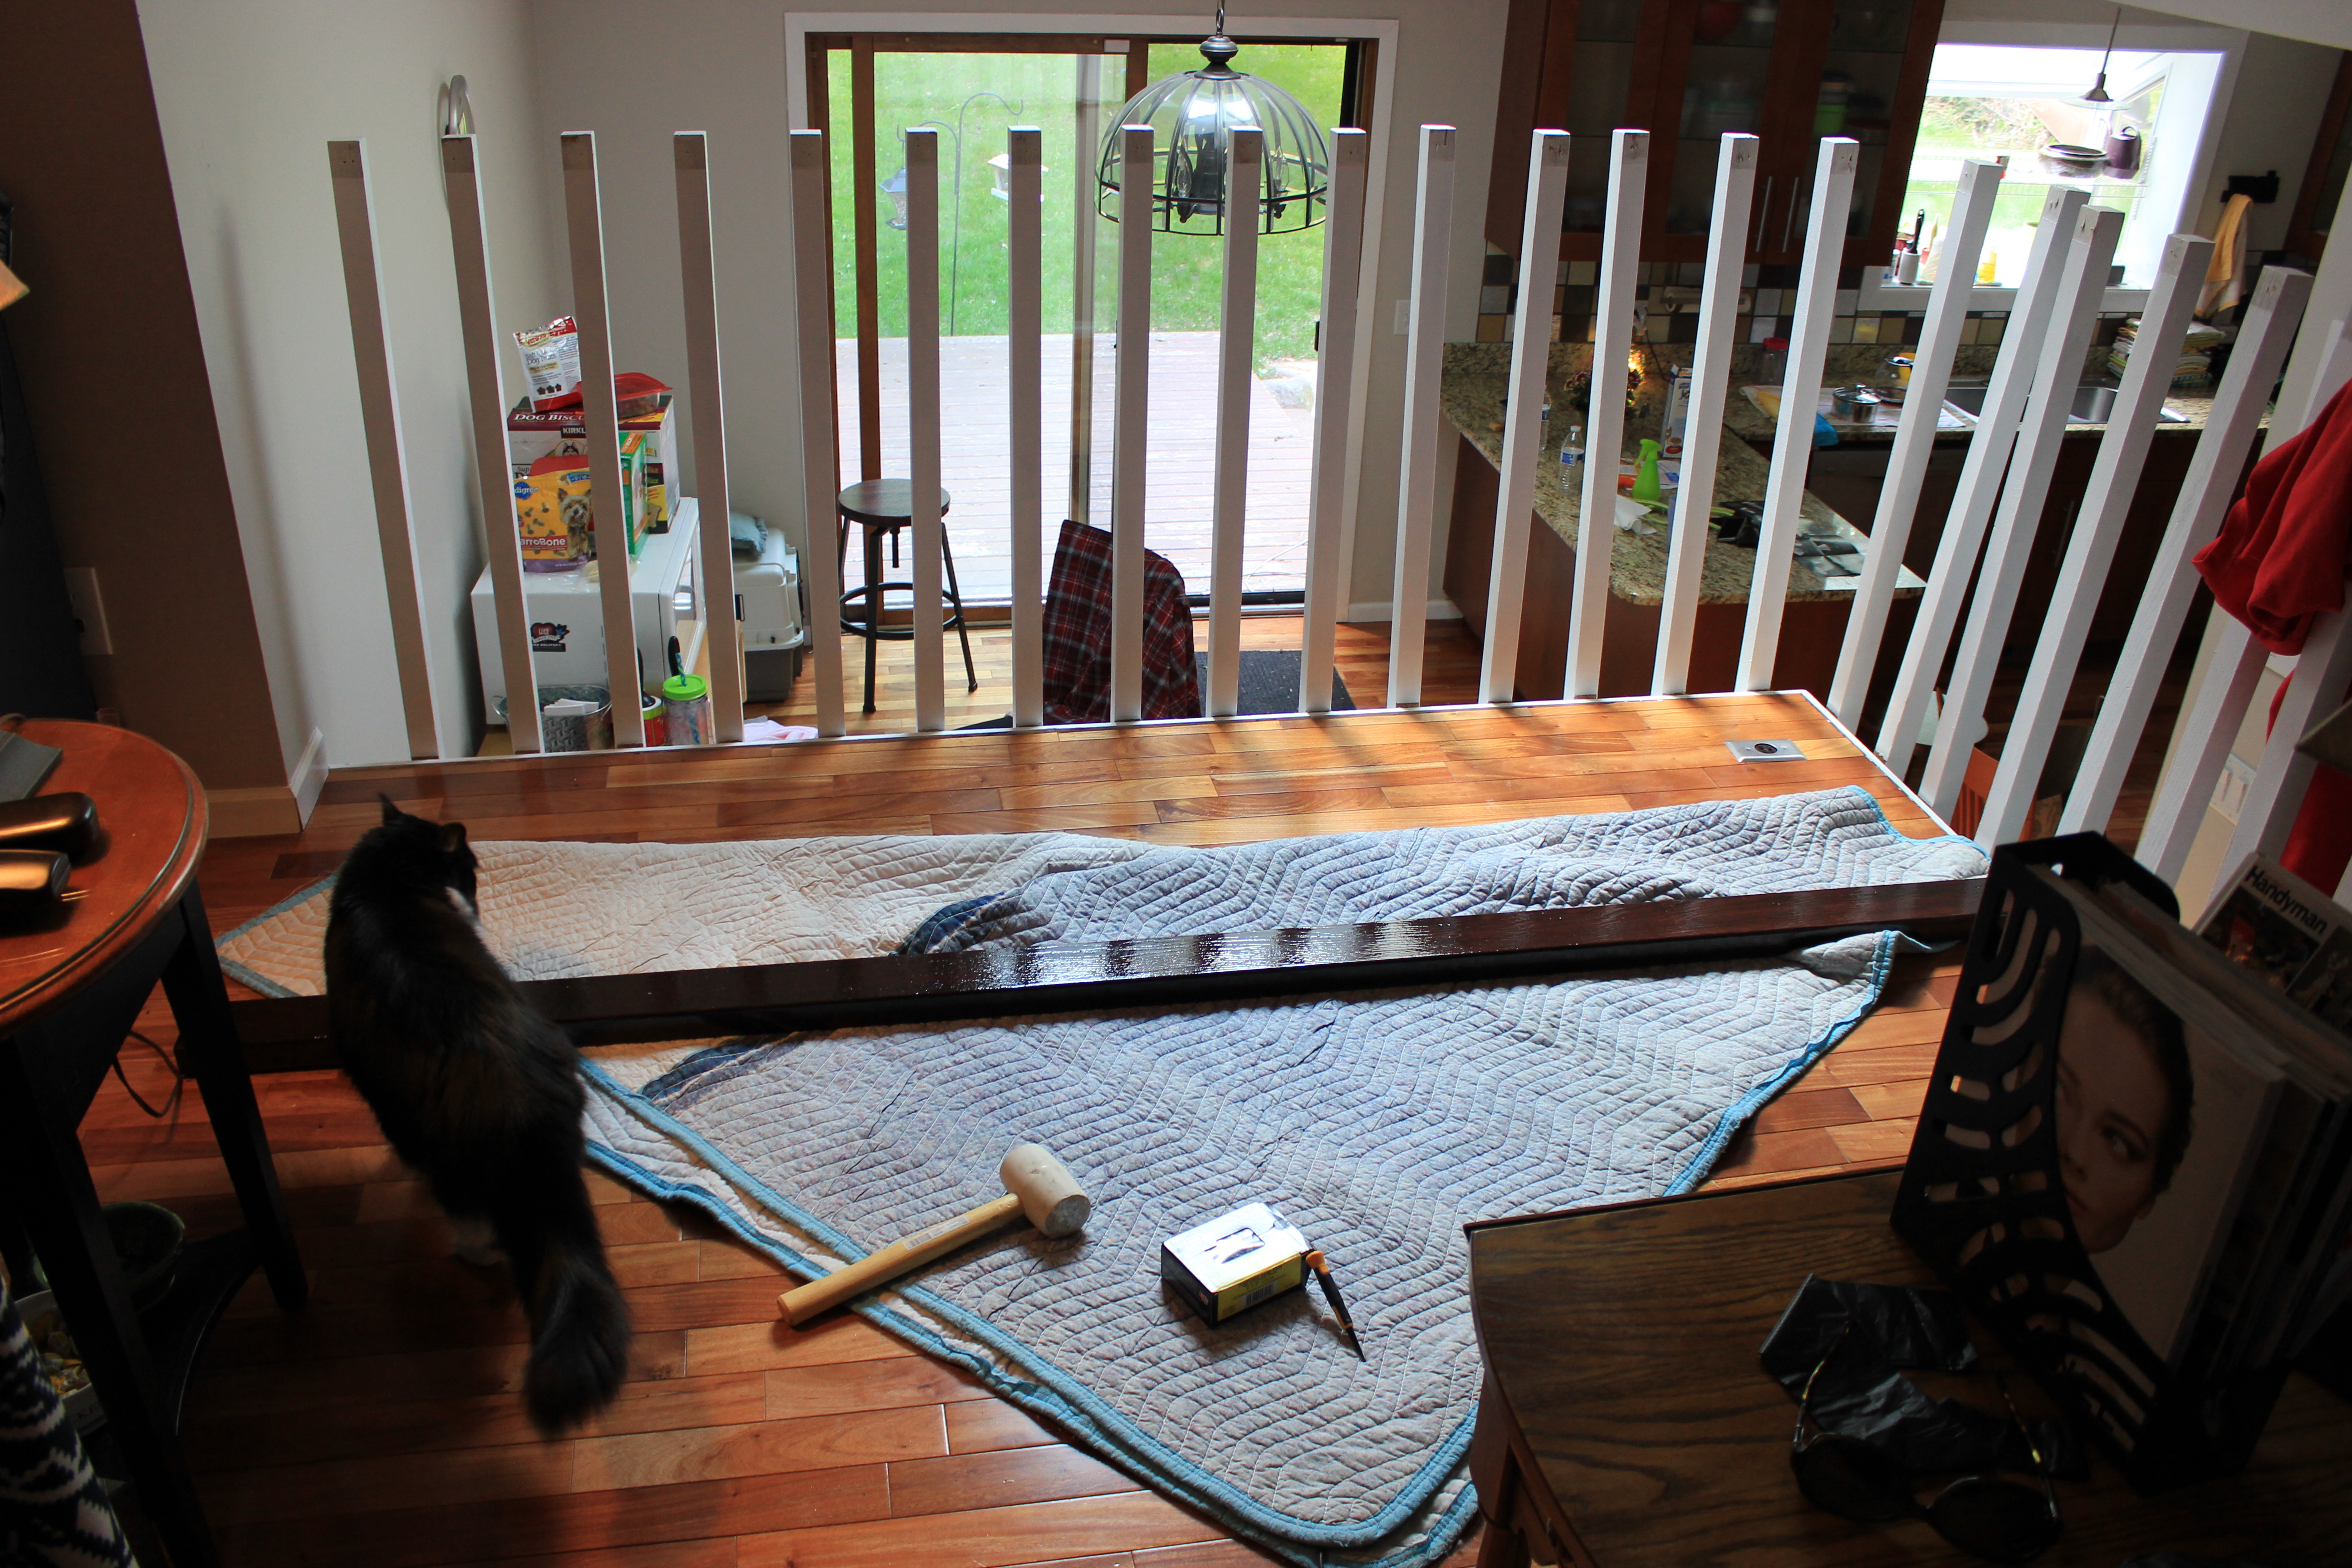
The best way I figured to do this was to pull off the uprights and nail them to the railing on the floor. It would have been too awkward trying to nail hardwood while hanging over an edge.
These are the tools I used. Hammer, drill, finishing nails, a nail set and a rubber mallet covered in a sock to pound off the painted uprights.
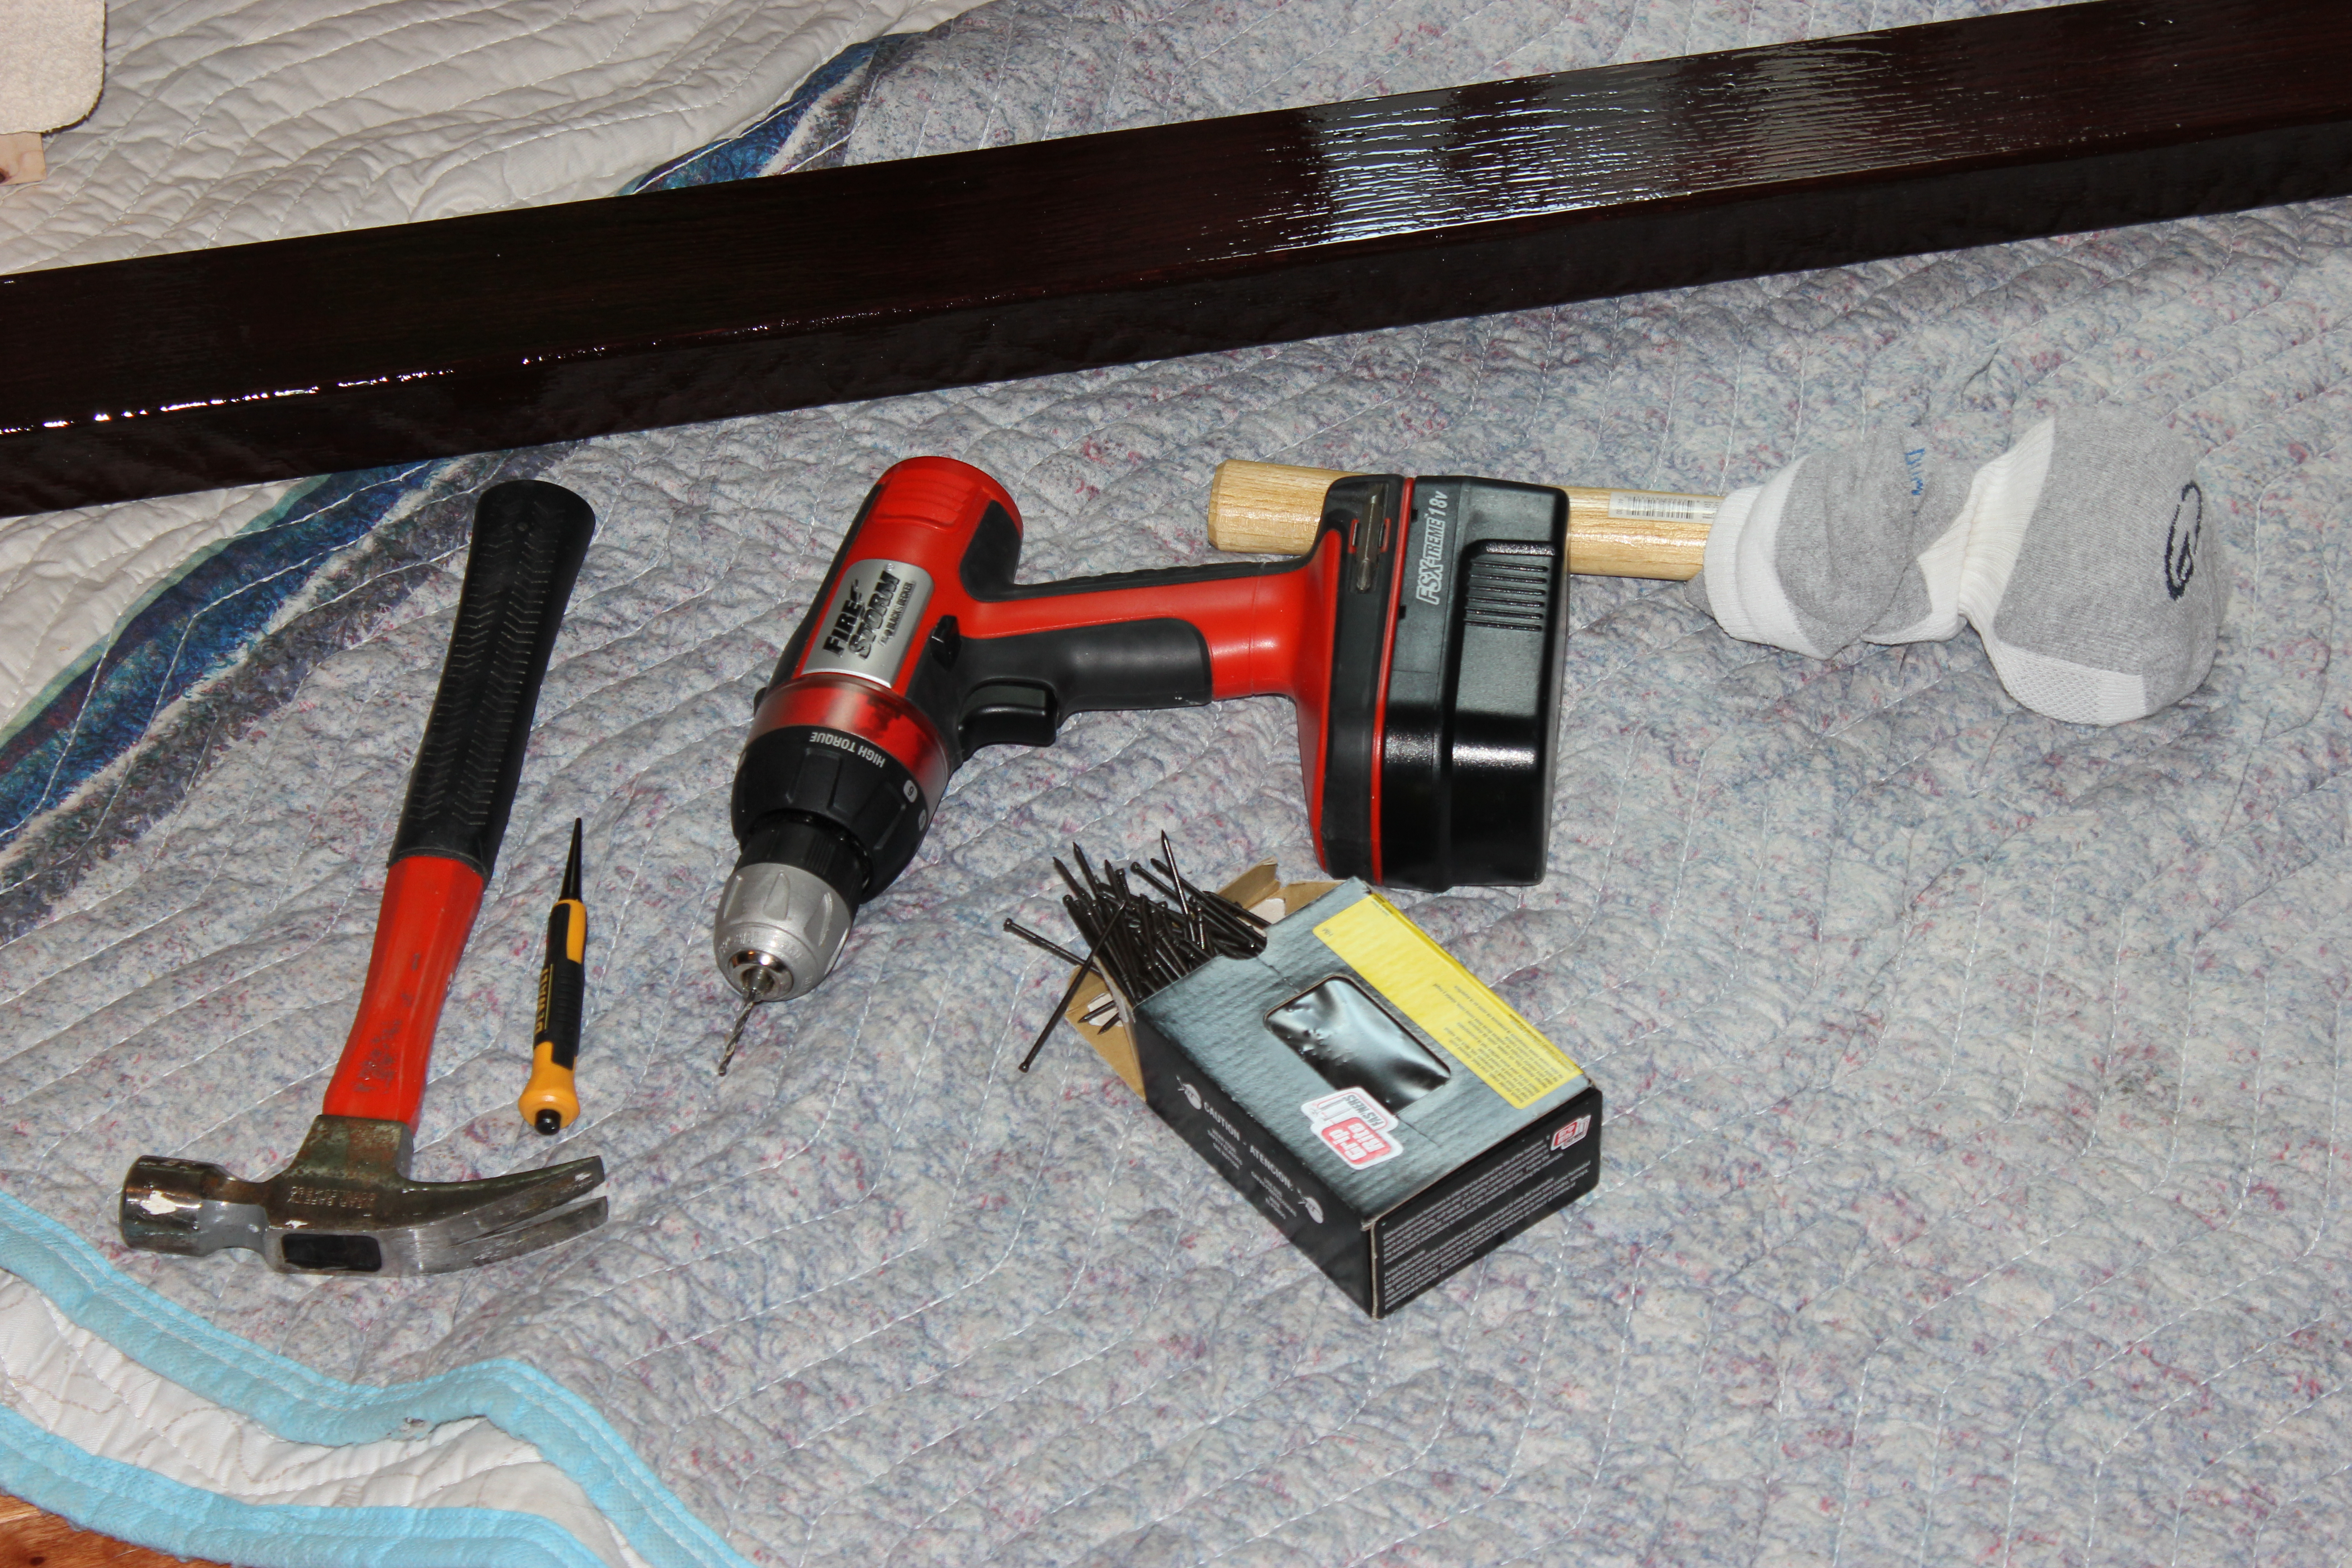
I drilled out each hole before pounding a nail into place.
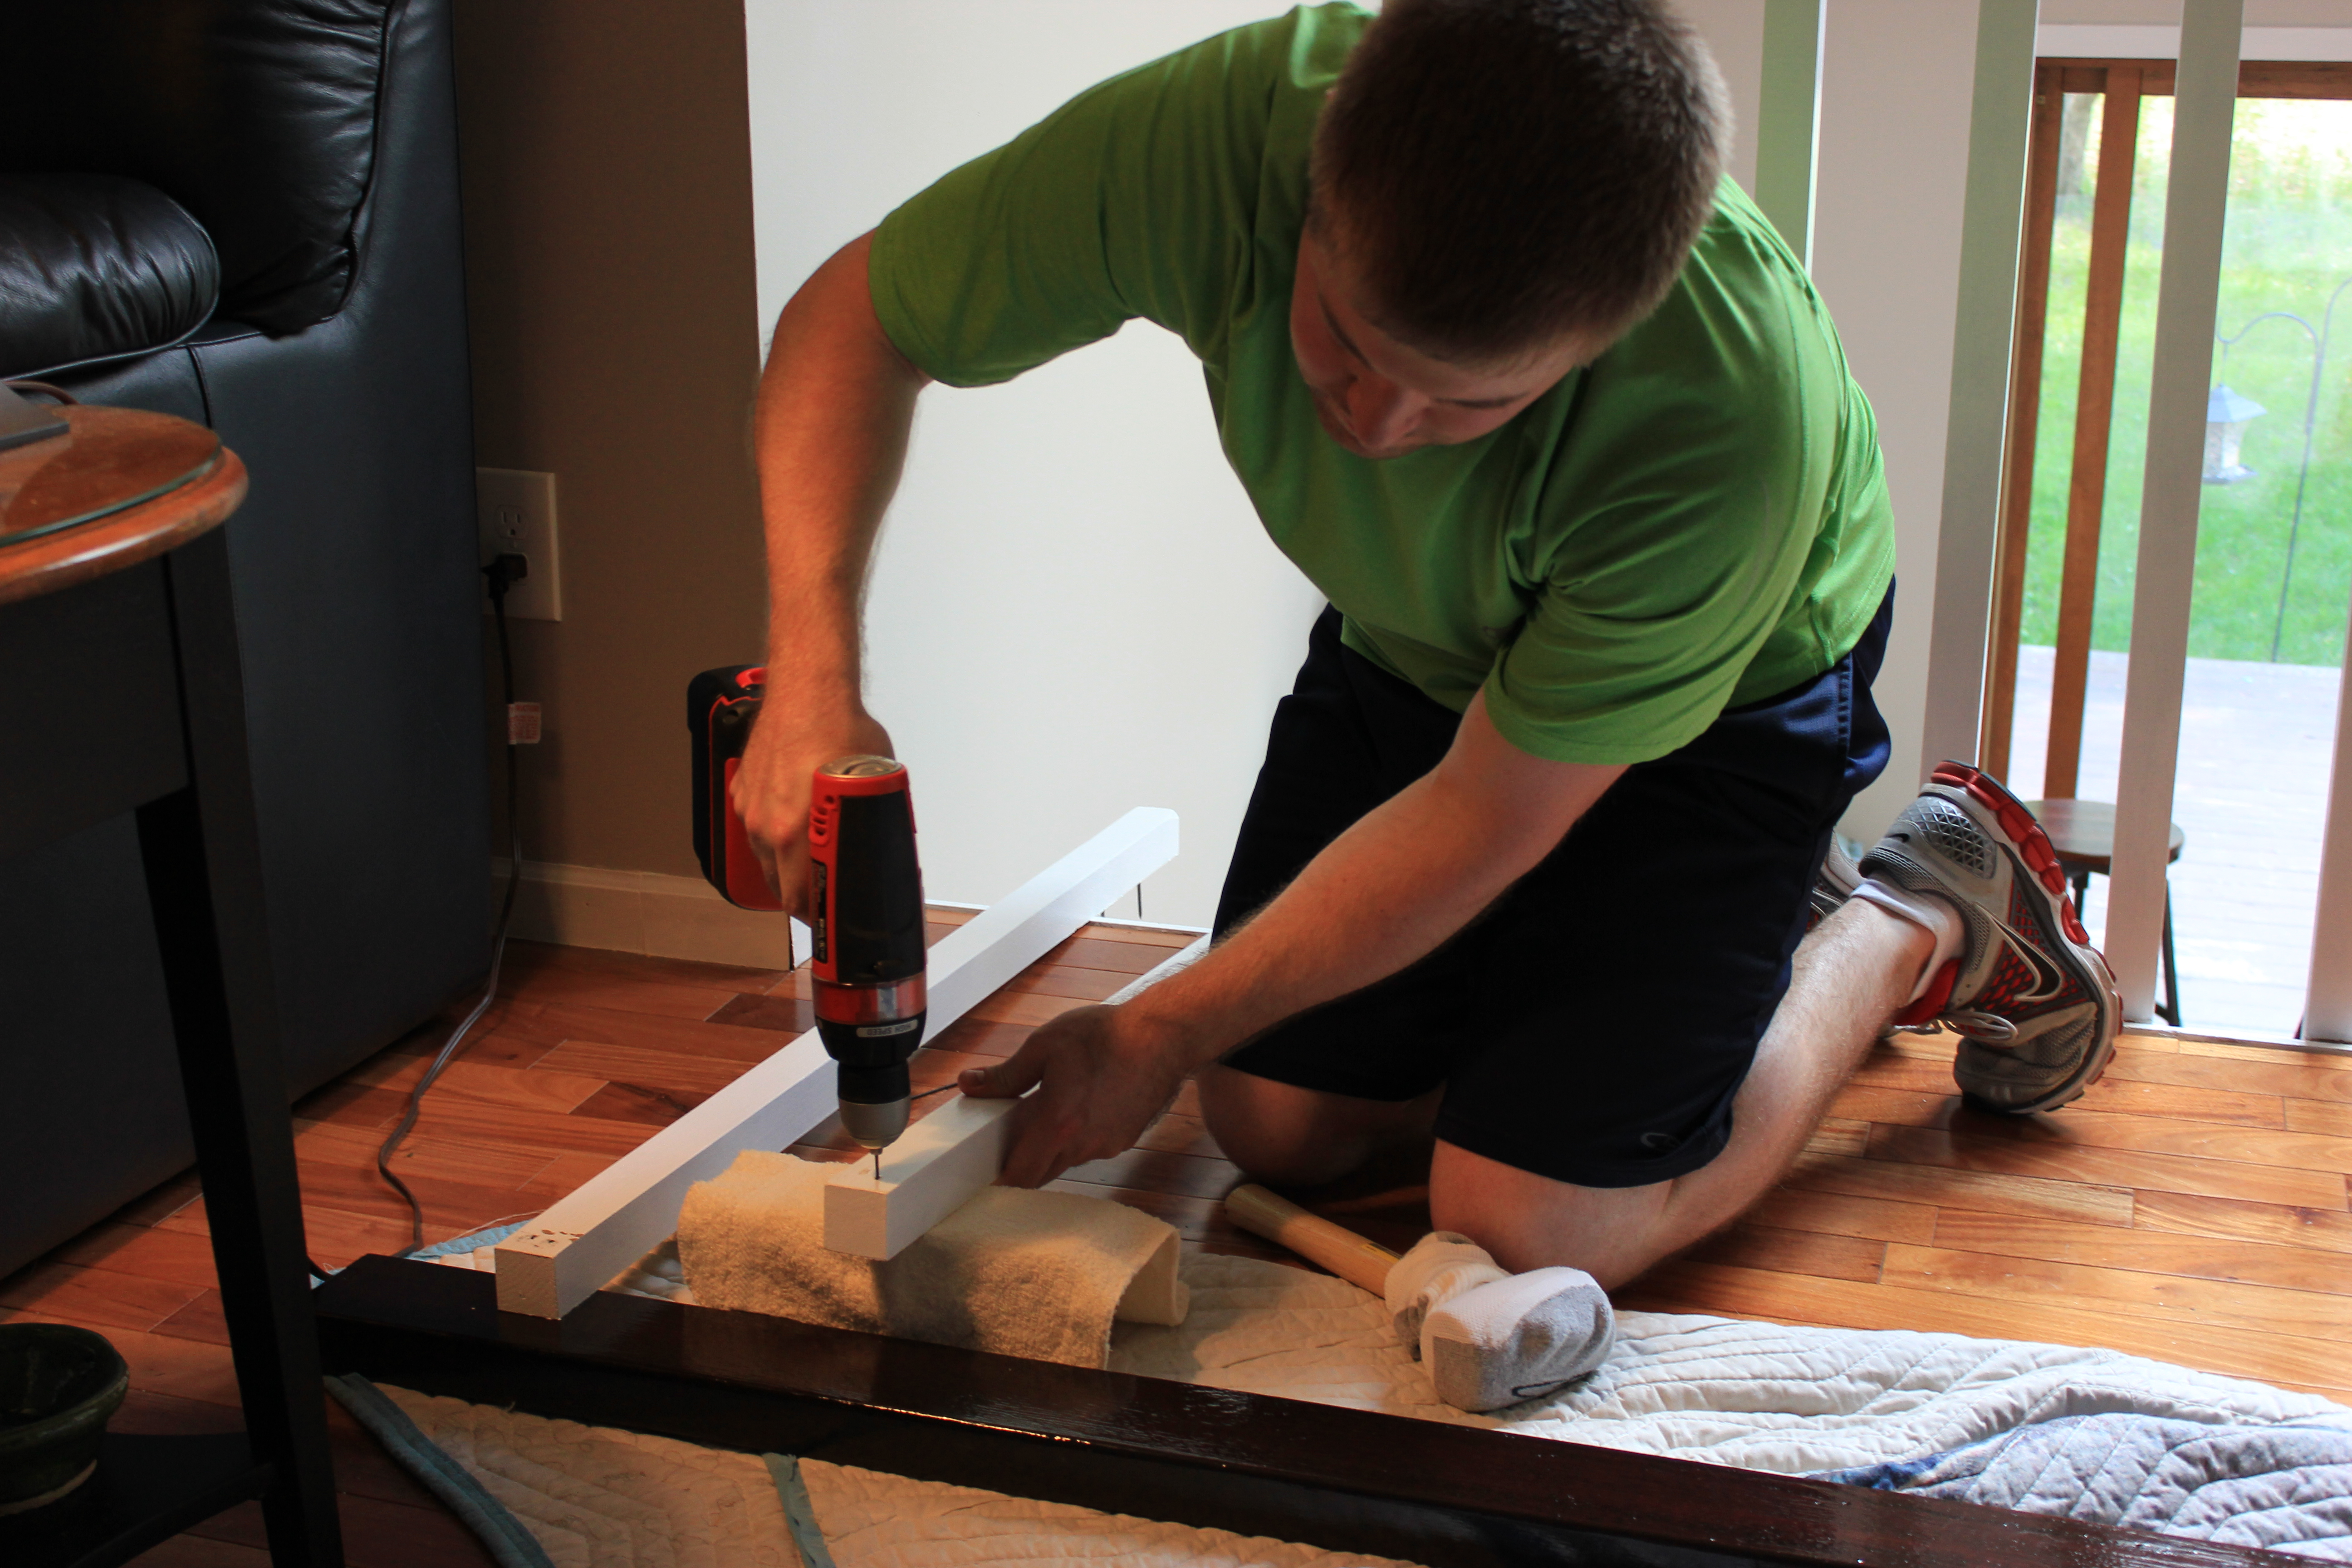
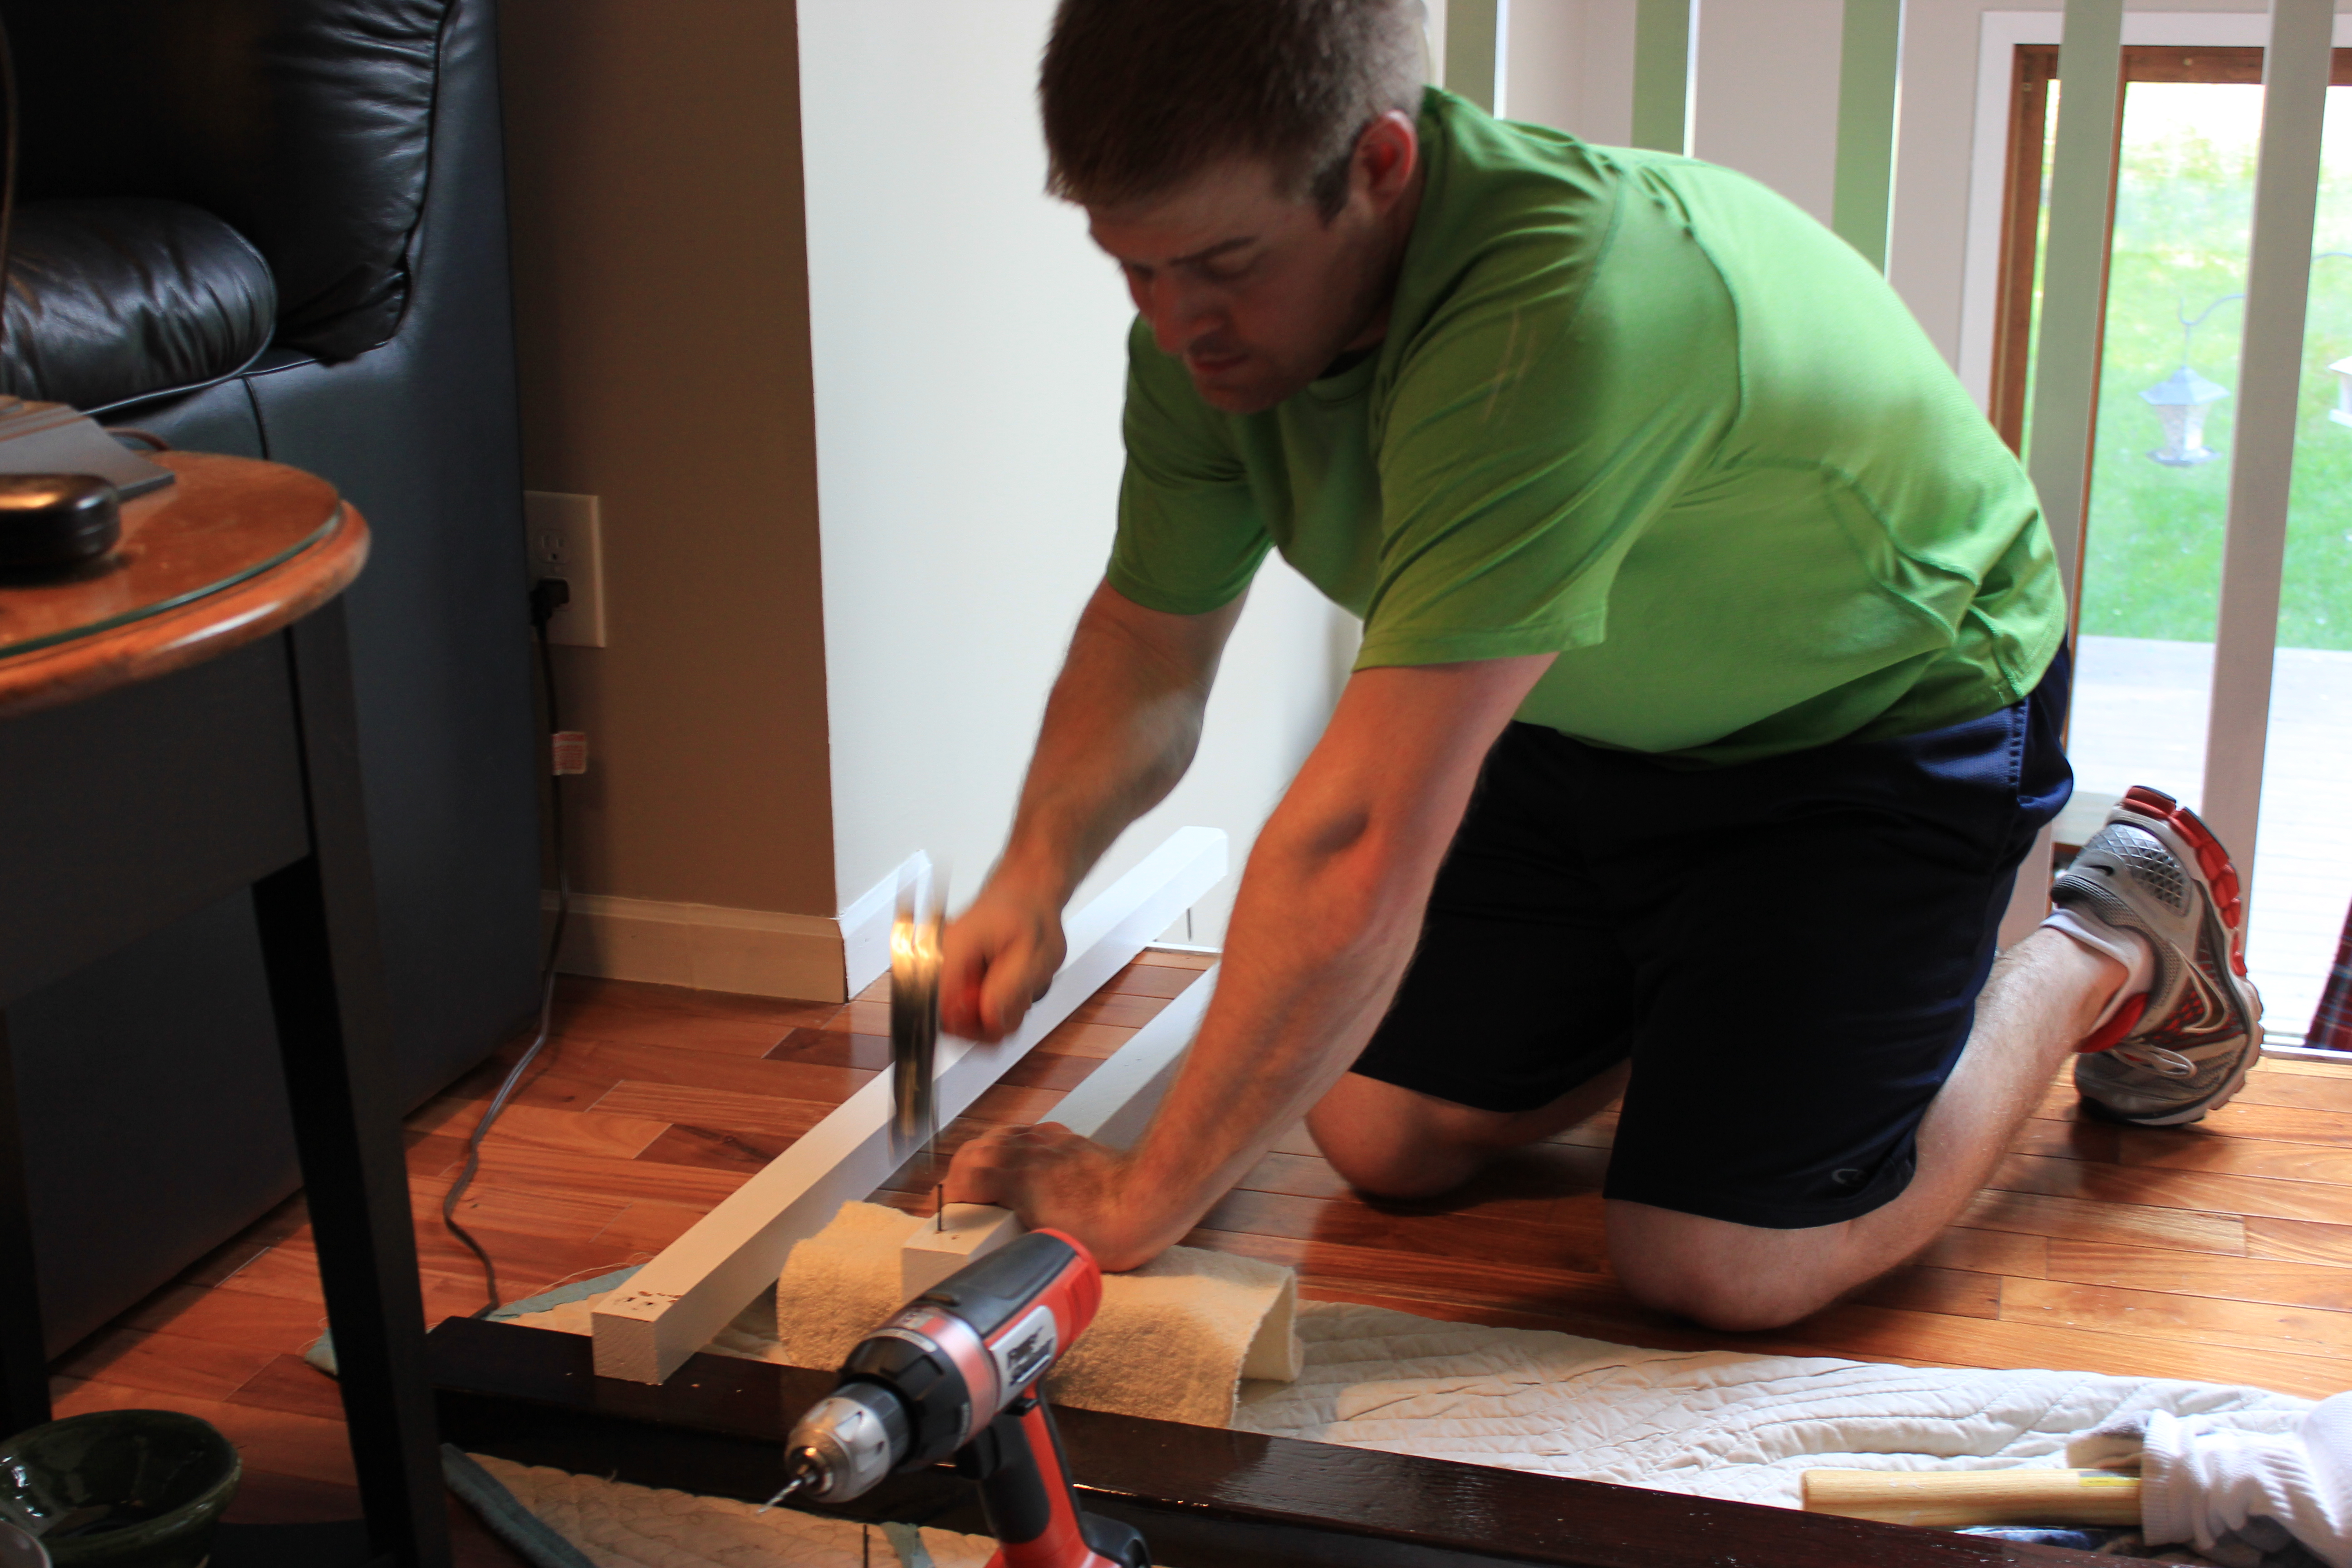
Sara sanded rough areas from my paint job on the uprights while I secured them to the railing.
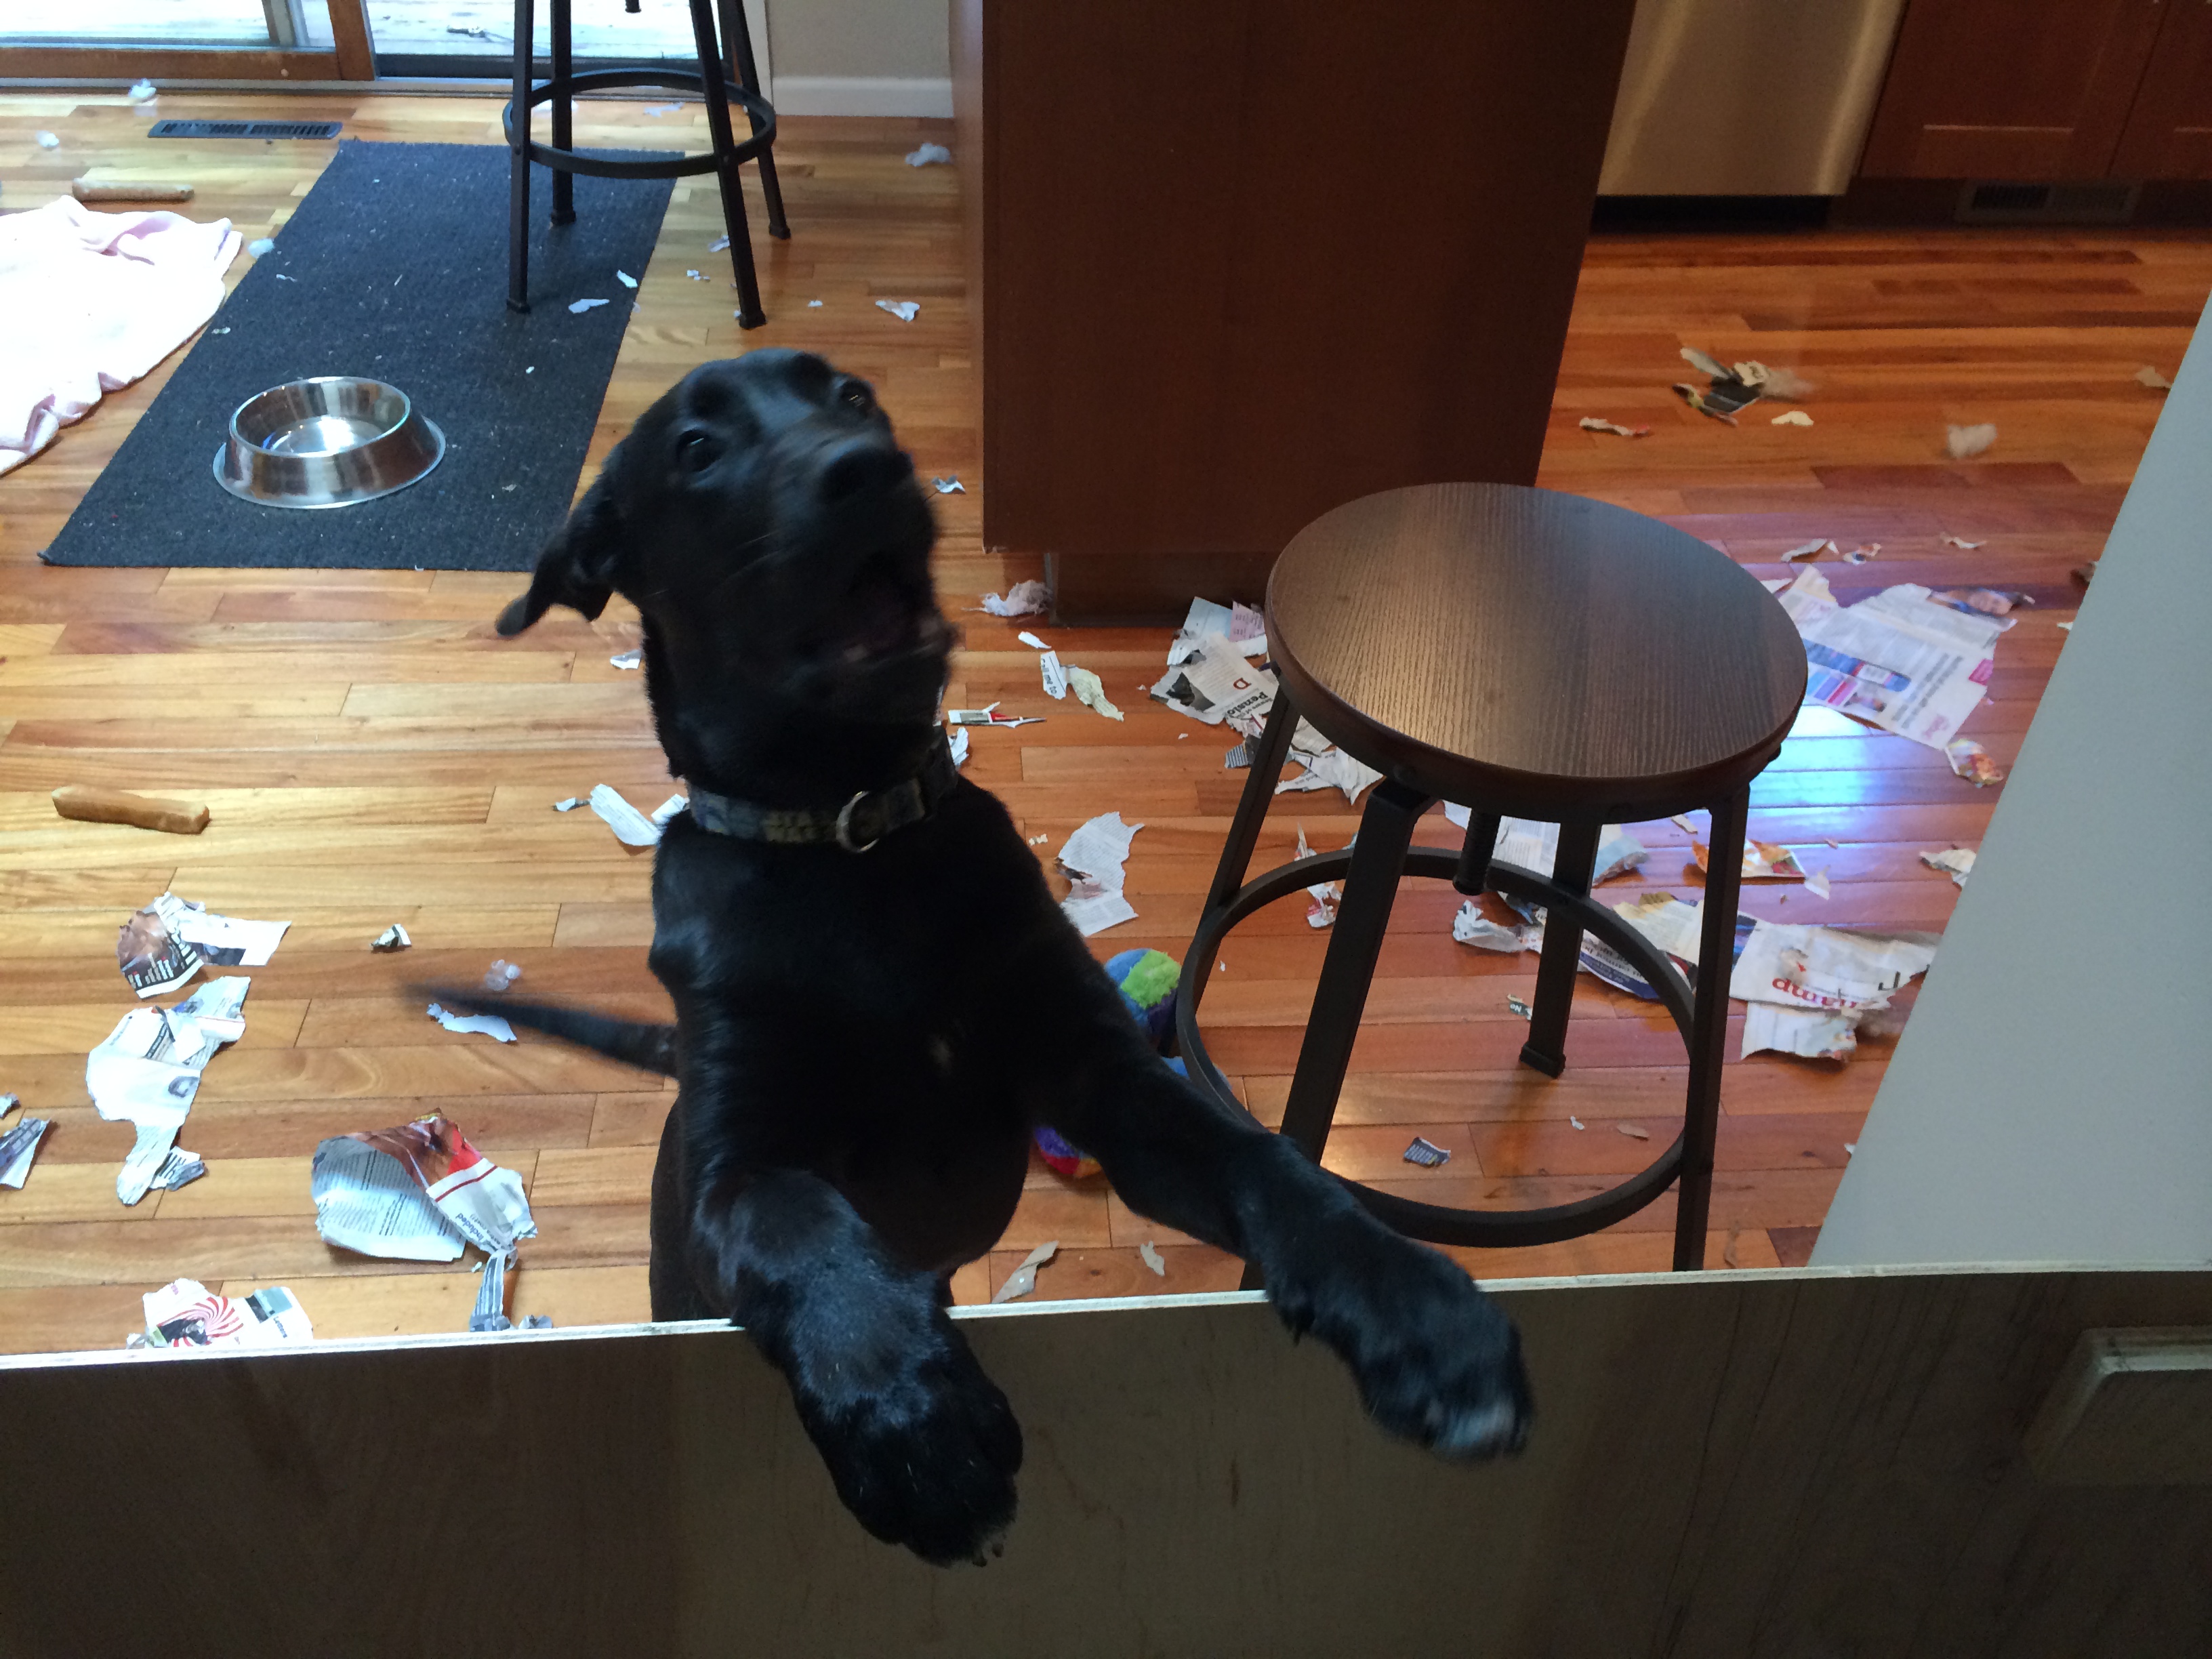
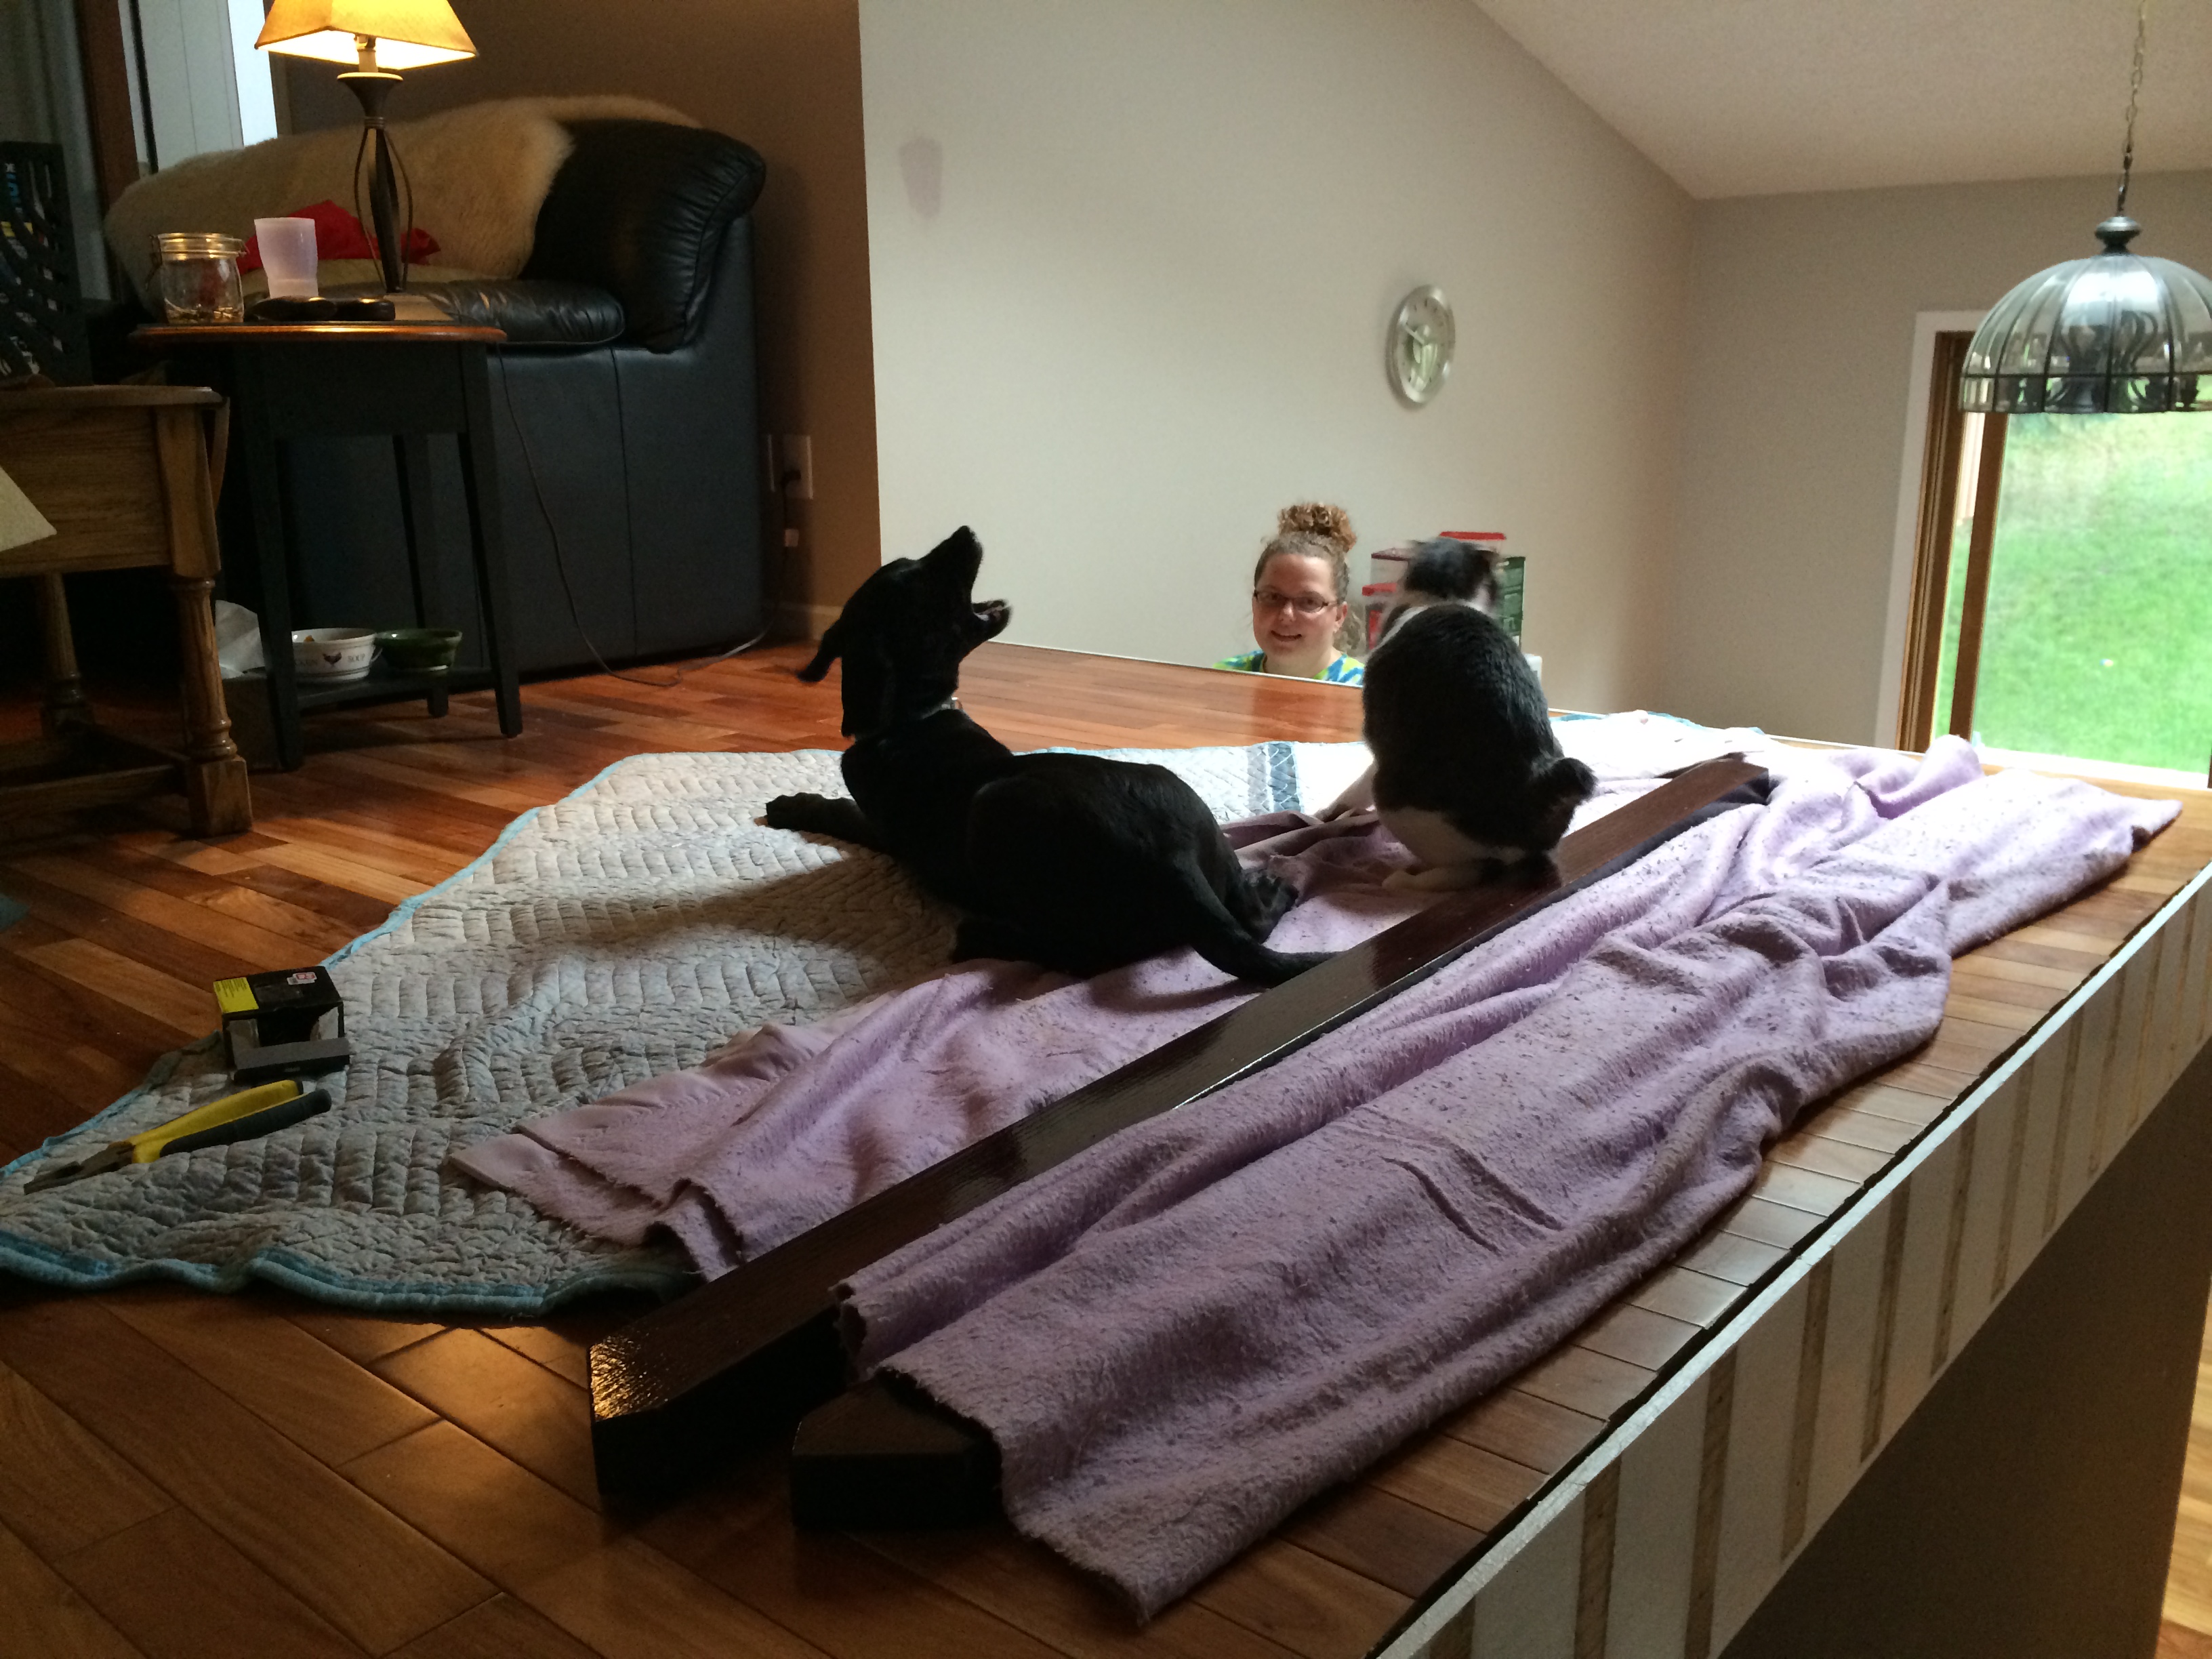
After we had all of the uprights removed, Winnie and Robert enjoyed some play time in the living room.
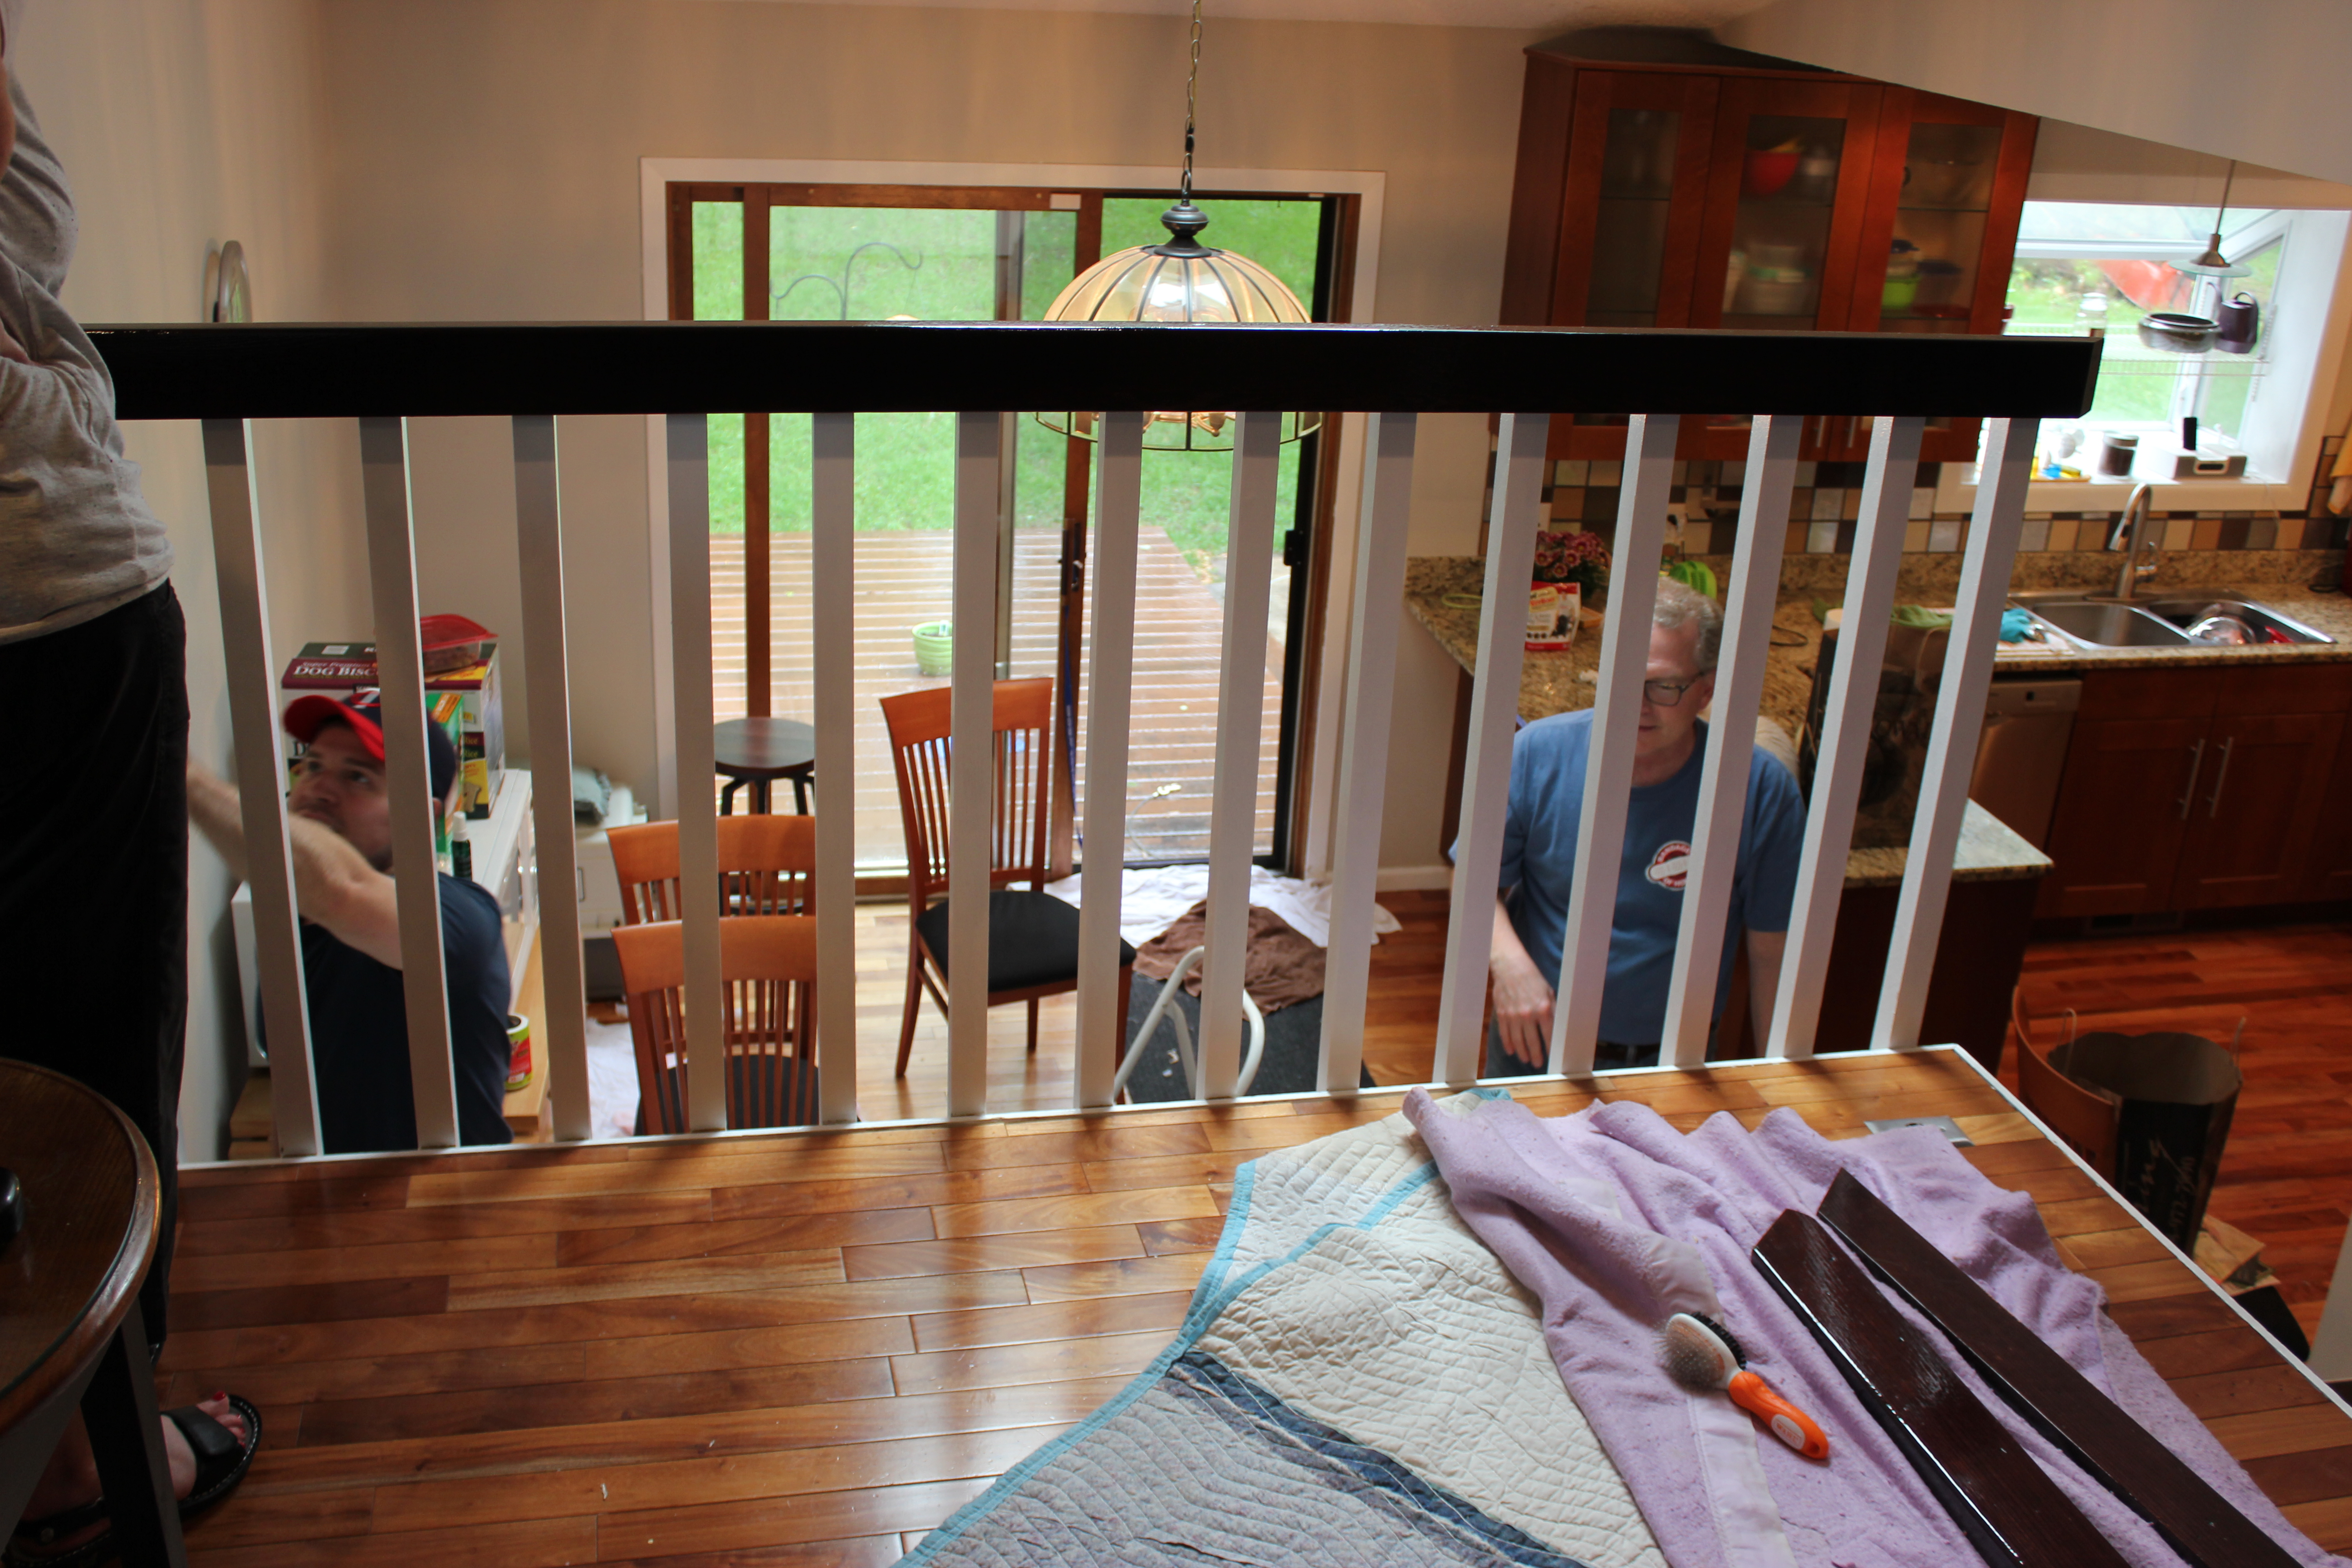
We had some help securing the finished sections into place. Sara’s parents and brother came up for the afternoon to lend a hand. They helped hold the sections while I nailed them in.
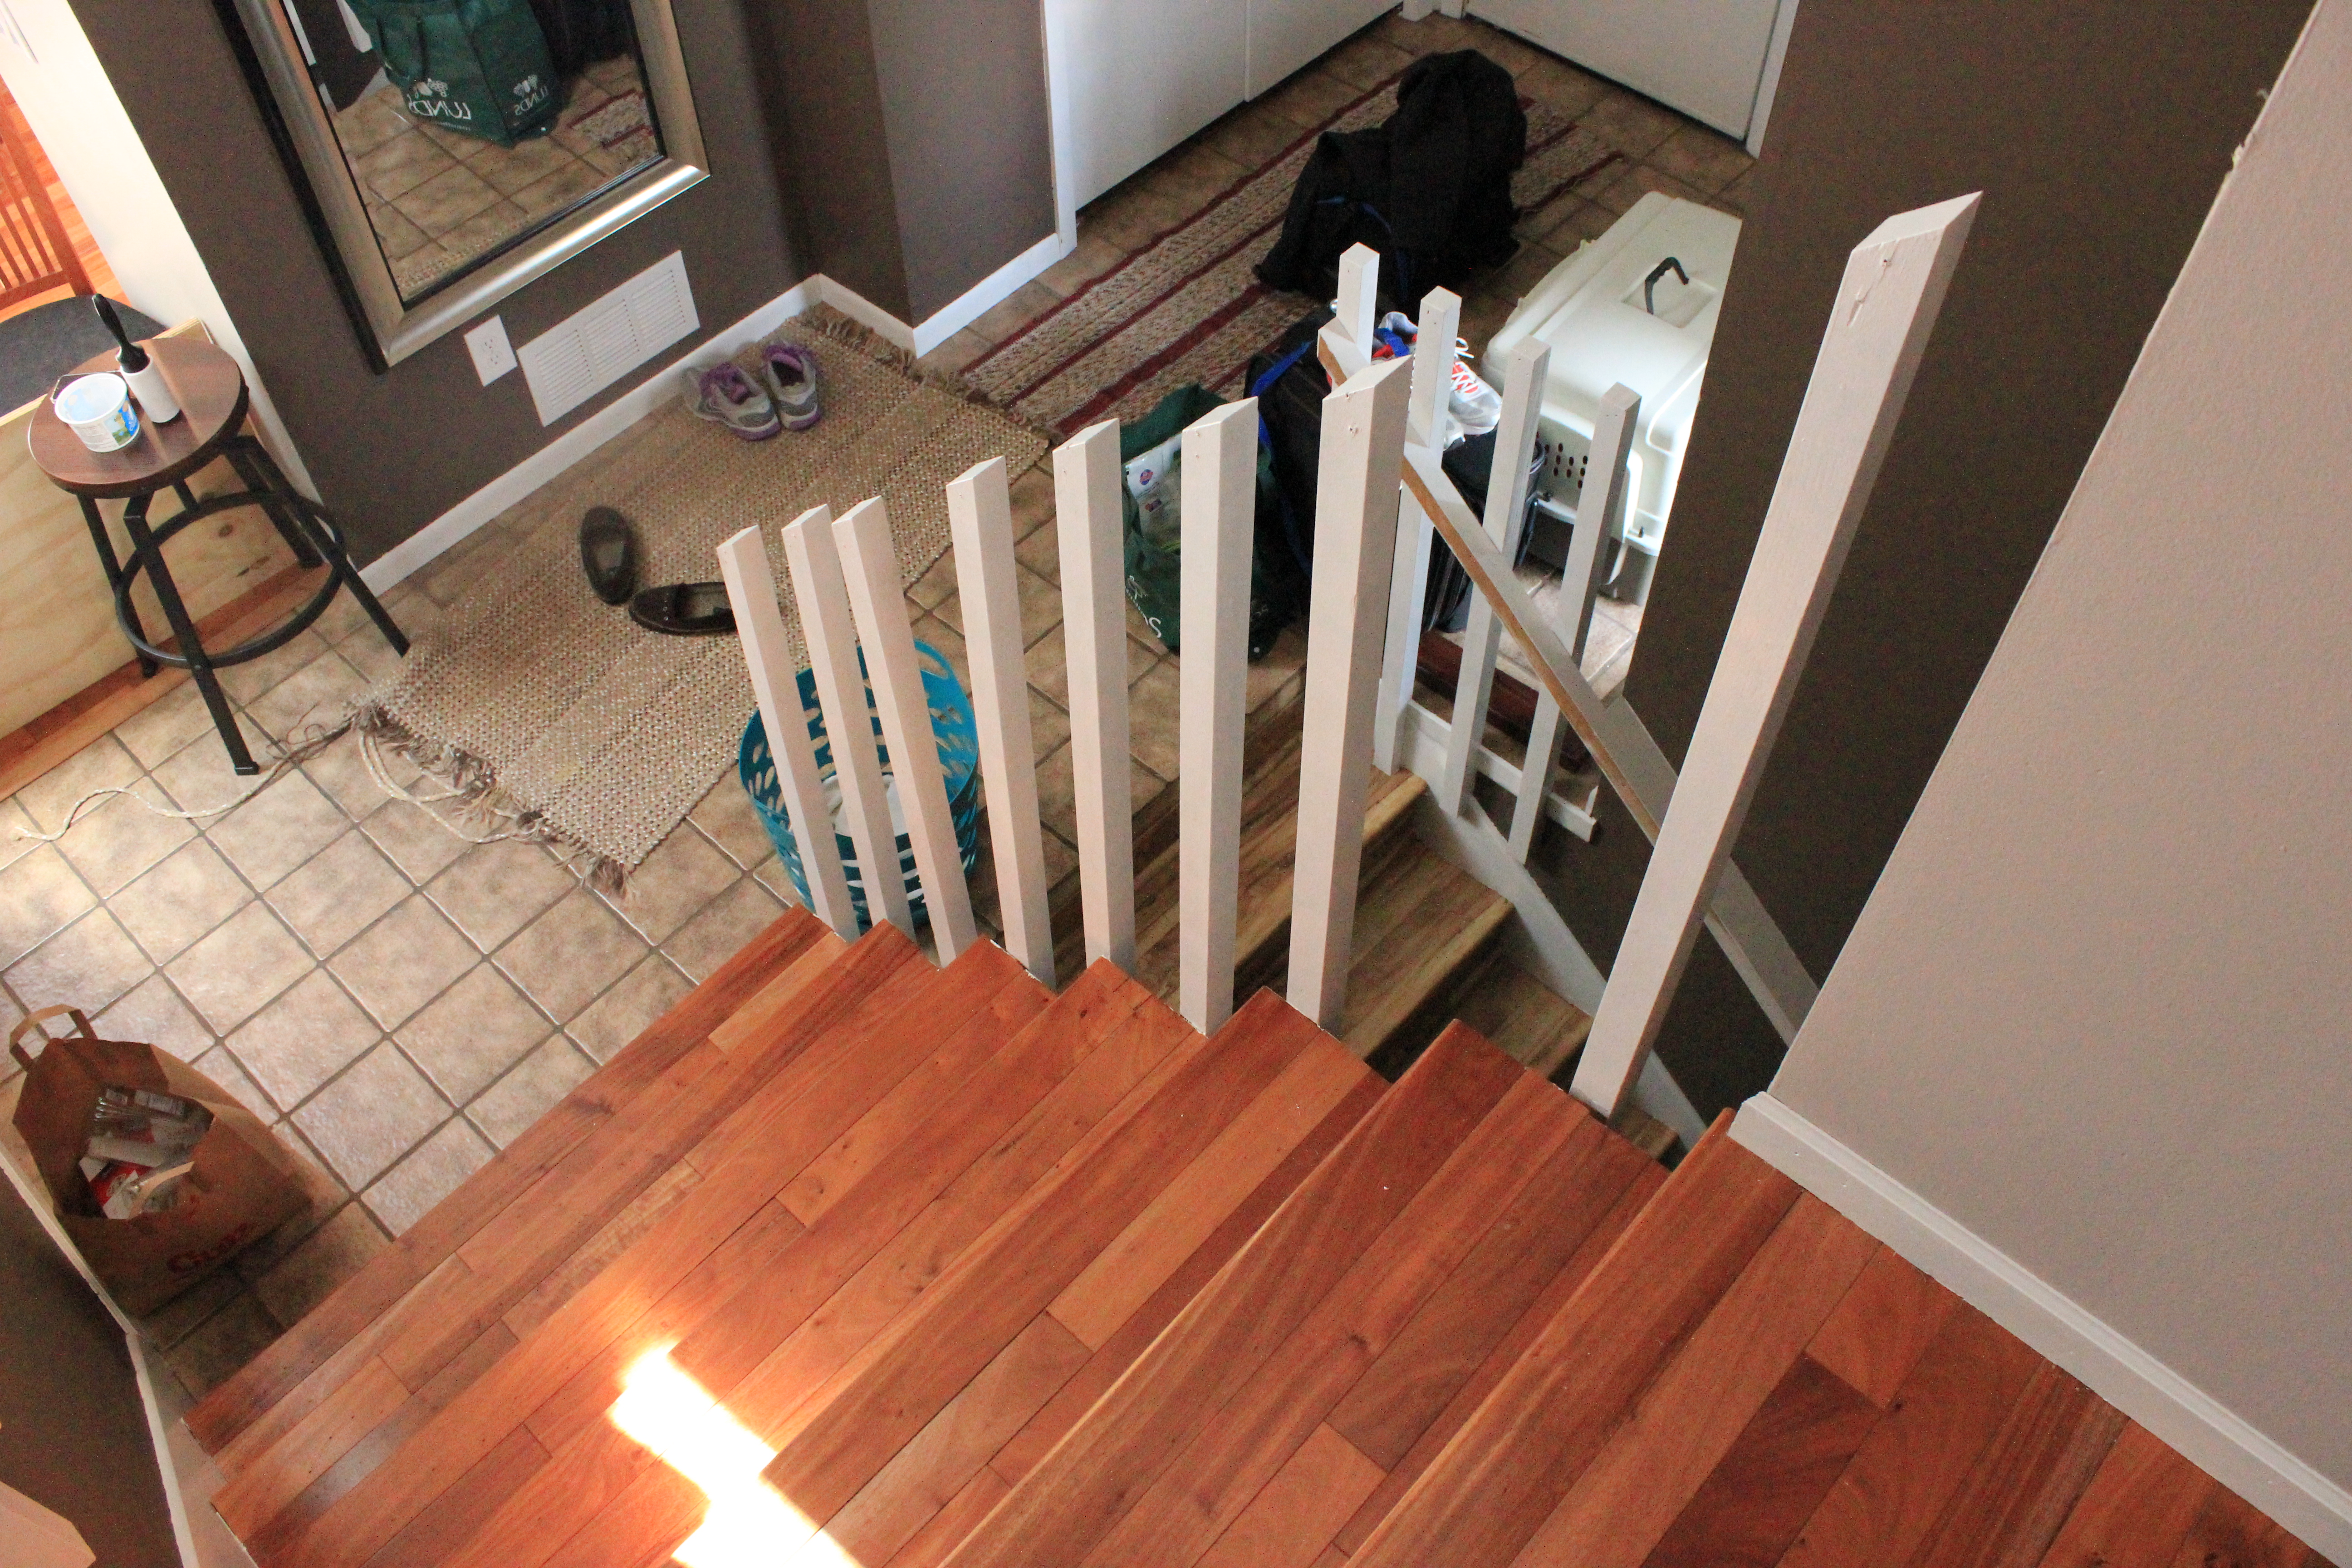
After the banister on the top was in place, we were left with the ugly problem of cutting a piece of wood to cover the hardwood floor the previous homeowner put on the stairs. If you look closely at the picture below, you can see the edges of the hardwood are exposed.
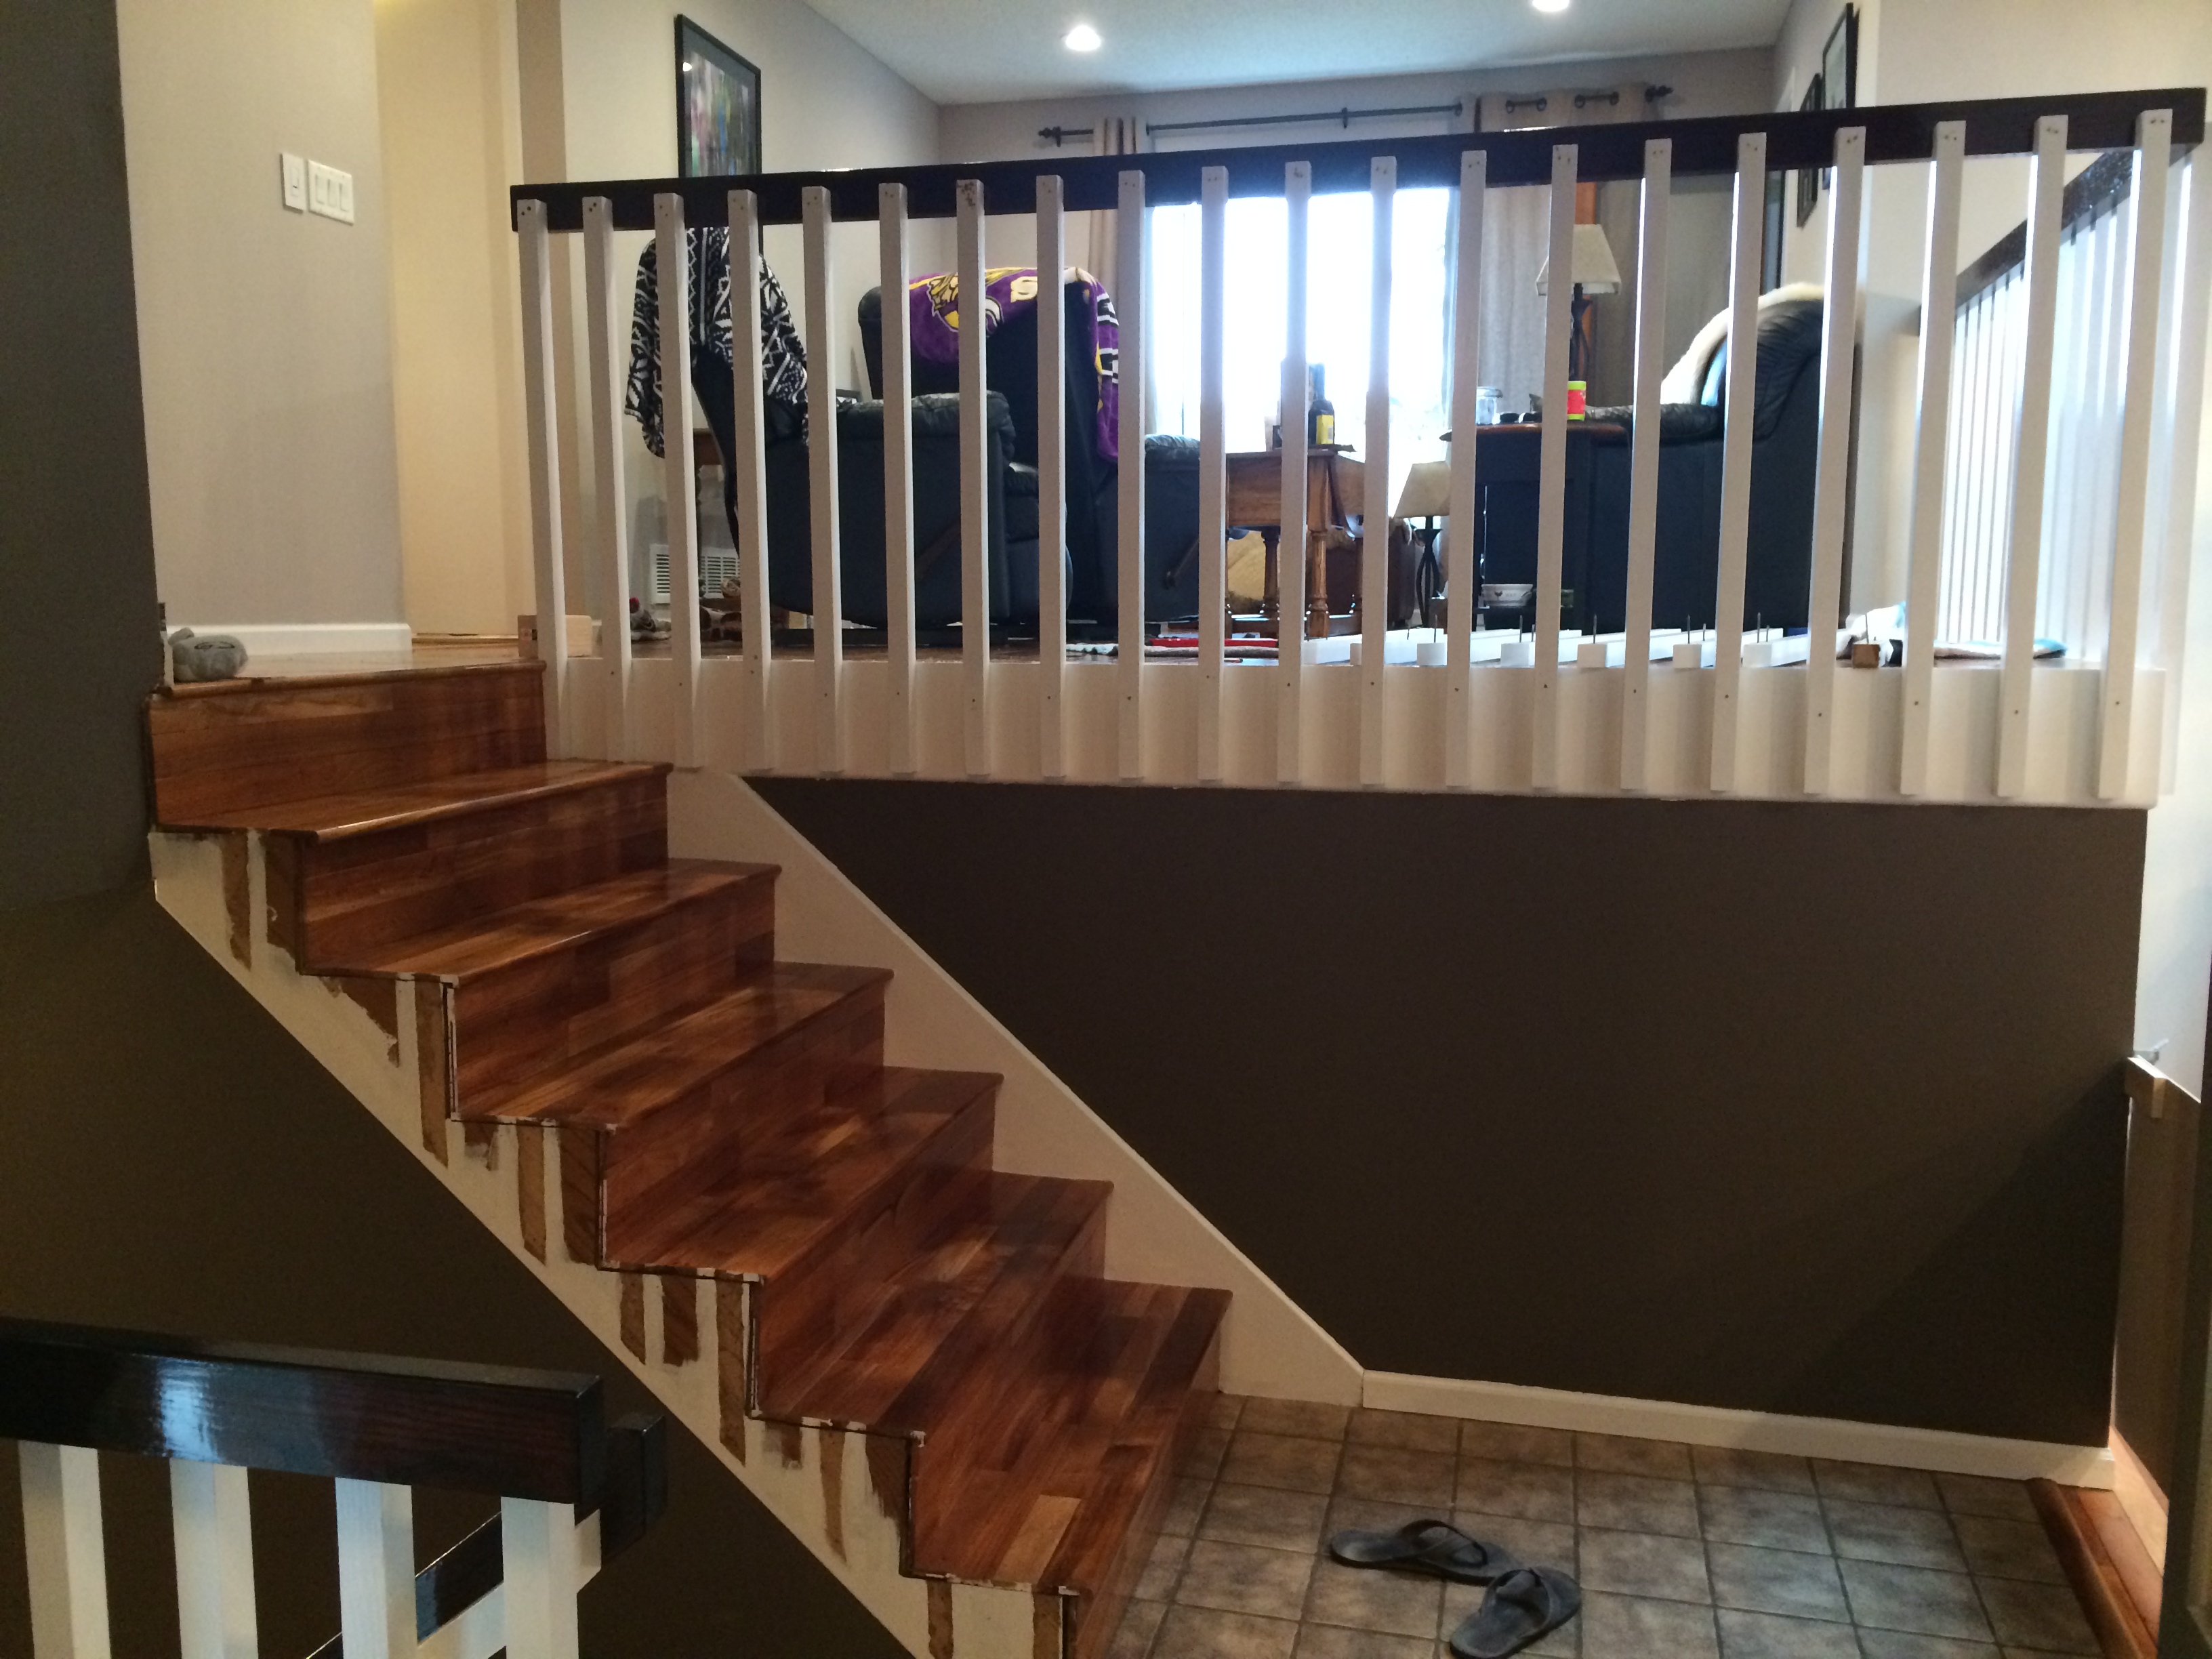
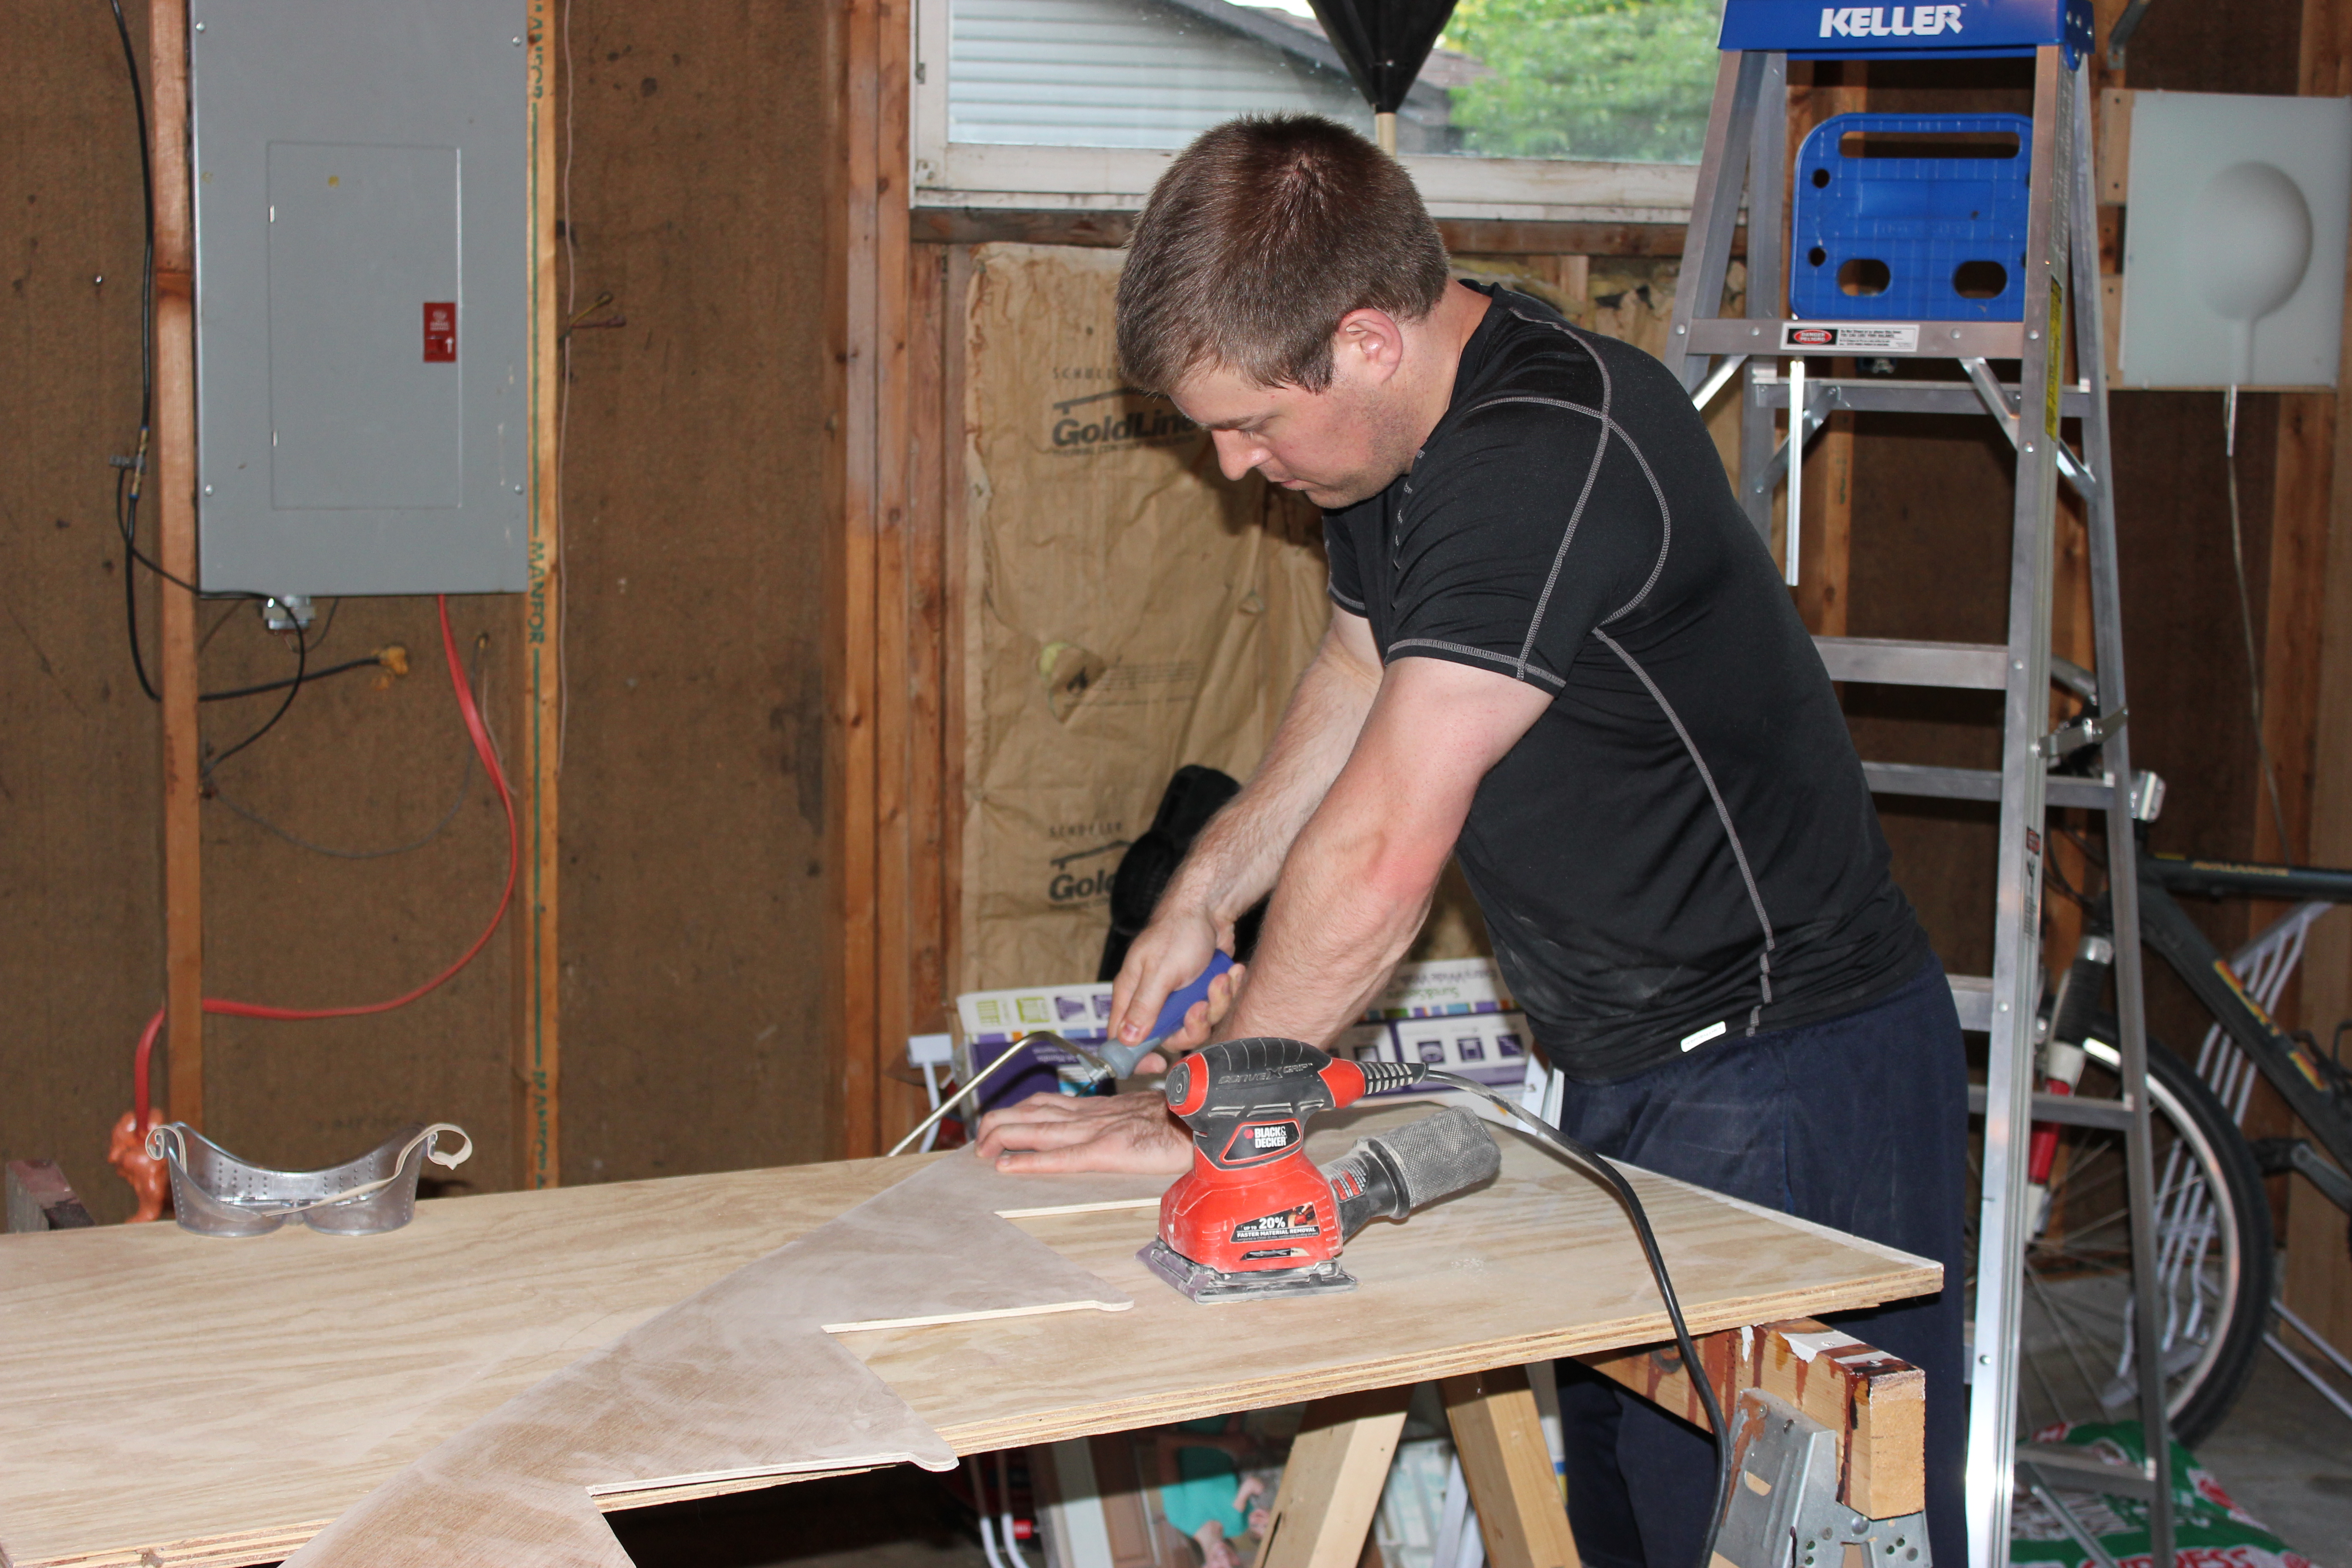
I measured a bunch of times then cut out a piece of 1/8″ plywood underlayment. I had to use a coping saw and cut it by hand because the wood was so thin that it would shake apart if I used an electric jig saw.
Cutting the wood by hand, there were imperfections, which I sanded down.
After several rounds of holding the wood in place, marking it and sanding more off, it was ready to be nailed into place. This means nail gun time!

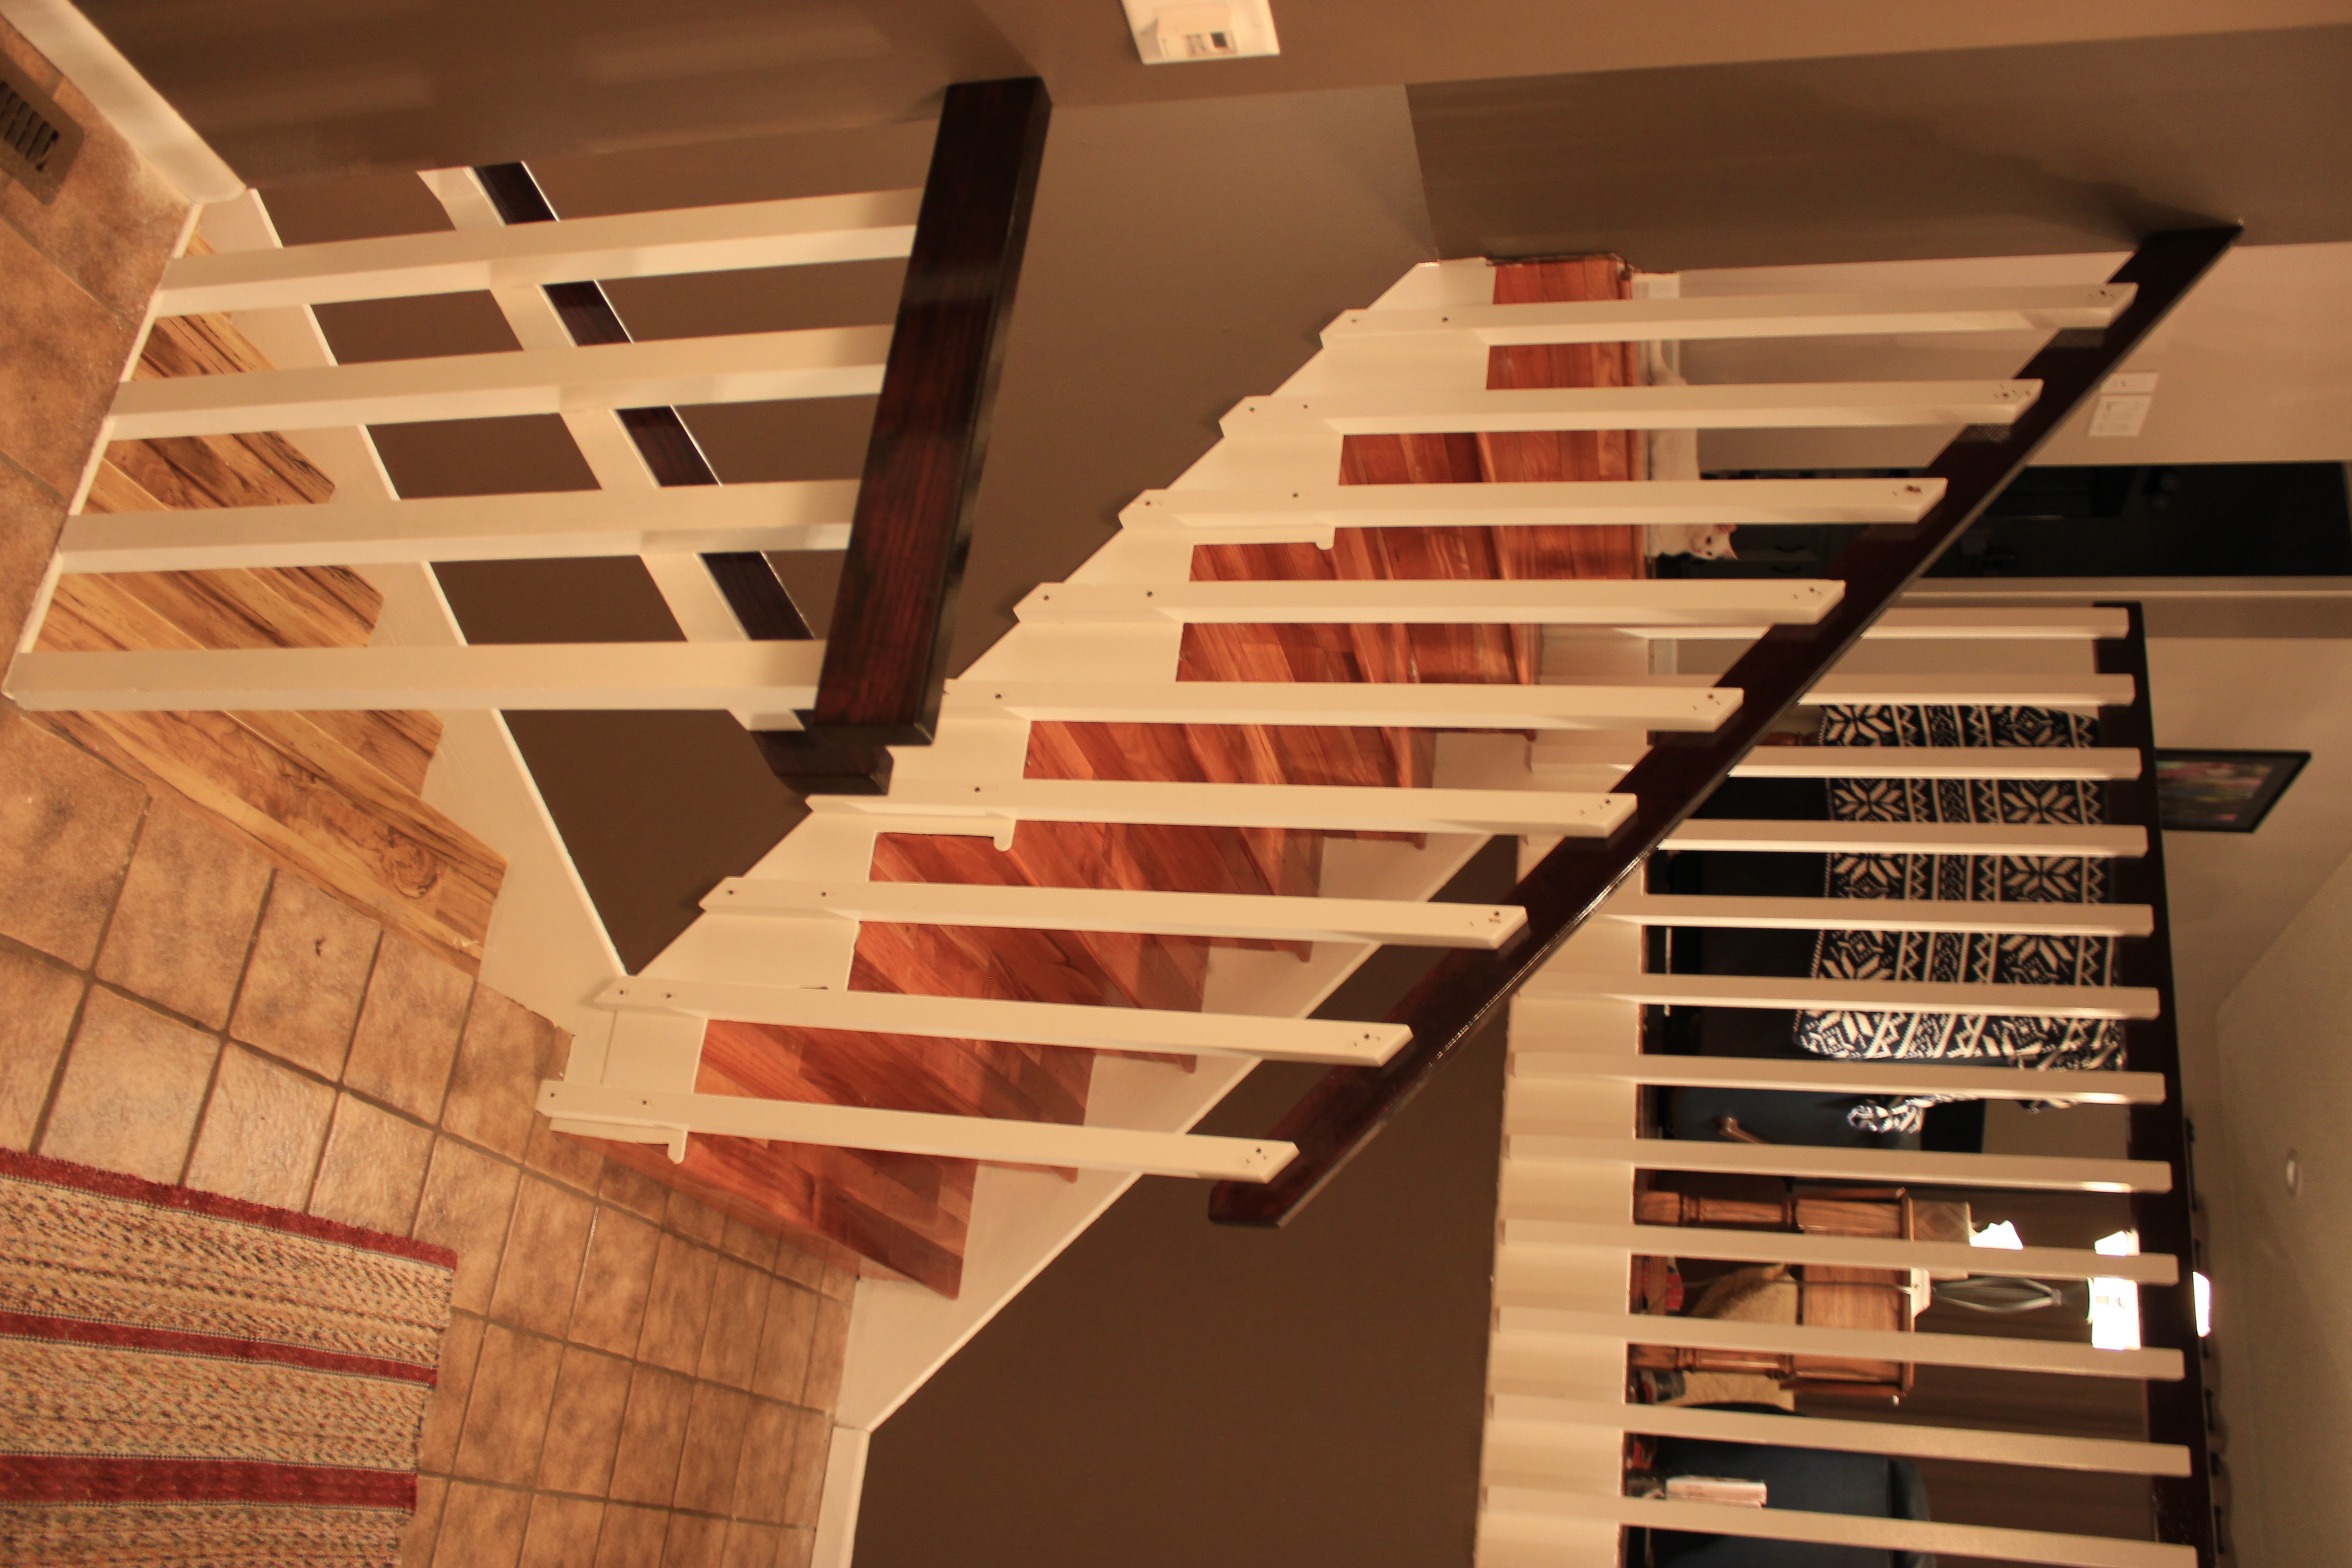
I pained the new piece of wood white then secured the banister the same as I did with the others.
I used a combination of nails and screws to hold the uprights to the railing. I used screws where I thought it needed some extra strength. But this left a big problem: Ugly holes all over the banister.
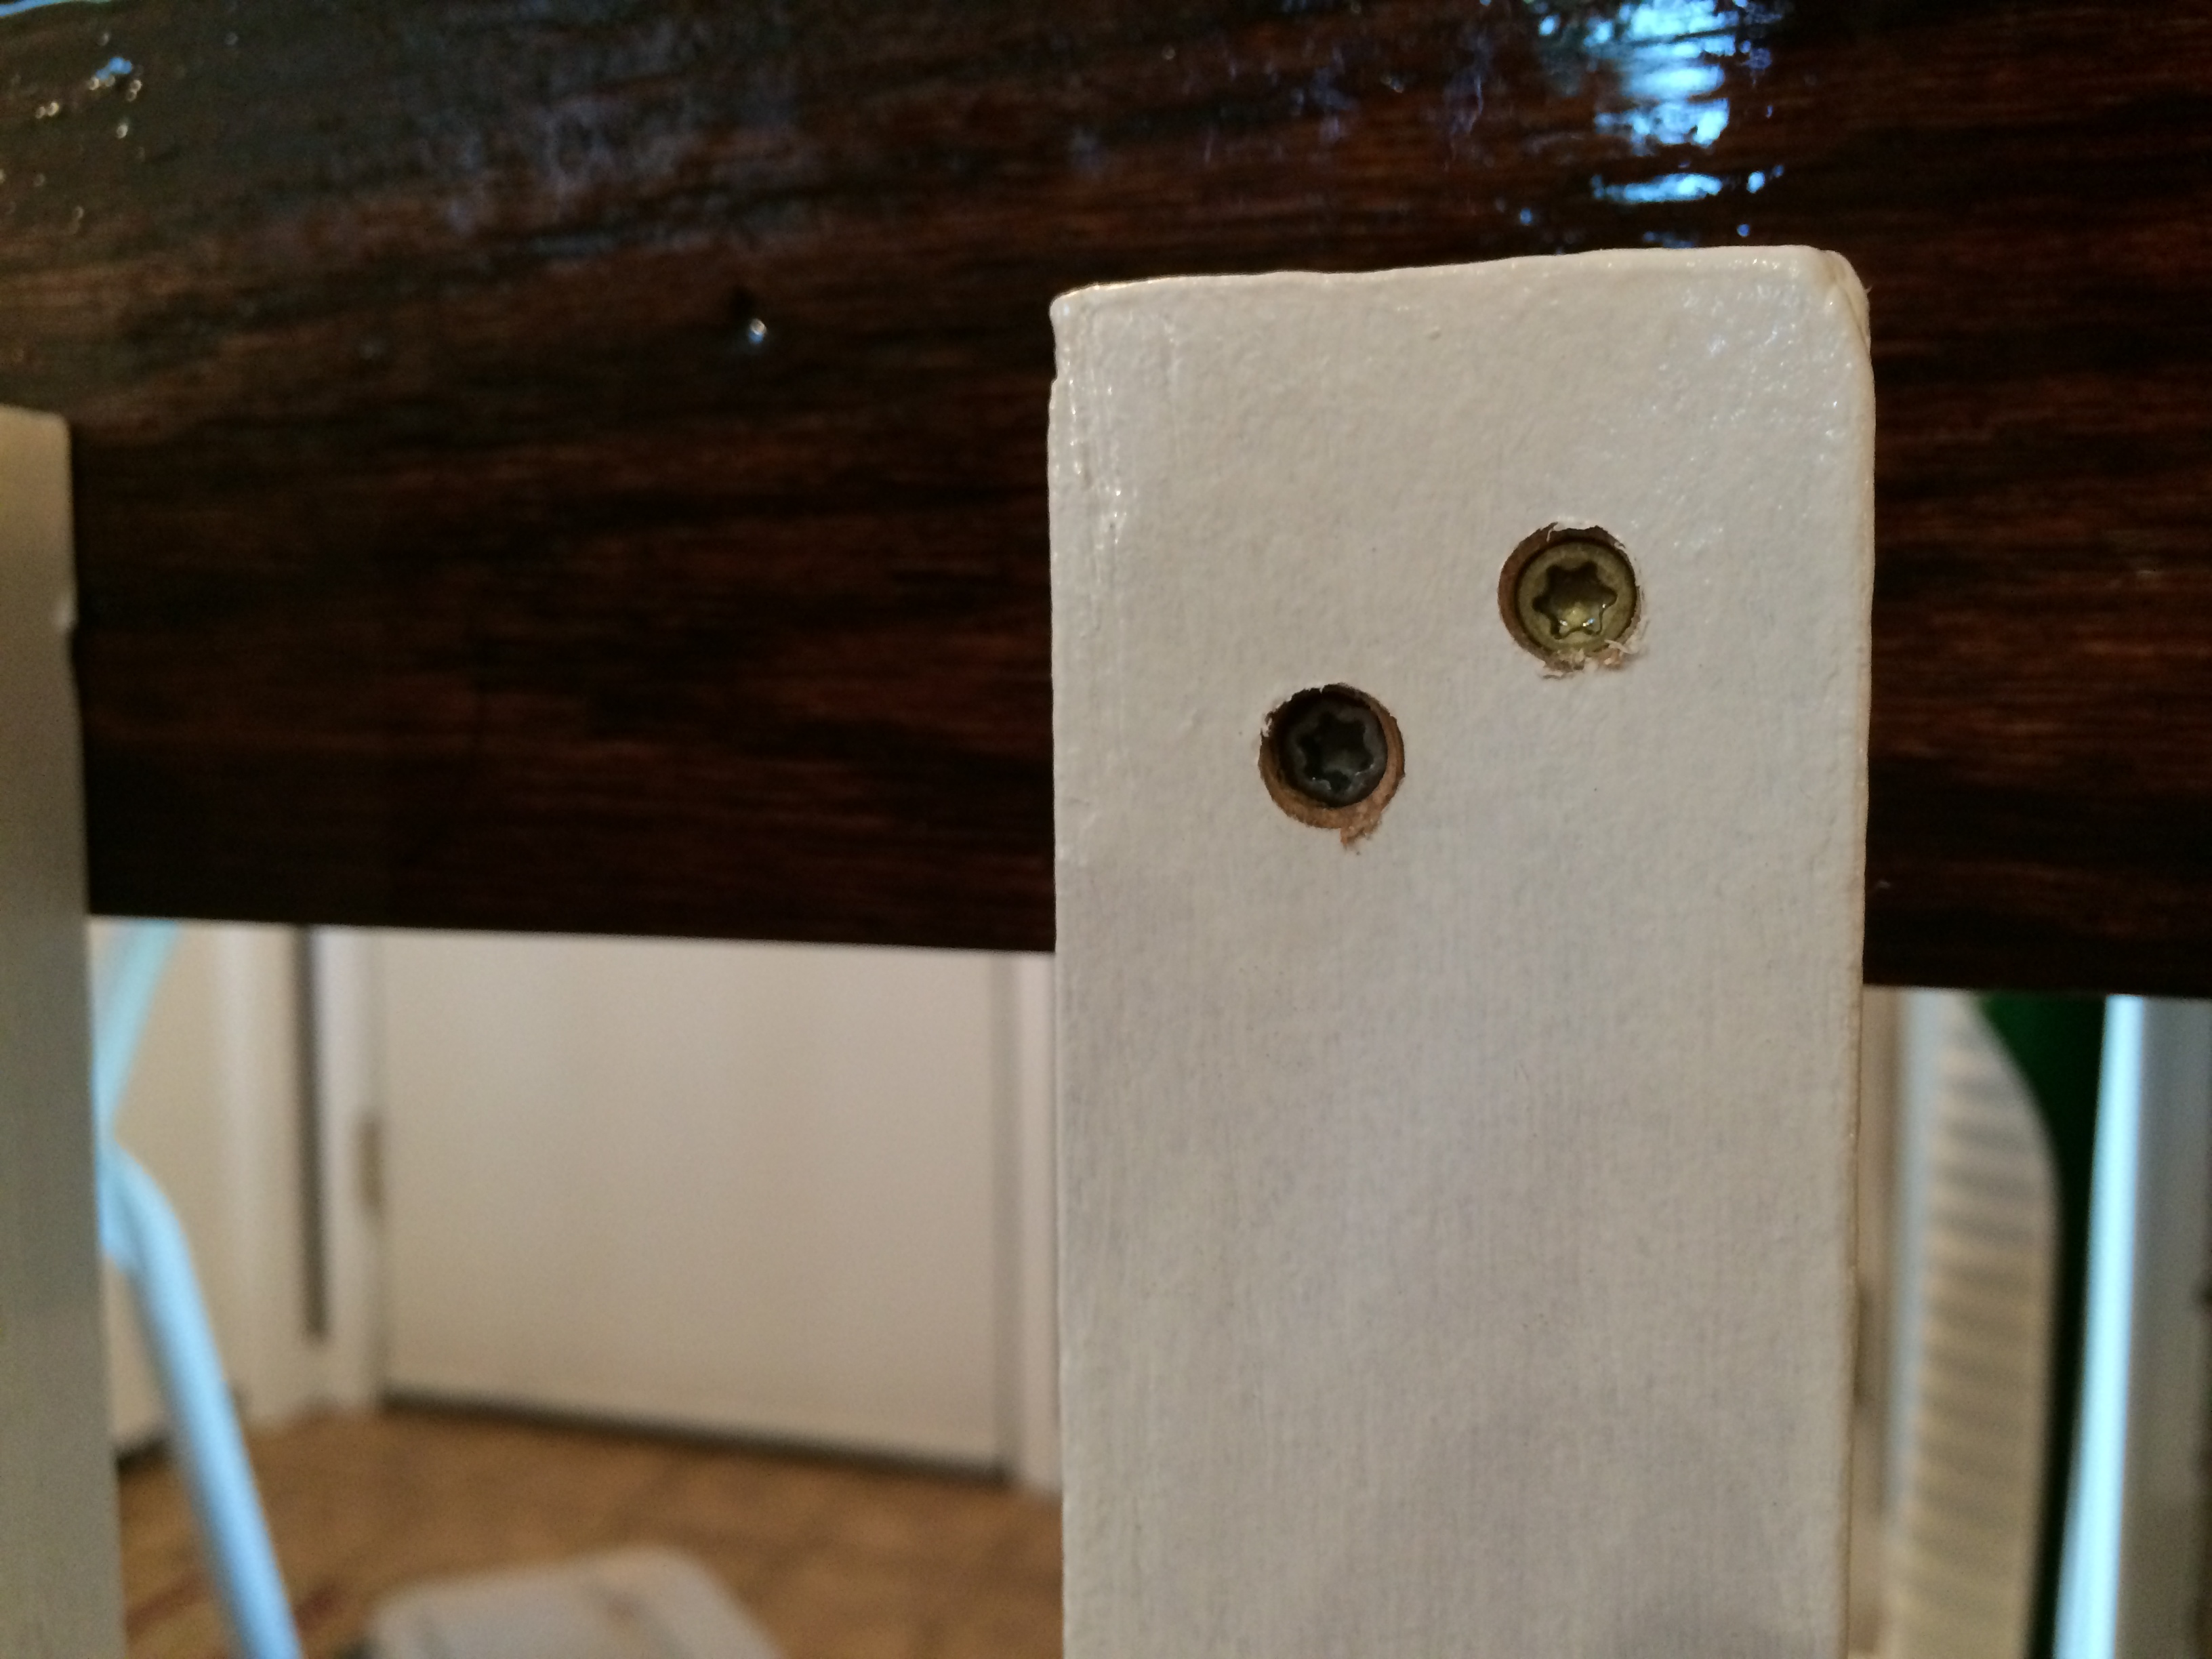
Some Elmer’s wood filler was just the trick. I added more than I needed, then sanded away the excess and painted again.

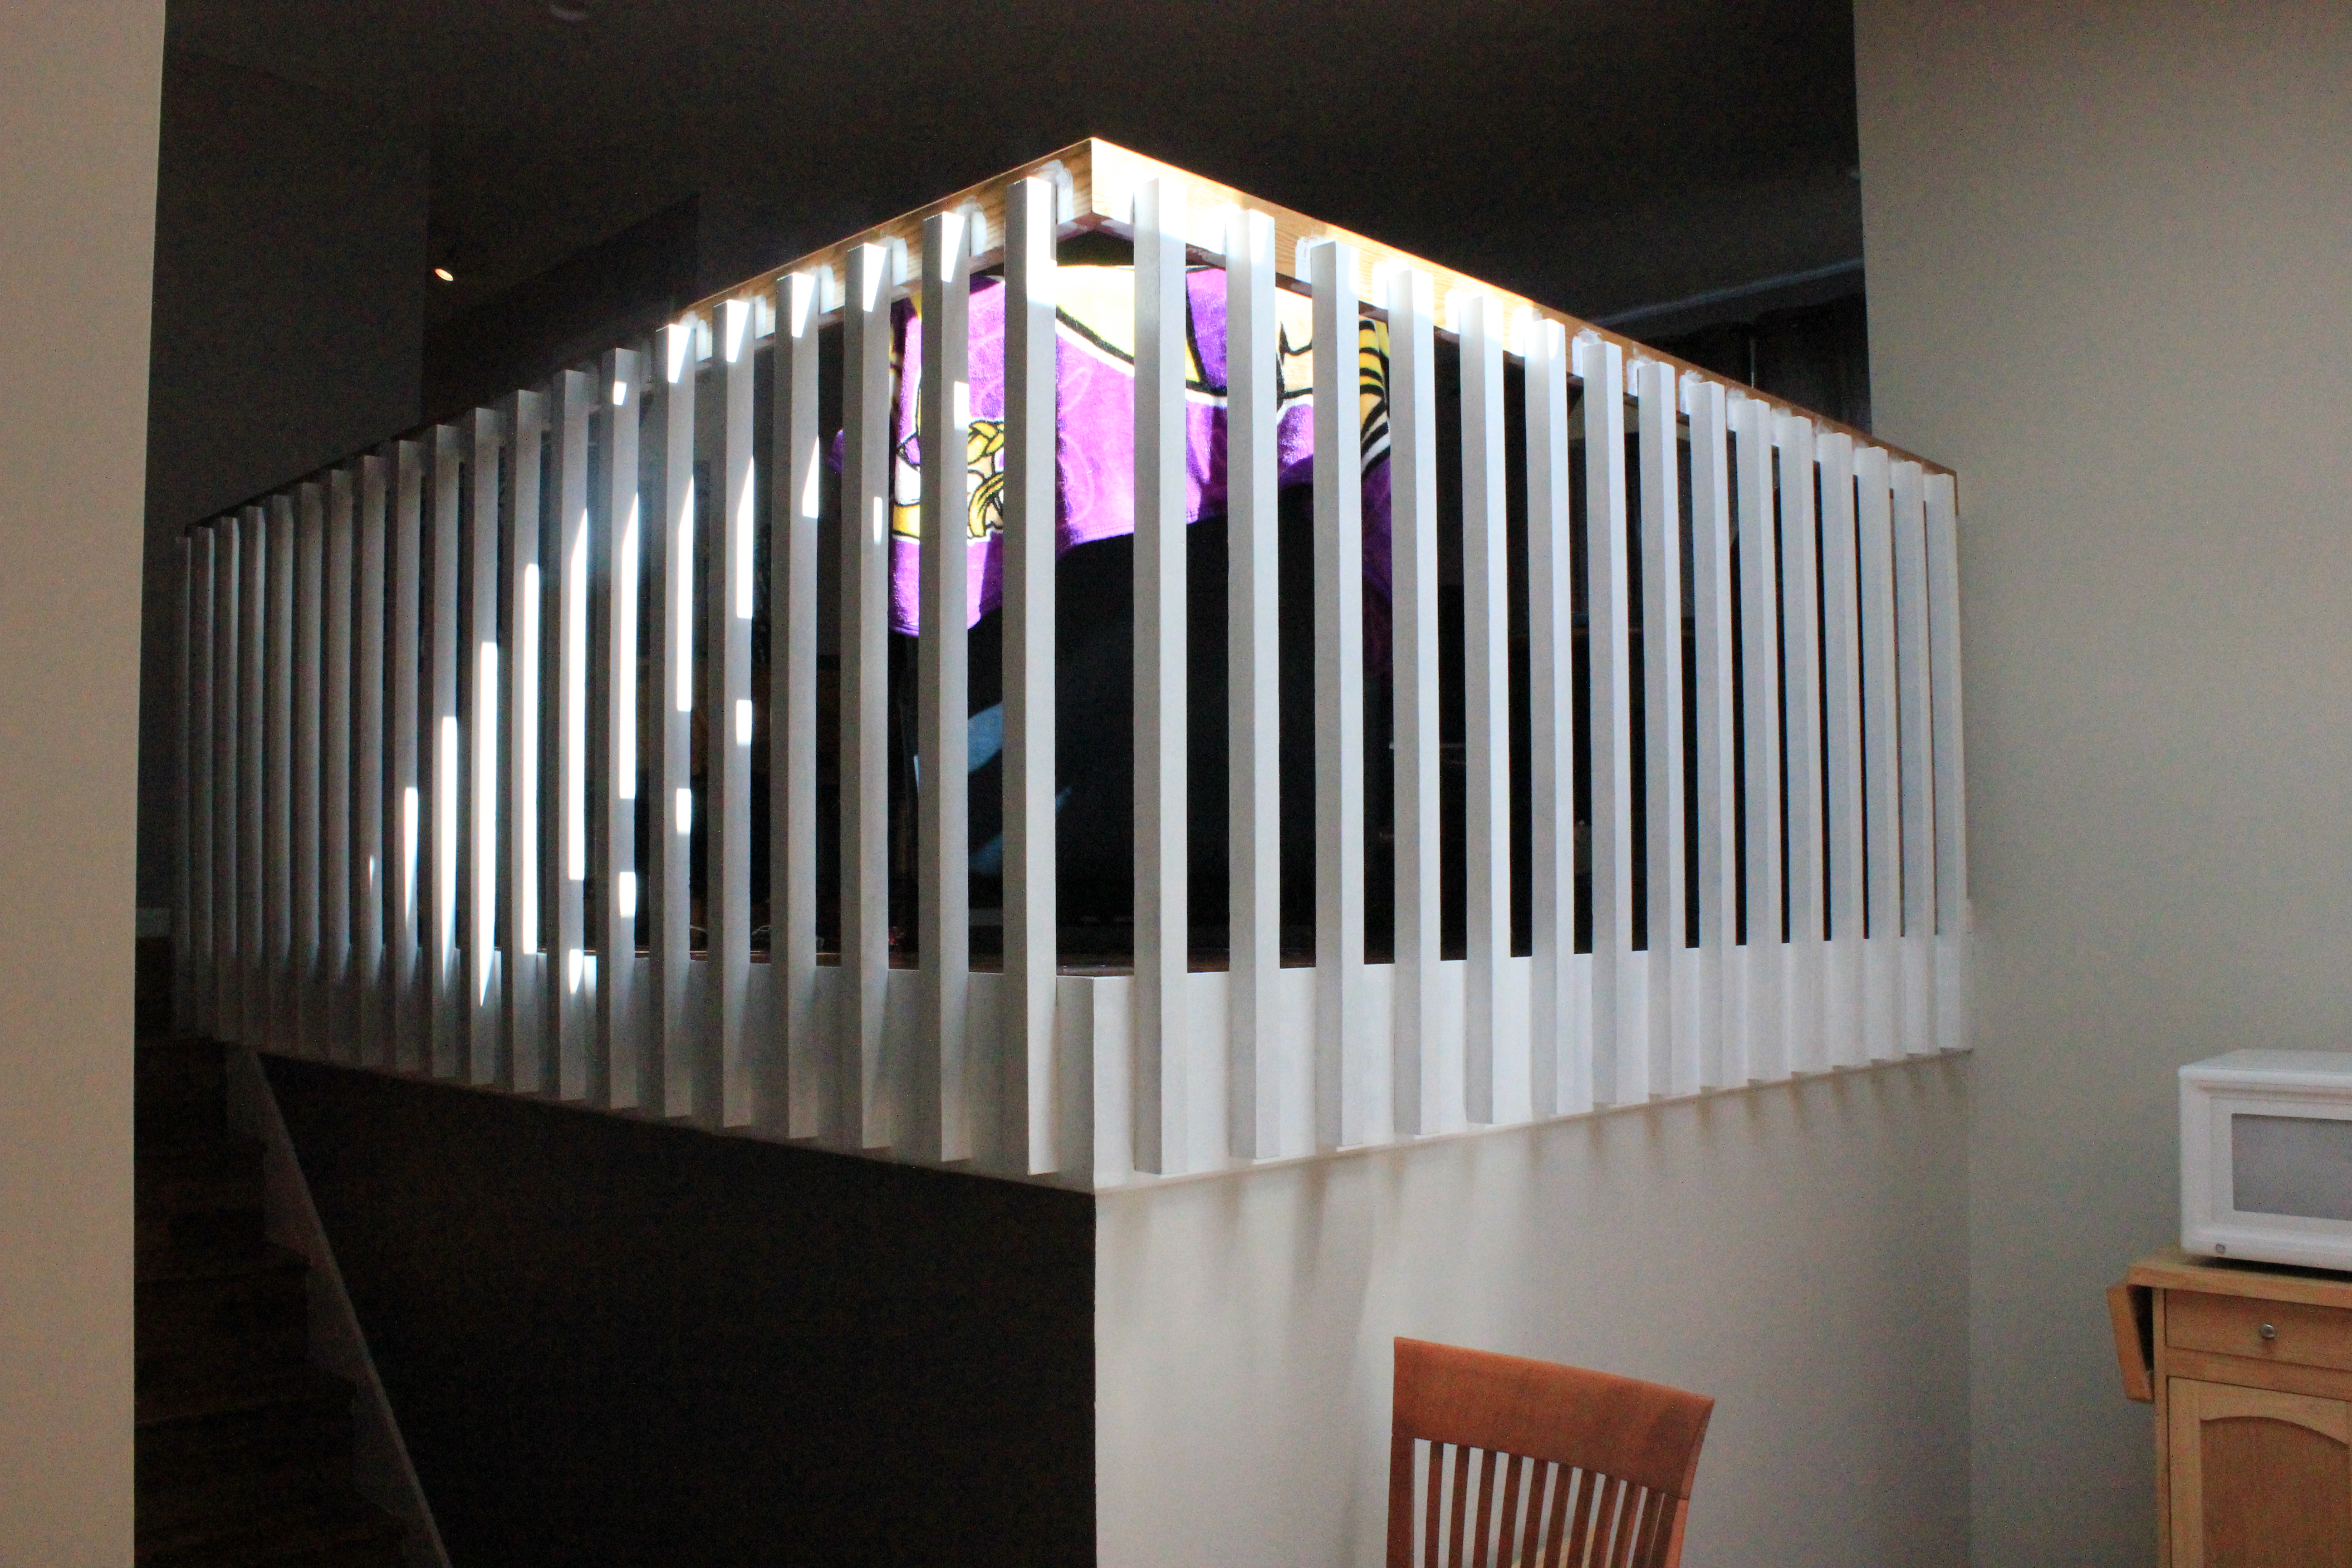
The finished product!
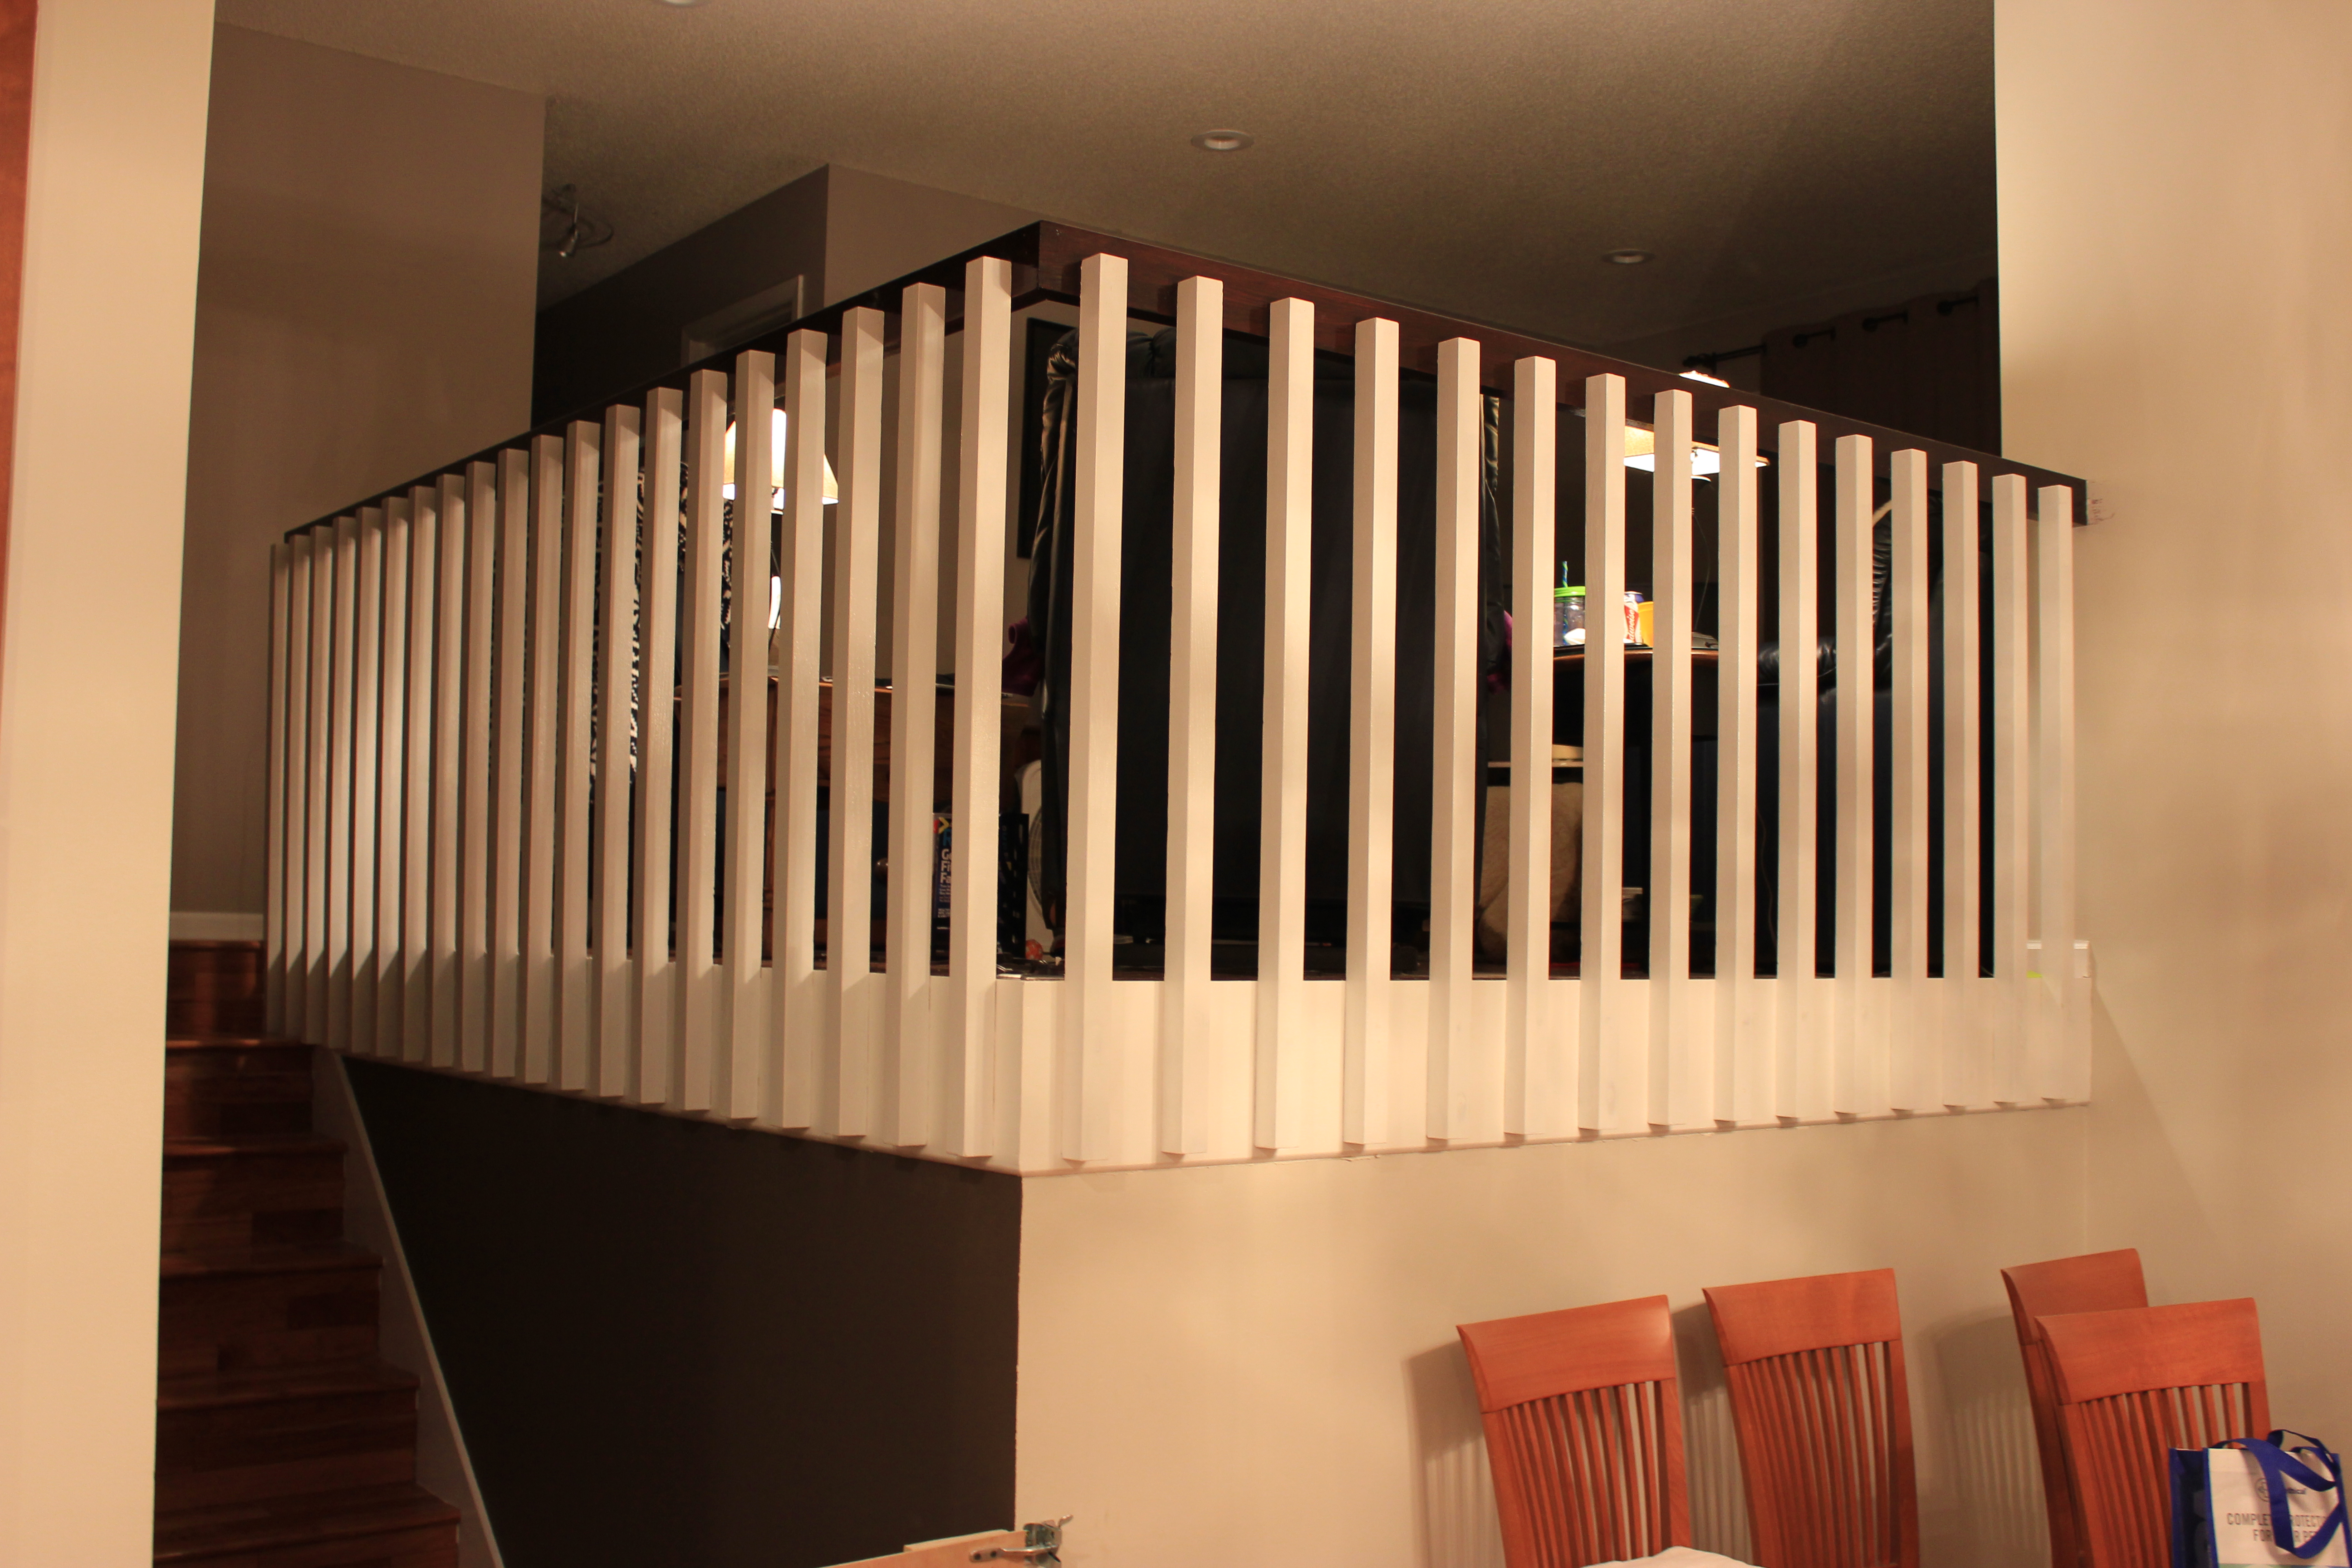
Tada!
Winnie now has a beautiful banister to look at when she terrorizes our kitchen.