This home has provided many landscaping opportunities. However, before we can start to add some beauty to the front of the home, we had to demo, of course! Luckily my husband is a Demo Master (not to be confused with Dojo Master), and has no problem with this destruction process!
On our third weekend living in the new house, Mike’s best man from our wedding, Chris and his girlfriend Tara, came up to visit. Knowing that Mike had just purchased a chainsaw earlier that week, I pretty much knew that we would have a few missing trees by Monday. They started with the most obnoxious tree on the property, one right in the front yard, blocking half of the front of the house. Most of the trees and bushes came down easily with the chainsaw that we bought. The stumps, on the other hand… took an axe, pick axe, shovel, a lot of elbow grease, and a Jeep! Enjoy the photo transformation below. And I mentioned most of the greenery came down easily. You’ll see which one wasn’t so simple near the bottom (hint: ENORMOUS bush).
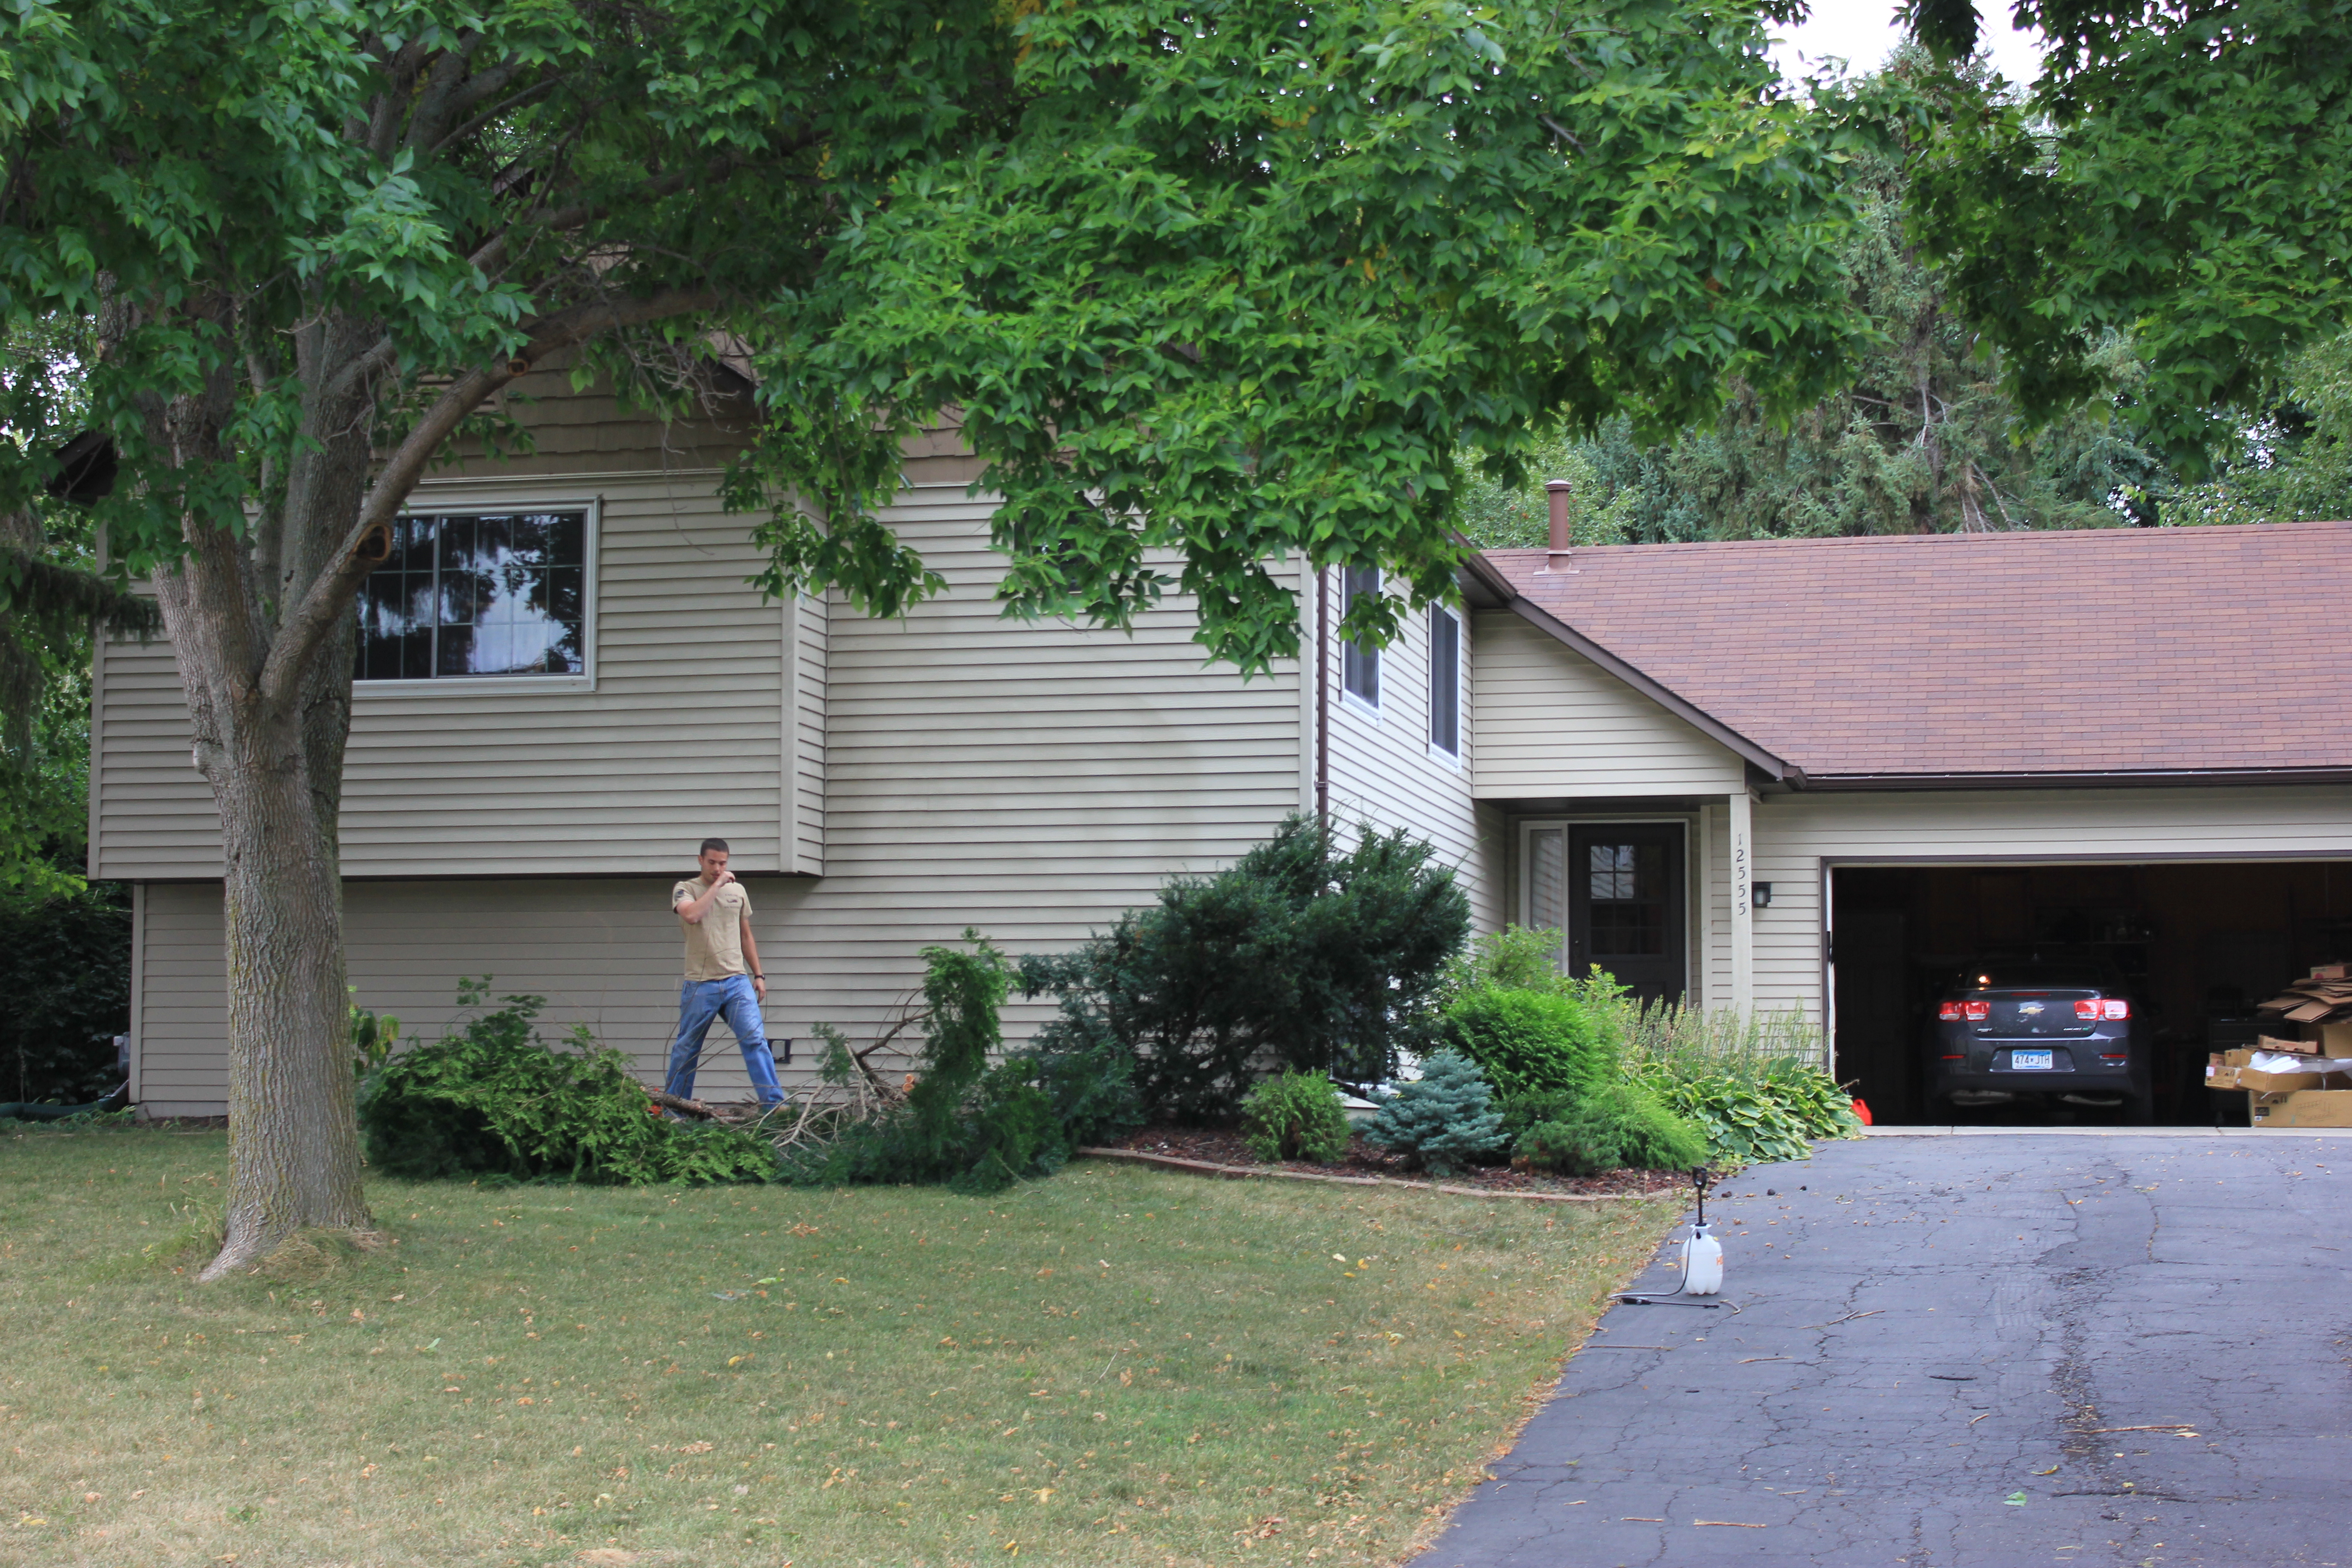
As you can see, we had a lot of overgrown plants.
This picture was taken just after Chris chopped down the giant tree (or overgrown bush) blocking the front of the house. Yeah!
Cutting it up into more manageable pieces.
Chris is surveying his work. Yeah Chainsaw!
Link to the Chainsaw we bought here.

The chainsaw is an Echo CS-400 that we bought at Home Depot. It works wonders and had fantastic reviews. We also got it for $100 off because it had been bought and returned (by the looks of it, someone used it to chop down one tree). You do have to put an oil mixture with the gas, which is very simple. Just one small bottle per gallon.
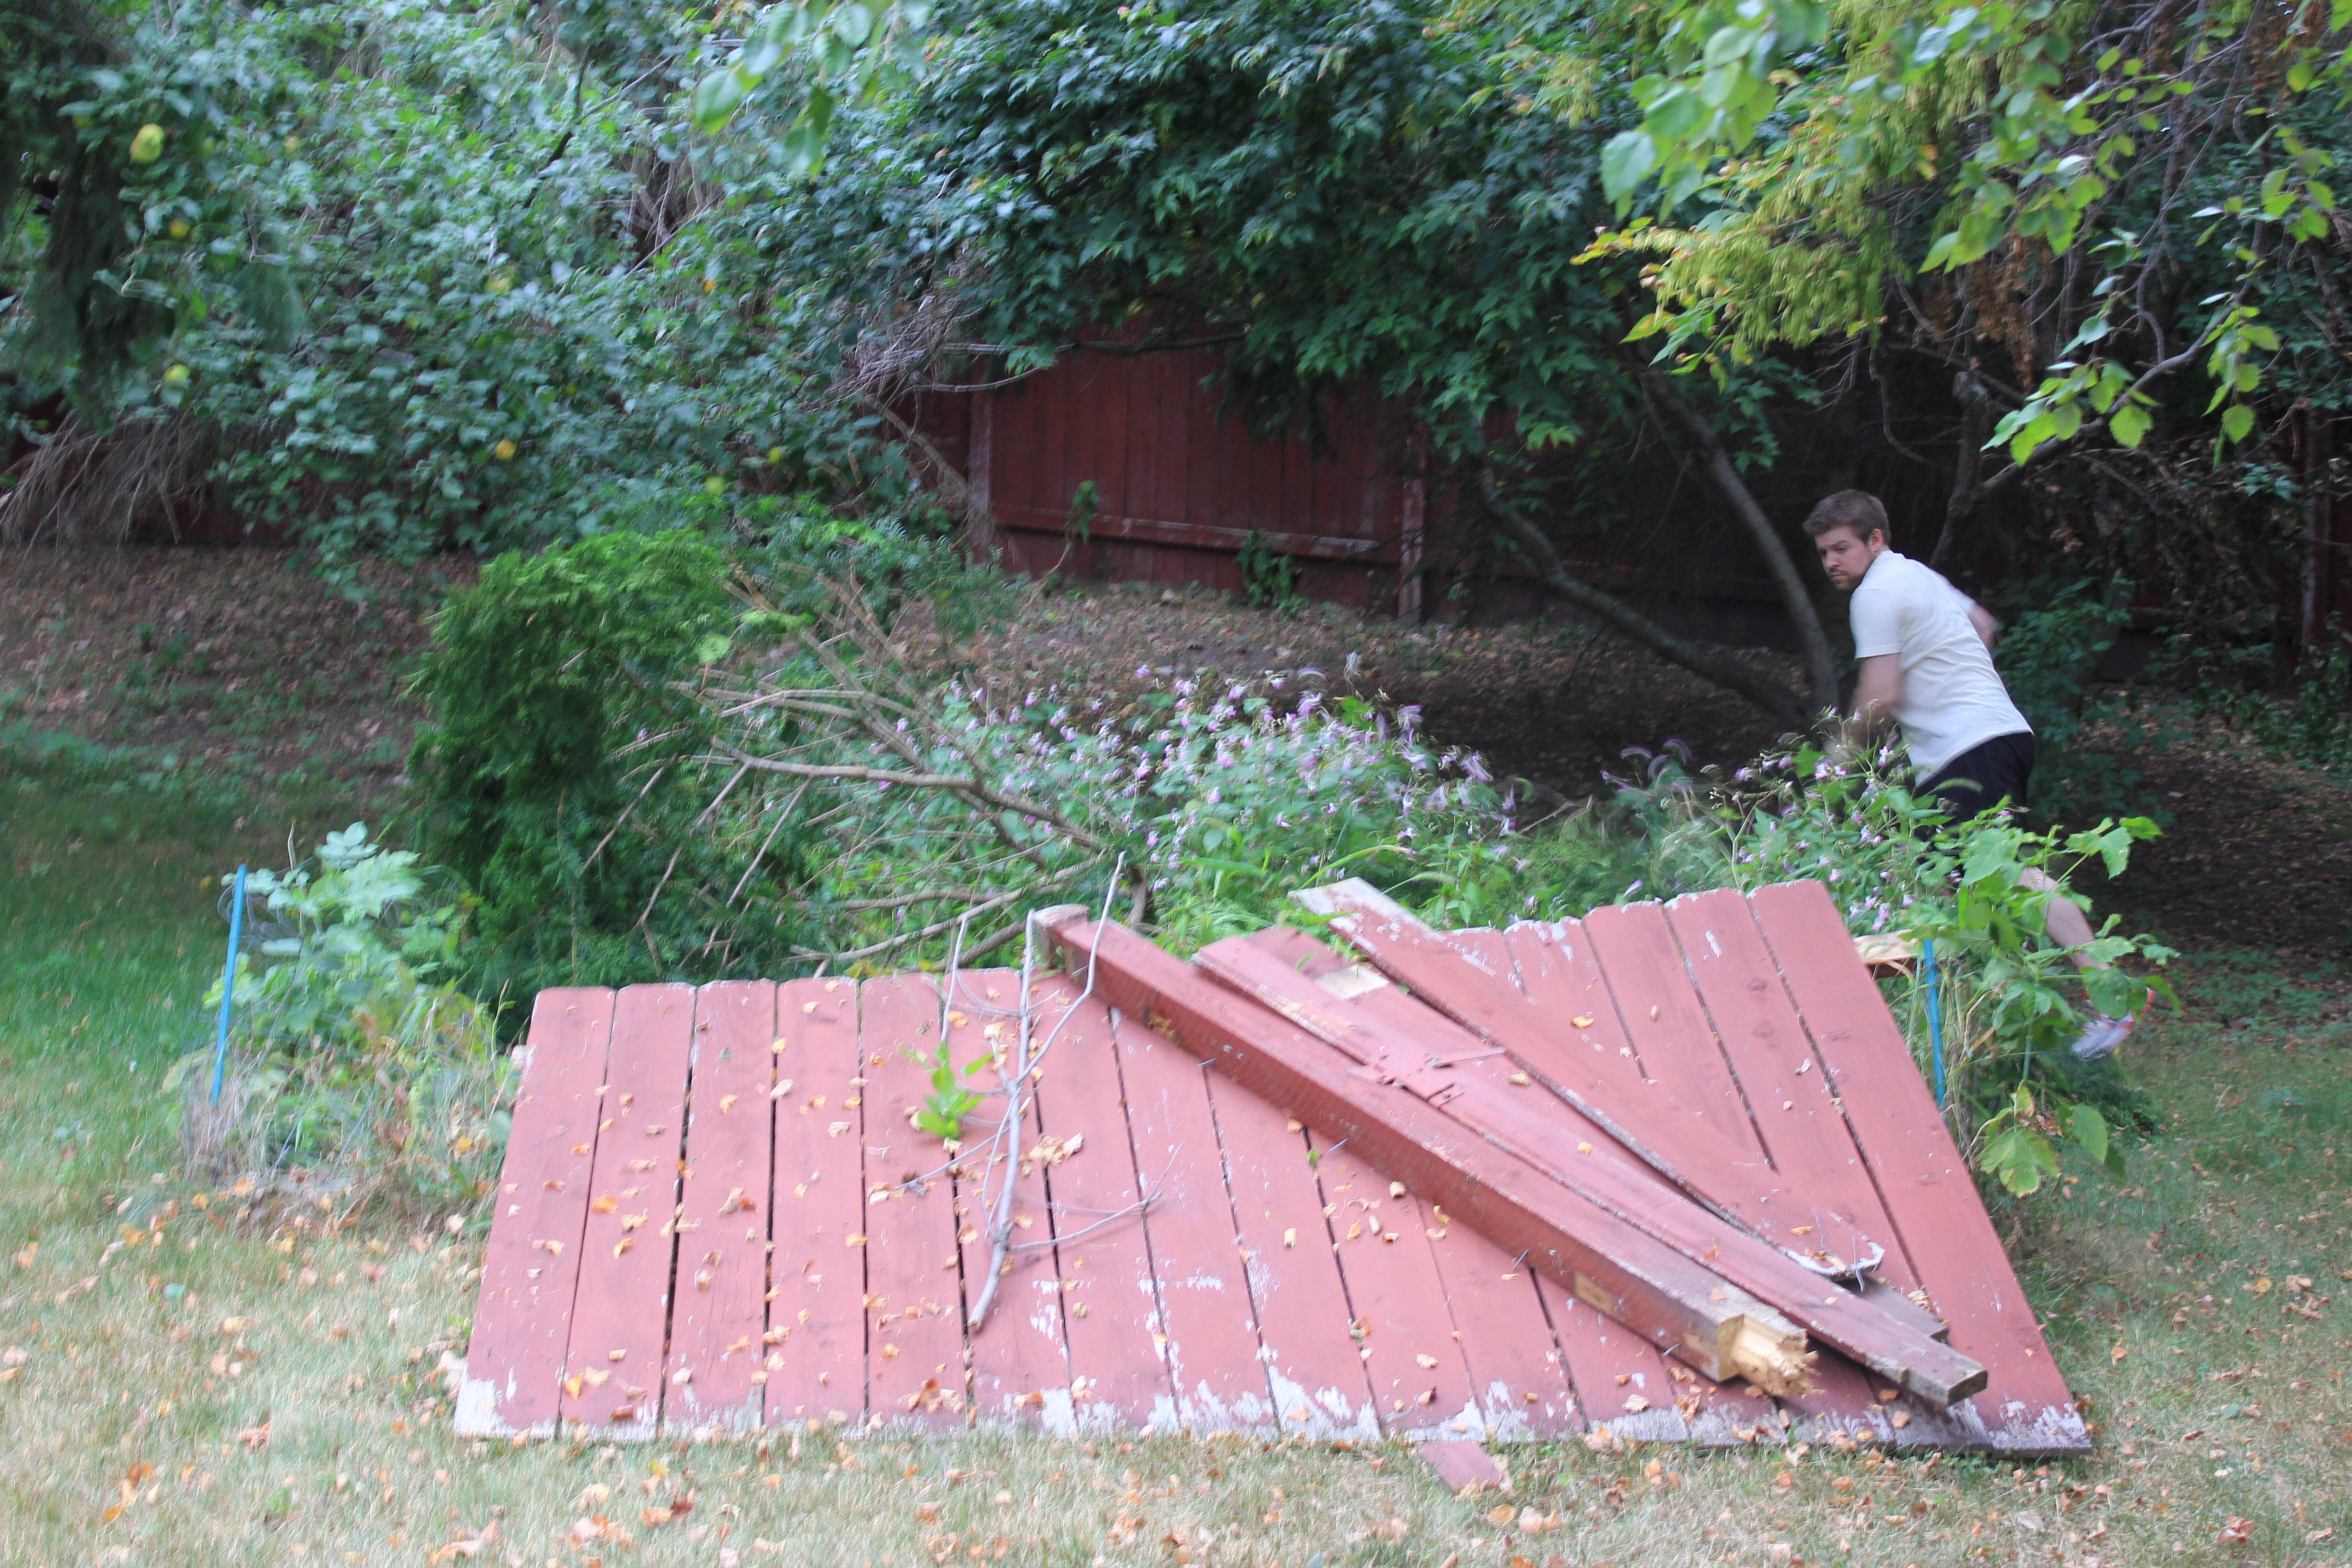
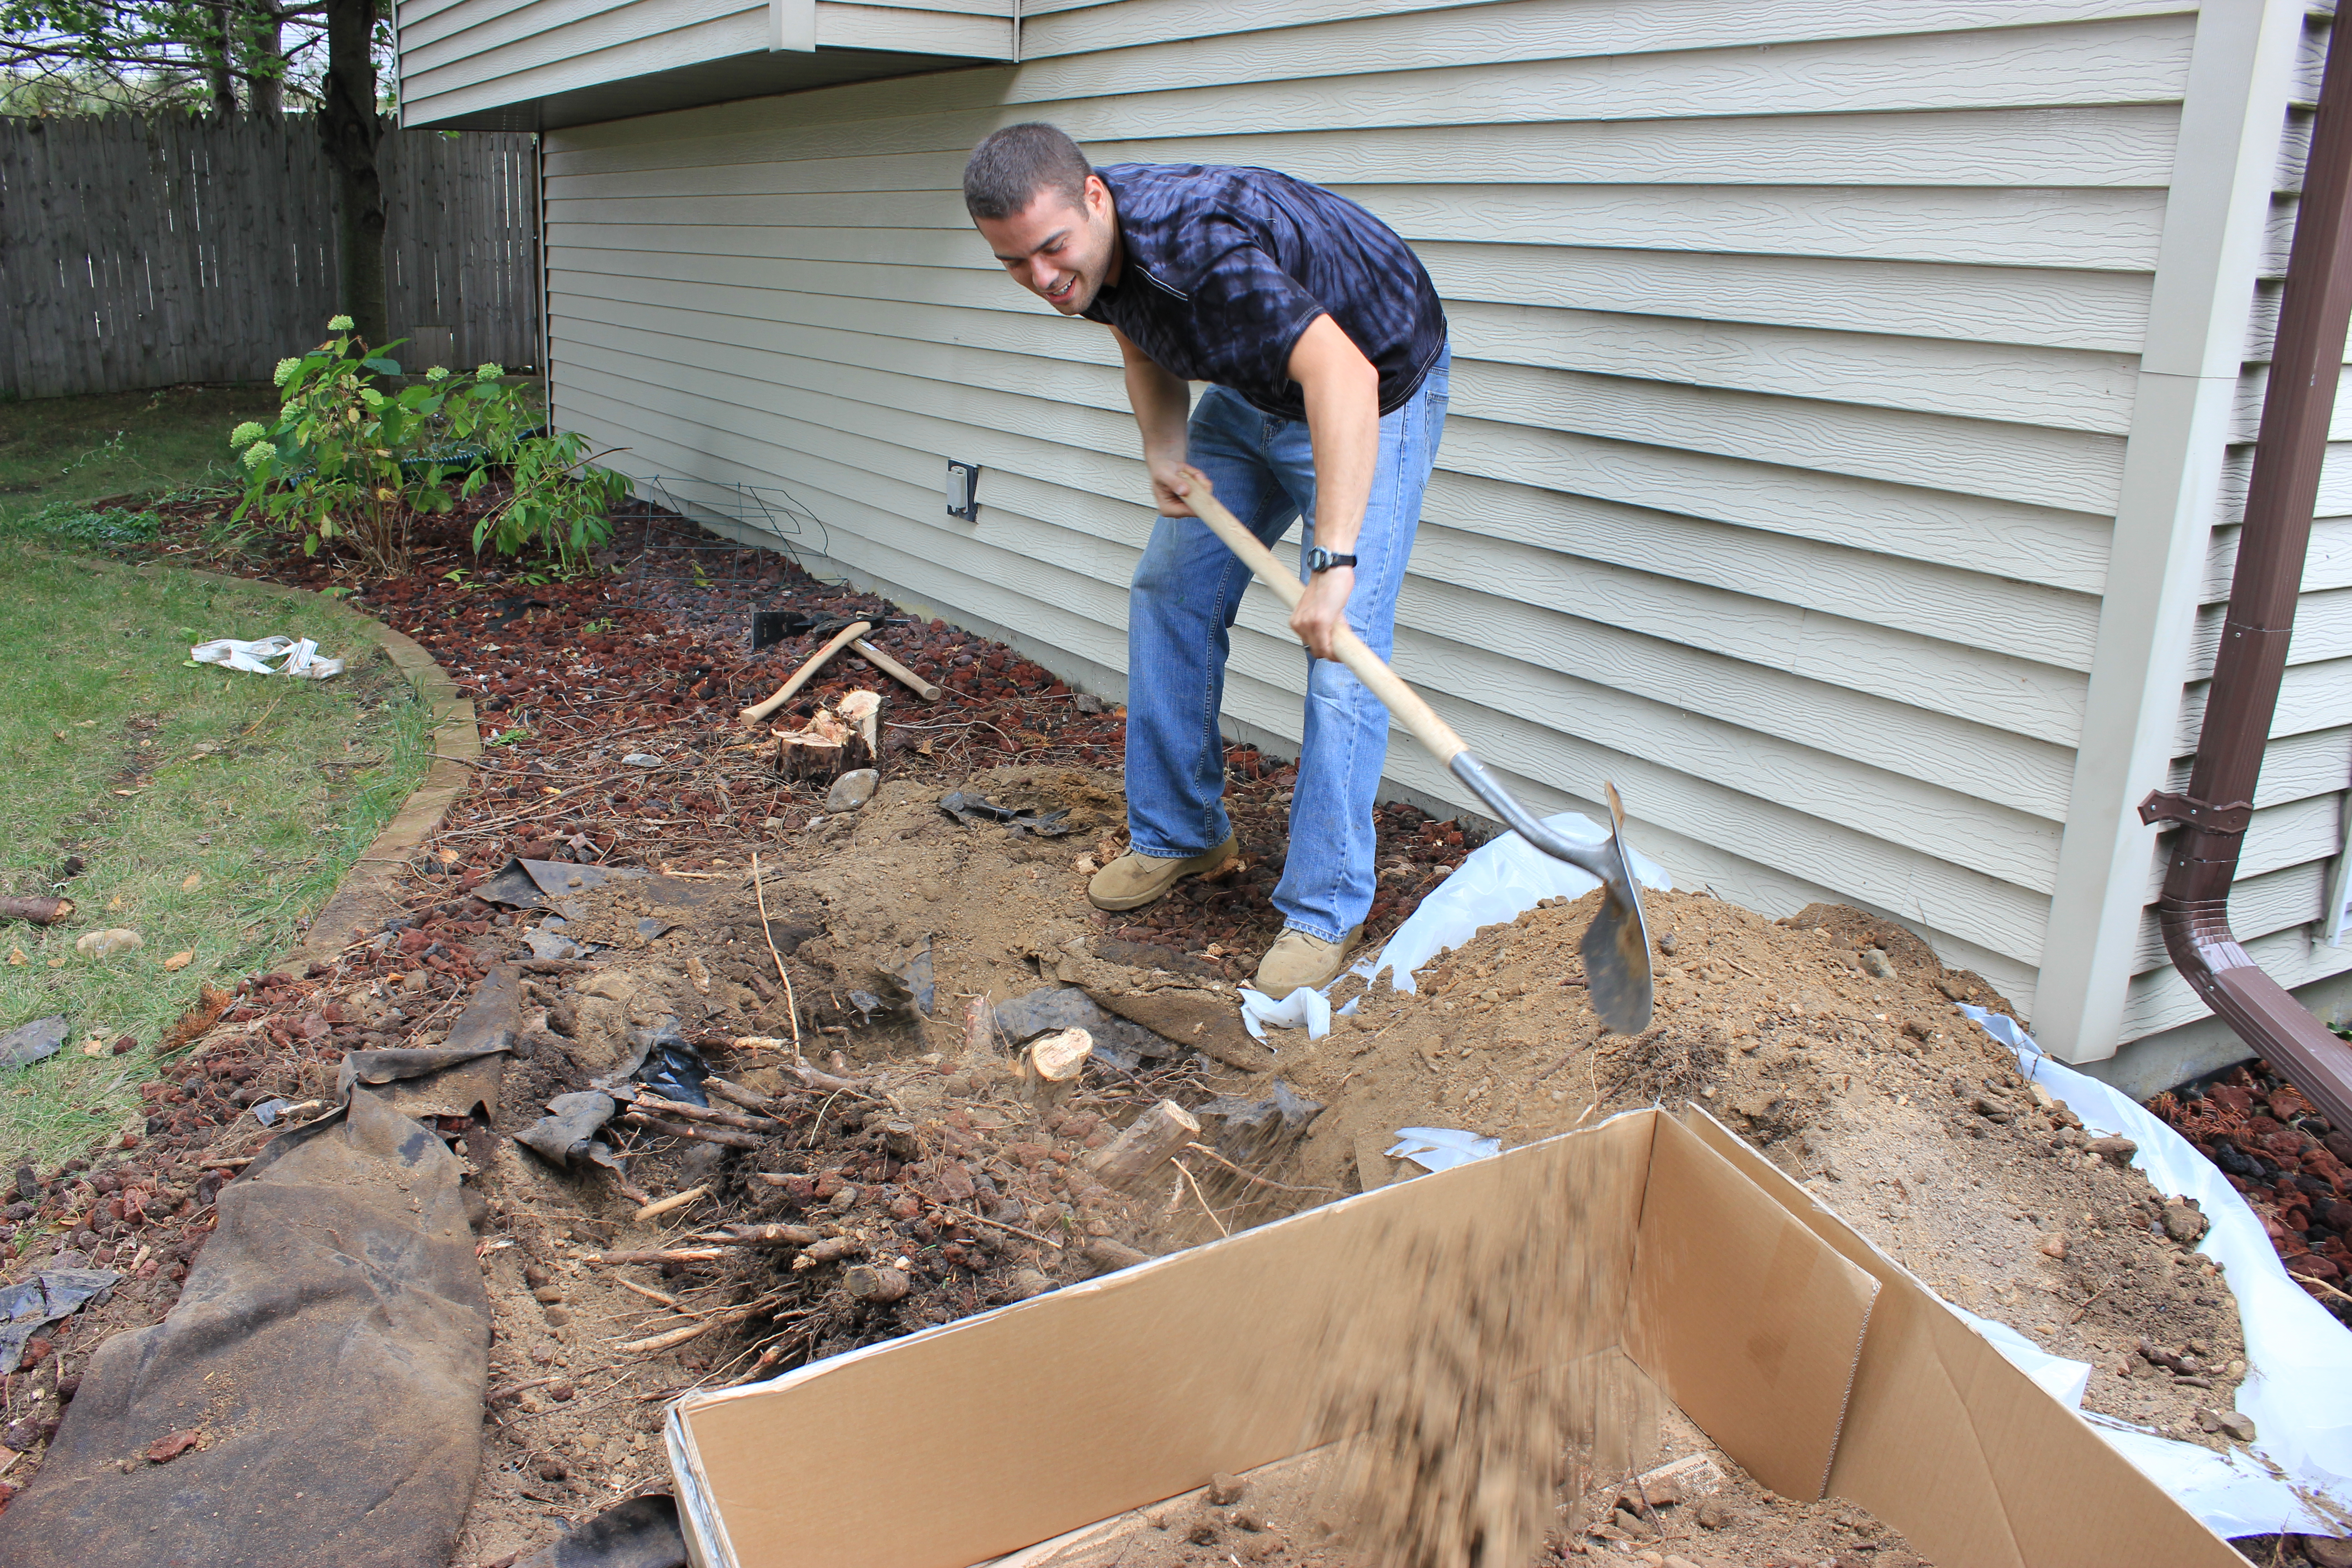
Where the brush is going, for now… On top of the old garden in the back yard, which is also where we threw part of the fence, obviously.
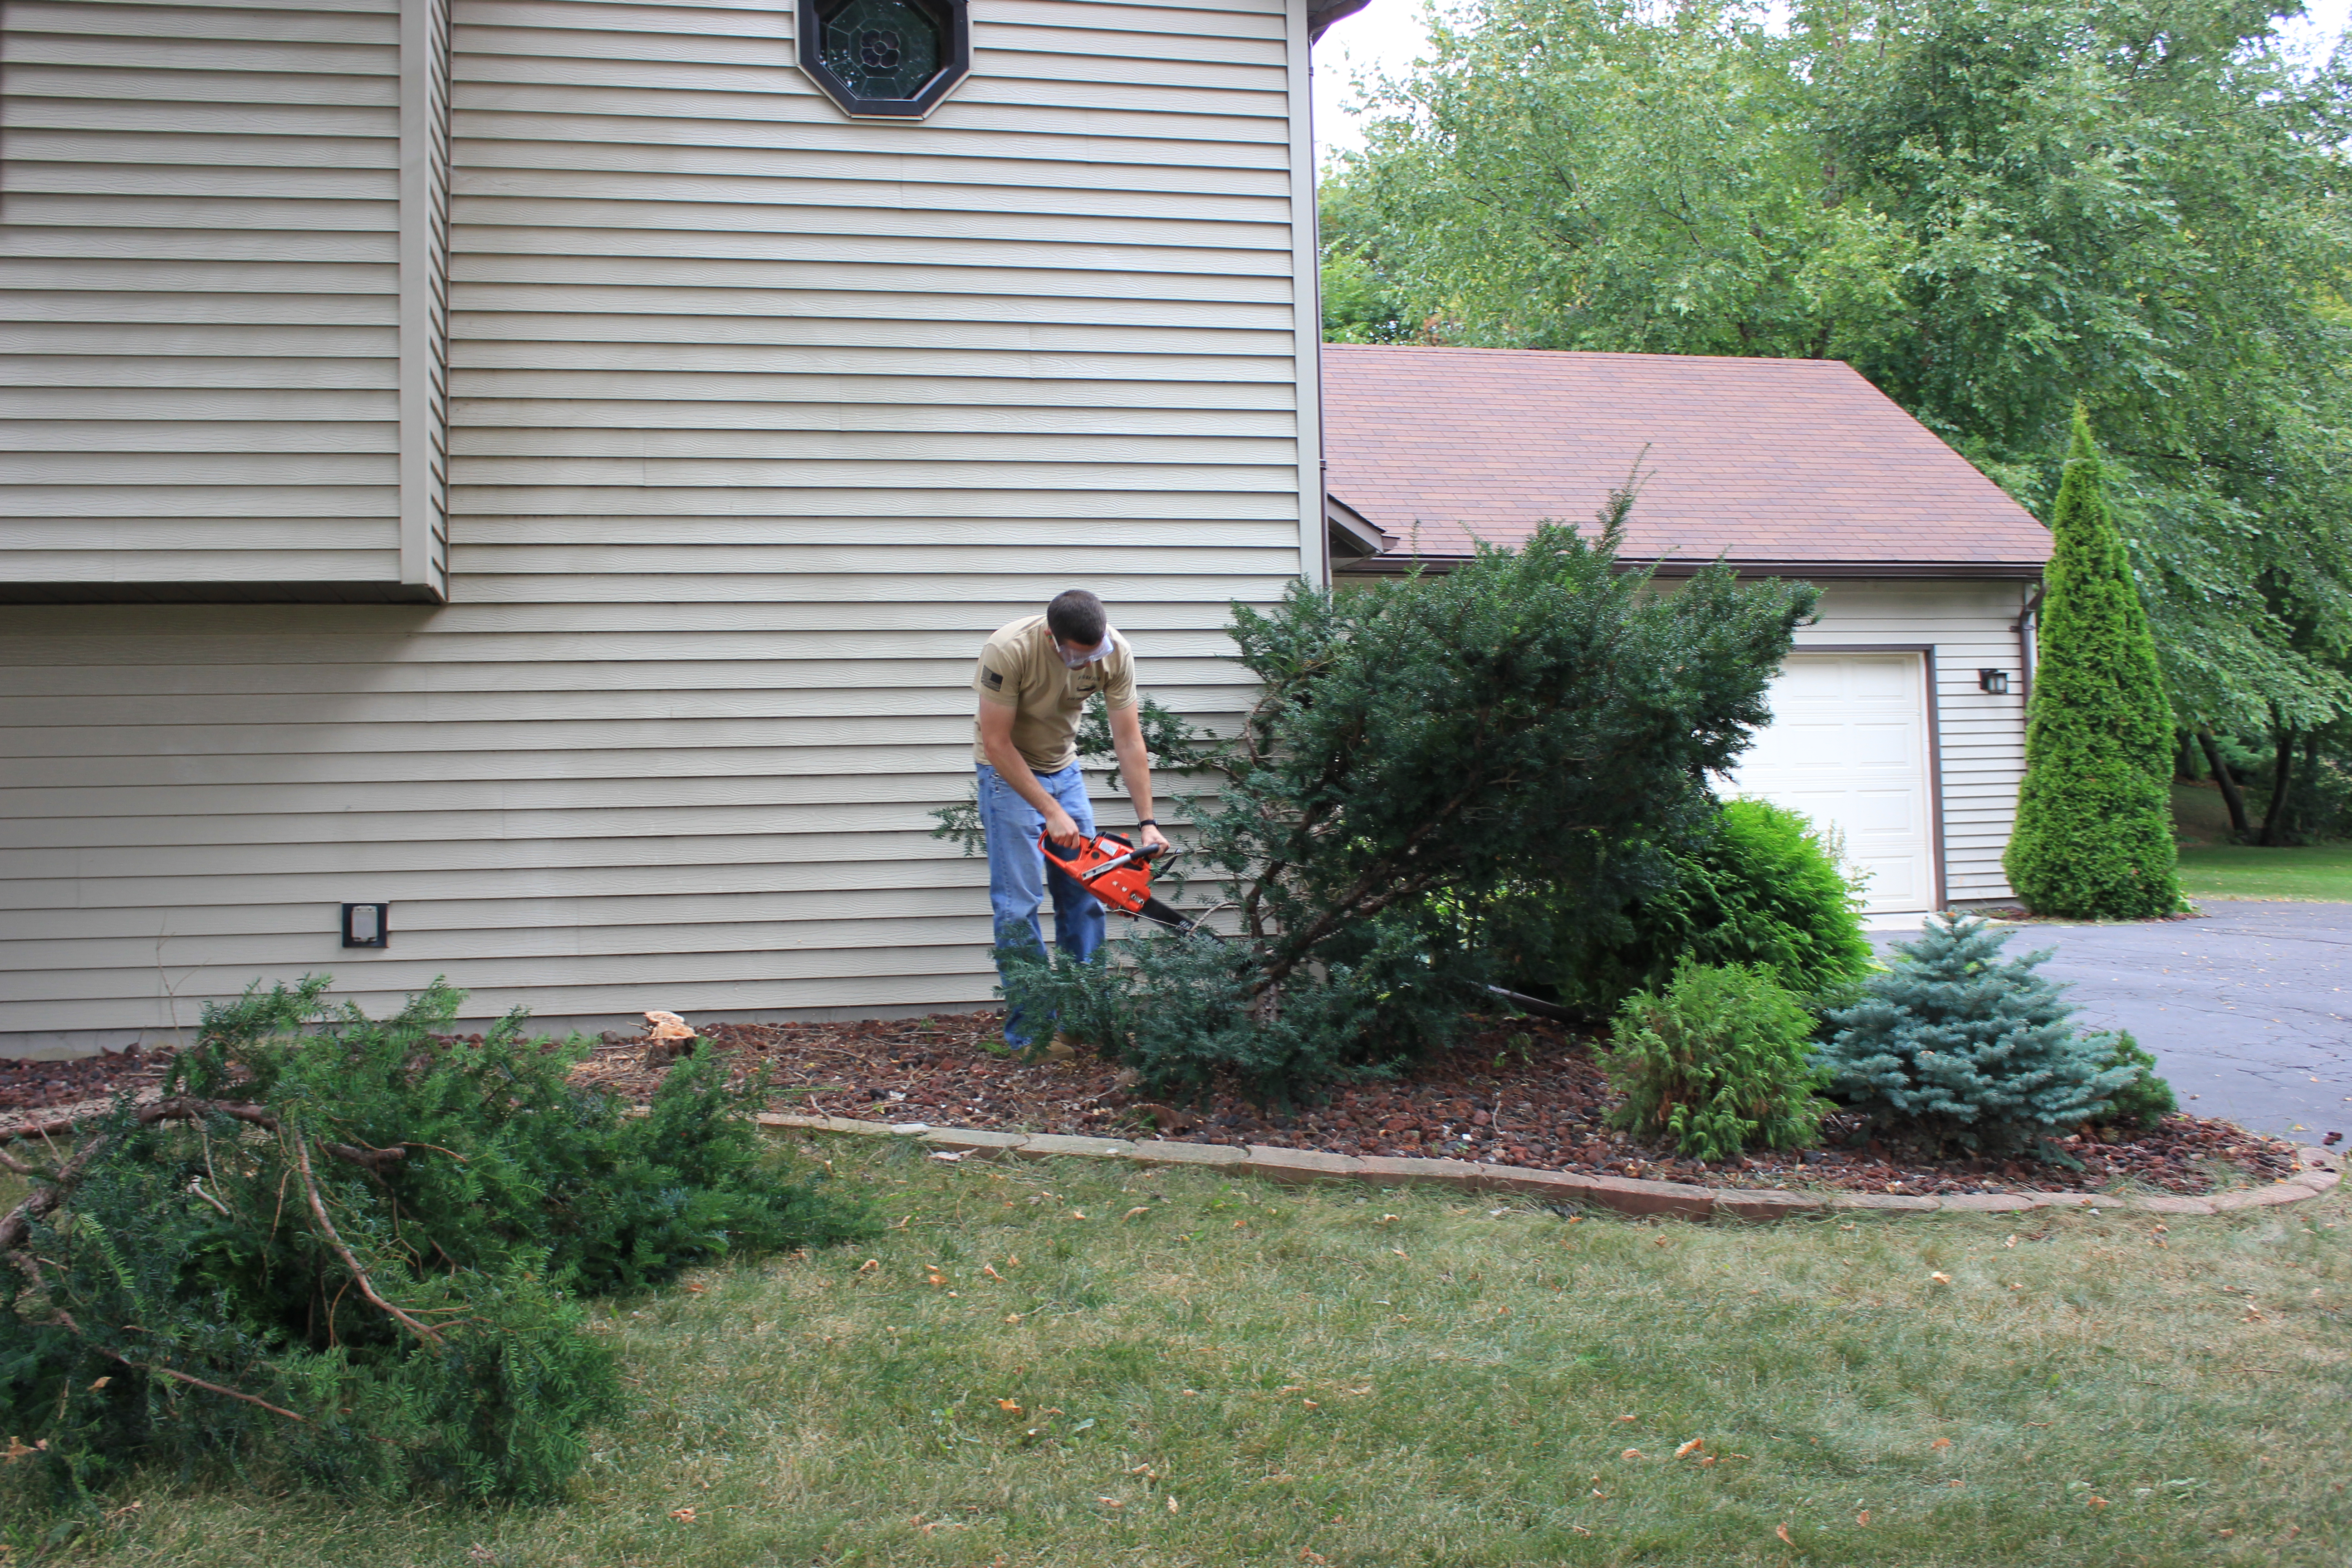
Our next overgrown victim. Cutting down the second bush in the front yard.
This evergreen was probably a really nice accent to the front of the house… 30 years ago… when the home was built.
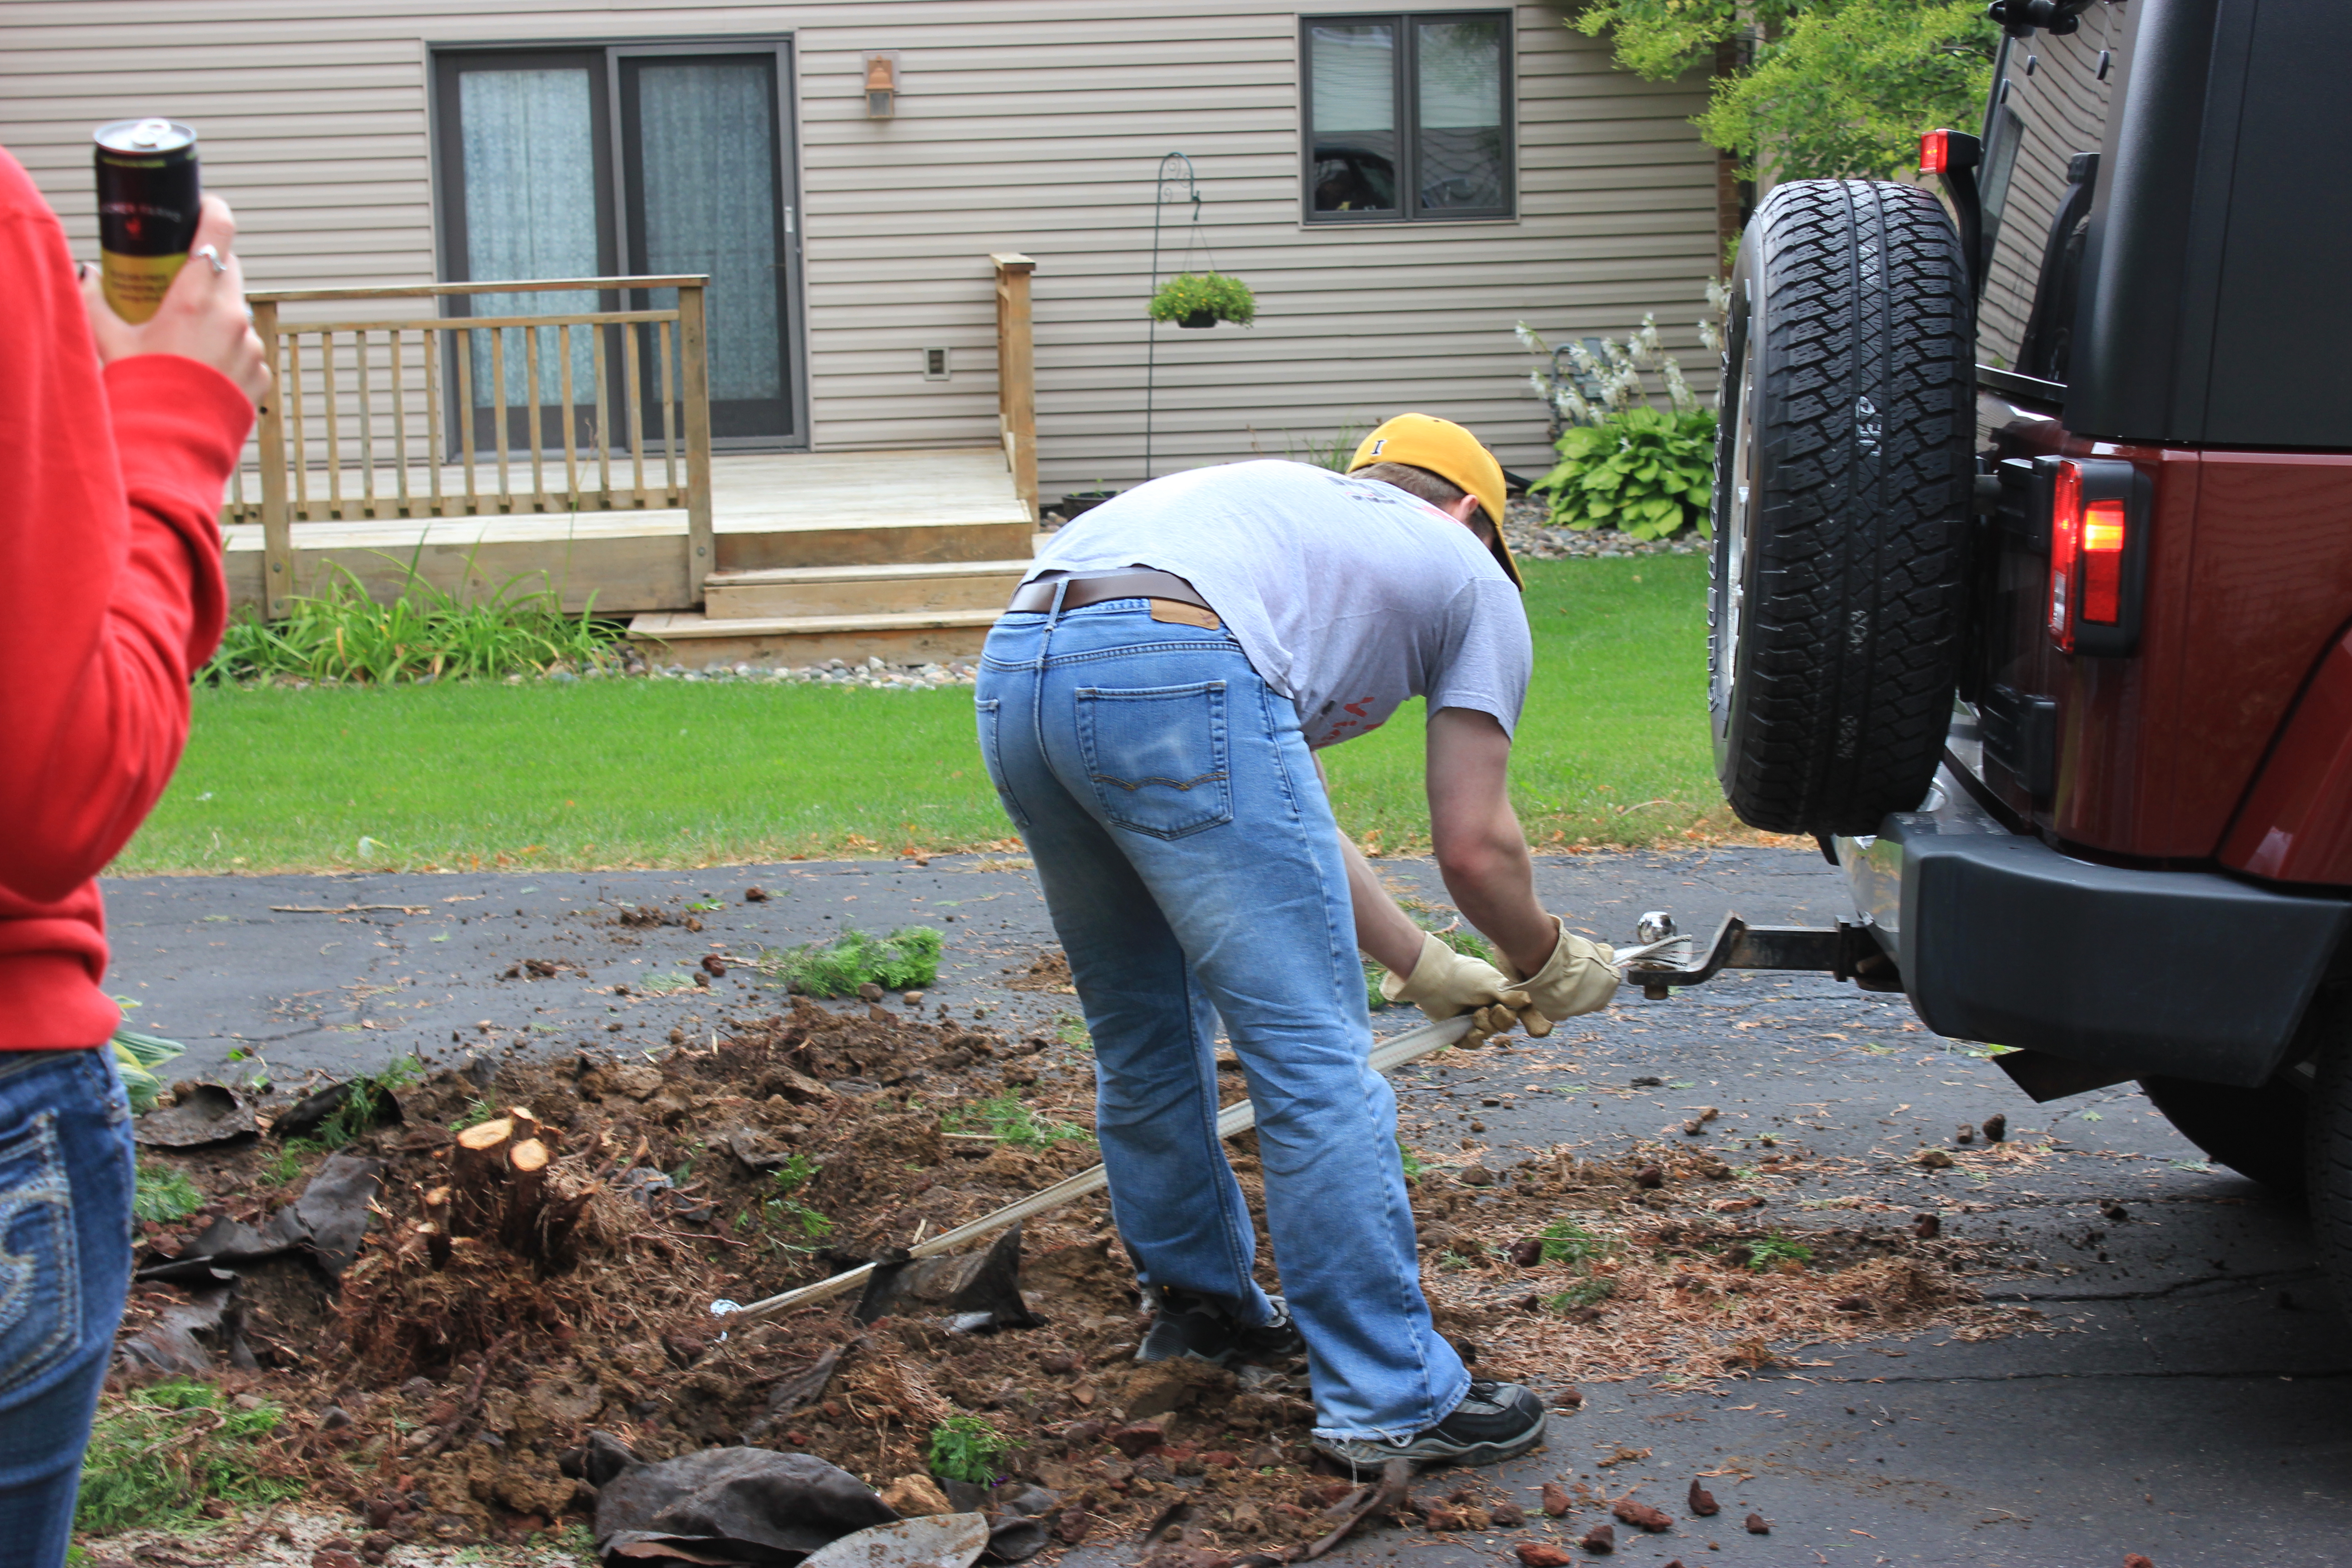
It doesn’t get much simpler than digging a hole and using a tow cable to yank the trunk out of the ground.
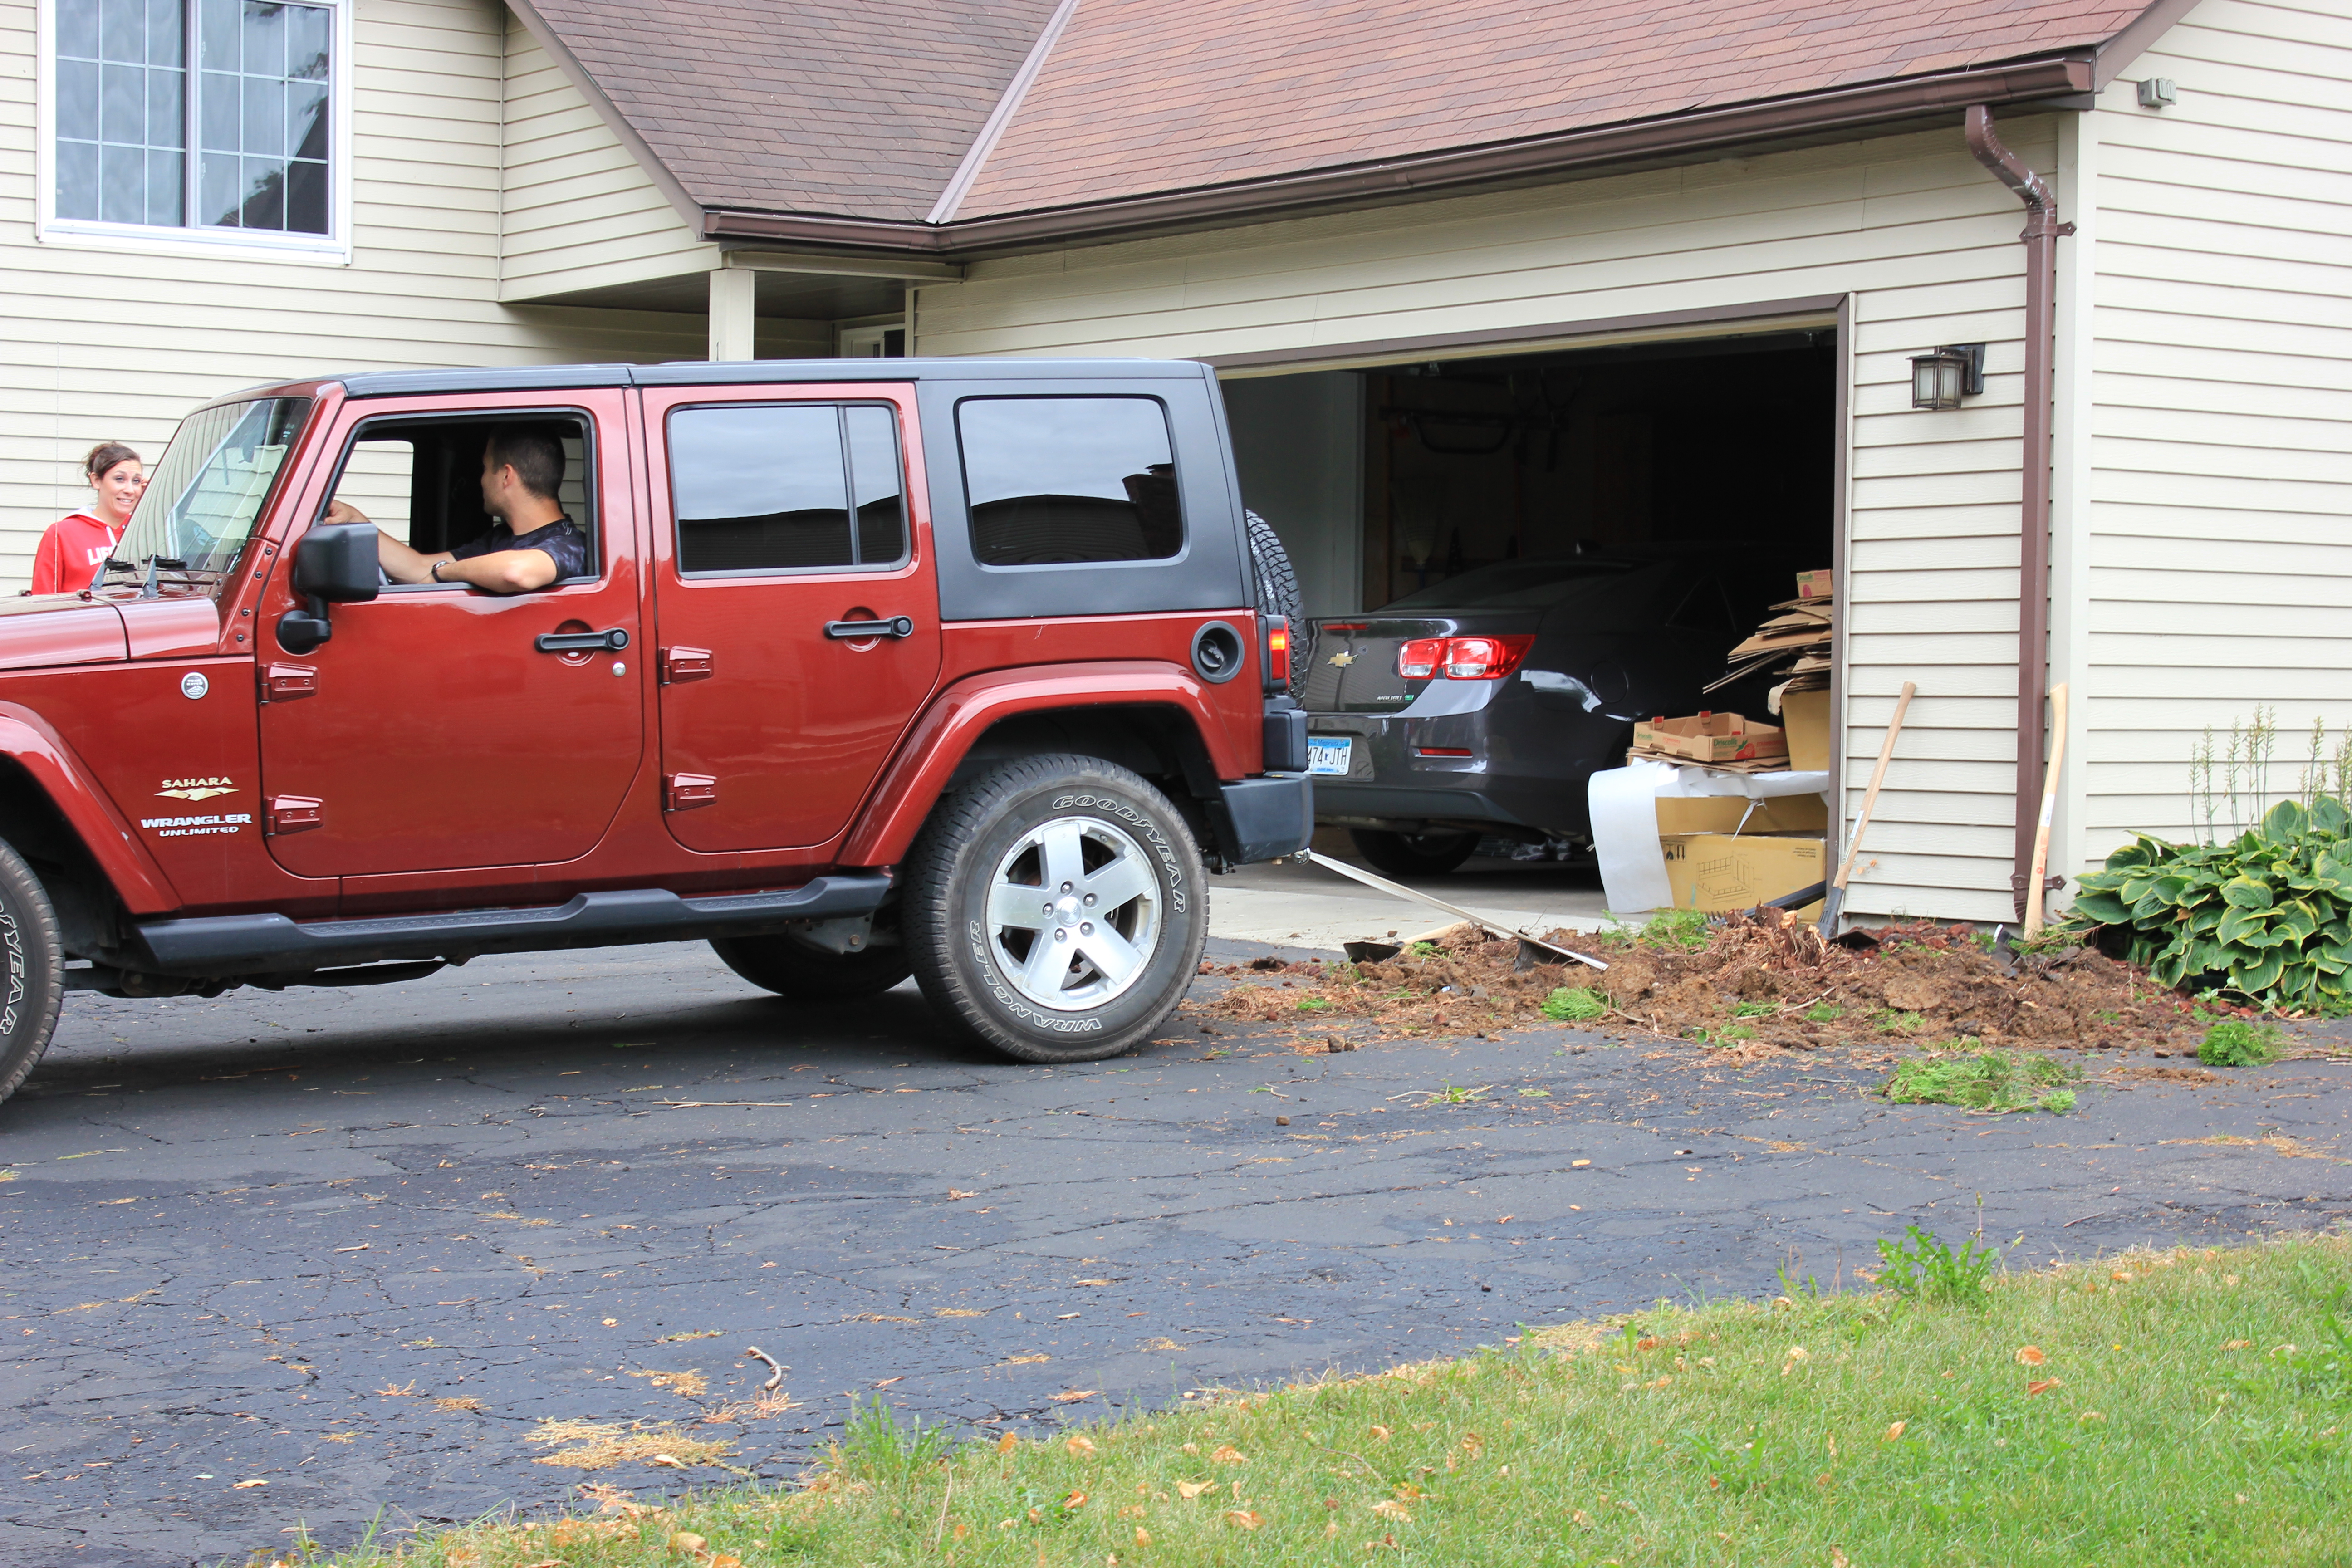
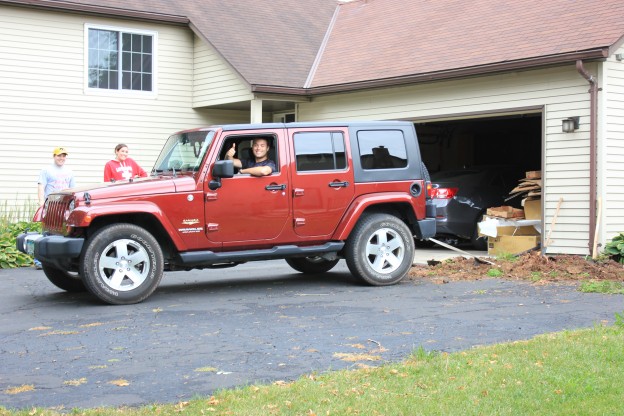
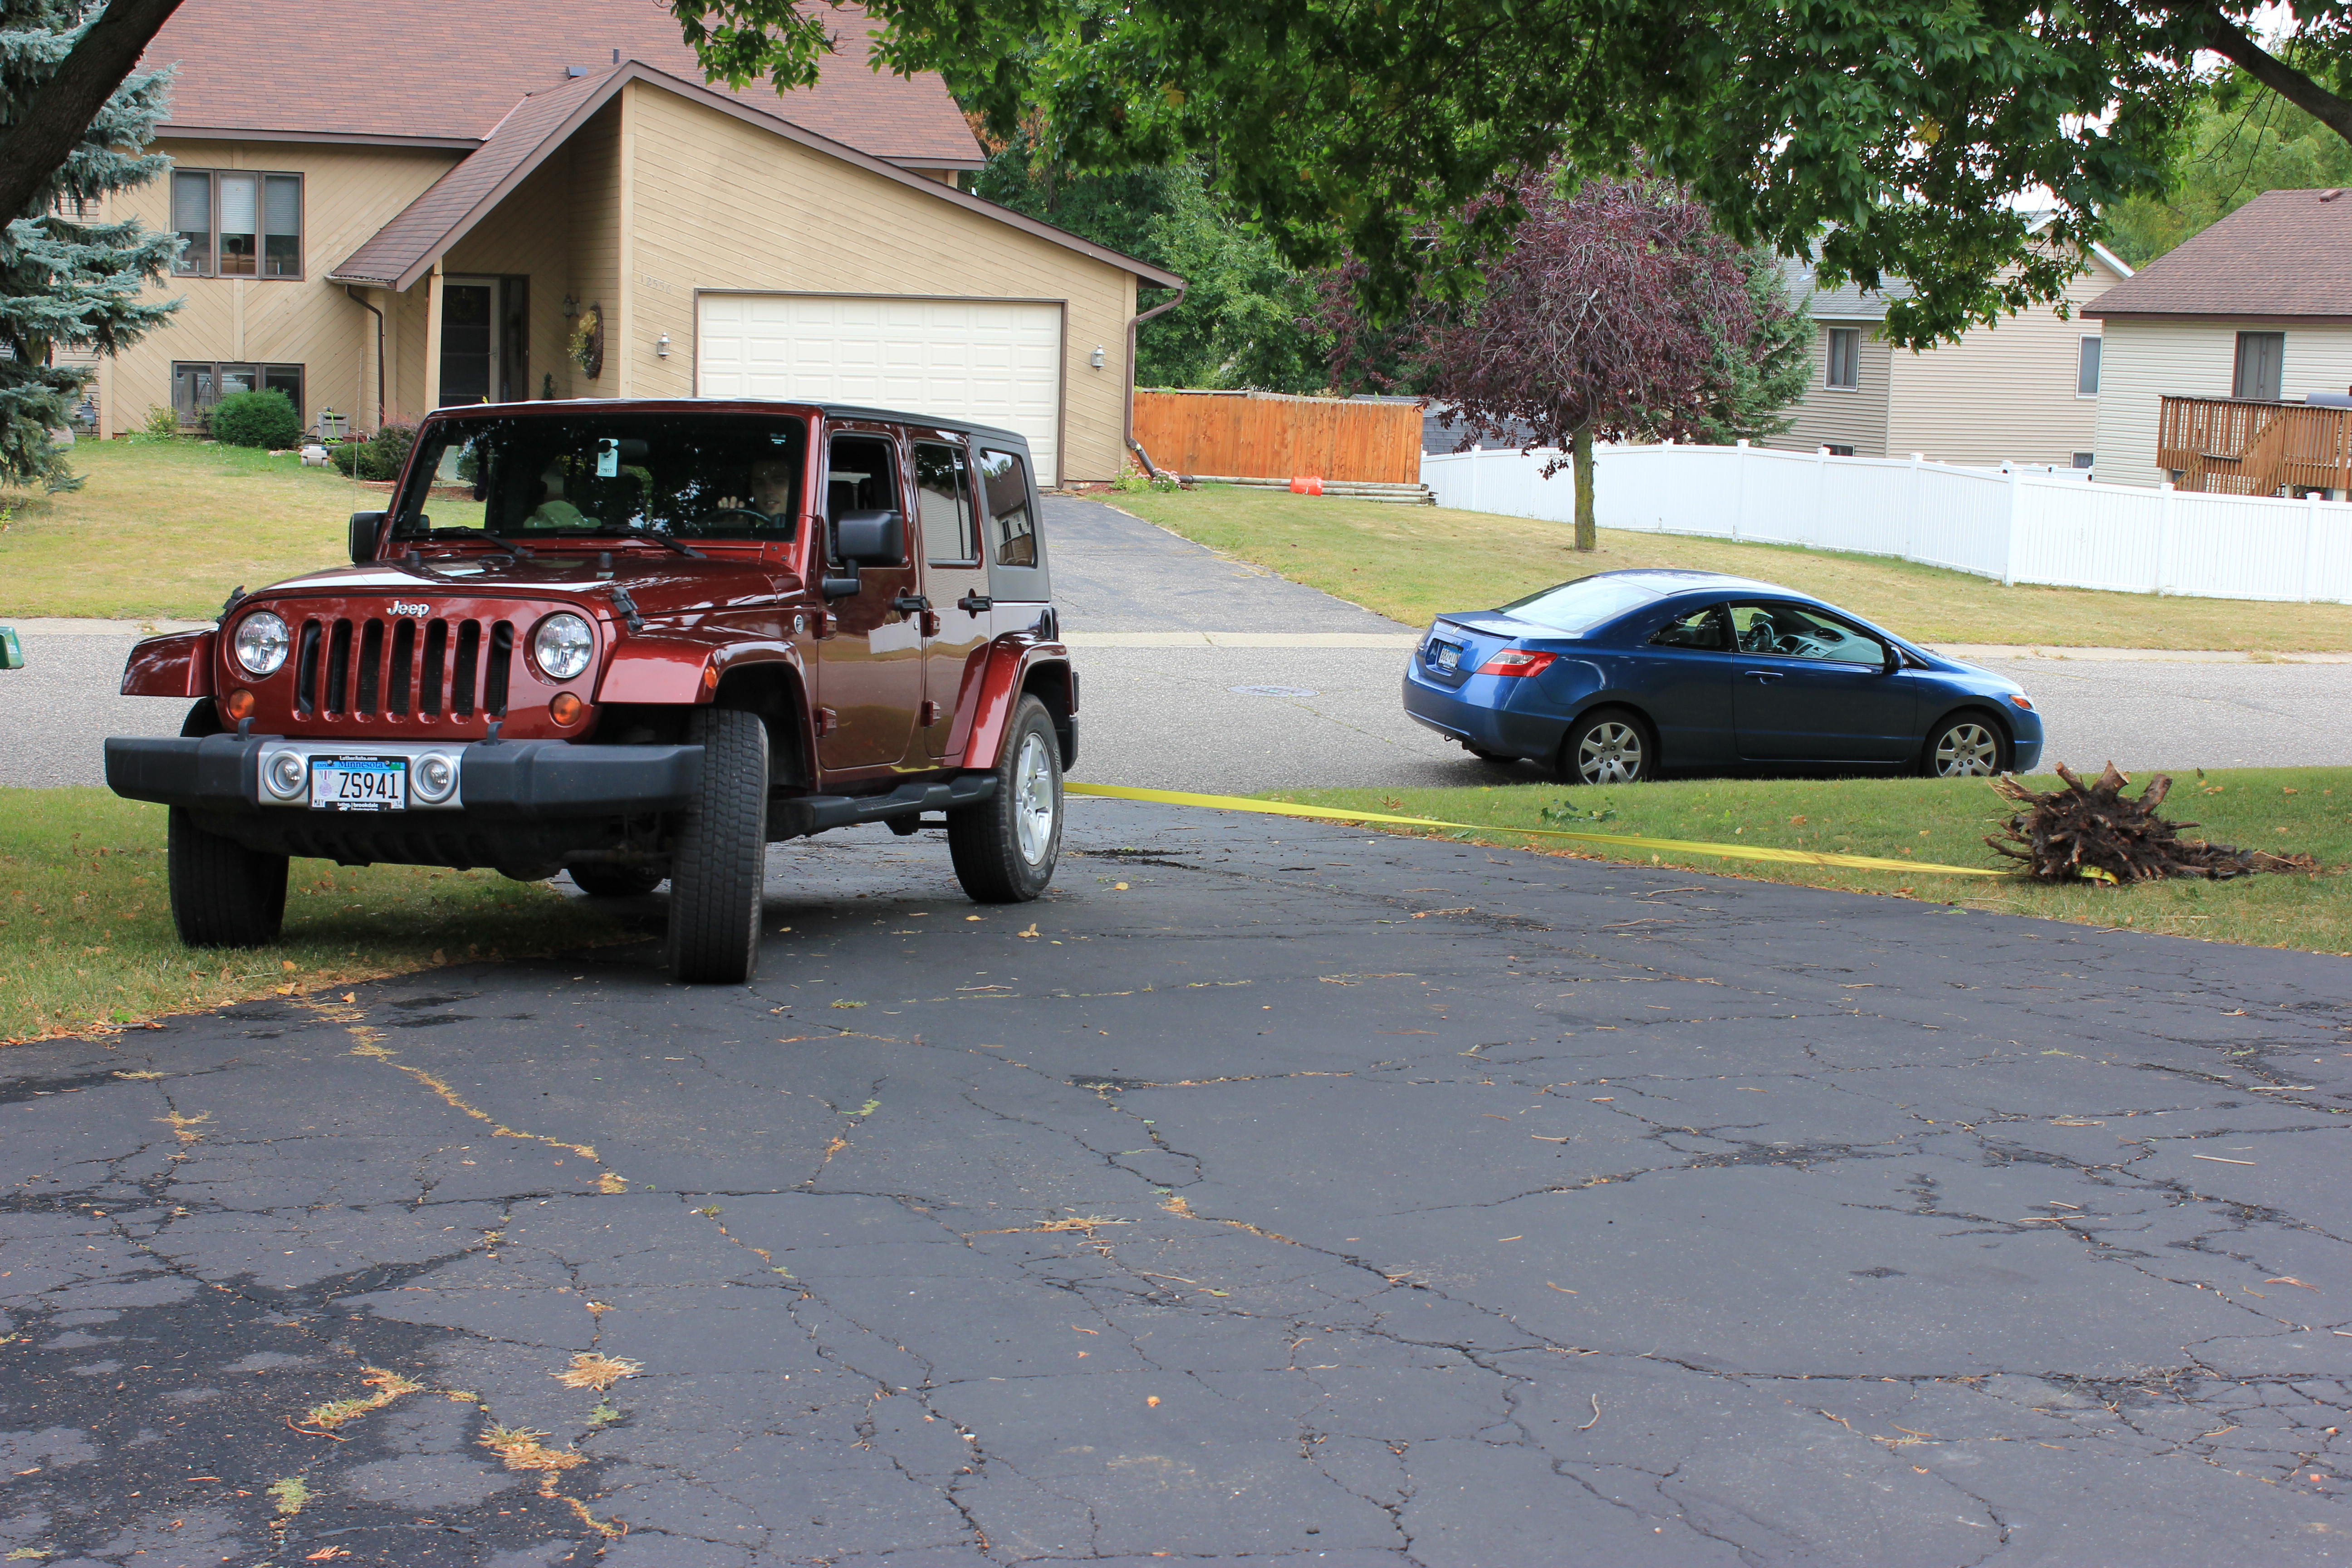
Tara (red sweatshirt looking apprehensive) owns the Jeep, Chris (in the drivers seat) is dating Tara, they’re discussing the whole “what’s yours is mine” concept.
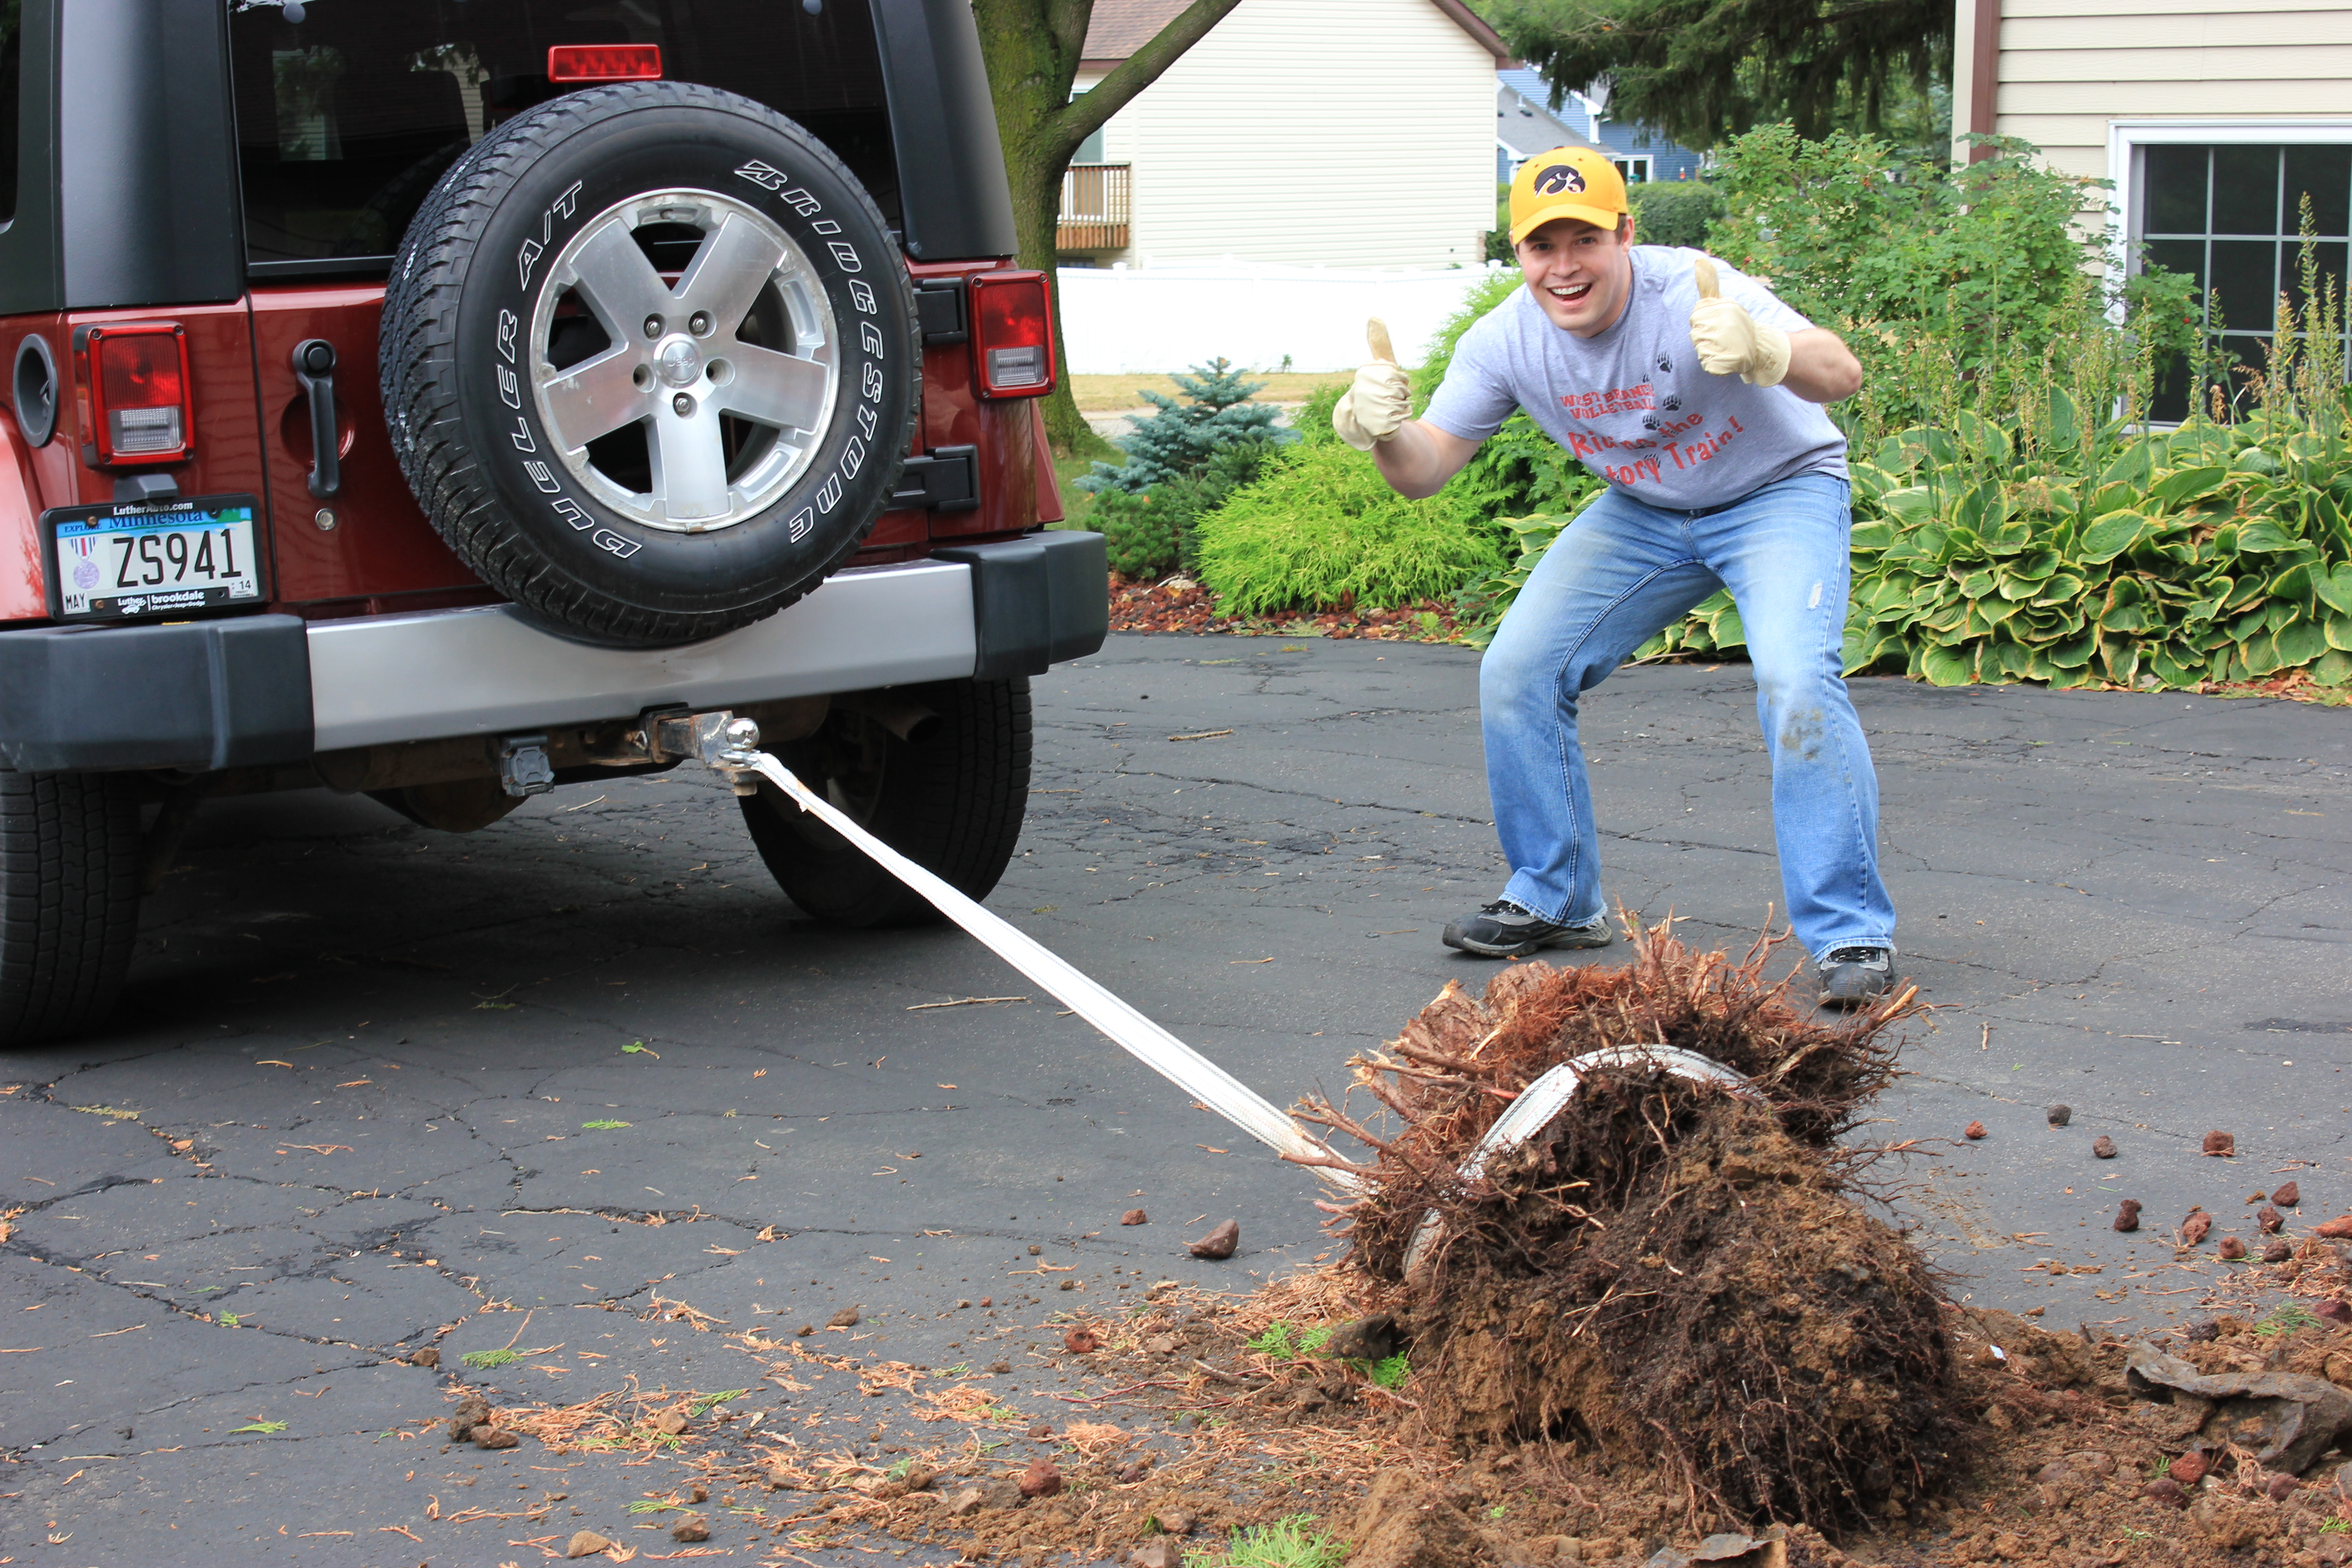
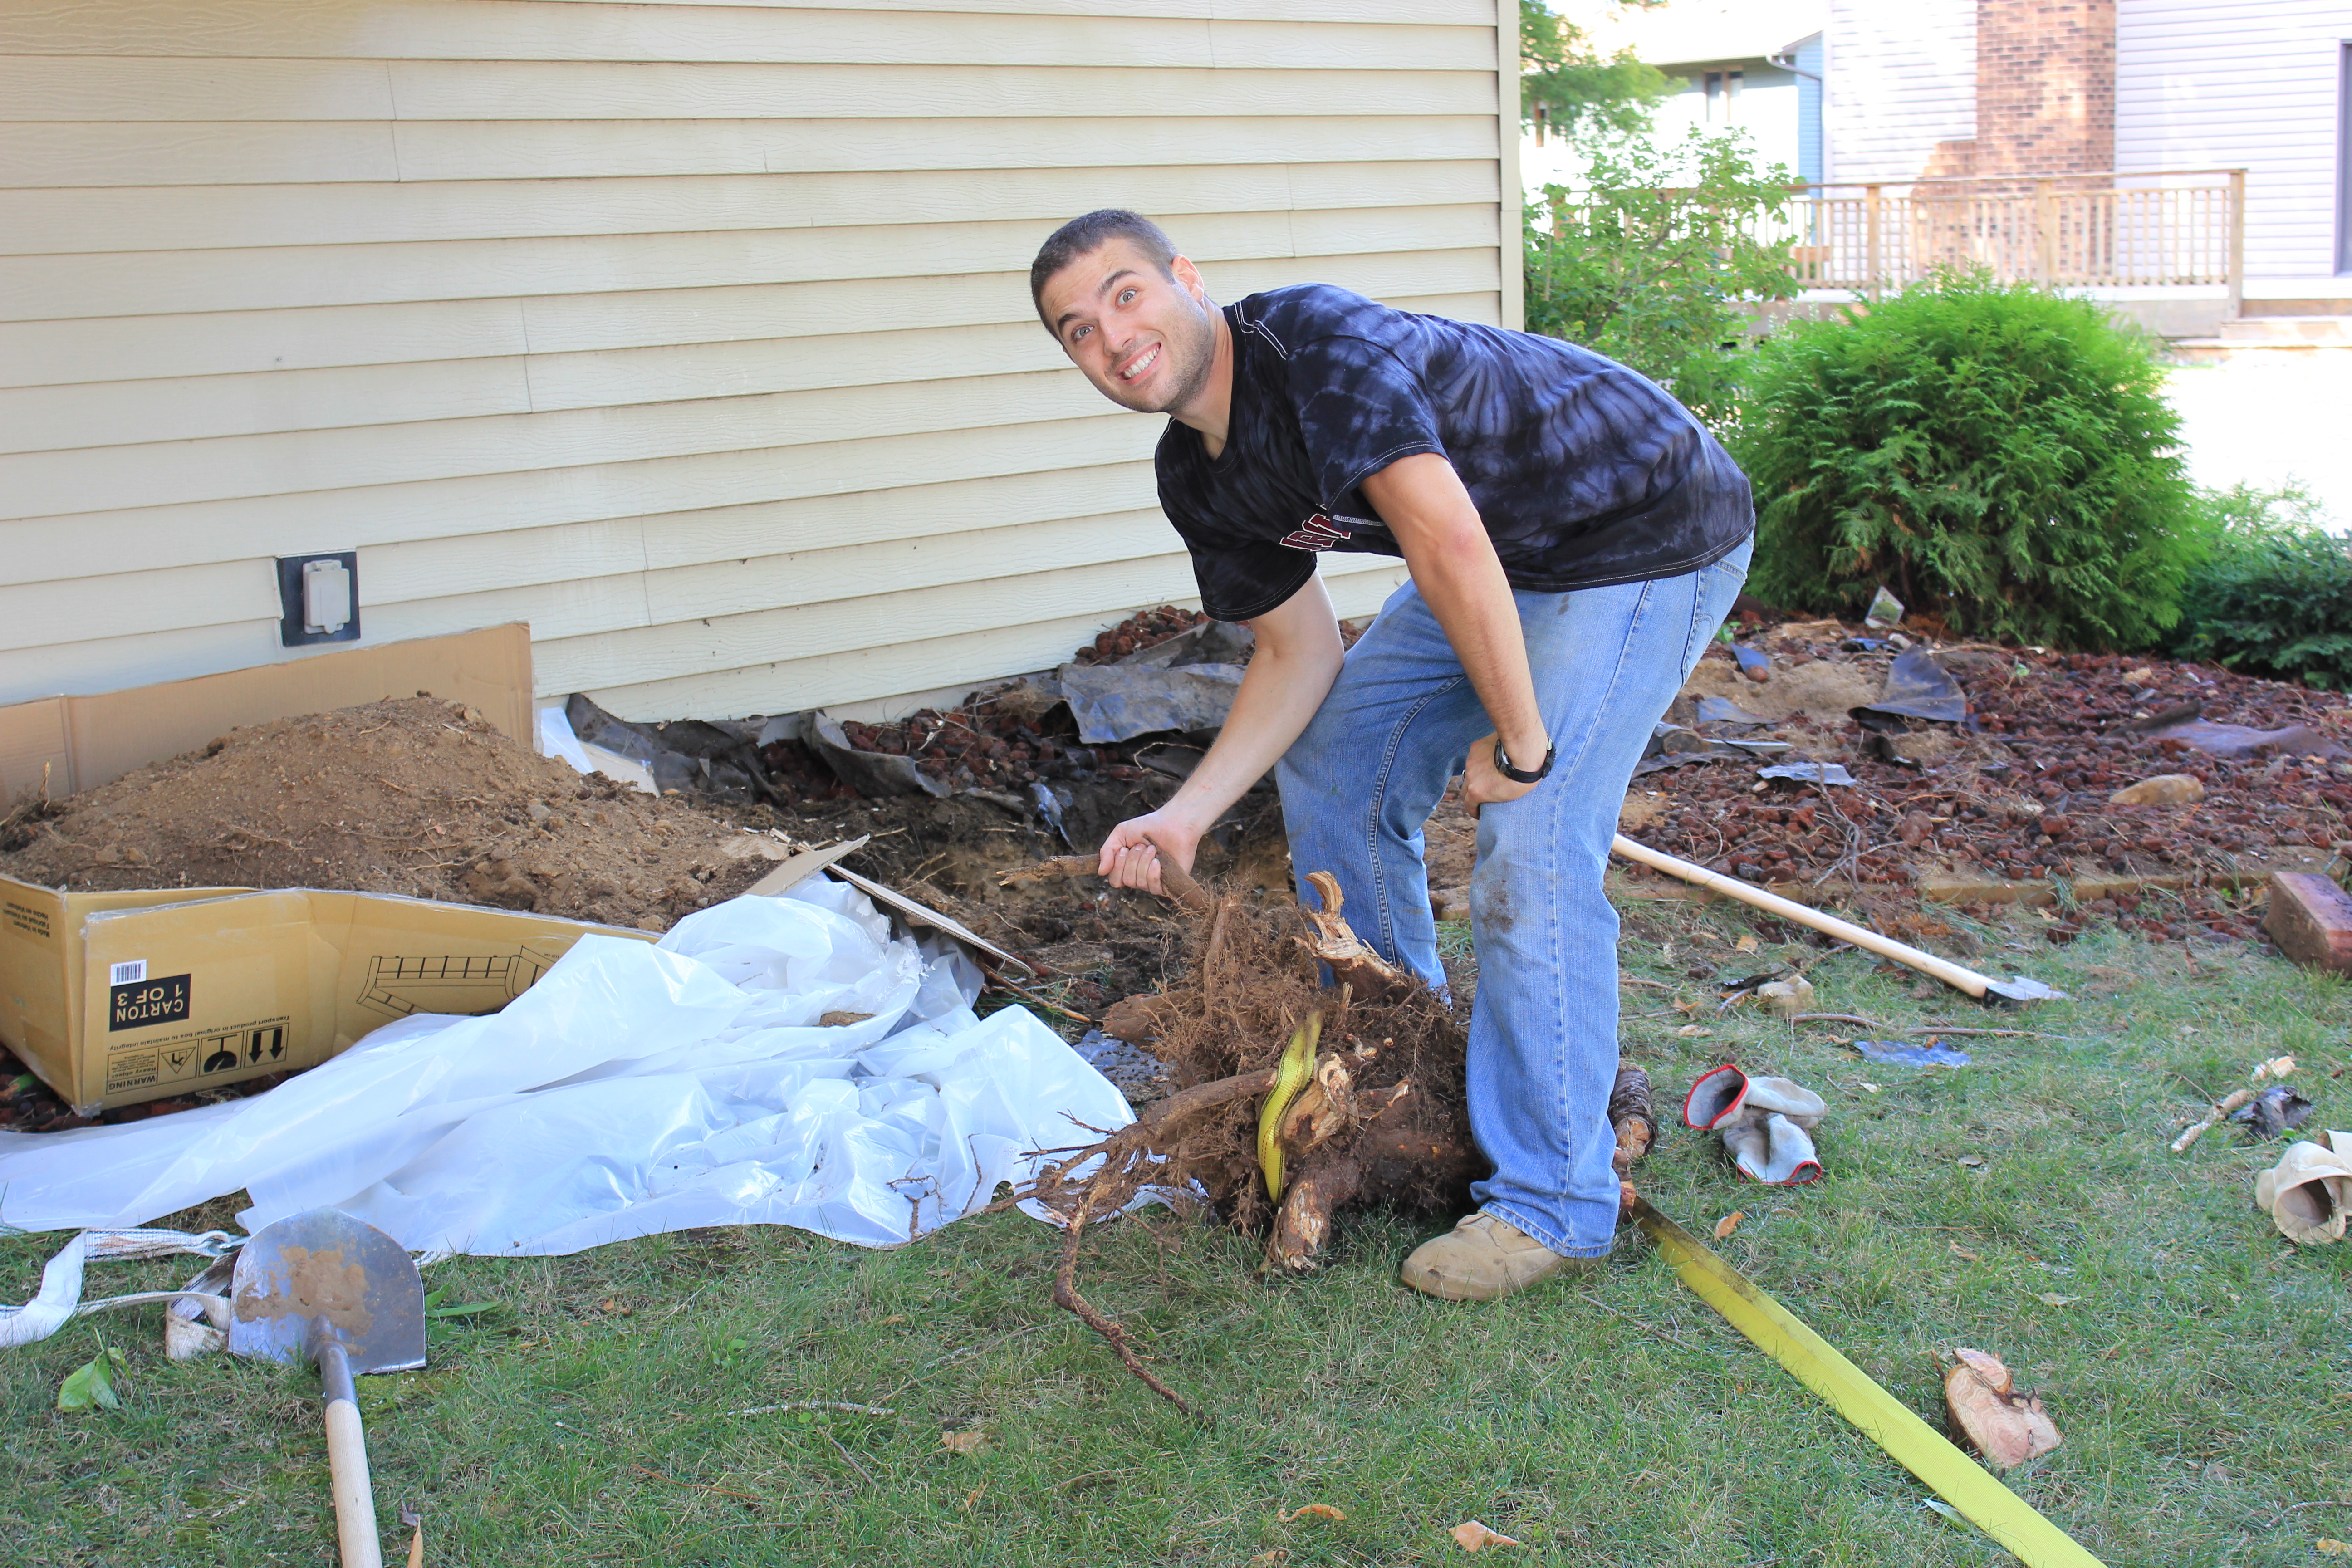
It came out like butter. Mike gives two thumbs up!
Digging holes to cut the roots on the trees in the front yard turned out to be much harder than the evergreen next to the garage.
Chris was very happy when this trunk was finally out of the ground. You’ll notice that this tow cable is yellow, when the first was white. There isn’t a picture, but when they tried using the white cable on this trunk, it nearly snapped. The guys went to Auto Zone and bought the biggest tow cable they had (rated to break at 10,000 lbs). This was also the point where Tara and I decided to leave and get mani-pedi’s.
Link to the tow cable Mike and Chris needed here (i hope this is correct!).
Chris does a victory lap through the driveway with the trunk.
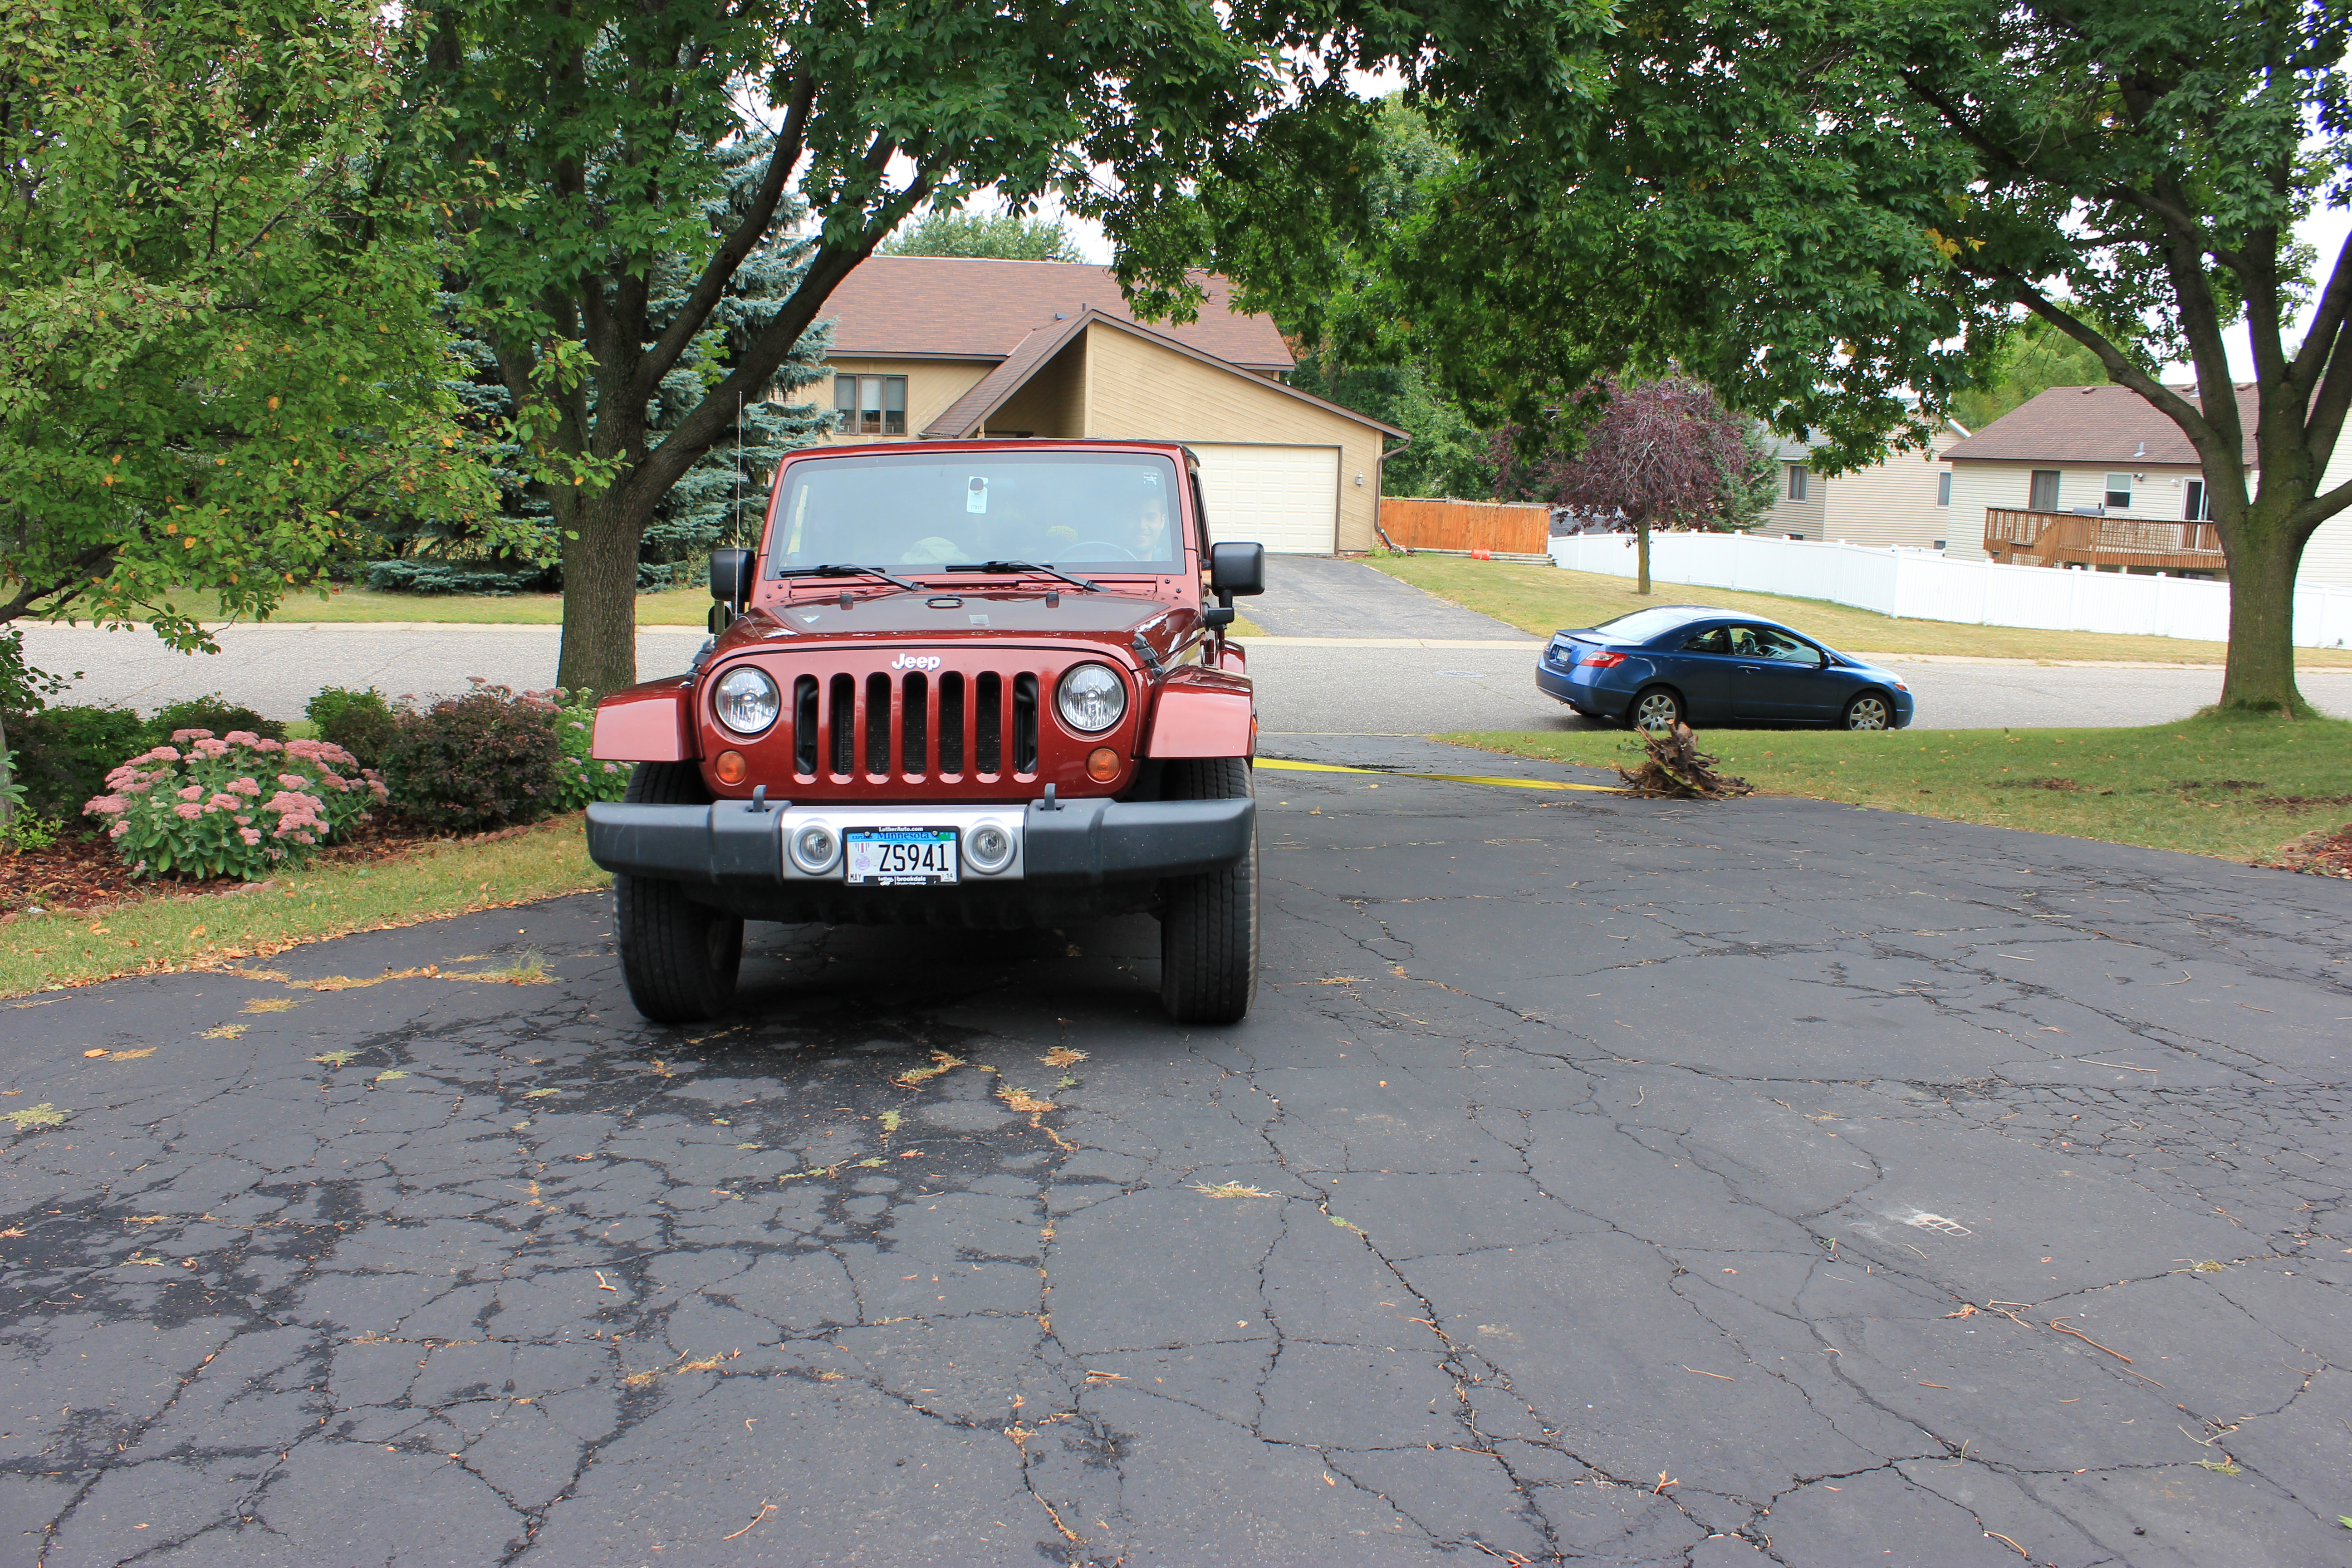
Another view of the victory lap.
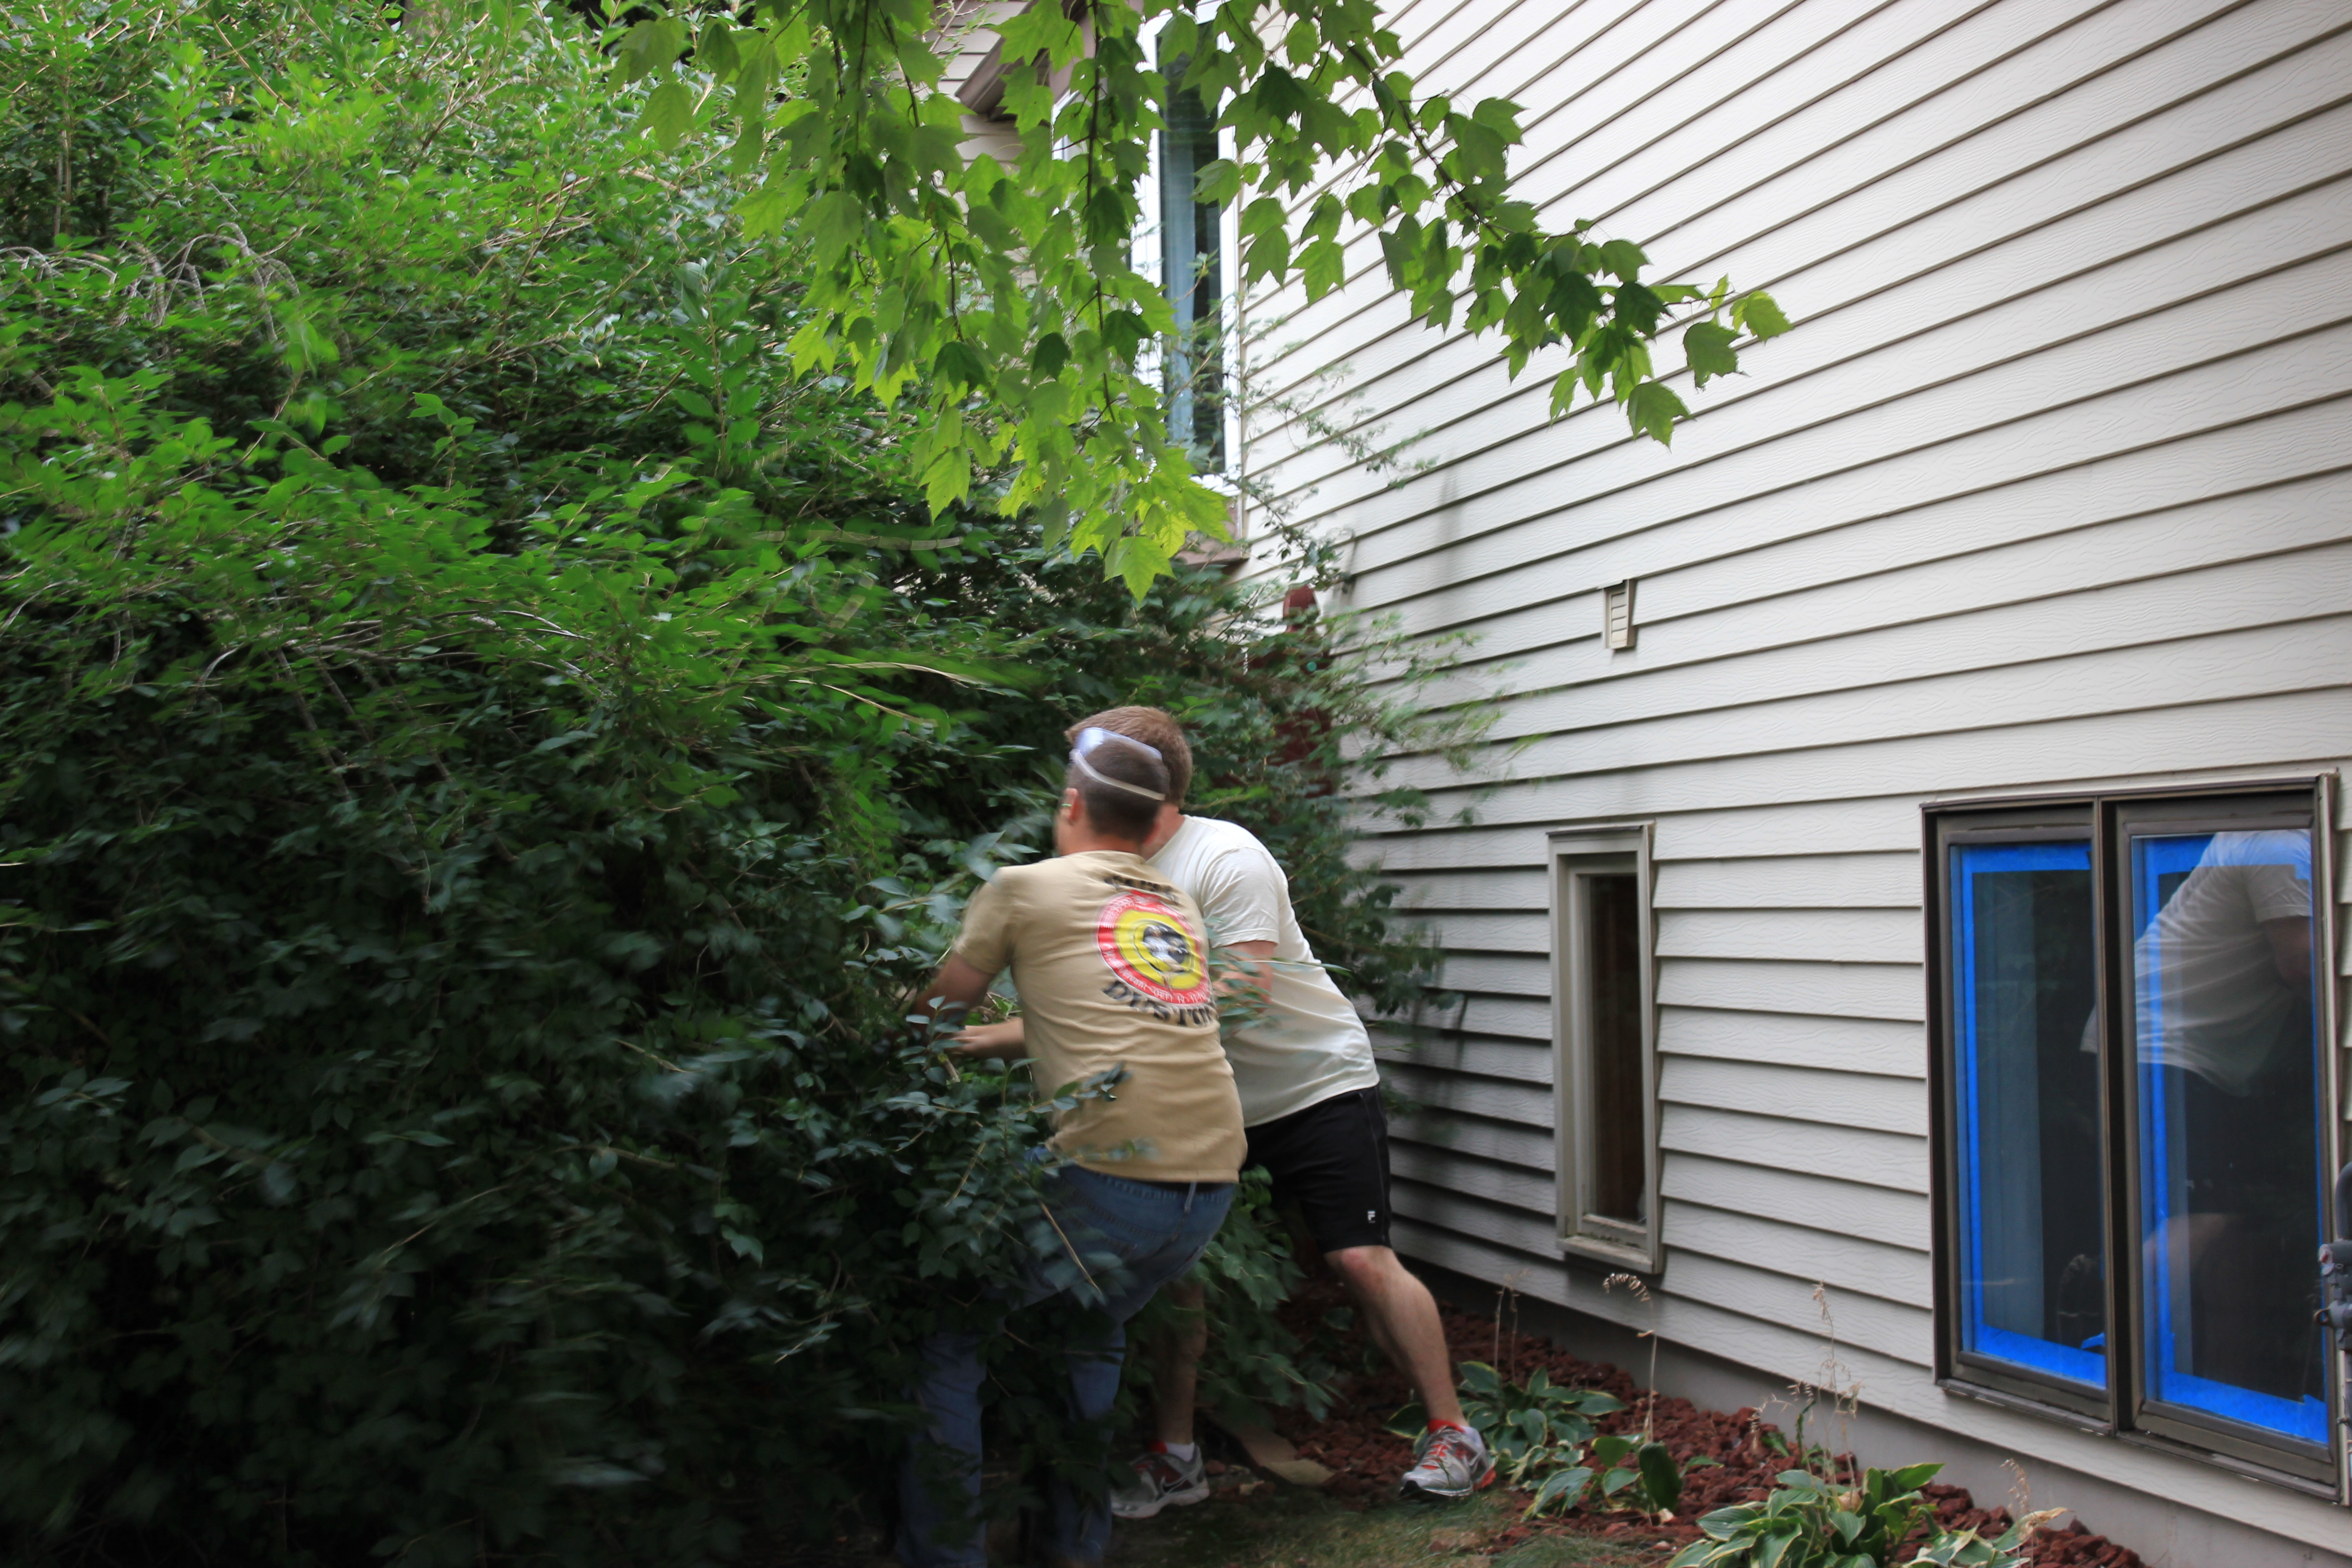
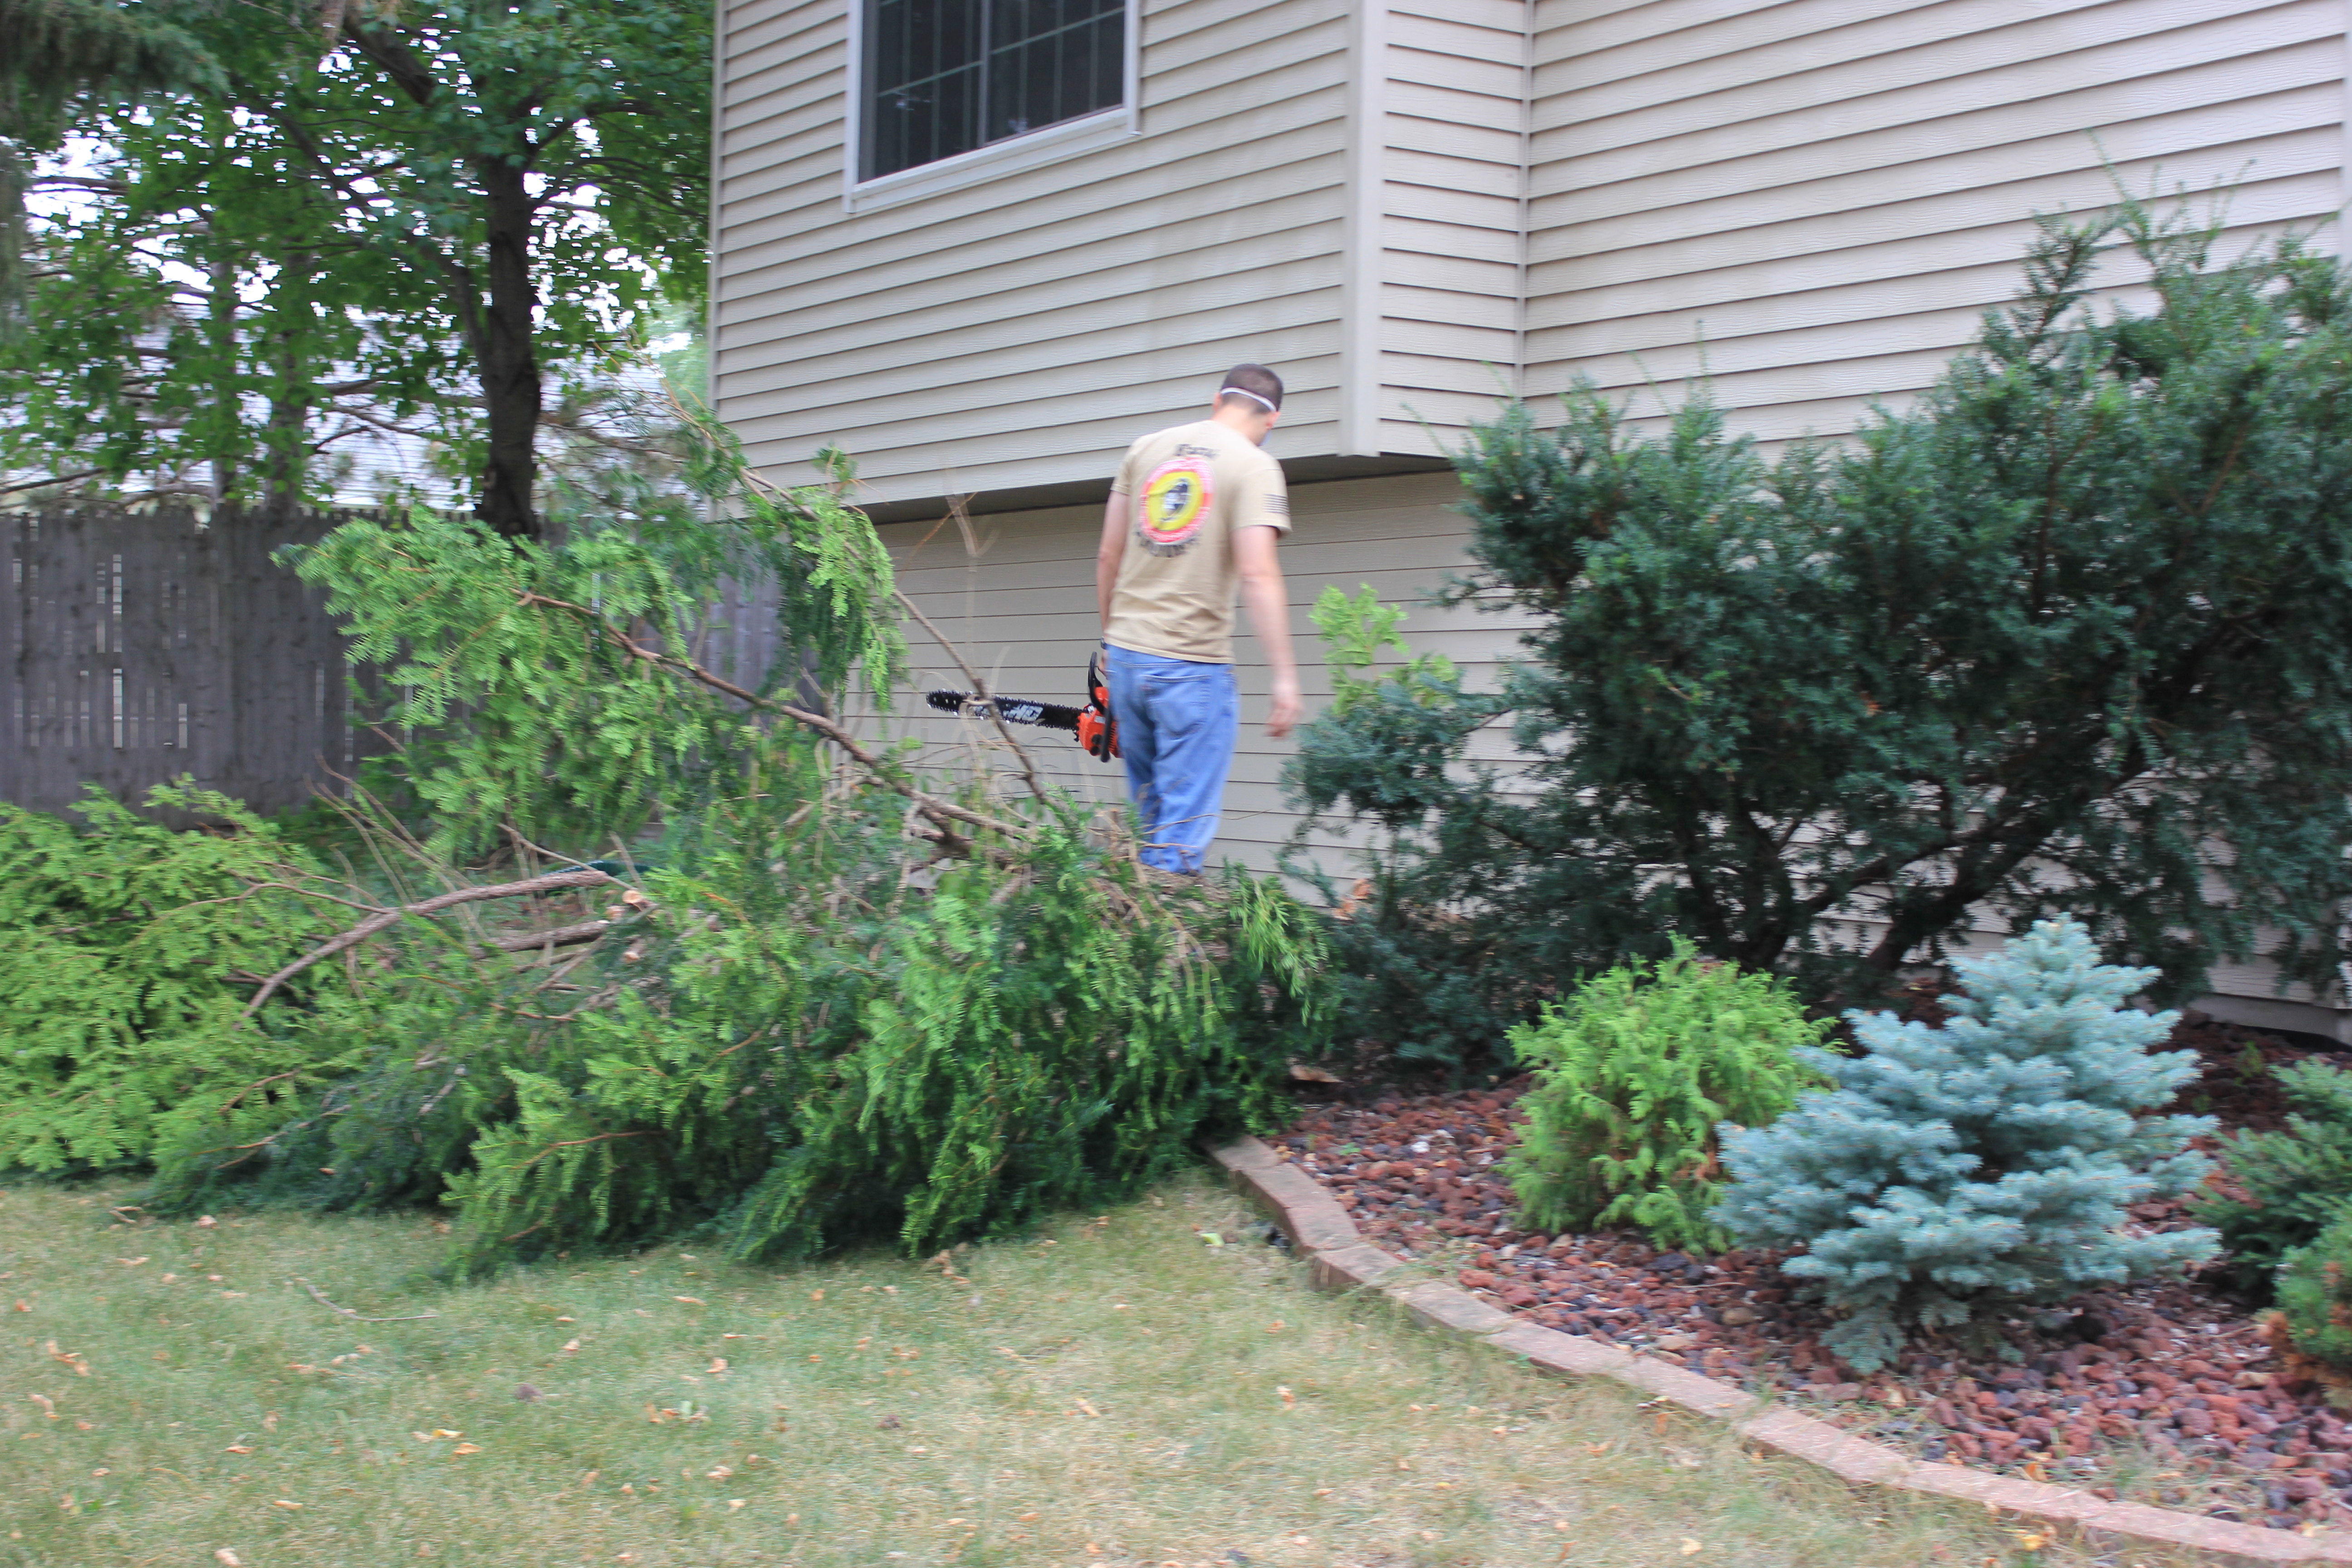
Meet the ENORMOUS Bush (no relation to the President). This was a gigantic overgrown atrocity on the left side (south side) of the house. It grew to be about 15 feet tall and completely filled the entire side of our property. The guys went underneath with a lopper to cut the branches, but had to yank each one from the bush individually. All branches had grown together into a nest of sorts making this job a nightmare.
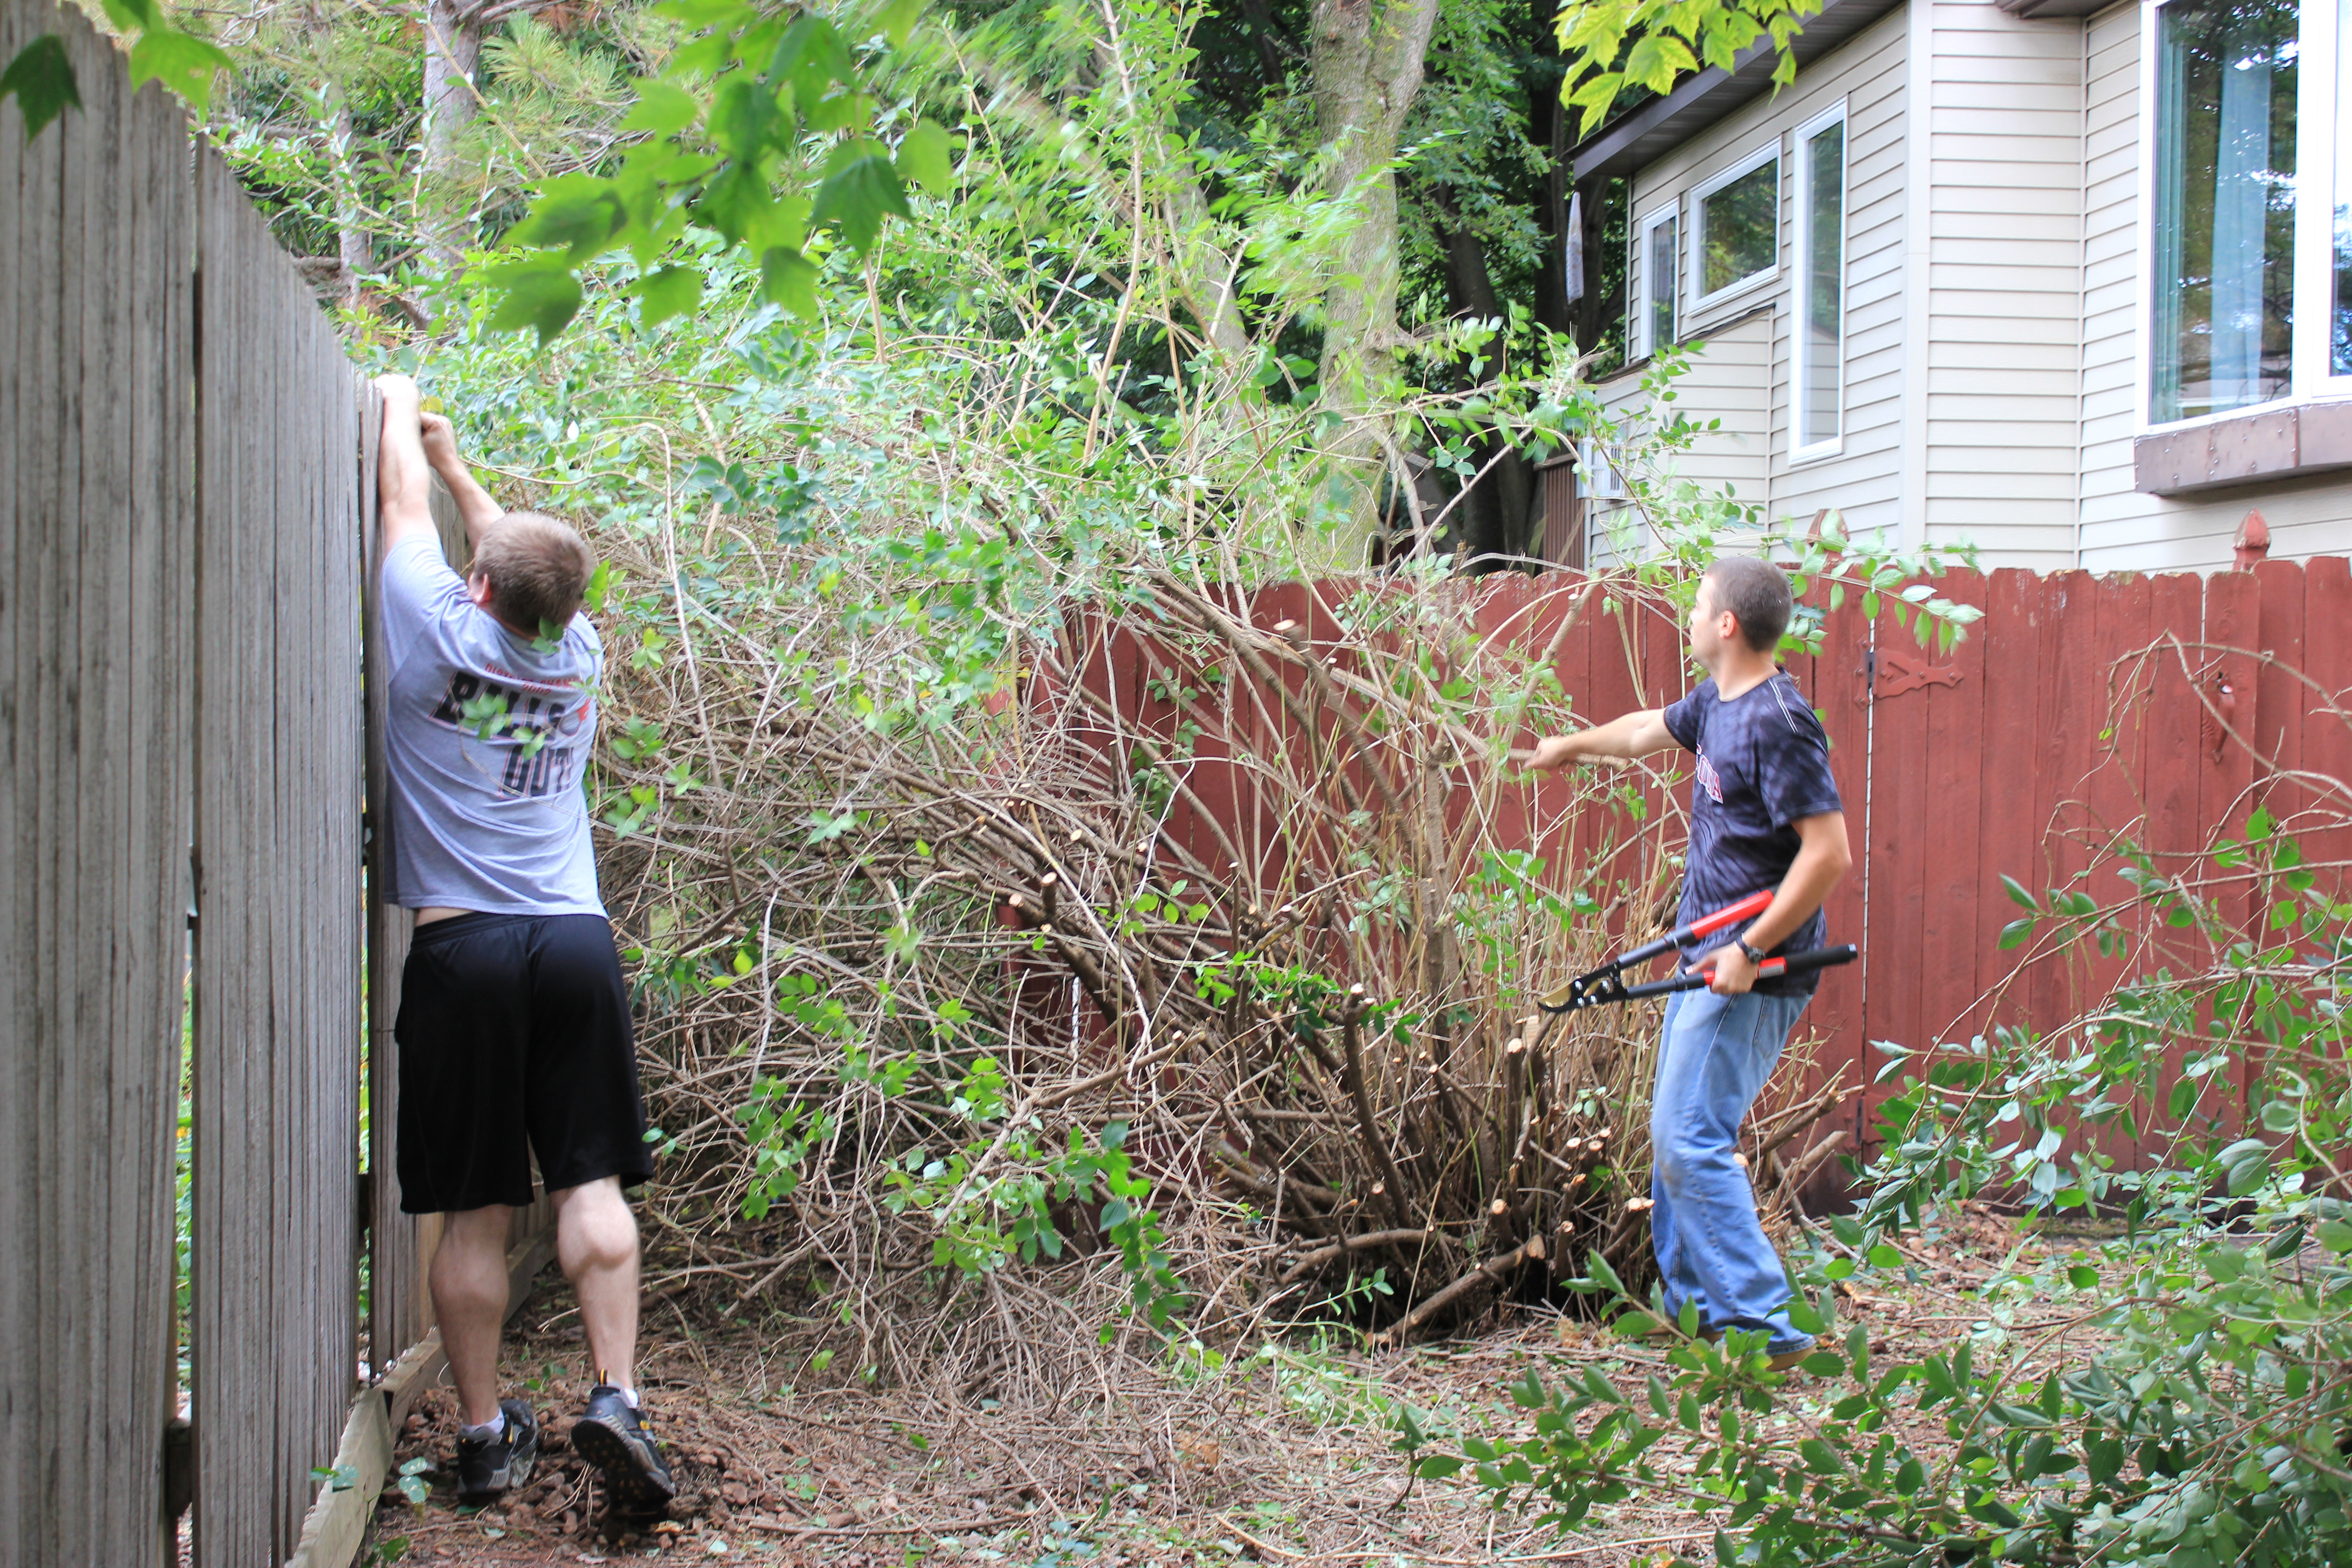
Taken several hours later, and after many needed breaks. They’ve made remarkable progress! Mike is reaching to pull a branch that had grown through the neighbor’s fence. Please also note my husband’s calves, holy muscles Batman!
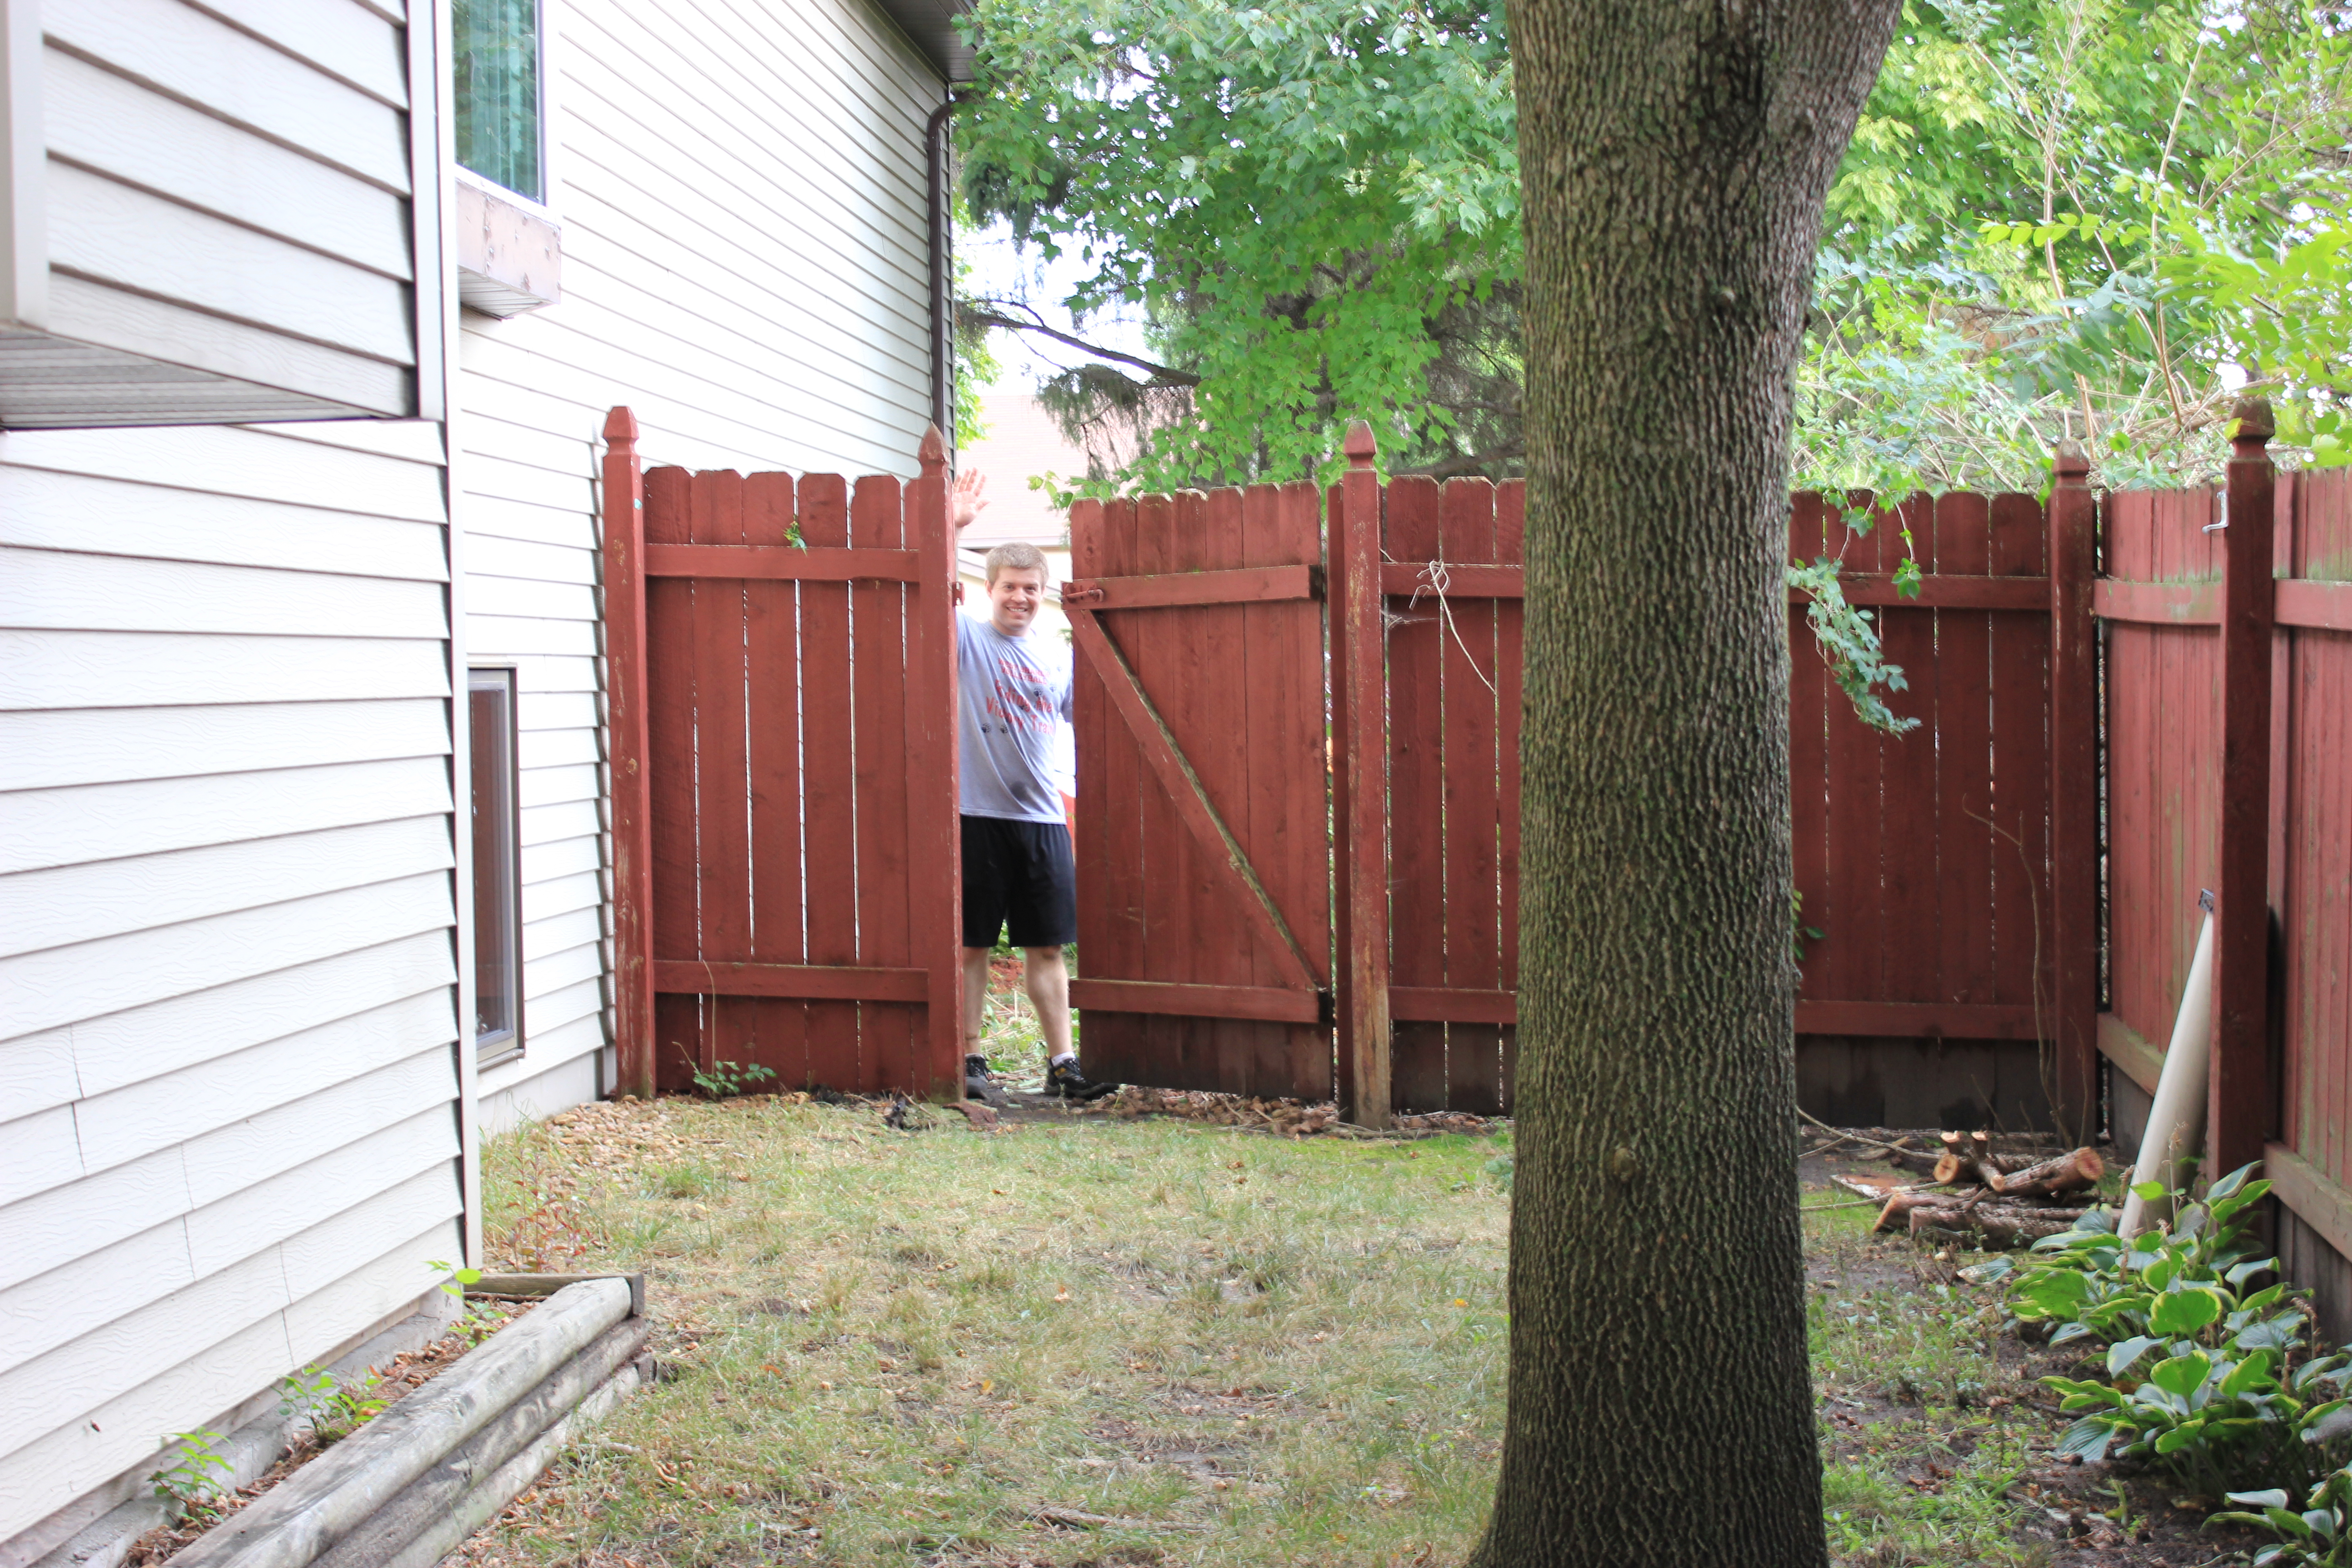
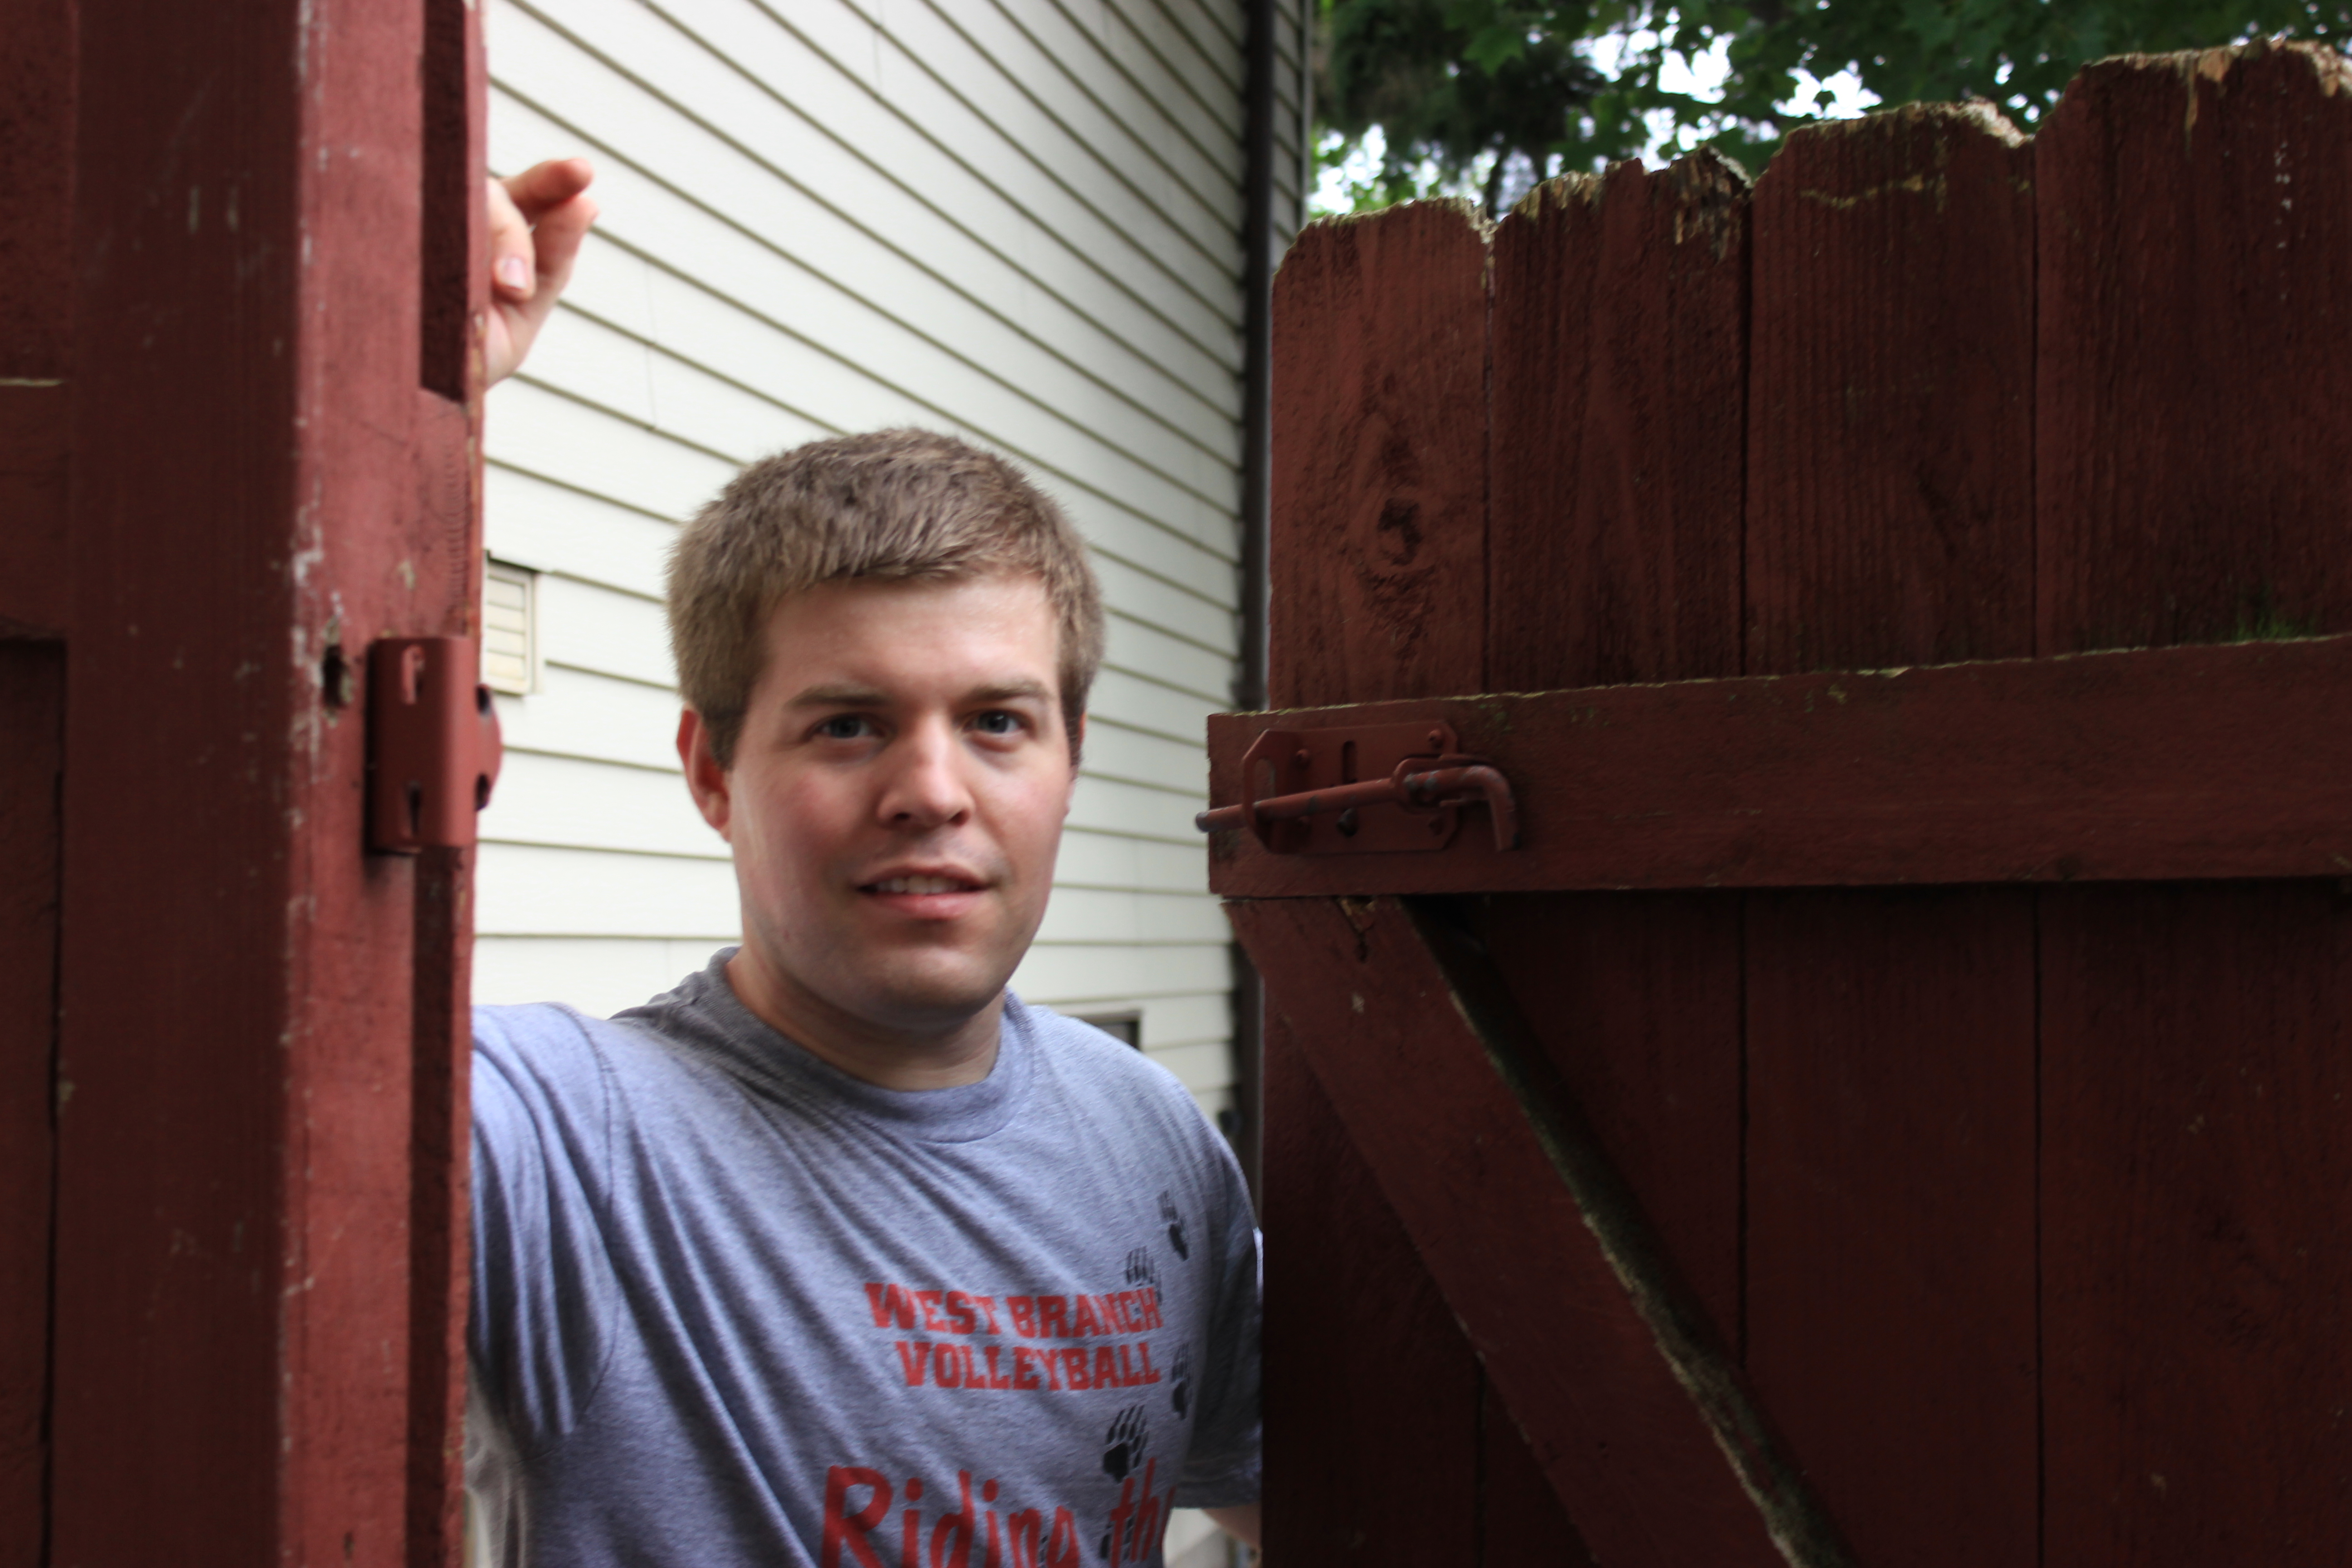
We discovered another gate in our soon-to-be-trash fence!
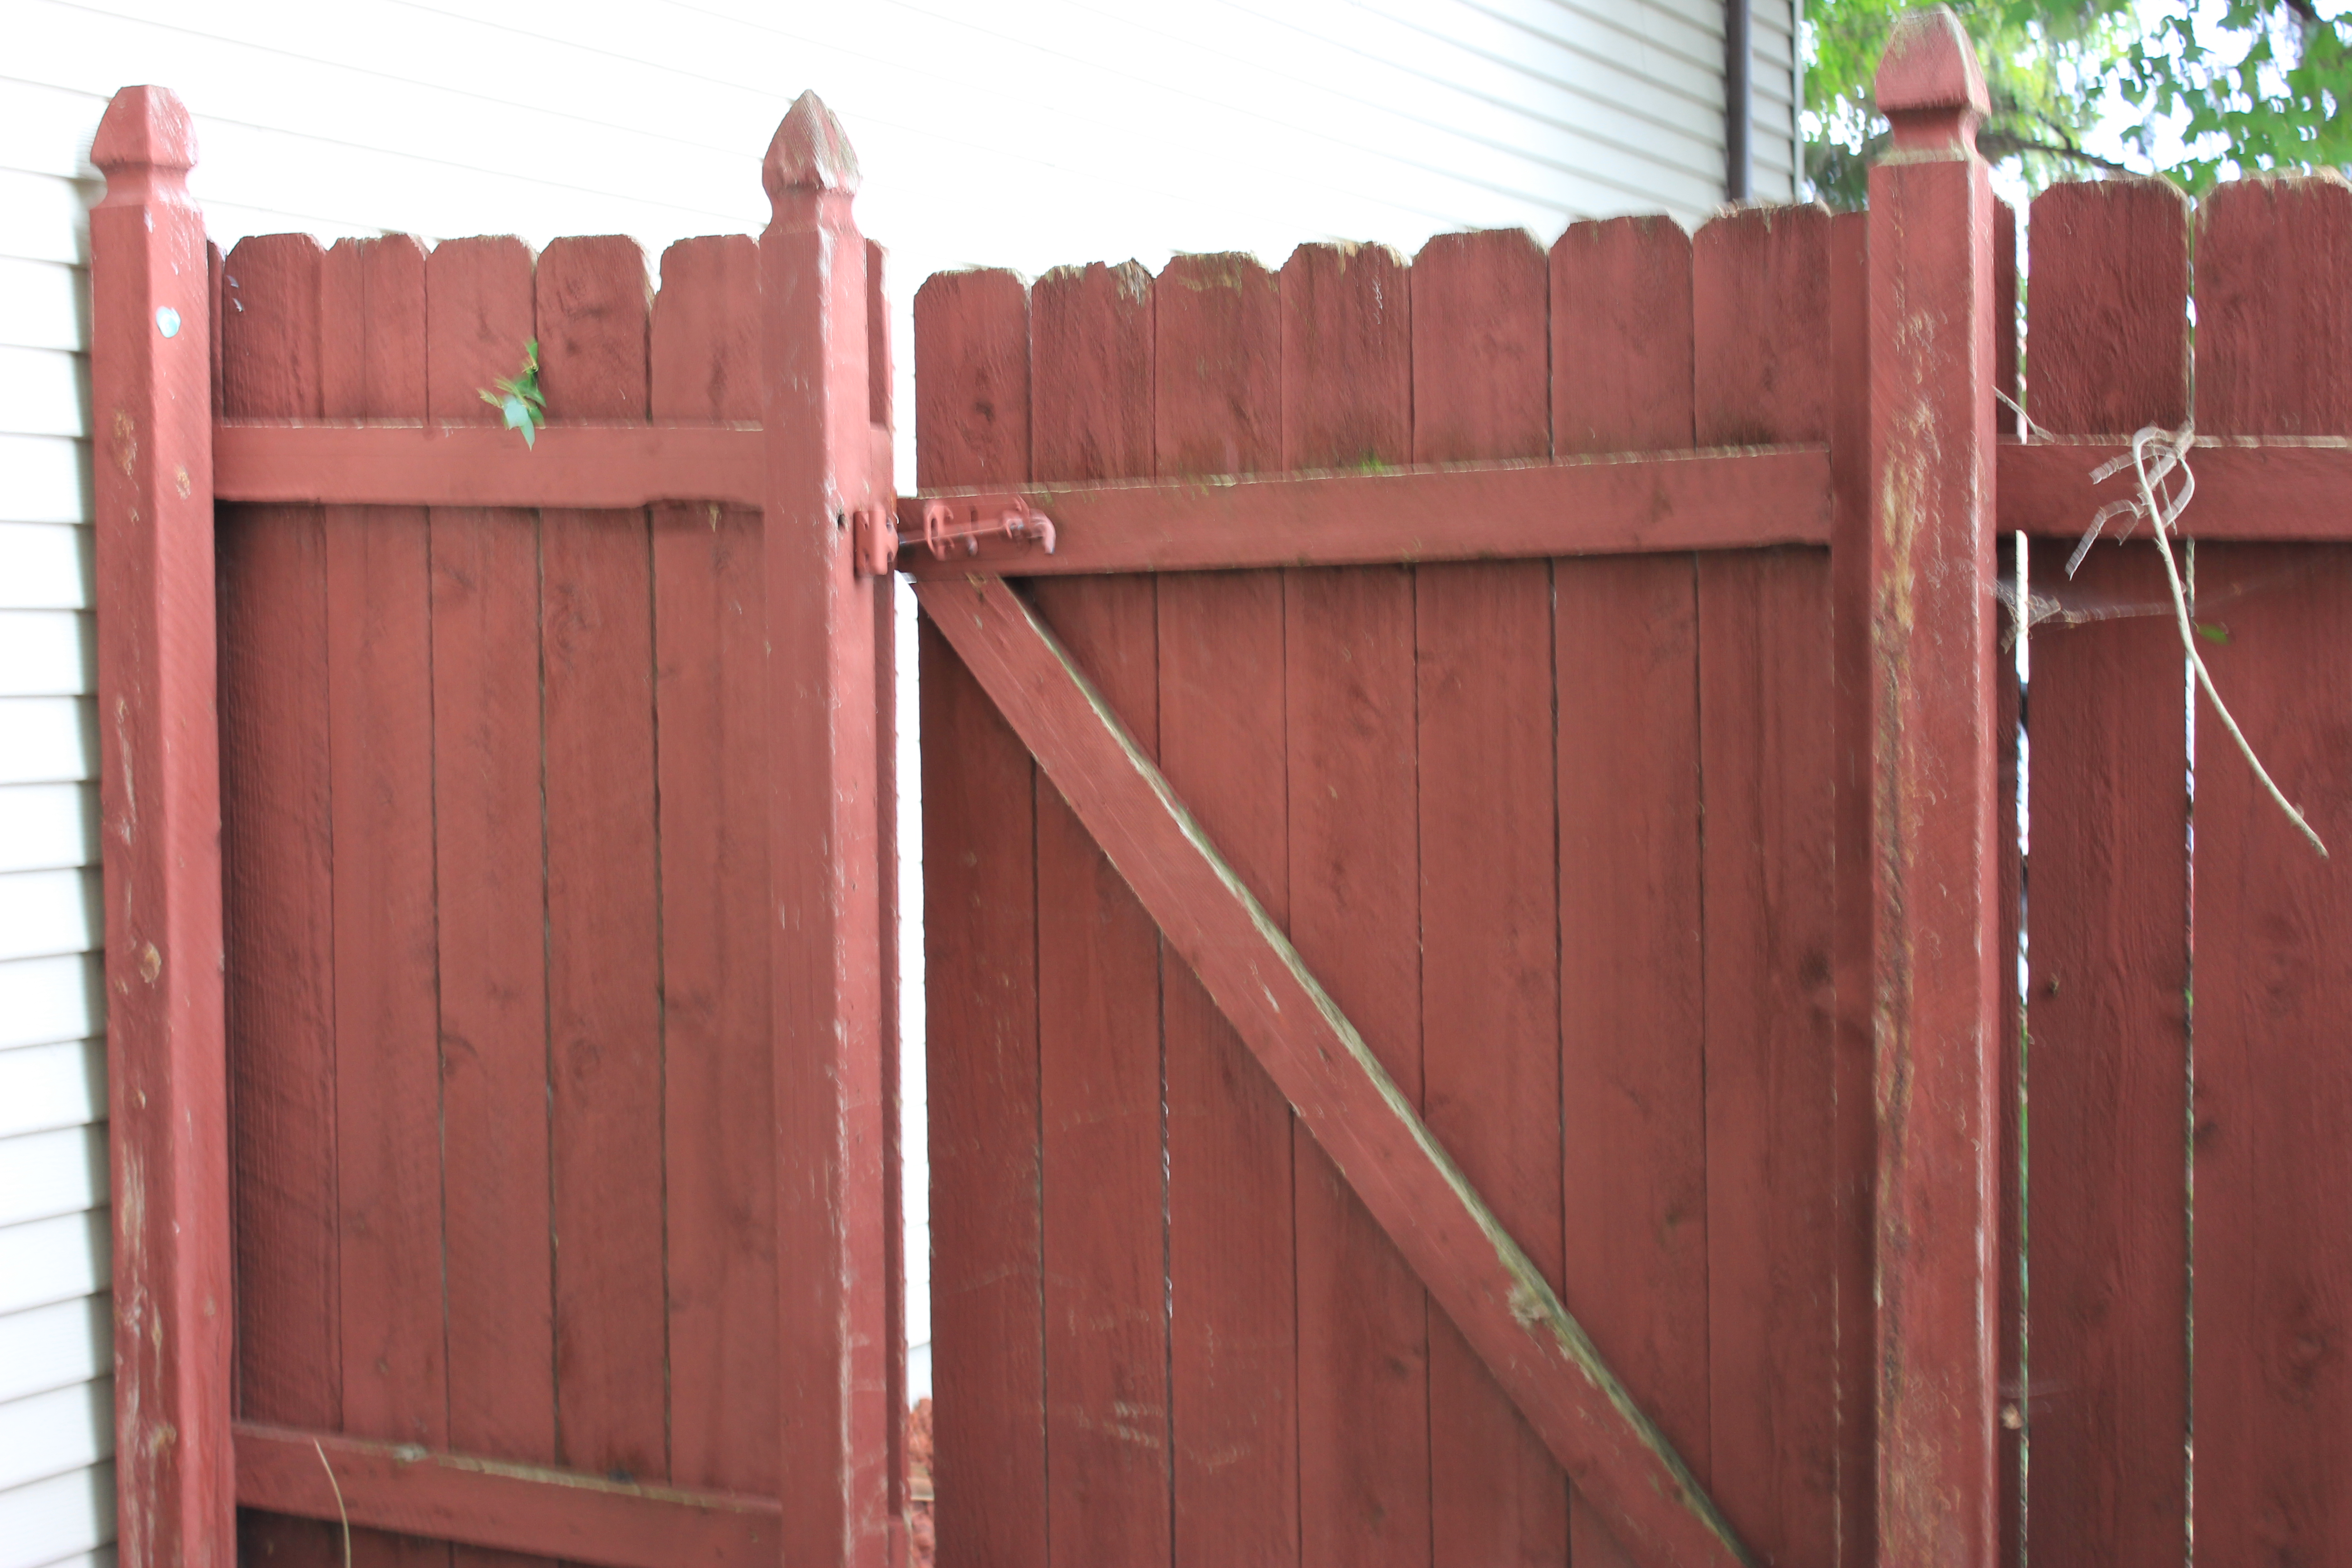
Another view of the “new” gate.
Mike = nearly exhausted but not ready to quit. He’s so happy to have projects.

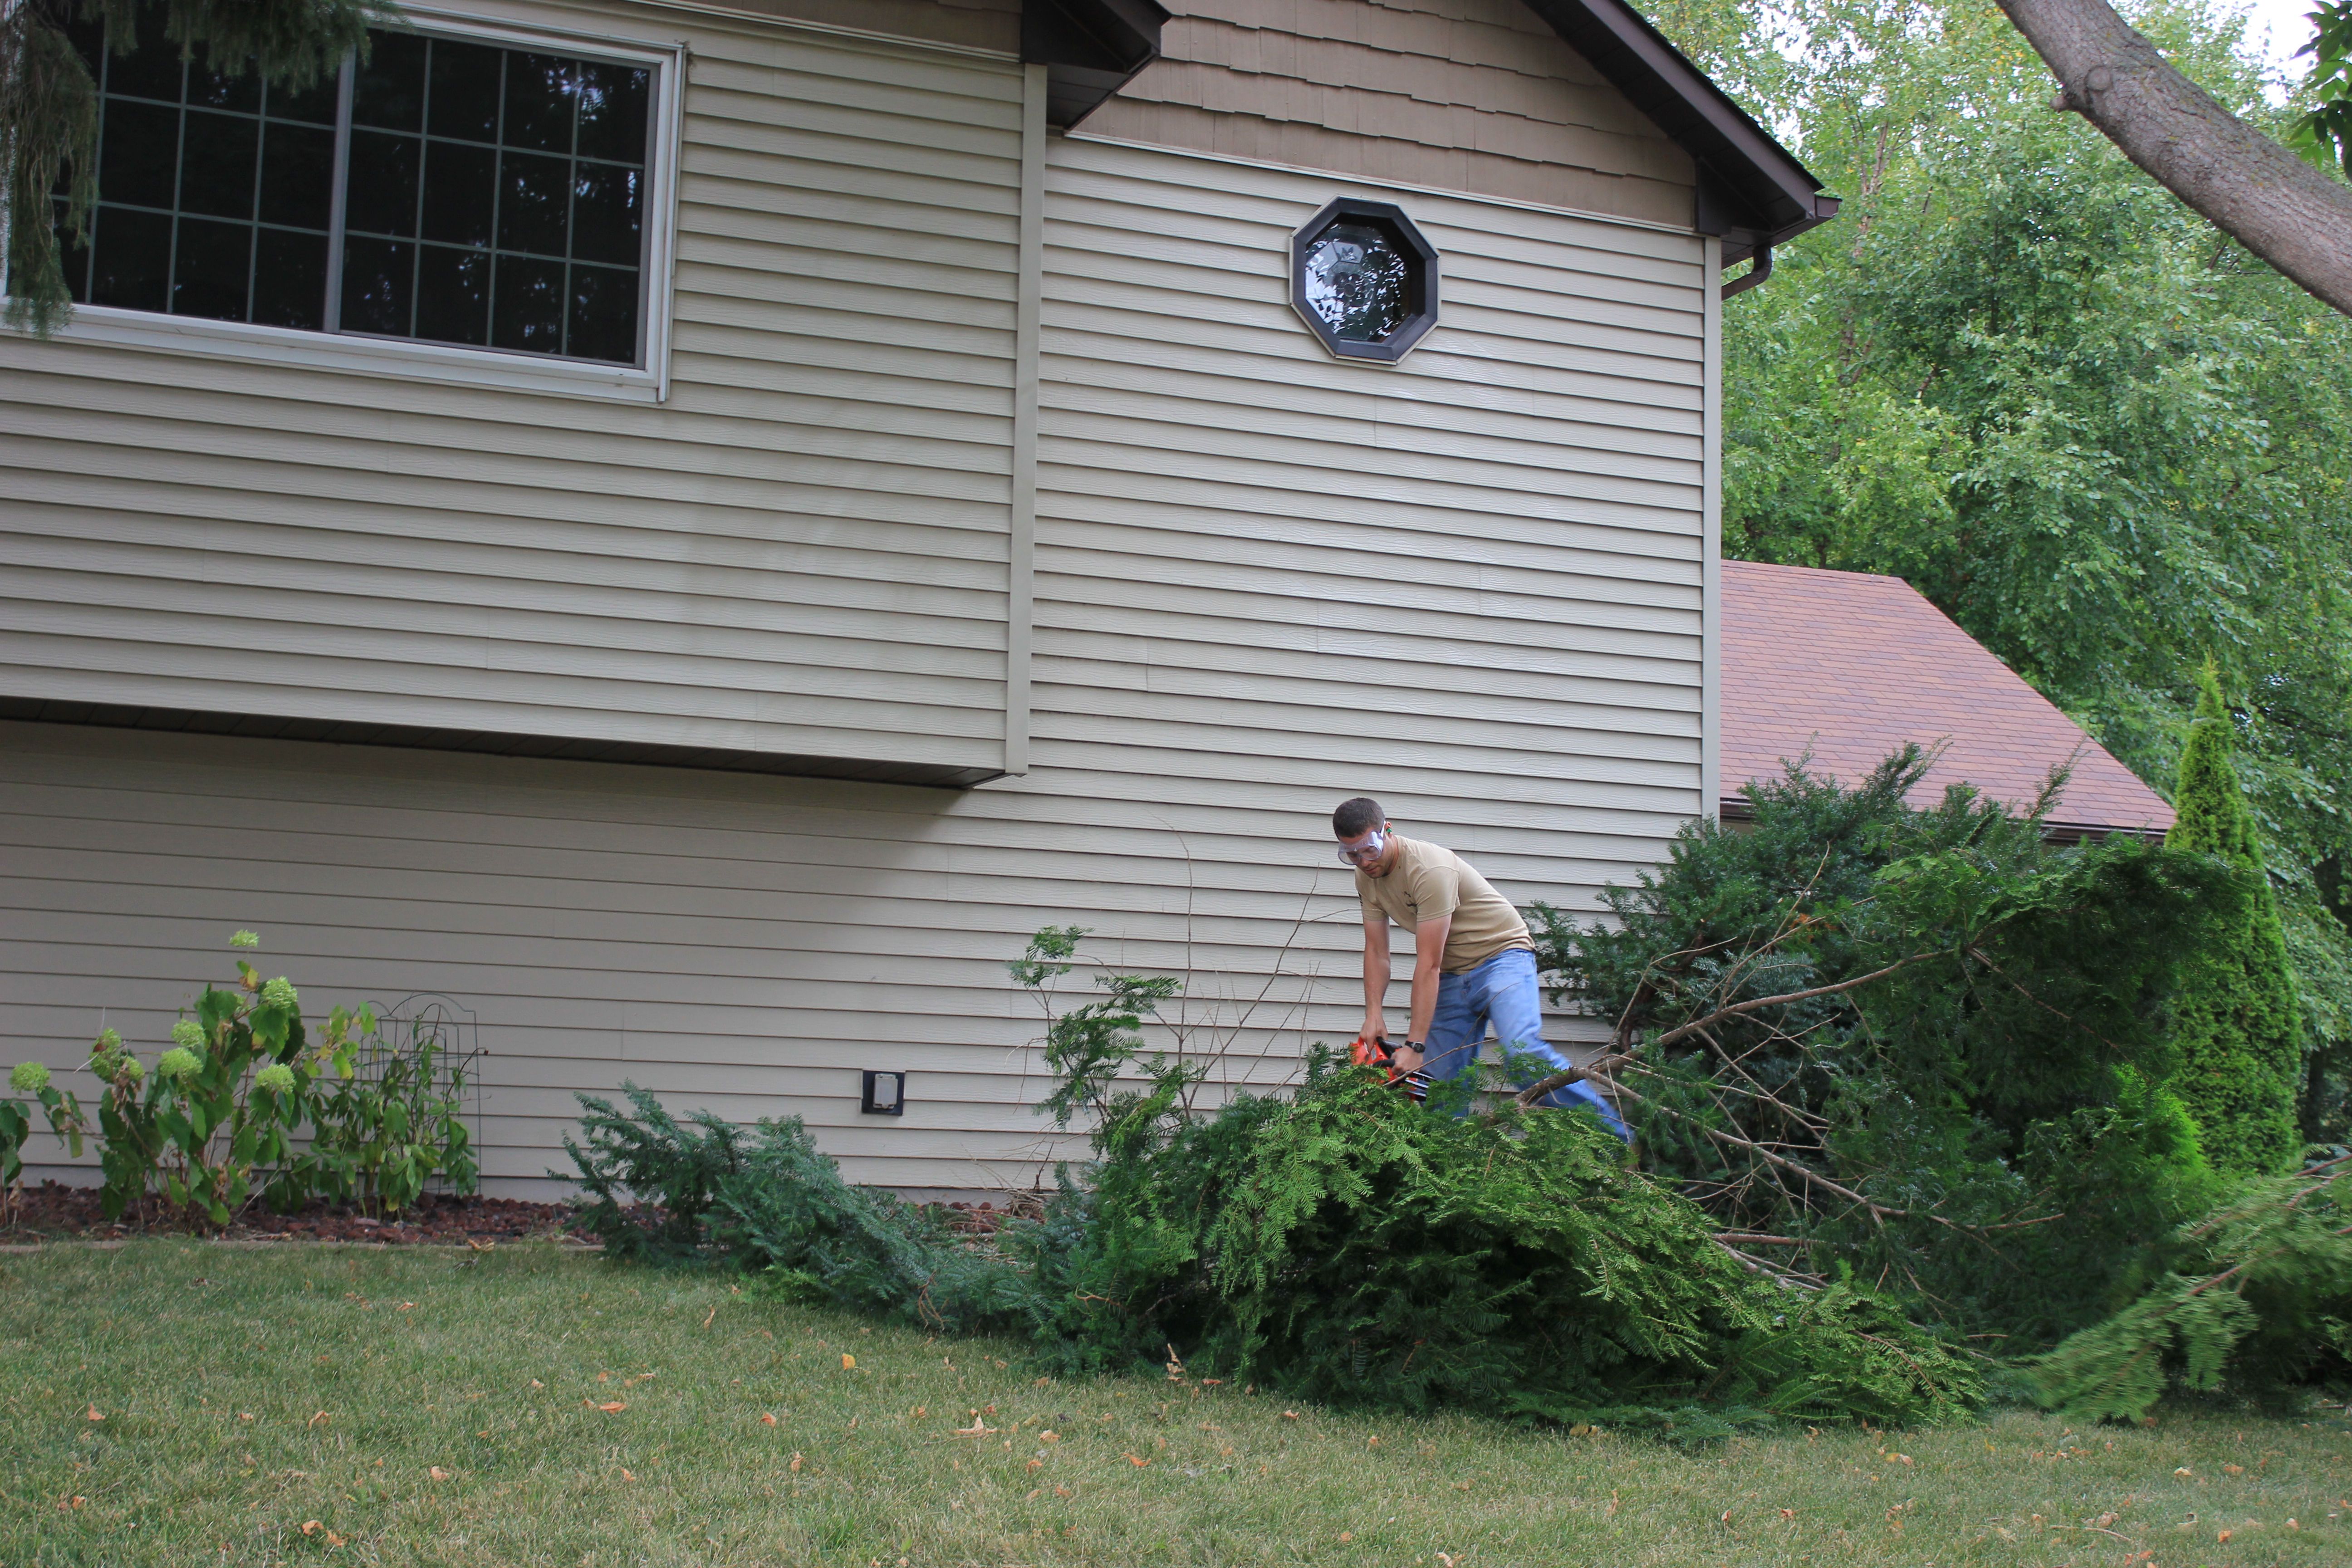
Chris puts some finishing touches on the base of ENORMOUS Bush. Not sure what we’re going to do about what’s left, but it’s great to have most of it gone.
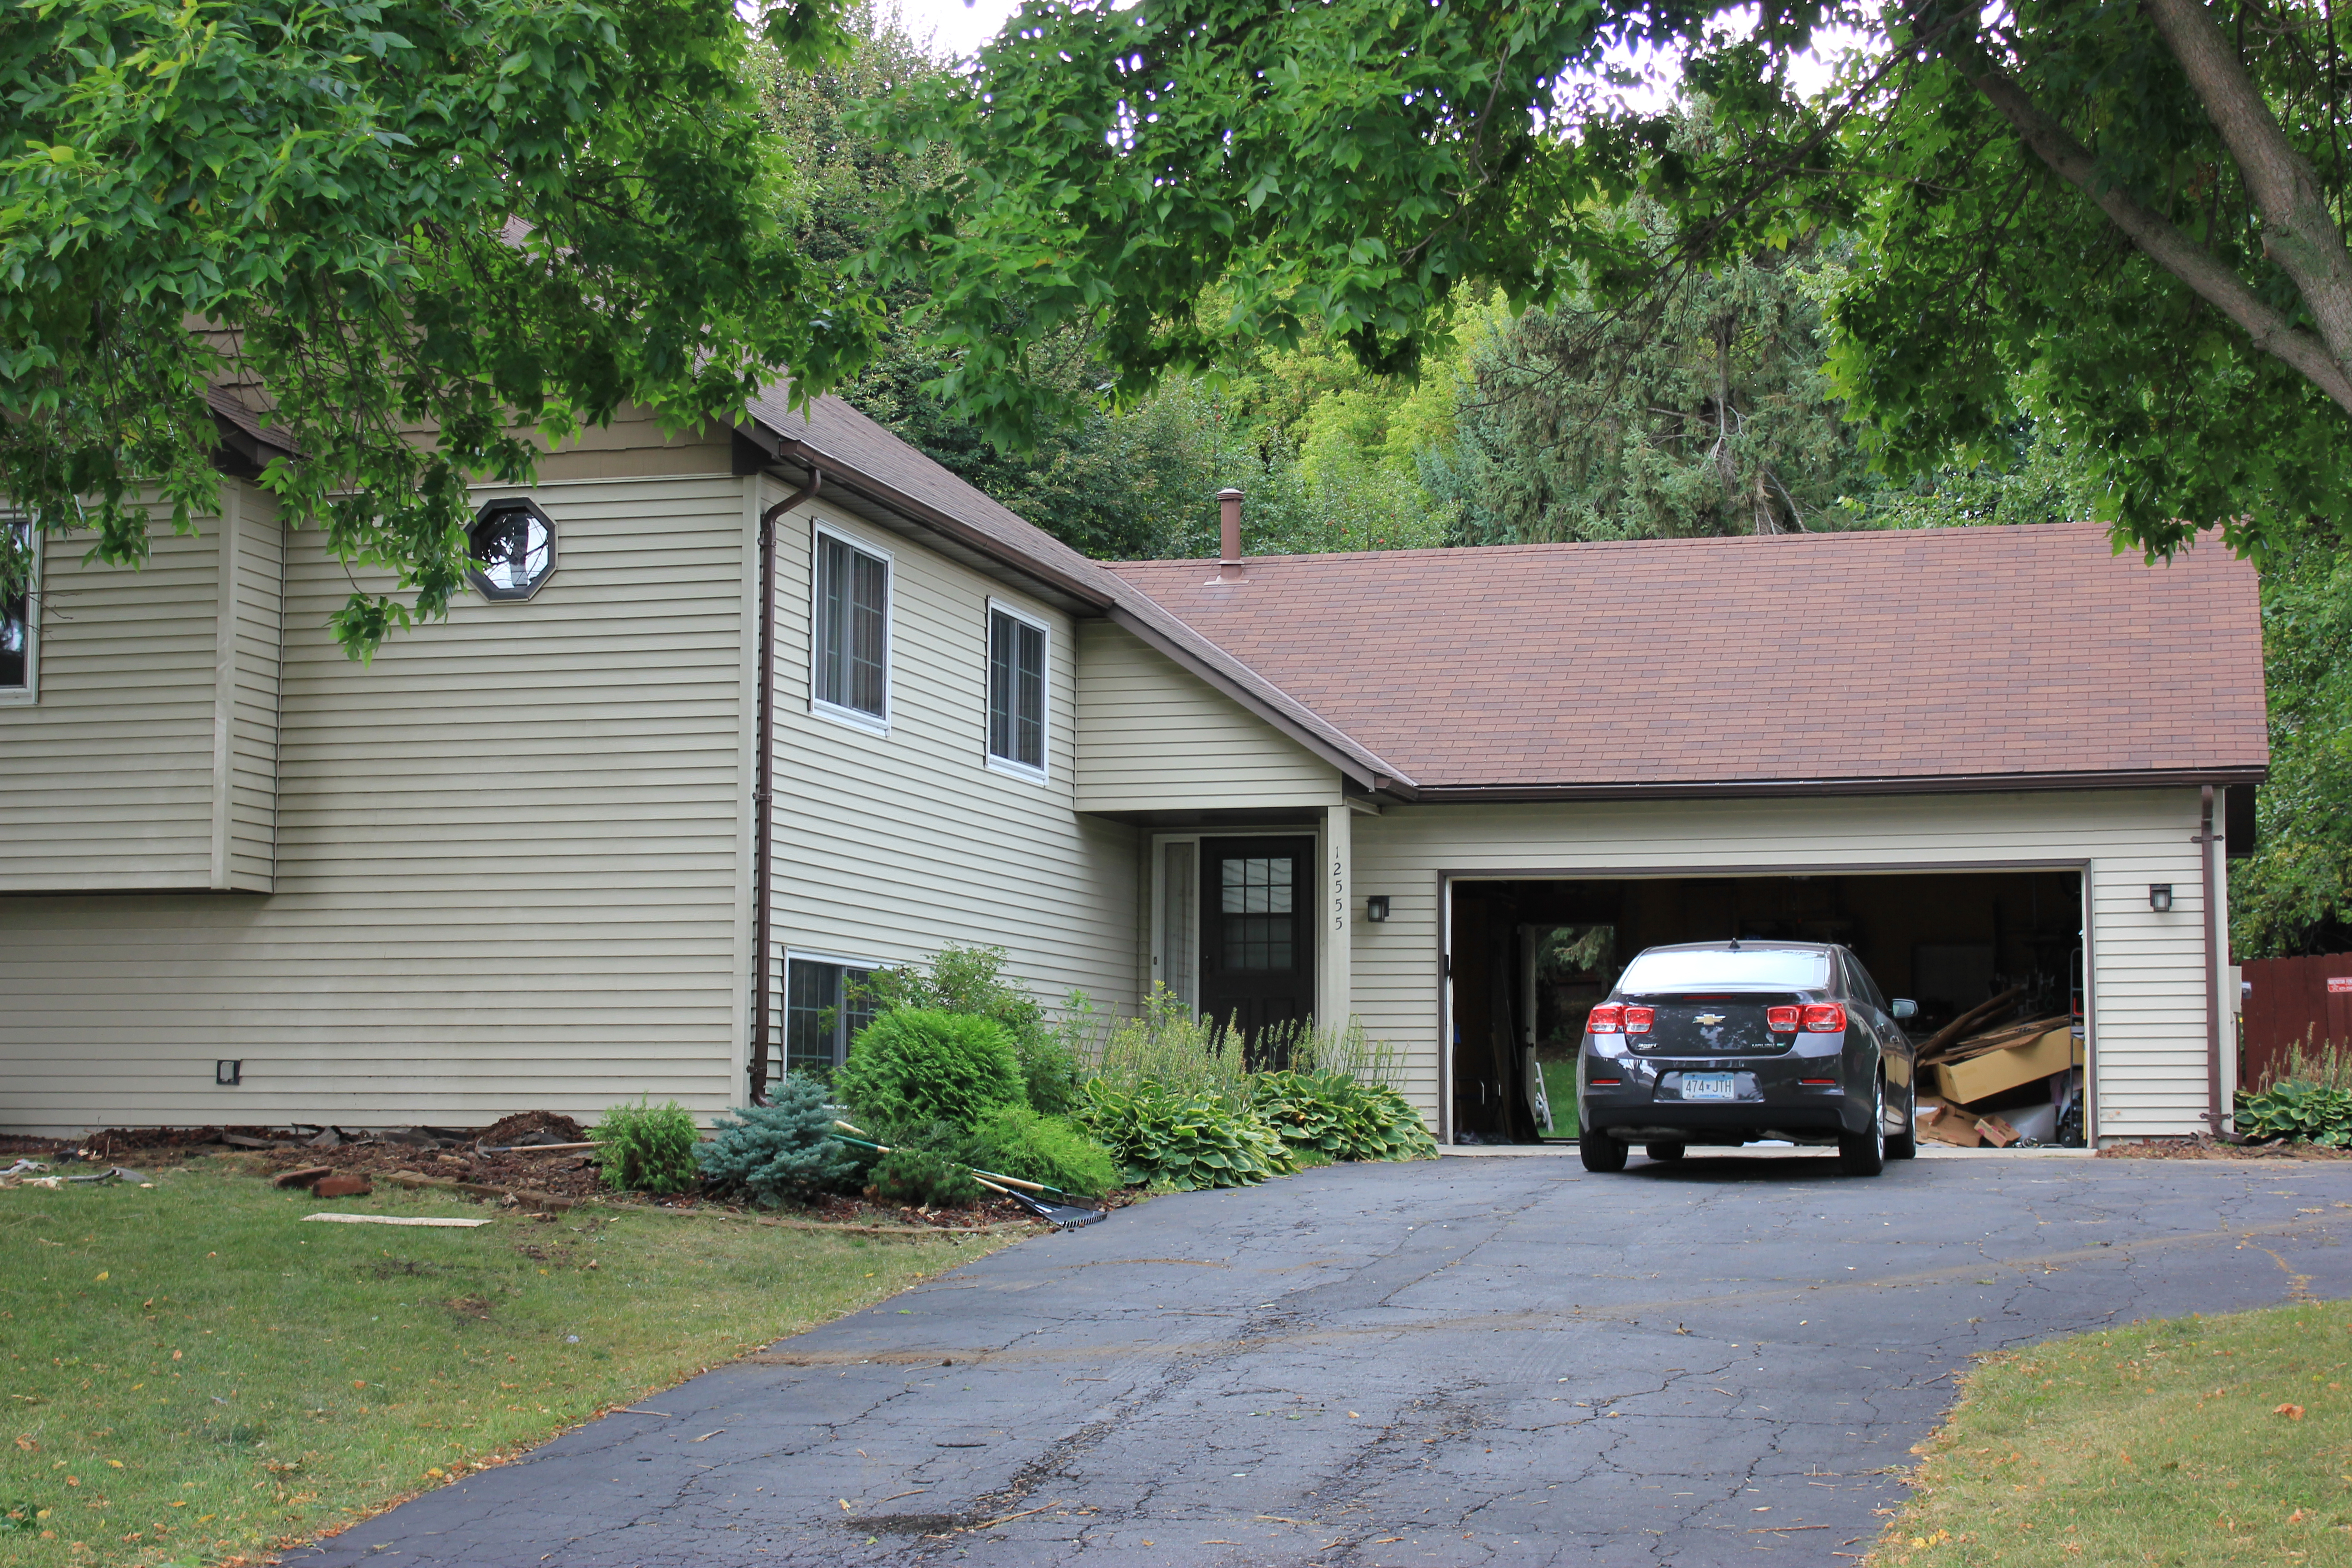
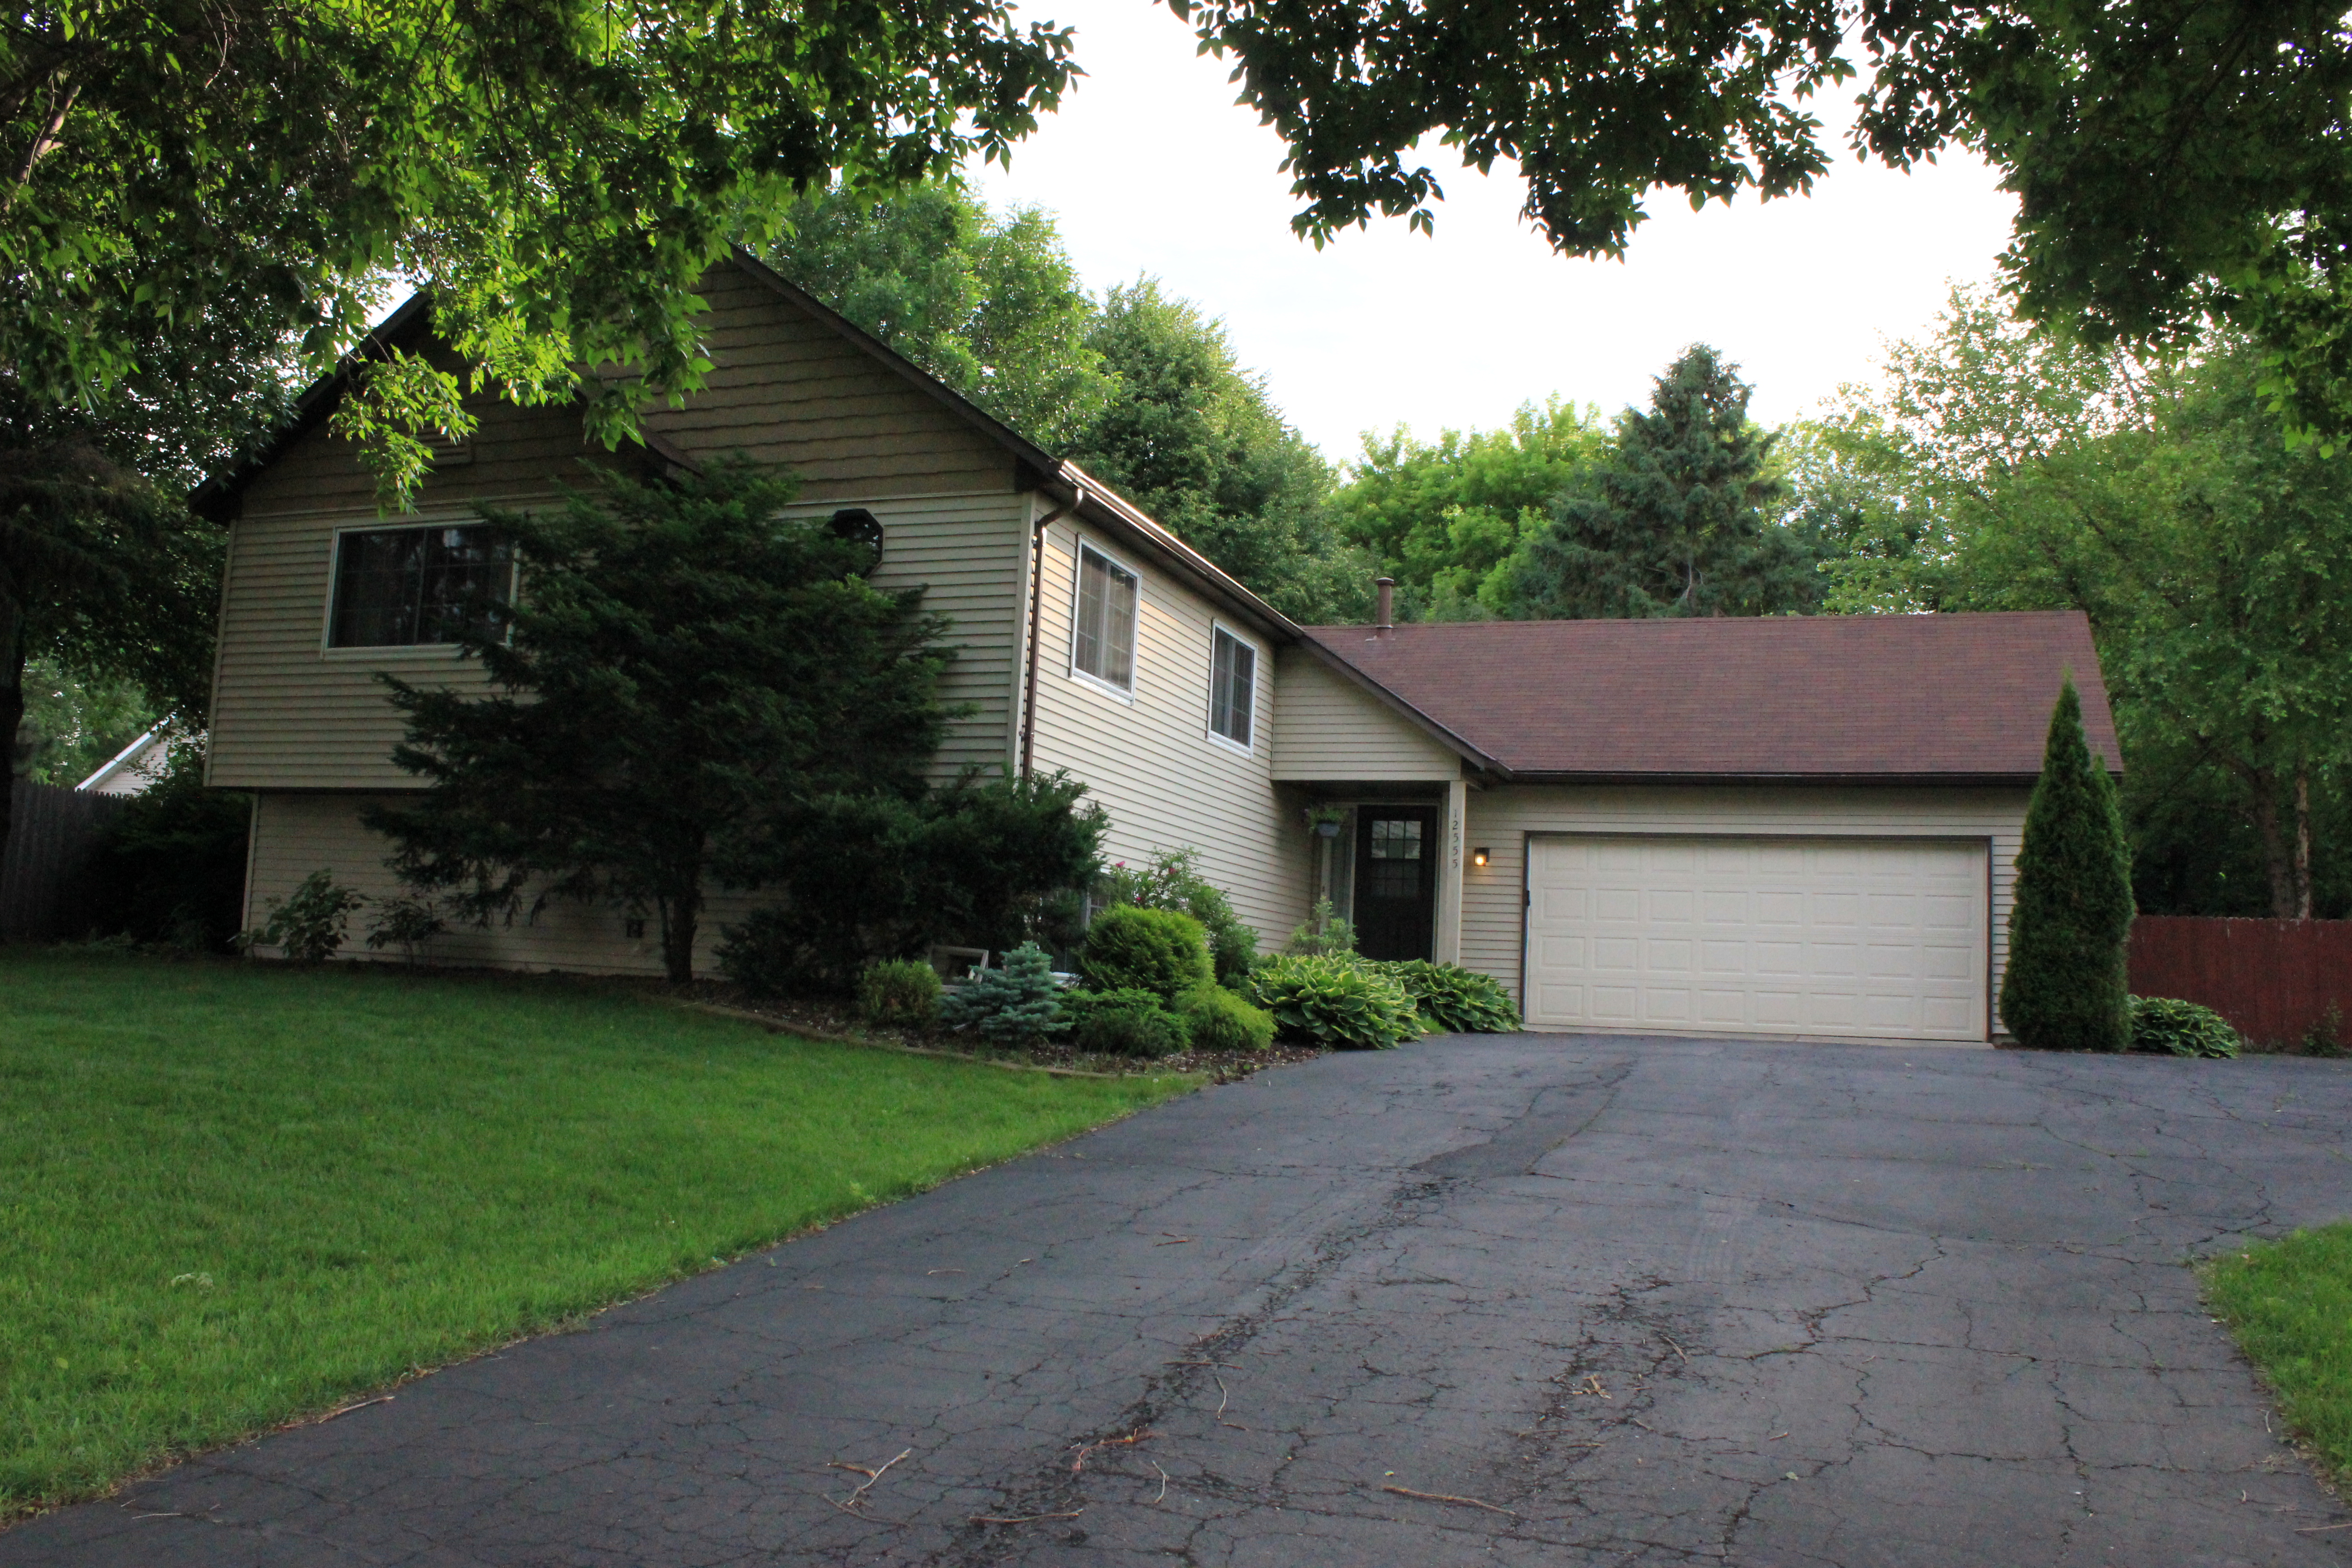
The front of the house is starting to look more like a home, but it still needs a lot of work. We also realized that we have two lights on the front of the garage (one on either side!). As you might also be able to see in this pic, the garage is still a nightmare. We’ve got another post coming detailing our cleanup process.
Thanks for stopping by! We have so many more updates to come! -Sara