By Mike.
When we moved into the house, we went two weeks without a dishwasher. This is because the previous owners wanted to fix a seal, but when they did it themselves, they broke a piece of plastic that holds the seal in place. A replacement part was not going to arrive by the time of closing, so we accepted that they would hire a repairman to come and fix it once the new part arrived, after we had taken possession of the home.
As a result of this, we needed to do dishes by hand for 14 days, which isn’t a really big deal, considering I did dishes by hand for 18 years growing up and even more during our time living in Cedar Falls, Iowa. What is not so much fun, is trying to do dishes in a sink with a low-sitting faucet head and no sprayer (#first world problems). After one week of struggling to rinse dishes and fill up our Brita under the awkwardly low faucet, we broke down and bought a new faucet head. We went for a more modern Moen with a spray head that you can pull out. We needed to go with an all-in-one faucet because our sink only had one opening, and adding a separate sprayer would have meant cutting into the sink, etc. (too much work for a cheap sink).
I did the whole installation by myself and went slowly because I didn’t want to mess anything up. All directions were read twice. However, there was one step that was not explained very well in the instructions, where I tried using my own tools, but would have made my life much easier if I knew earlier that the box included a specialized tool.
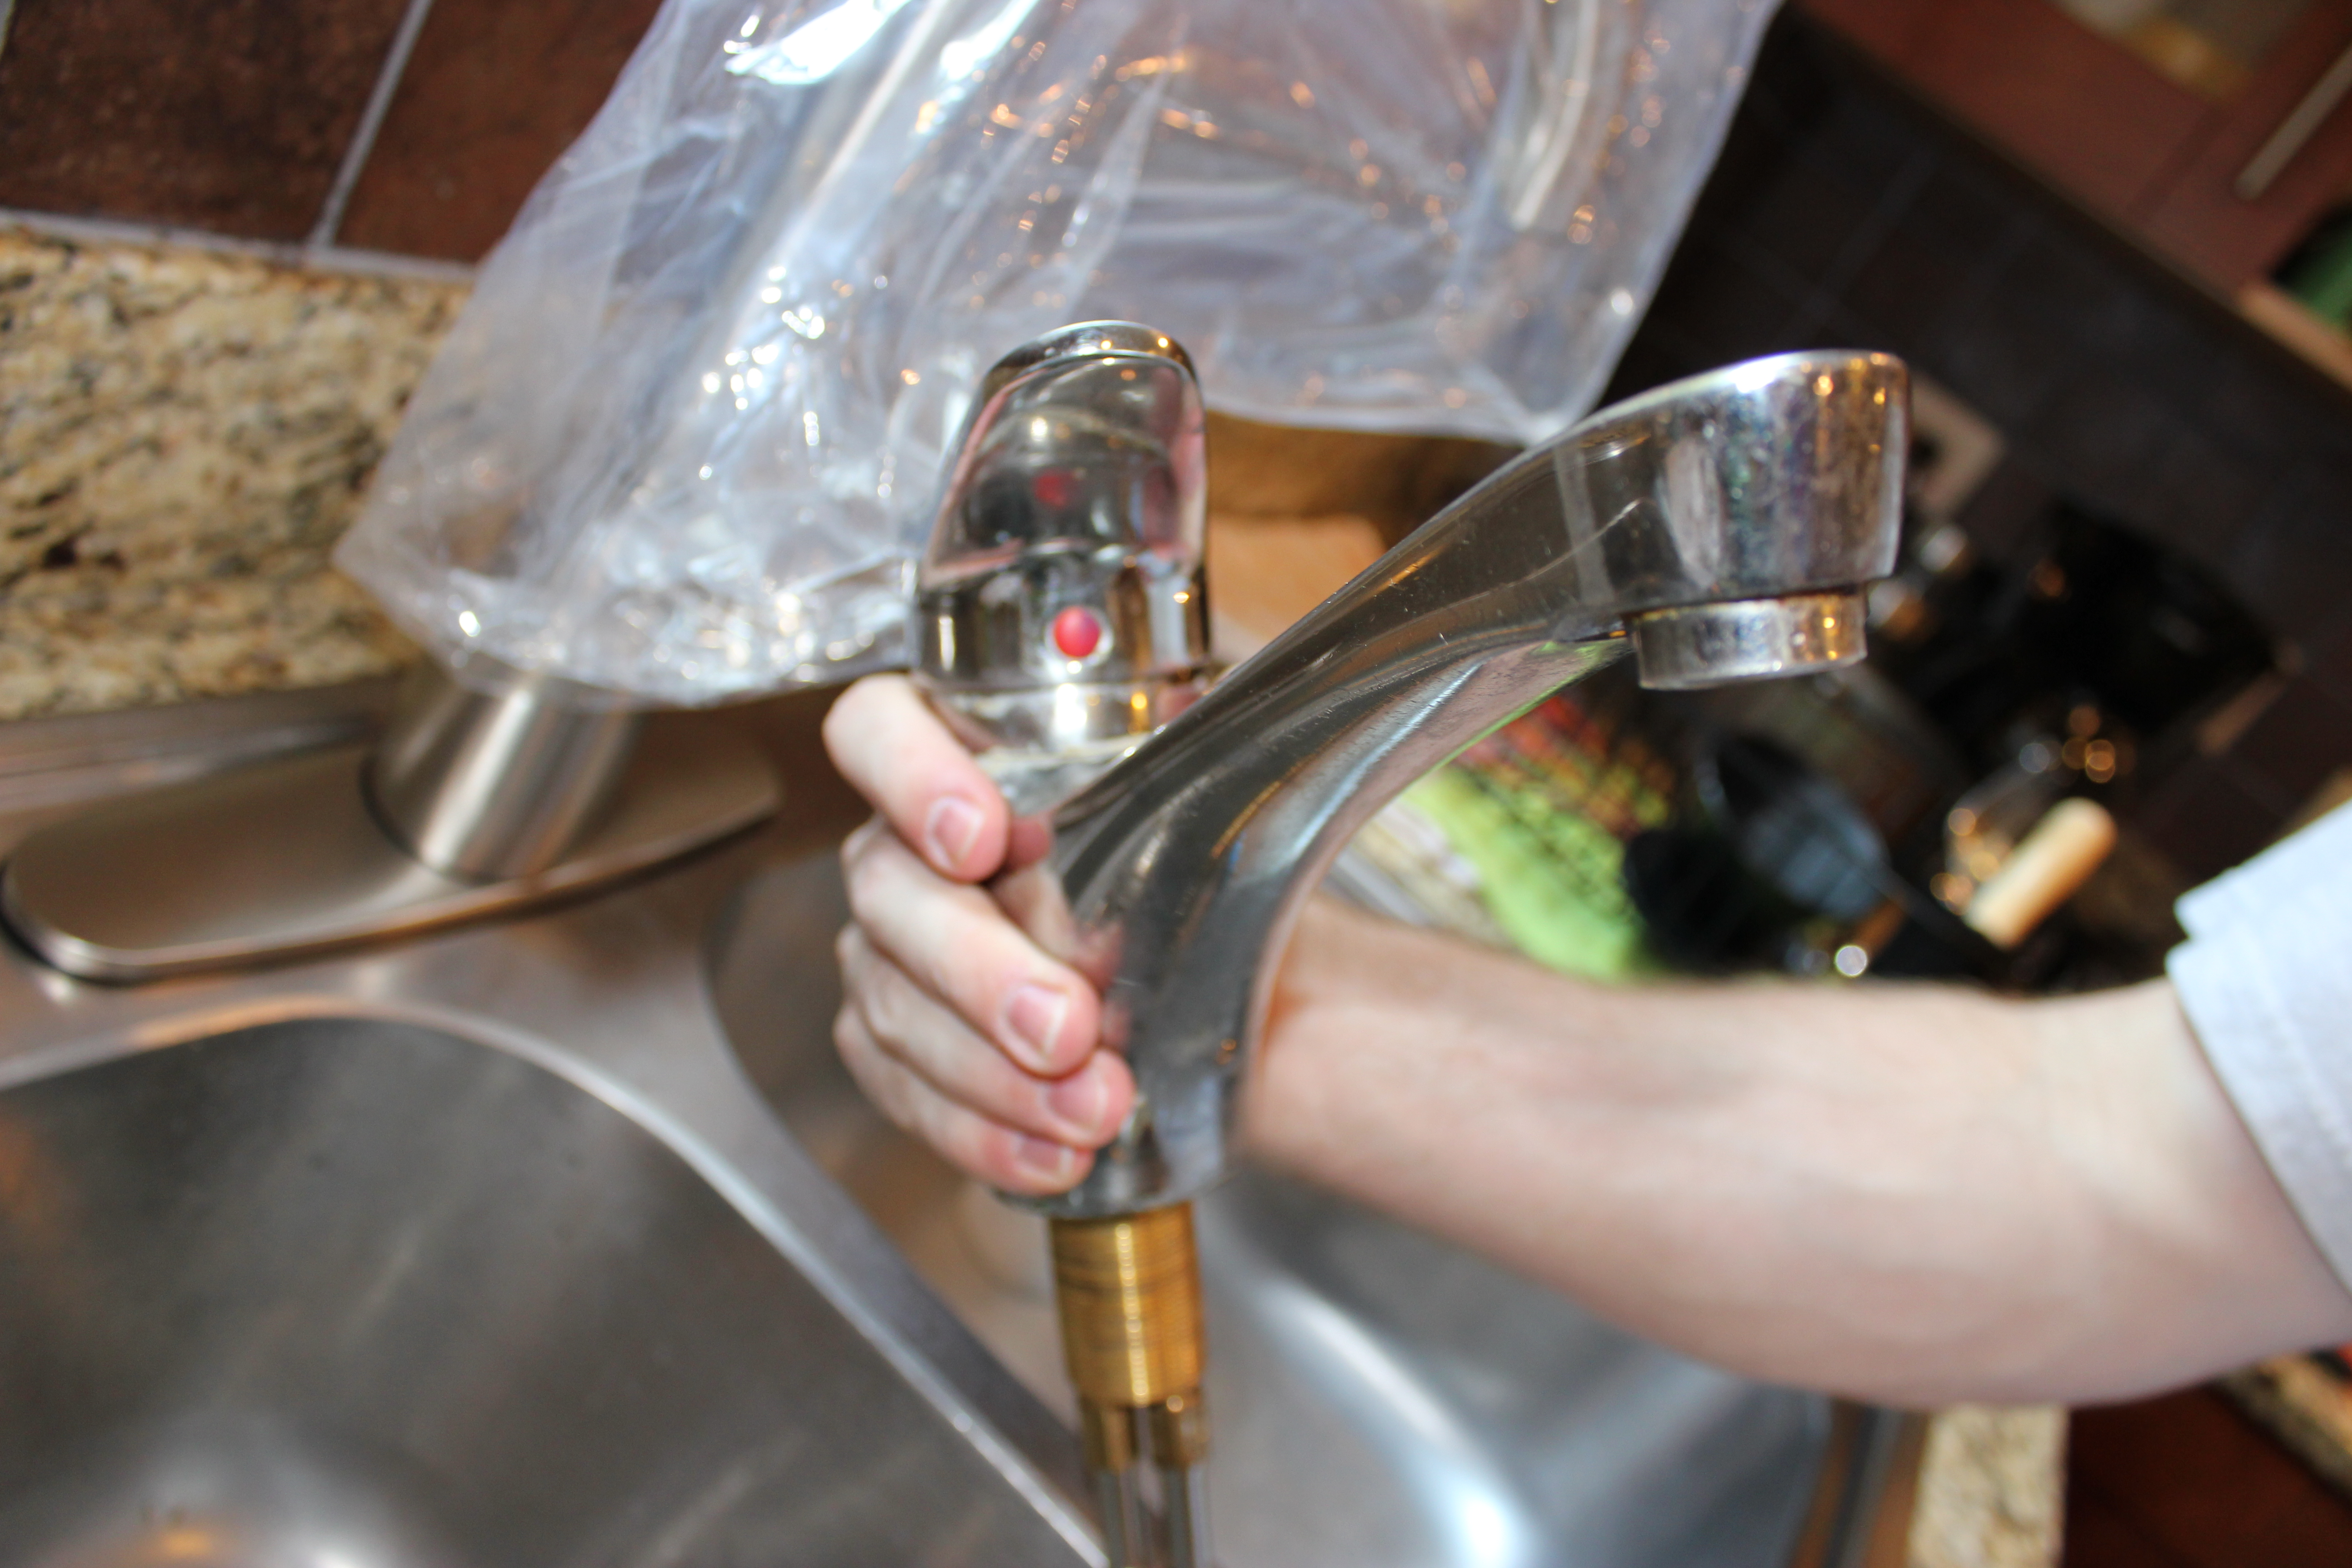
The old faucet. Did not sit very high above the sink and didn’t have a sprayer to rinse dishes. This thing was heavy!
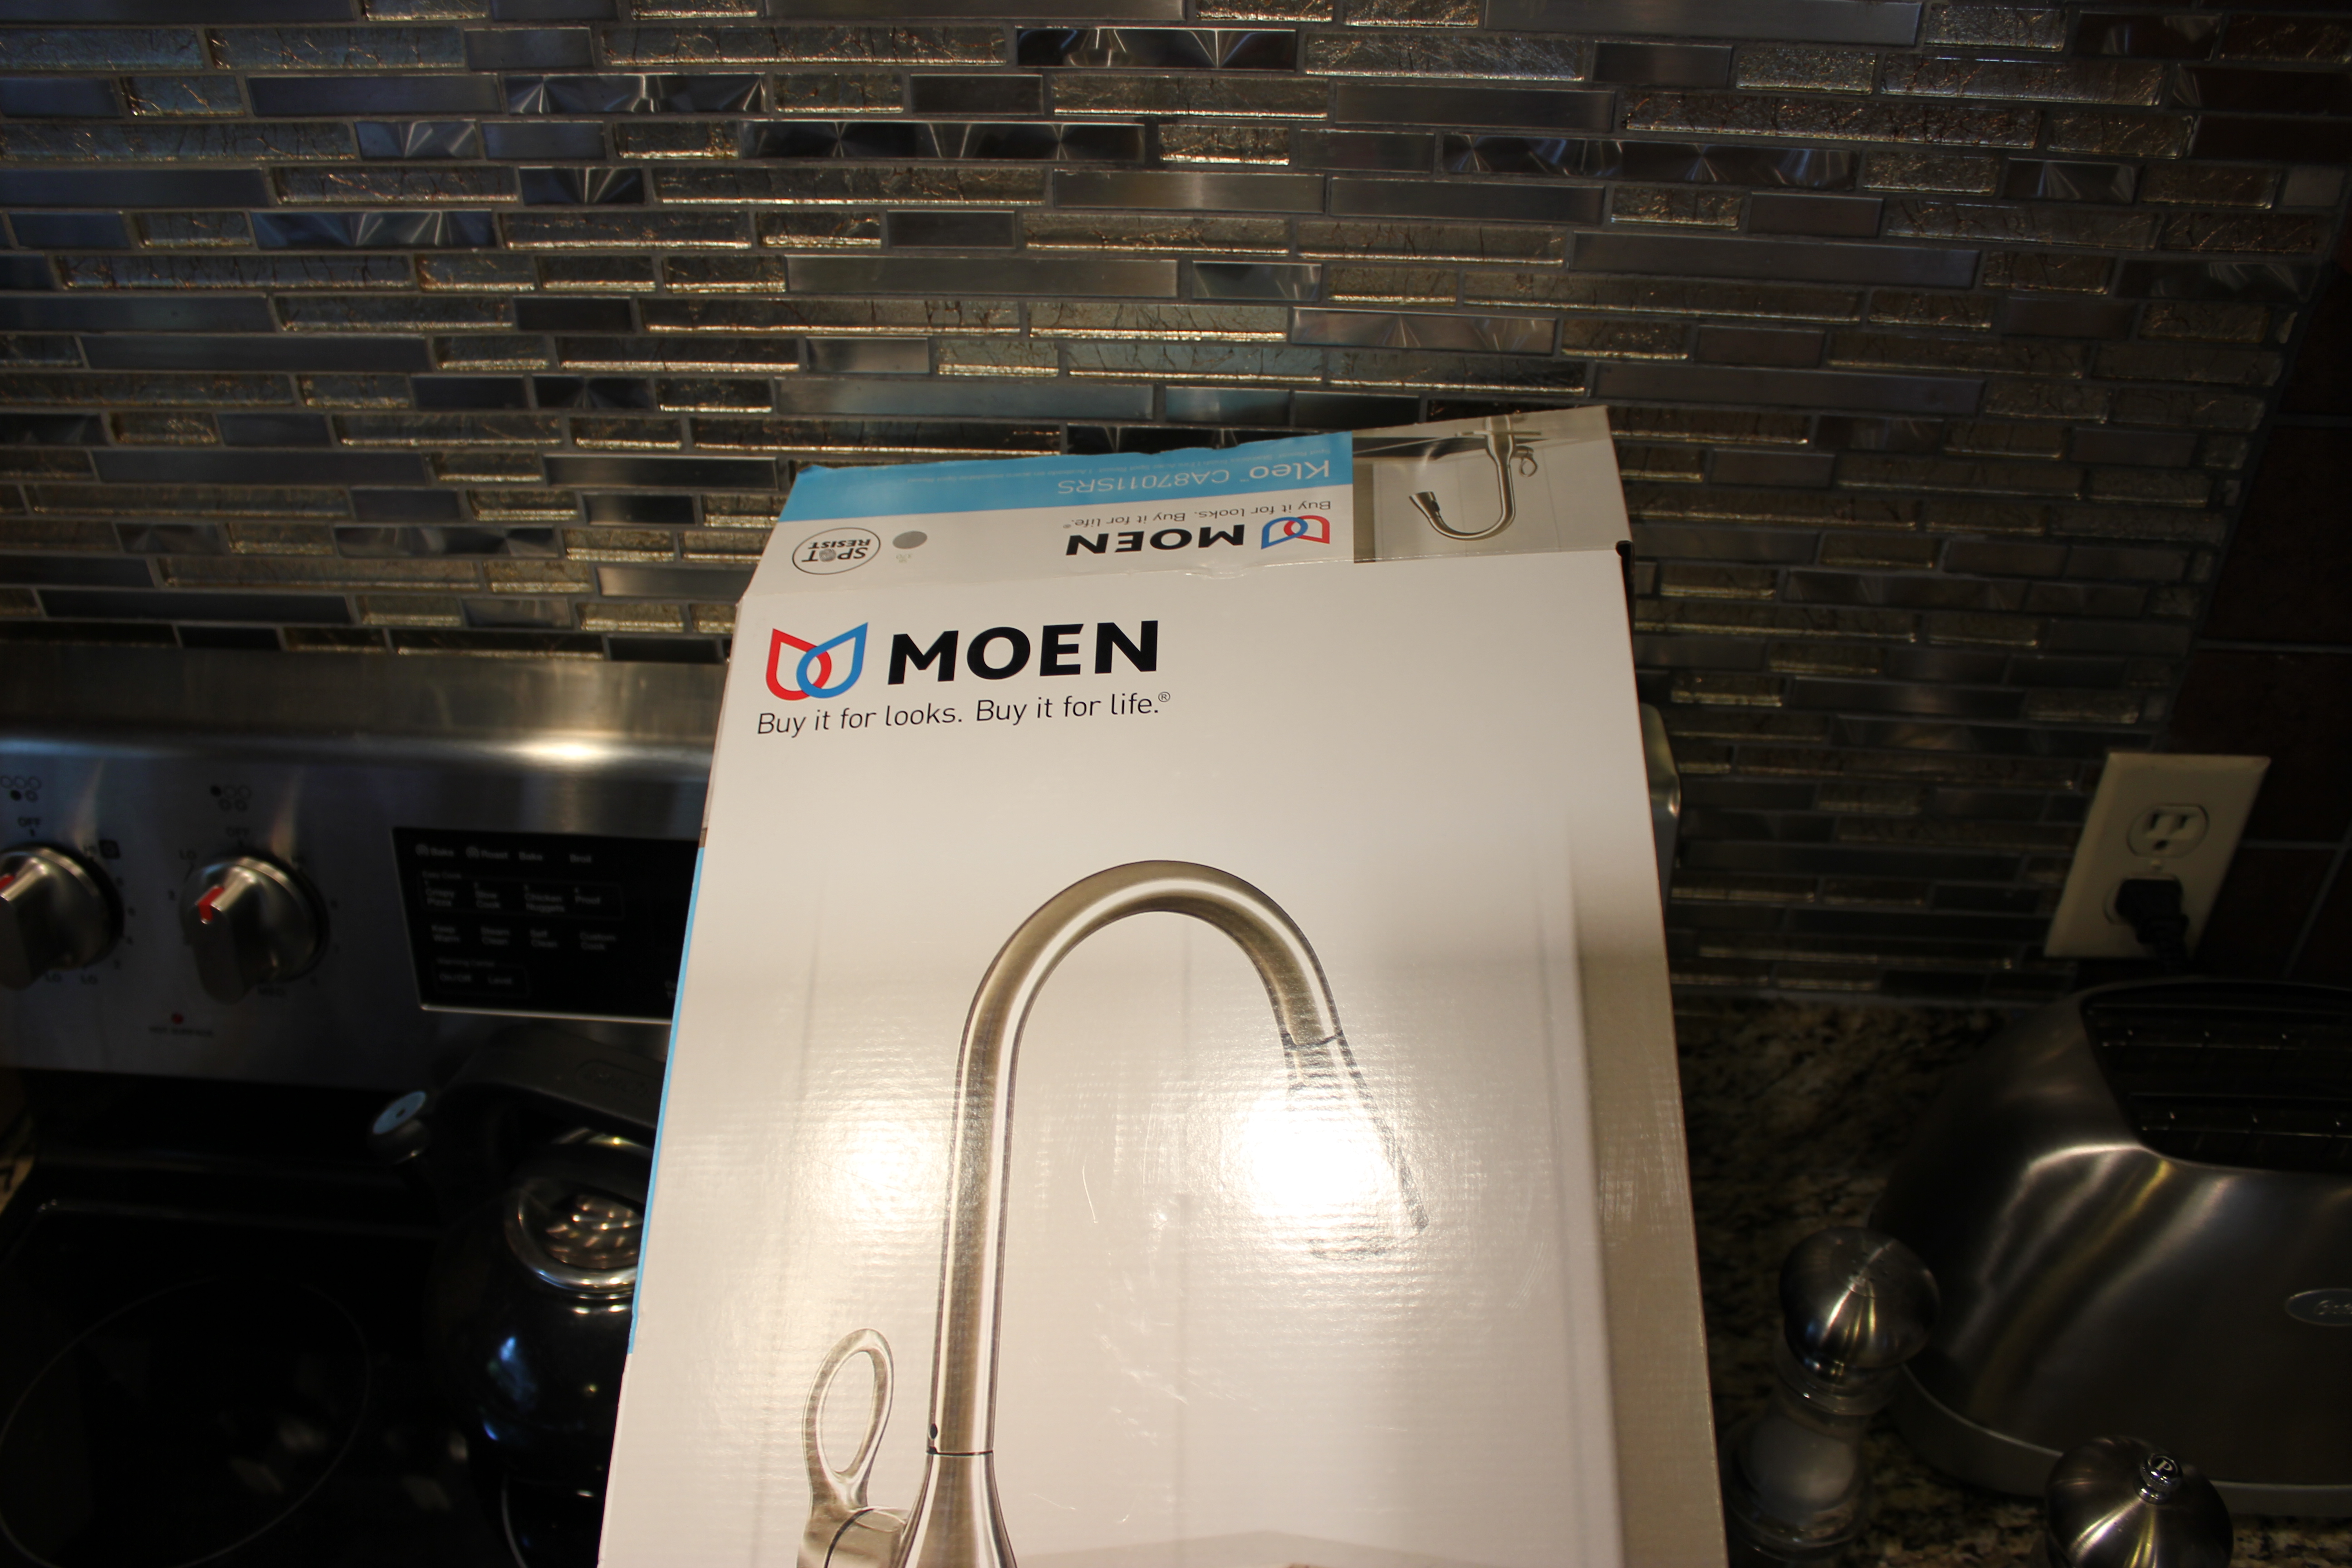
The new faucet. It came with everything we needed, except for silicone tape to seal the pipes when we fastened it to the hot and cold water pipes.
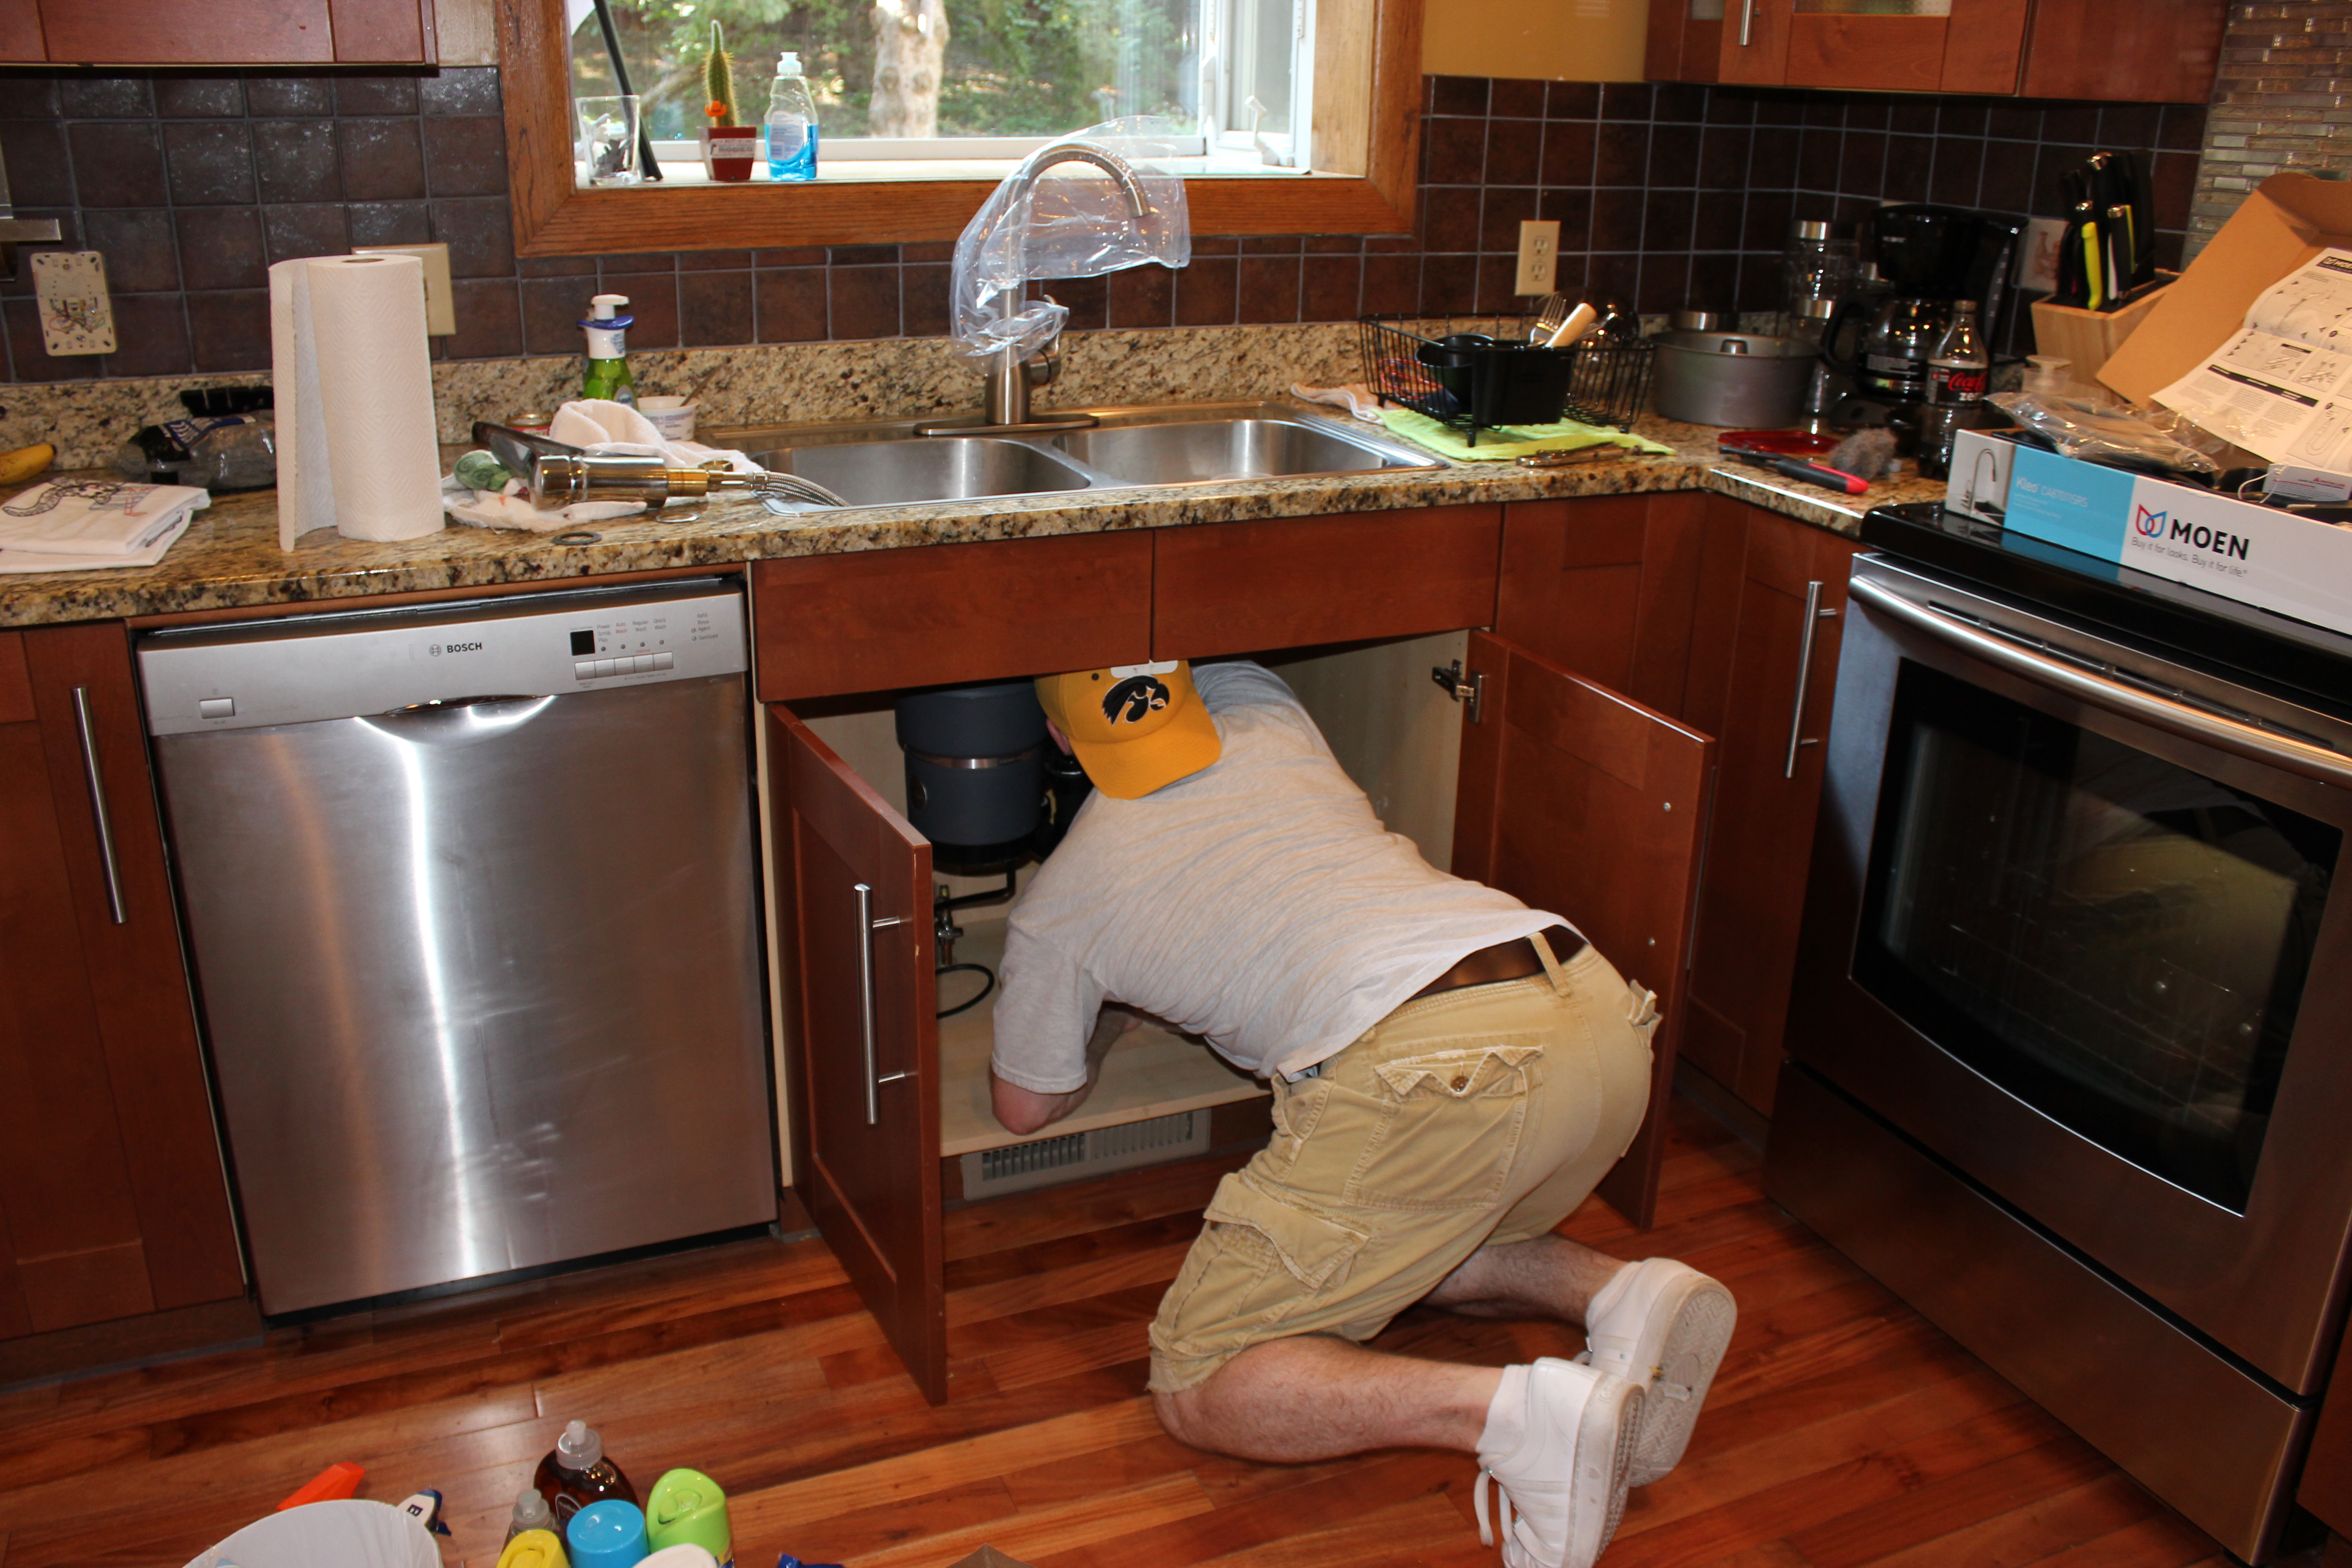
Working so hard, I didn’t even realize that Sara took this picture.
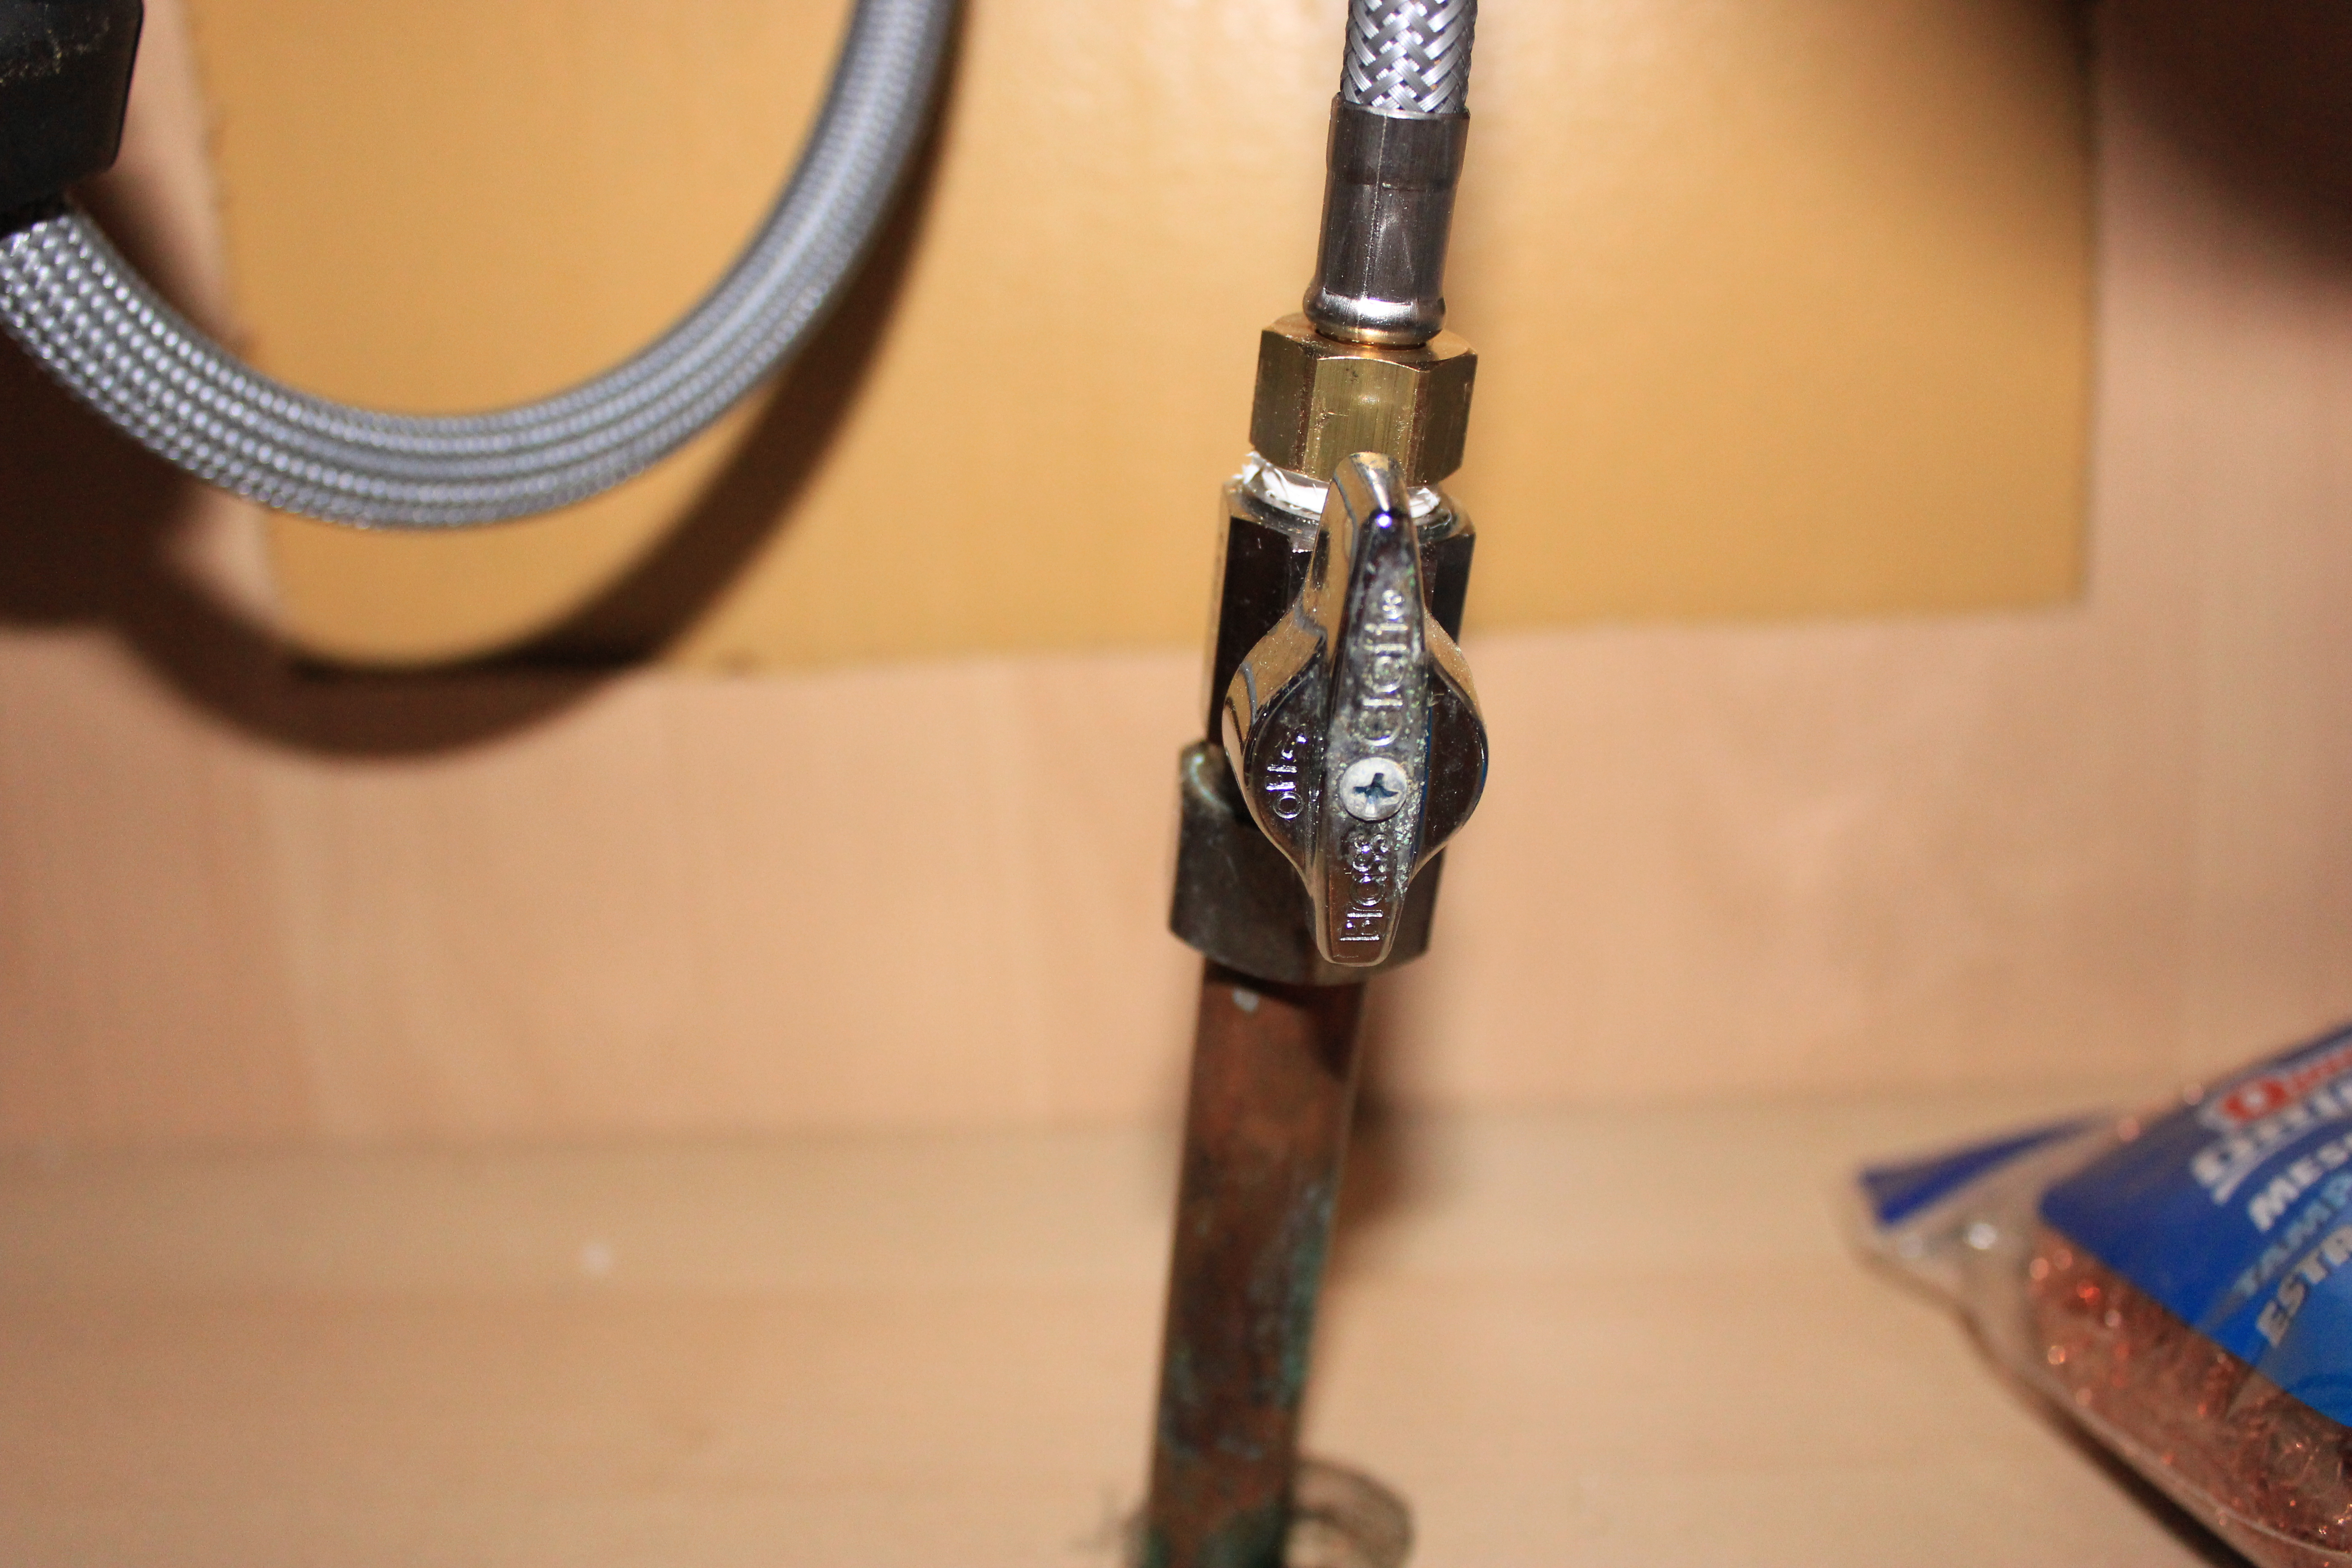
Remember to turn off both the hot and cold water before you get started. These will almost always be located under the sink in the cabinet.
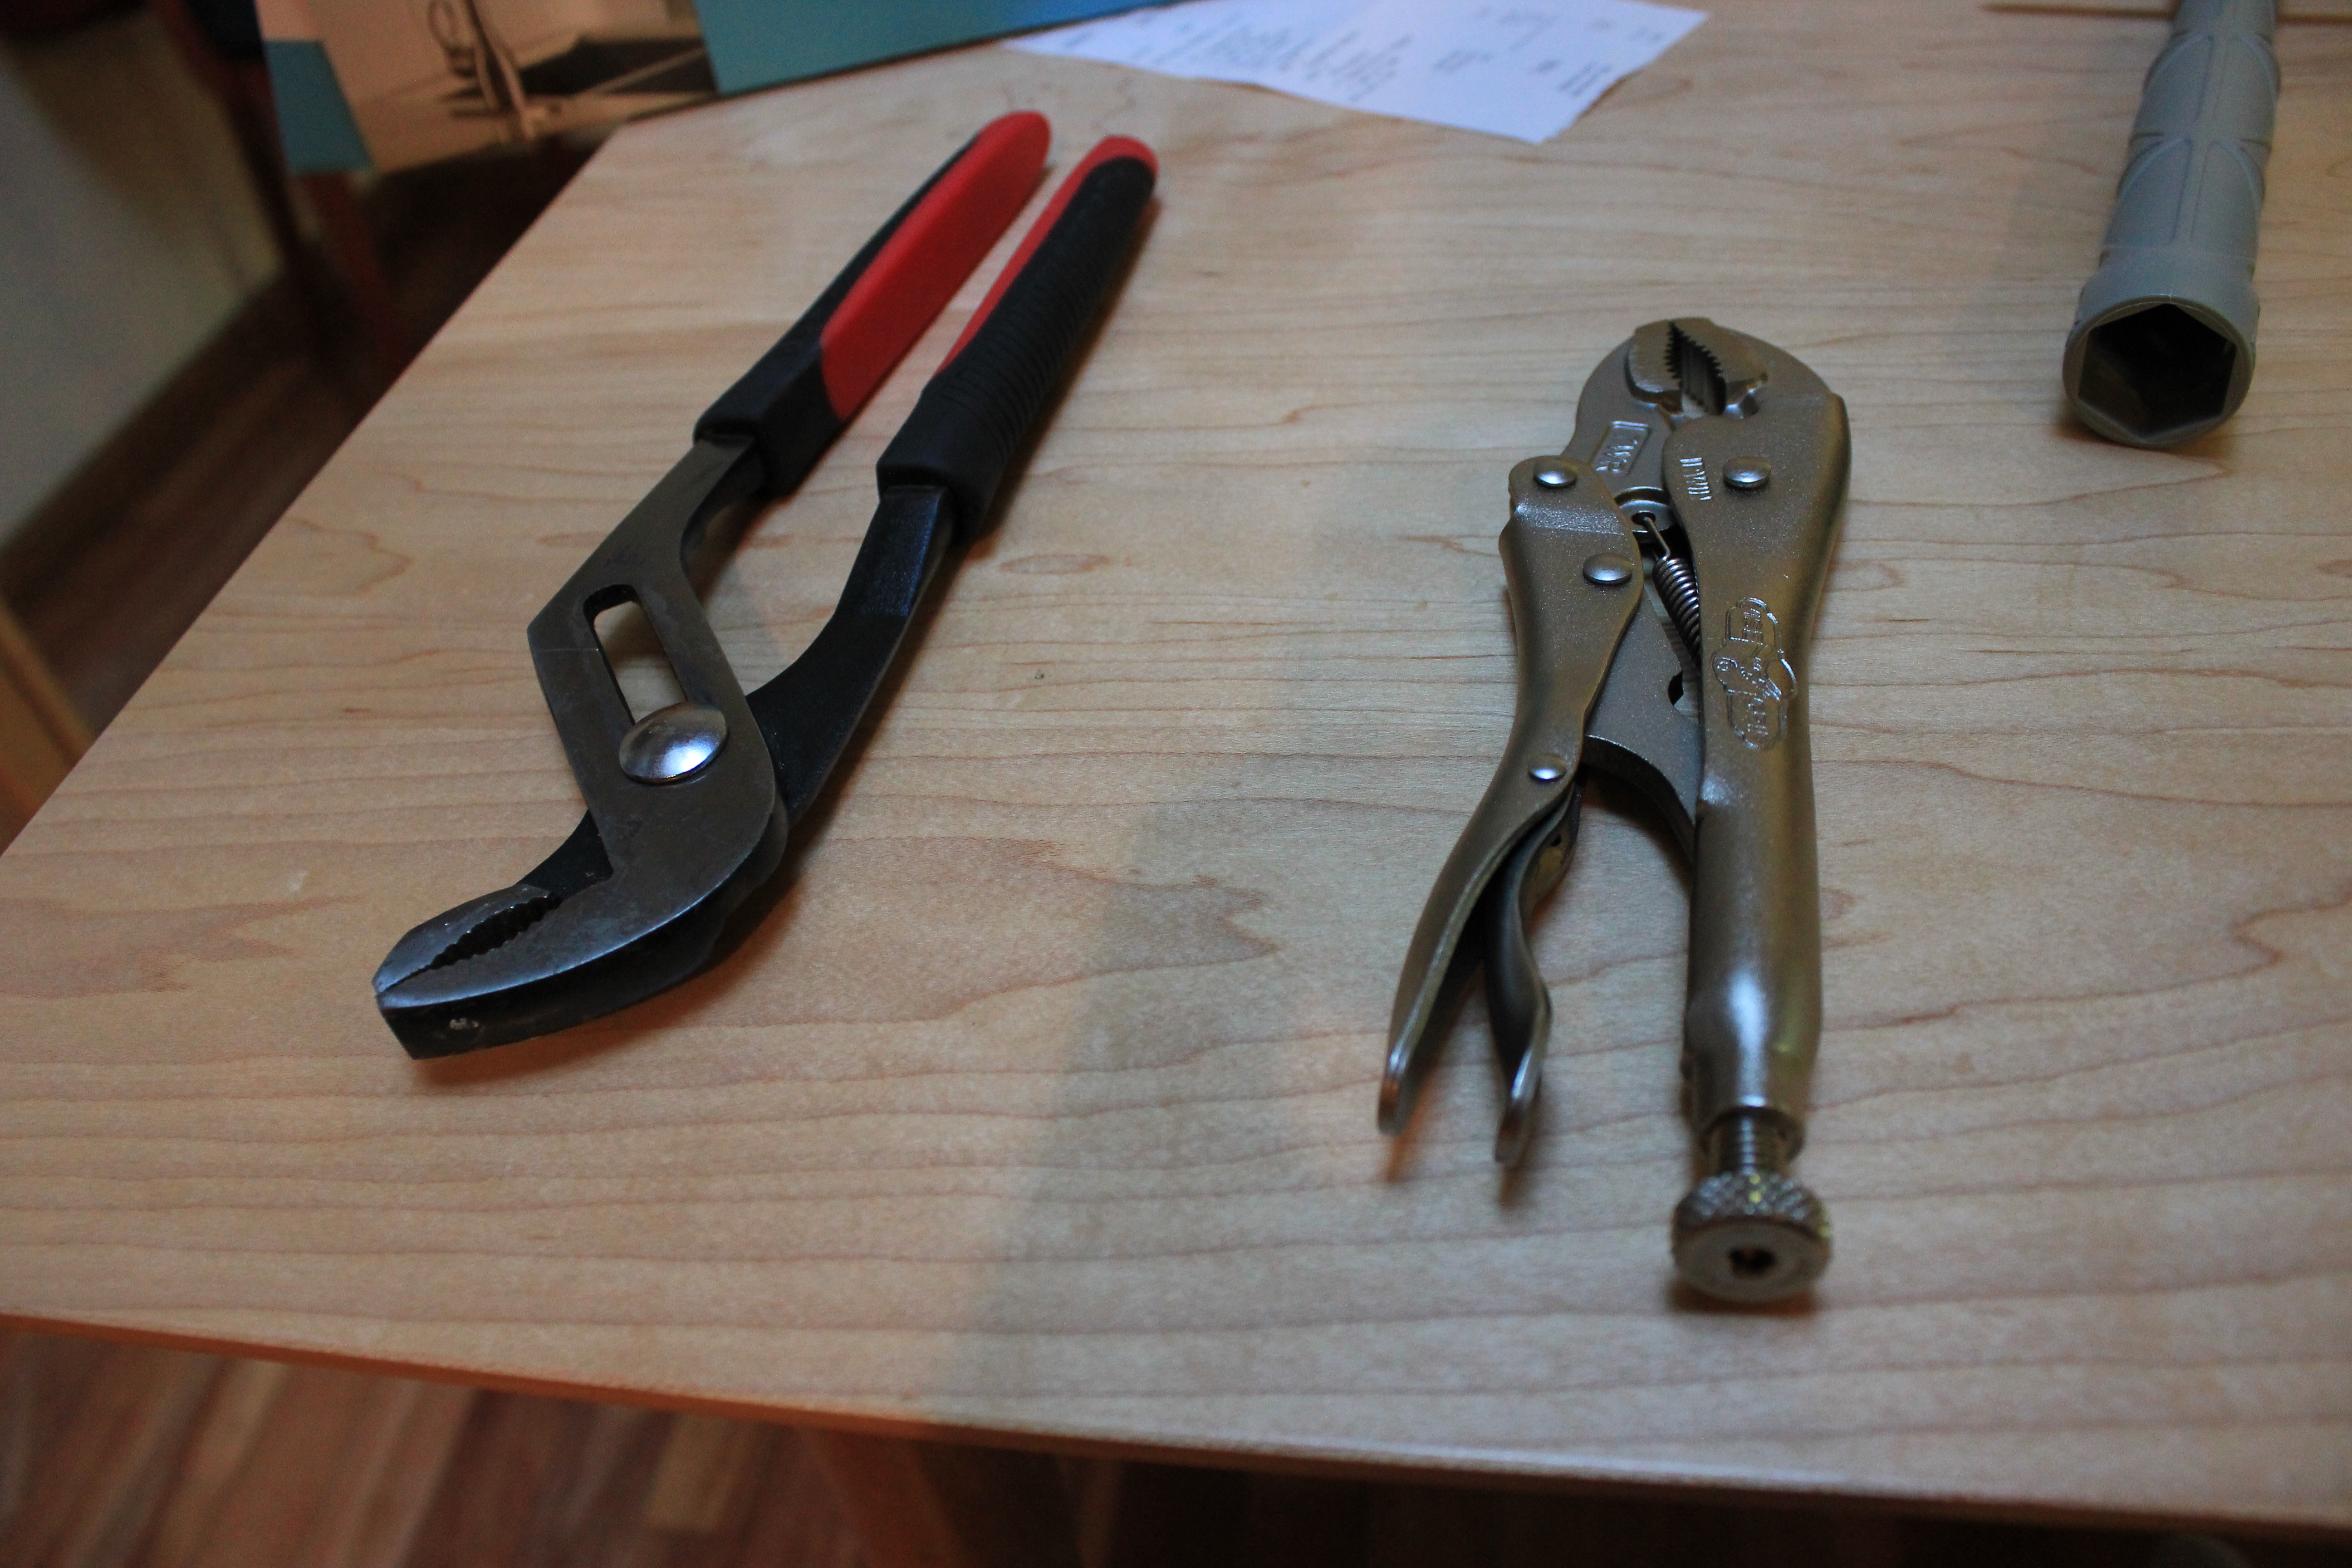
These are the tools I was using at first and having a very hard time getting the faucet to tighten fully against the stainless steel sink.
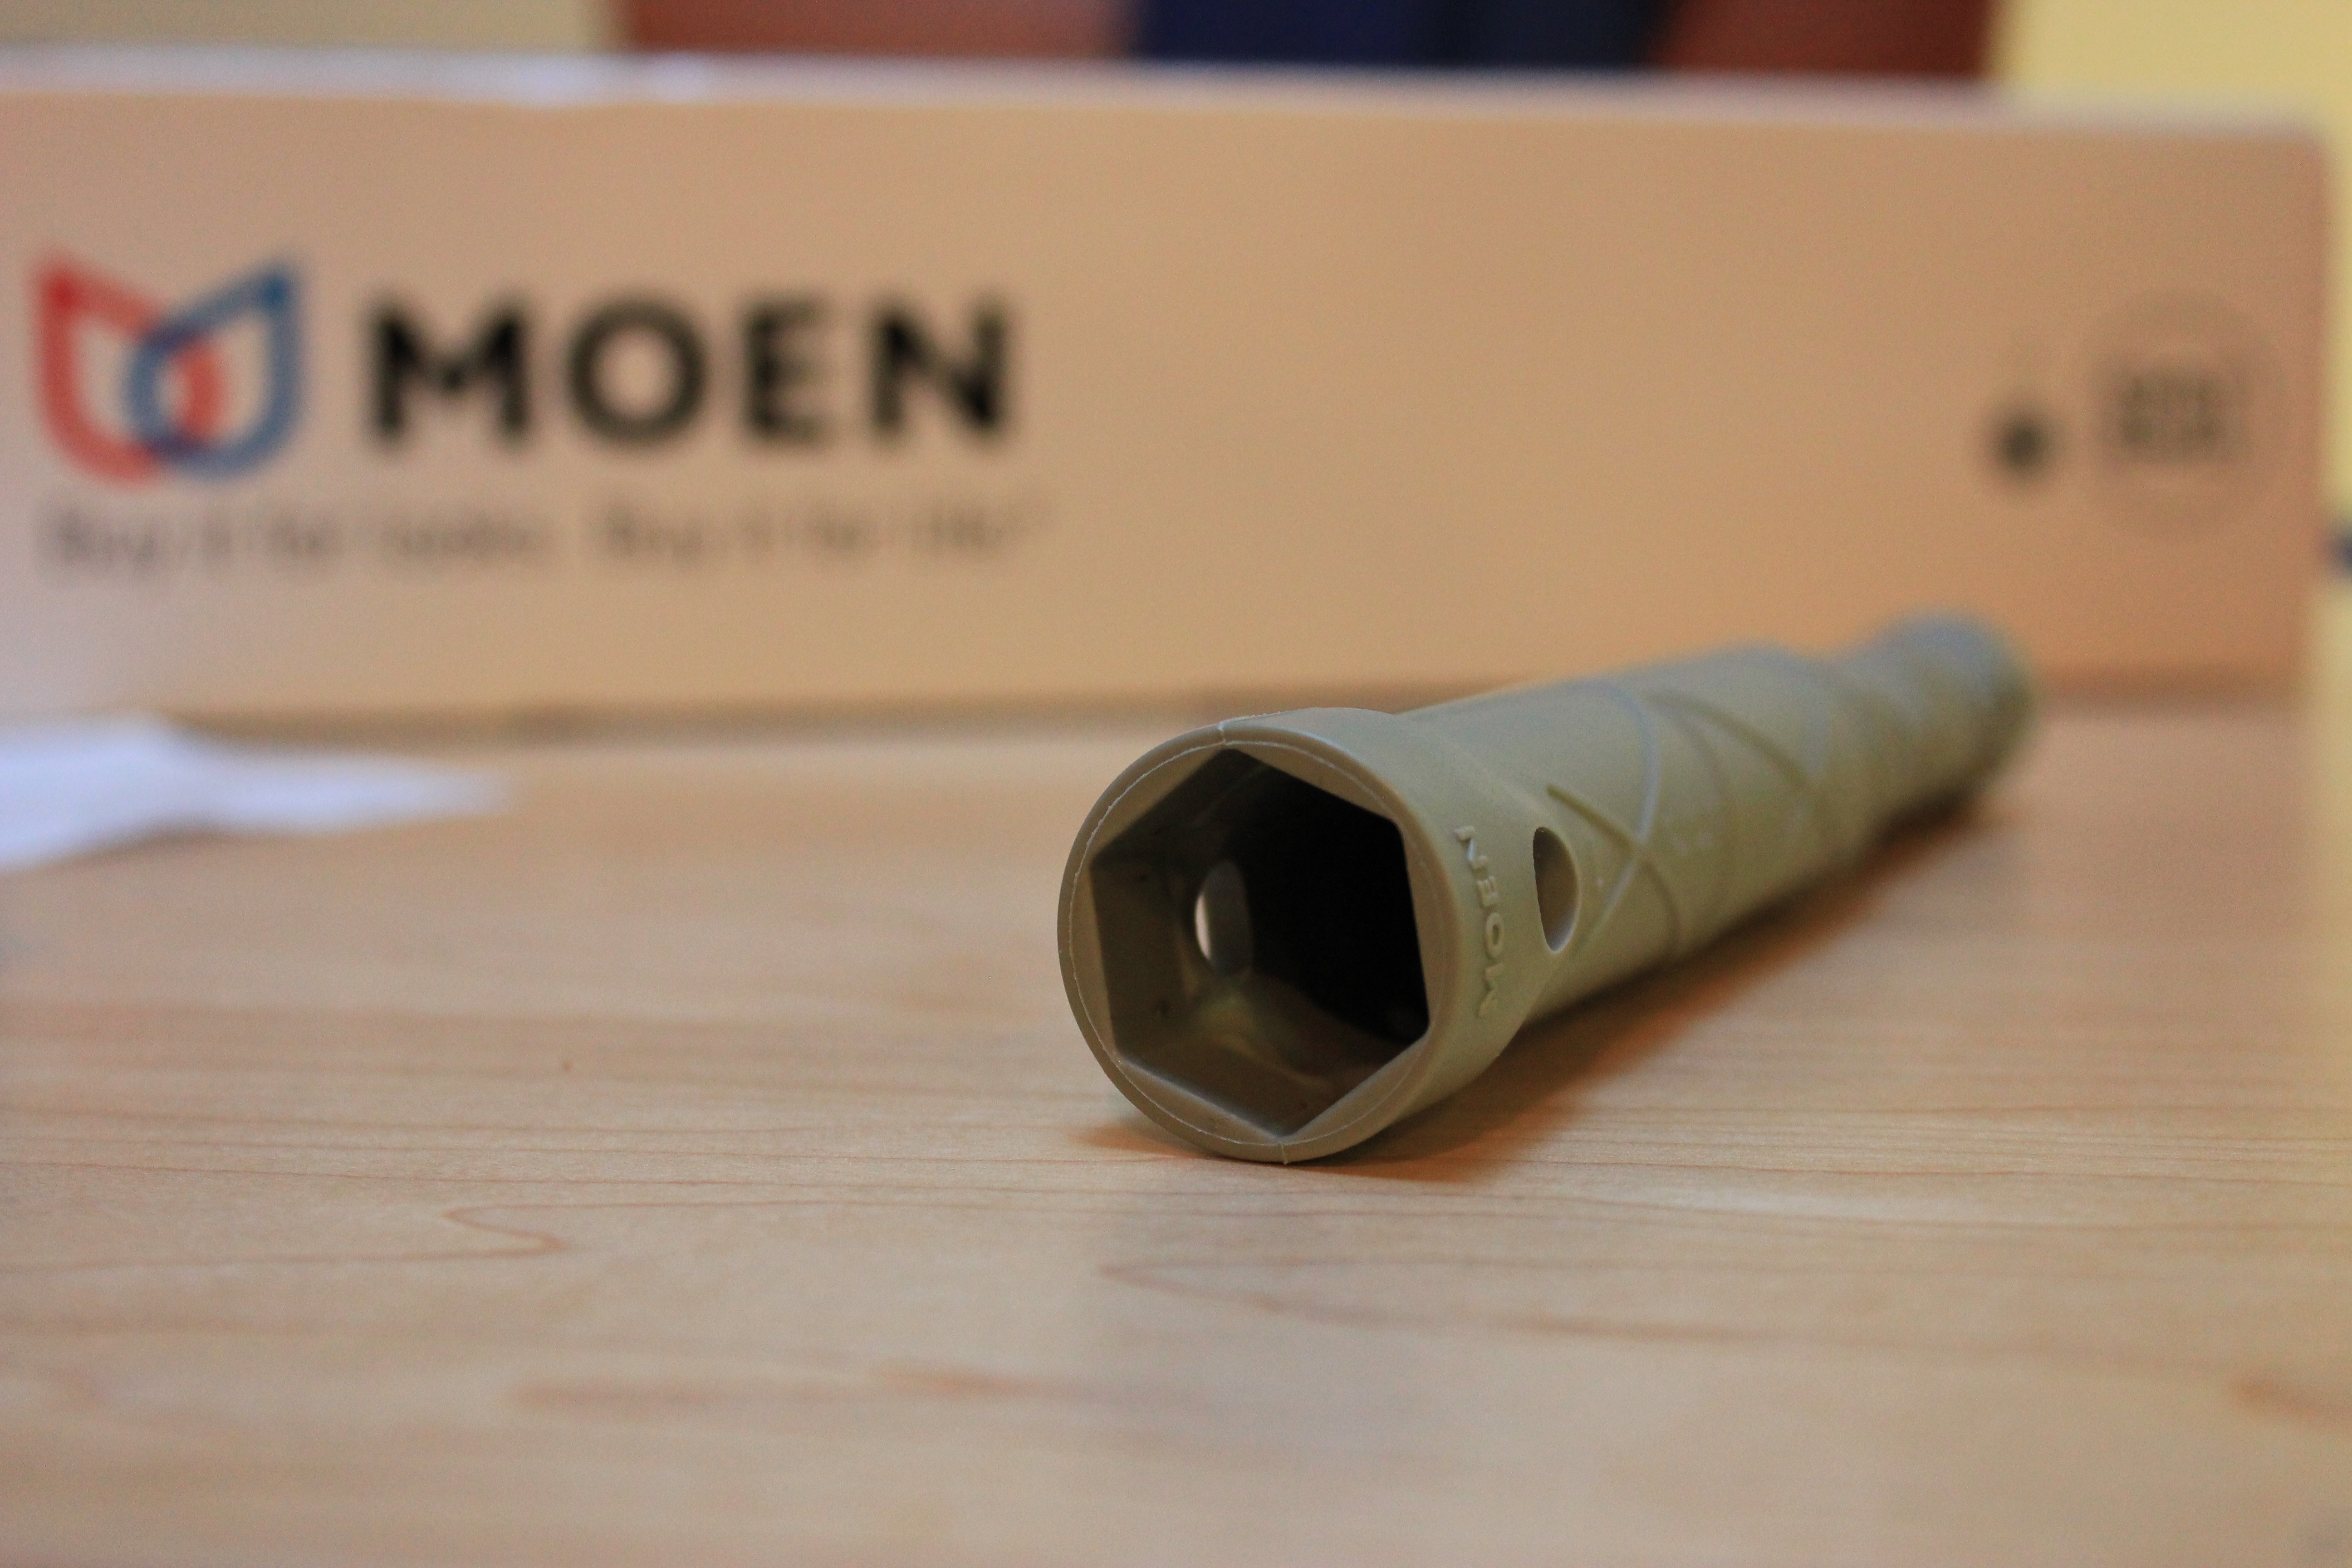
This came with the sink. Huh, what’s that? It has a hexagon shape inside of it. :/
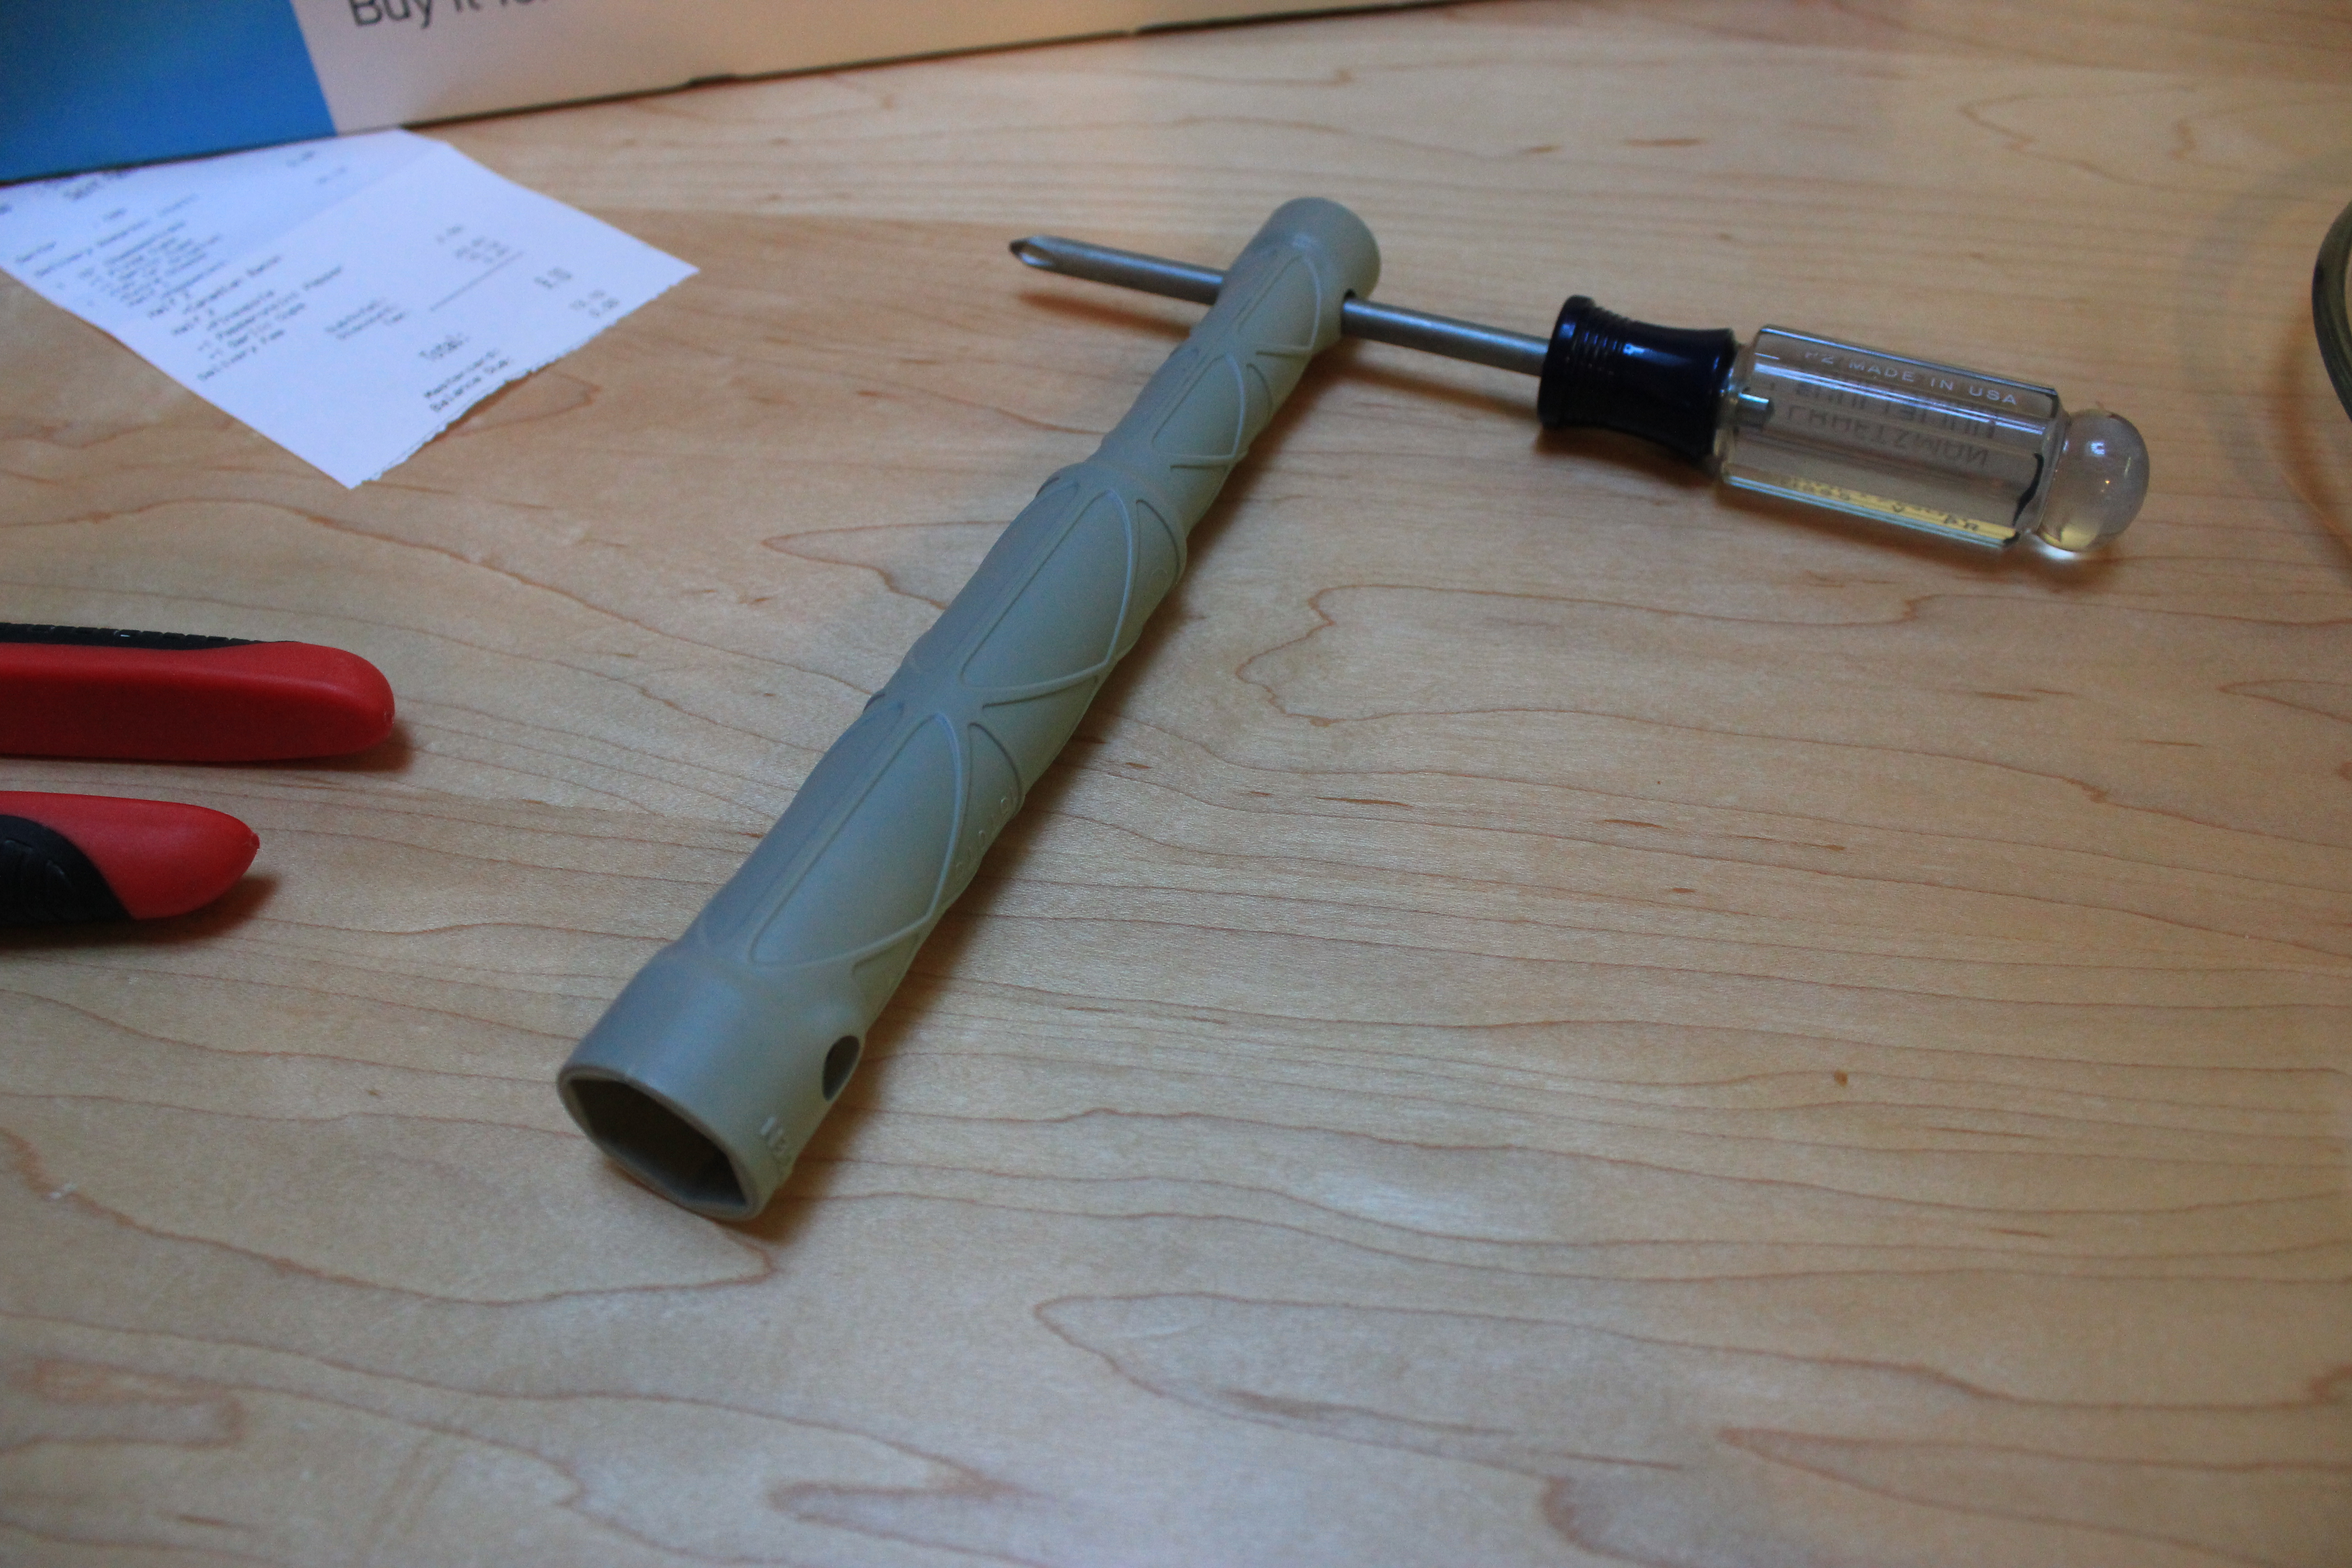
Look at that! You put a screwdriver into it and it becomes a wrench to fasten the nut up under the sink. It took me a long time to realize this.
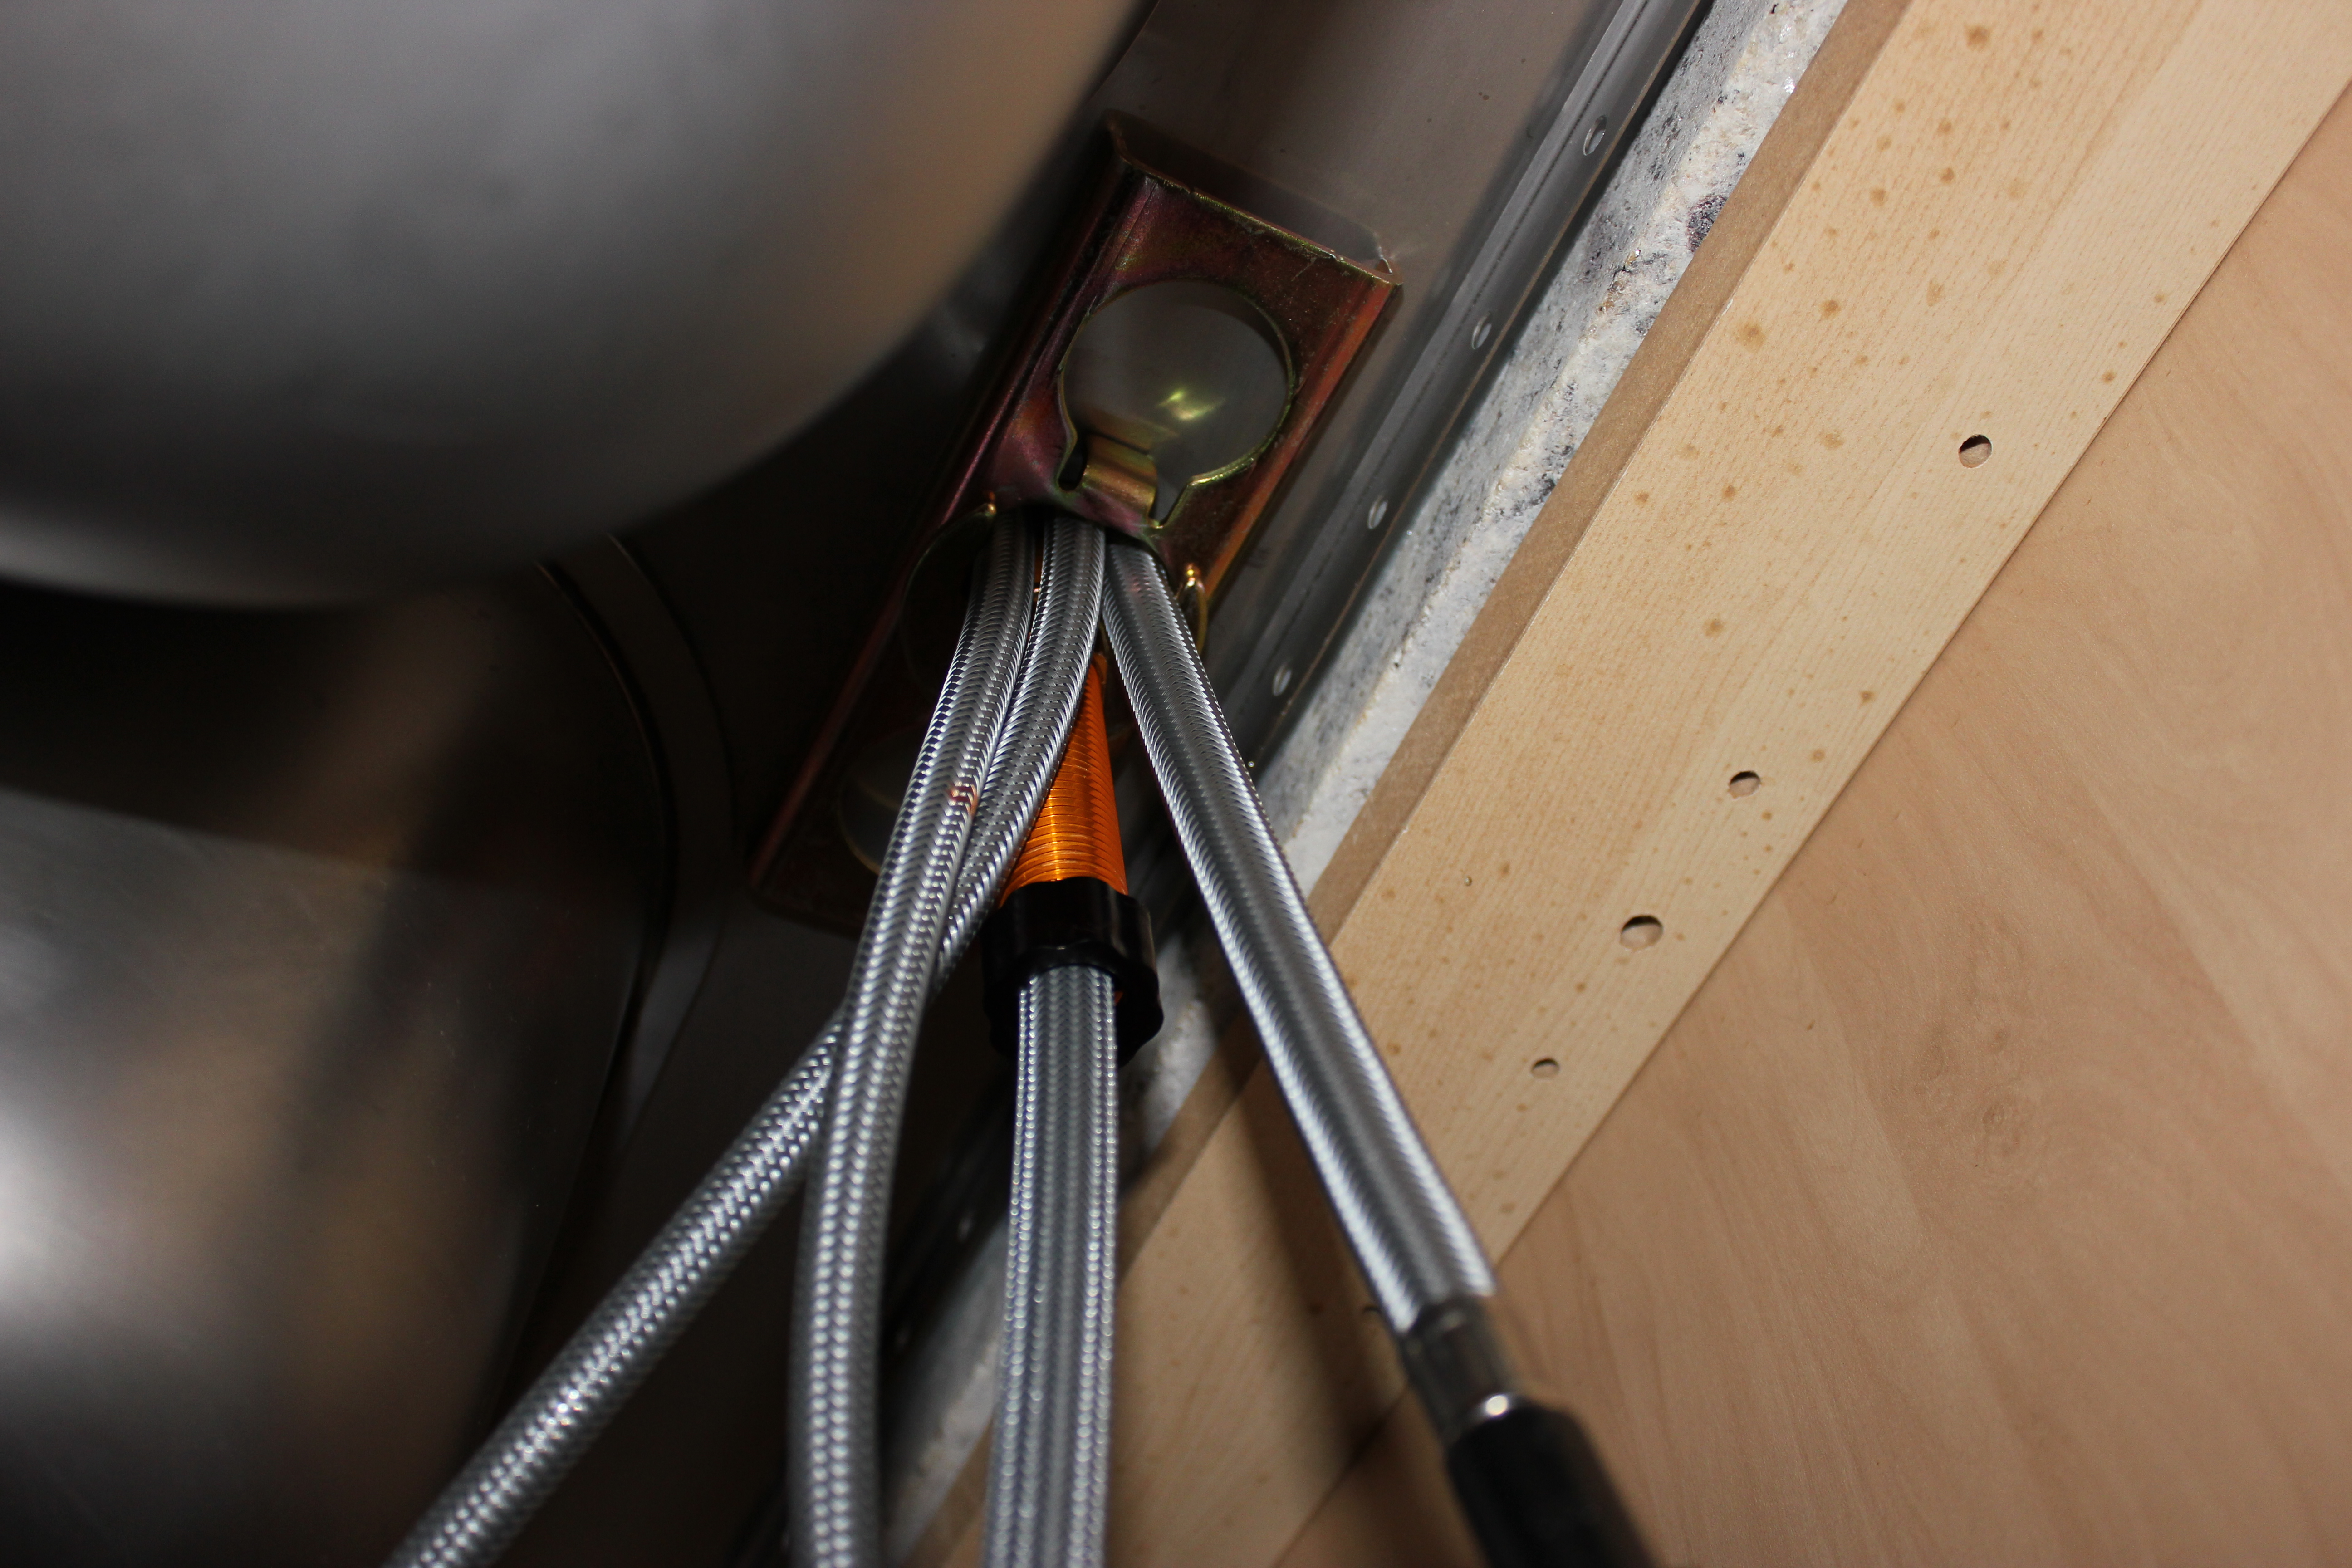
There is a lot happening in this picture of what the under side of the sink looked like after everything was finished. You can see a orange pipe, and at the top of that pipe, behind the stainless steel tubes, there is a nut that I could not get tight using my own tools. But in the two photos above this one, you can see a gray tool that you are supposed to use and it makes this whole job so easy. In this picture, you also see the cold and hot water tubes going up to the faucet for the on/off lever. You can also see a bigger pipe on the right side coming down to connect to the tube that goes back up inside of the orange pipe to the spray nozzle. I didn’t think all of this stuff would fit in the hole in the sink, but there is just enough room.
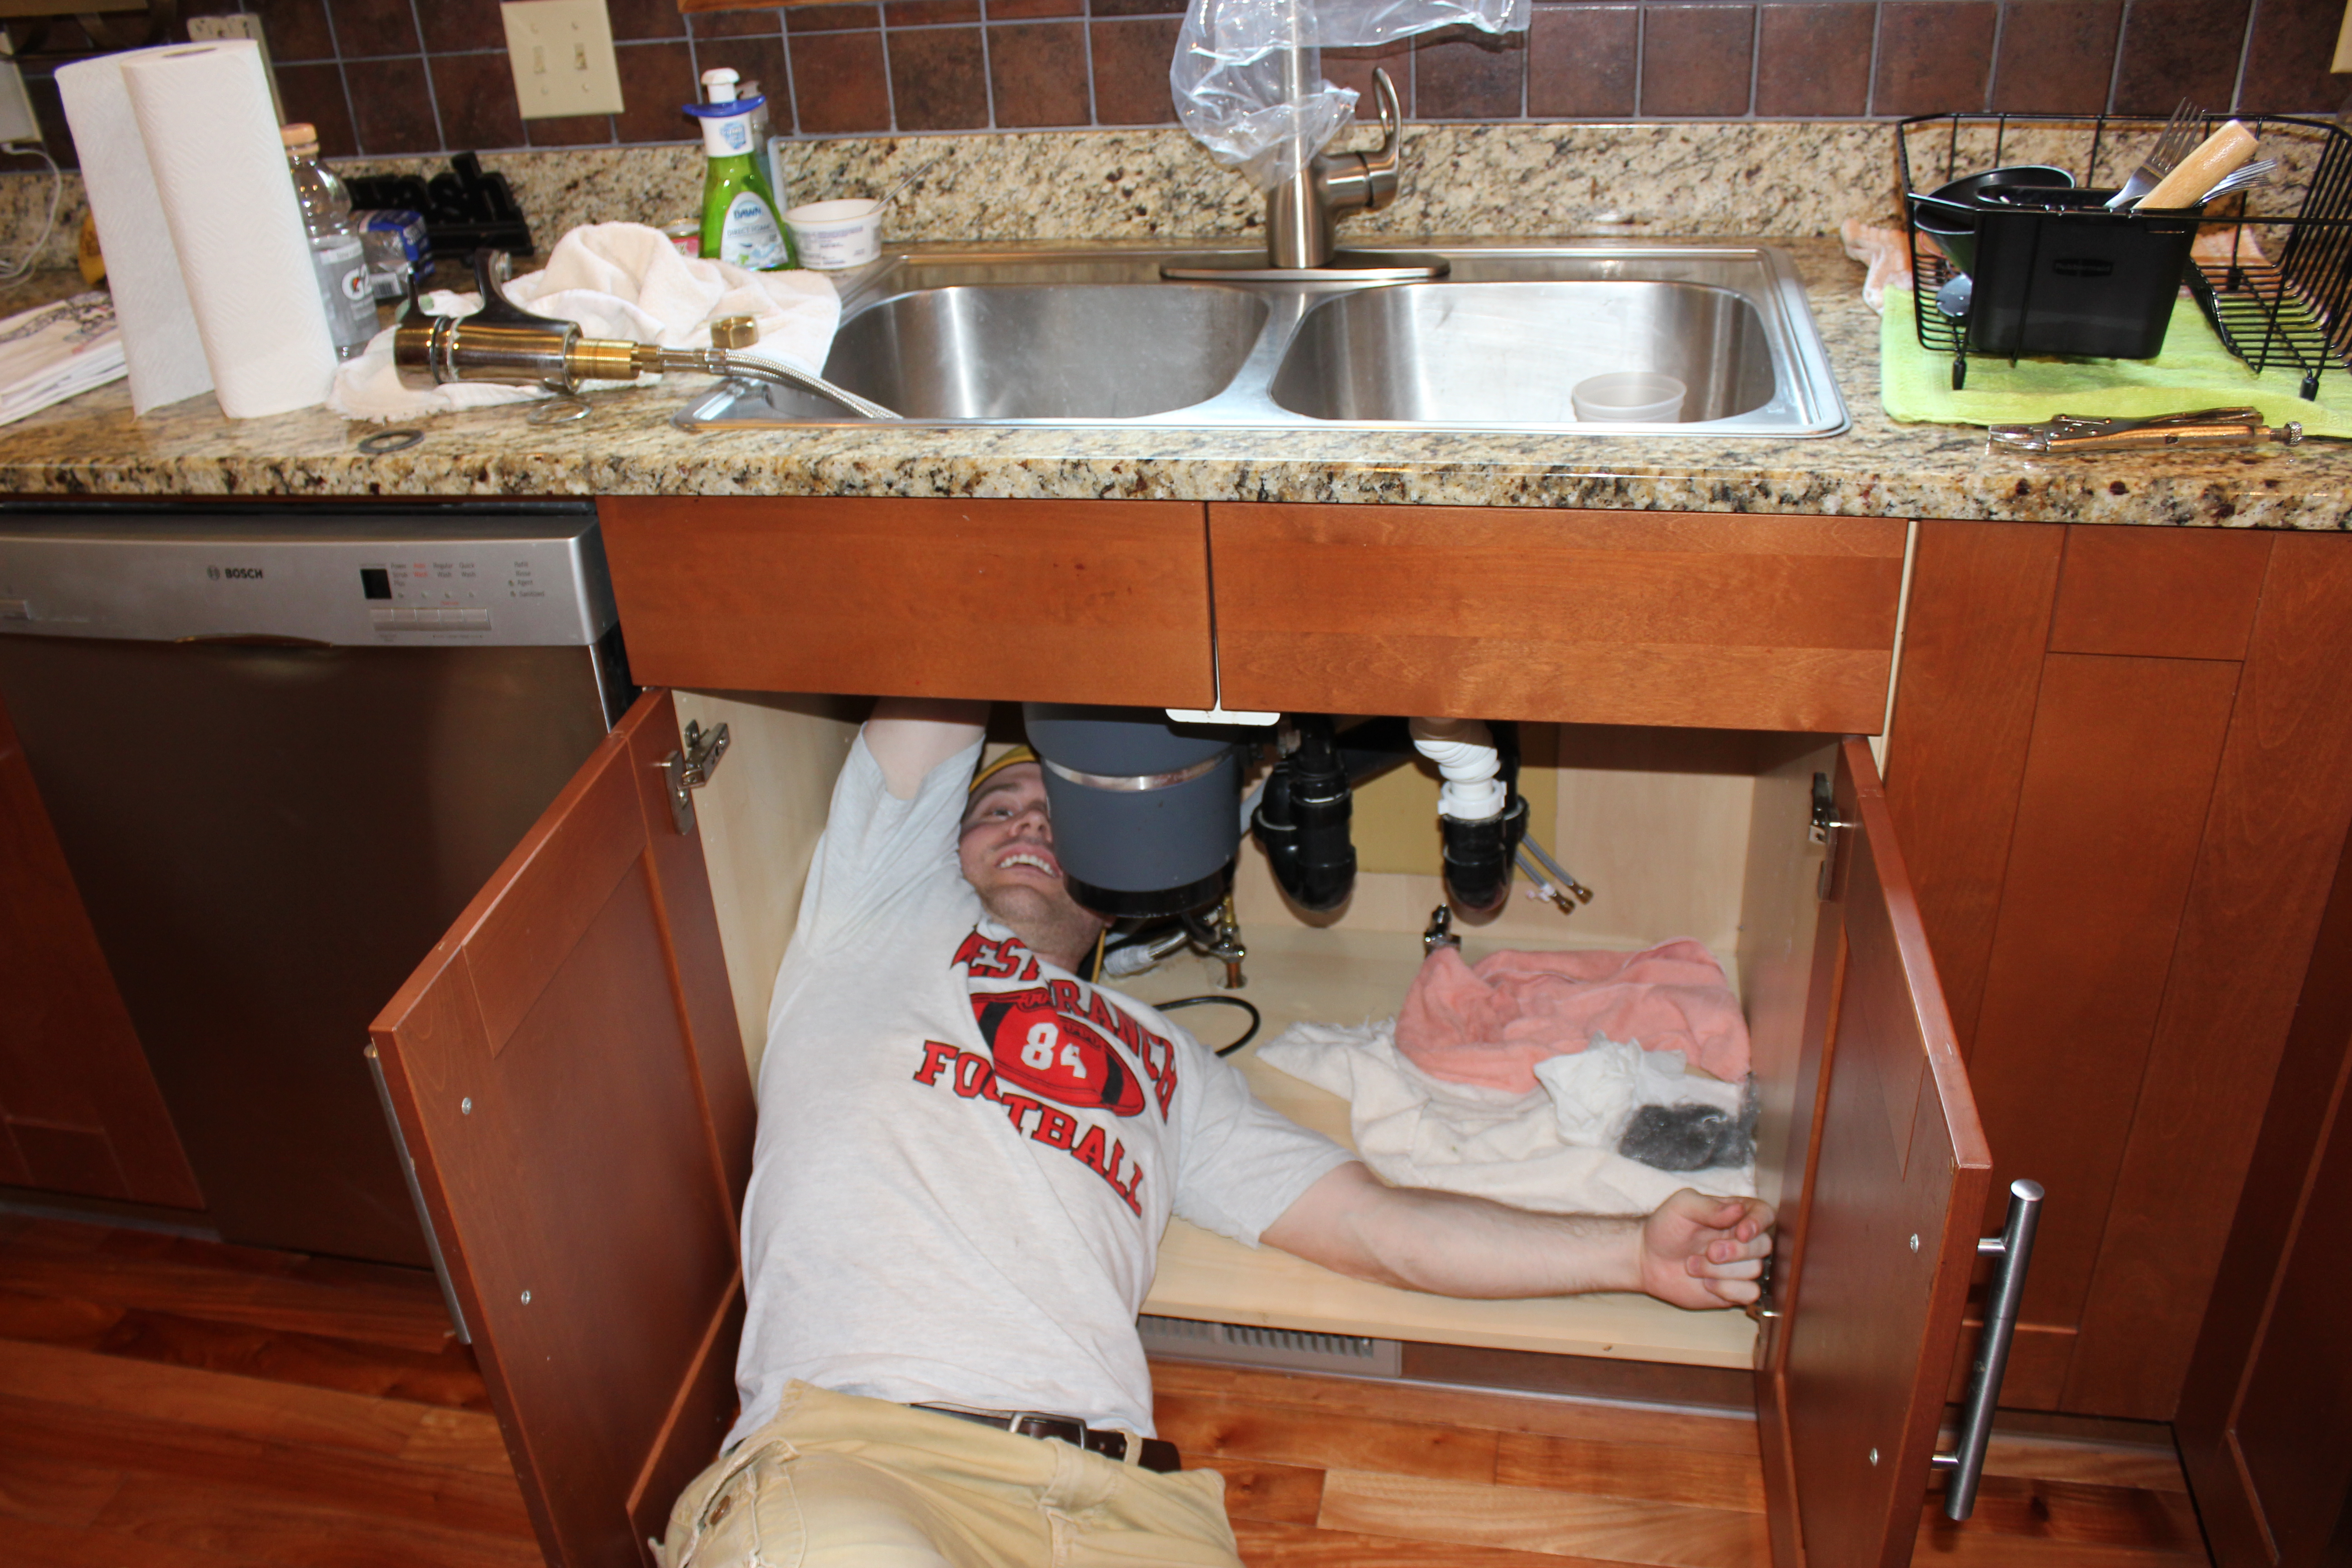
One more picture of the odd positions necessary to install a sink faucet.

The silicone tape I wrapped around every pipe connection before tightening them.
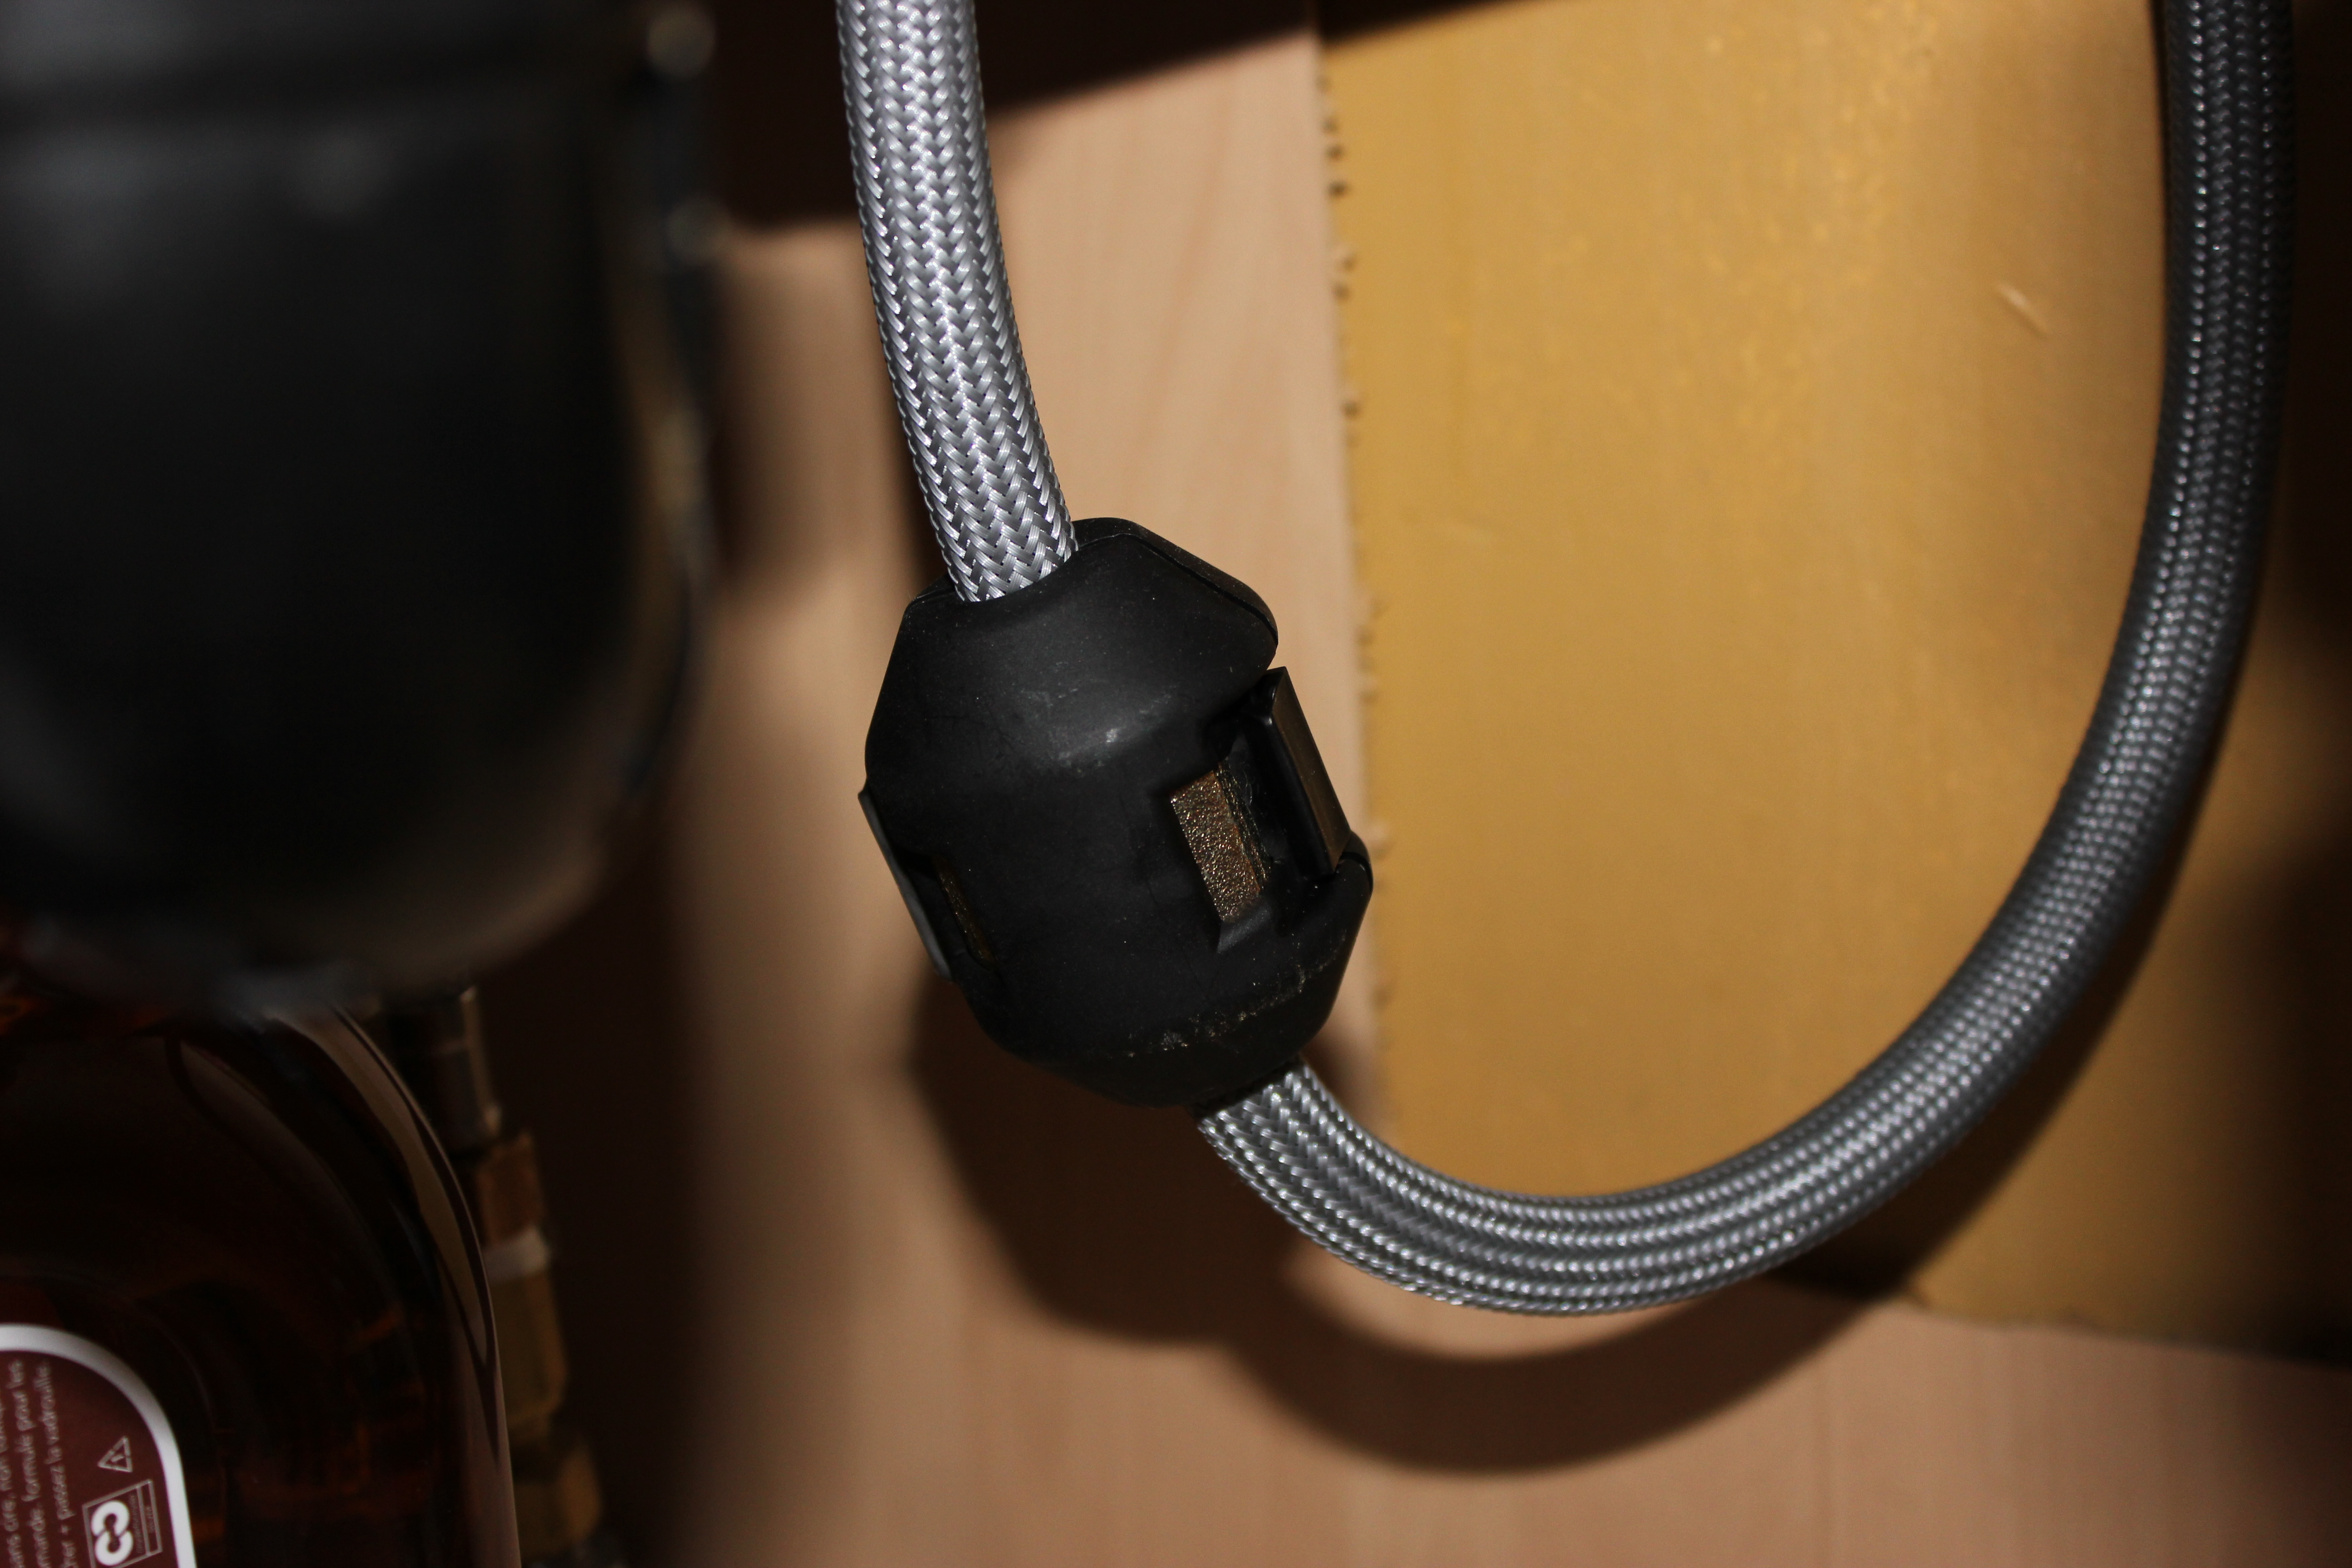
This is one of the last things you do to install a sink with a spray nozzle that pulls from the faucet head. This weight attaches under the sink onto the hose, to pull the spray nozzle back down when you let go of it.
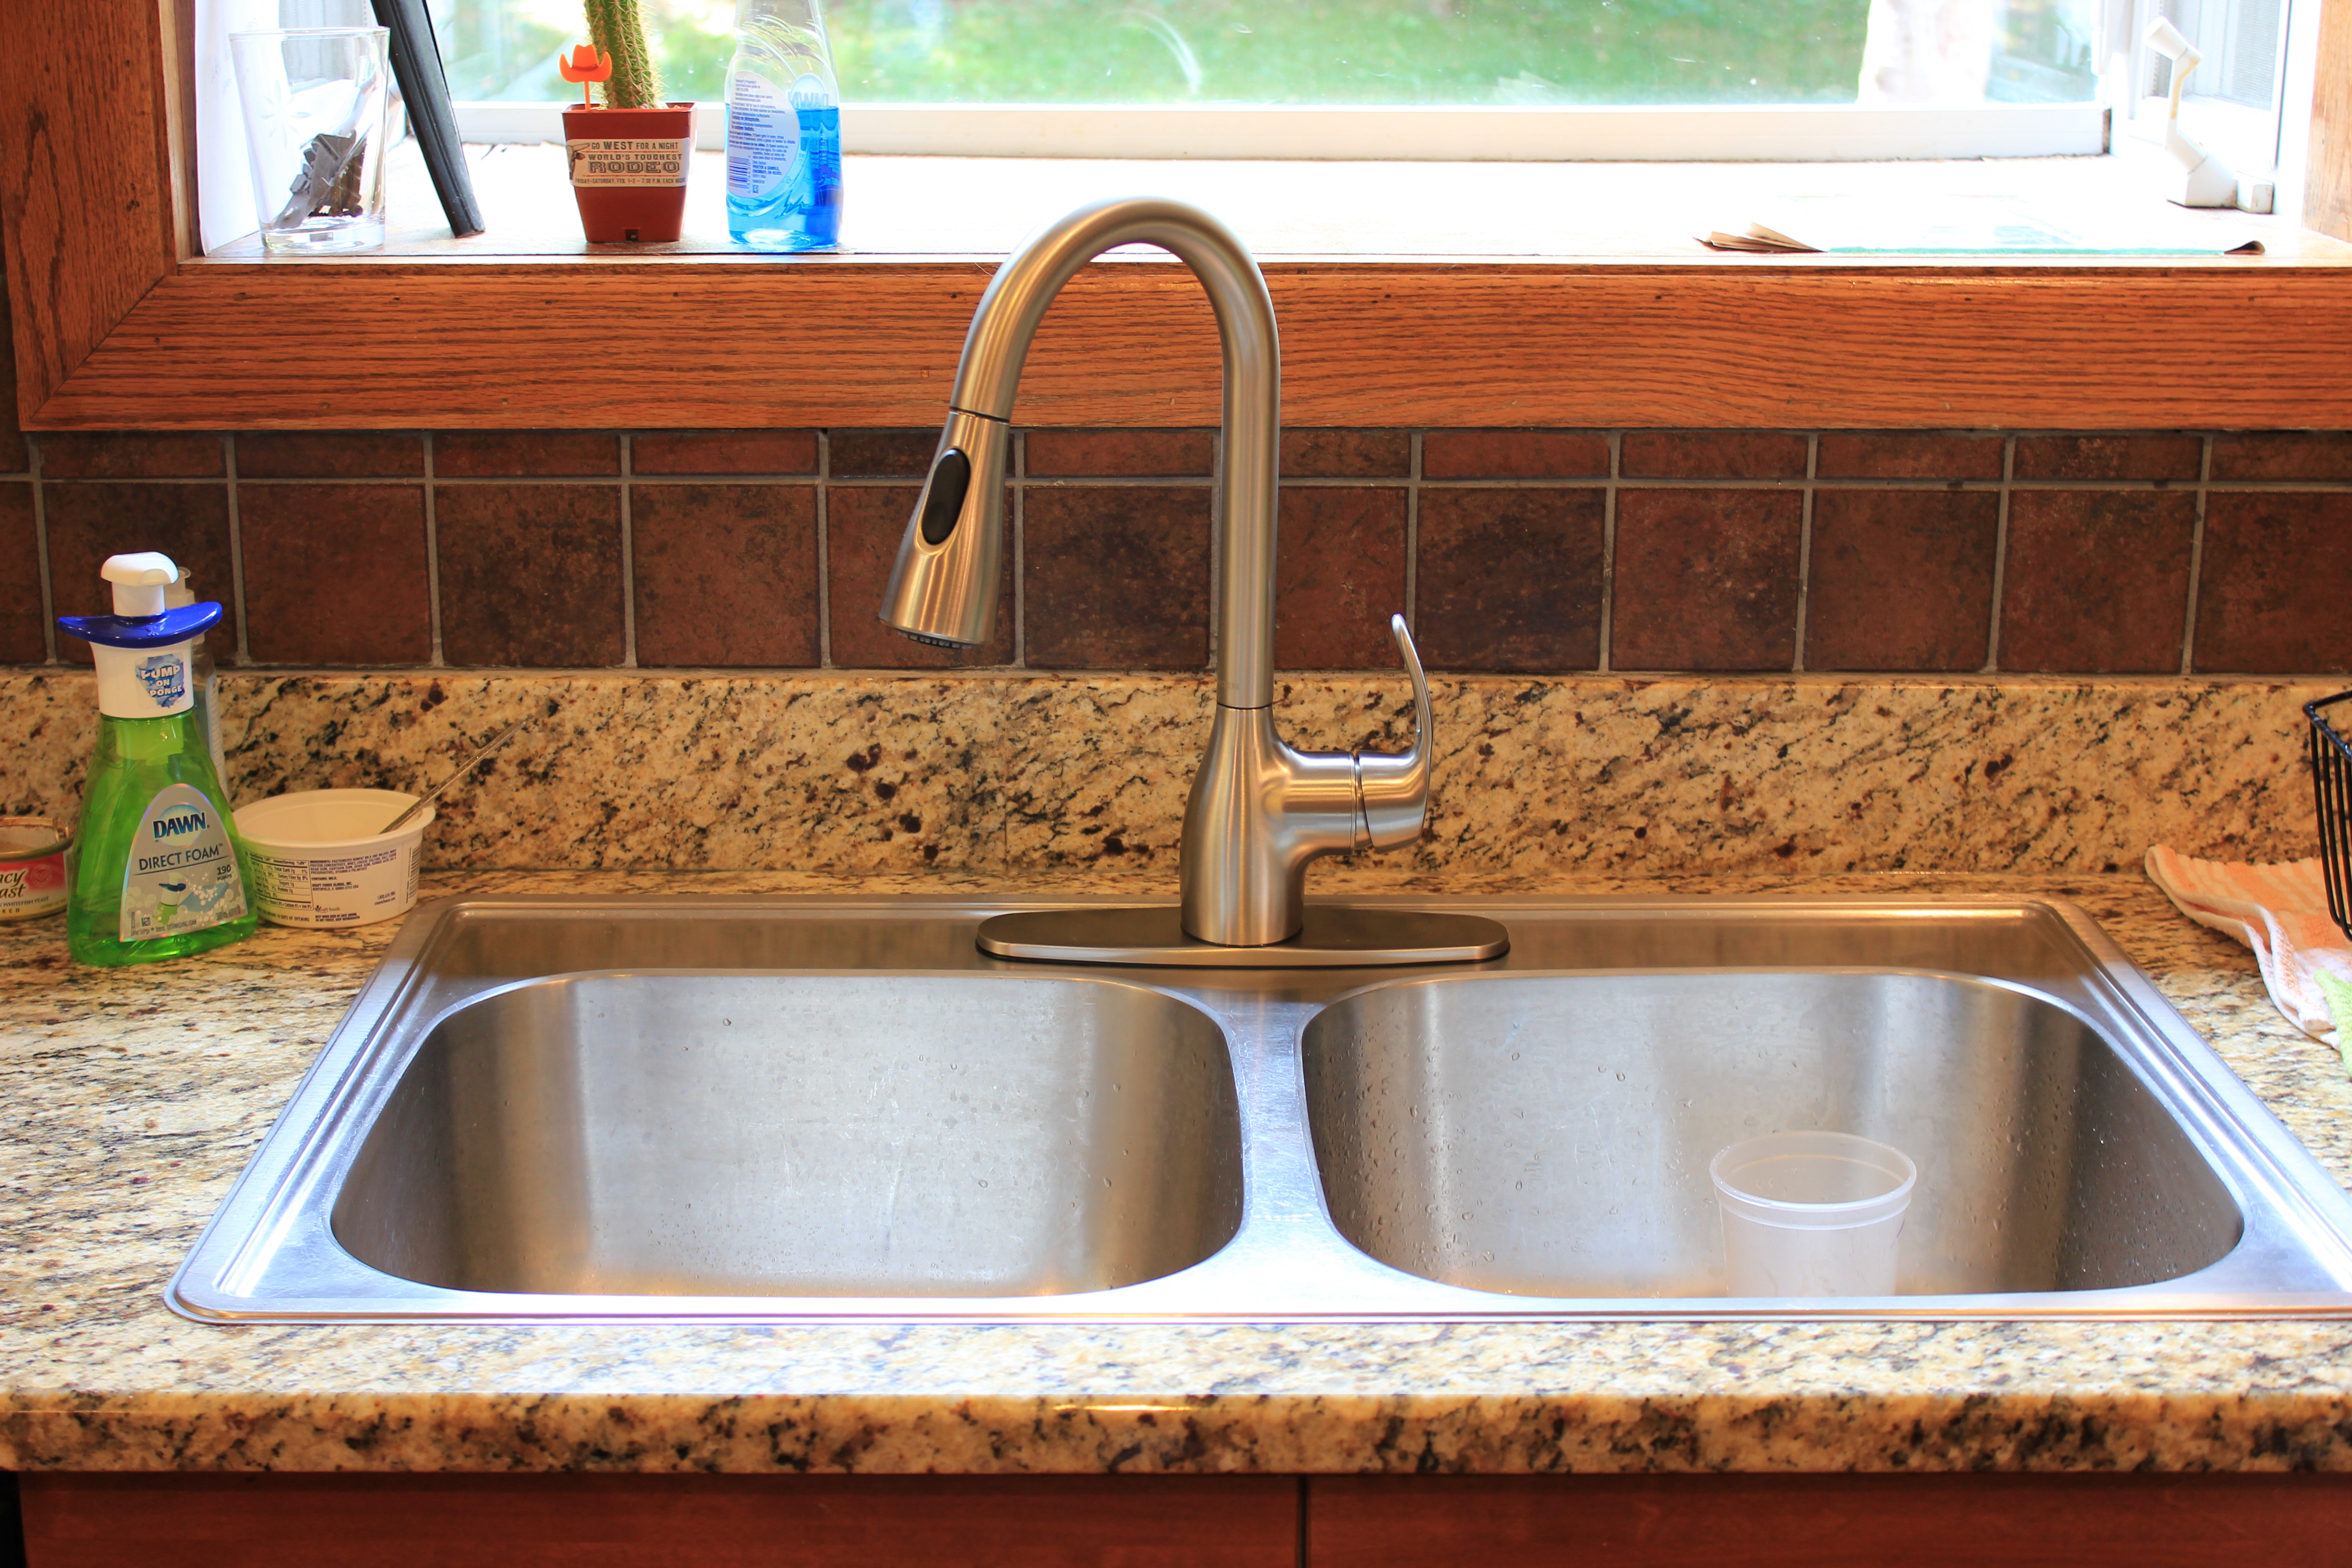
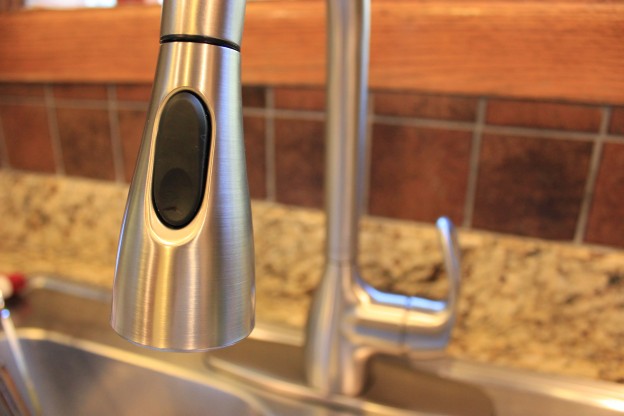
The finished product. It sits much higher above the sink than the old faucet, it looks much nicer and it also has a spray function.