I call this my first attempt at wainscoting, but to be honest, I should really call it my first attempt at making faux wood paneling that lines the lower part of a wall, because I didn’t learn about the word “wainscoting” until we had finished and I sat down to write this blog post. Sara saw this project done on another blog a couple of years ago and thought it could help give texture to this wall in the first bathroom we renovated:

It’s been two years since we renovated this bathroom. We re-tiled the shower and floor, upgraded to a quartz vanity top and painted the walls with the Behr color Seagull Gray in a satin finish. The project also involved removing a mirror cabinet on the wall opposite the vanity, which after finishing the project, left that wall feeling very empty.
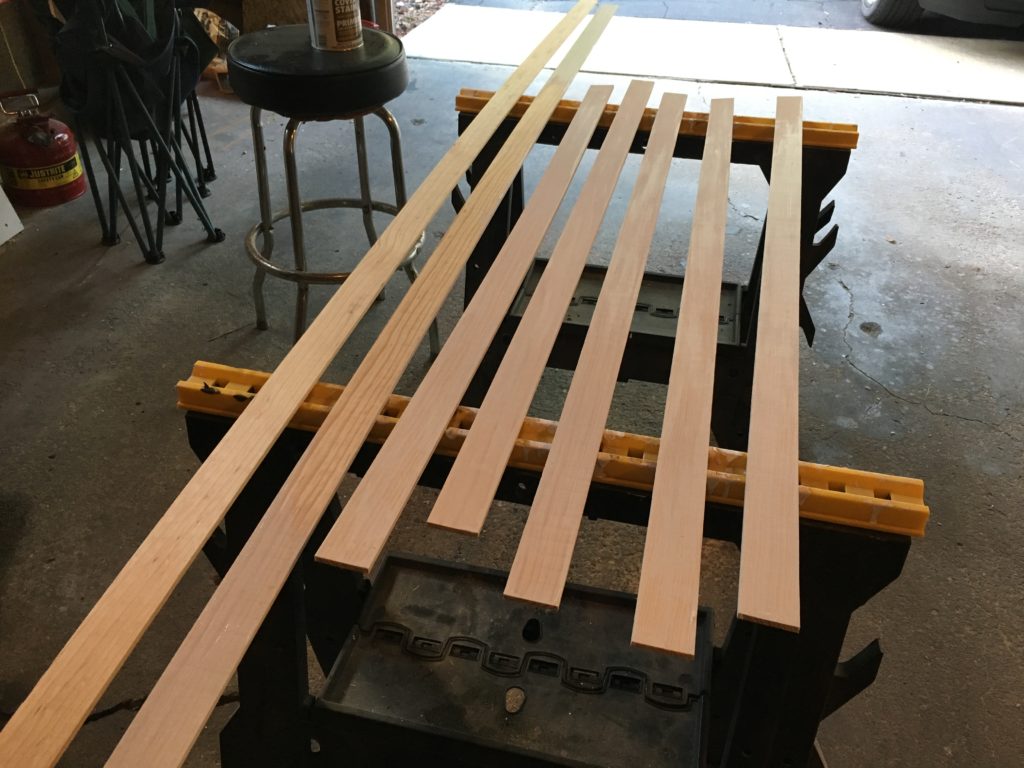
Rather than installing paneling across the entire bottom half of the wall, I wanted to try a simpler approach: strips of pine trim. I bought two 8 foot lengths and 5 pieces that were 4 feet in length. I used primer before painting in a semi-gloss ultra white. The primer helps keep pine sap from seeping through the paint later on.
Before I could nail the trim to the wall, I first needed to do a little more drywall work. When I remodeled this bathroom, I replaced the drywall where the recessed mirror/cabinet used to be using the same 1/2″ concrete backer board I used behind the tiles in the shower. However, the drywall in the rest of the bathroom is 5/8″. This 1/8″ difference is quite noticeable on the finished wall, and would be even more evident with the wainscoting.
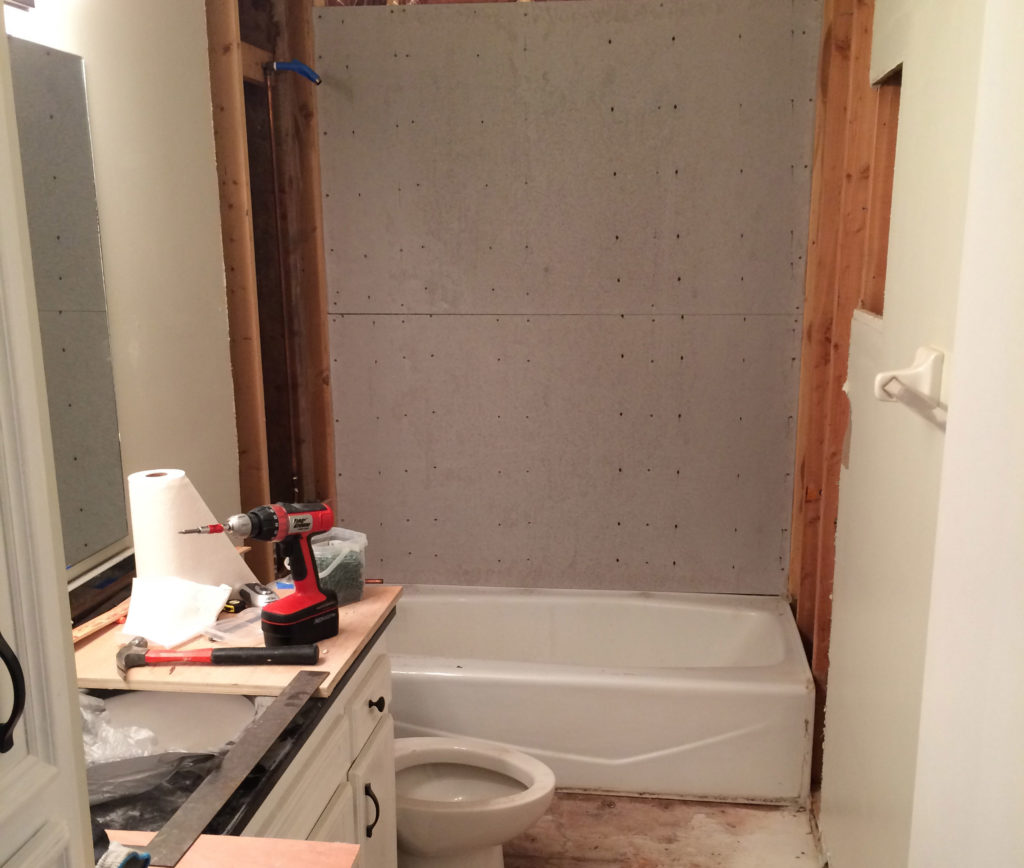
Photo from 2015 renovation shows hole for old mirror/cabinet. Drywall was replaced a couple of feet out from the tub with 1/2″ concrete backer board.
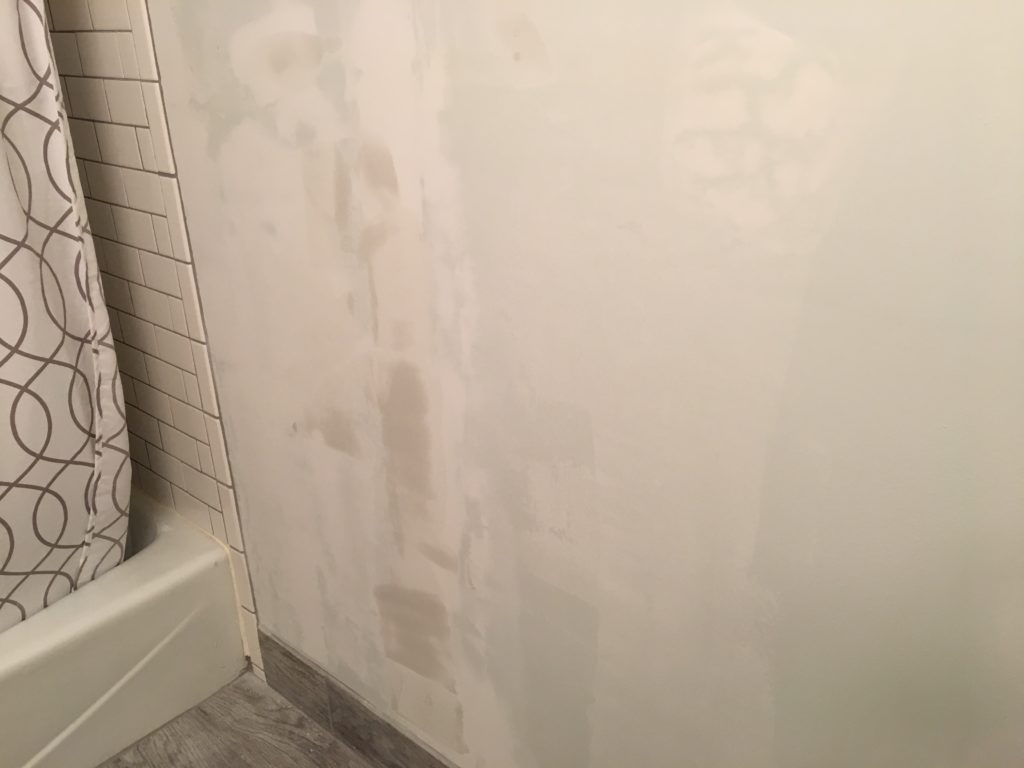
A few thick coats of drywall mud did the trick. Flat surface!
I used a trim nail gun to put the wood in place. The vertical pieces are just under 4′ in length.
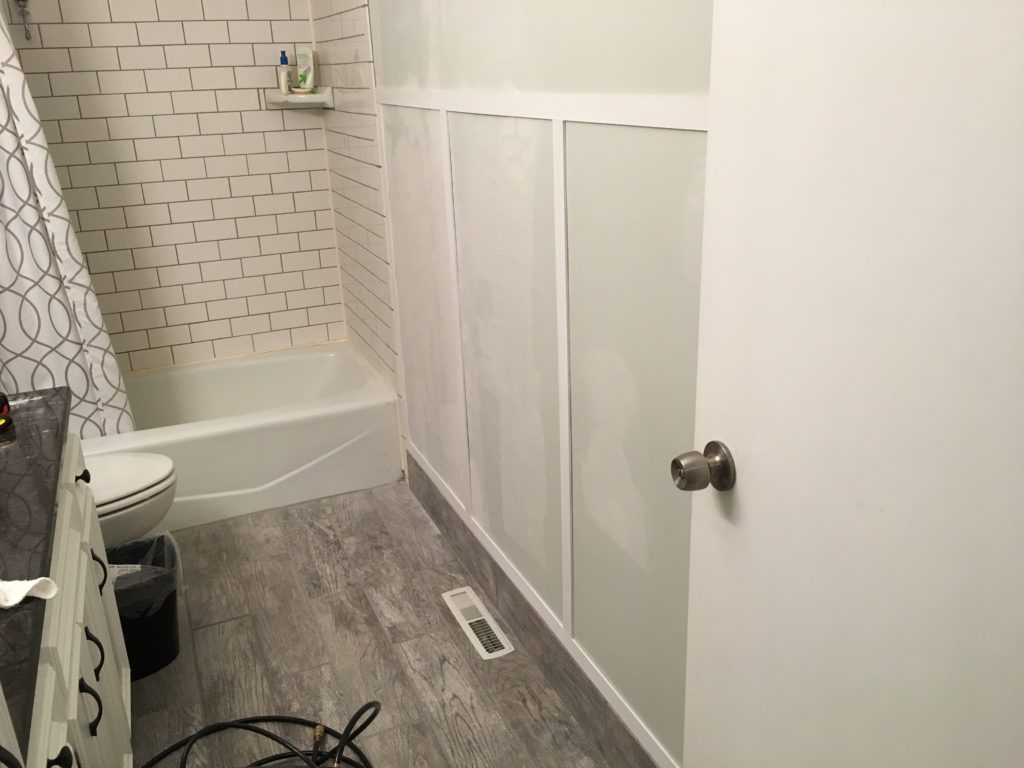
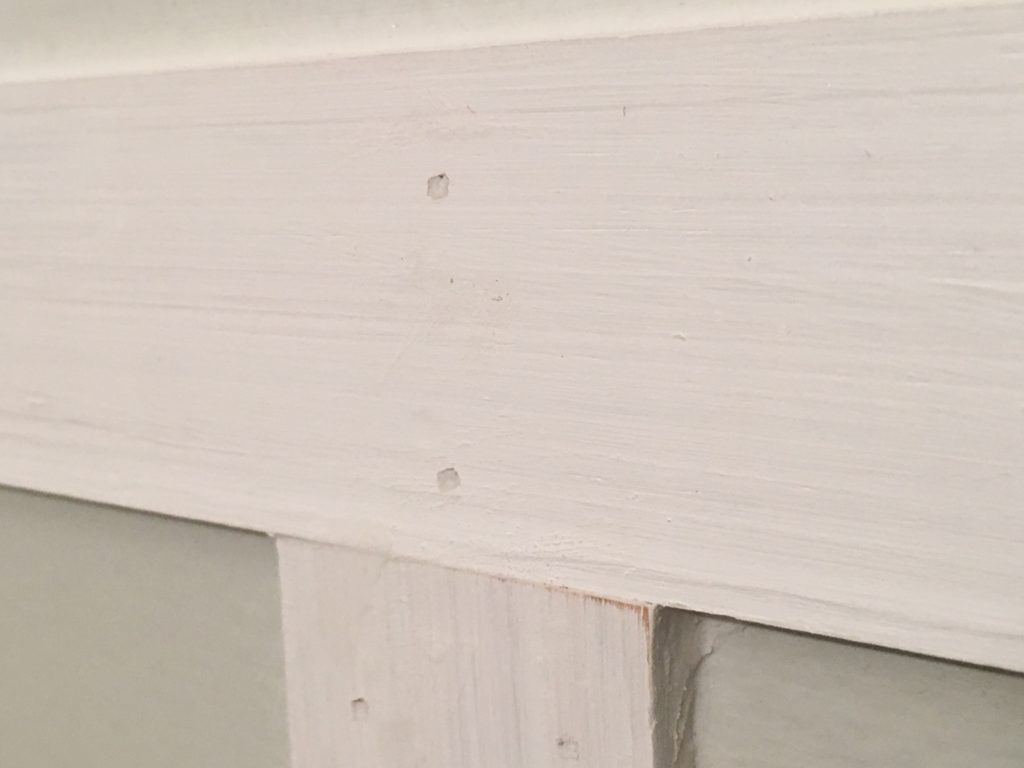
I used moulding caulk to fill in the nail holes and also around the edges of the wood. A quick sanding with fine-grit sandpaper, before painting the whole bottom half of the wall with ultra-white semi-gloss paint. (3 coats did the trick)
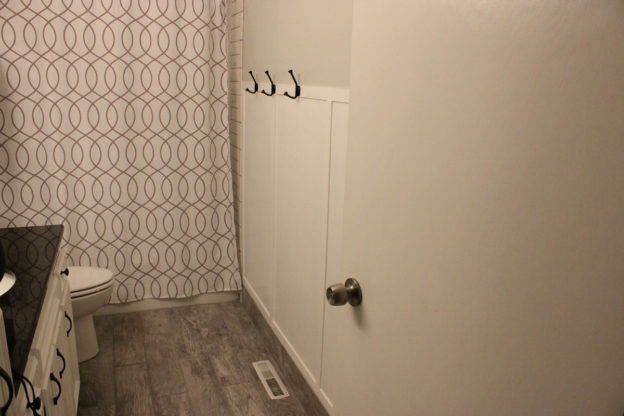
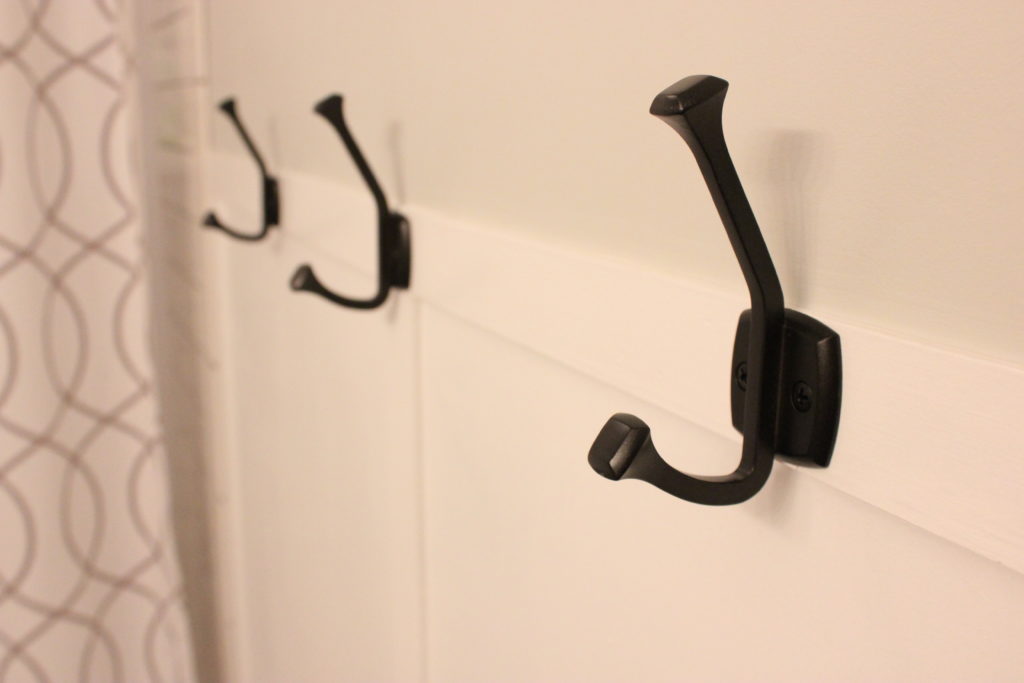
The finishing touch: 3 hooks mounted using drywall anchors.
Finally, the before and after:
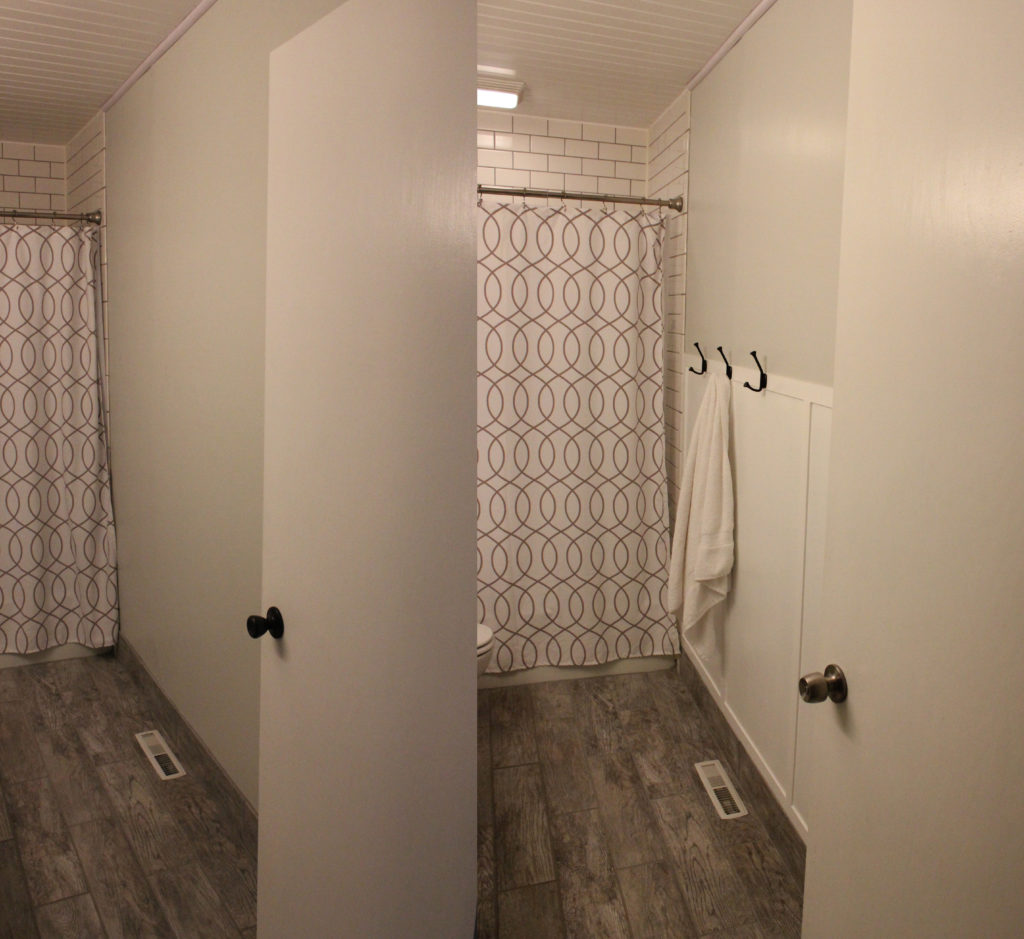
Oh yeah, we also replaced the door knob.