This is a project we have wanted to do since the first day we moved into this house. The upstairs guest bathroom had a cracked floor, moldy shower grout and an 80’s style that just couldn’t woo us. Step one: Demolition!
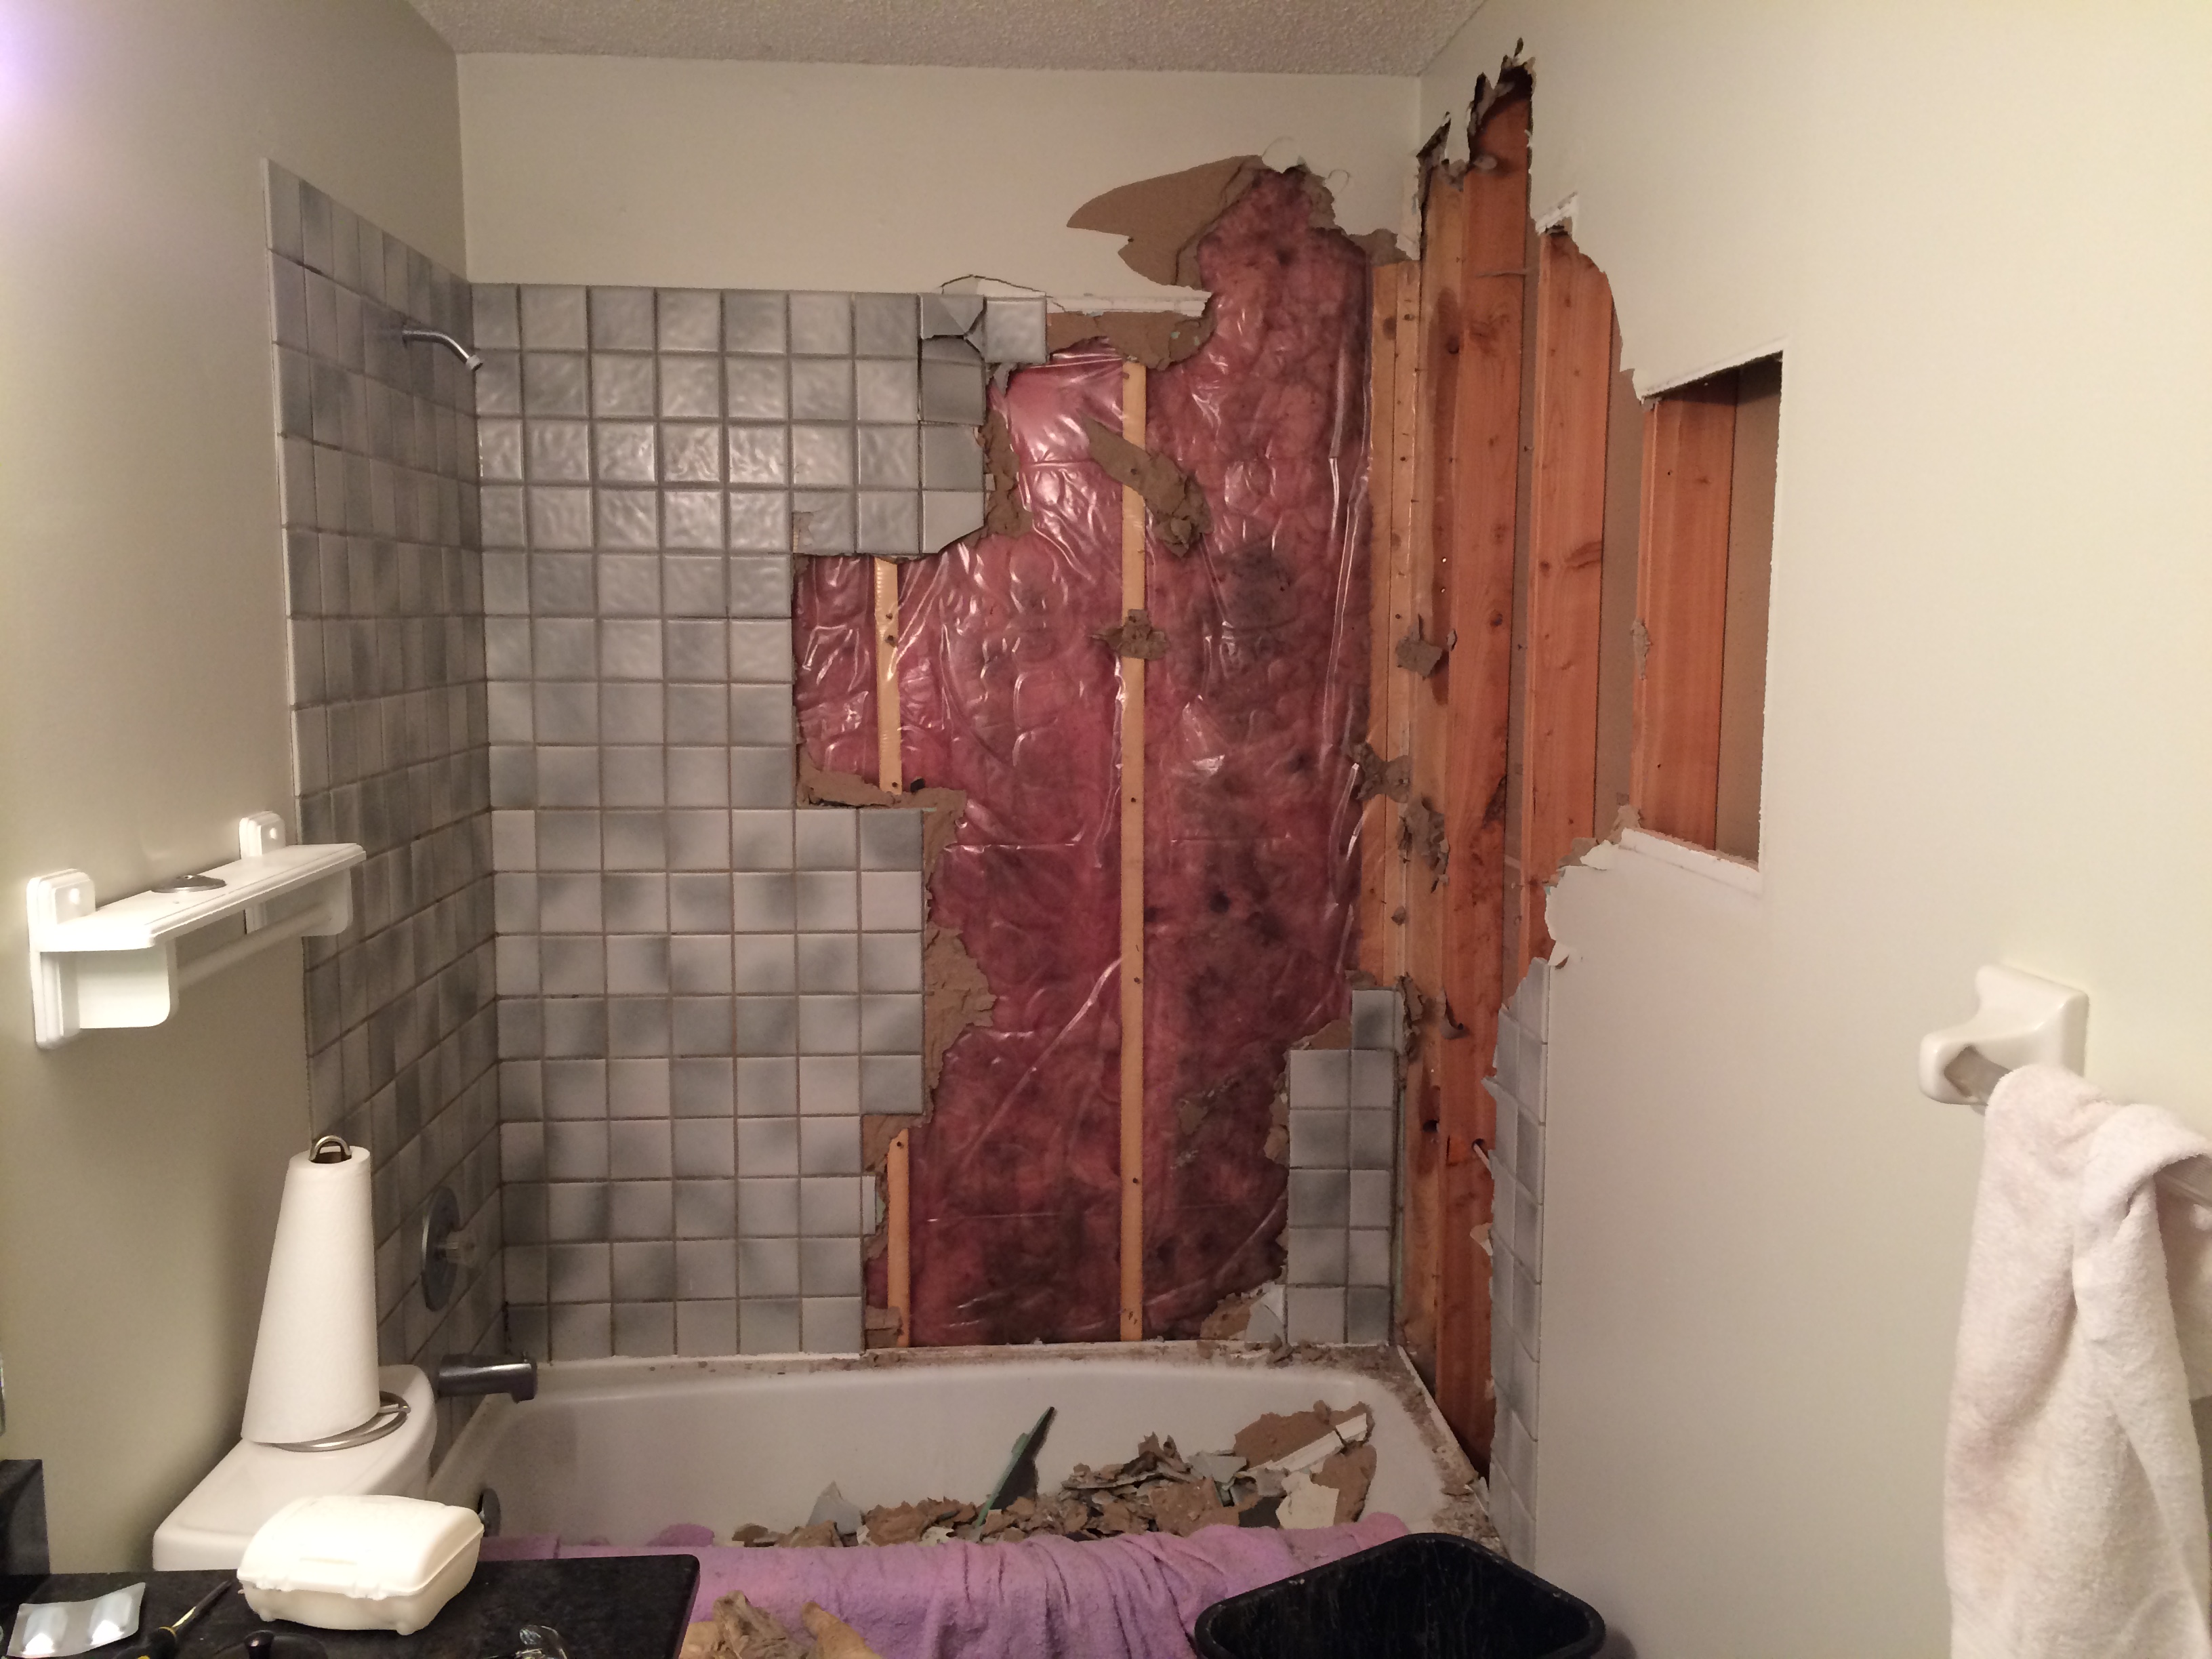
I tried to find a balance between my inner child wanting to swing a hammer, and my inner adult, warning me not to smash through two walls with one swing. (the living room wall is to the right)
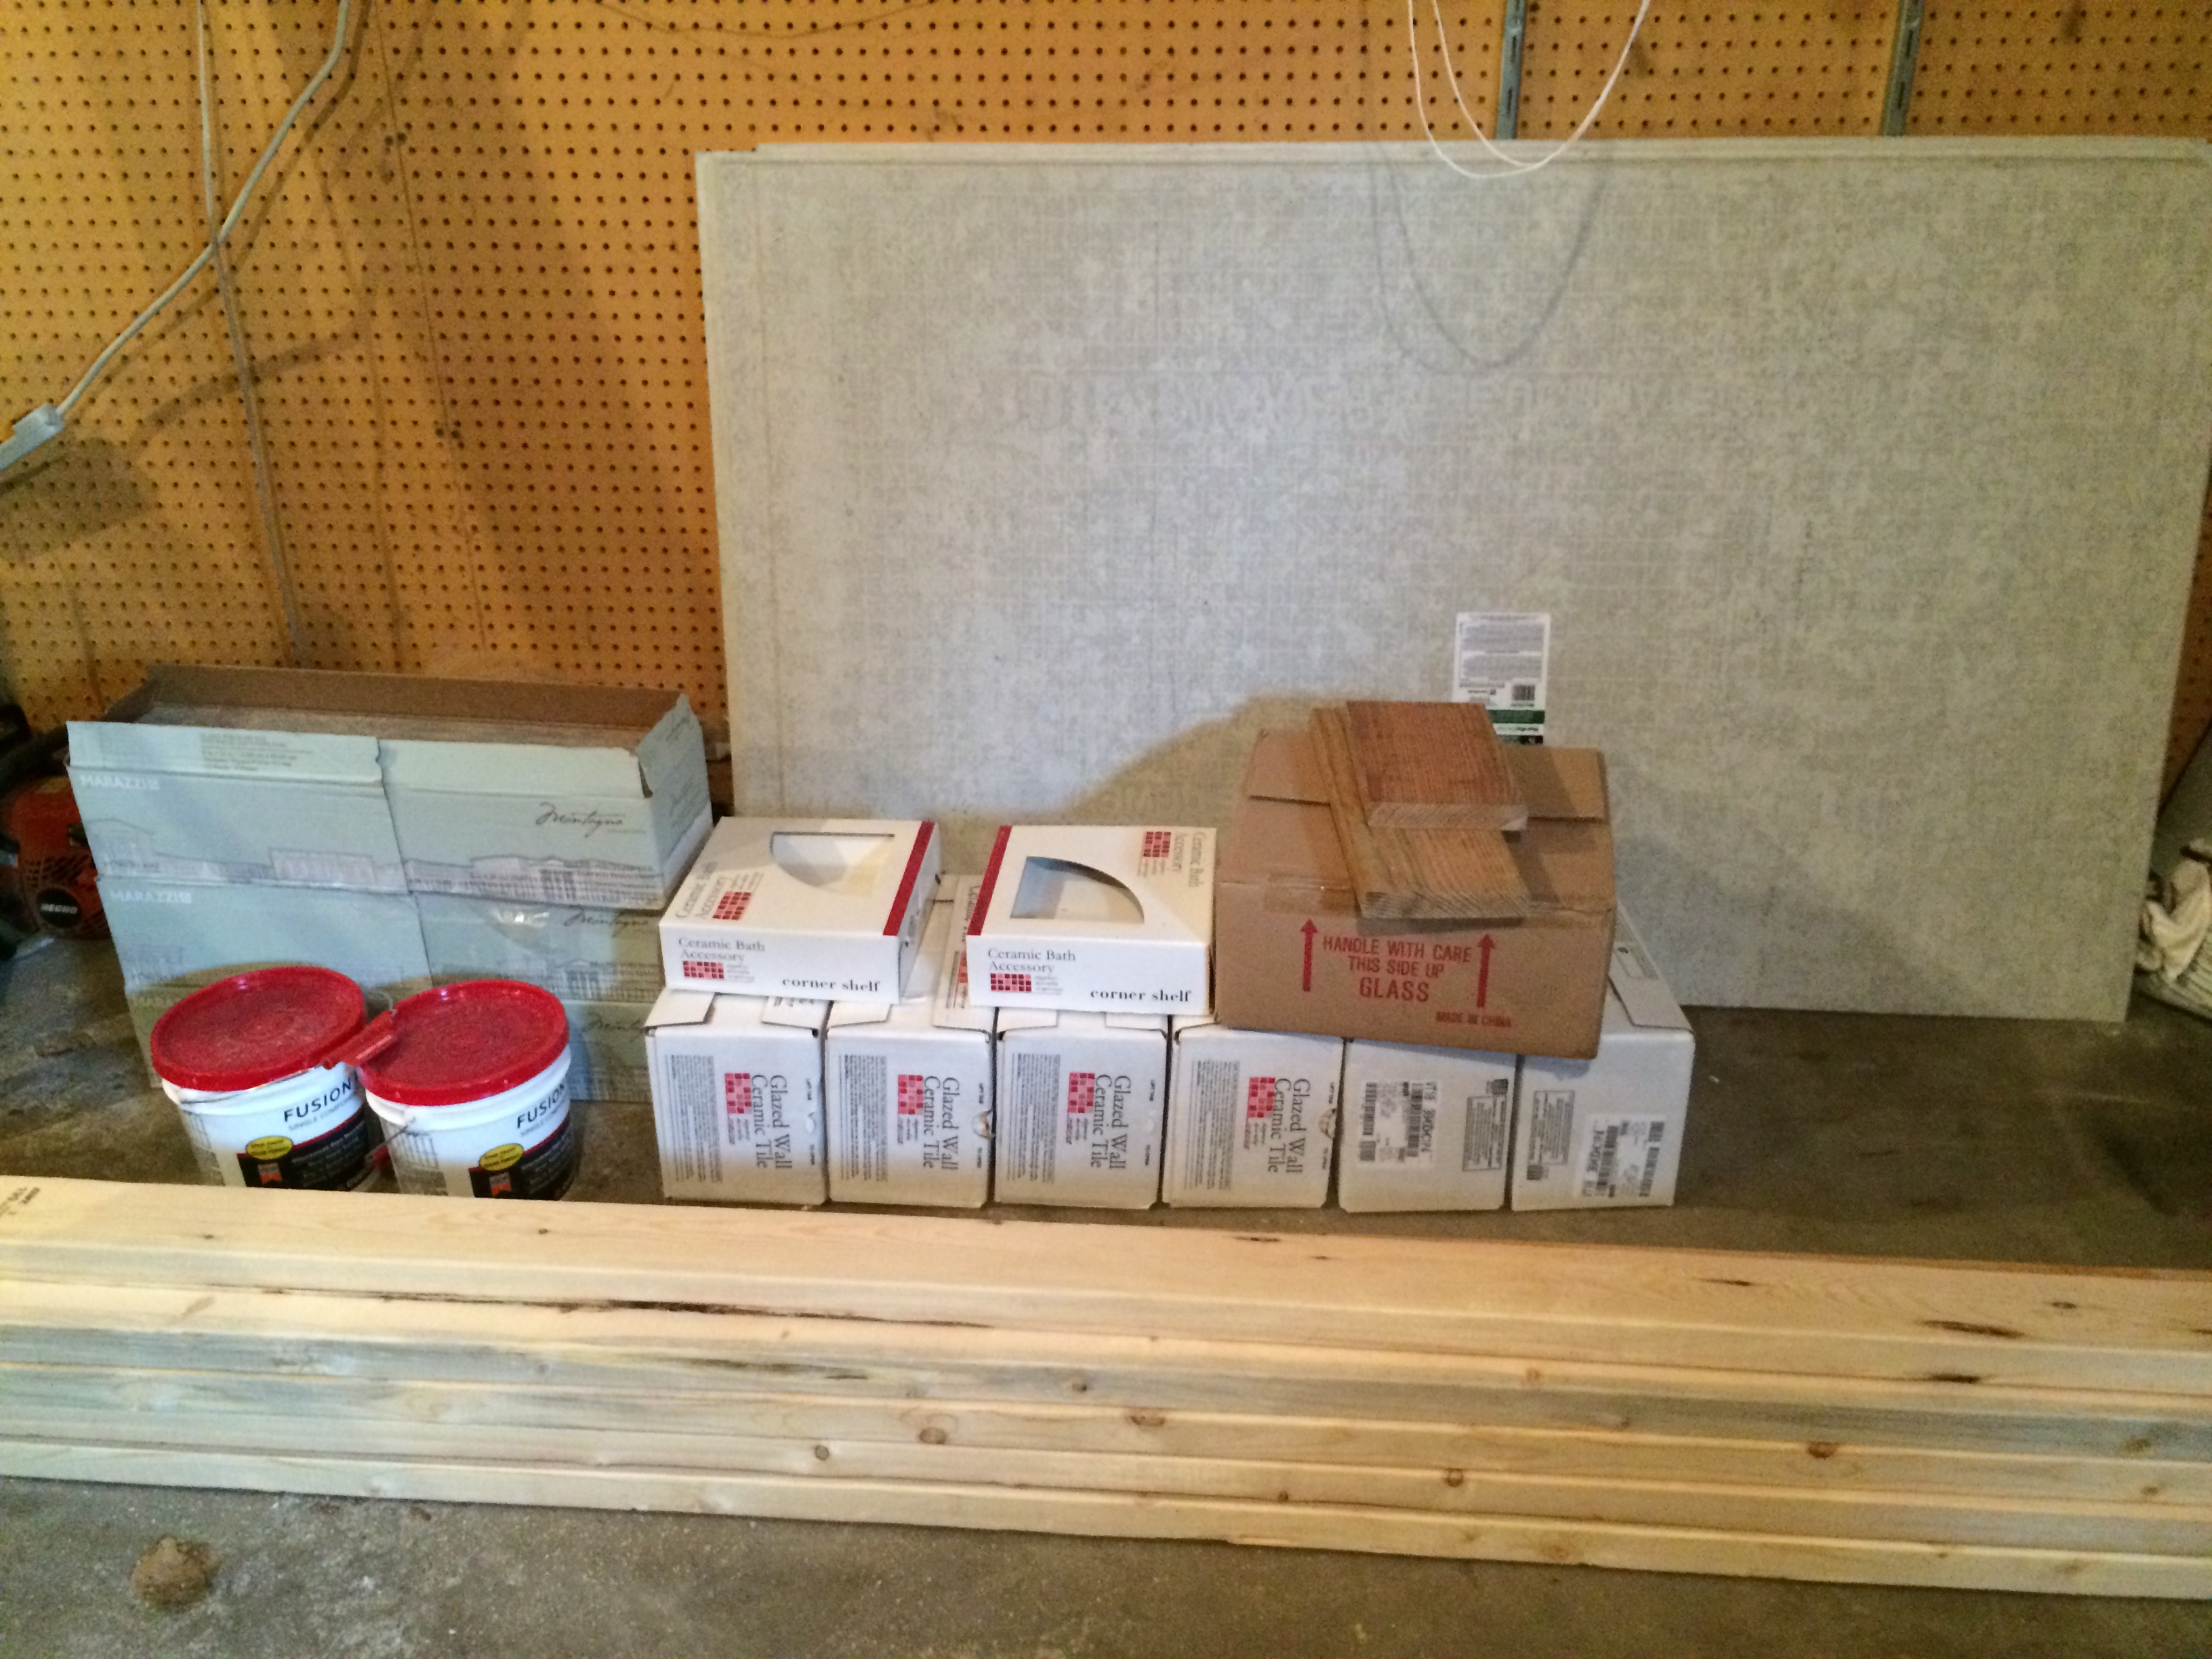
Below are some of the materials we purchased. Porcelain floor tiles, mortar, pre-mixed grout and concrete backer-board from Home Depot. Ceramic subway tiles and 2×4 wall studs from Menards (because the prices were cheaper that week).
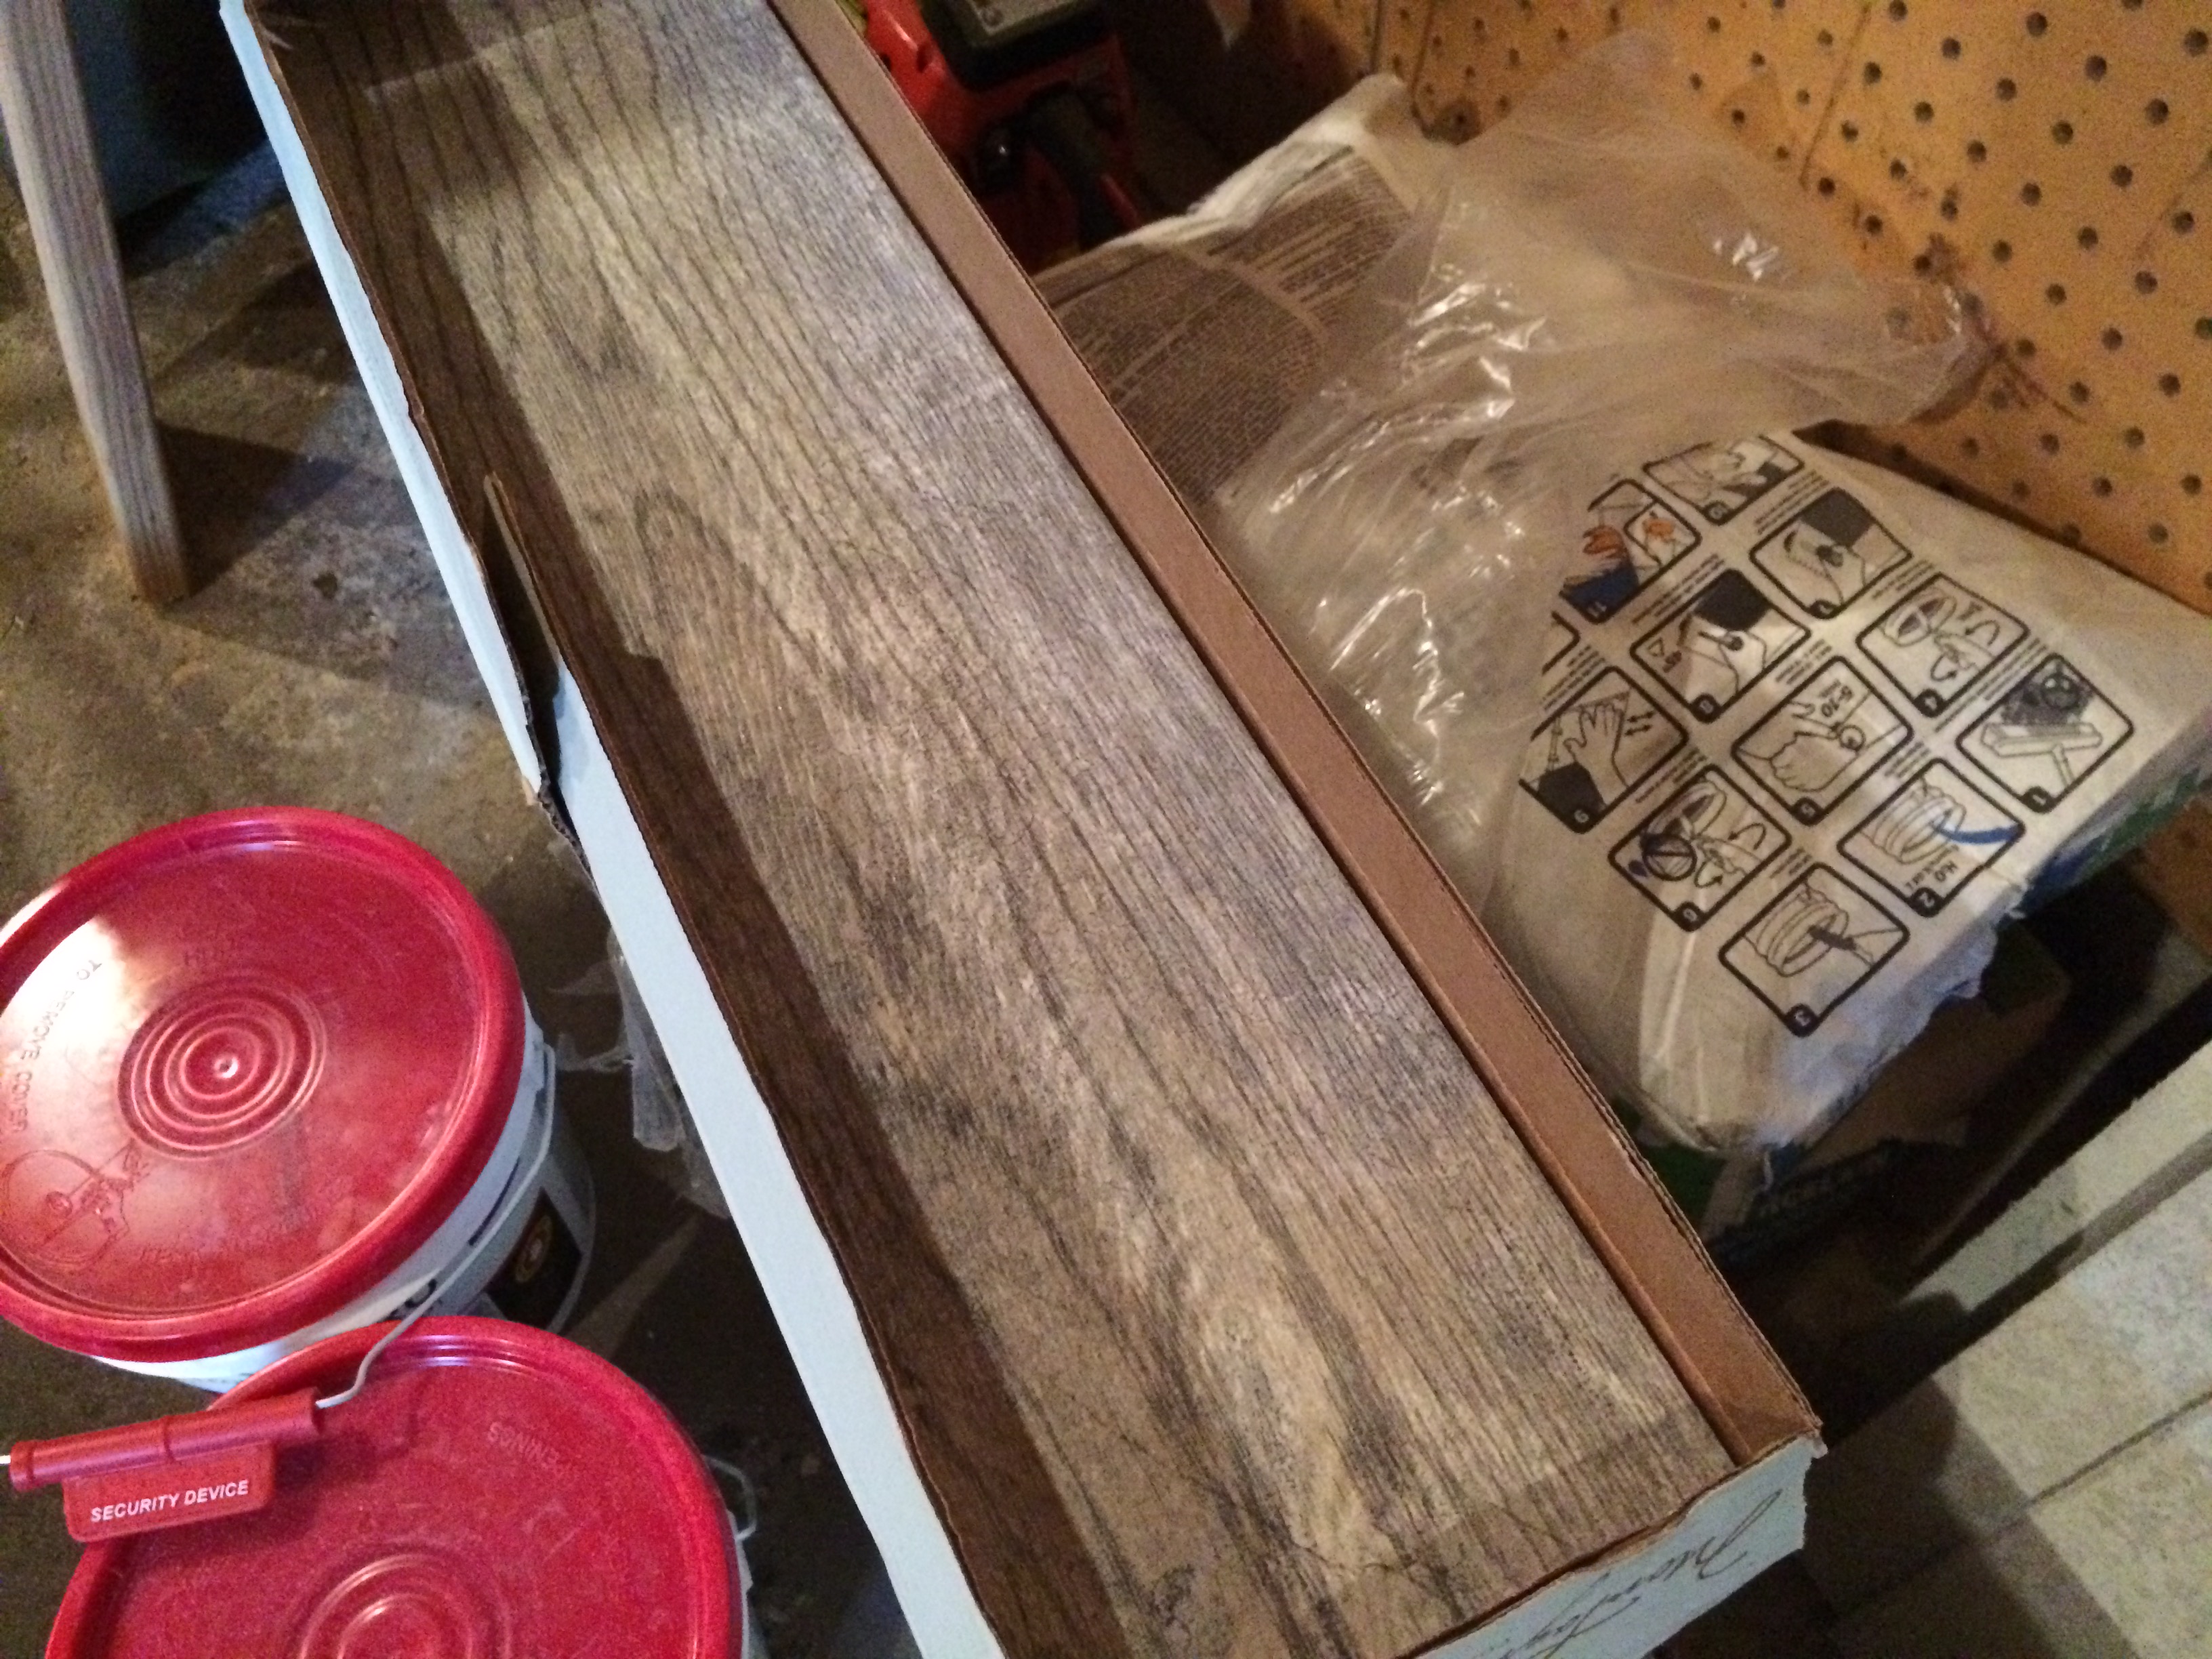
Faux wood porcelain floor.
When reading up about what we would need for this project, I saw that it would be helpful to have an extra drill, because mixing mortar by hand can be exhausting and totally unnecessary if you have a good electric drill. I found this vintage Craftsman at a local thrift shop called Empty The Nest for $5. It doesn’t go in reverse and smells a bit when you first use it, but it still has a lot of life left in it and was up to the task.
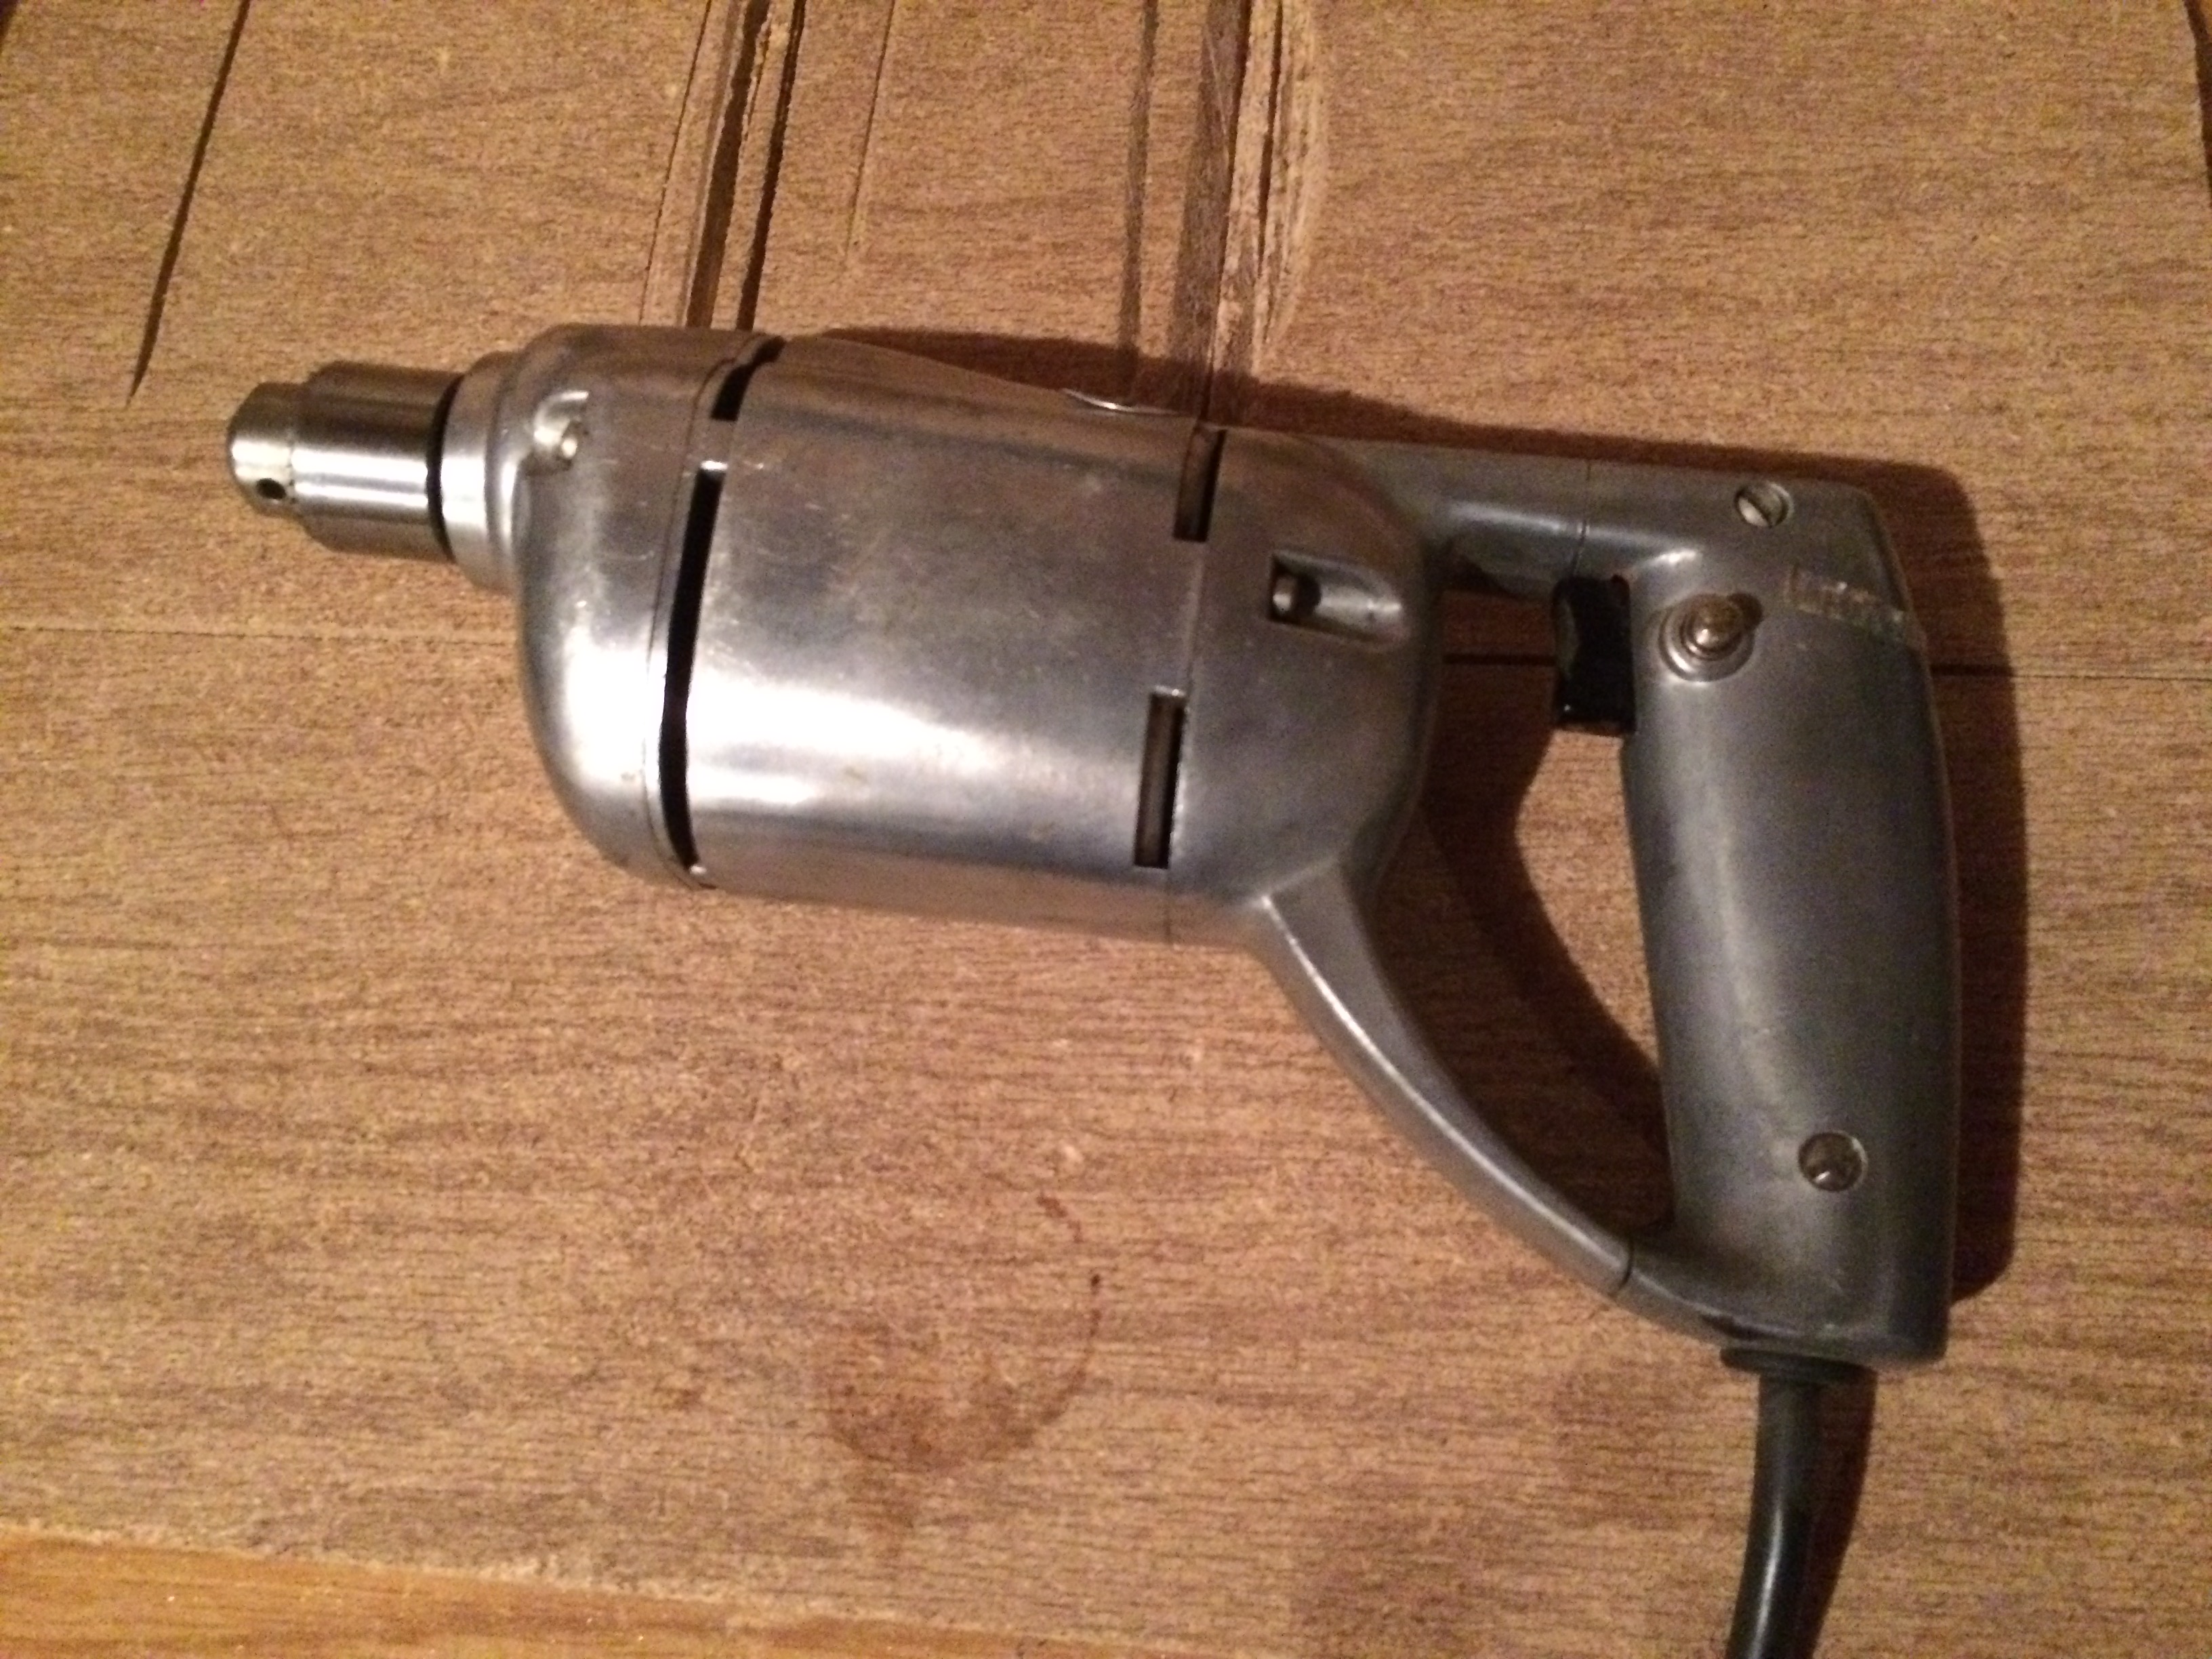
“Rosie the riveter would be proud.”
With the supplies purchased, the demolition continues. I now have all of the wall taken down around the shower. I had an old blanket in the bottom of the tub to prevent scratches from falling tiles. We decided from the beginning that the tub would stay. Its porcelain and super heavy, so moving it would have created more issues in renovating the bathroom than the space would warrant. Luckily, its white and easy to clean, which also gives it a Verlo seal of approval.
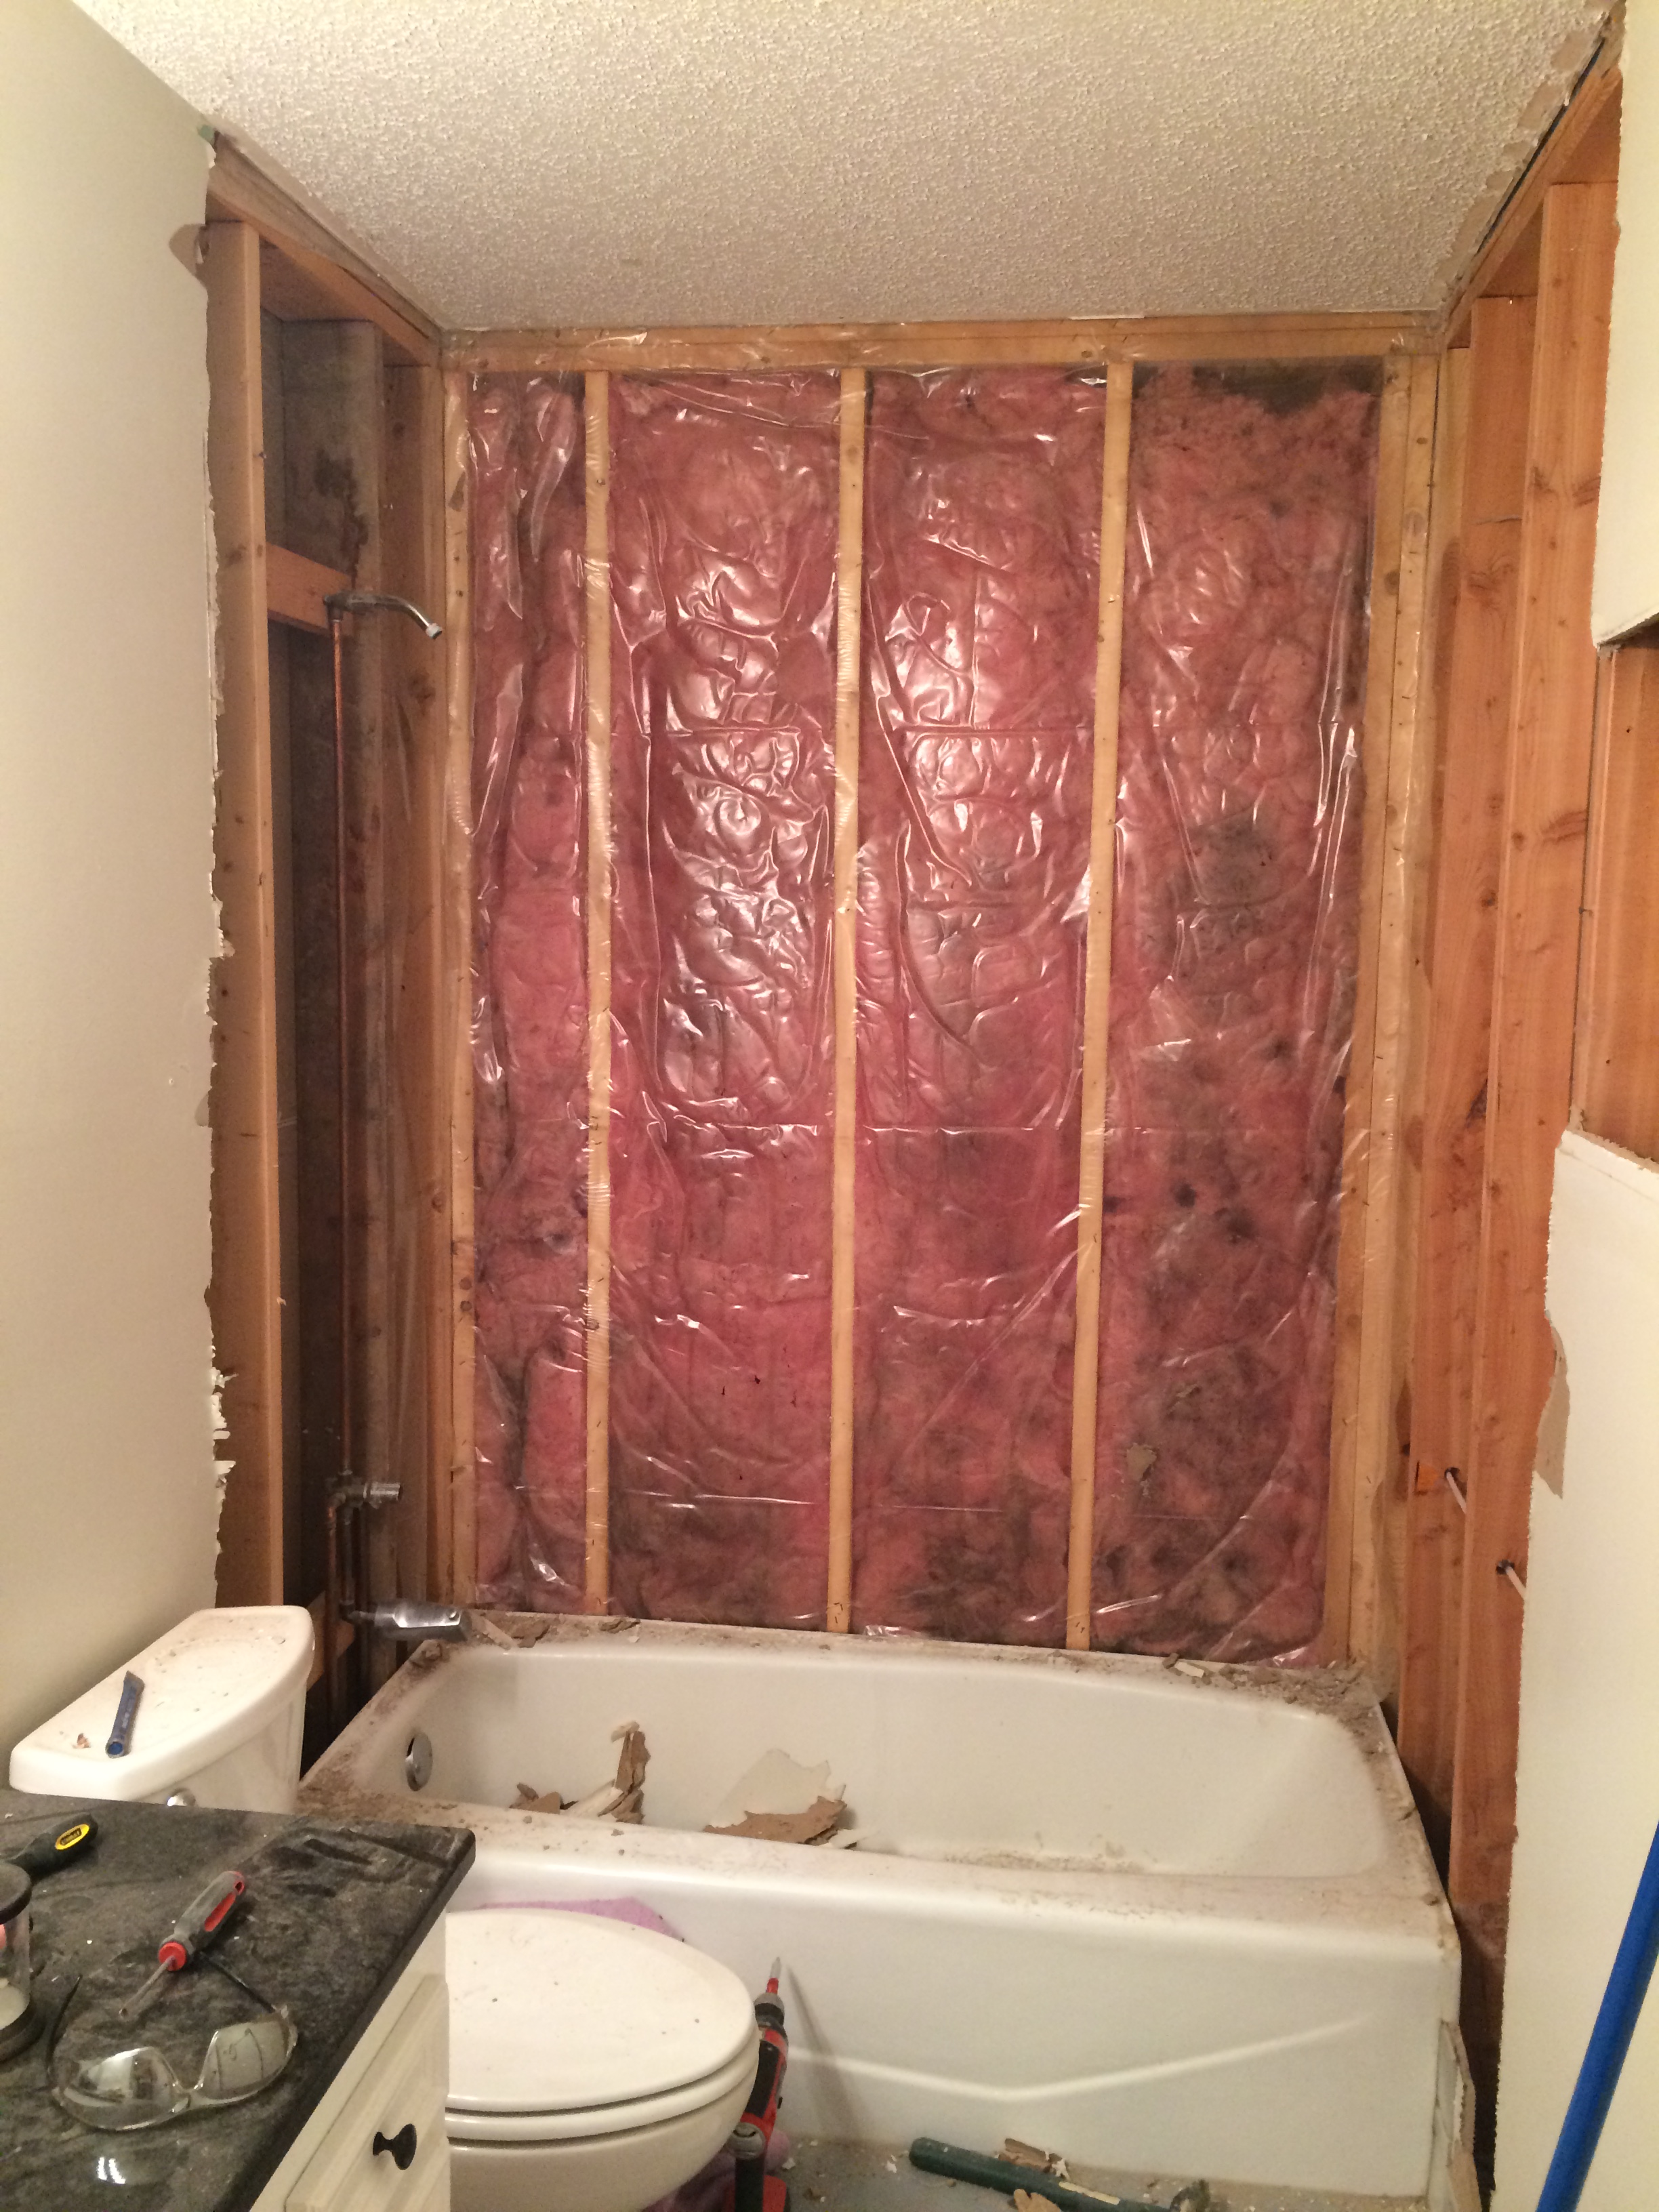
“Don’t look at me, I’m not decent.”
Now begins the LONG process of removing the floor tiles. I started by pulling up the threshold between the rooms, and chipping one tile away at a time. The photo below shows how much progress I had made after about an hour of grueling work.
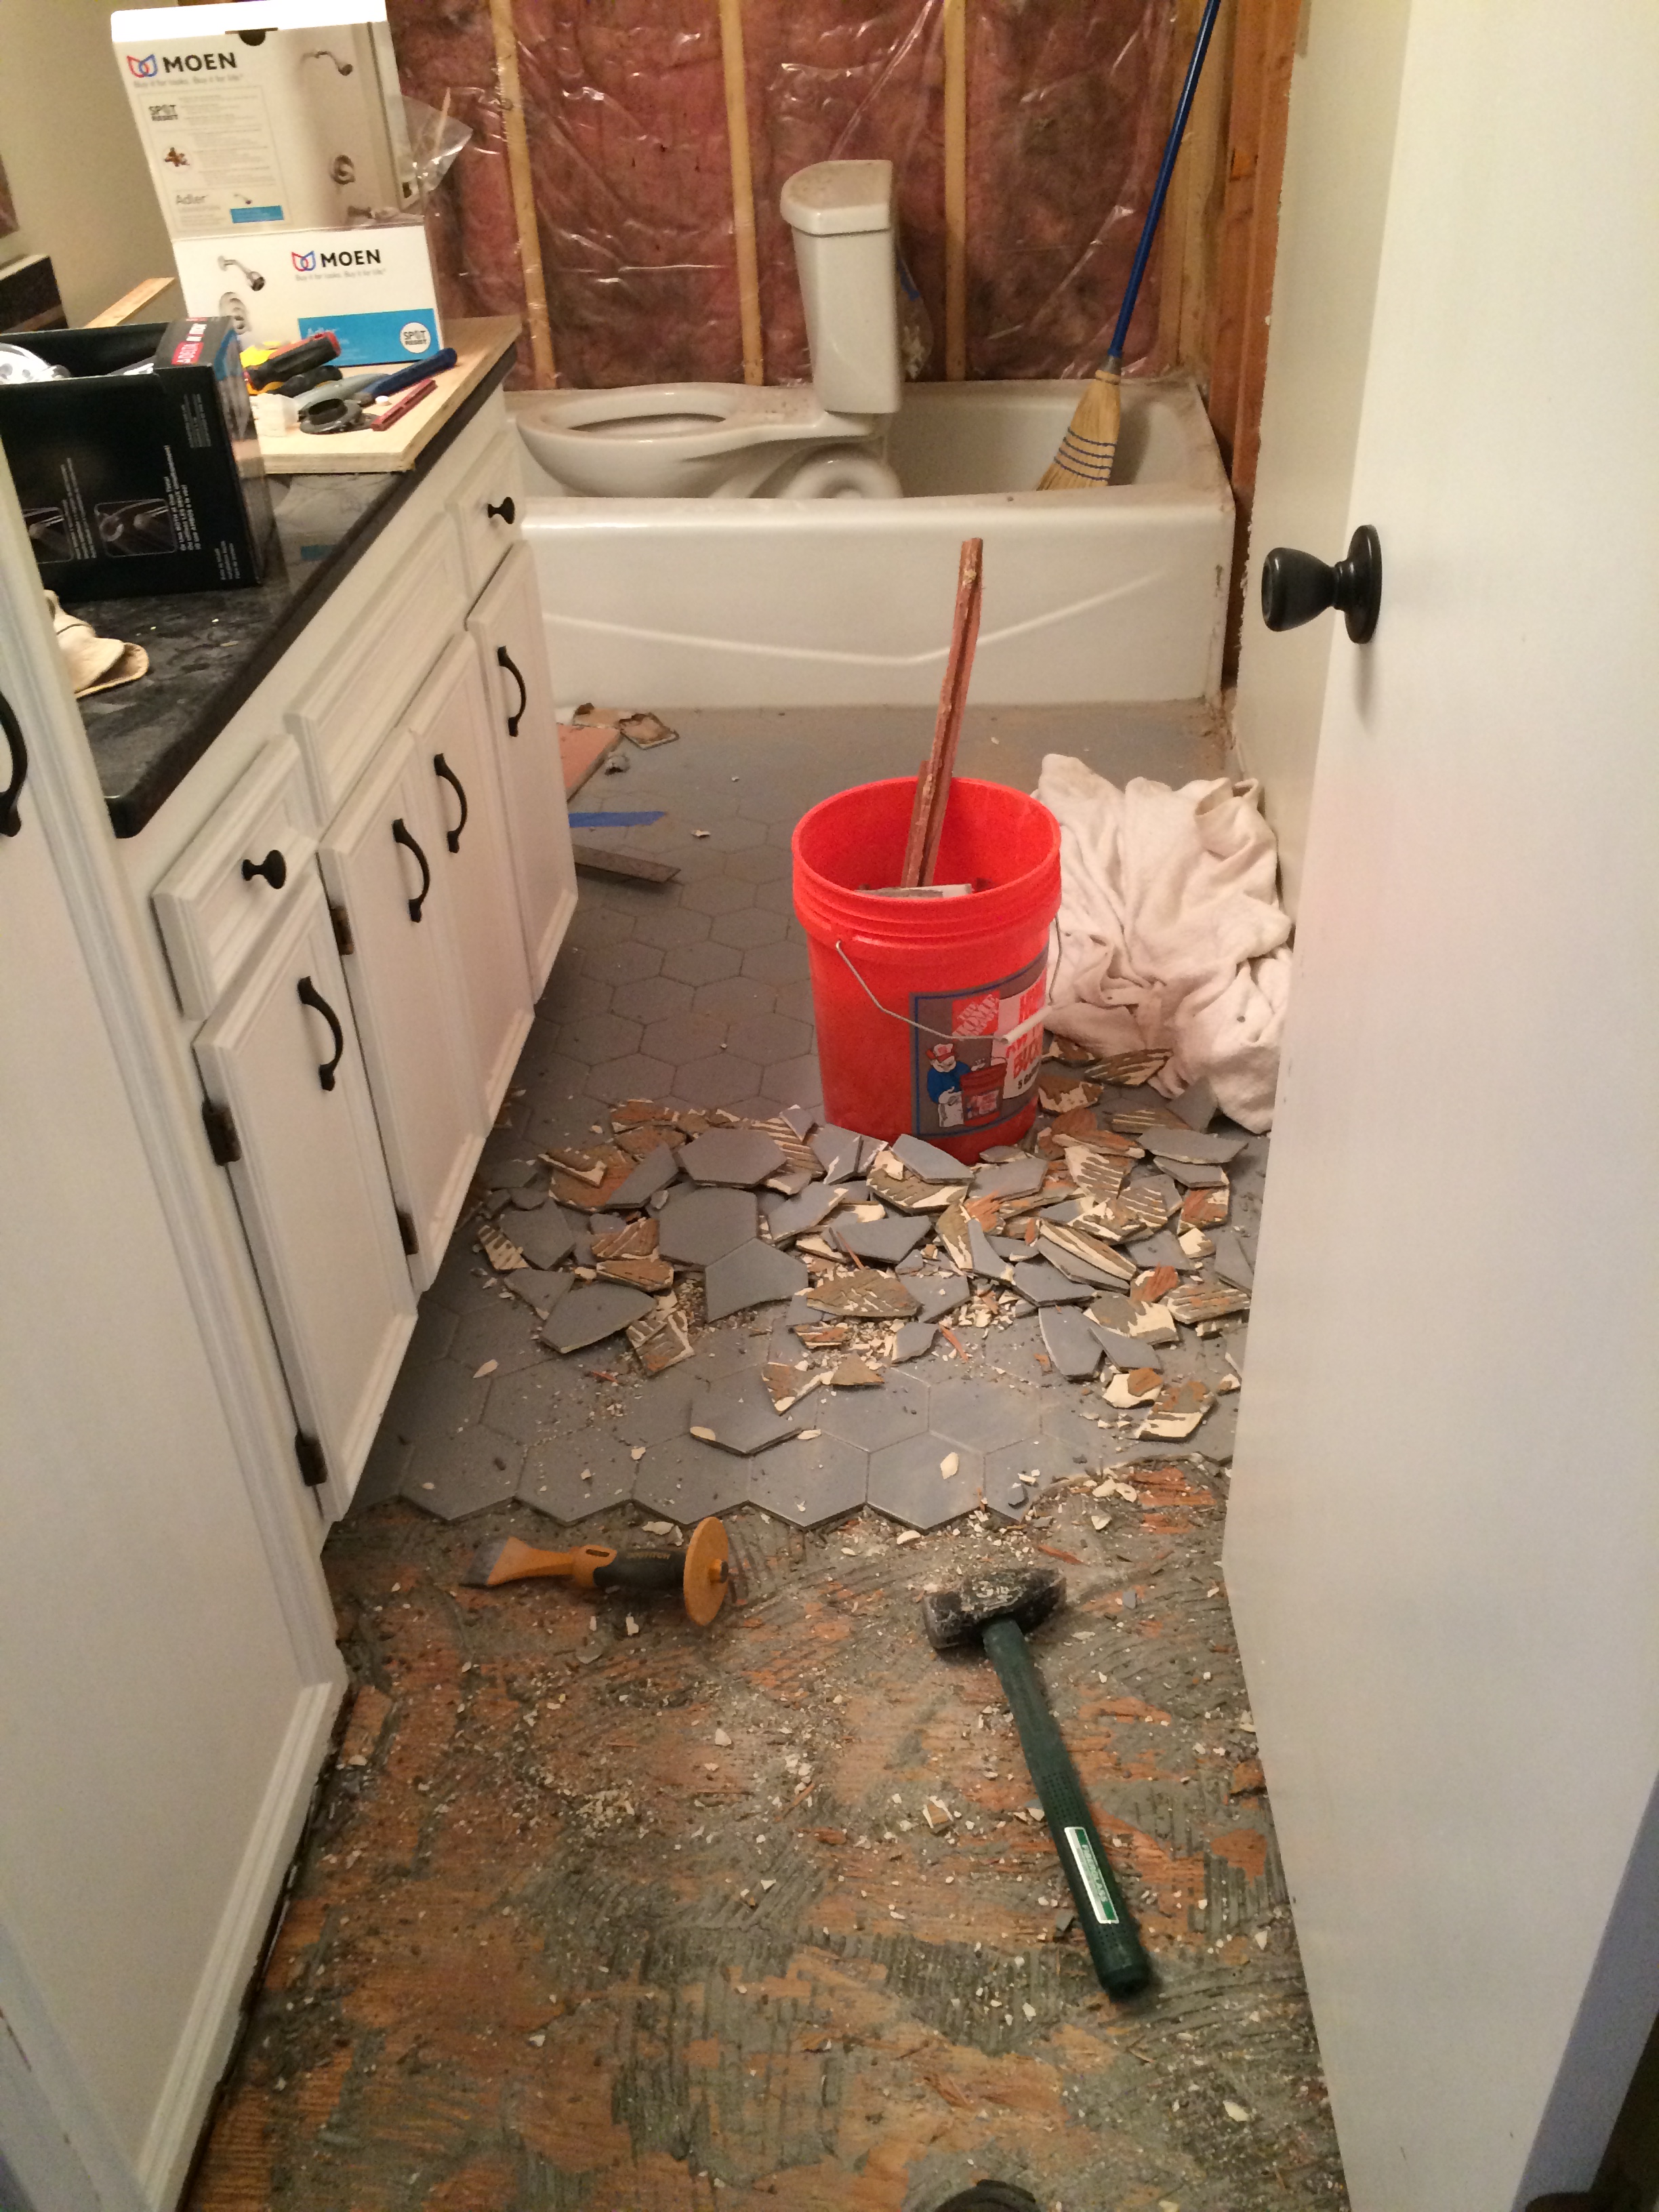
On the area that has been cleared of tiles, note how there was only plywood beneath the tiles. This explains why many of the tiles were cracking. I have been reading how tile floors need at least 1/4″ concrete backer-board as a sub-surface. The wood will have to go!
After drilling a test hole, I determined that the floor beneath the tiles consists of a 1/2″ plywood layer, on top of a 3/4″ plywood layer. Using a much quicker SMASH technique (read: hammer and a crowbar), I have started to remove the 1/2″ plywood layer and the tiles above it. This wood layer will eventually be replaced by concrete backer-board.

One other lesson I learned when tossing these tile scraps into the garbage. One broken piece sliced through the pair of leather work gloves I was wearing and nearly cut my finger. I stopped my work and bought a better pair of gloves designed for handling sharp edges.
With demolition complete, the next step is doing plumbing for the new bathtub fixtures.
Before.
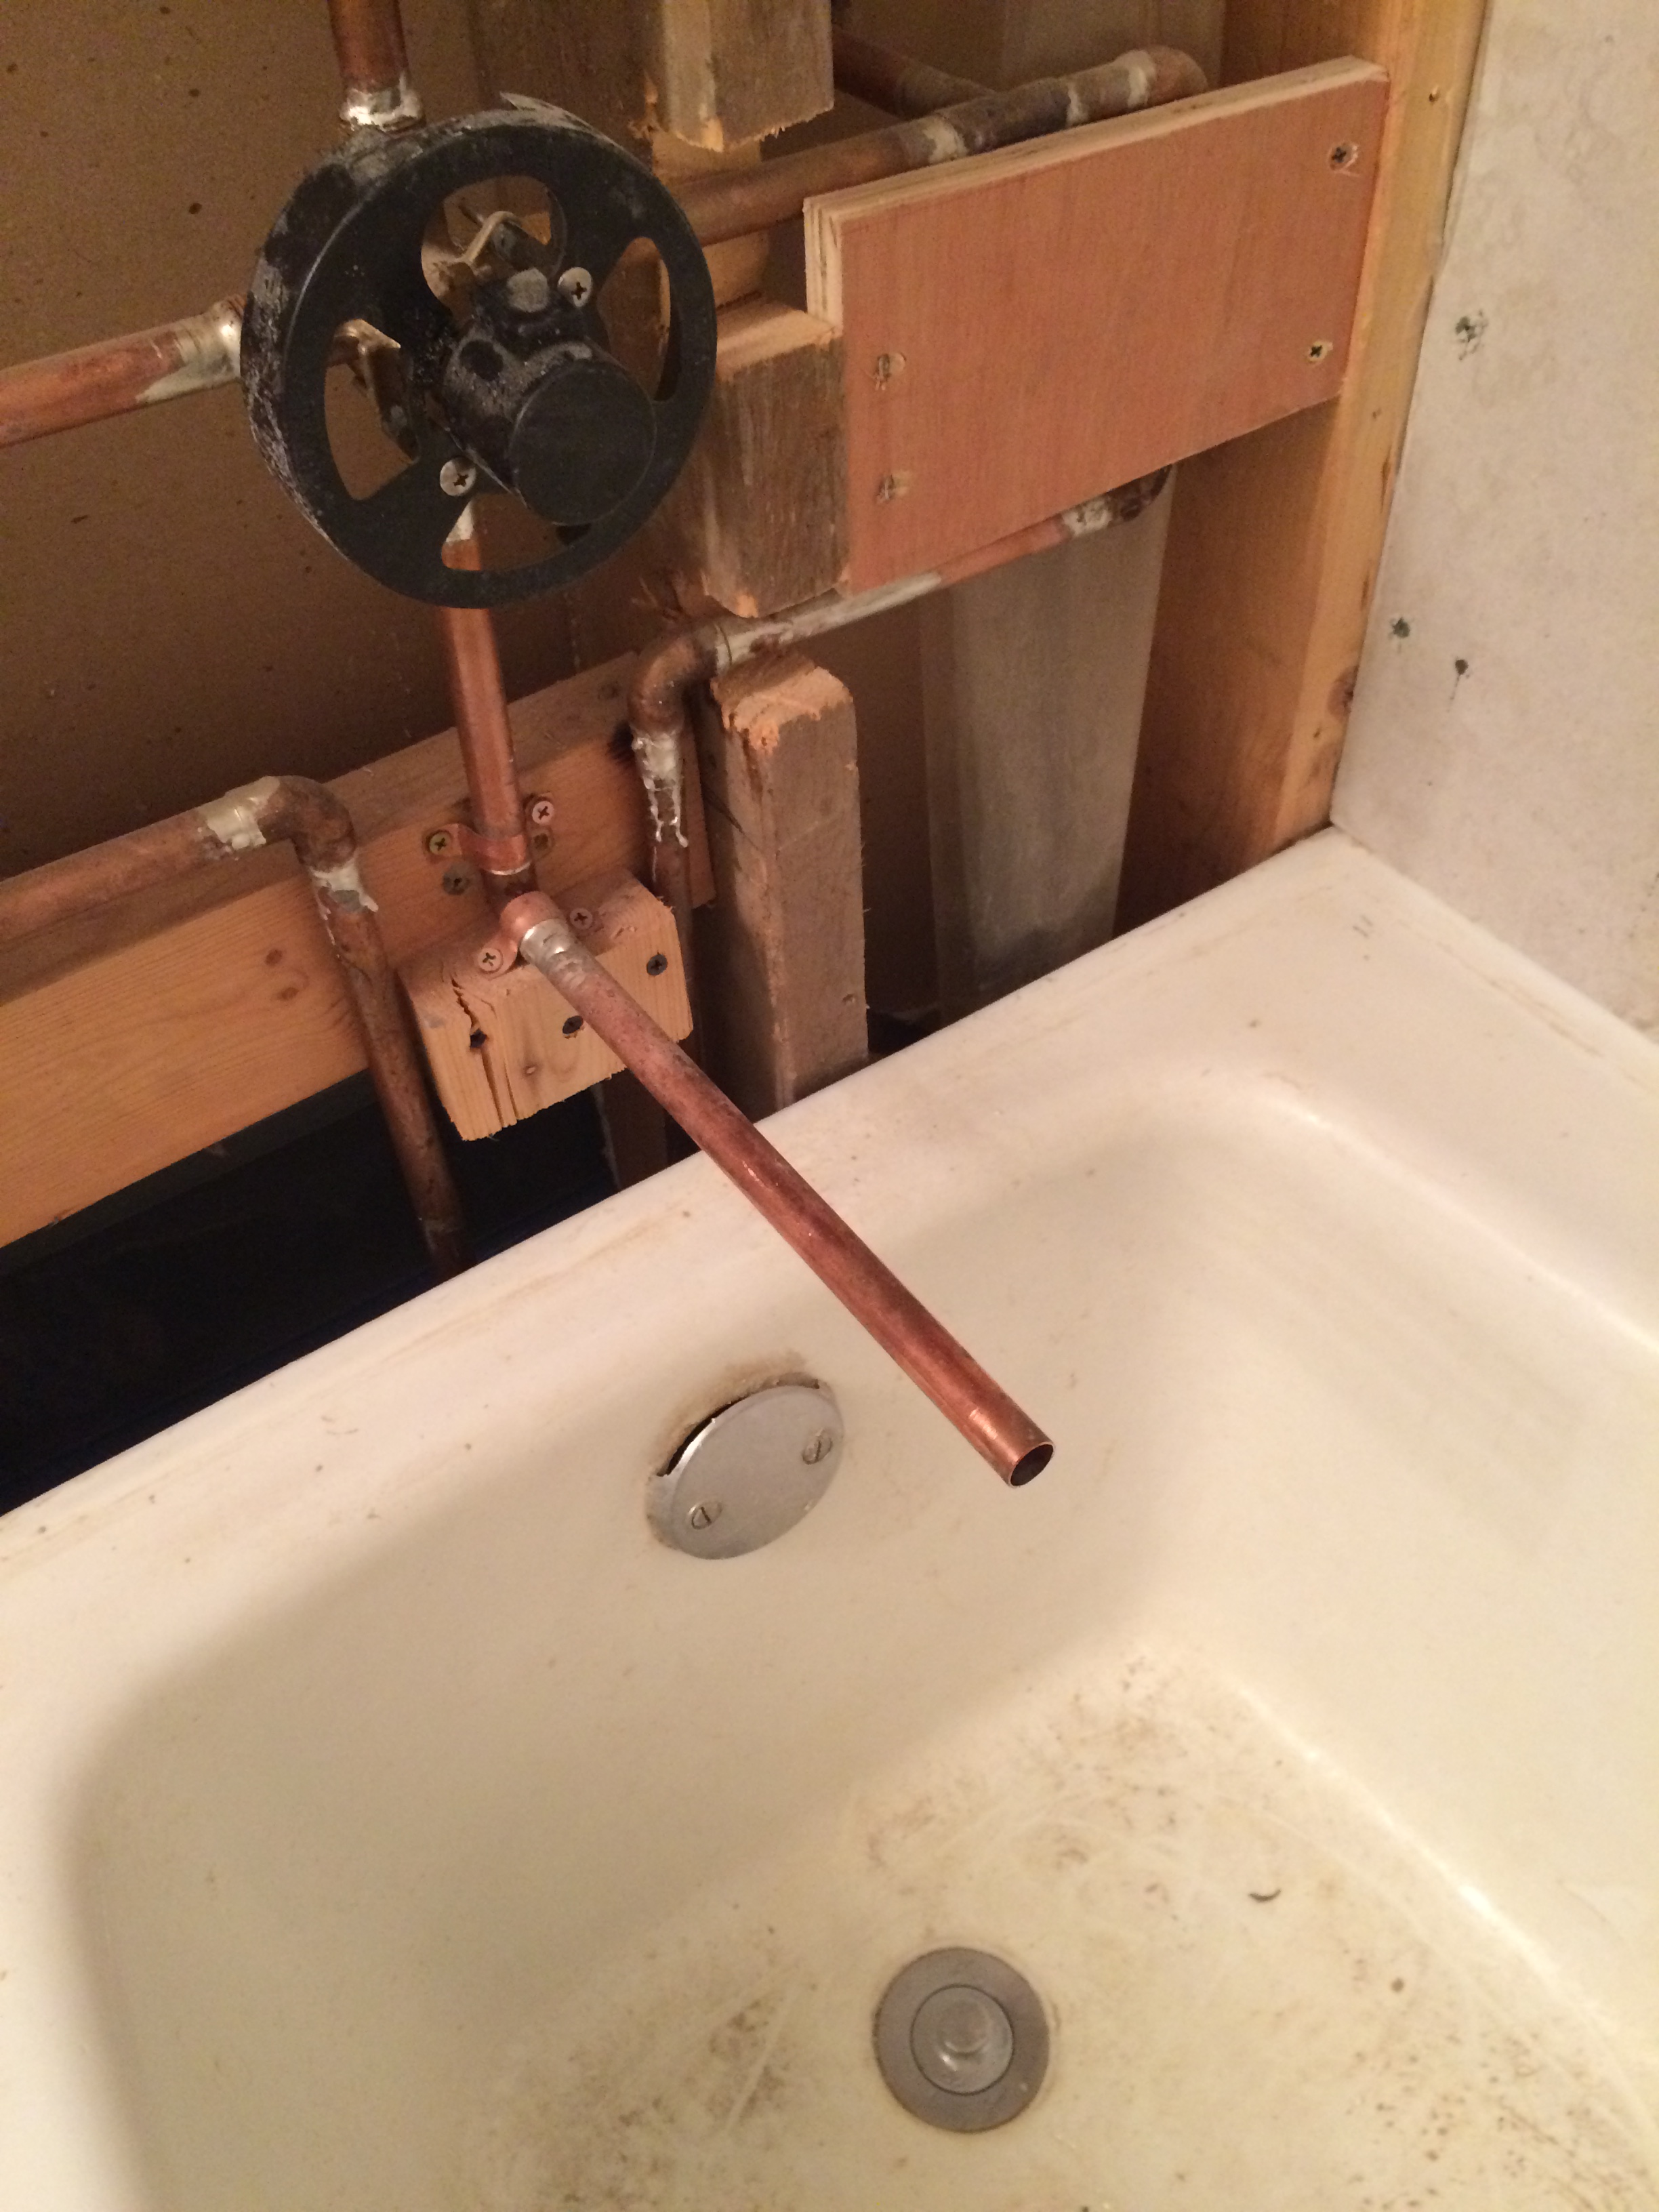
When doing this bathroom remodel, we took into consideration what we would need for our next bathroom remodel. Behind the tub fixtures in this bathroom, is the master closet, which will eventually become part of an expanded master bathroom, specifically, where the tub will be located. In the image below, I soldered copper pipes so that I have plumbing ready to go when we are ready to move forward with the next bathroom remodel.
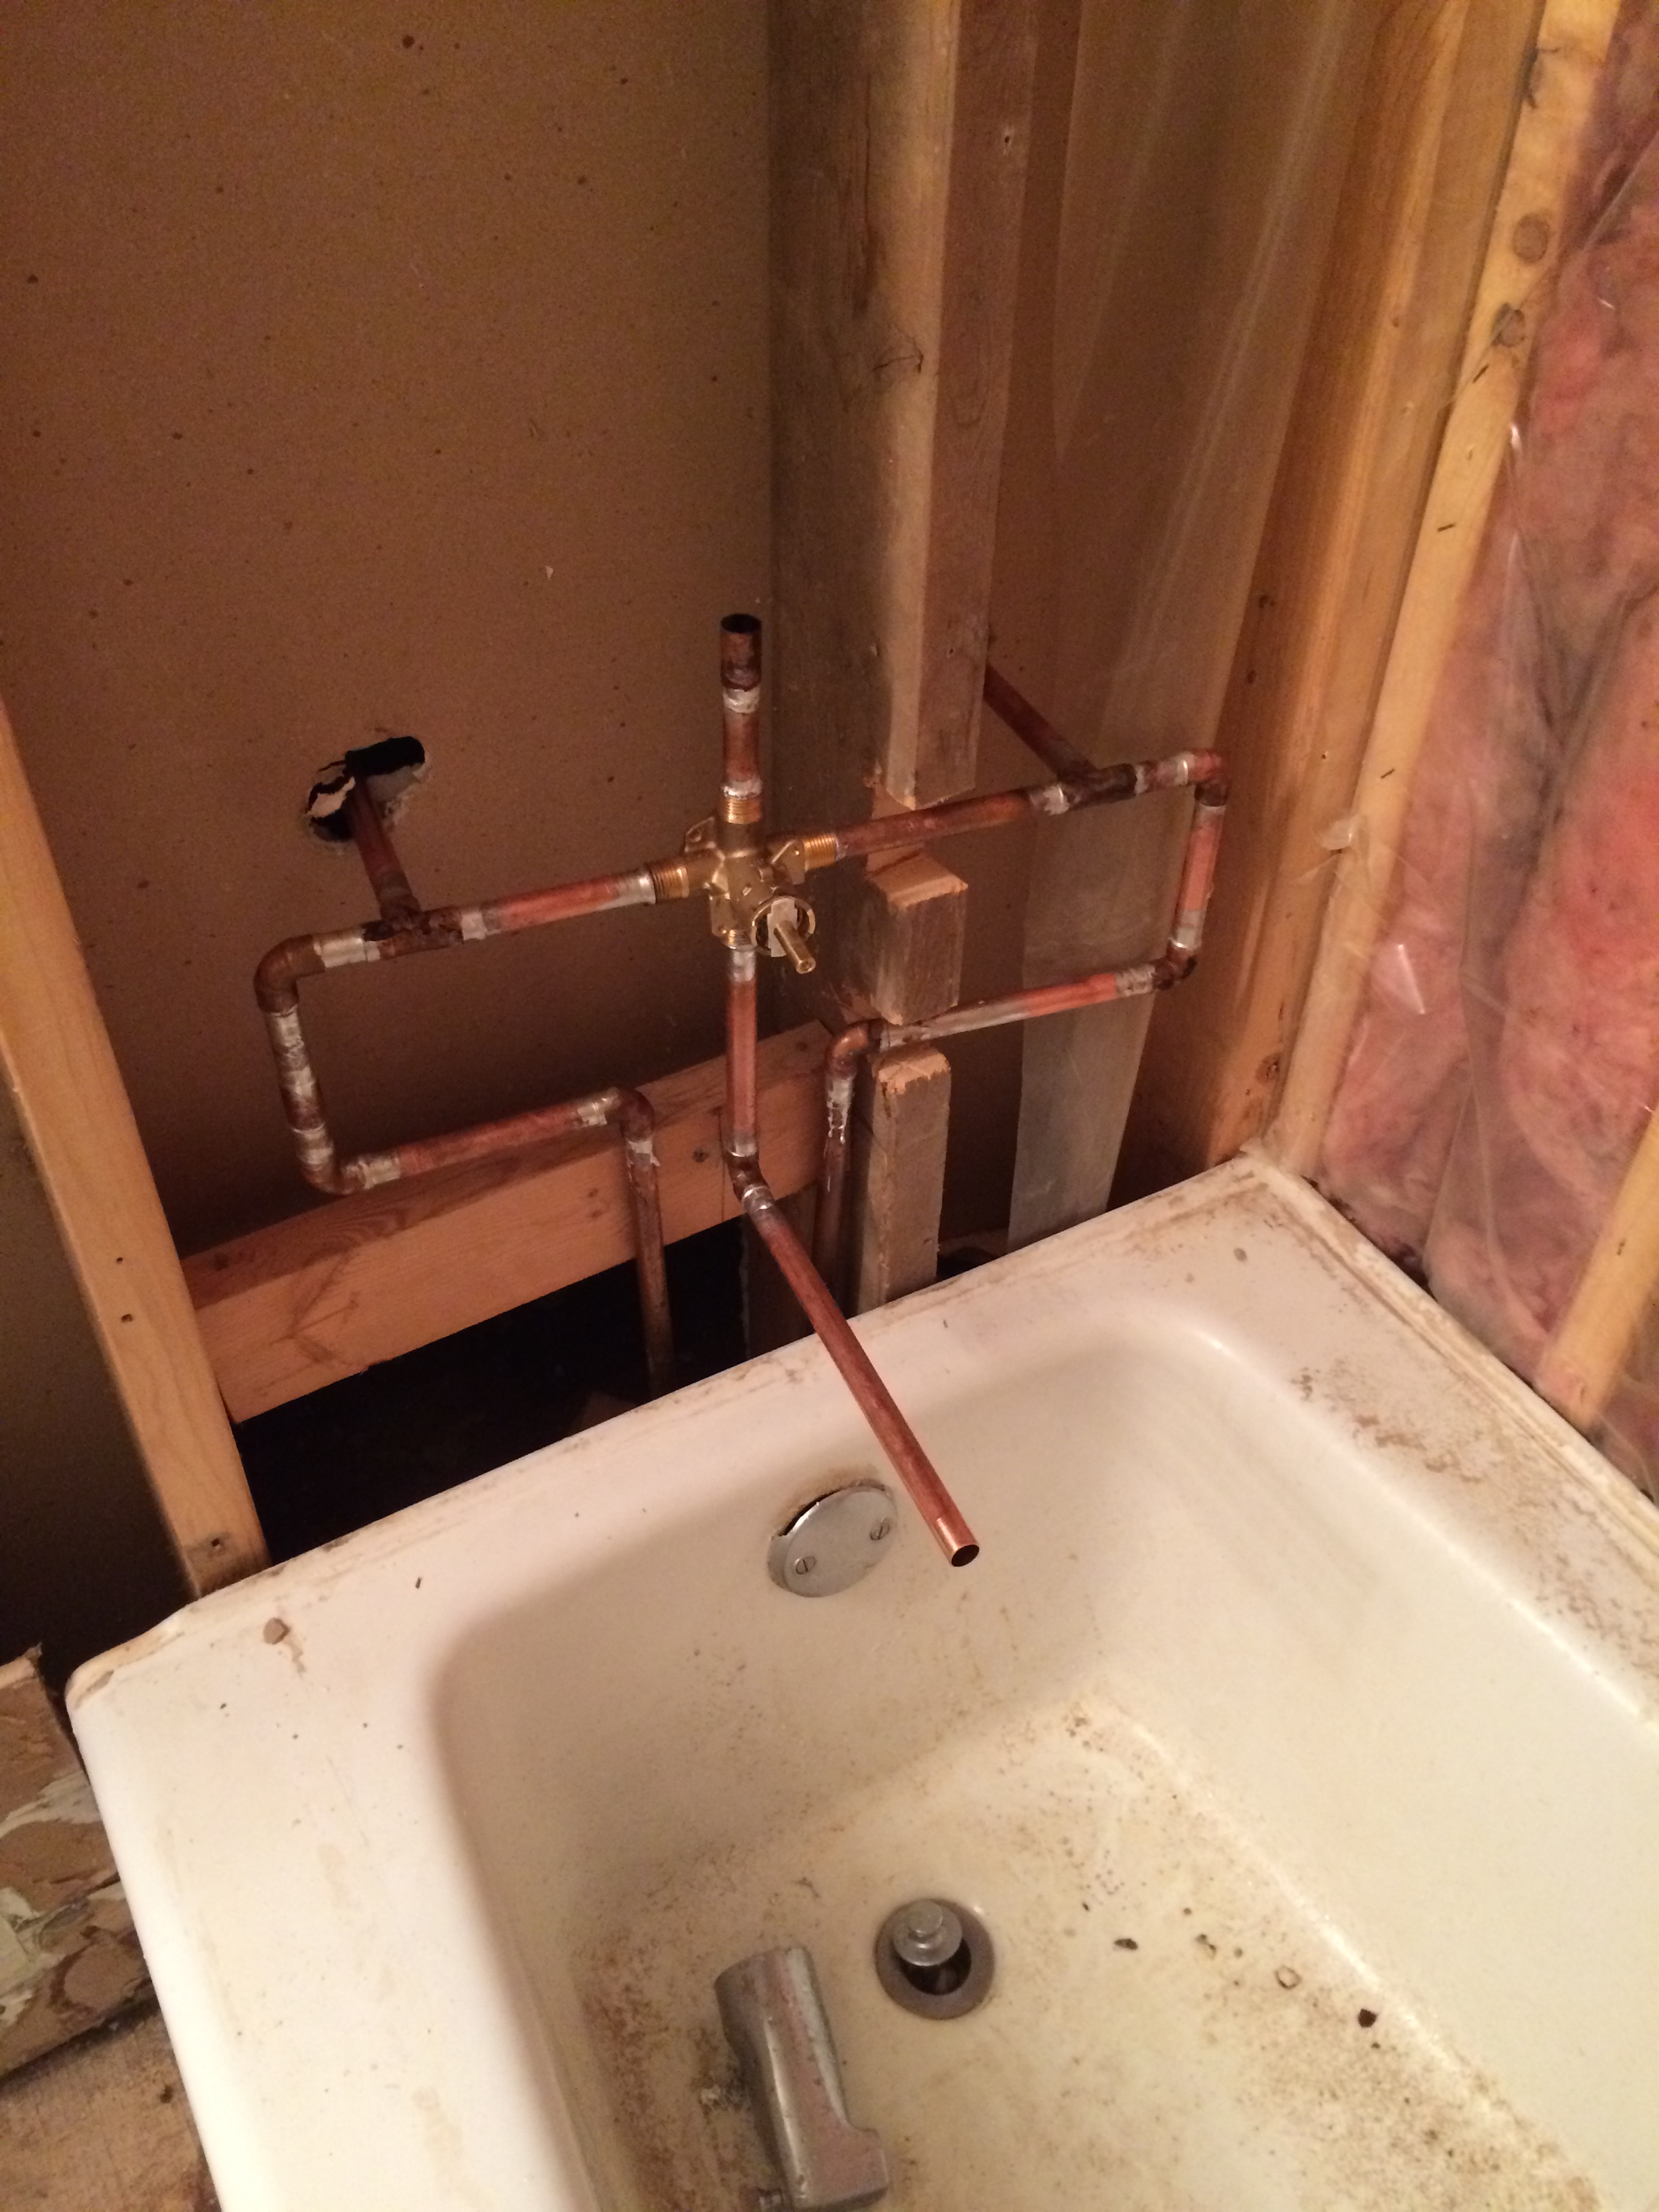
Hot and cold lines passing through the wall into the closet on the other side. More work now, but less down the road. Also attached: the brass fixture for the new tub controls.
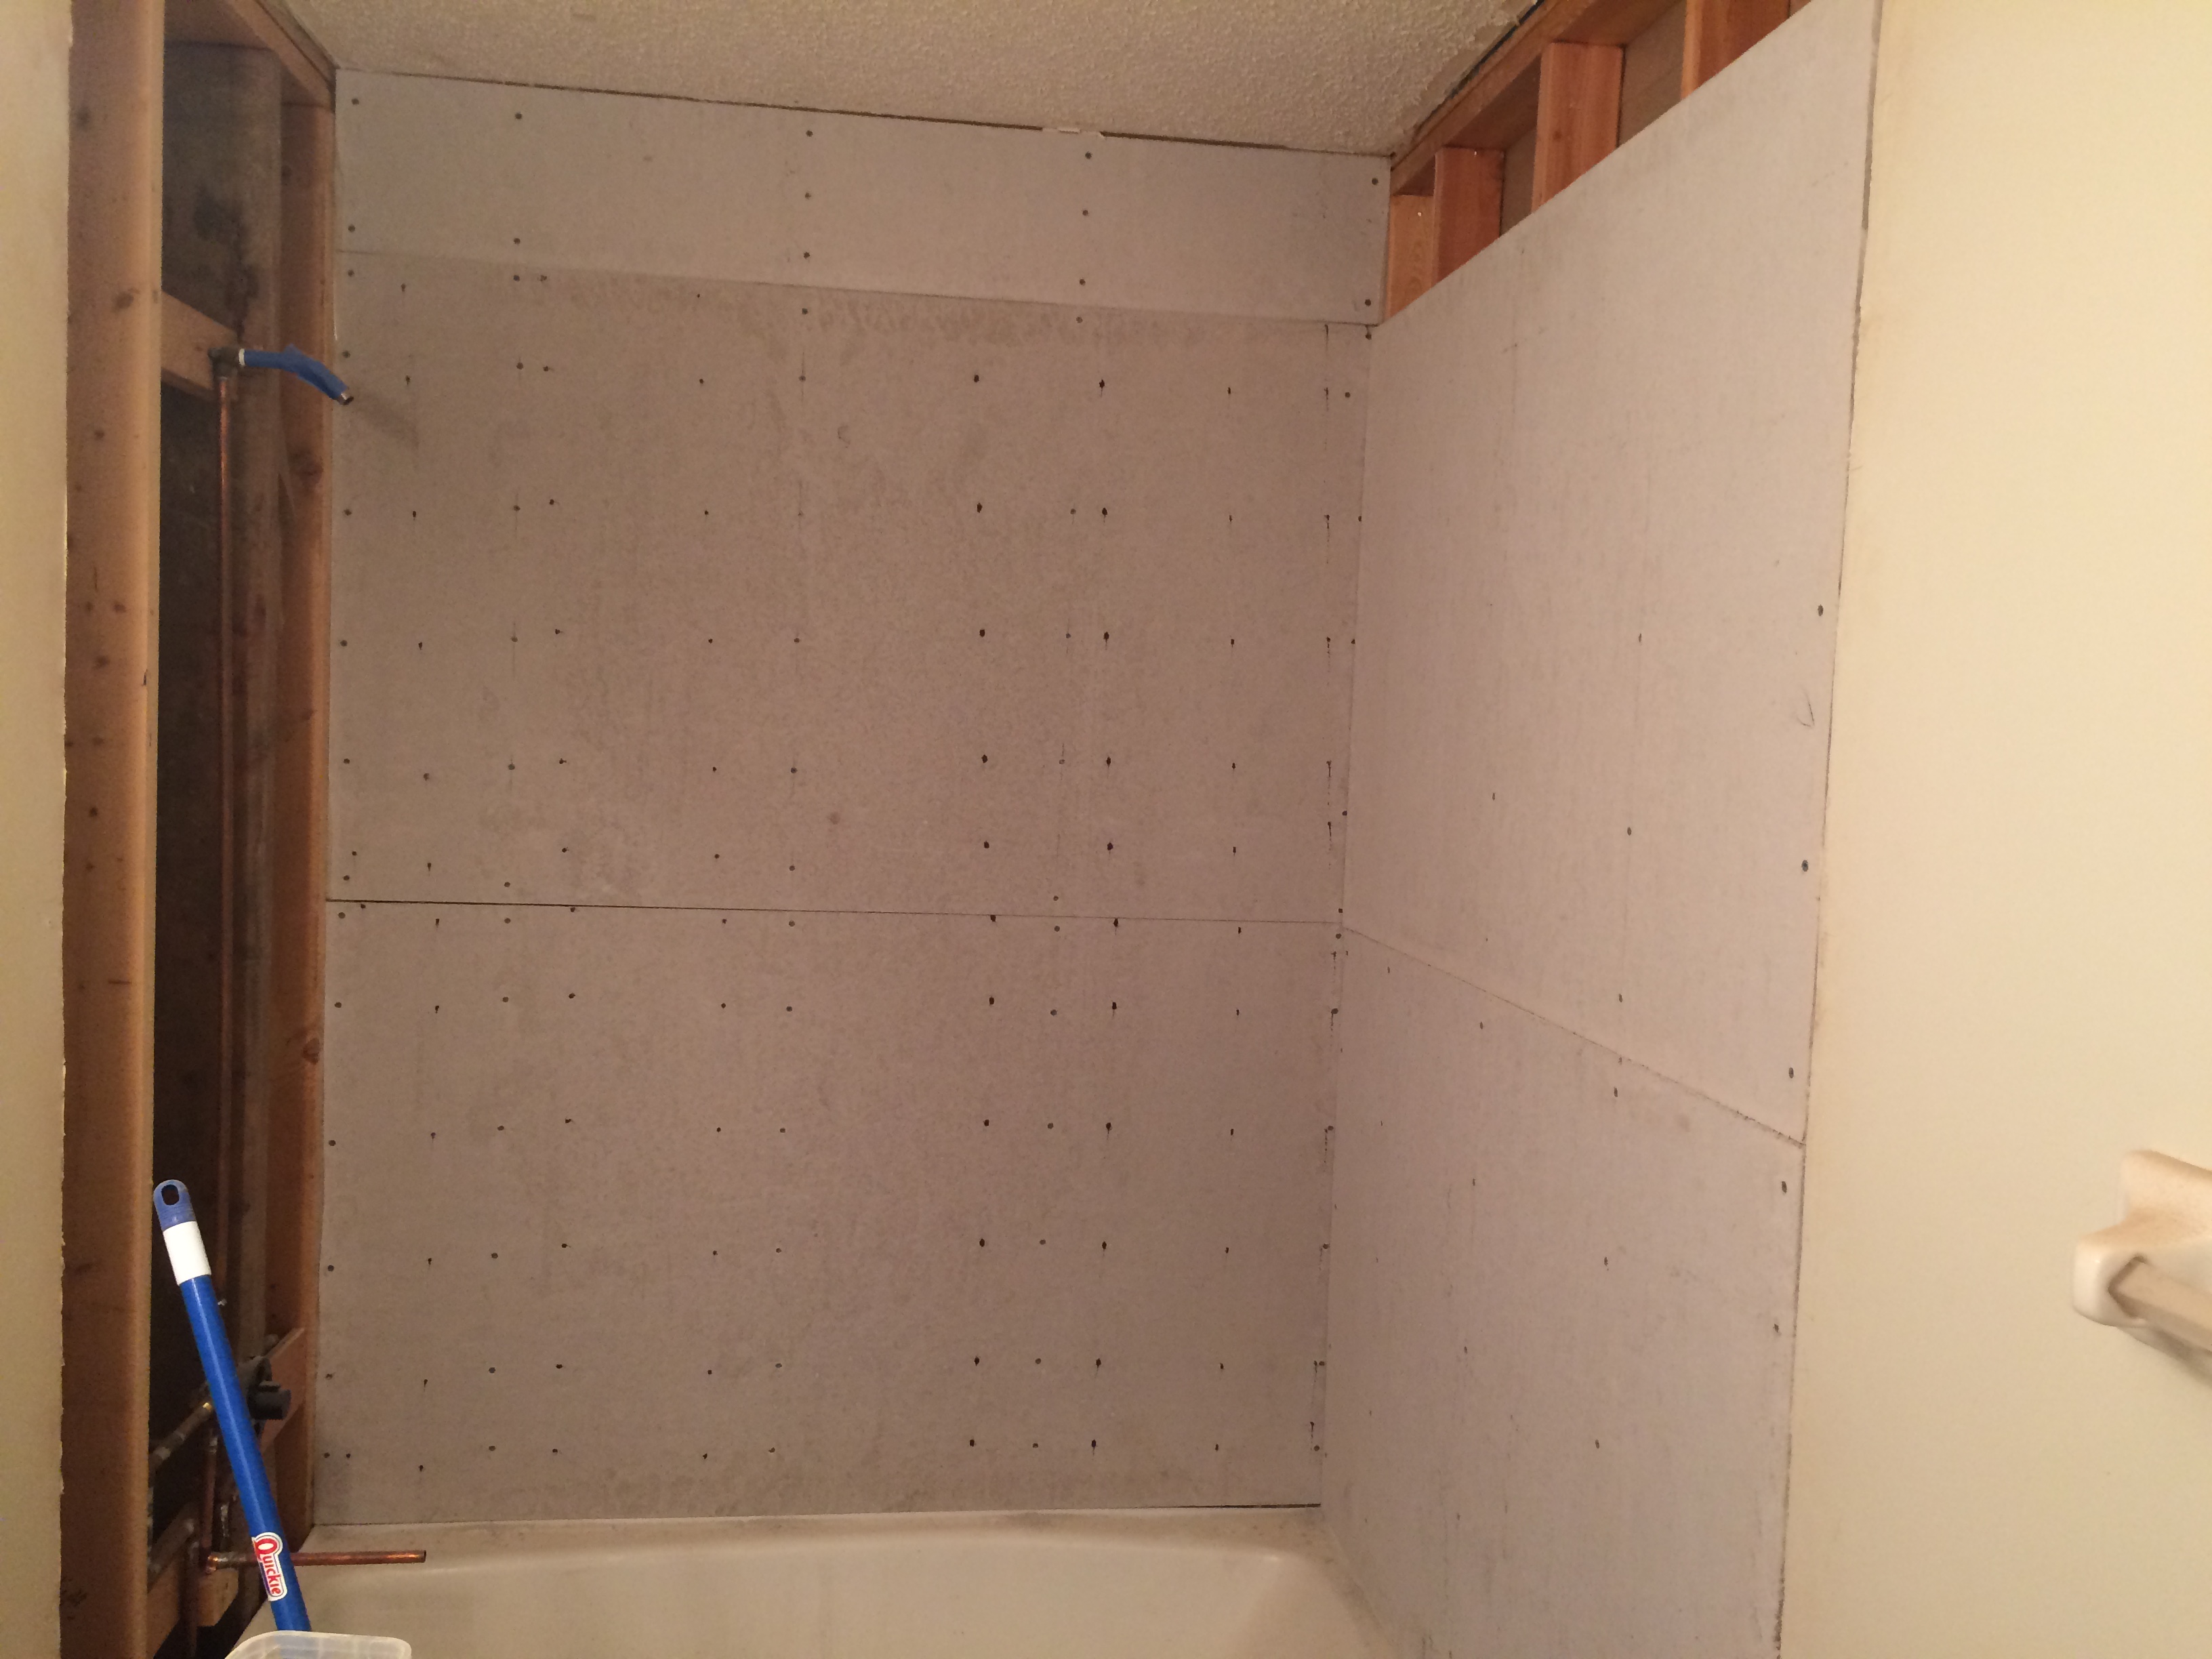
With the plumbing finished, I have started to screw the 1/2″ concrete backer-board into place around the shower.
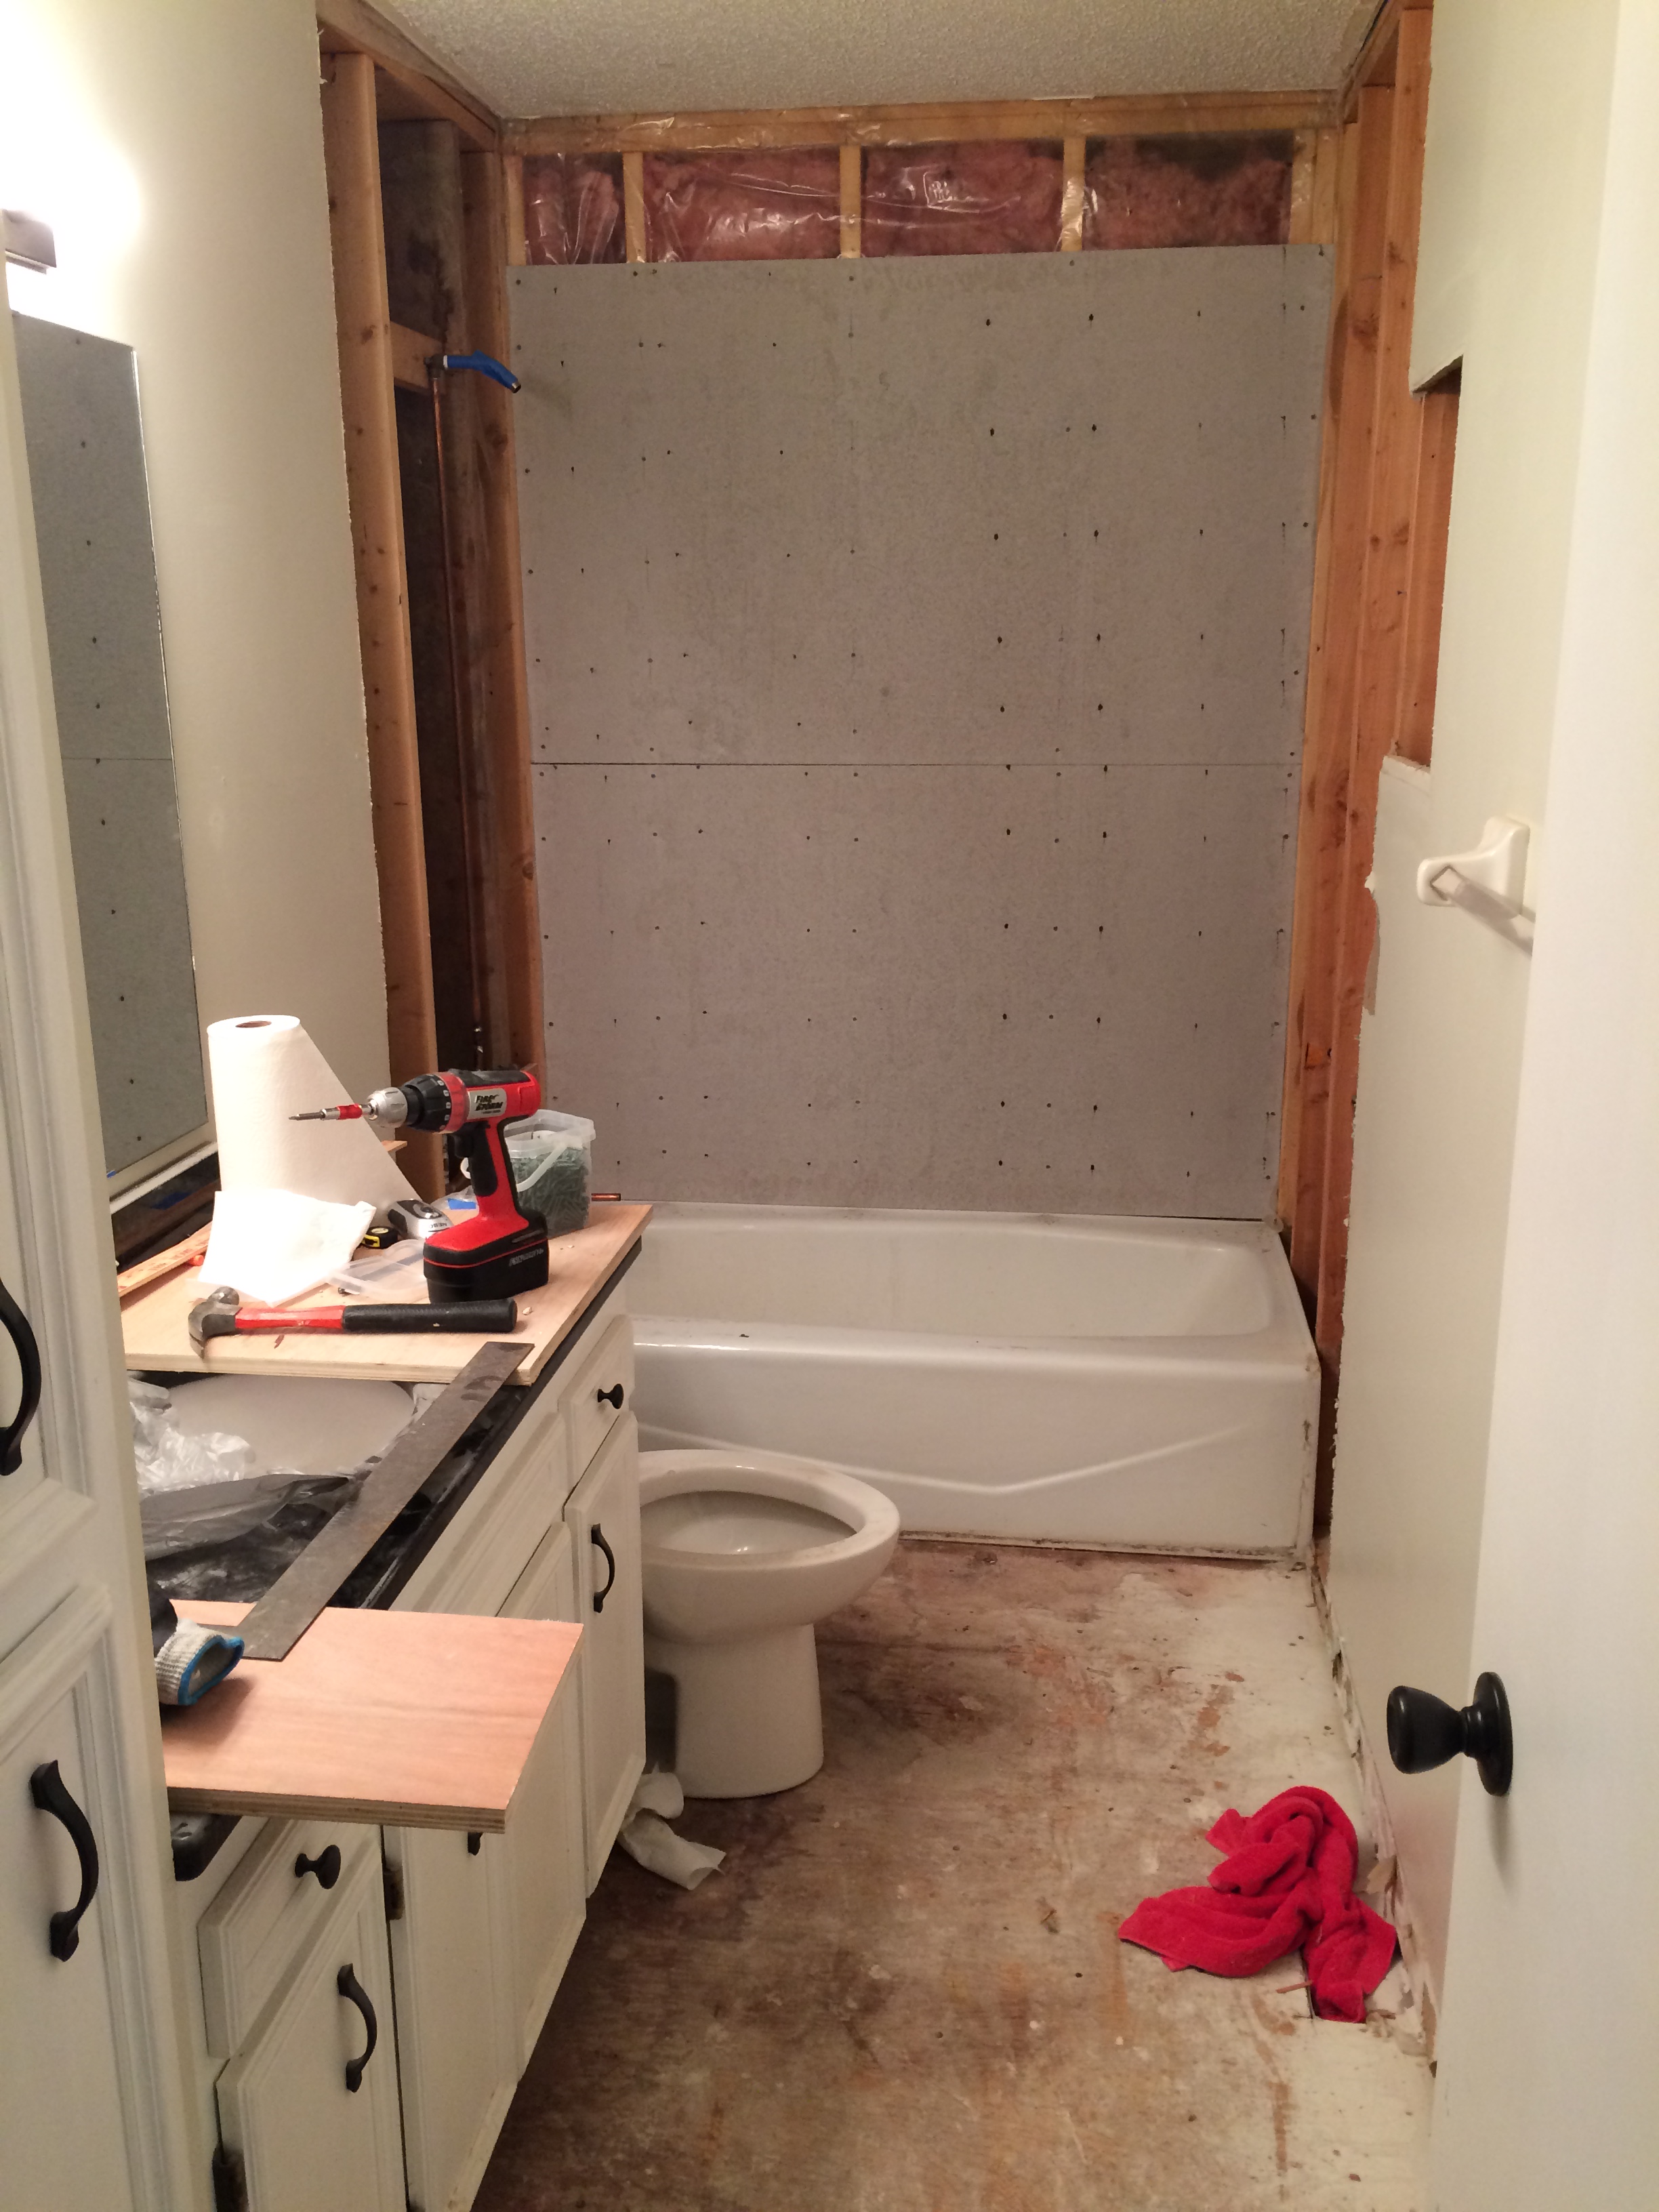
Guy at Home Depot recommended using coated screws sold right next to the concrete board. They do not rust and hold the board firmly to the wall.
There are a few different ways to cut the concrete board. You can use a scribe tool on each side, then snap the board in two pieces. Or, if you want to go the Tim The Tool-man Taylor route, you can buy a angle grinder with a diamond blade.

The power tool method kicks up a bunch of dust, so they recommend wearing a mask and goggles. Also, avoid a bunch of cleanup by doing it outside.
More walls are getting covered. This process requires a bunch of screws and a drill capable of high torque. The battery on mine died a few times during this process, so I did this slowly over the course of a week.
Between battery charges, I worked on some finishing touches to the plumbing. Since this was my first attempt at plumbing a shower, I purchased the wrong elbow bend copper piece for the turn to the tub faucet. So, I improvised, using a small piece of 2×4 and fastening the pipes on both sides. This will keep the faucet from wiggling to the left and to the right.
Okay, the concrete backer board is up. Time to begin adding the subway tile!
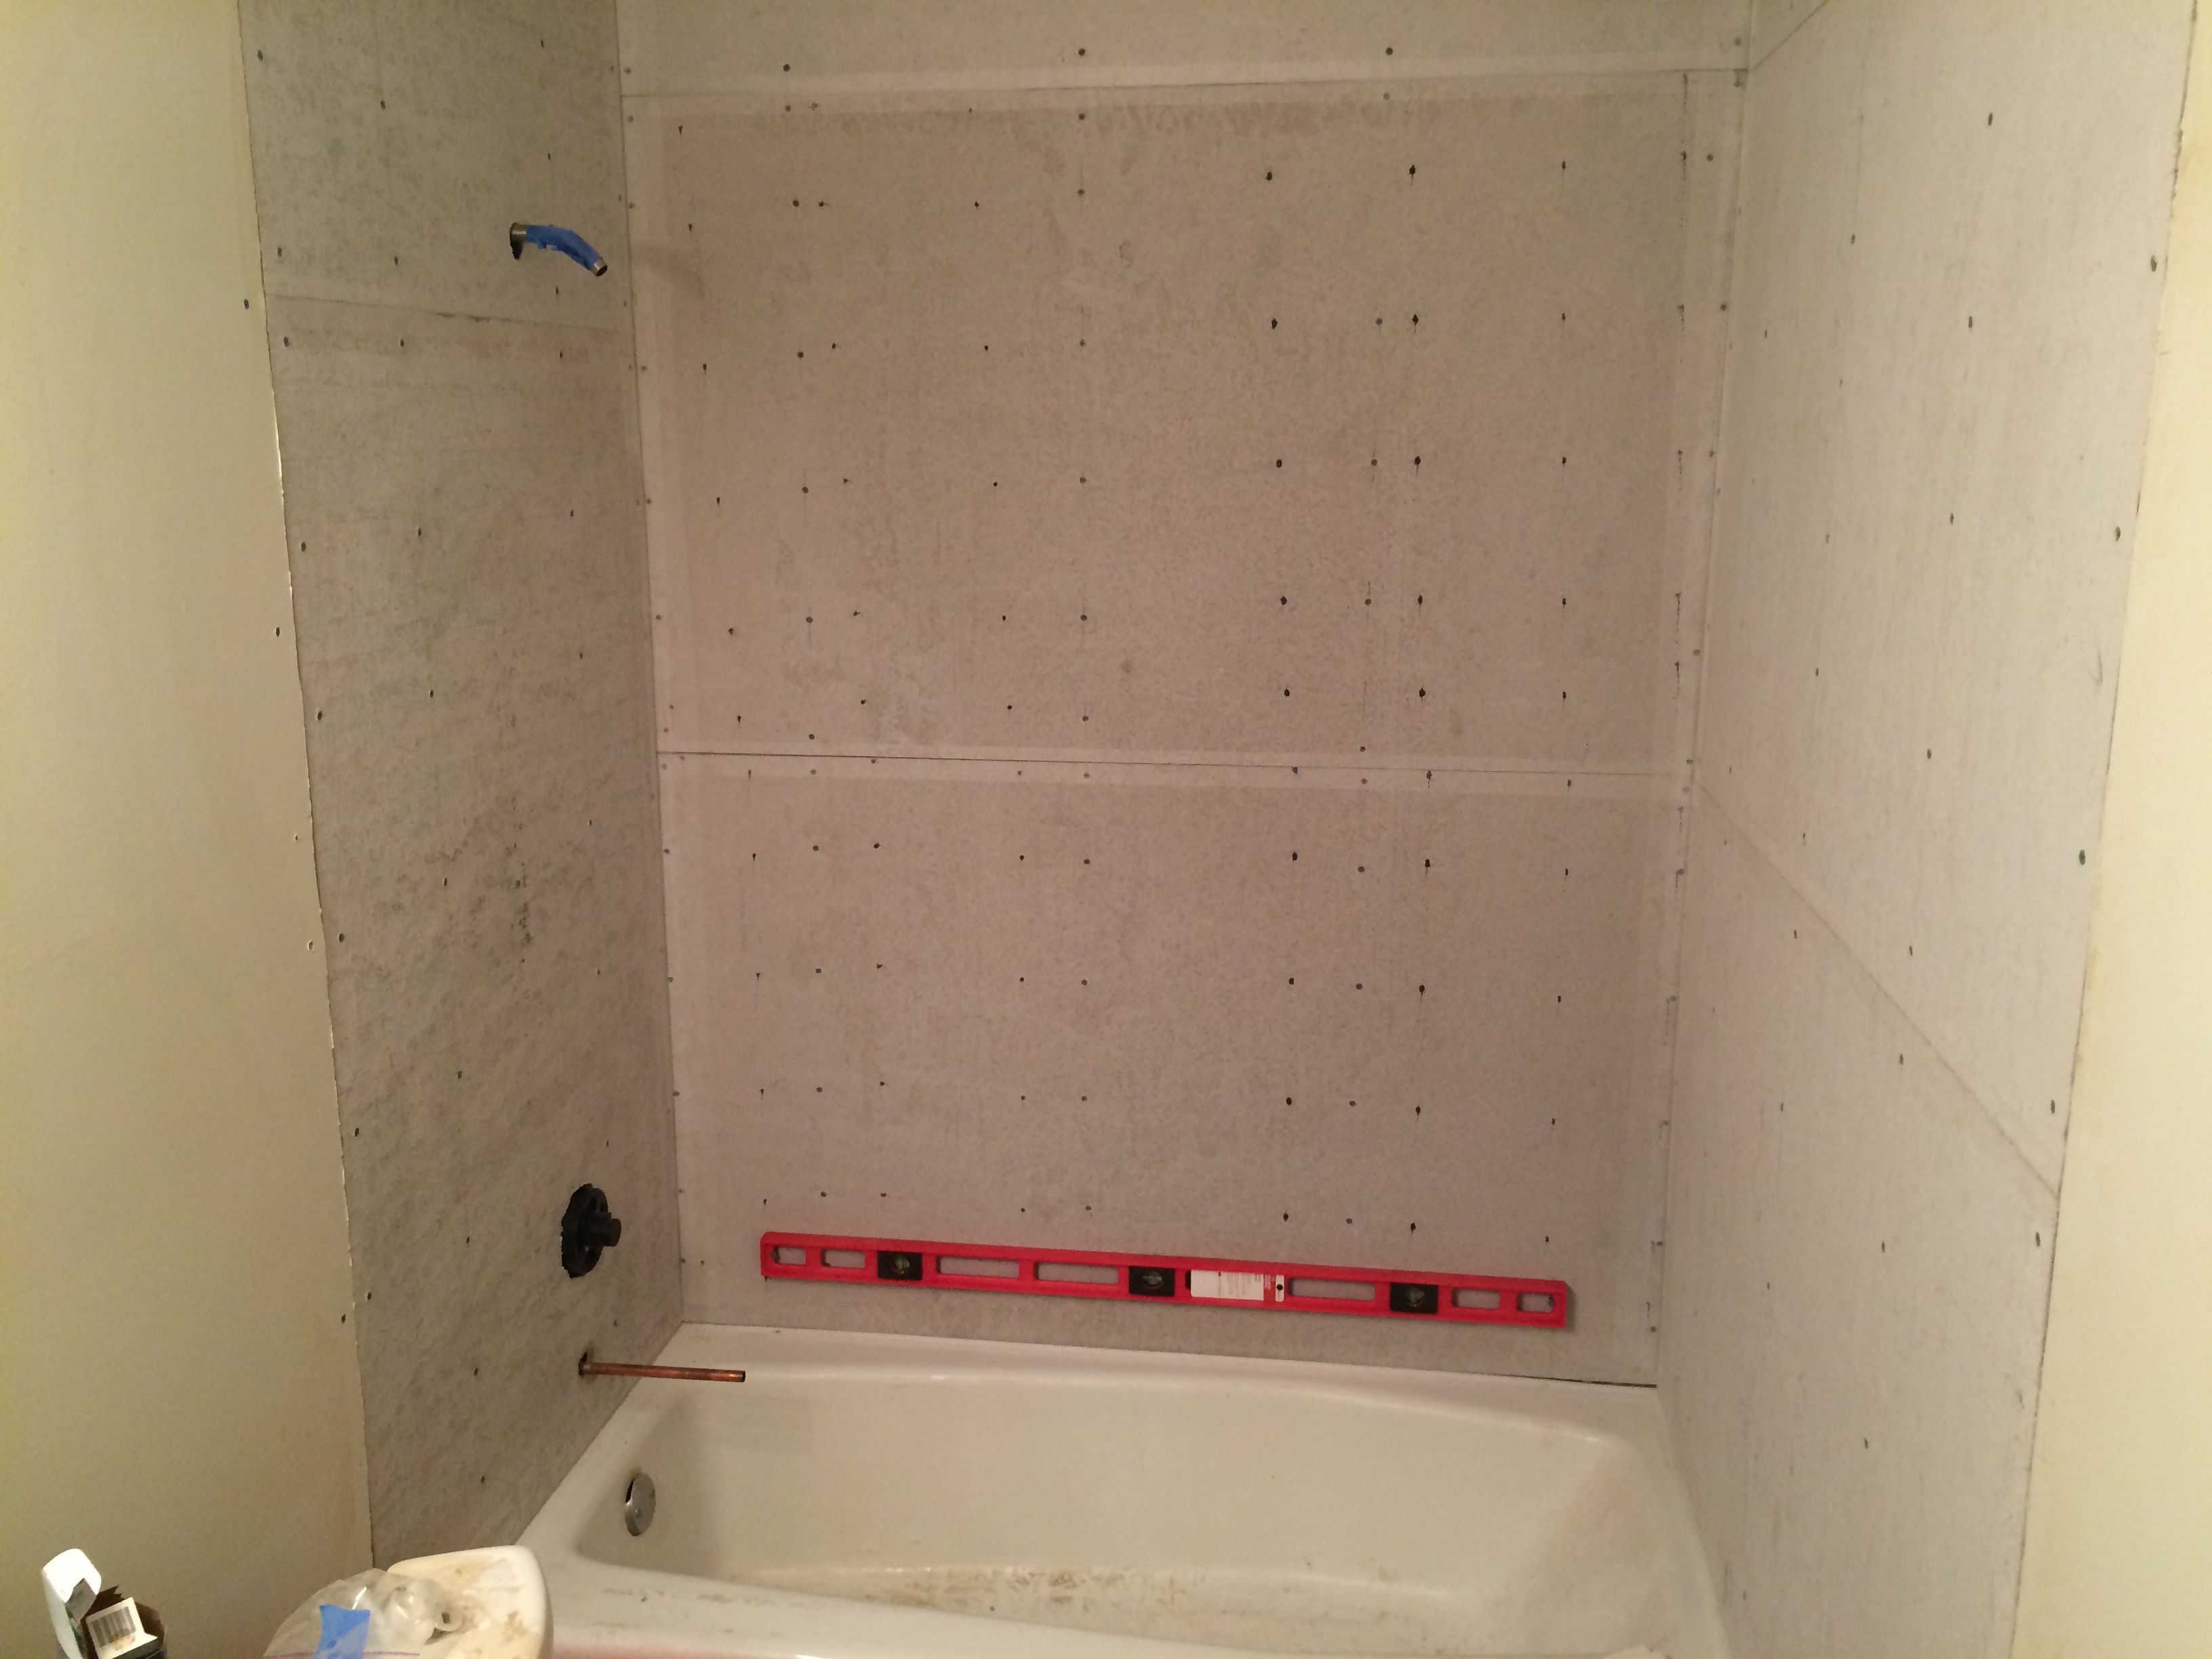
Step 1. Secure a level to the wall.
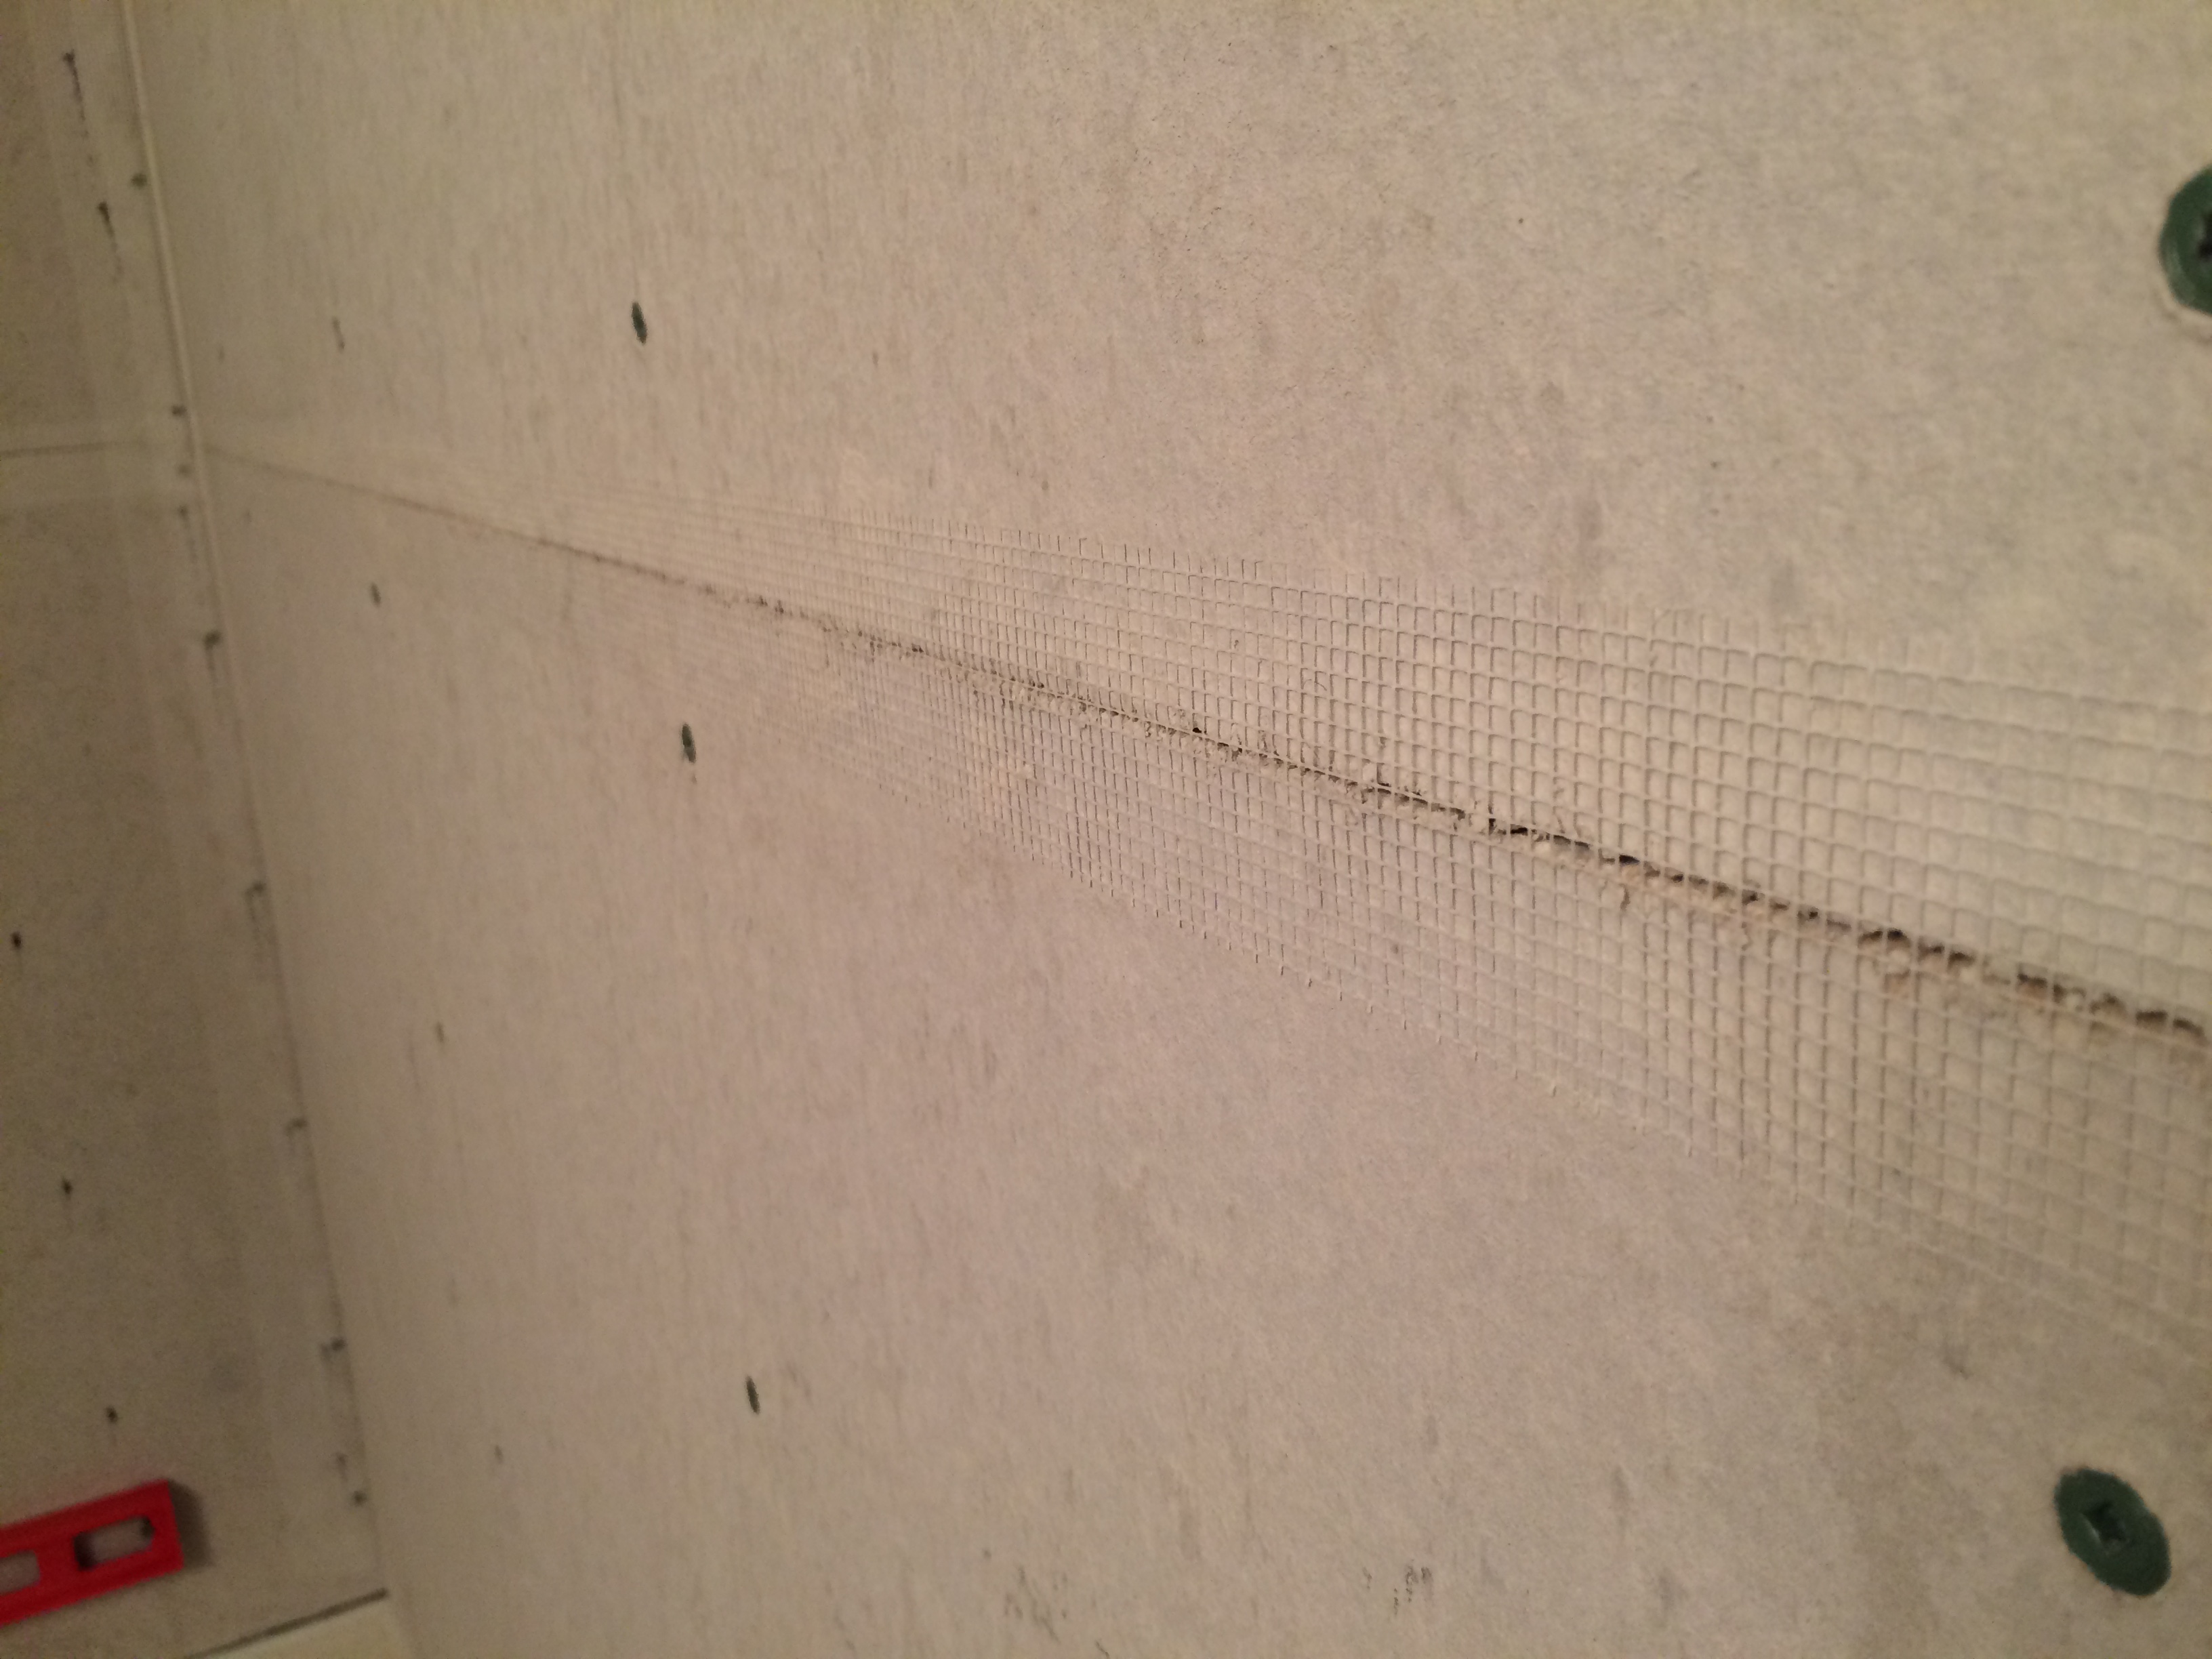
Step 2. Tape the joints.
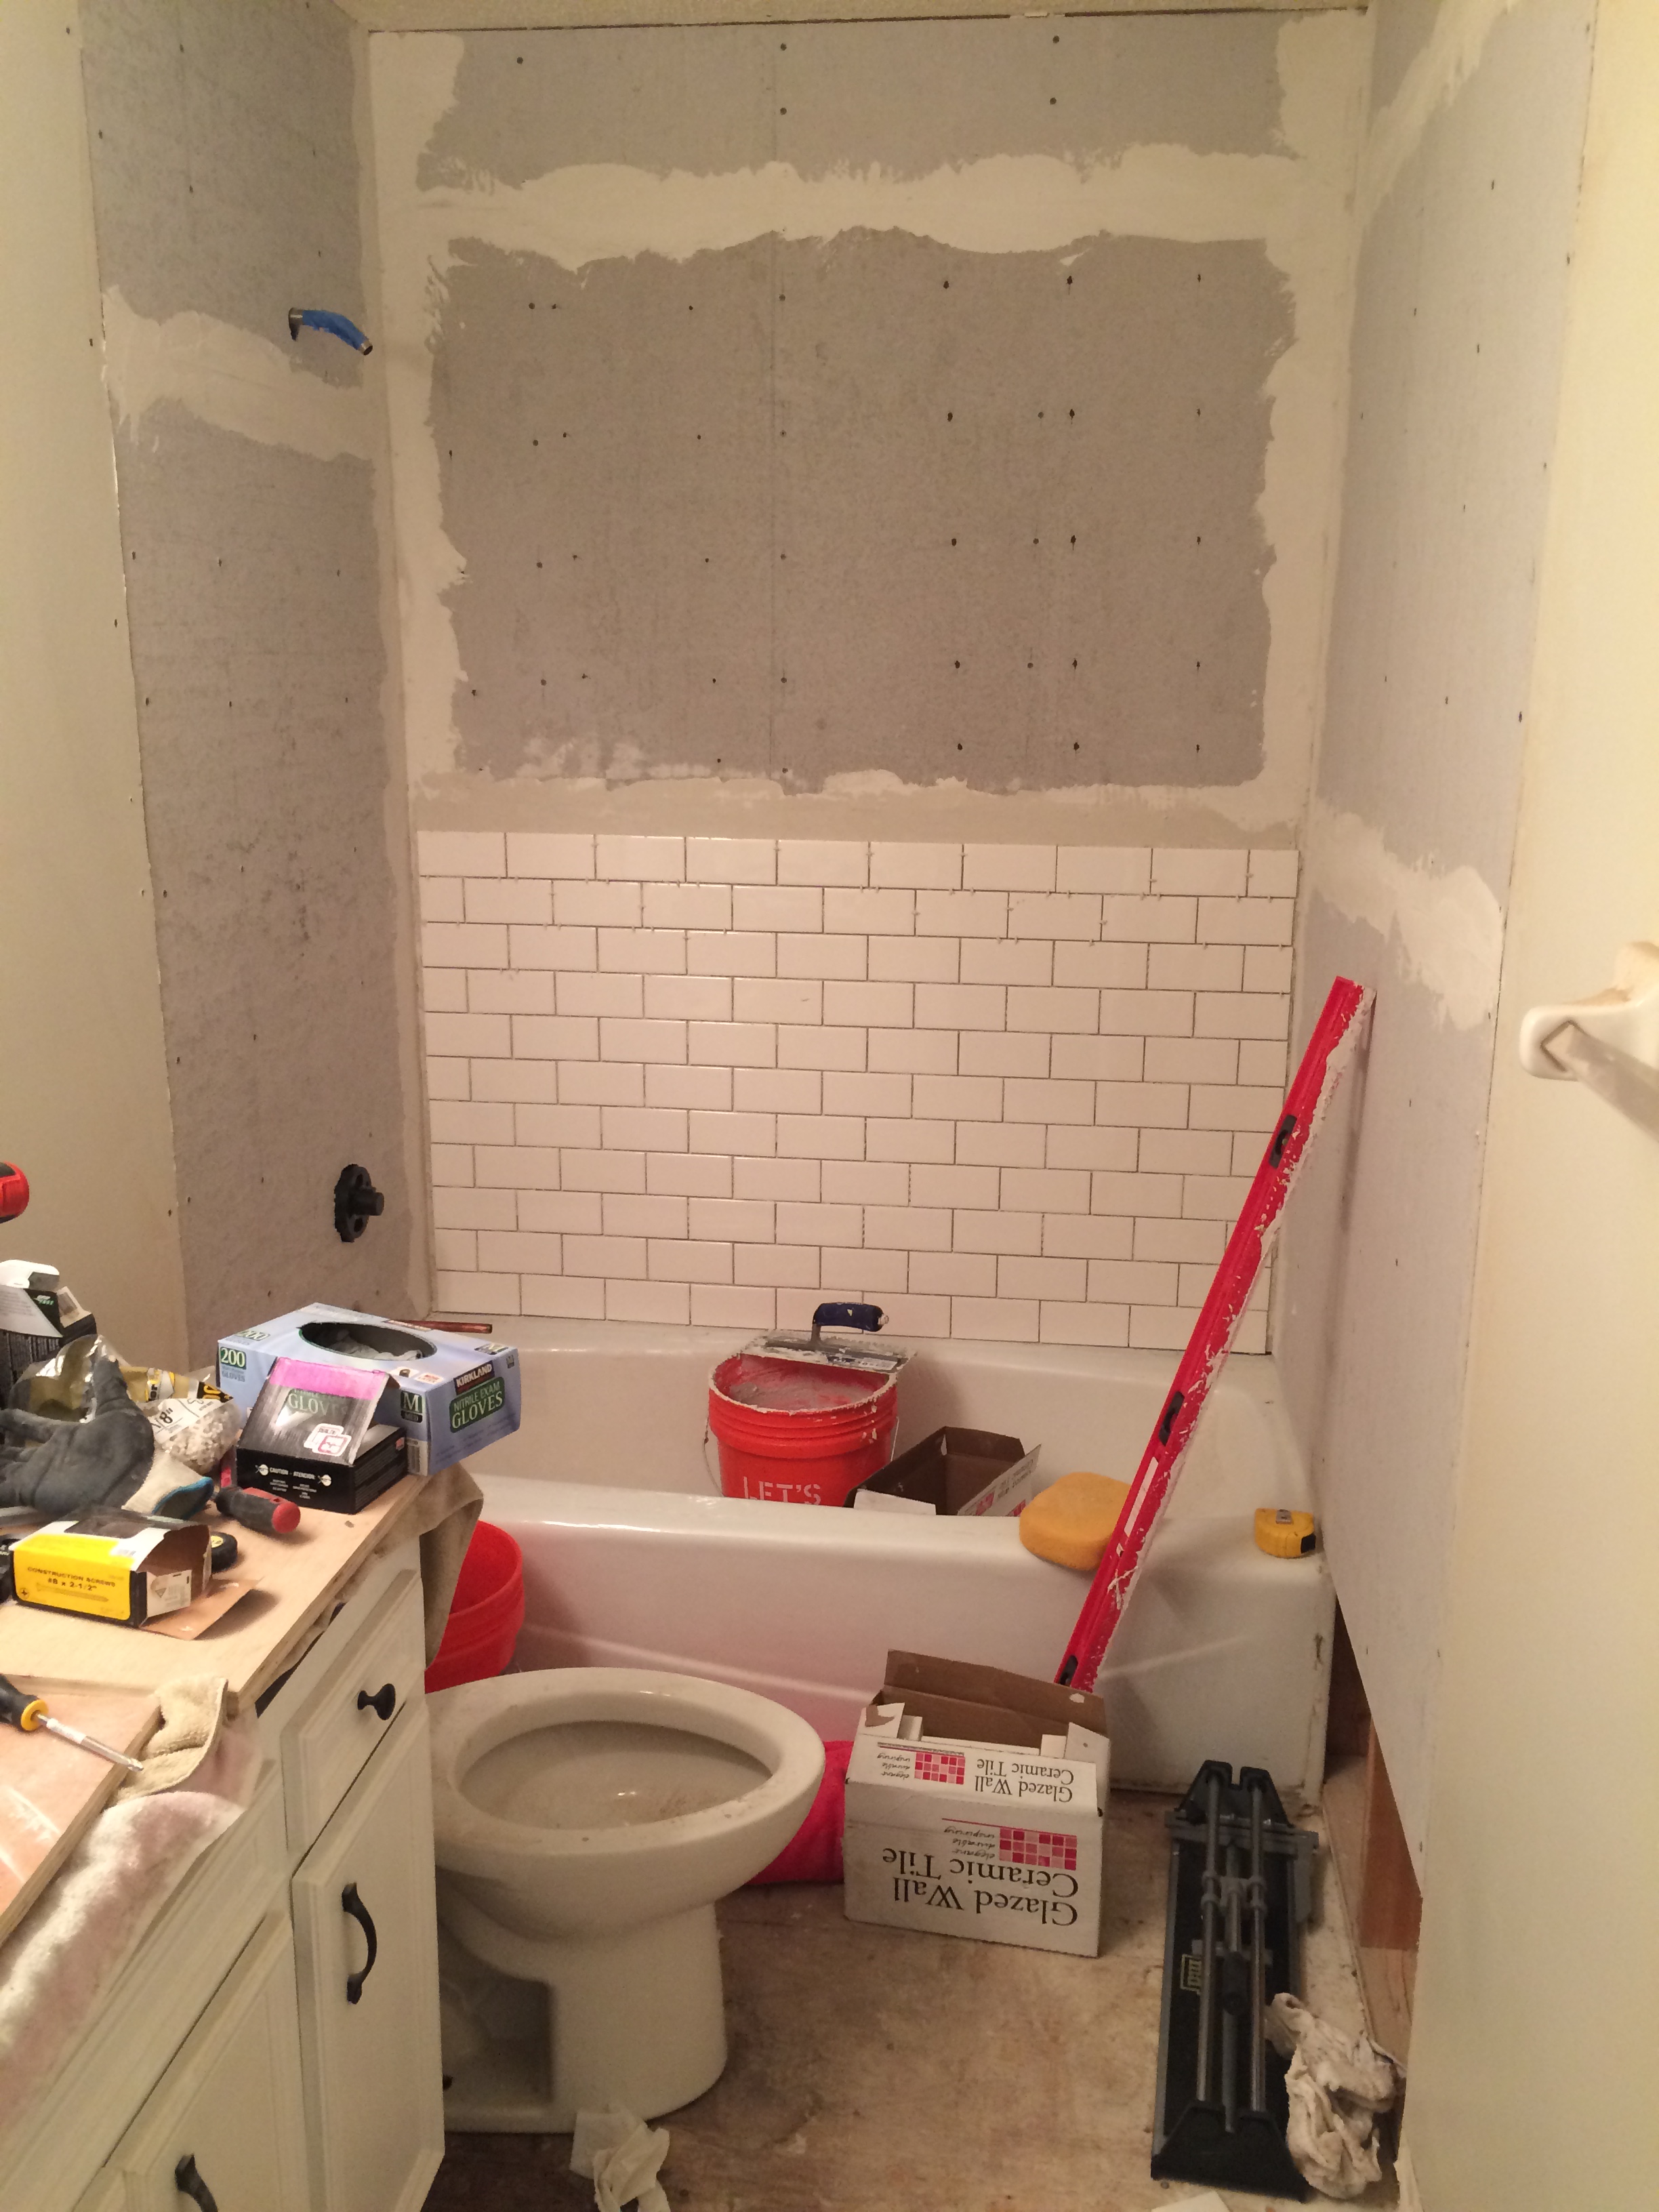
Step 3. Apply mortar and start putting tiles on the wall.
The amount I was able to finish the first night of work. I took my time and measured each layer before starting it. I also used 1/8″ spacers.
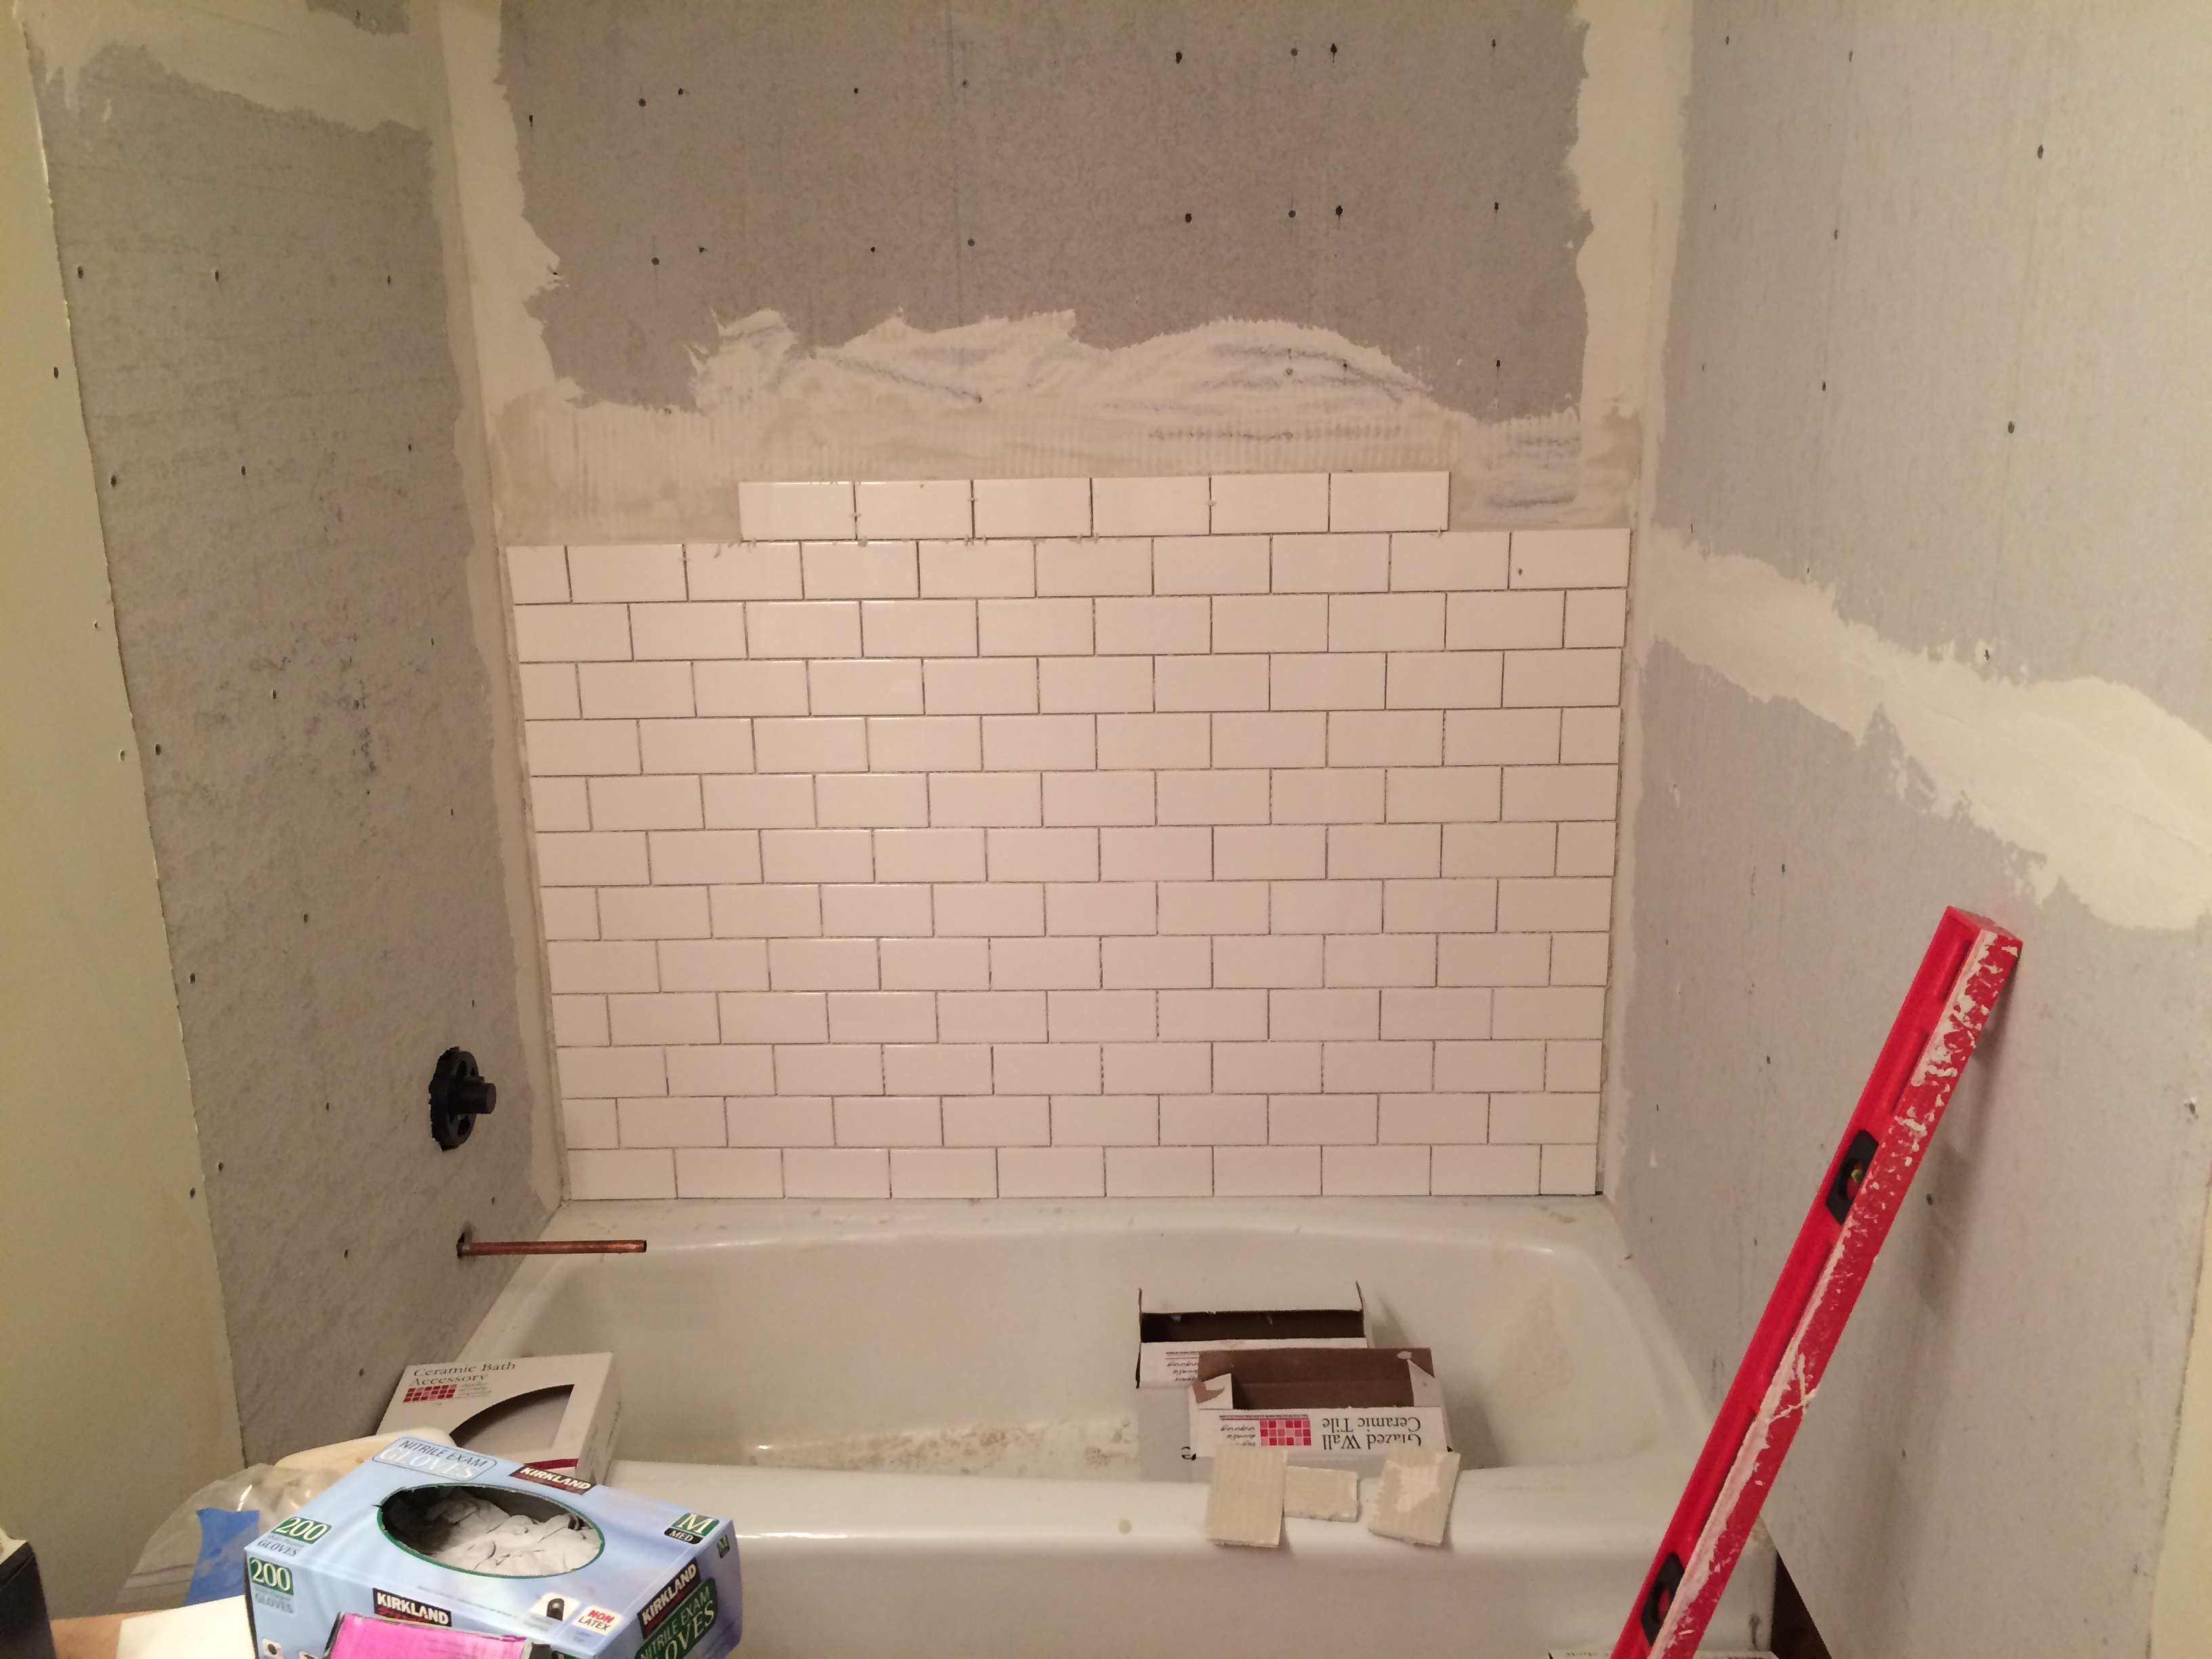
The tiling process was very slow. I was working by myself and had just three hours each night during my workweek to dedicate to it. It takes about 20 minutes to prepare the mortar, a couple of minutes per tile when you add up the time it takes to cut some of them, and about 20 minutes to clean up after the job each night.
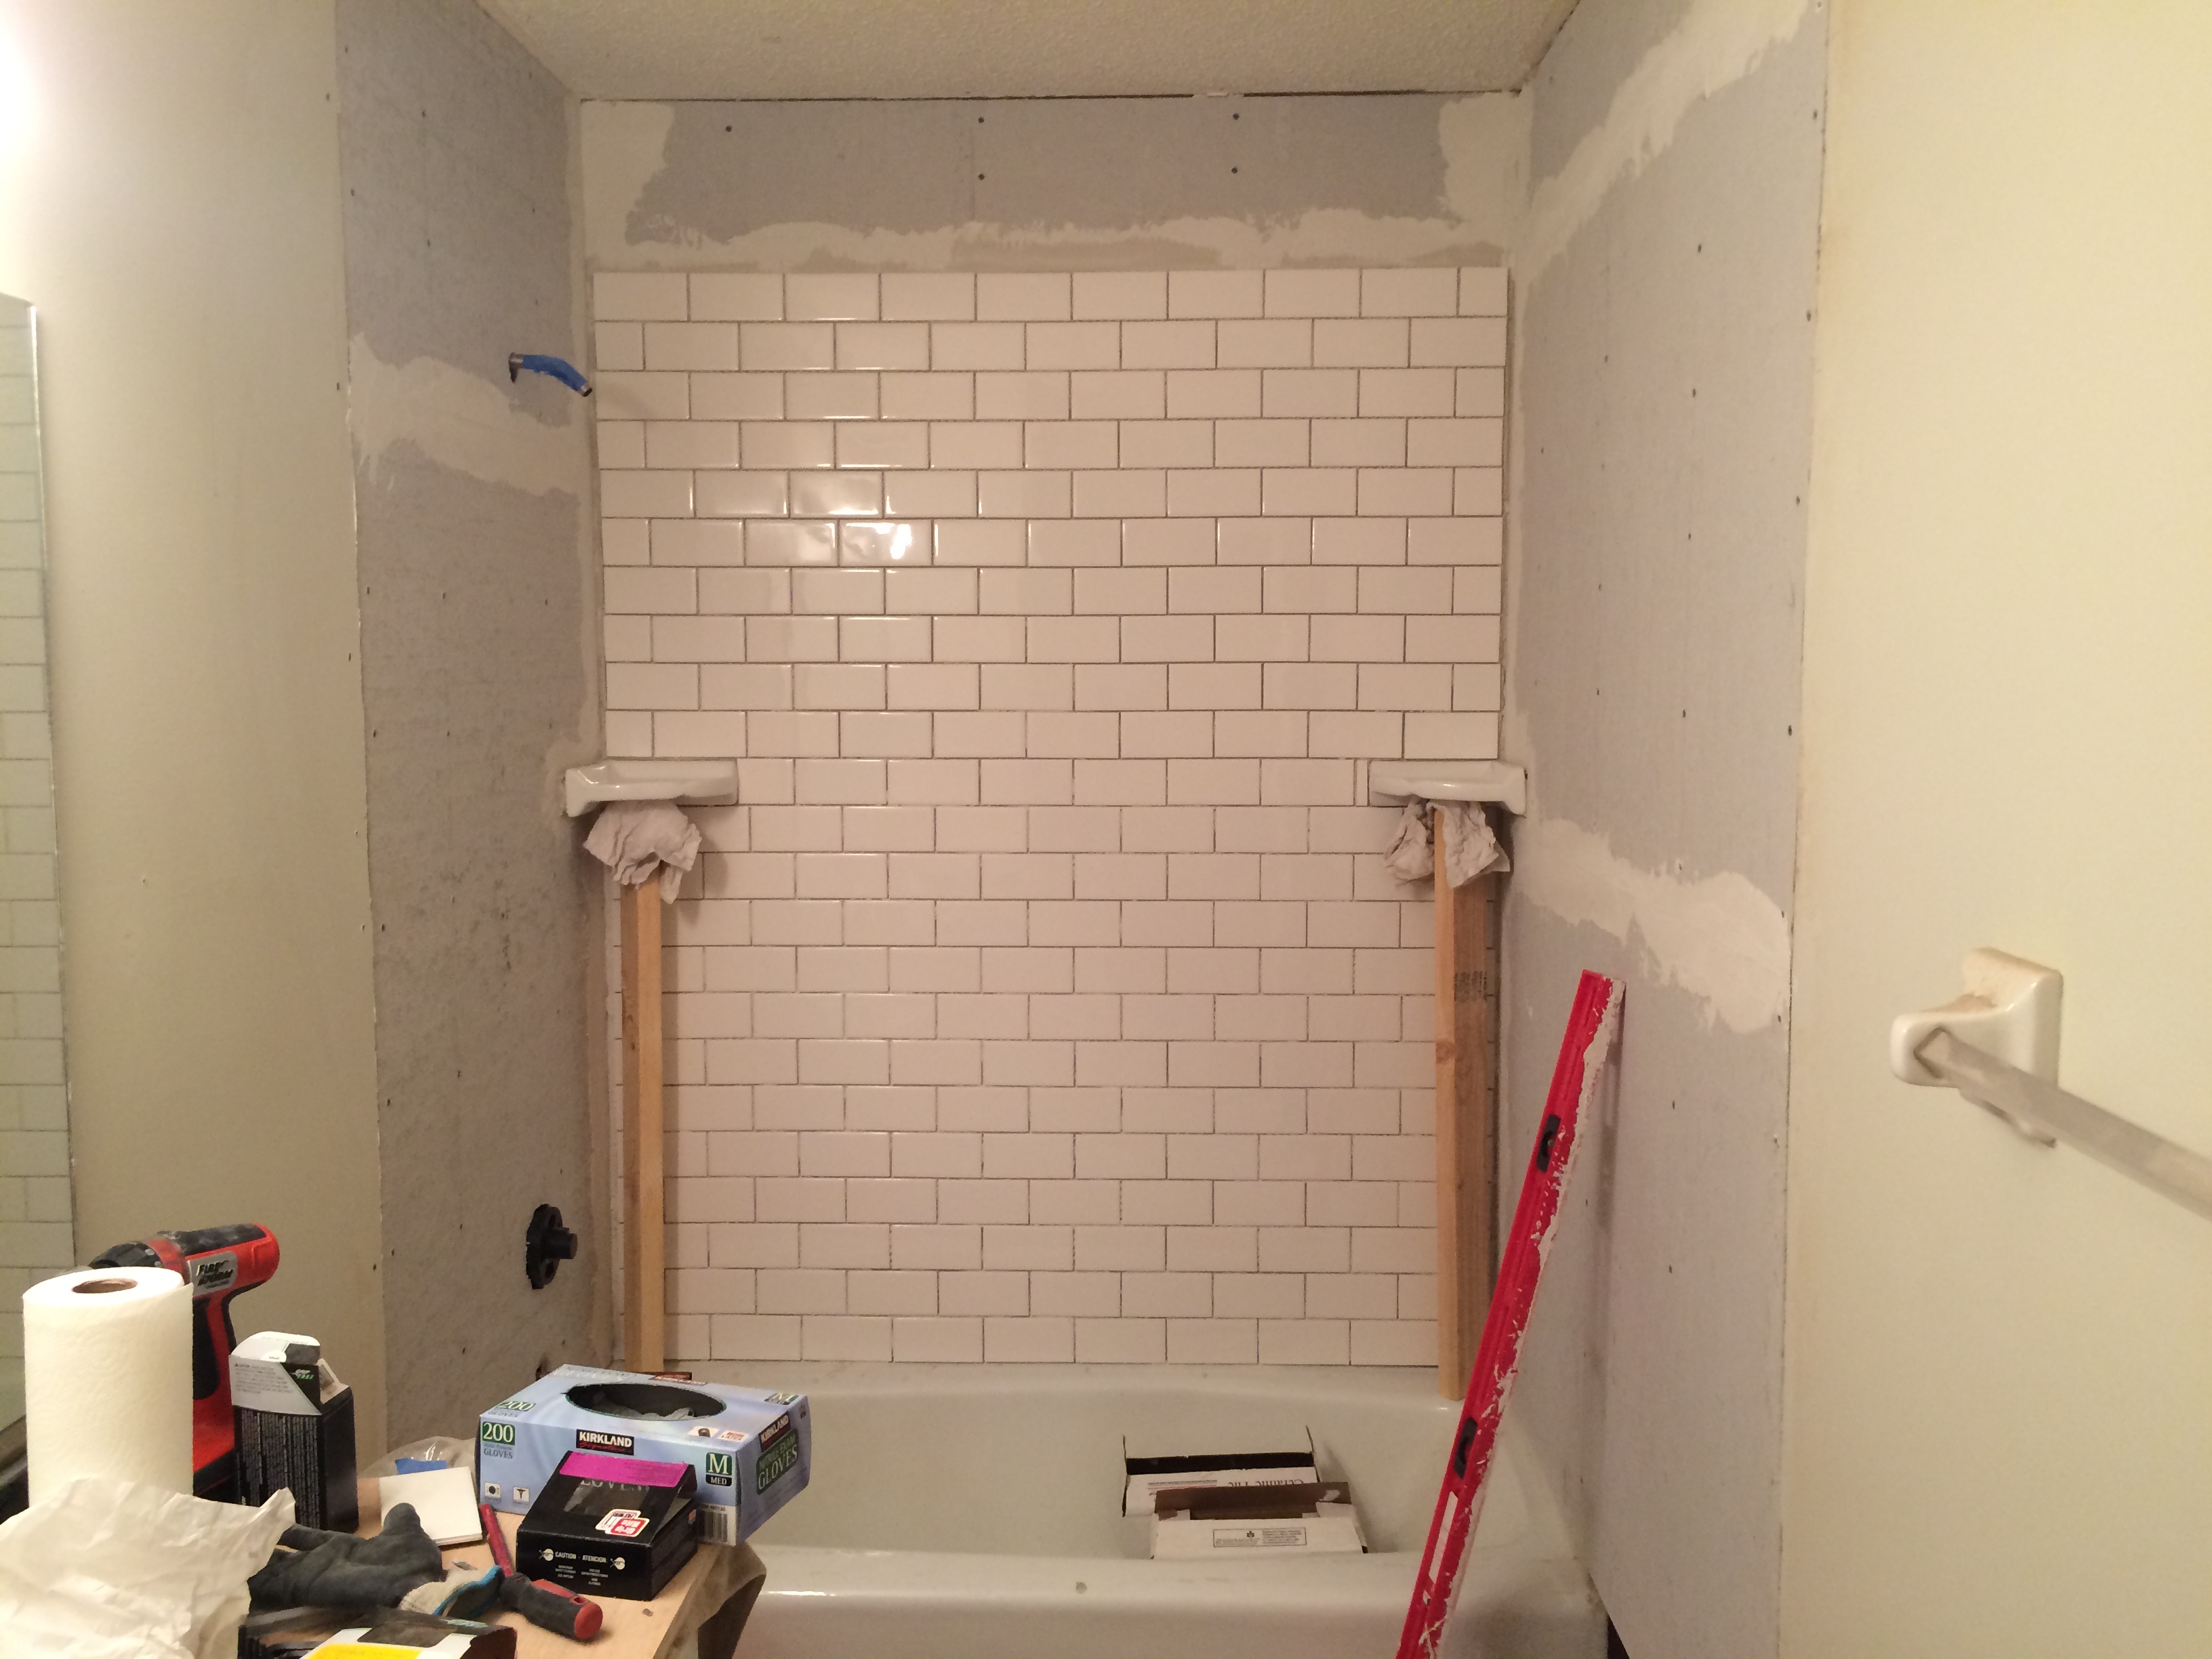
The first wall is nearly in place. And 2x4s are holding up the corner shelves.
The corner shelves were a bit tricky. They are an odd weight, and held in place using just mortar. I had to stick them to the wall, then wedge the piece of wood beneath them. And over the course of a half an hour, I kept making small adjustments using a level, because they would move slightly over time.
Once I had the corner shelves taken care of, my next hurdle would be finding a way to make holes for the shower pipe and the tub pipe.
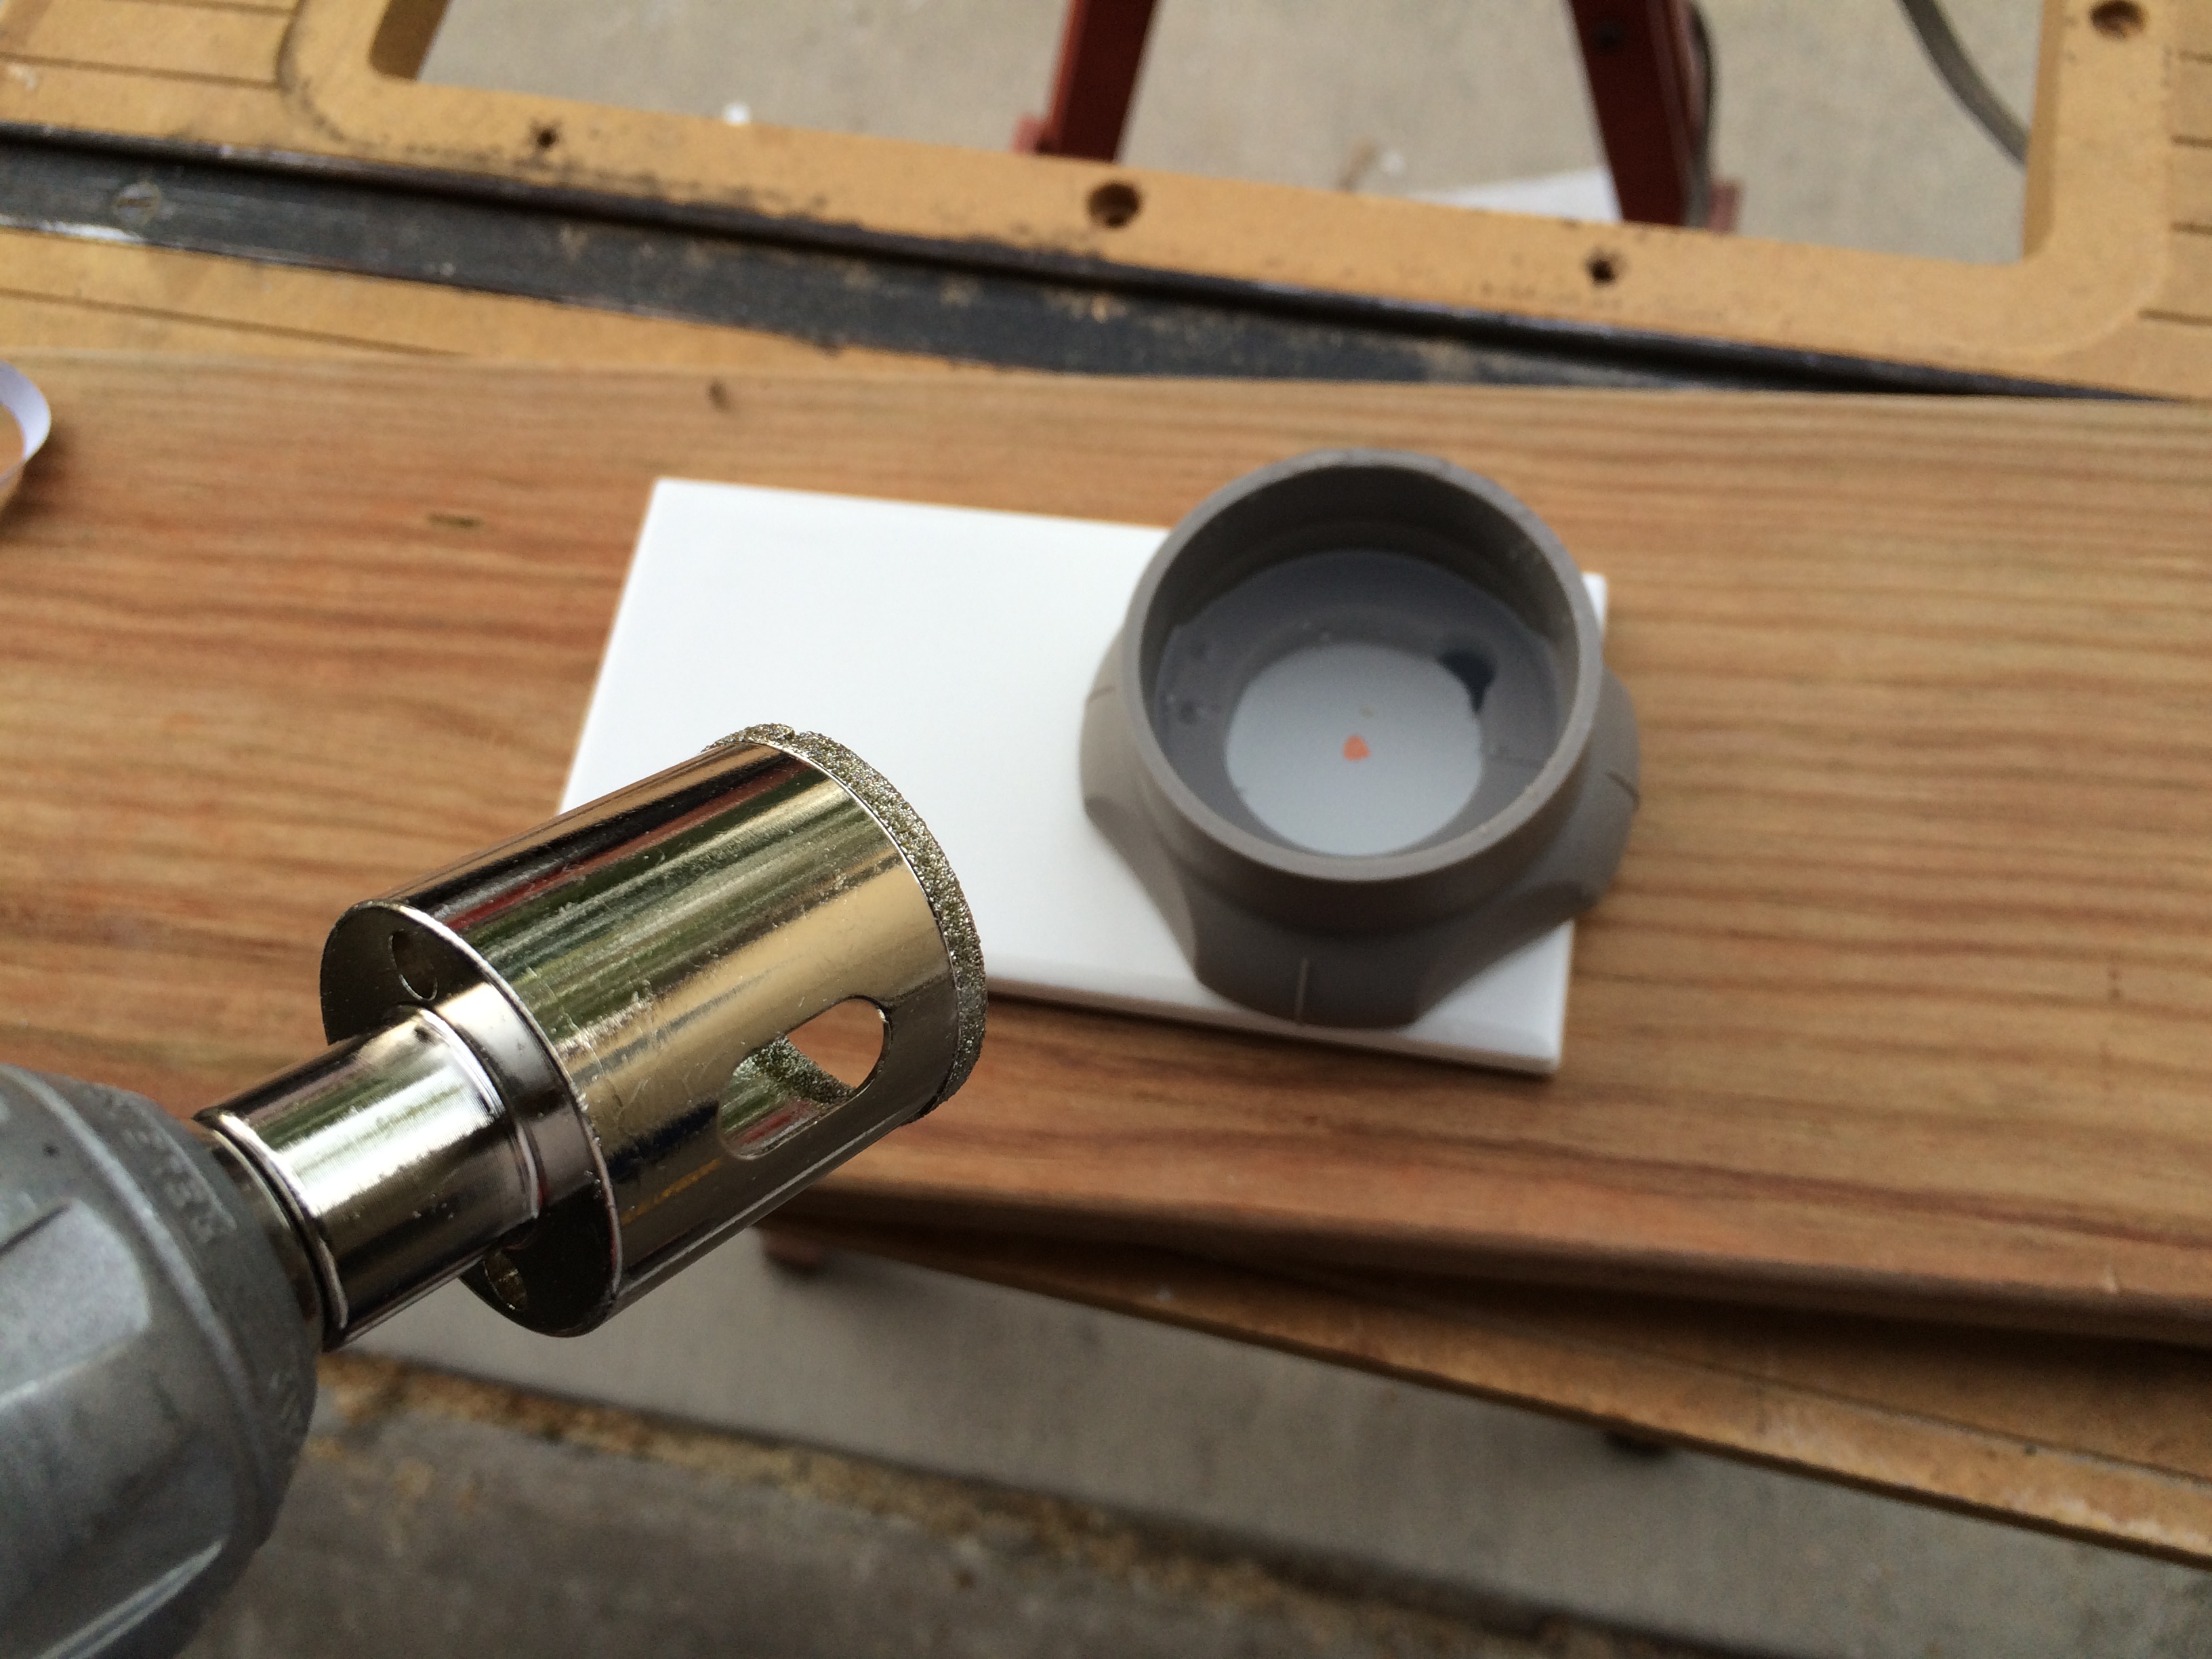
I found a tool at Home Depot that is designed to cut holes in tiles. It comes with a reservoir that you stick to the tile, and fill with water. The reservoir helps guide the drill bit and keep it cool to cut the hole.
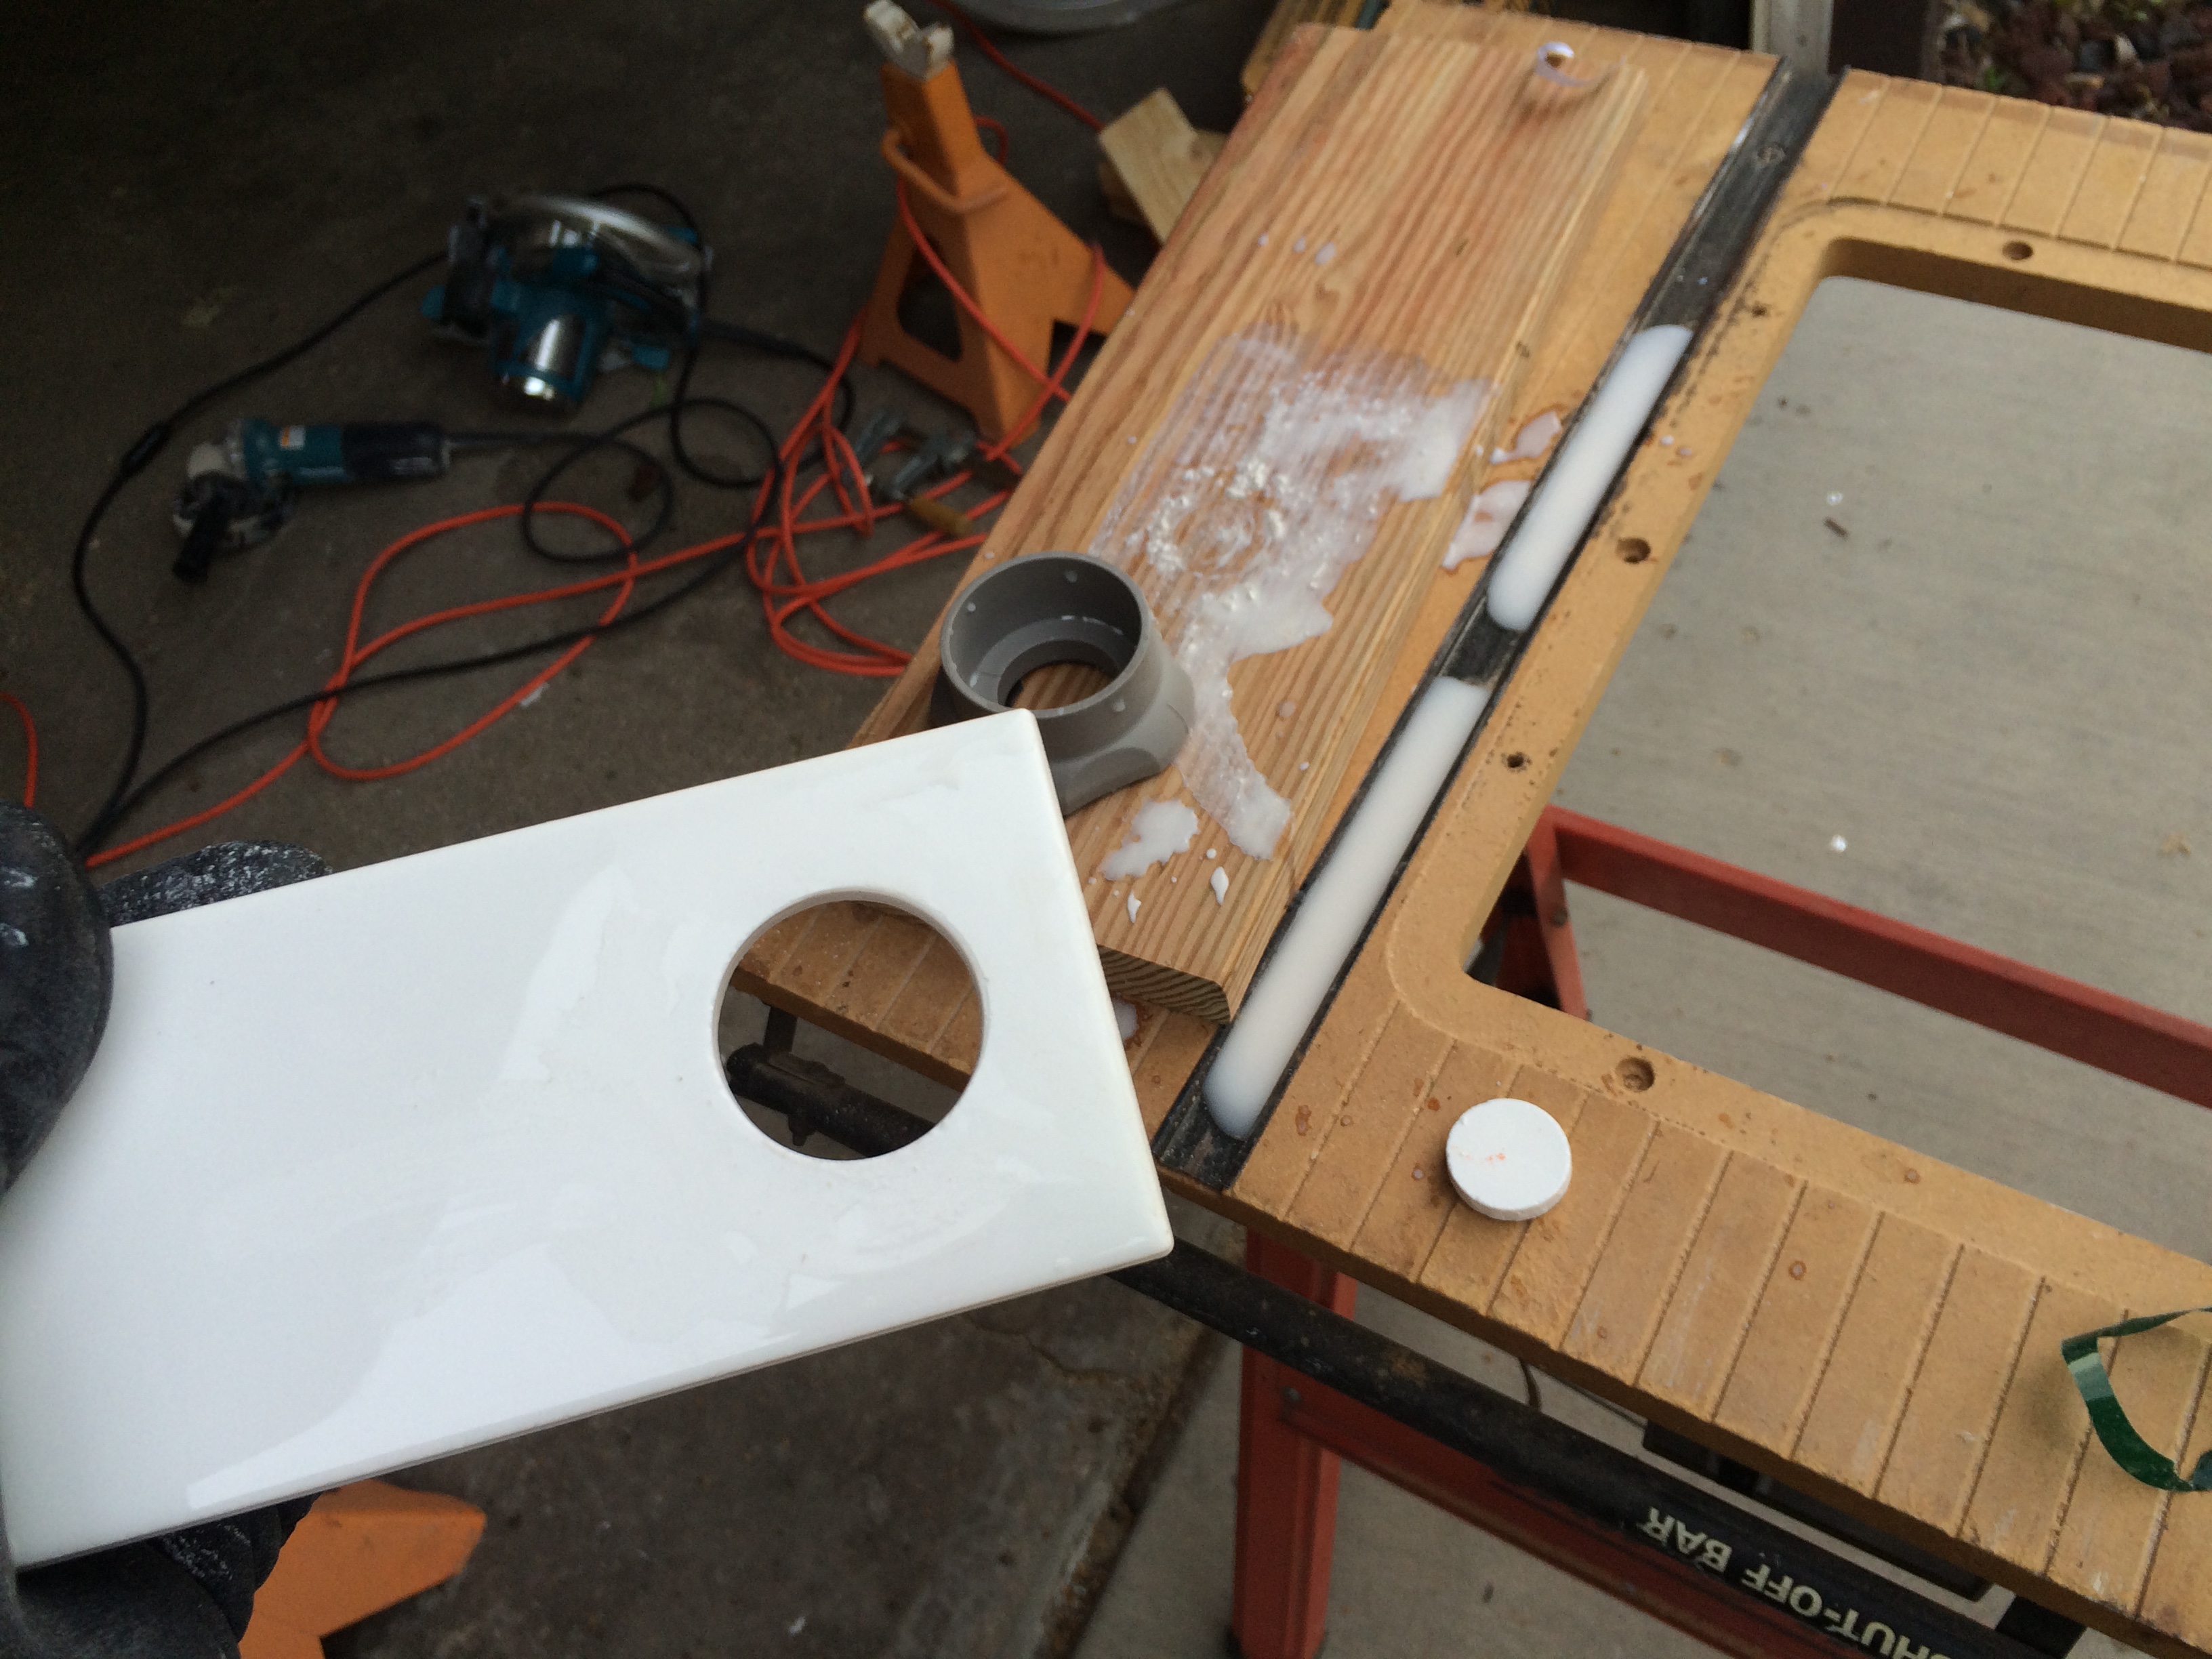
Holes cut, the tiles fit right into place, and the ceramic subway tiles look great!
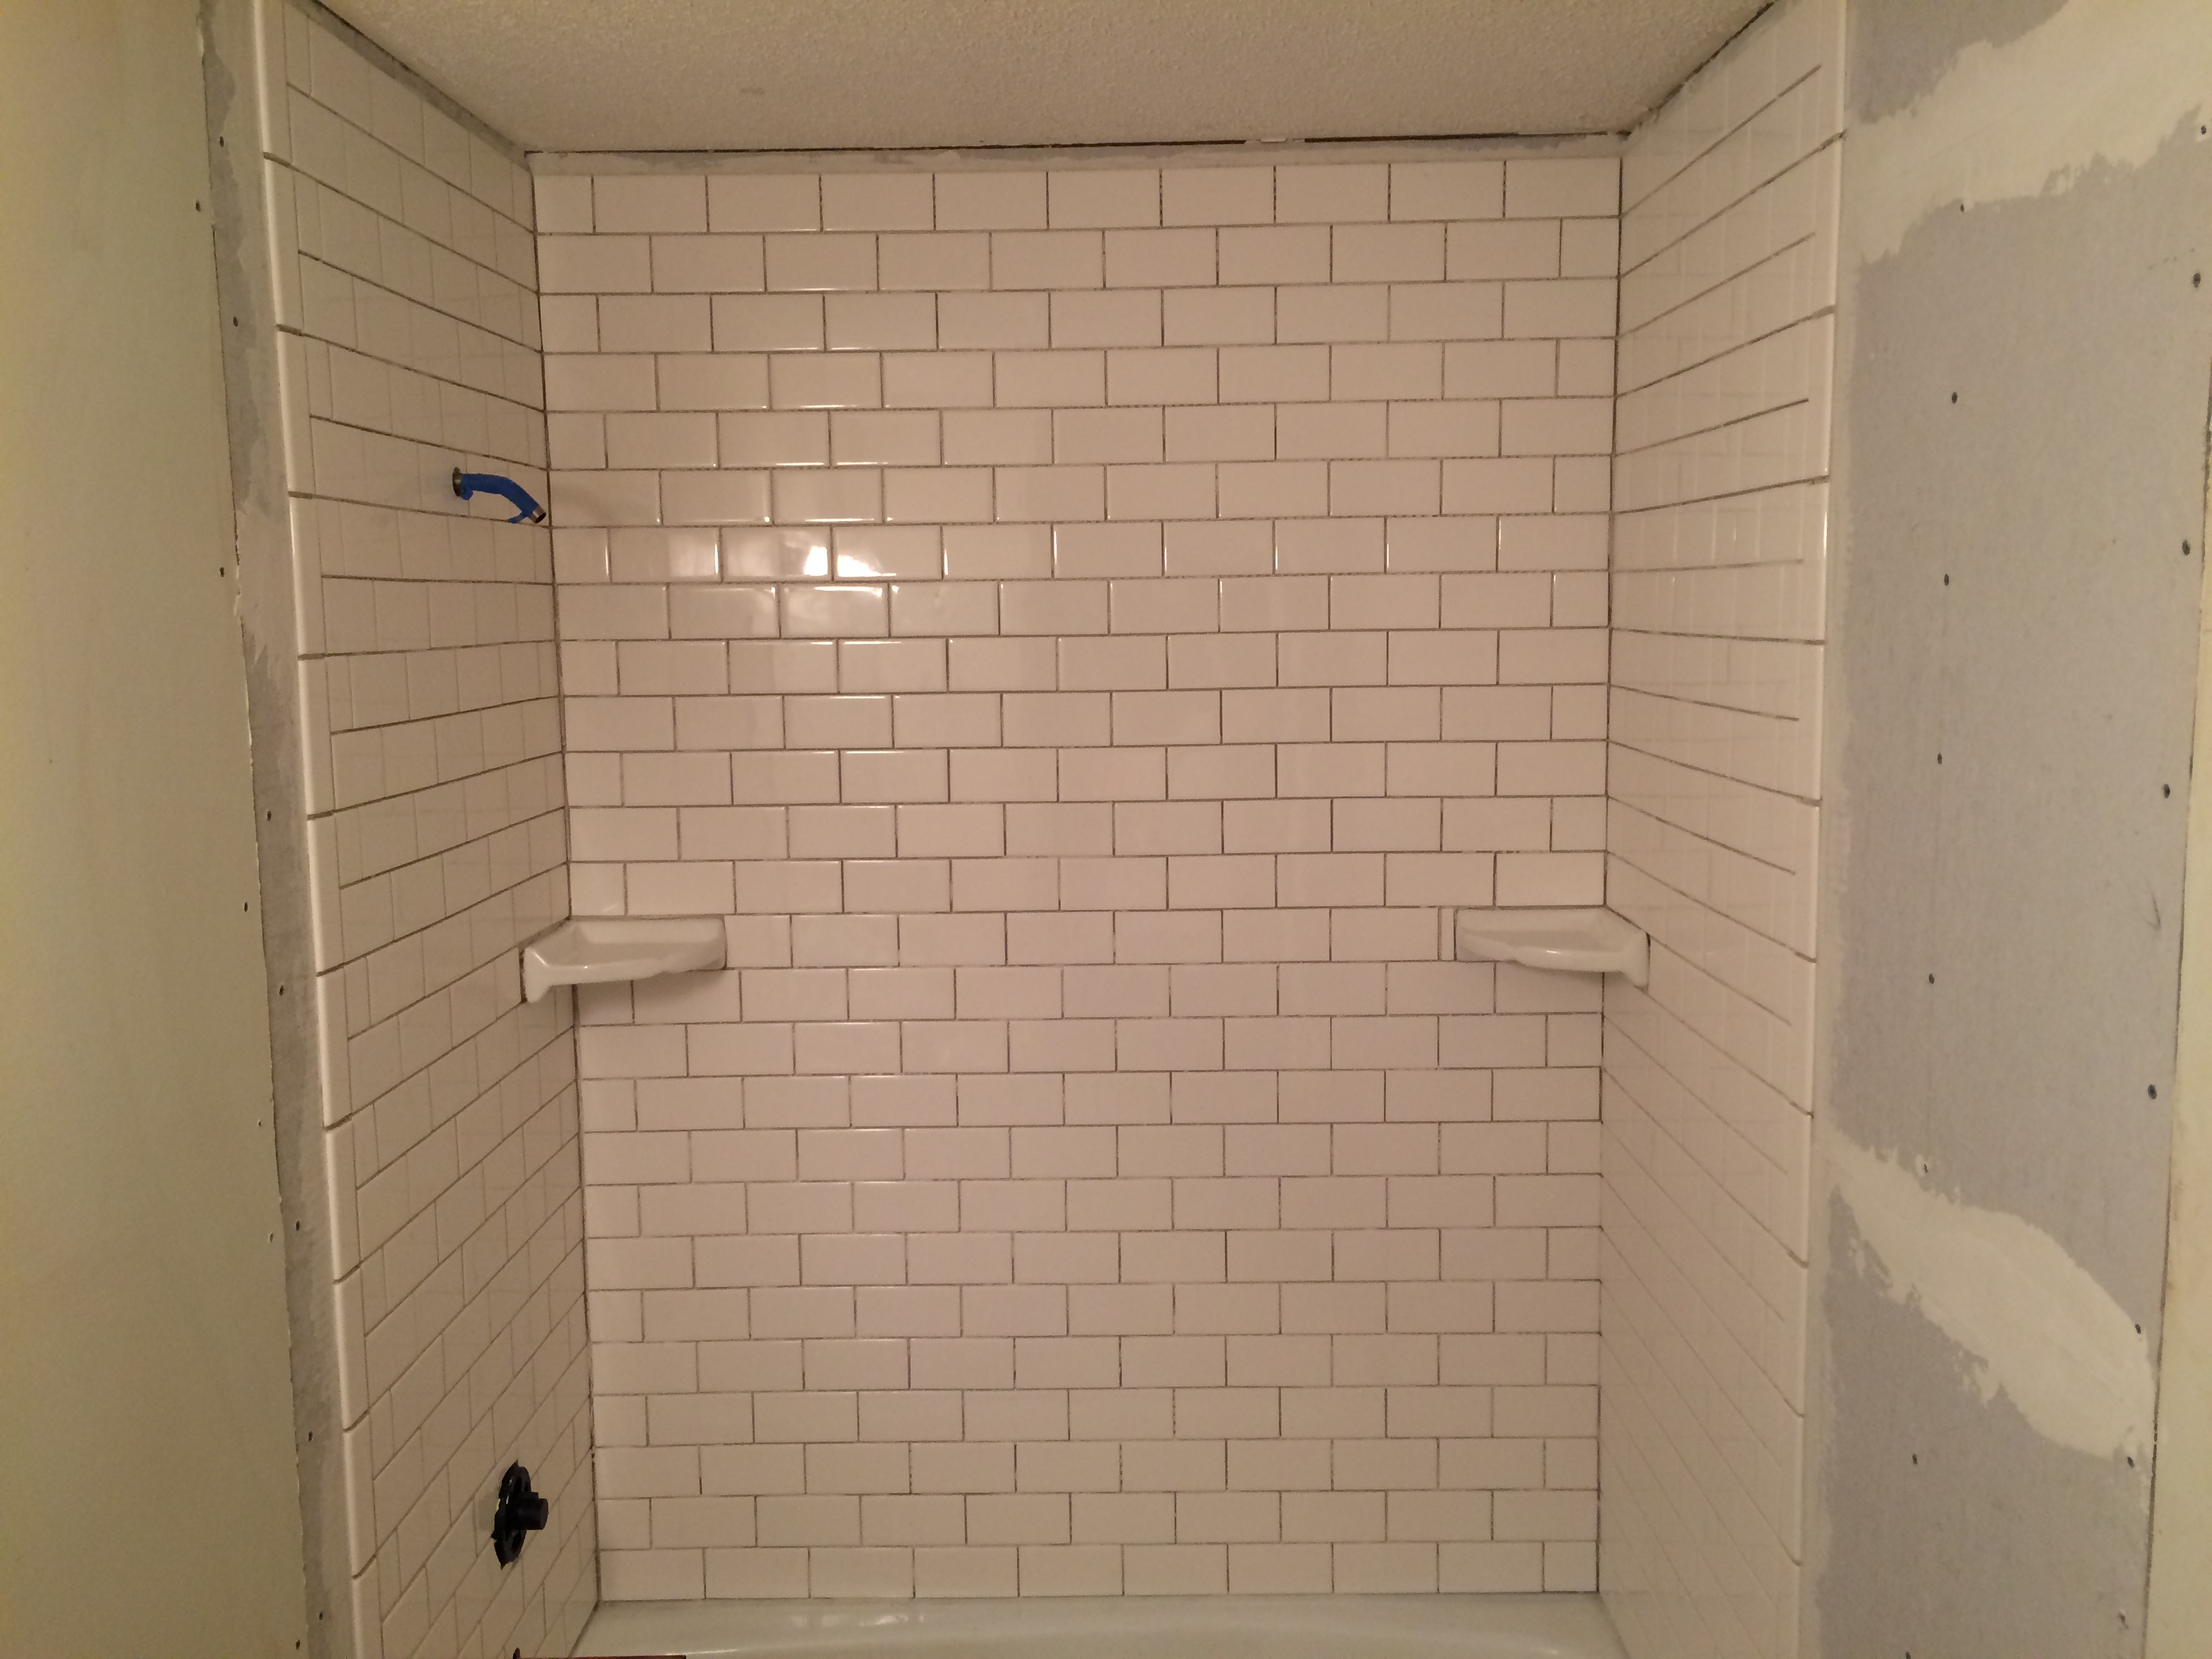
Click here to see the finishing touches of this project.
-Mike