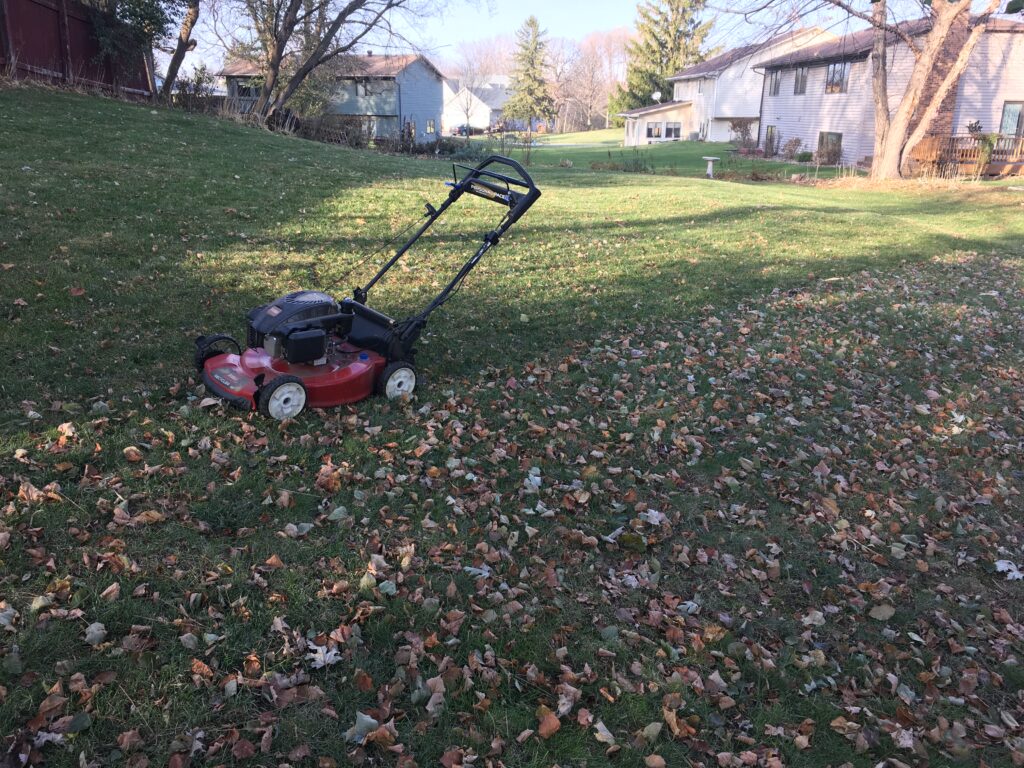
Last summer, I was mowing the lawn when I heard a sudden pop—the kind of sound that immediately makes you stop walking and think, “Well… that’s not part of the plan.” The engine kept running, but the mower stopped pulling itself forward. The self‑propelled feature—the entire reason I like this mower—was done.
I’ve had this Toro self‑propelled mower for about ten years, and up until this moment it had done everything I asked of it. It always starts right up and does a great job. The rear wheels are powered, so when you push the handle, the mower moves at the same pace you’re walking. Anyone who’s ever pushed a heavy mower uphill knows this feature makes a huge difference.
Naturally, my mind went straight to worst‑case scenarios. Something internal. Something expensive. Something that would involve loading the mower into my truck and having a professional shake their head sadly at it. Rather than investigate mid‑mow, I shut it down, grabbed another mower, and finished the yard.
A few weeks later, I finally flipped the mower over to take a look. Over the years I’d kept up with the usual maintenance: oil changes, blade sharpening, the basics. But I’d never really given much thought to how the self‑propelled system actually worked. It had always worked, which felt like a perfectly reasonable reason not to question it.
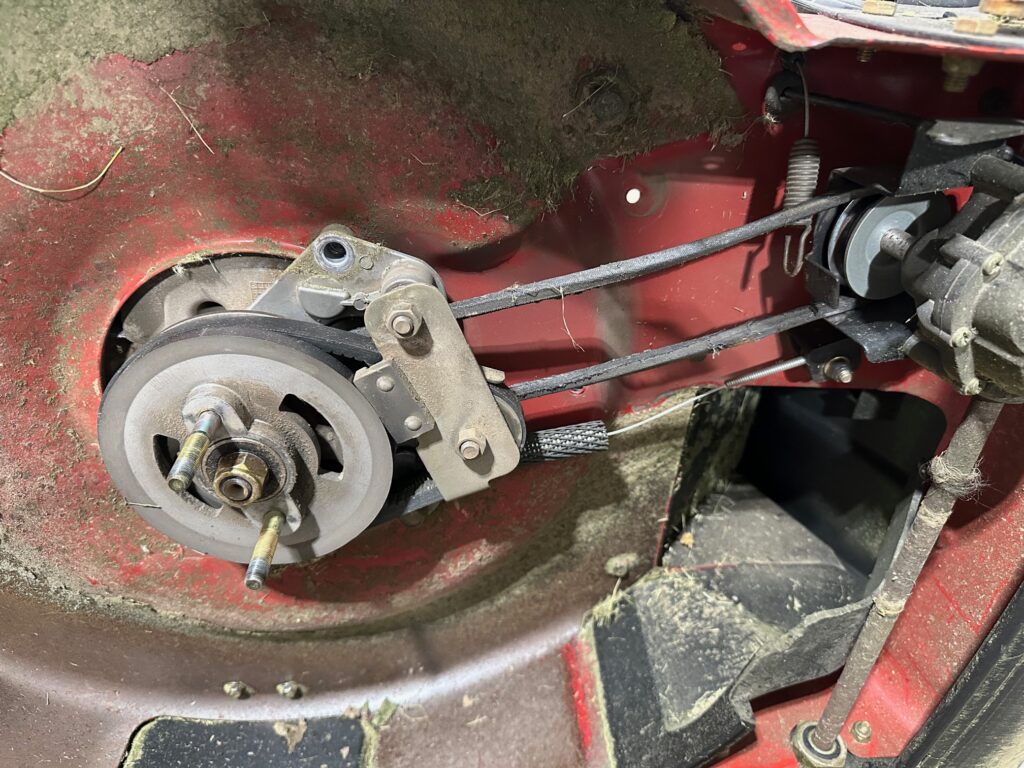
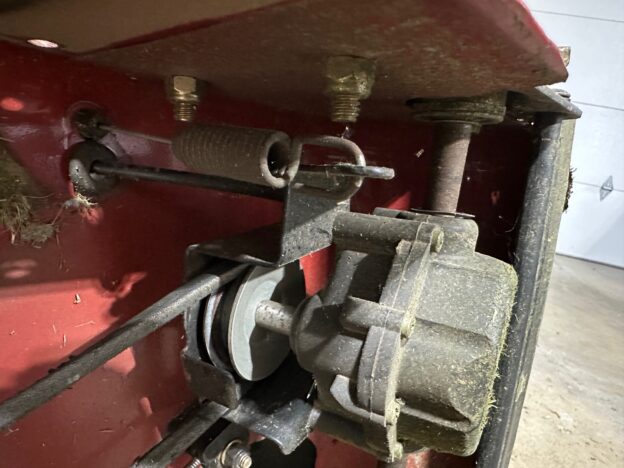
After watching a few videos online (and realizing I was far from alone), I learned that the drive system relies on a belt hidden beneath a plastic guard. That belt transfers power from the engine to the rear wheels. Which is great, unless that belt is worn out and no longer interested in doing its job.
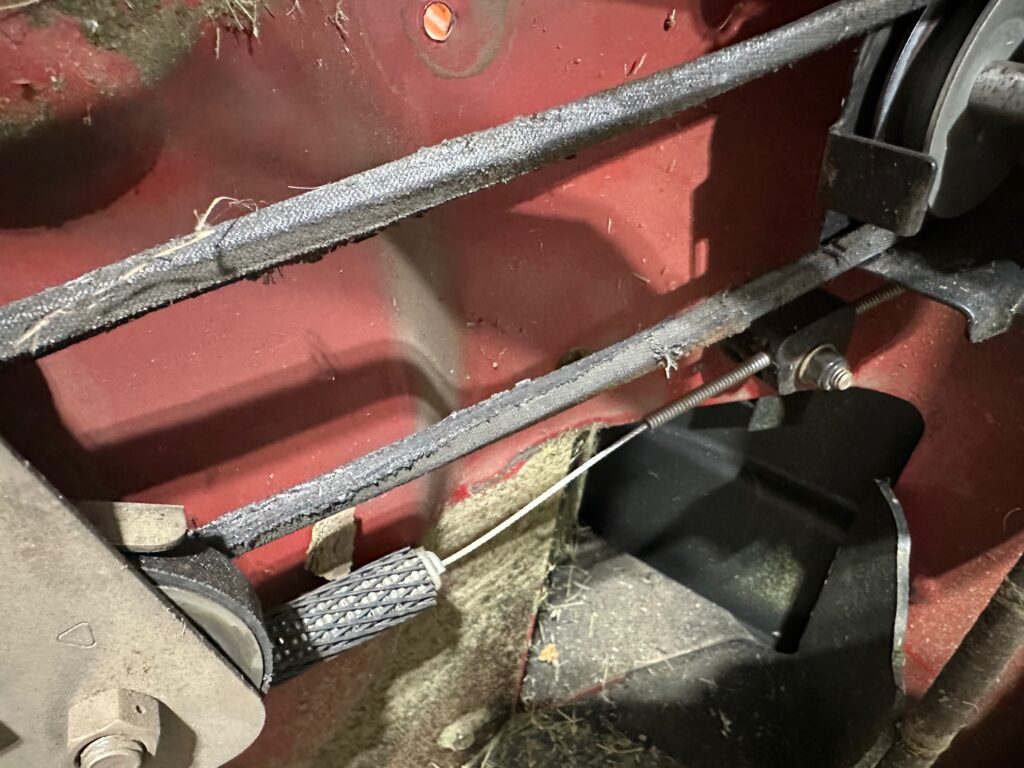
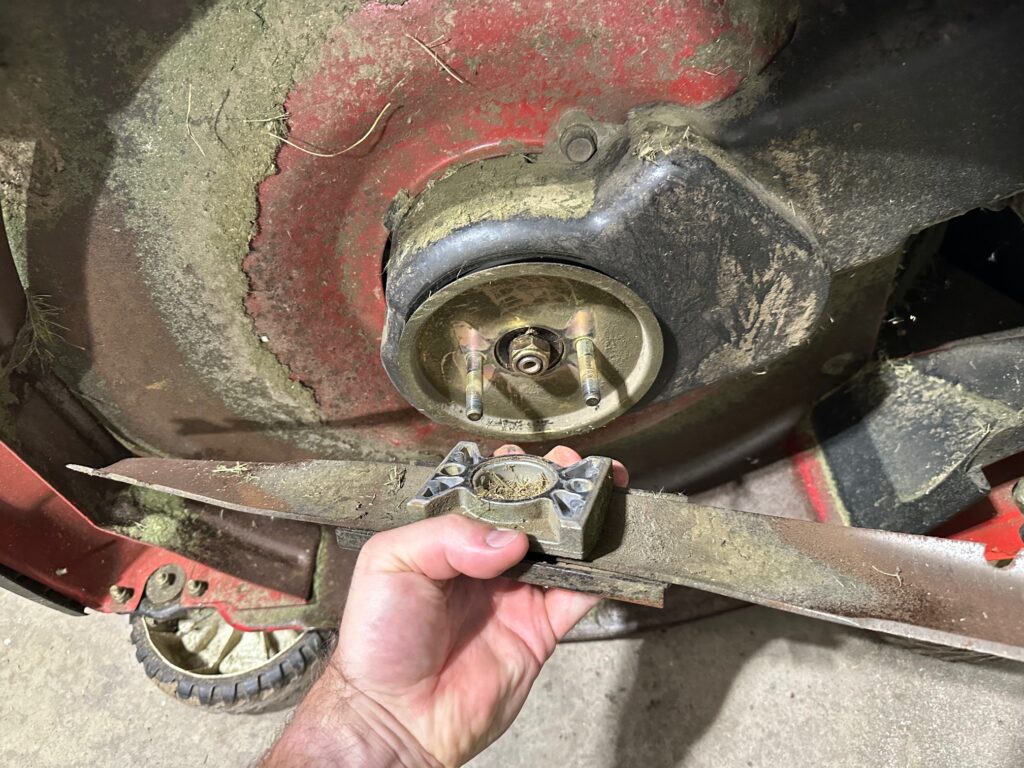
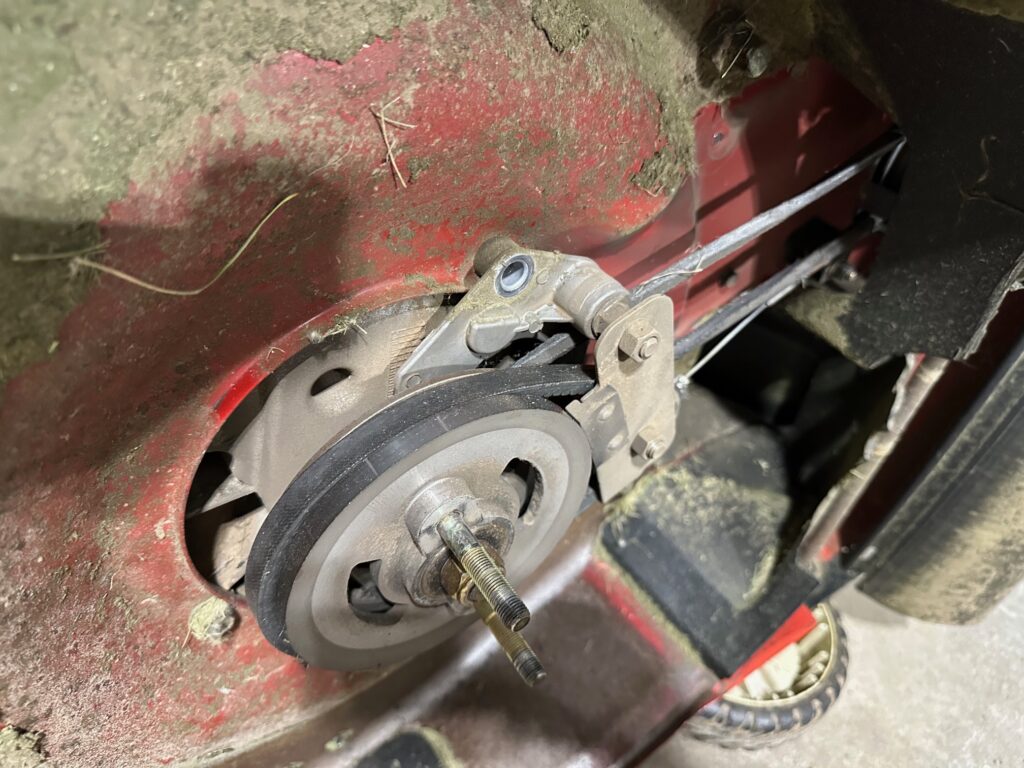
Once I removed the guard, the problem was obvious. The belt was badly worn and had slipped completely off the drive wheel. The popping sound I heard earlier was almost certainly the belt giving up on life. I even found it wedged somewhere it clearly wasn’t meant to be.
Getting the belt loose took some effort, but once it was free, I ordered a replacement. Installing the new belt turned out to be more challenging than I expected. Being inexperienced with mower repairs, I probably took apart more of the mower than was strictly necessary, but I walked away with a new appreciation for its design. I made sure to take plenty of photos along the way so I could remember where all the nuts and bolts belonged.
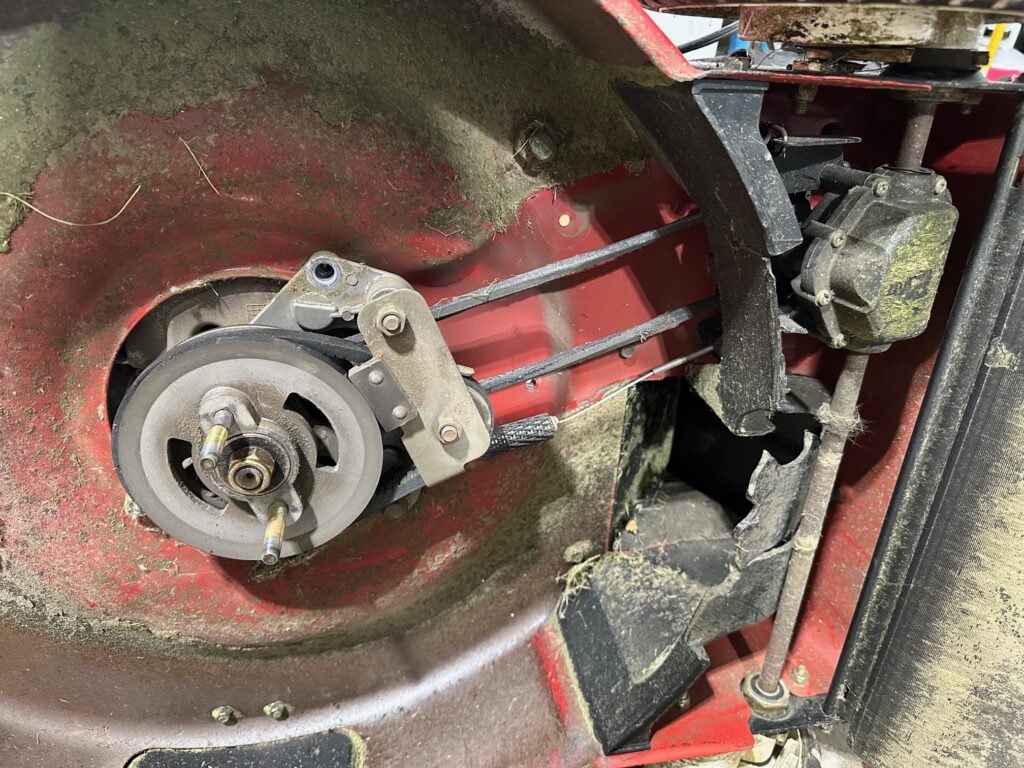
Since I already had the drive assembly apart, I decided to replace a broken plastic guard as well. At some point, a stick must have gotten caught underneath and cracked it. The replacement part was reasonably priced and showed up a few days later from Toro’s website, which felt like another small win.
All told, it was a simple fix. The hardest part was removing the plastic shields, mostly because several of the bolts had been swallowed by years of dried grass and dirt. Other than that, no special tools, no repair shop, and no new mower. Just a worn belt—and the satisfaction of knowing this mower is ready for many more summers of pretending lawn care is fun.
Thanks for reading!
-Mike