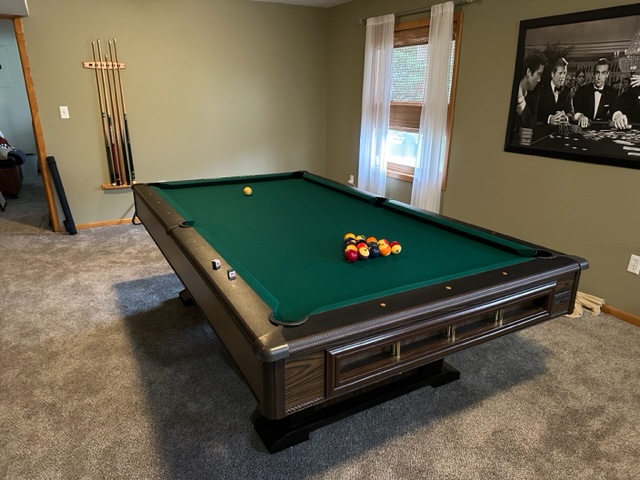
I’ve always loved playing pool. Having a table in my home has been a dream since I was a kid. It seemed like luxury living to dedicate such a large area to entertainment, while avoiding all the quarters needed to play a game at a bar. Unfortunately, I’ve never lived in a home where it made sense. I also figured the price tag would be too much to afford. That all changed when we moved to Rochester. As far as a space for a table, our new home came equipped with a large family room in the basement, which would be perfect for pool. The second obstacle, price, was also about to become a non-issue. Around the time we were looking to move, a close friend in Iowa mentioned how he’d like to get rid of a table that was taking up space in his basement. He offered it to me for free, which was the same way he came to possess the antique from 1976. I quickly took him up on the offer.
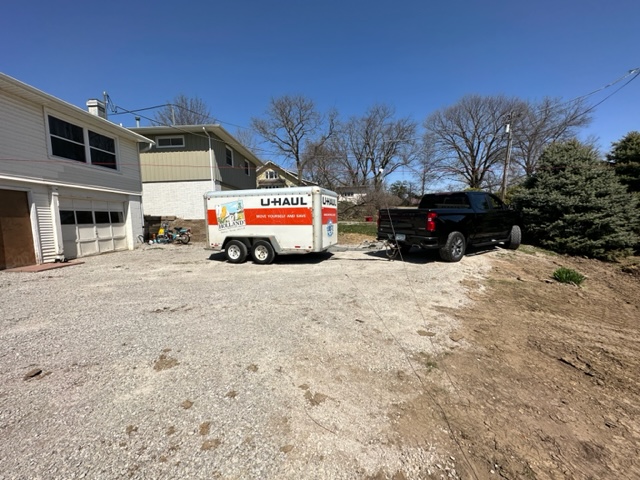
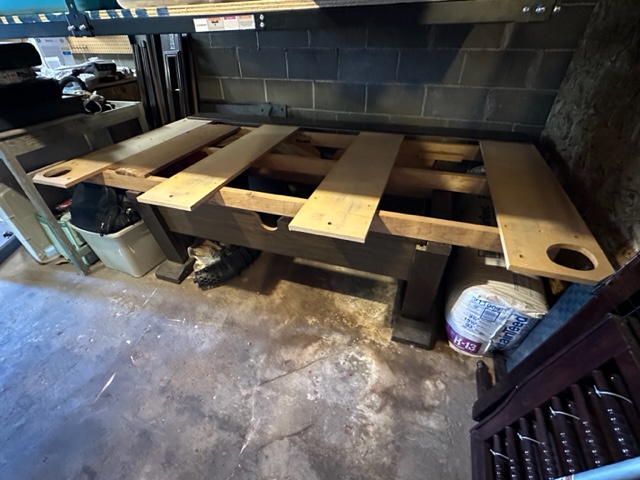

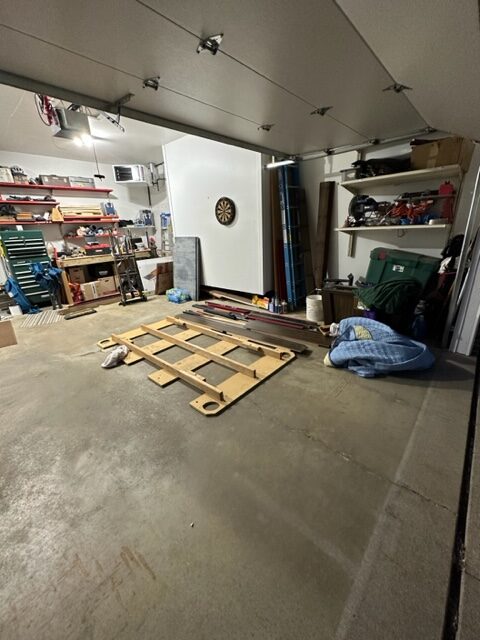
Several weeks after moving into the new place, I rented a trailer, made the drive to Iowa, loaded up the parts, and brought it all to Minnesota. Moving the table was made easier because it broke down into many parts, including 3 pieces of 3/4″ slate for the pool table surface.
Assembly was pretty easy, especially considering the table was nearly 50 years old and came with zero instructions. After watching several YouTube videos on the topic, I used beeswax to seal the gap between the slate pieces, then had to turn my attention to replacing the felt.
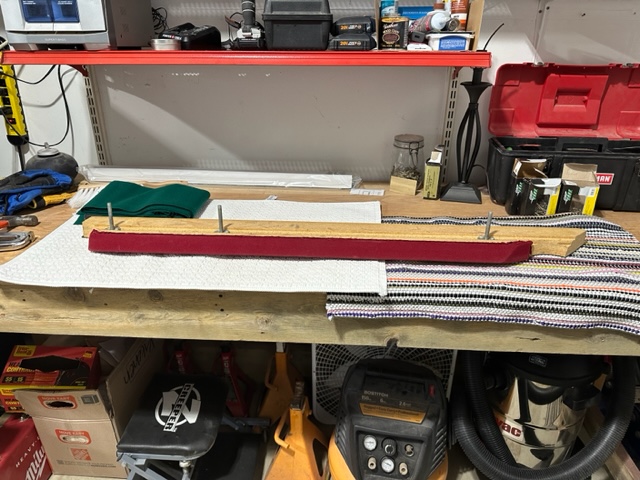
We considered having professionals do the work for us, until we got the estimates. The pros wanted to charge between $500 and $1,000 to replace the felt. I’m sure it would be worth it for an expensive table, but I kept reminding myself this was a free table and a chance to learn a new skill. I decided to buy felt online for around $130 and invest in a new air-powered staple gun and got to work.
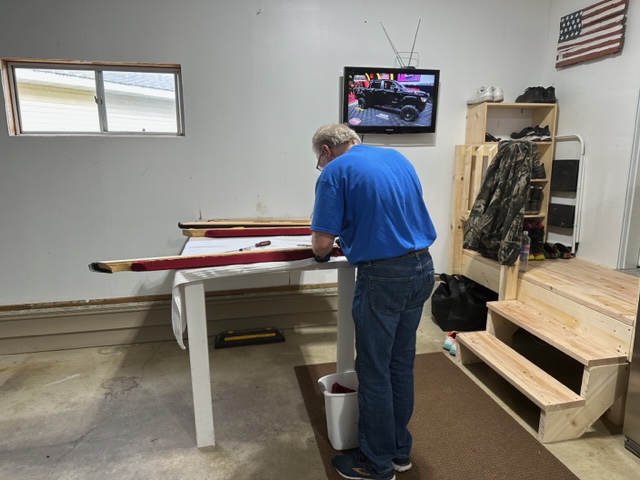
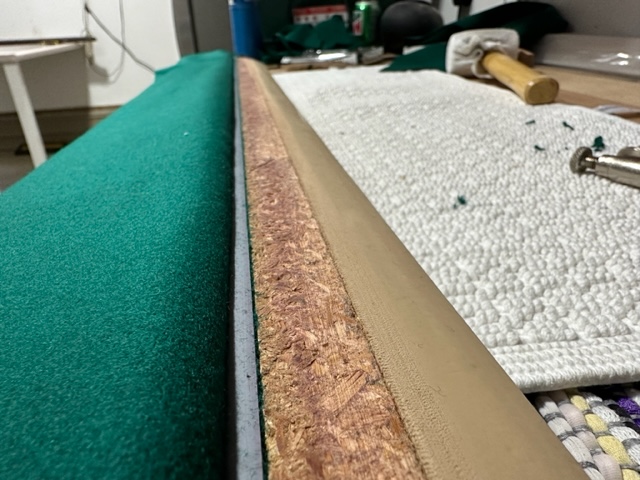

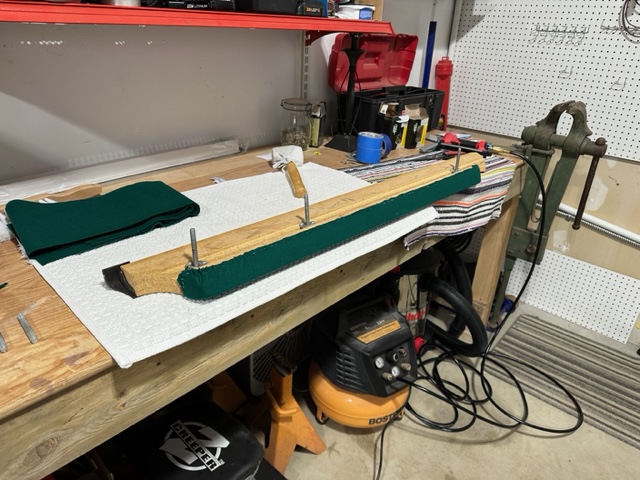
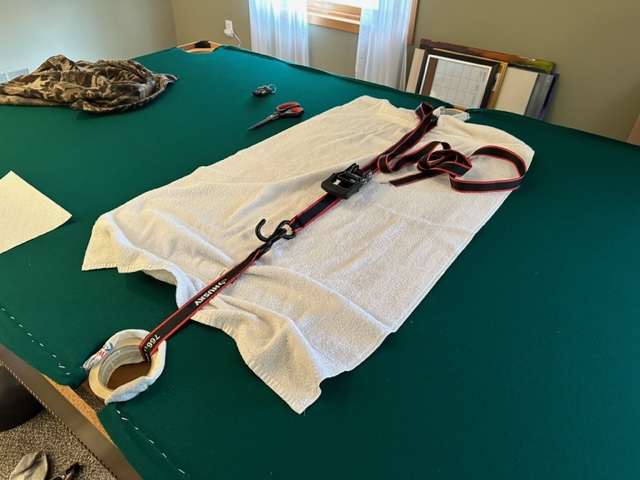
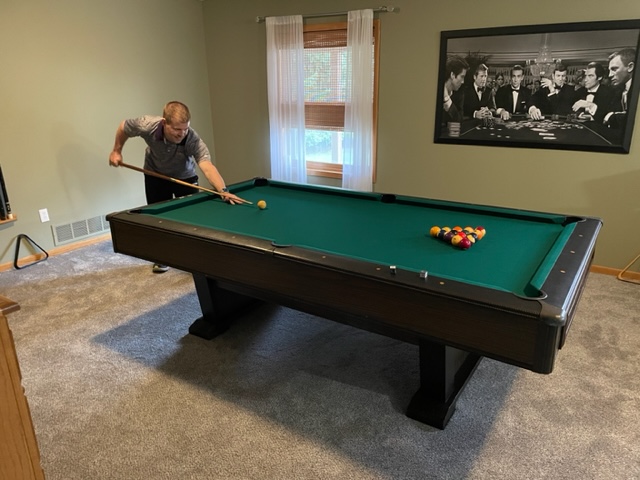
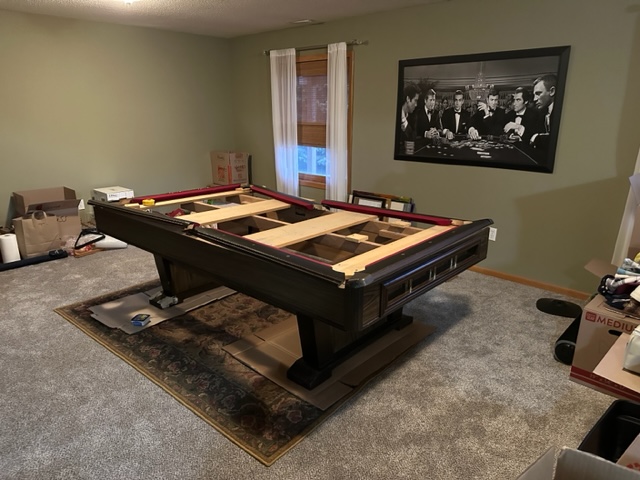
With help from my father-in-law, who had done this himself in the past, we made quick work of the process. We’re thrilled with the green color and how it turned out.
I finished the project by finding a nice cover and installing a ceiling lamp over the pool table. Fixing the drywall I had to remove in the process will be another project.
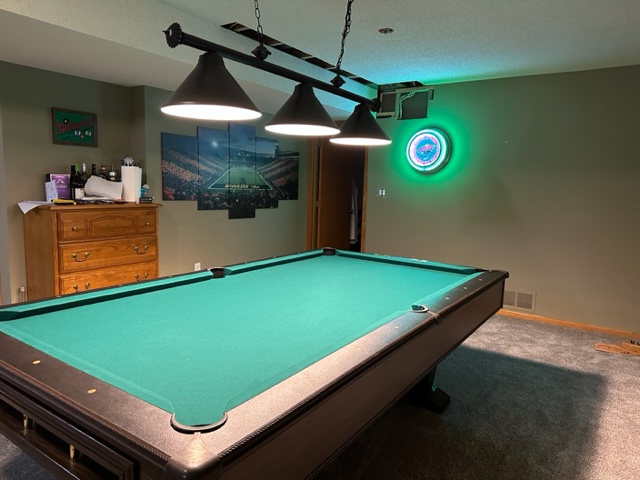
The table is great and I’m looking forward to hosting get-togethers and playing with friends and family. I also hope to avoid turning the table into a storage space, as I’ve seen happen in many homes.
Thanks for reading!
-Mike