The previous owners left behind a lot of building supplies in the shed and the garage (along with an array of random trash).
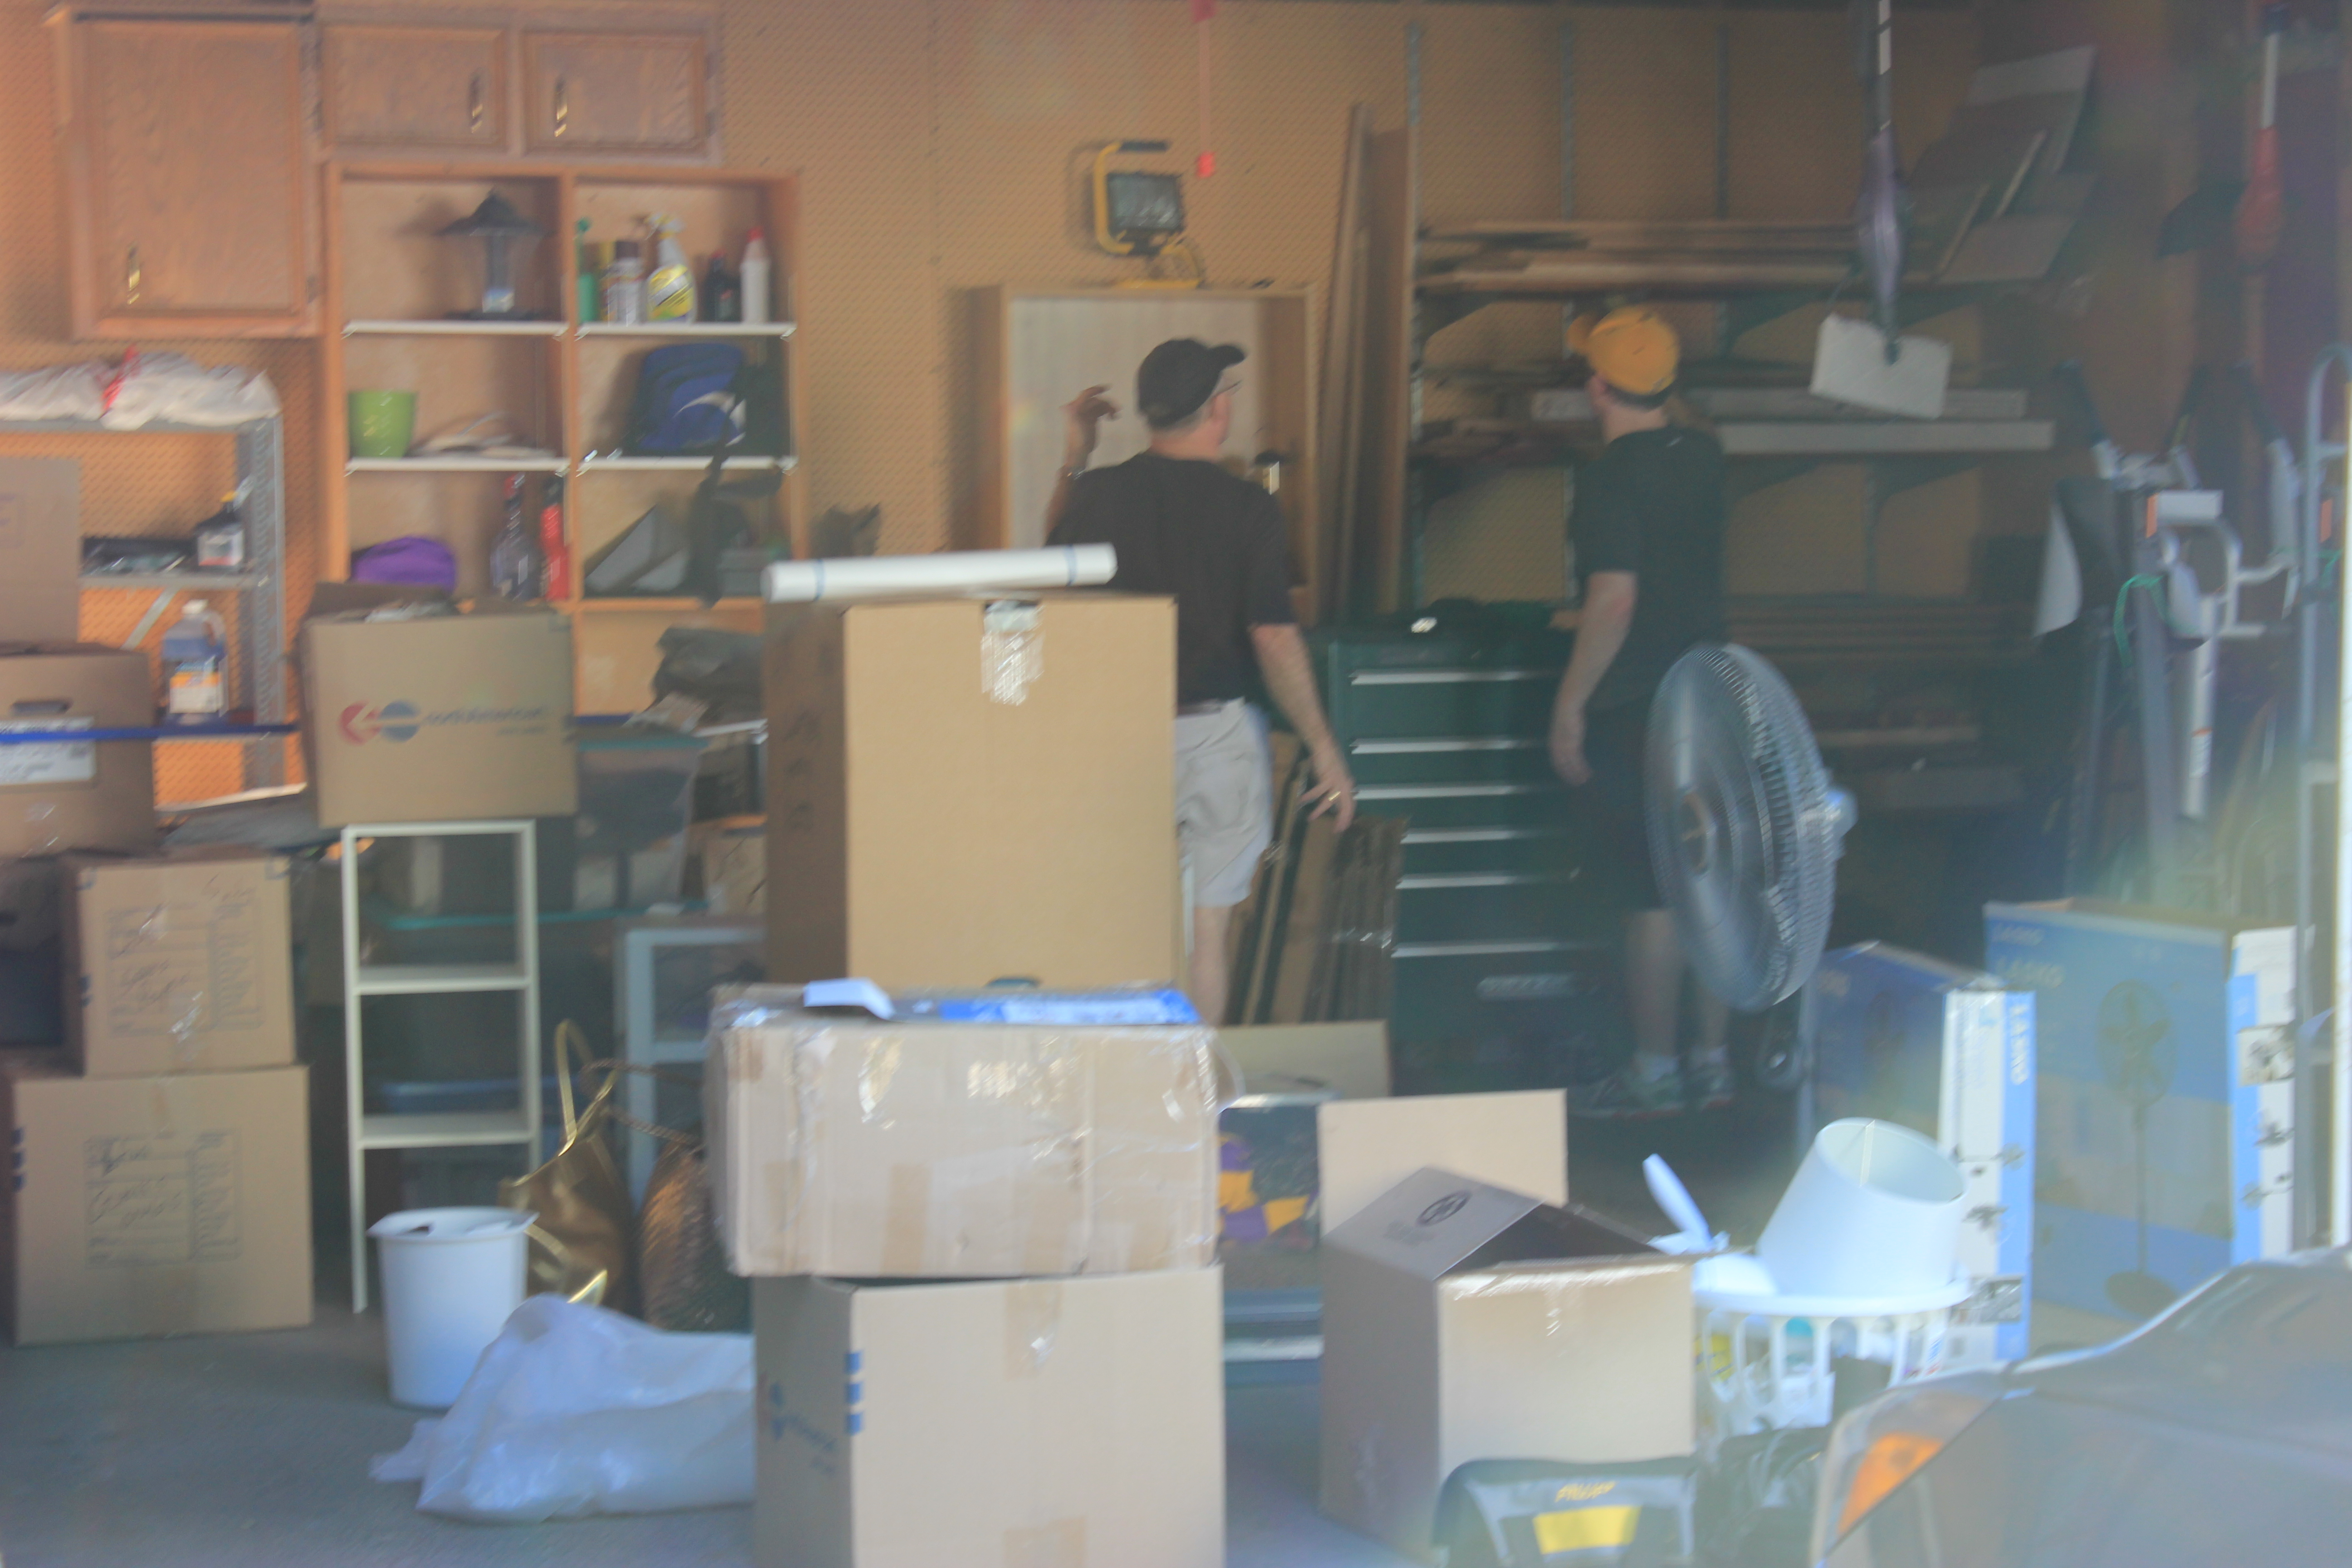
Garage example form moving weekend #2. The back right wall has four shelves of lumber, drywall, and even a leftover piece of granite from the kitchen. We also found an old broken disposal, sump-pump, 4 almost empty cans of propane, a broken yard rake, and various other garbage.
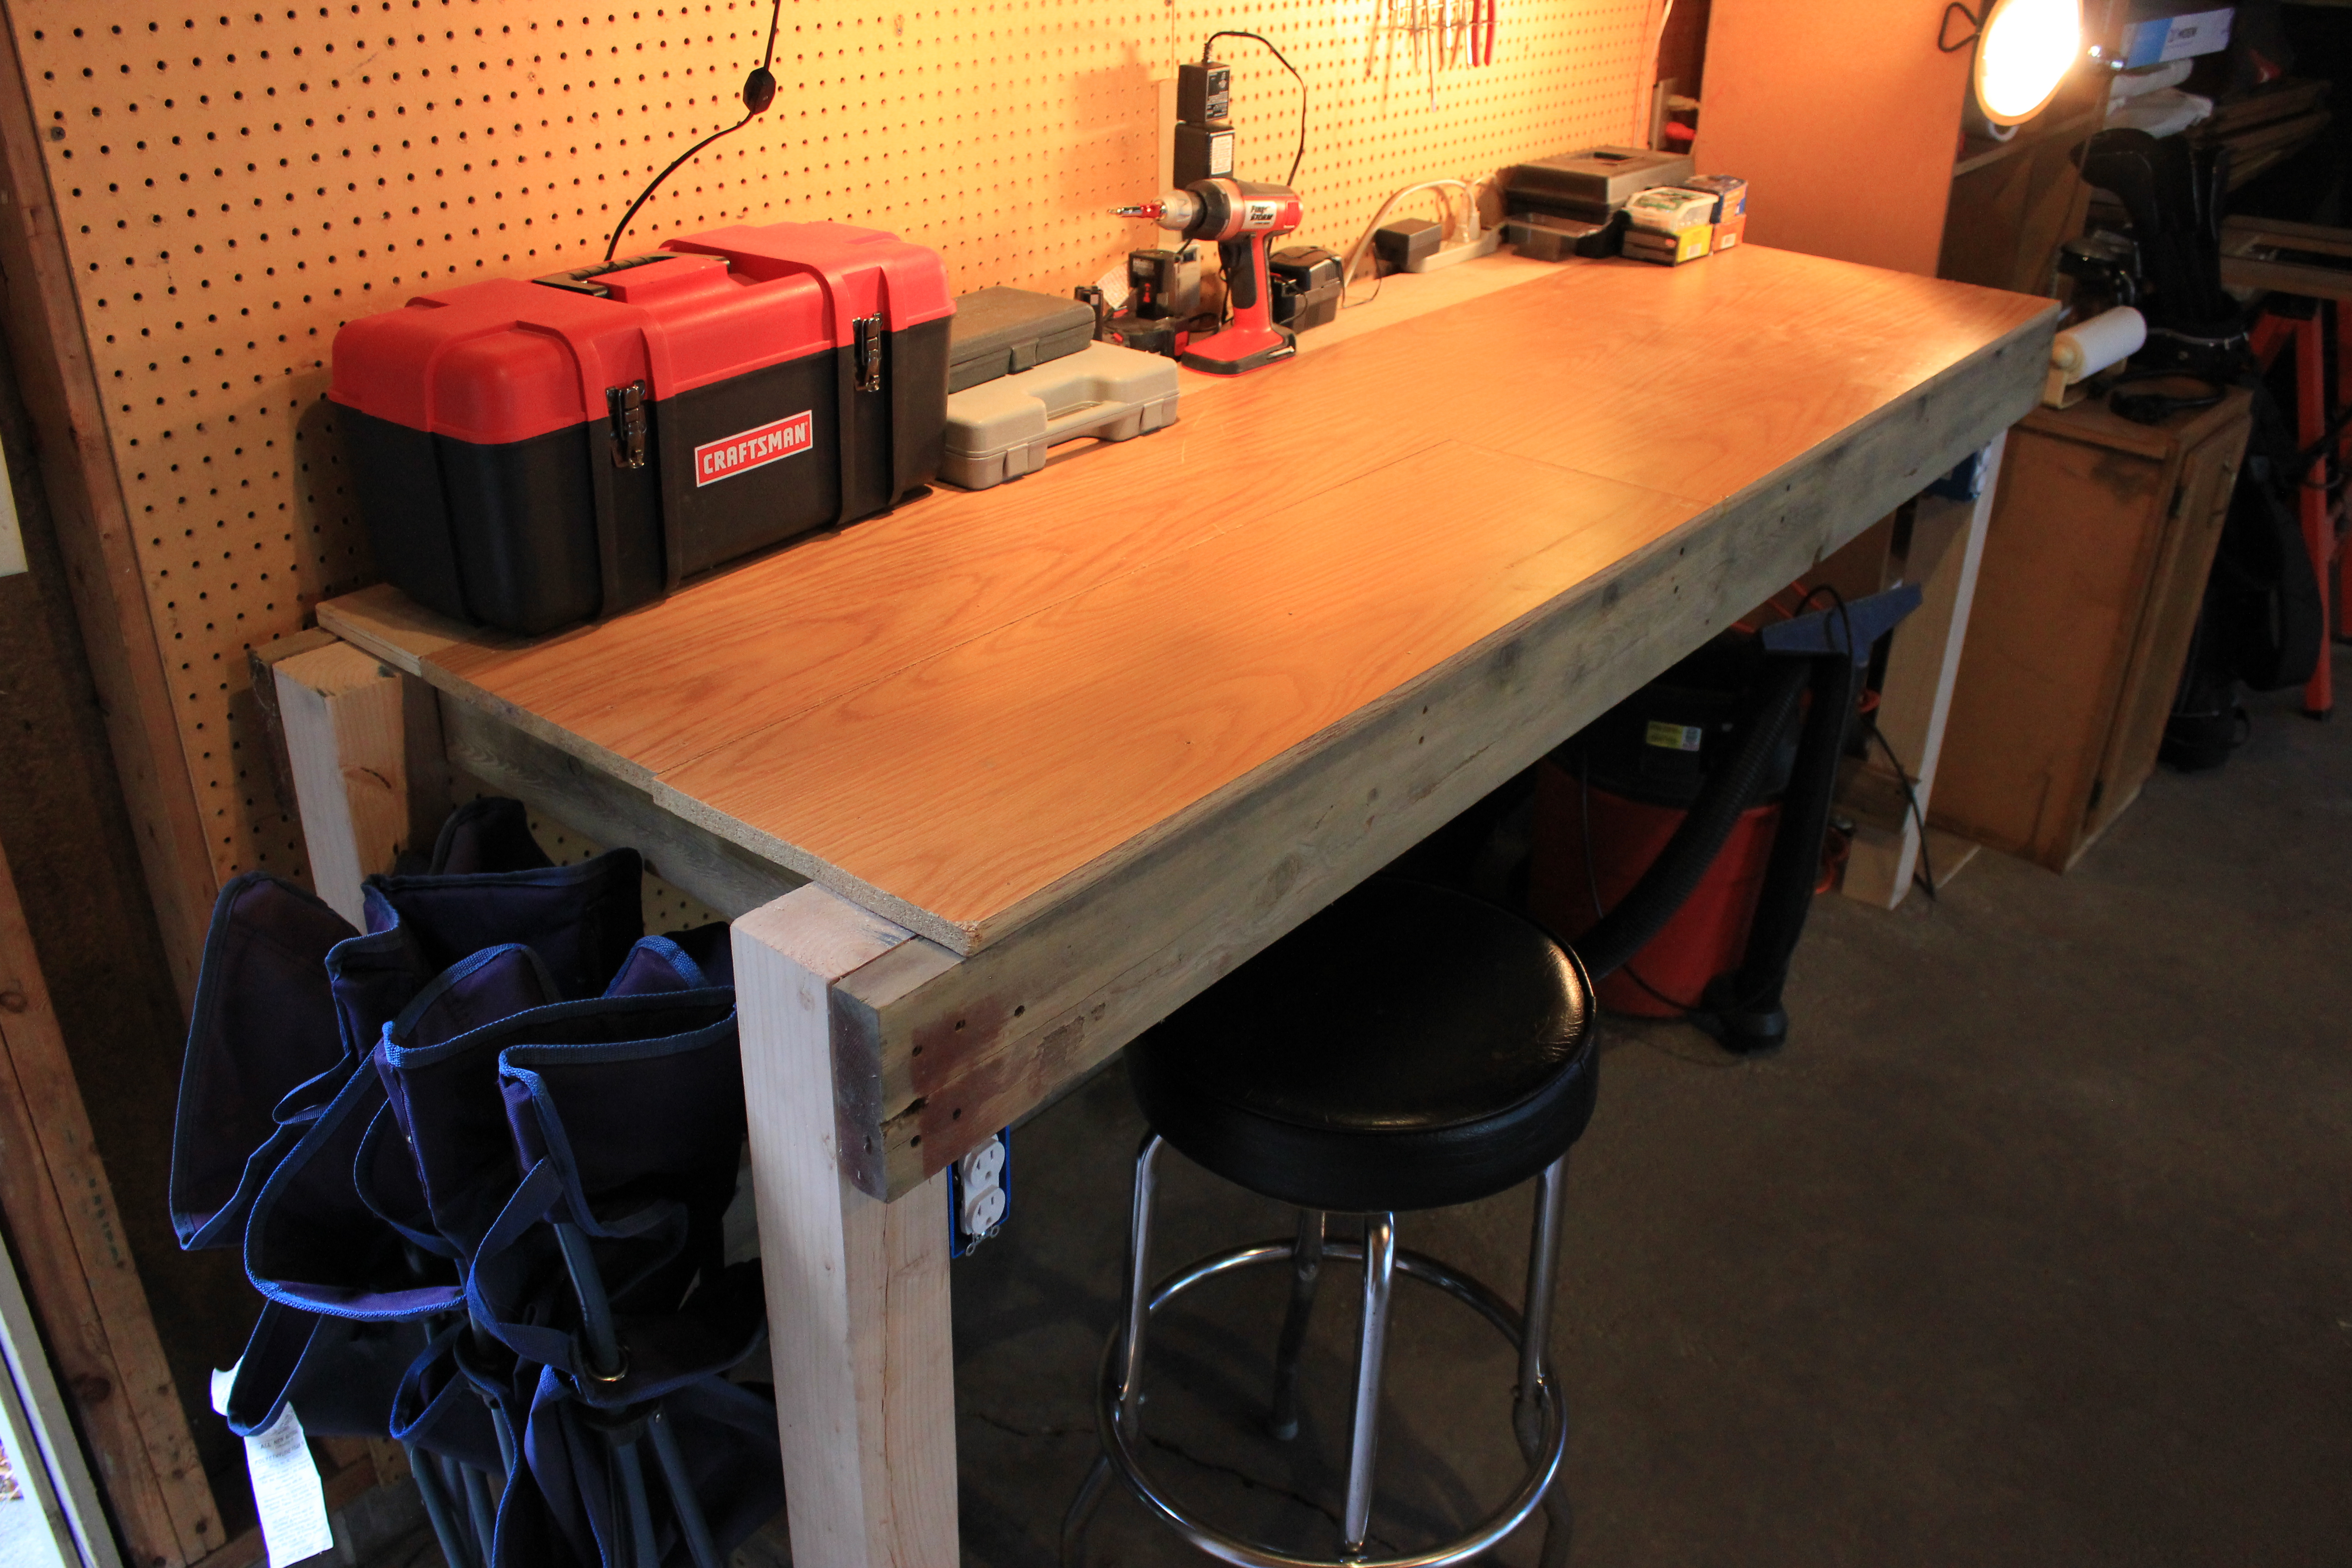
After clearing out the back left side of the garage wall, I decided to use some of the wood to build a workbench. Useable finds in the wood-pile for this project: 2×6 boards, 2x4s, and some old plywood shelves for a countertop (I only had to buy a couple of 4x4s to use as legs). I used the circular saw that Dad (Arlyn) is letting me borrow, plus many other tools and hardware that I already had.
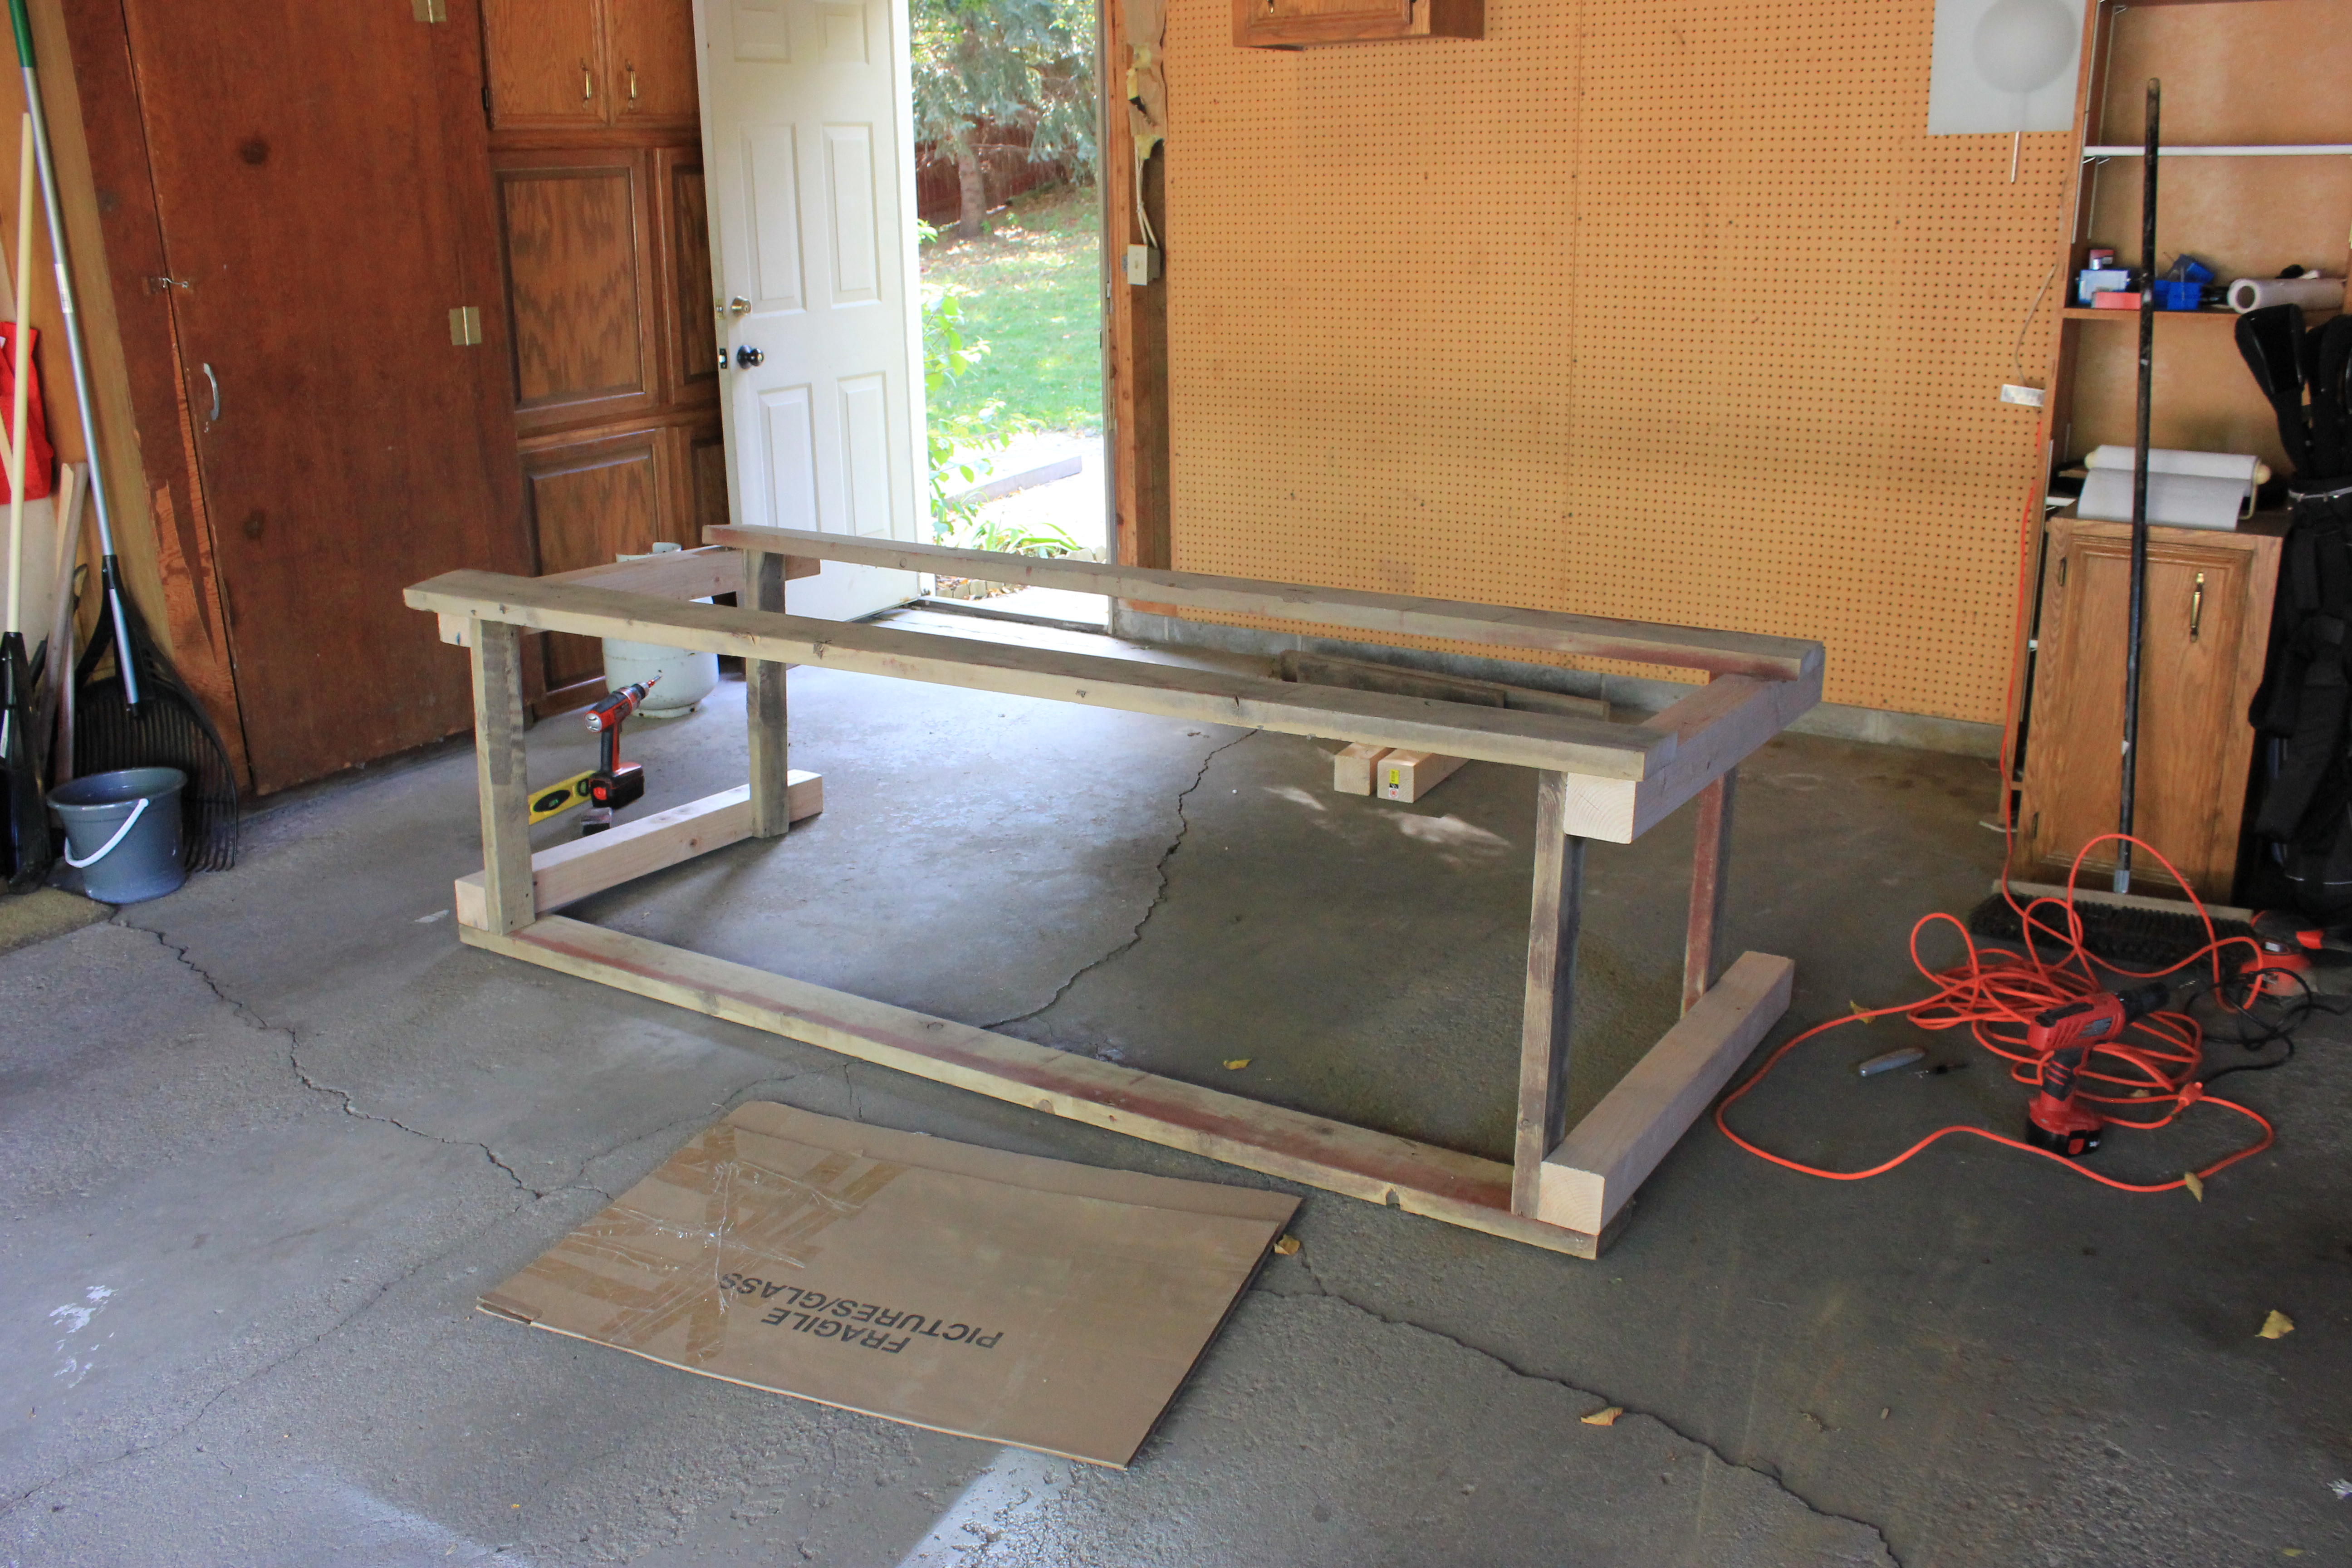
This is the first picture taken of the workbench building process. You can see the base is taking shape from the boards that were found, plus the thicker, newer-looking 4×4’s that were purchased for legs.
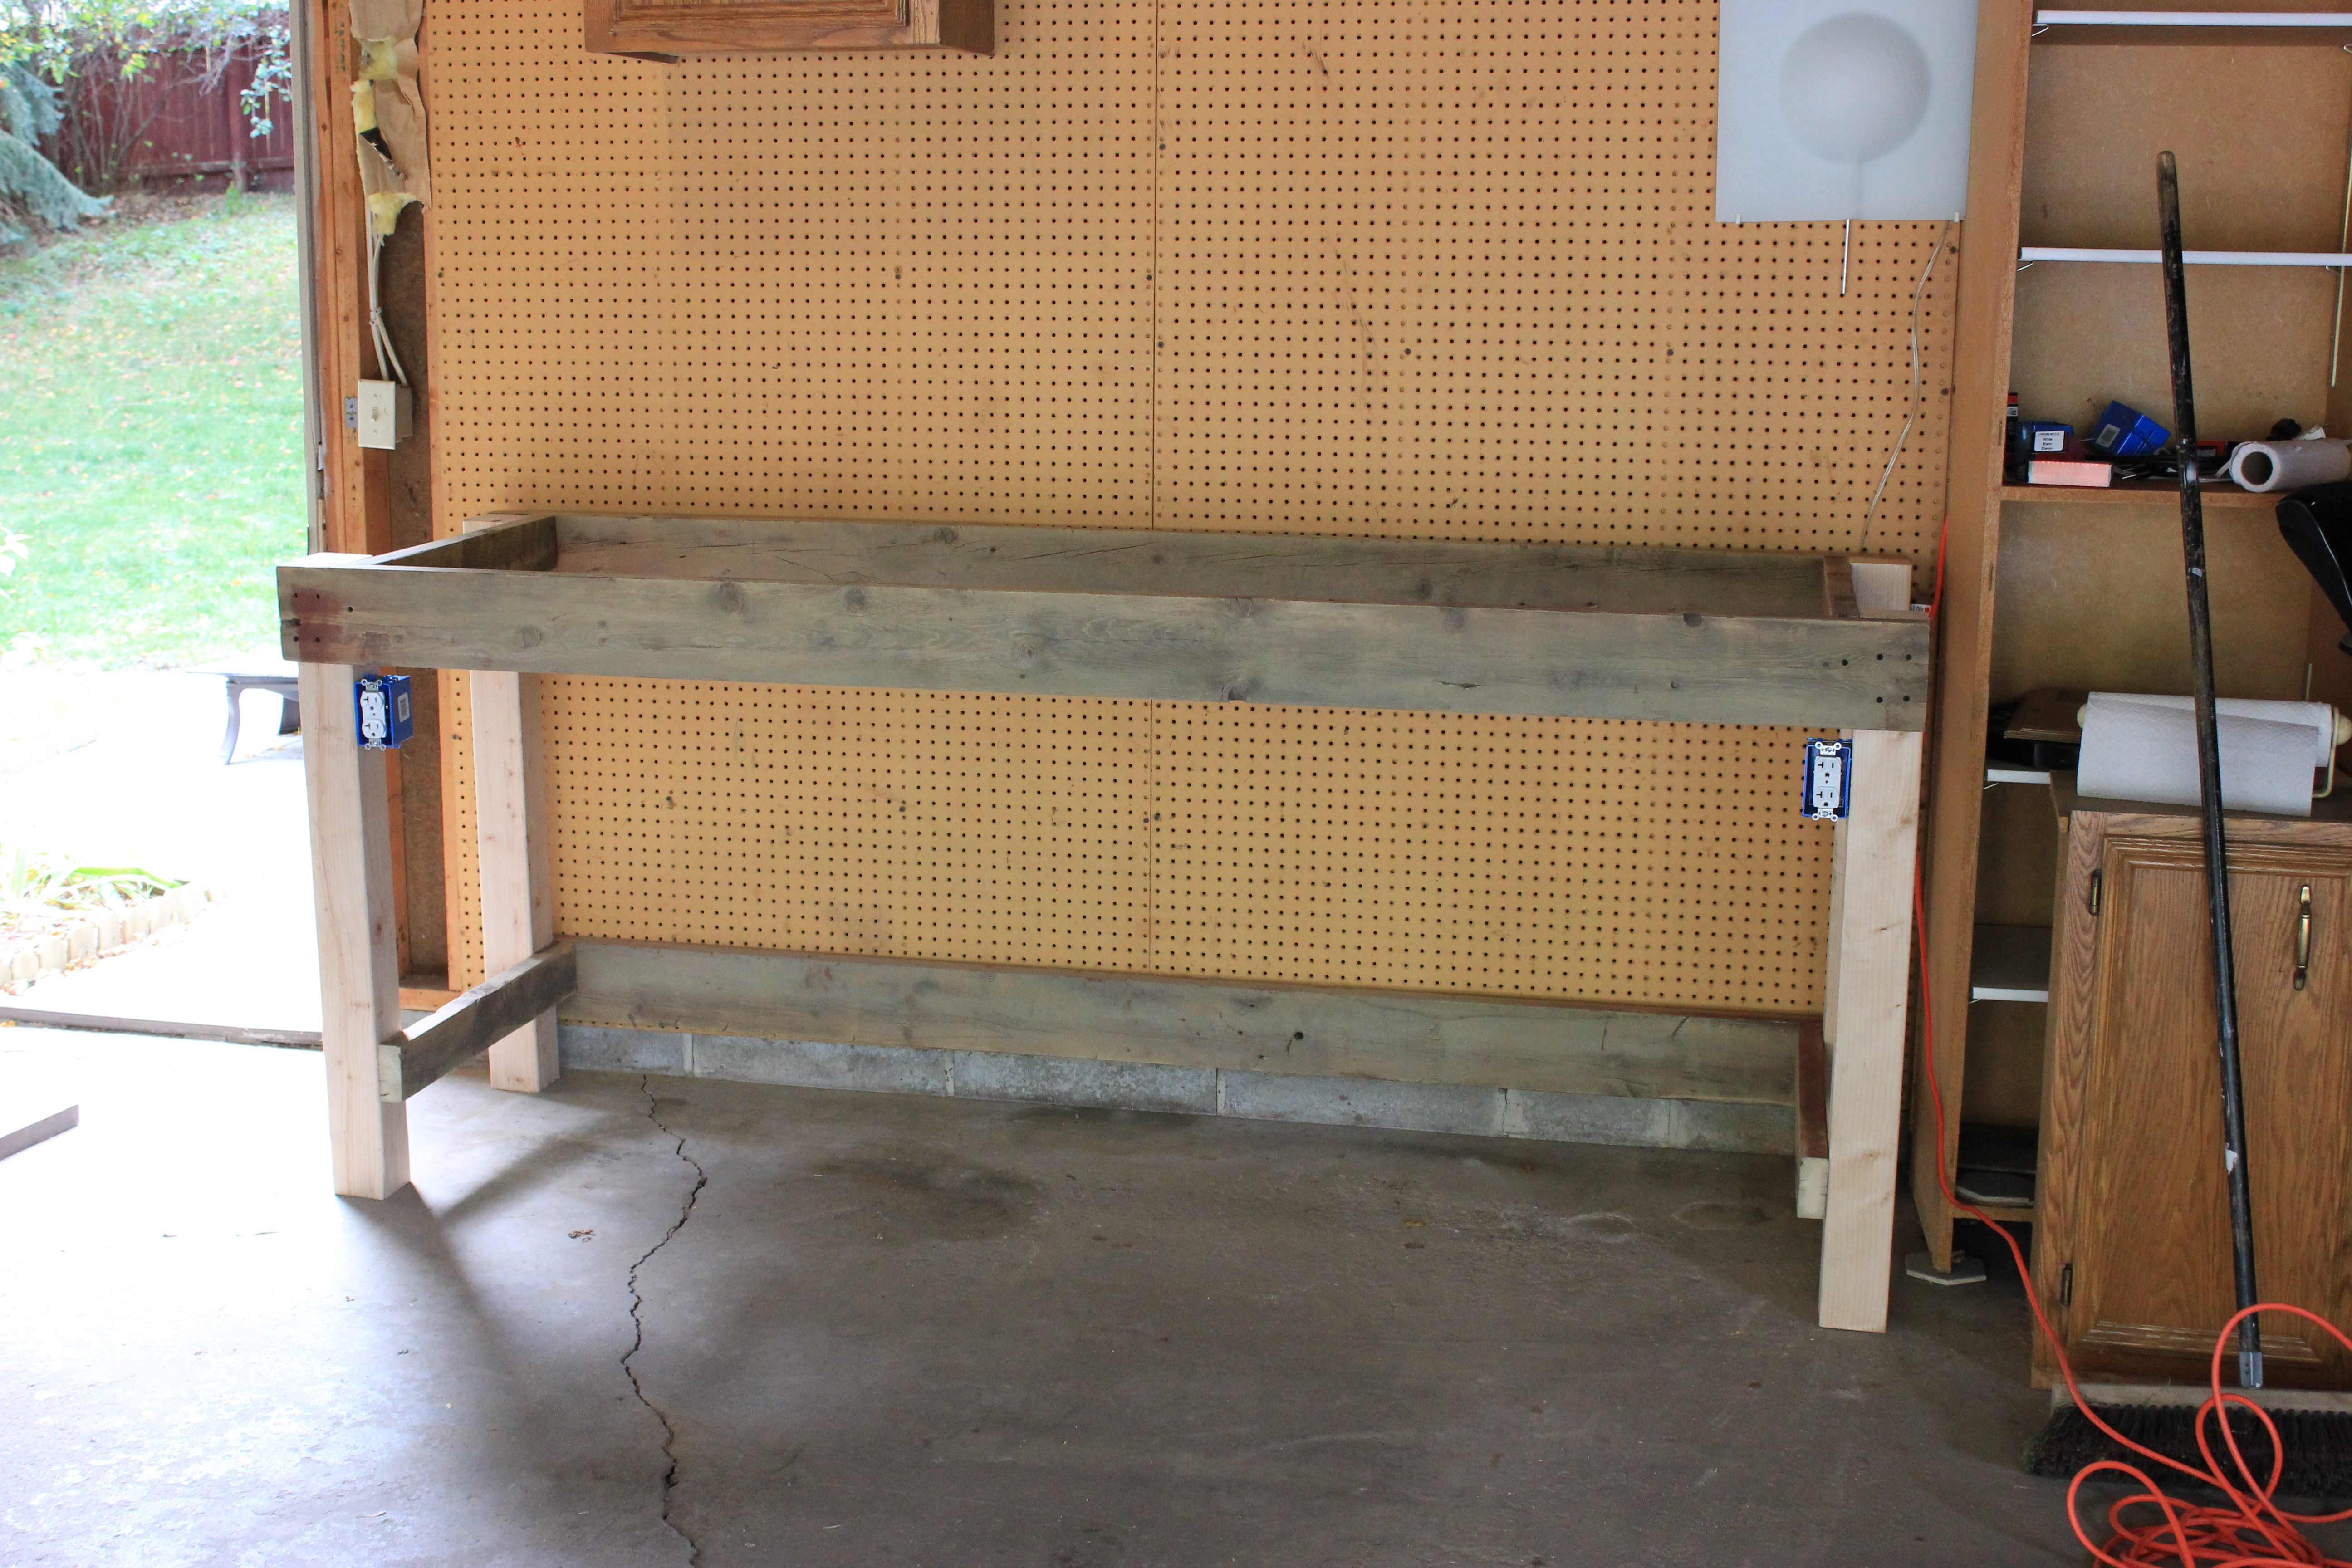
Power outlets added onto the front of the table for future use. They are not wired up just yet.
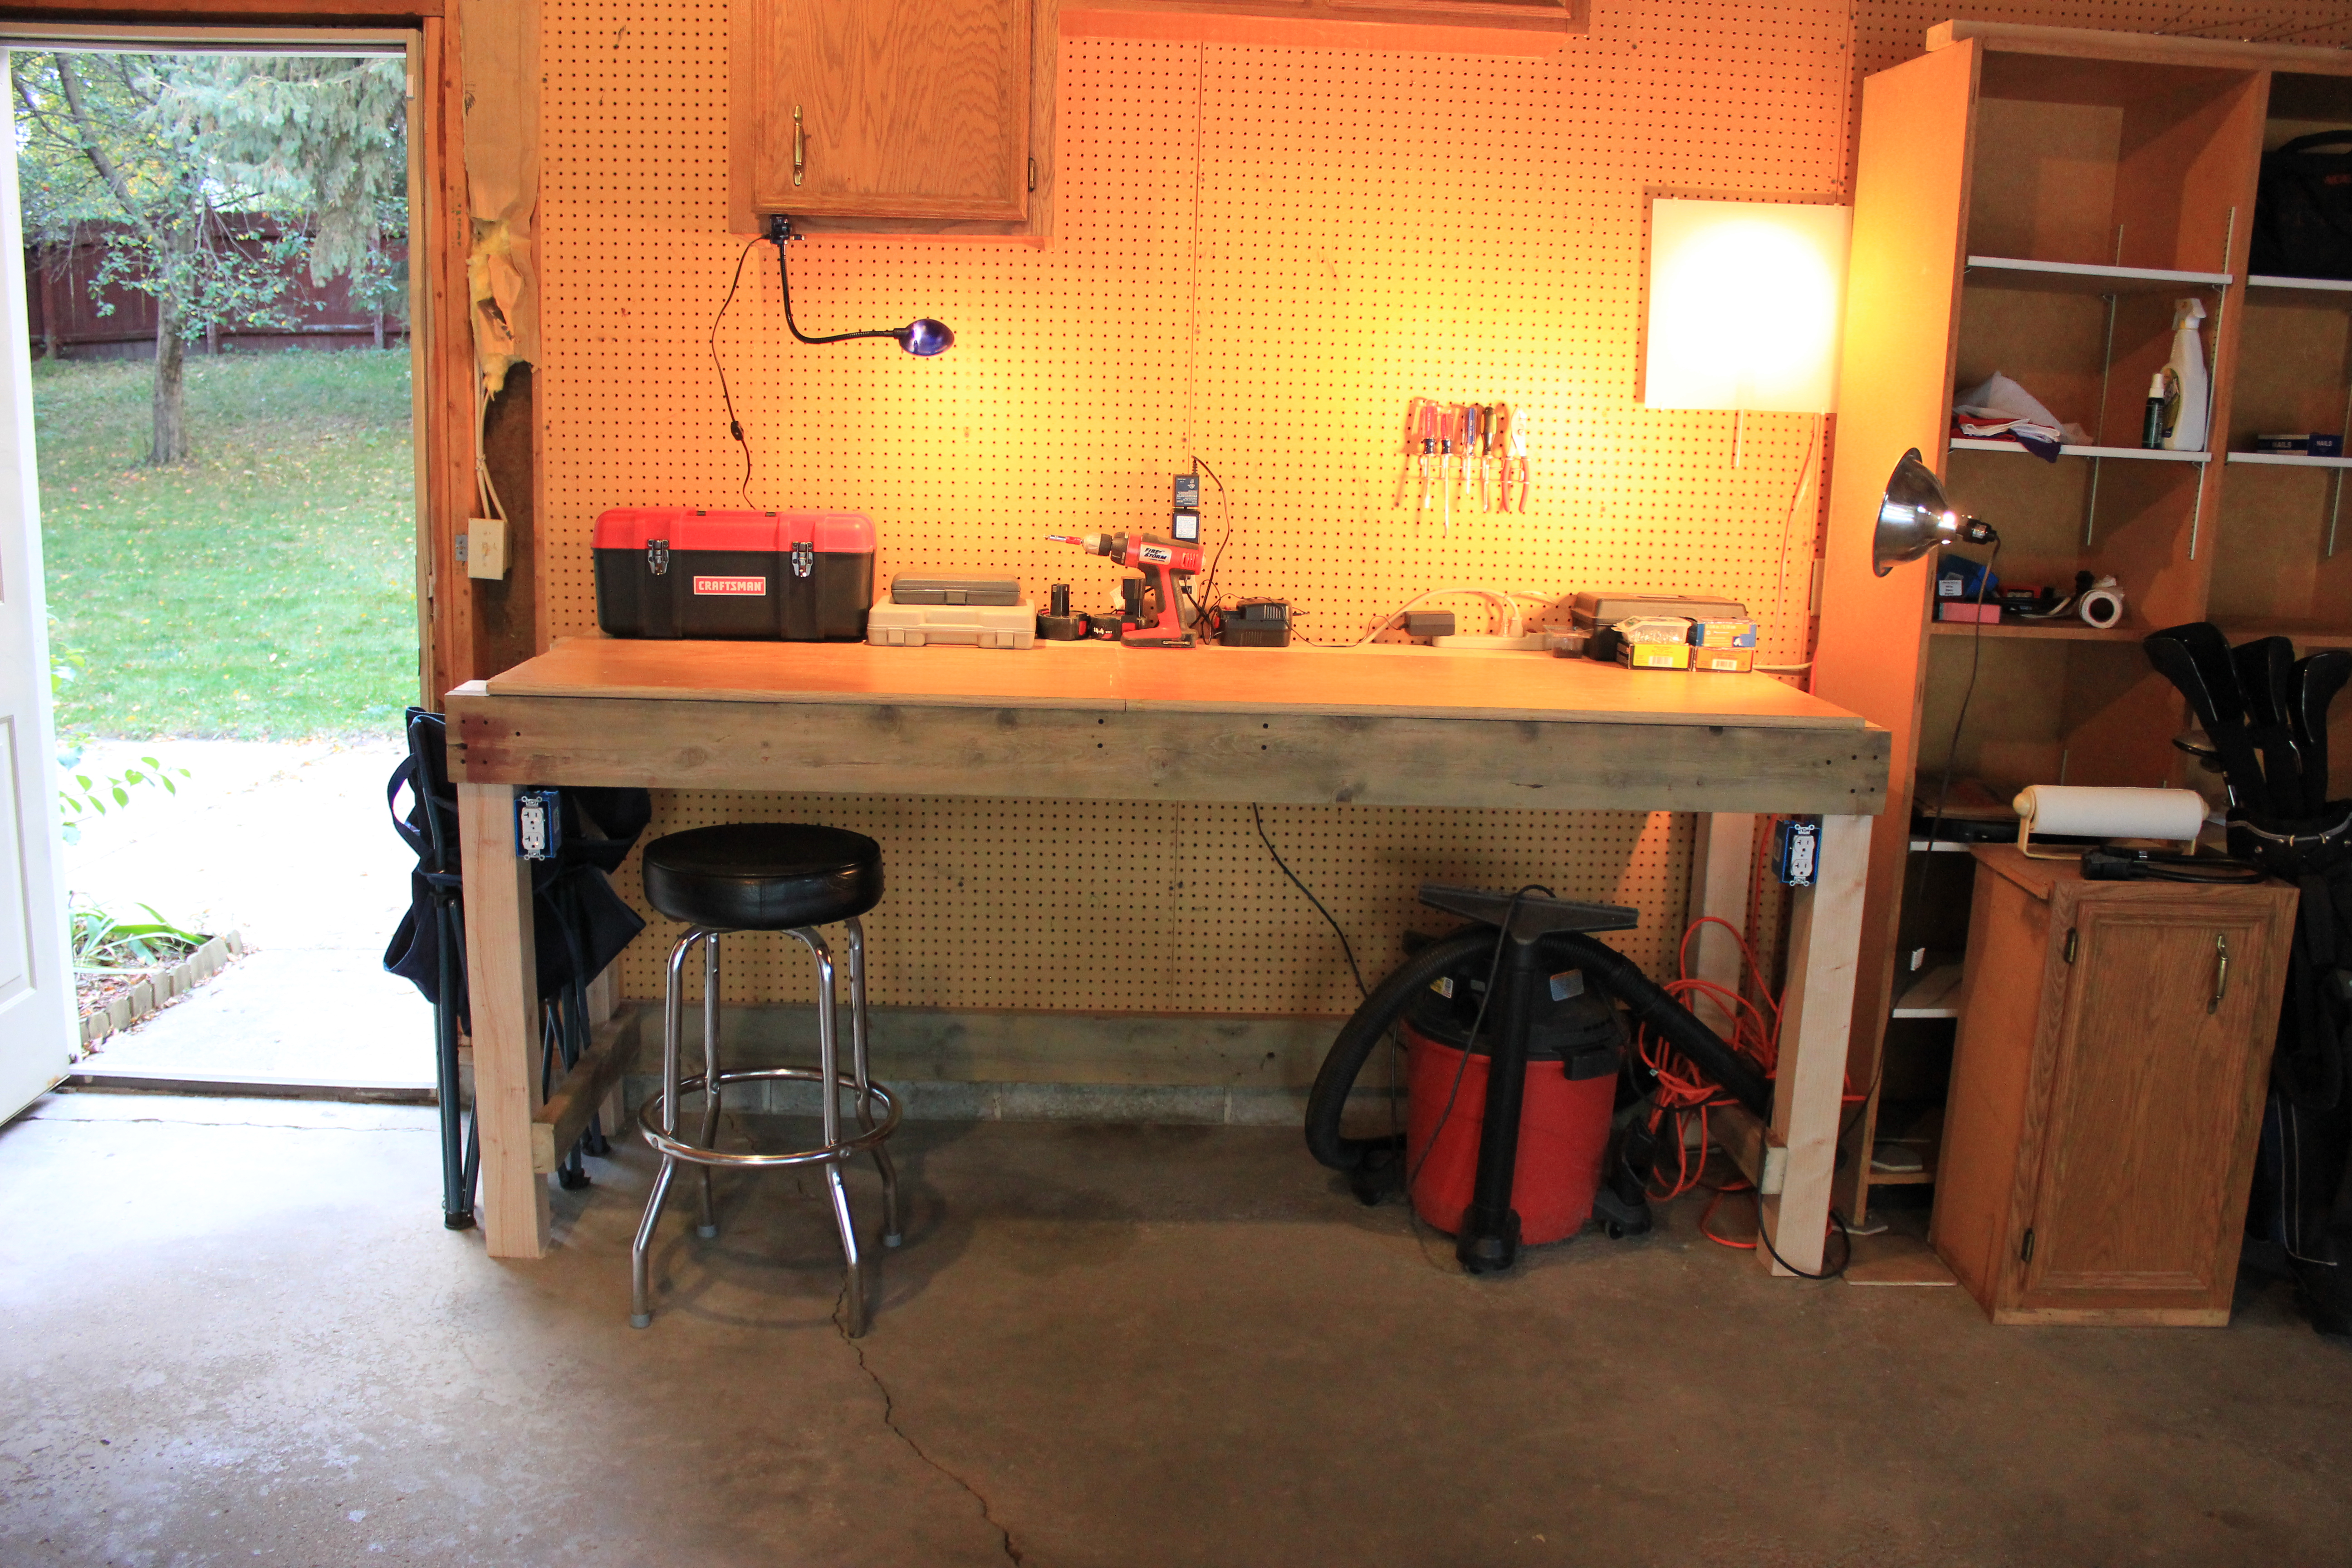
Pretty basic, but meets all my work-bench needs!
Just imagine all of the future projects that will be done here!
Sara was glad that I was able to use some of the excess lumber, and it was a good excuse to finally get the garage swept out, semi-organized and sprayed for bugs.
-Miike