We typically stick to home-related projects on this blog, but I decided to write this review on this page to avoid unnecessary spoilers to friends on social media. That said, if you have not yet seen “Star Wars: The Last Jedi,” you should probably not read this, as it does include spoilers.
CHILDHOOD INTRODUCTION TO STAR WARS
I’ve been a Star Wars fan since I was a little kid, but unlike many others, watched the original series in reverse. My parents rented “Return of the Jedi” when I was in elementary school and I immediately became fascinated by the franchise. I watched “The Empire Strikes Back” next, but our video rental store did not have a copy of “A New Hope.” I had to wait months or a year before watching it for the first time when it was randomly on television one day at my grandmother’s house It was a bizarre introduction to the story, but at that young age, I was not focused on the major plot, and was more captivated by the space battles and lightsabers. I also grew up on the series watching VHS tapes at home, and had to wait until the movies returned to theaters in 1997 to experience the Star Destroyer’s dramatic entrance at the beginning of Episode 4, along with many other moments meant to be seen in a theater. Oh, and I should mention that I ended up having just about every Star Wars toy that was created between 1993 and 1997.
PREQUEL TRILOGY
Episodes 1, 2 & 3 hit theaters when I was a teenager and I’ll admit I was a big fan when they were first in theaters. In the years since, many have criticized these movies, mainly for Jar Jar Binks, Anakin, overusing the green screen, the plot, and many other issues. While I do agree with some of these problems, I think overall, they did what they needed to for the series. They told the story of how Anakin Skywalker became Darth Vader. The movies also explained what the Clone Wars were all about for casual fans who did not bother to read fan-fiction. And the REALLY big thing this series did, was put a seed in our minds about Anakin Skywalker’s heritage and explained the Jedi’s prophecy about bringing balance to the force.
THE SEQUEL TRILOGY
What makes the new trilogy different from the prequels: fans truly do not know what happens in the end. I think that is what led to so much speculation about characters and plot after the 2015 release of “The Force Awakens.” I can’t tell you how many conversations I’ve had in the past two years with people, trying to figure out the origins of Snoke, or who Rey’s parents are, or the meaning of Kylo Ren killing Han Solo (and how he needed Han’s help doing it).
“THE LAST JEDI” — INITIAL THOUGHTS / THEORIES
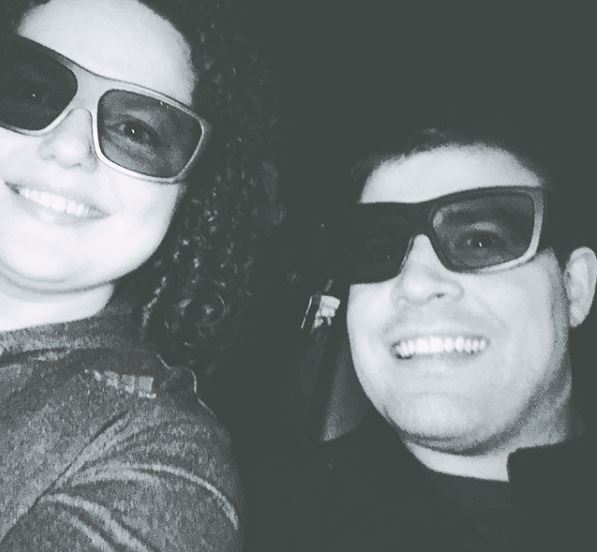
Sara and I saw Episode 8 on Friday and we left the theater not saying much at first. Like many other comments I have seen on social media, people said they just needed time to “take it all in,” or “think about what they just saw.” A lot happened in “The Last Jedi.” Luke dies, Snoke dies, Rey and Kylo Ren (Ben Solo) become connected, the rebellion is brought to the edge of destruction, we learn Maz Kanata did not die in the siege on her establishment in “The Force Awakens,” and I’m sure I will remember more after seeing it a second time. Overall, I liked the movie. I thought it was action-packed, funny, intense, not too slow, and entertaining. There were lots of parallels to original movies, made in a new and fun way. Just as we thought it was going to be a repeat of the “Empire” snow battle, we find out it’s actually a planet covered in salt. Just when we thought they would need to shut down a hyperspace tracker, like the tractor beam in “Episode 4,” we find out they actually get captured. There were also a ton of lines and themes repeated, but in a new and fresh way. I also enjoyed Yoda’s cameo and did think that the final chapter of Luke Skywalker was a fitting way to go. Overall, I do not think “The Last Jedi” will go down as my favorite in the franchise, but it was definitely satisfying.
Now, to the question of Rey’s parents. While it was addressed, I really do not think it is entirely true, or at the very least, is misleading. In the movie, Kylo Ren tells Rey that her parents were really just junk traders who sold their child and abandoned her, then later died. Kylo tells her he saw this in a vision. About an hour after we saw the movie together, Sara had an interesting theory about this and I think she is right. In the throne room, when Snoke was telling Rey that HE connected her with Kylo Ren, he also tells them that he planted visions in their heads. Sara told me she thinks that Snoke planted a fake vision in Kylo’s brain because he did not want the two to know Rey’s true story, and that they might be related in some way. I think her theory is true and am willing to take it a step further based on interactions I have seen between characters so far in Episodes 7 and 8. To have a great saga like Star Wars, with the Skywalker family playing such a crucial role in the entire thing, and have Rey truly come from nowhere, seems unlikely. If the original series taught us anything, Star Wars is all about family and the most obvious connections are staring you right in the face the whole time. While Snoke might have seen that Rey’s parents abandoned her, he may not have known the full truth. In Episode 7, Maz Kanata tells Rey “That lightsaber was Luke’s, and his father’s before him and now it calls to you!” Maz later says she has more to tell her, before Rey runs off and the First Order attacks, ending the conversation. We also learned that Maz Kanata has been around a VERY long time.
BIG PREDICTION FOR EPISODE 9:
I think Maz Kanata plays a critical role in the entire series and that we will learn something pretty extraordinary in the final chapter. Somebody that old, with as much knowledge as her, being introduced so late in the series can’t be a coincidence. I think we will learn that Maz has great control of the force, and that she may have either instructed midichlorians to impregnate Shmi Skywalker, leading to the birth of Anakin, or knew about it. I also think Rey’s mother (who was otherwise nobody) was impregnated in a similar fashion. Boom! Mind blown? Think about it. If it weren’t for Qui-Gon Jinn, Anakin would have gone unnoticed. I think the same thing happened to Rey. To bring balance to the force, you need darkness and light. And as Luke said, the force existed before Jedi and Sith, and it will exist without them. I think the Skywalker family fate was meant to be 1/2 of this mission to bring balance. I think Rey’s family fate was meant to complete the other half of the equation. I think Luke Skywalker scaring Ben Solo into becoming Kylo Ren started a chain of events, where Kylo unconsciously knows he needs to “go dark” but can’t do it alone. There IS still light in him, and this is why he needed help killing his father. On the opposite end of the spectrum, there IS still dark in Rey, as we saw during her visit to Luke’s island, although she unconsciously knows she needs to “go light.” I think in Episode 9, Rey will do something dramatic to “go light,” learn about her origins from Maz Kanata, then somehow, together with Kylo Ren, bring balance to the force. (maybe have a “light/dark force balanced” baby together?)
OTHER PREDICTIONS FOR EPISODE 9:
—Benicio Del Toro will return and war profiteers will become the true target of both the Rebellion and the First Order. Bringing an end to Star Wars means ending the source of the weapons.
–Leia’s storyline will be resolved somehow, after the sad passing of Carrie Fischer. (Disney might use CGI for a brief encounter, as they did to bring Peter Kushing back as Grand Moff Tarkin in “Rogue One.”
–Another cute animal will be introduced for Disney to sell more toys.
QUESTIONS THAT REMAIN UNANSWERED IN EPISODE 8:
–Who was Snoke? To have such a large presence such a short time after “Return of the Jedi” and never be mentioned in any earlier works seems bizarre.
–Did Chewbacca end up eating one of the Porgs?


