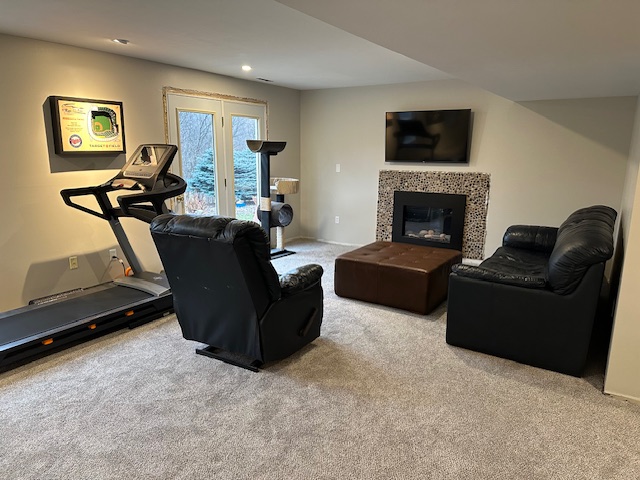
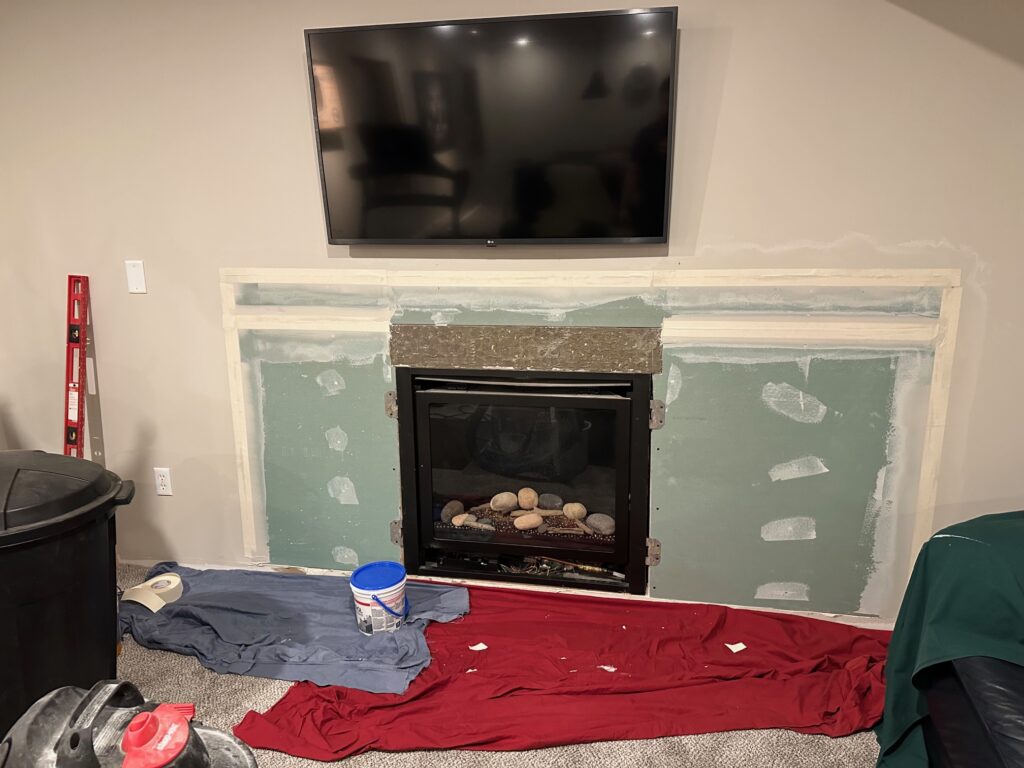
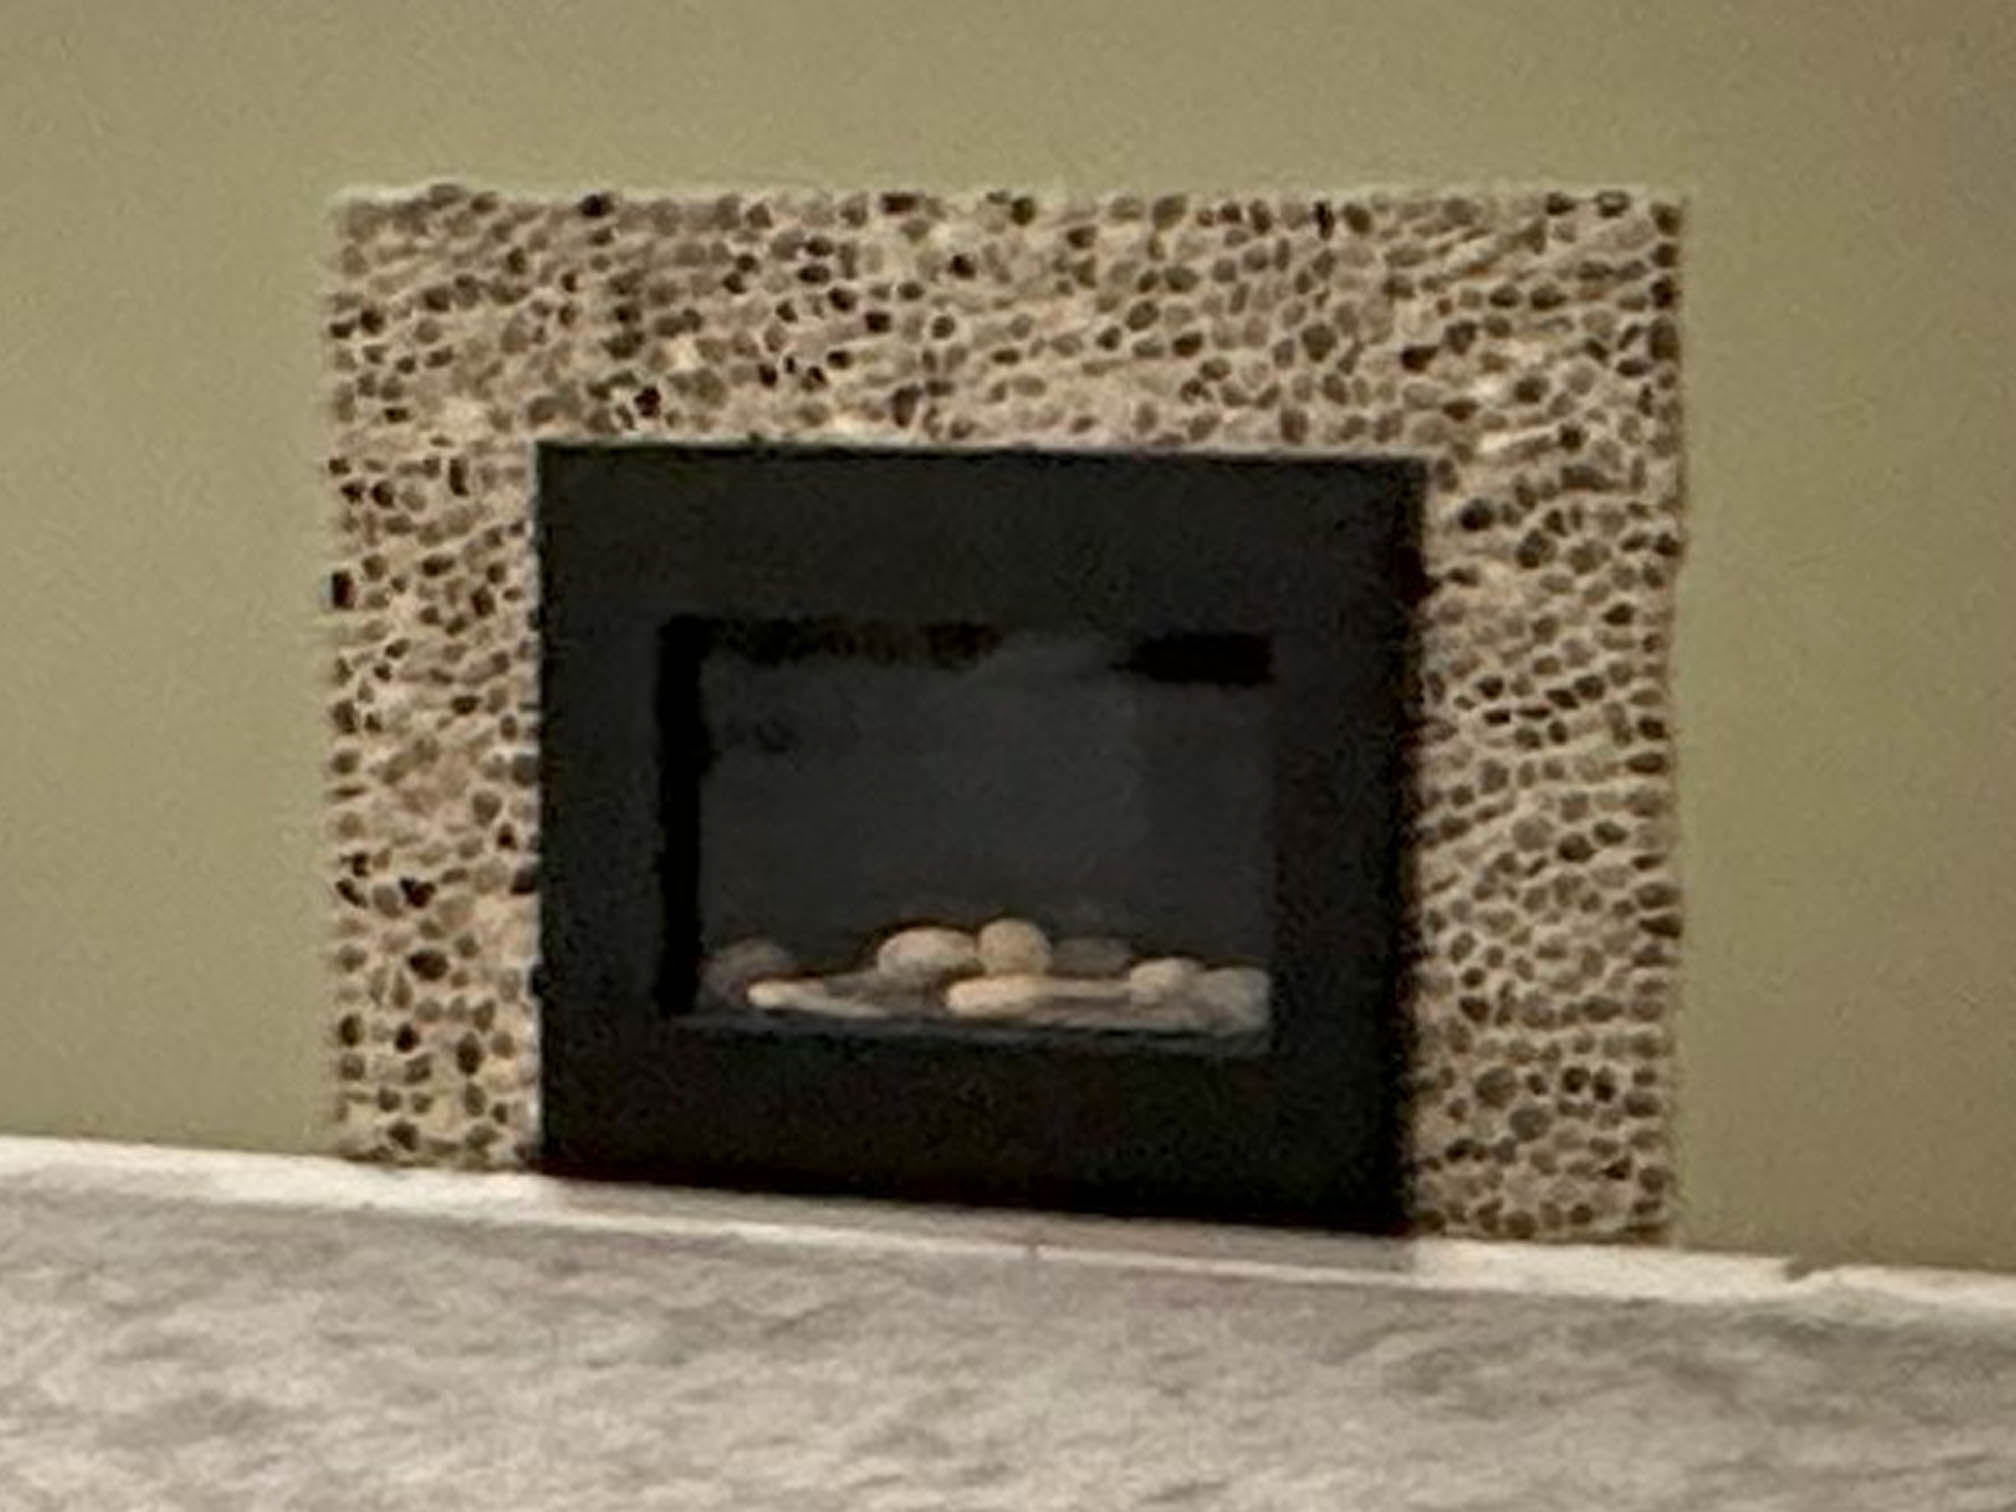
This project was one of the finishing touches of our basement living room renovation project, which also included removing the popcorn ceiling. As shown below, the fireplace began with a very different look, which we described as something you’d expect to see in The Flintstones.
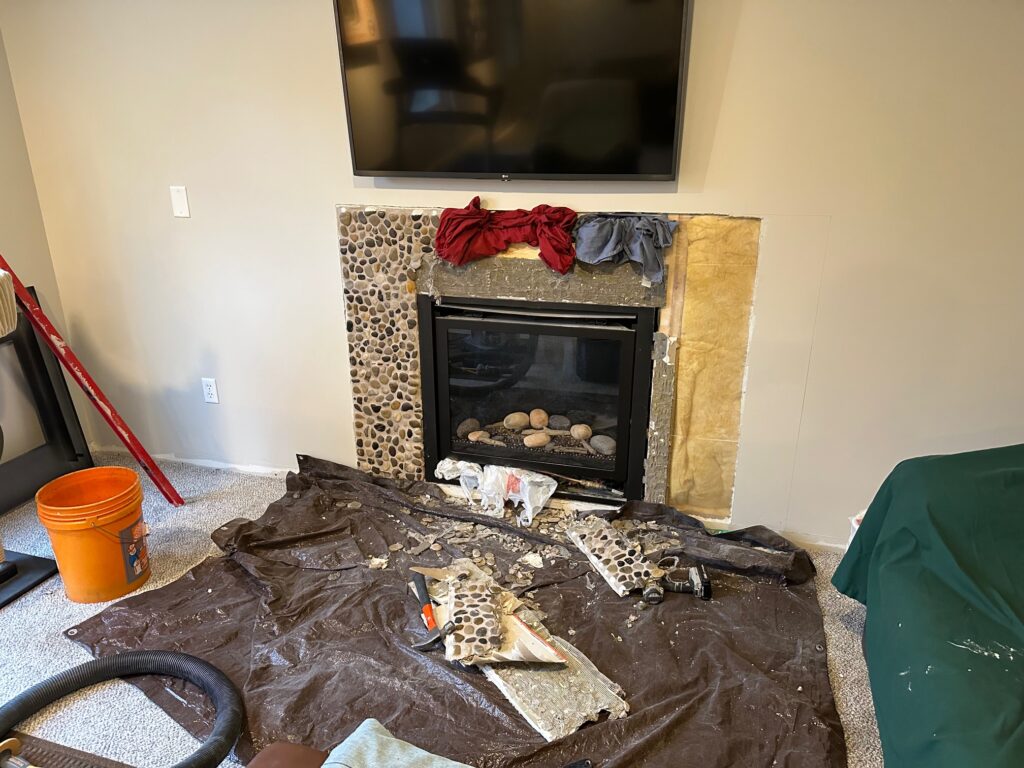
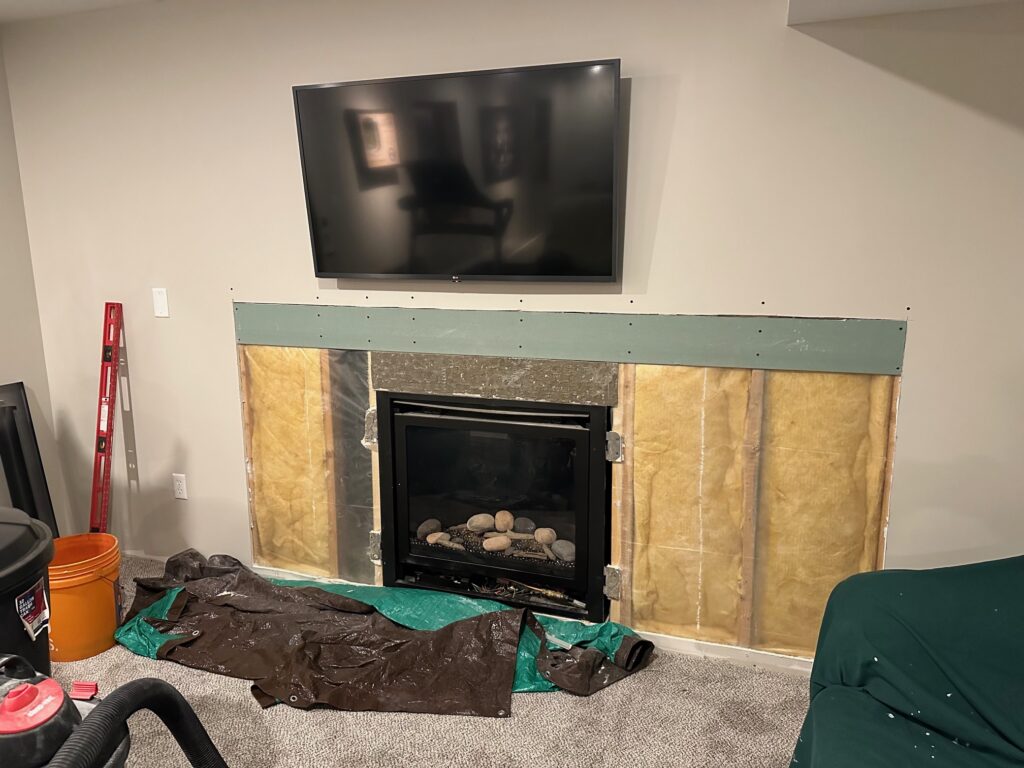
I somehow found a way to make demolition a lot harder than it needed to be. How did I do this? I started by plucking individual stones from the wall, thinking I could preserve the drywall. This turned out to be really difficult. Stones weren’t coming off very easily. After chiseling about 2 dozen rocks from the wall over the course of an hour, I ended up cutting the drywall to remove the rest of the stones. This meant replacing the drywall, but saved me a ton of time!
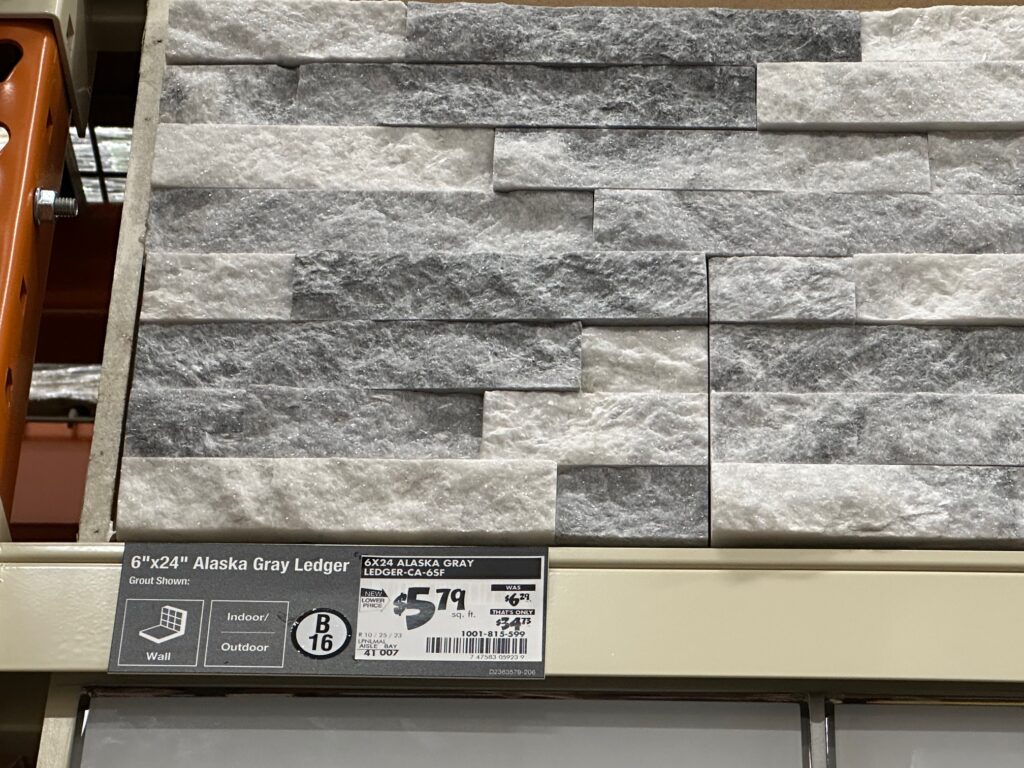
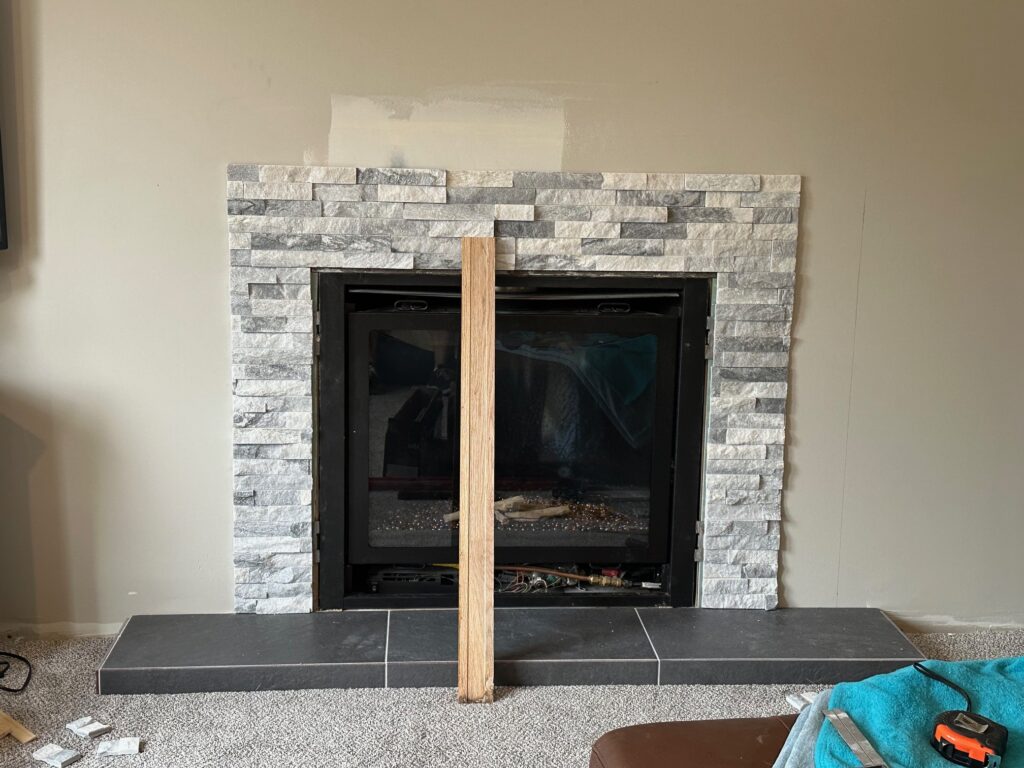
We found our new tiles at Home Depot.
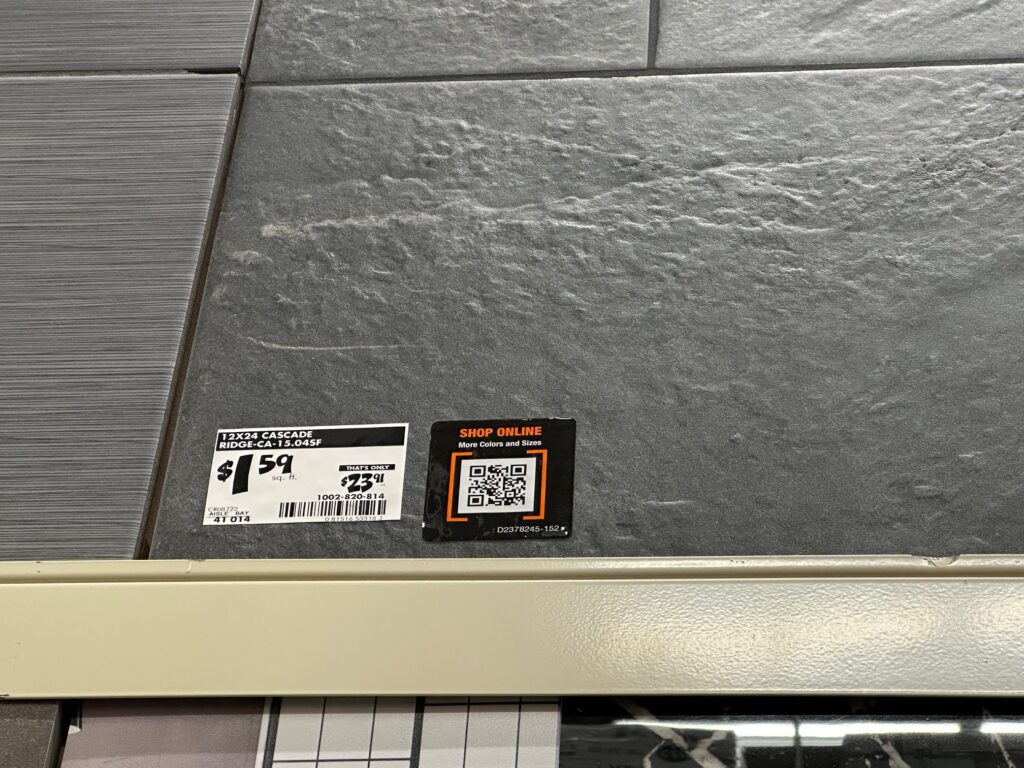
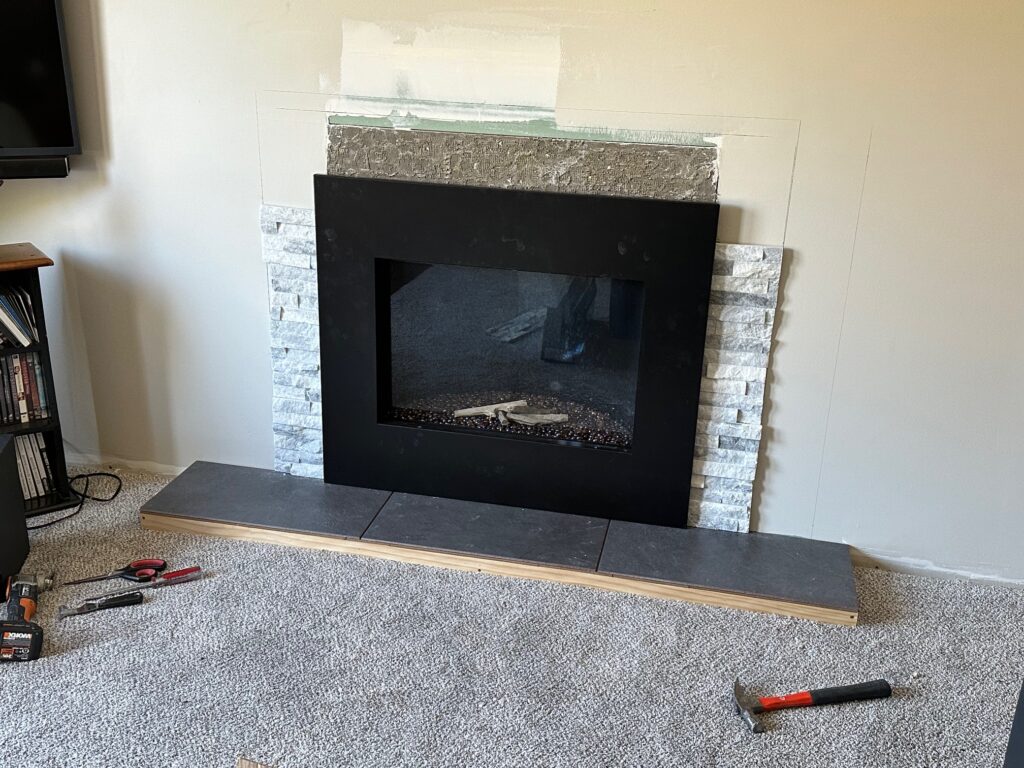
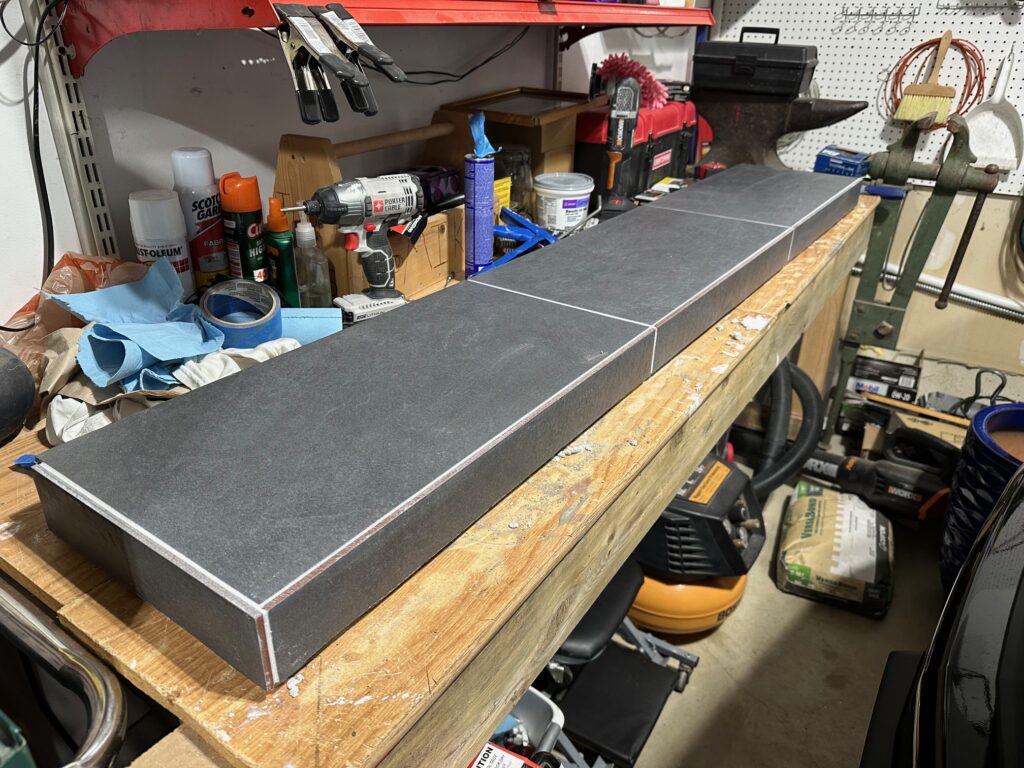
In addition to updating the fireplace surround, we also built an elevated slate hearth. I cut out a small section of carpet and put the tiles on a grid of 2x4s.
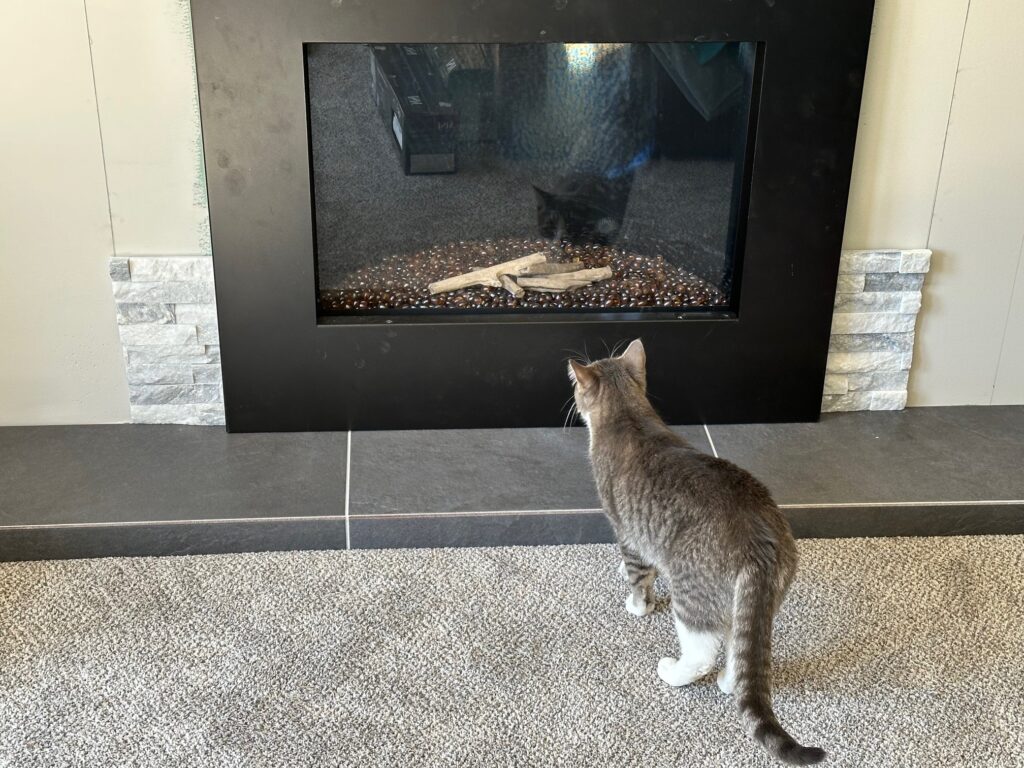
Gus supervised the progress
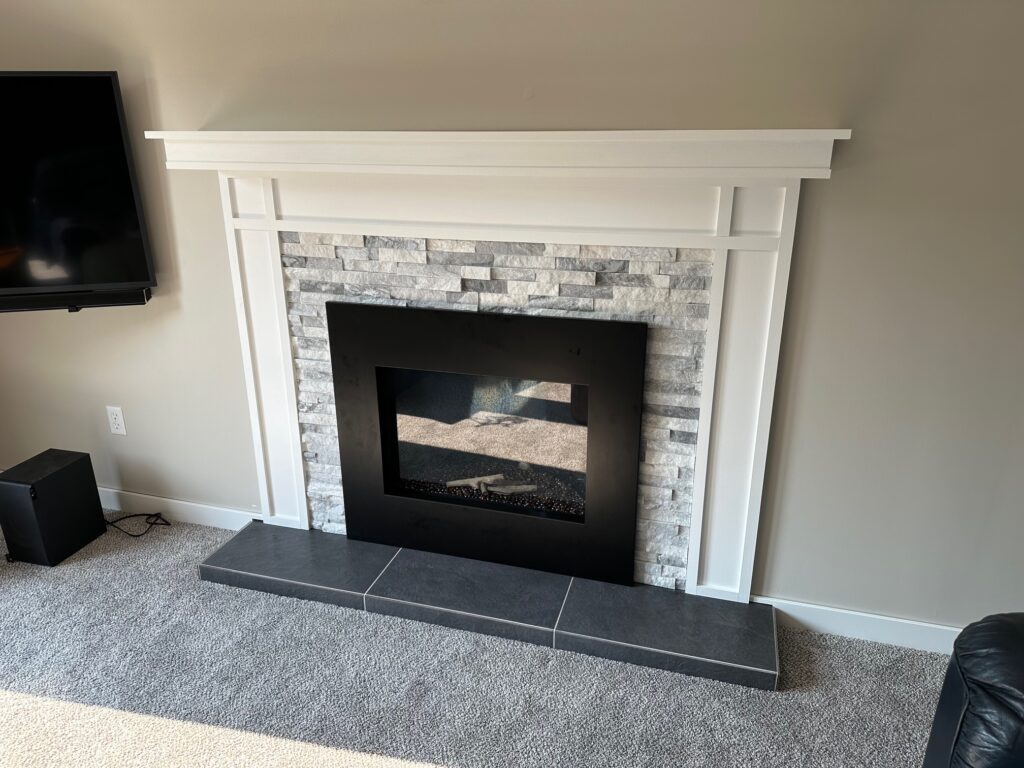
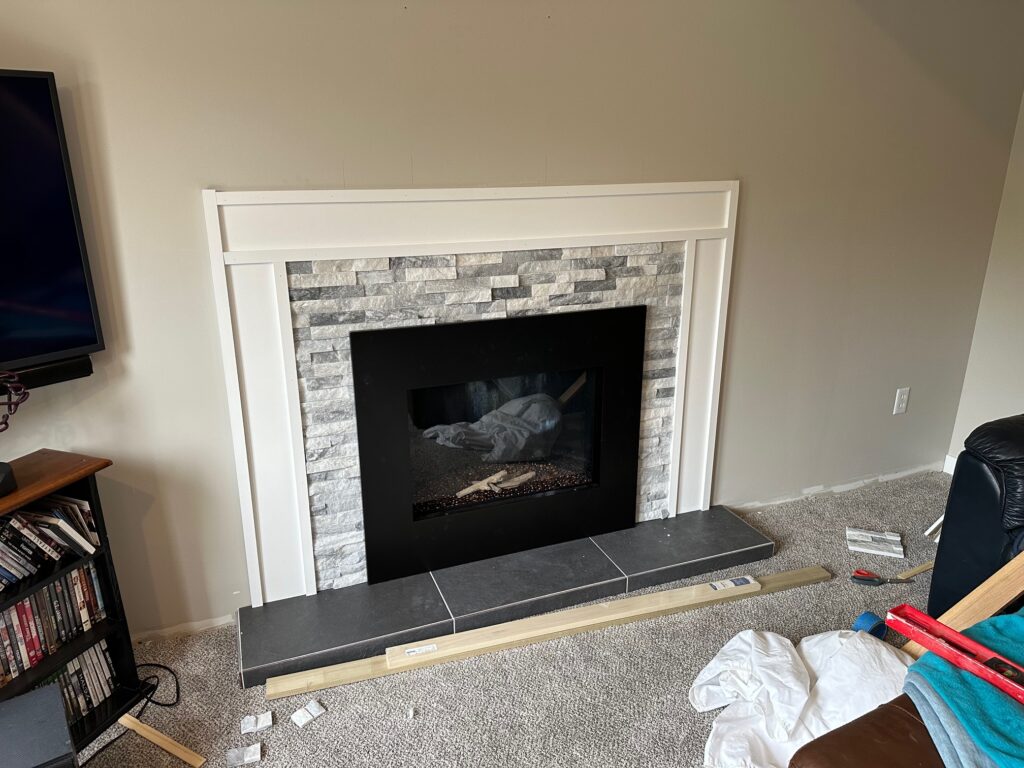
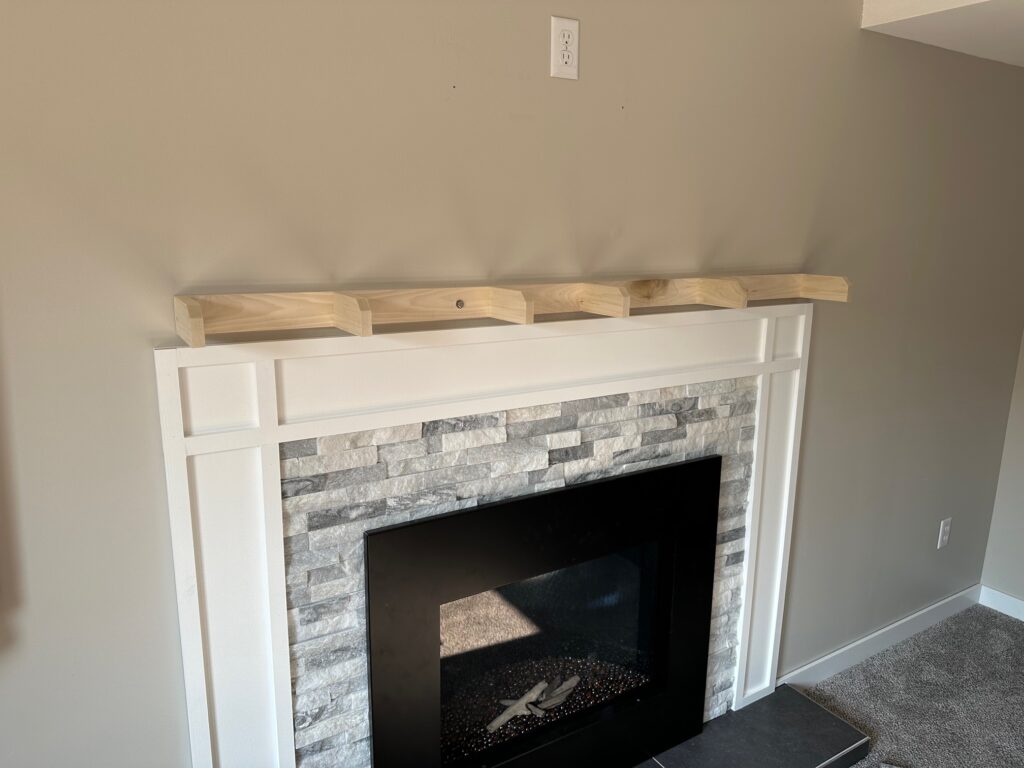
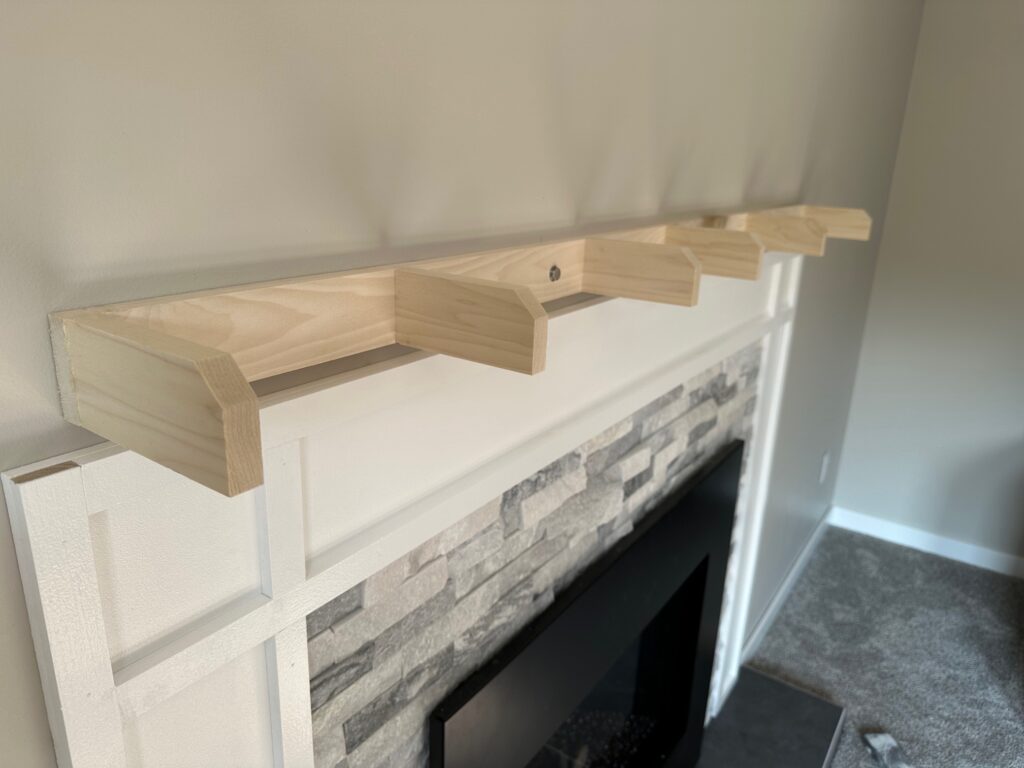
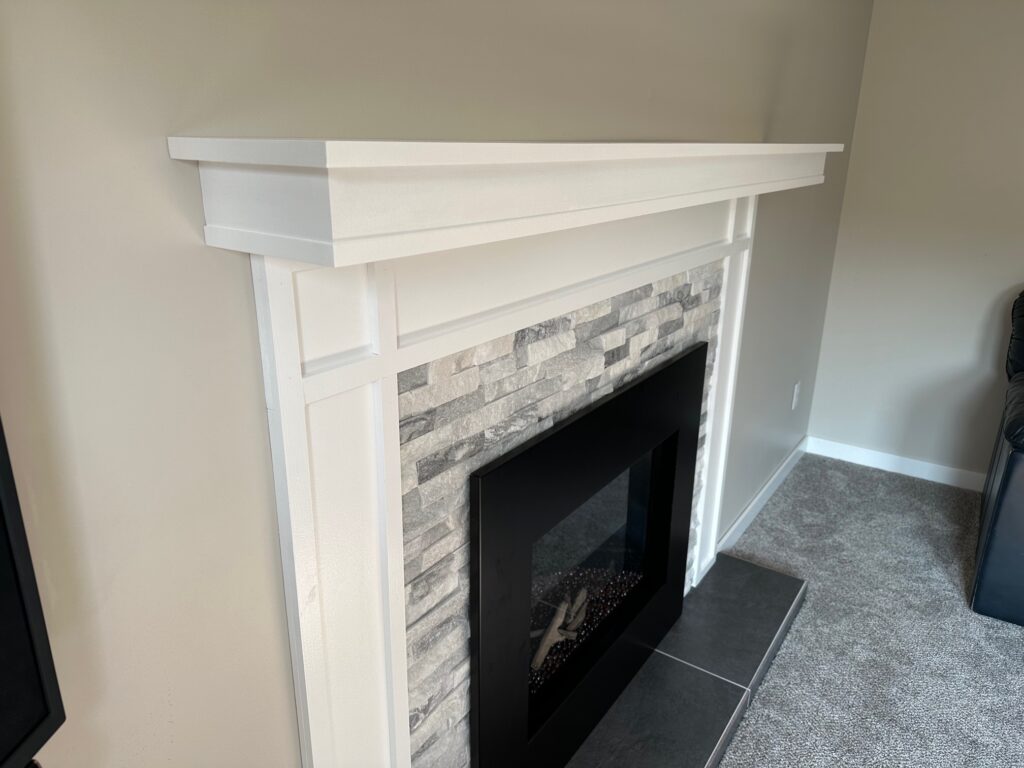
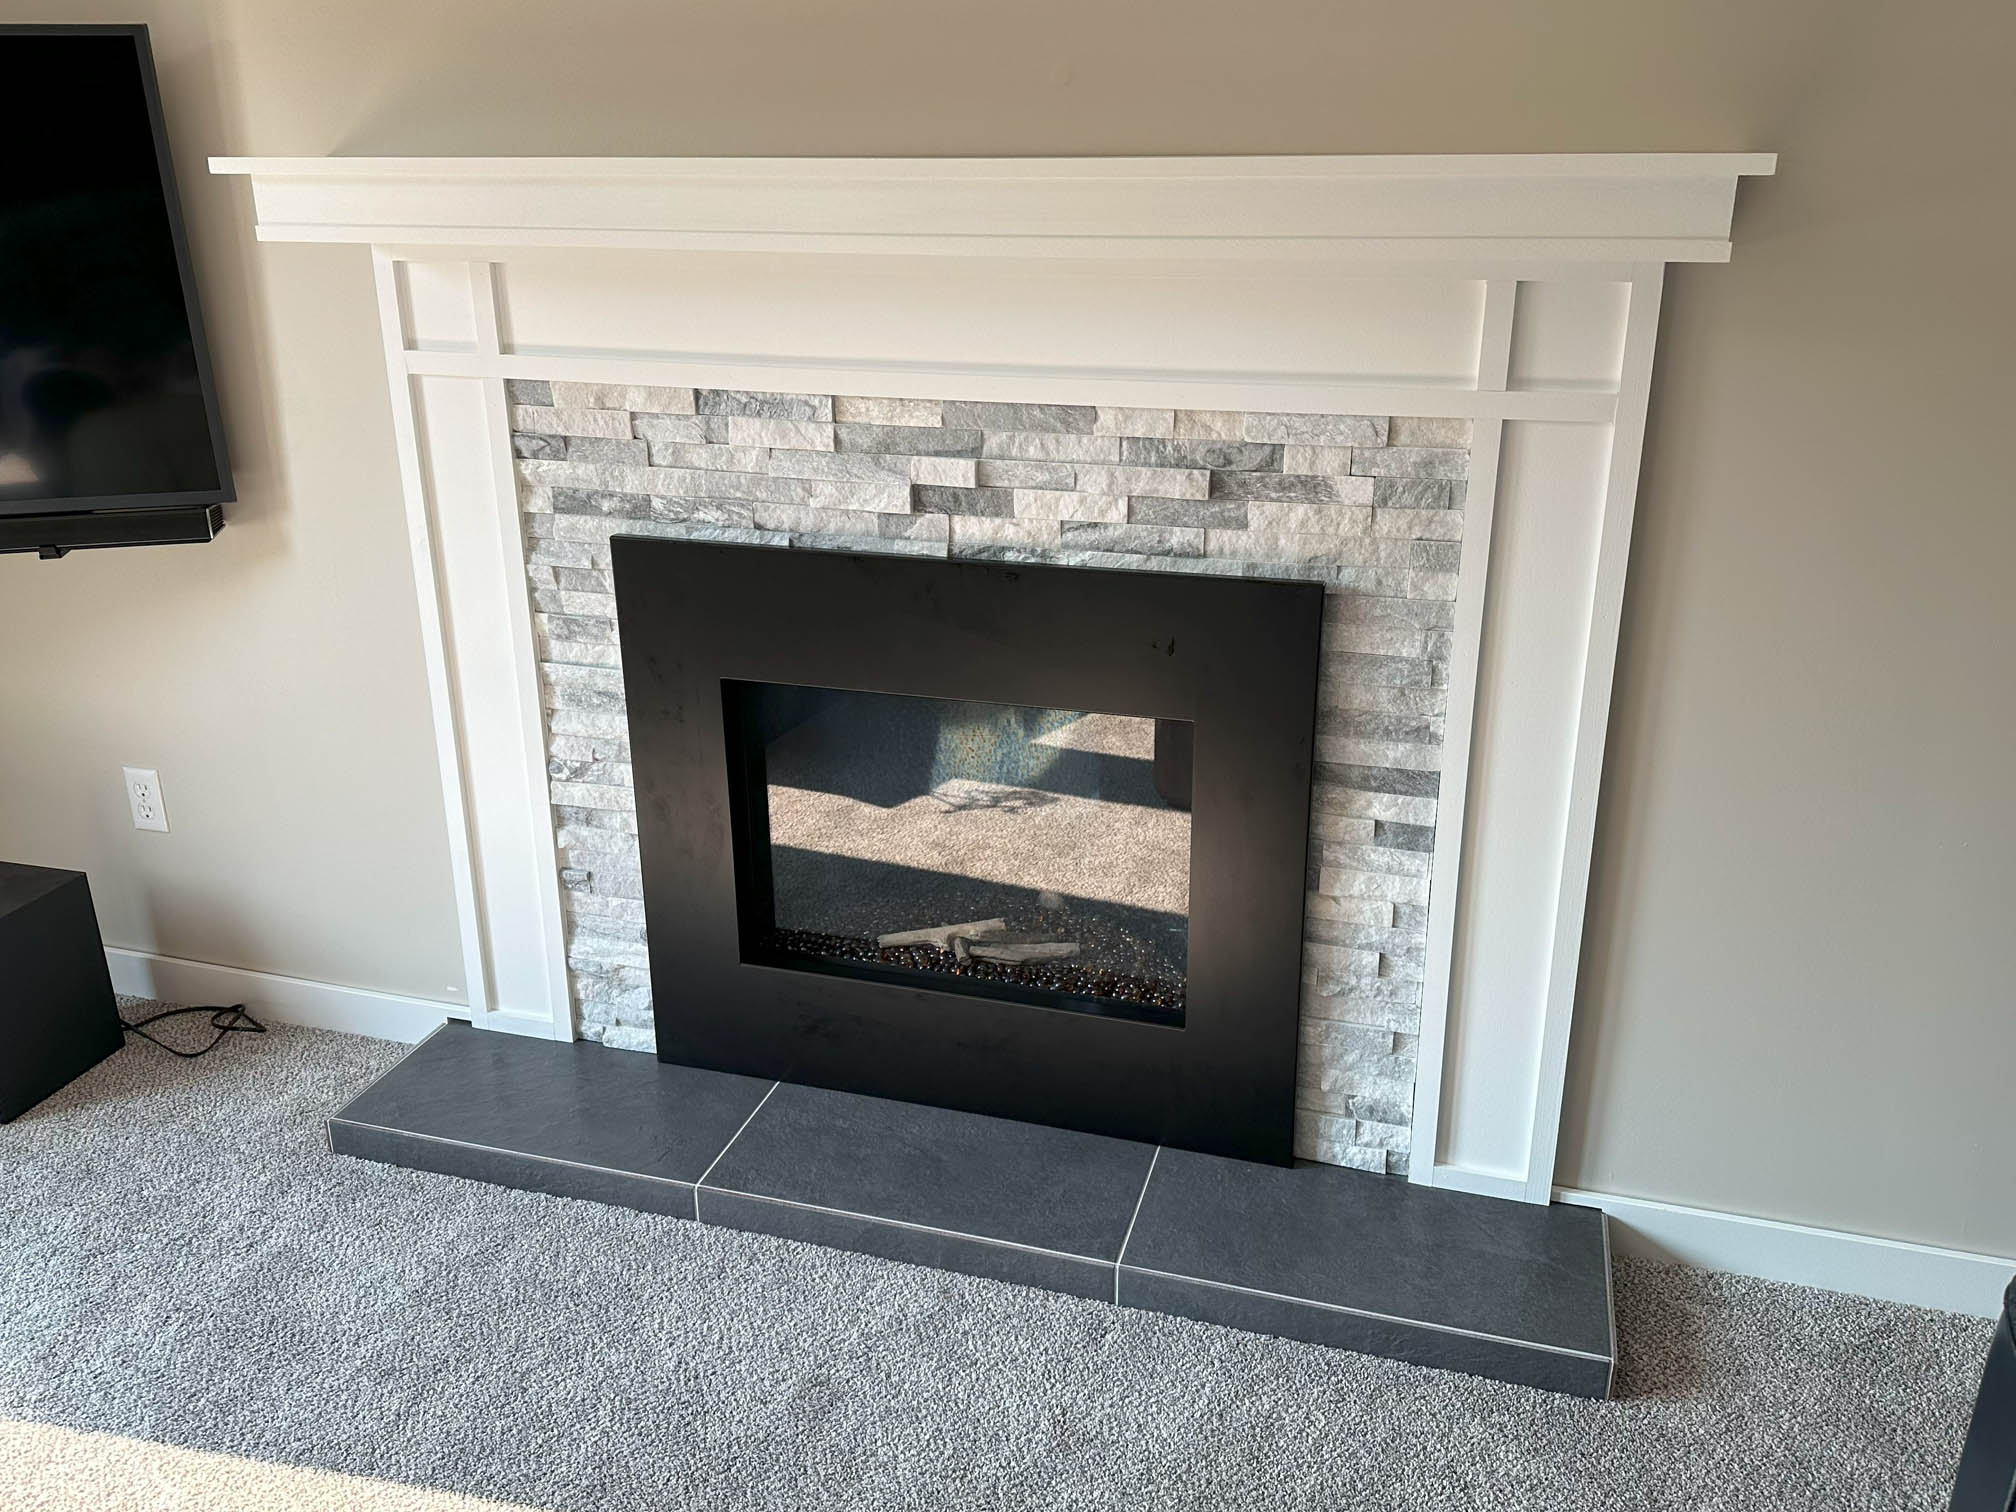
With the masonry finished, we completed the project with a mantel.
We love how much this improved the space! Thanks for reading! -Mike
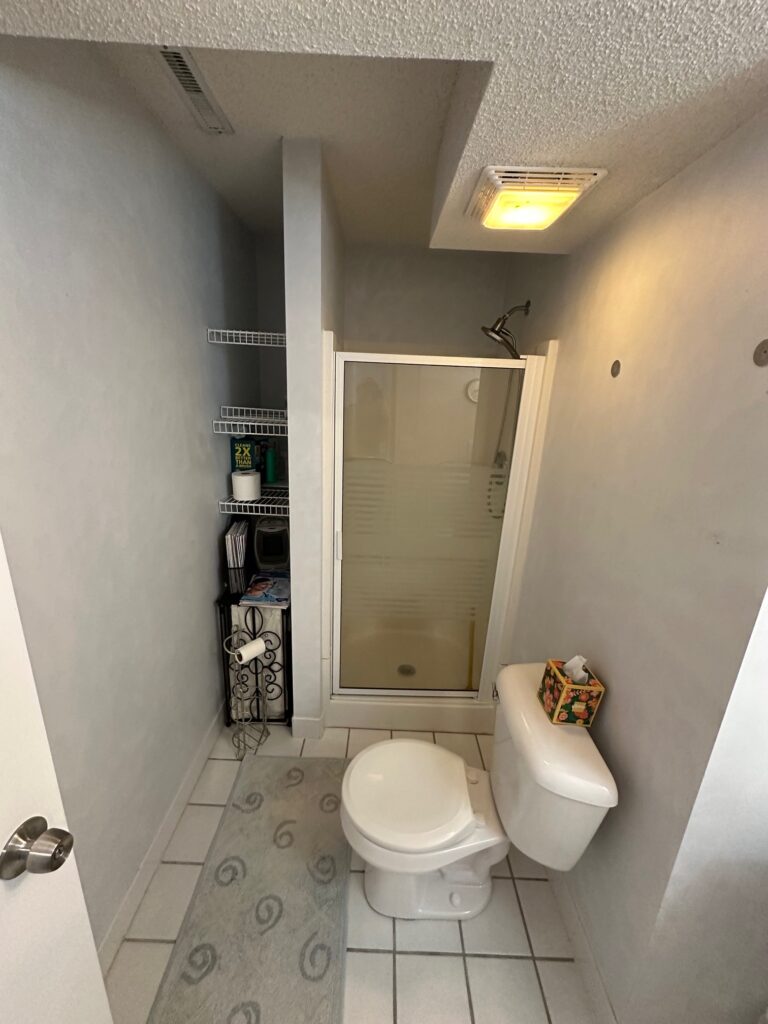
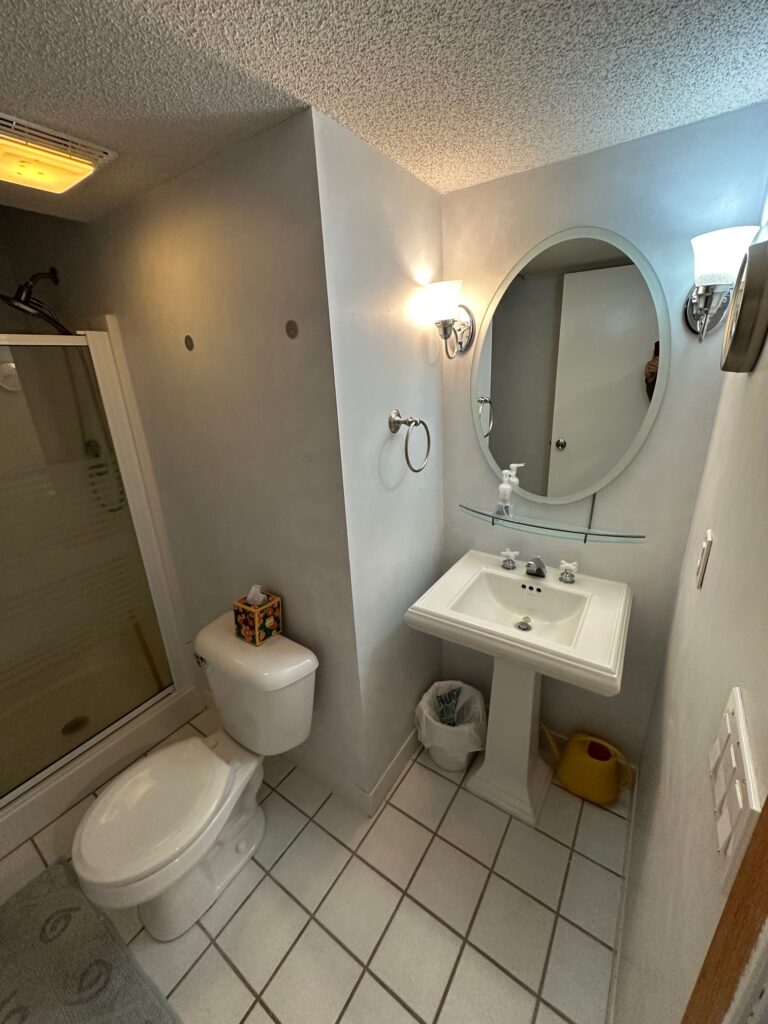
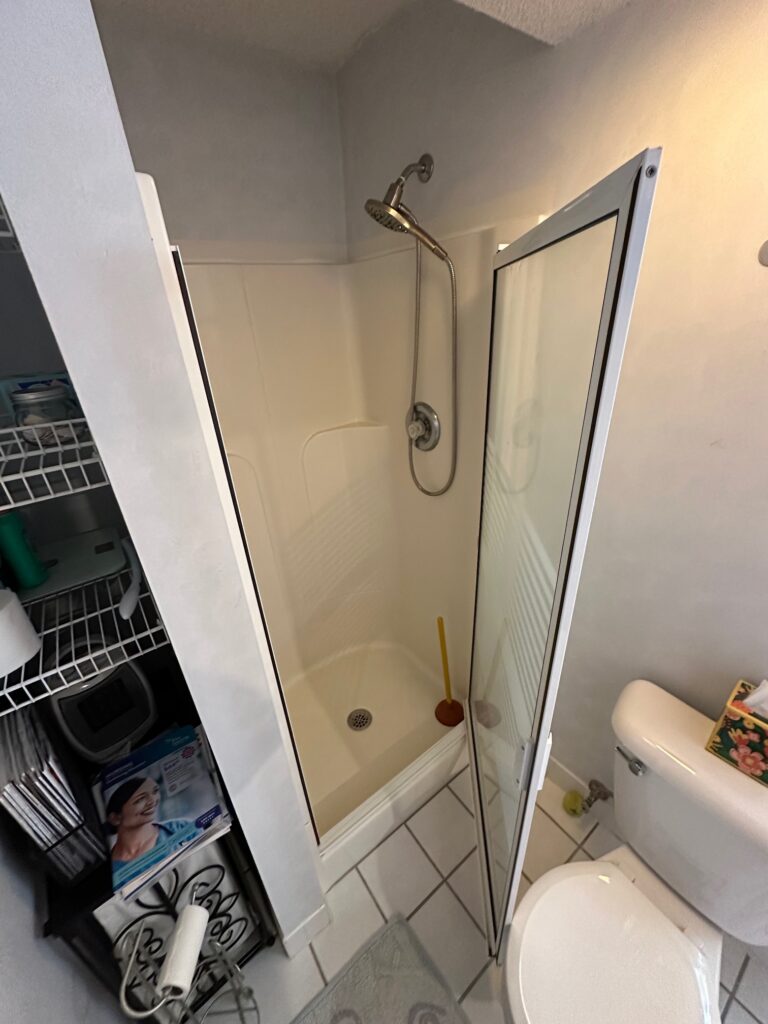
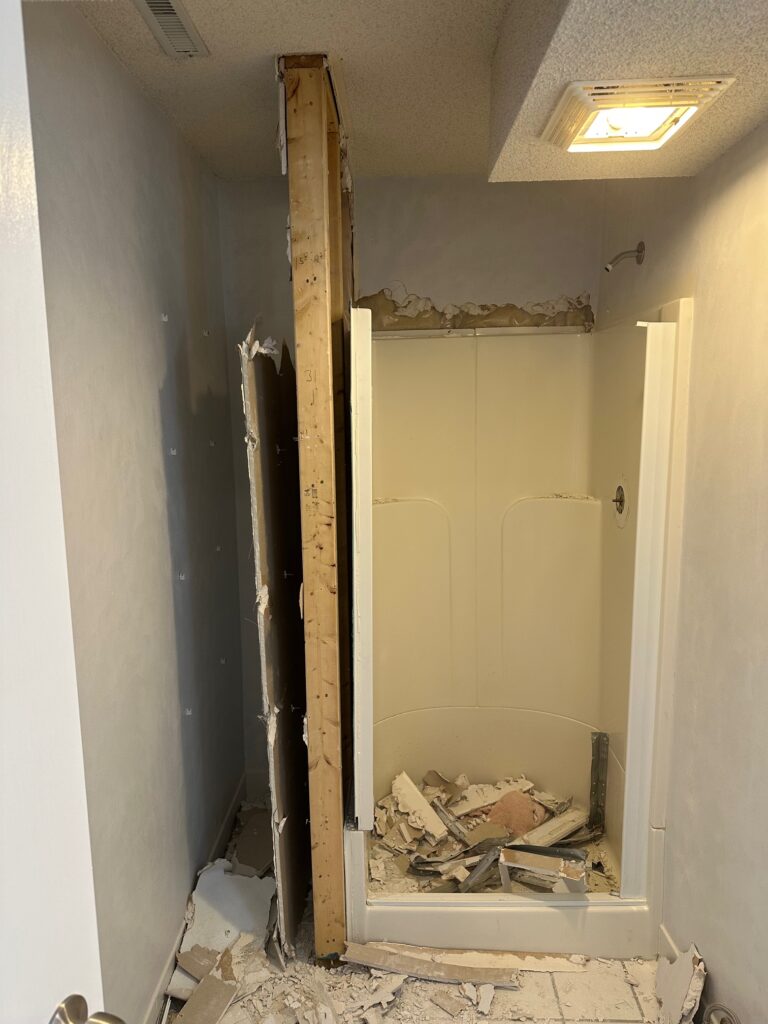
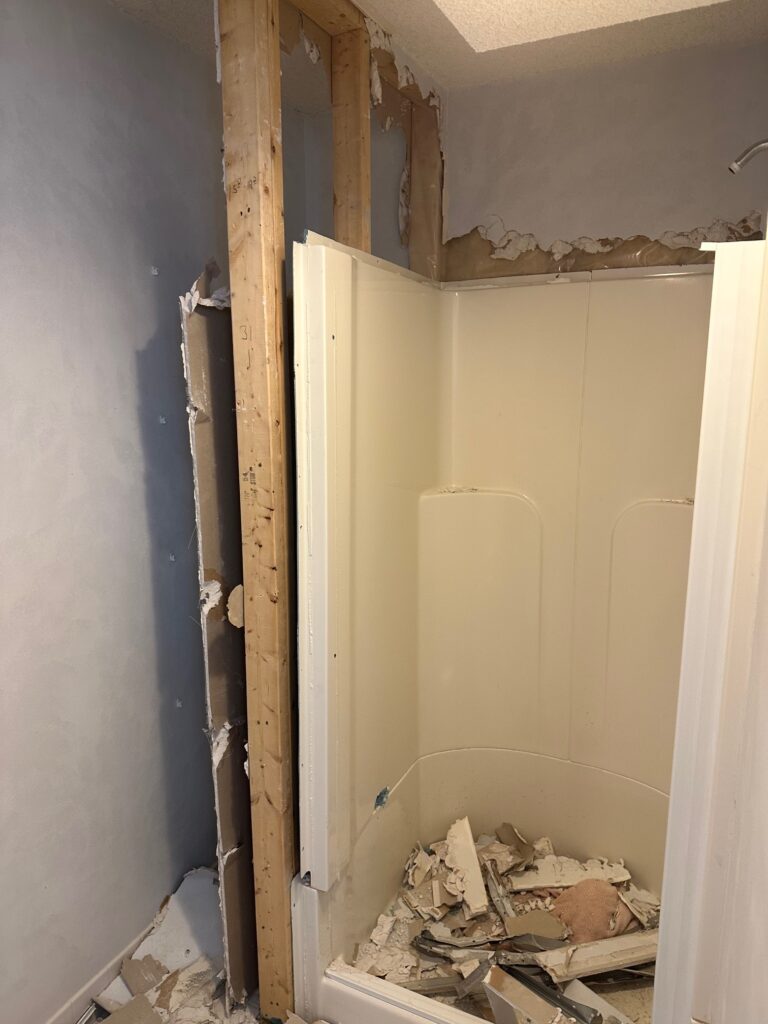
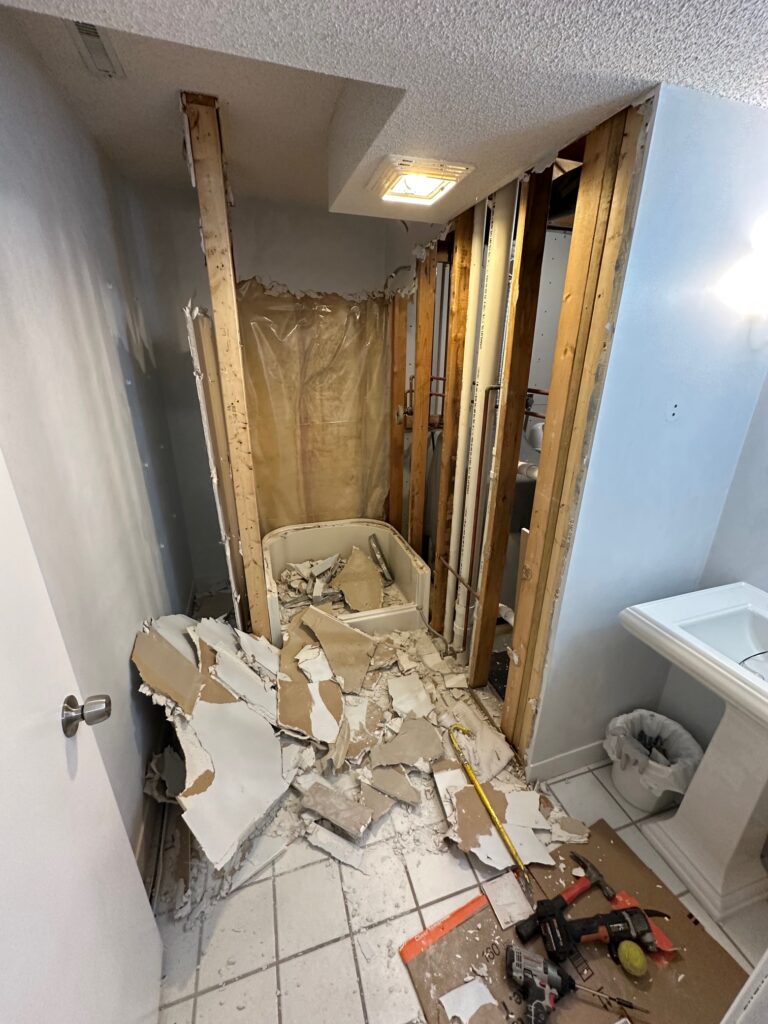
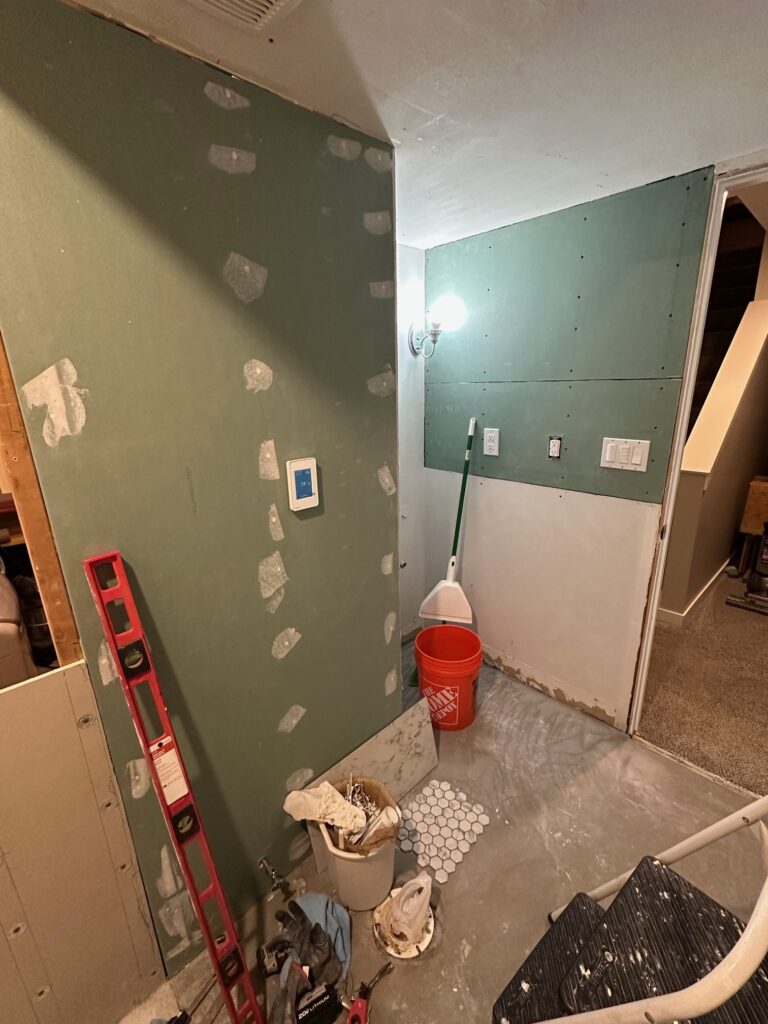
Welcome to our basement bathroom (currently a construction zone). We’re really proud of the progress so far as we make some much-needed improvements. Before all of this work, the bathroom had been the pinnacle of 1990s design, with its popcorn ceiling, ceramic sink and builder’s grade ammenities. It also had several bizarre features including deep but narrow shelves, and an unnecessarily small shower with a door that couldn’t fully swing open because there was a toilet in its path.
Like all home improvement projects, I have to wait to grab the hammer until I’ve answered two basic questions: 1. Do we have the money? 2. Do we have the time and energy? In this case, we didn’t necessarily have the money but with winter on the horizon I did have plenty of time and energy to spend working on something indoors. One December afternoon, I made the decision to get to work.
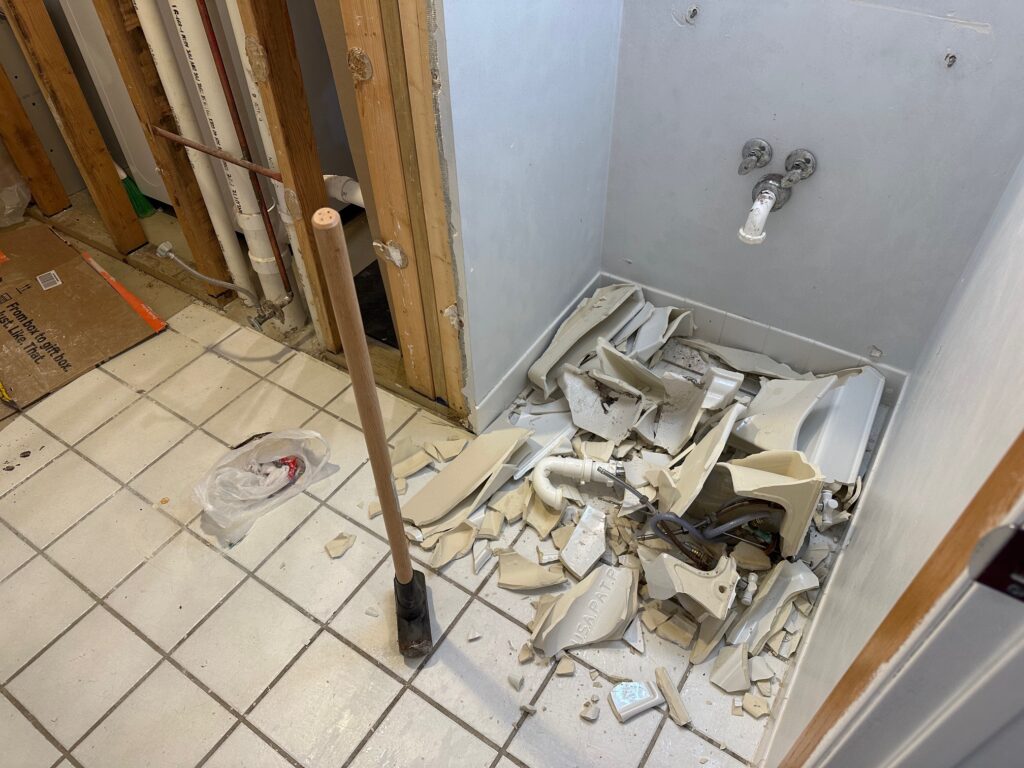
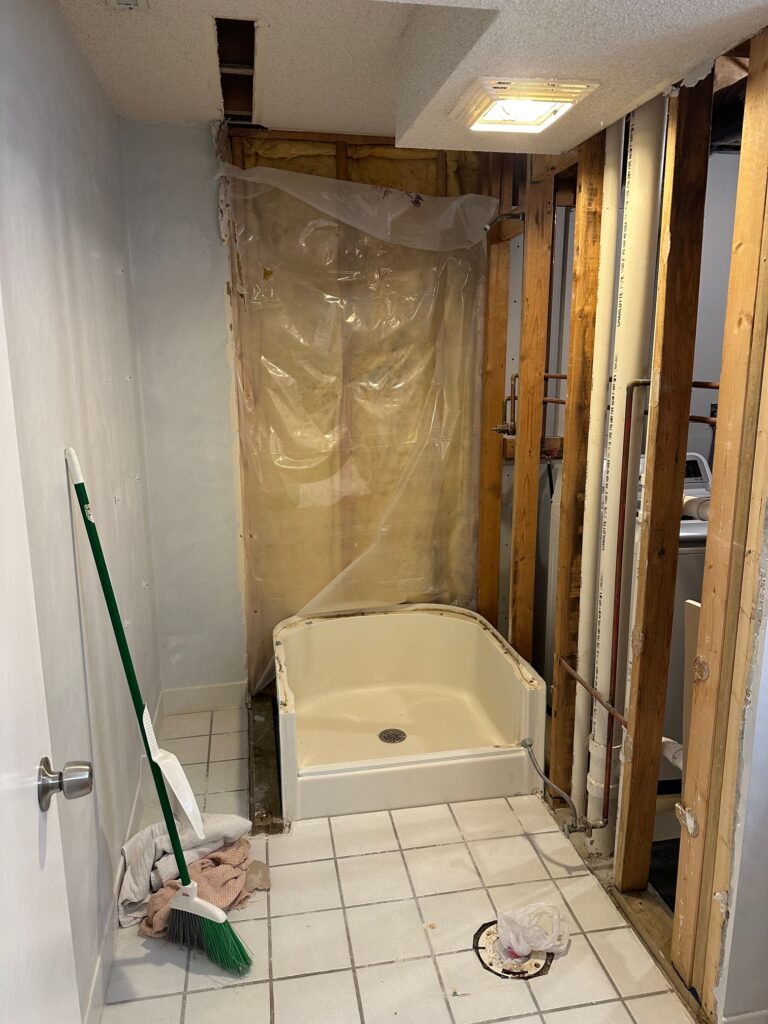
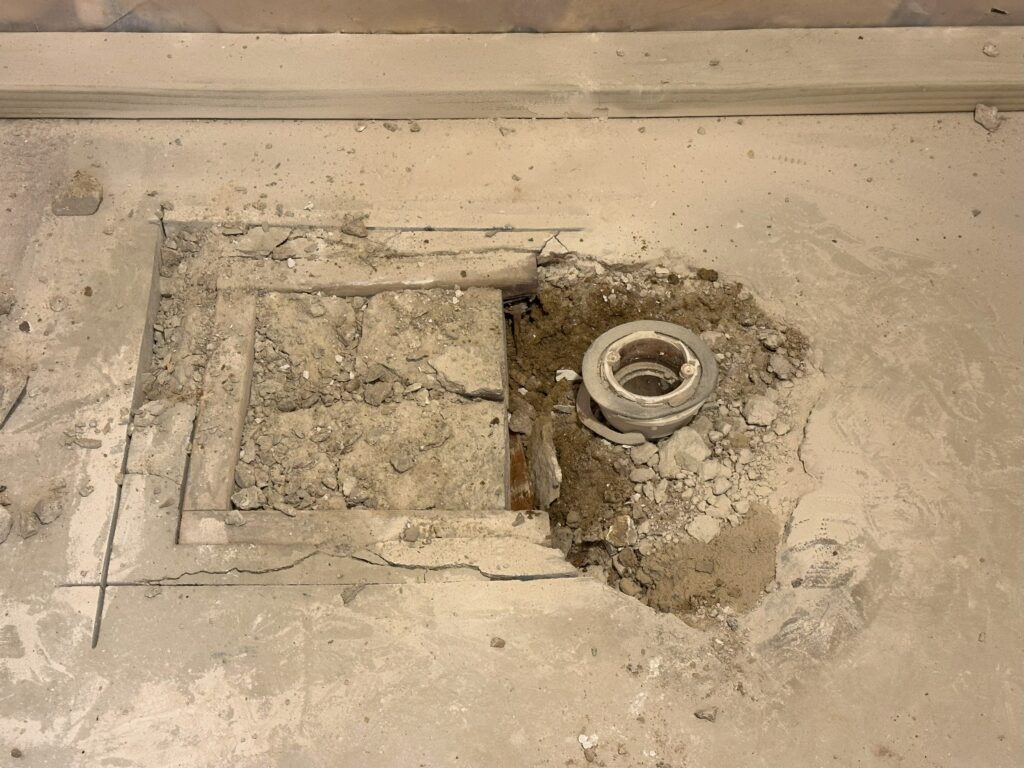
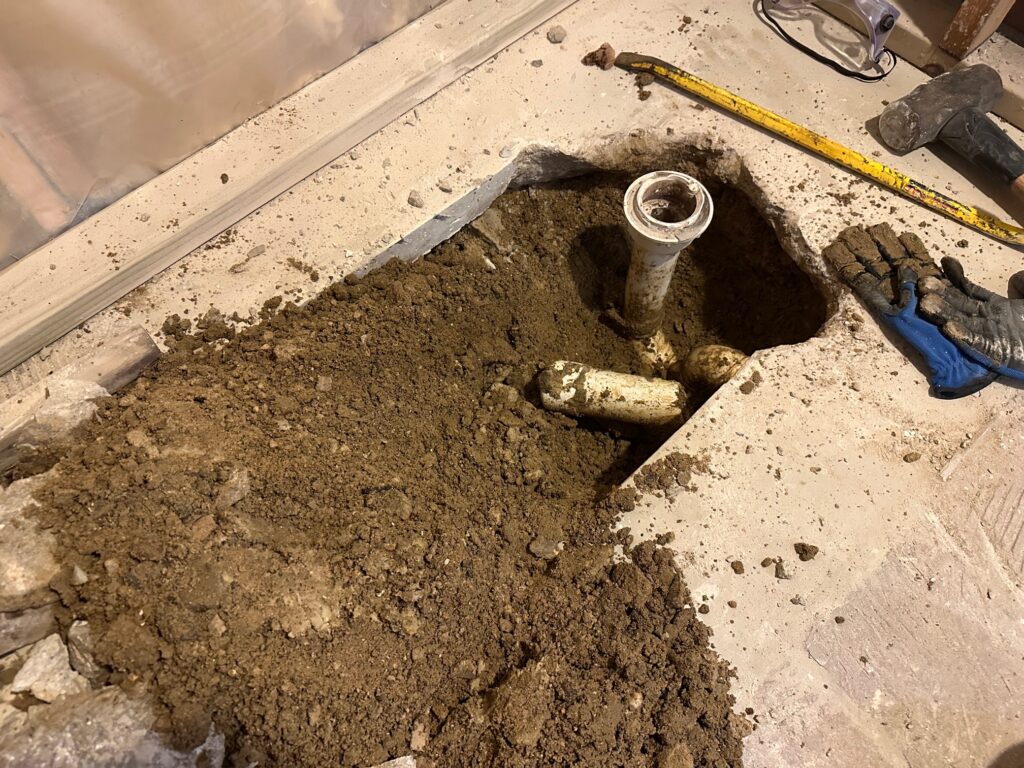
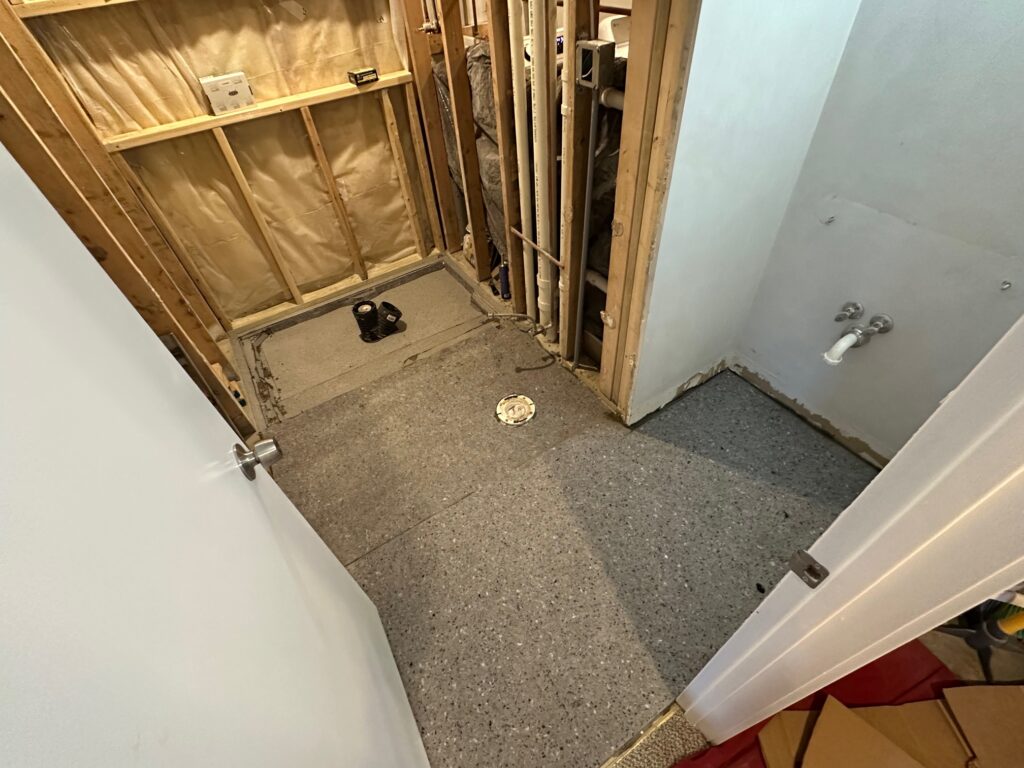
After the satisfying experience of taking a sledge to ceramic, and the more strenuous chore of removing the shower, my next task was to physically move the location of the shower drain pipe. I did this because we wanted the new shower to take up the entire end of the room with the drain centrally located. We believe this was how the house was originally planned, because the foundation had a curious square spot that had been repaired exactly where we wanted the drain.
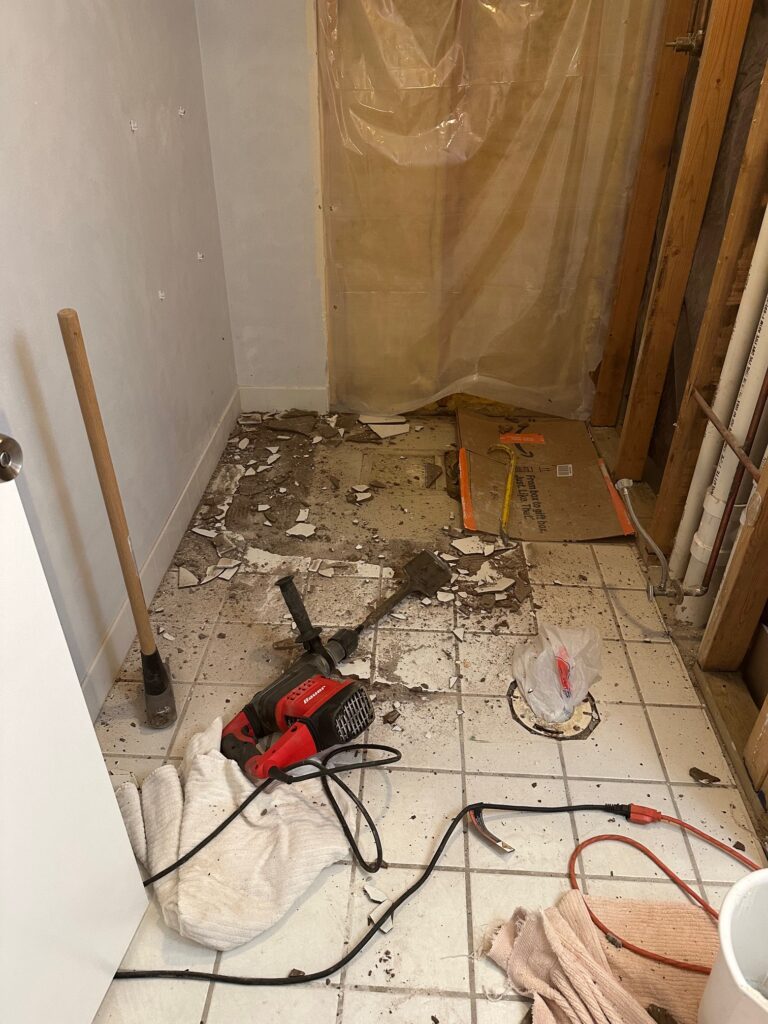
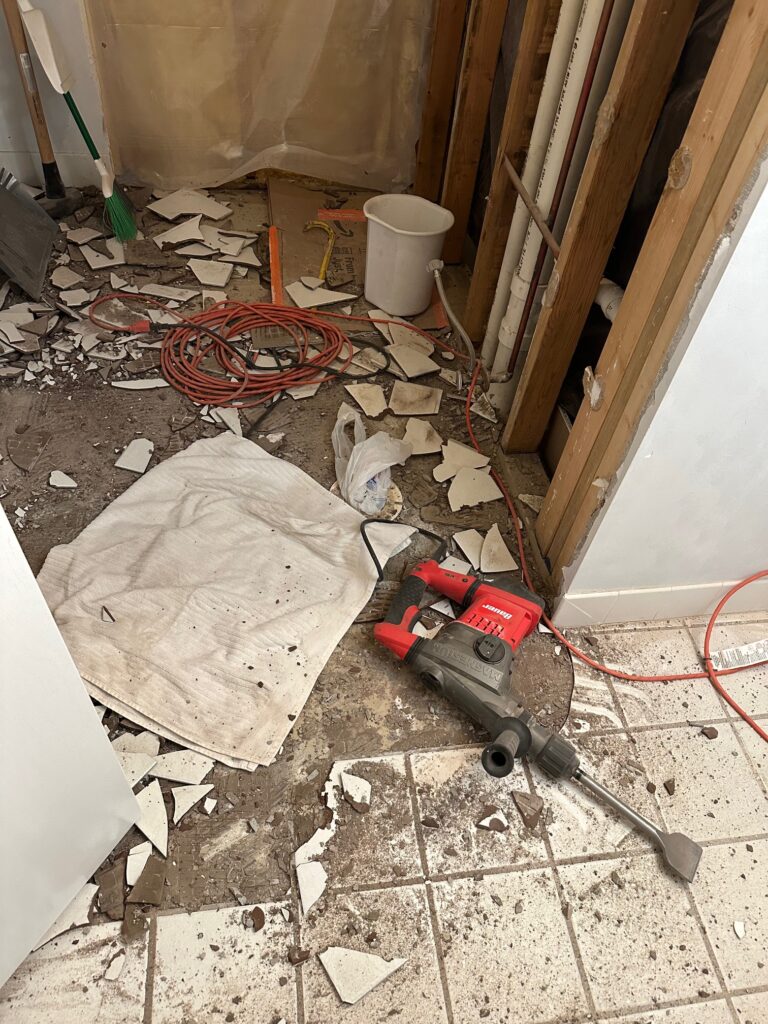
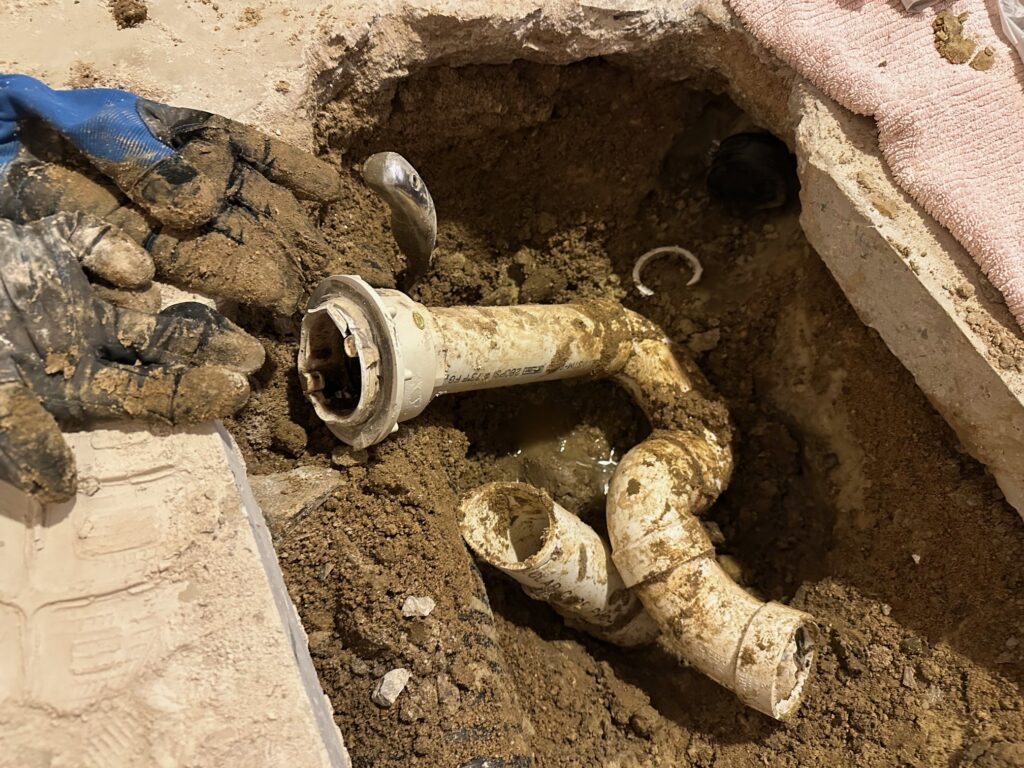
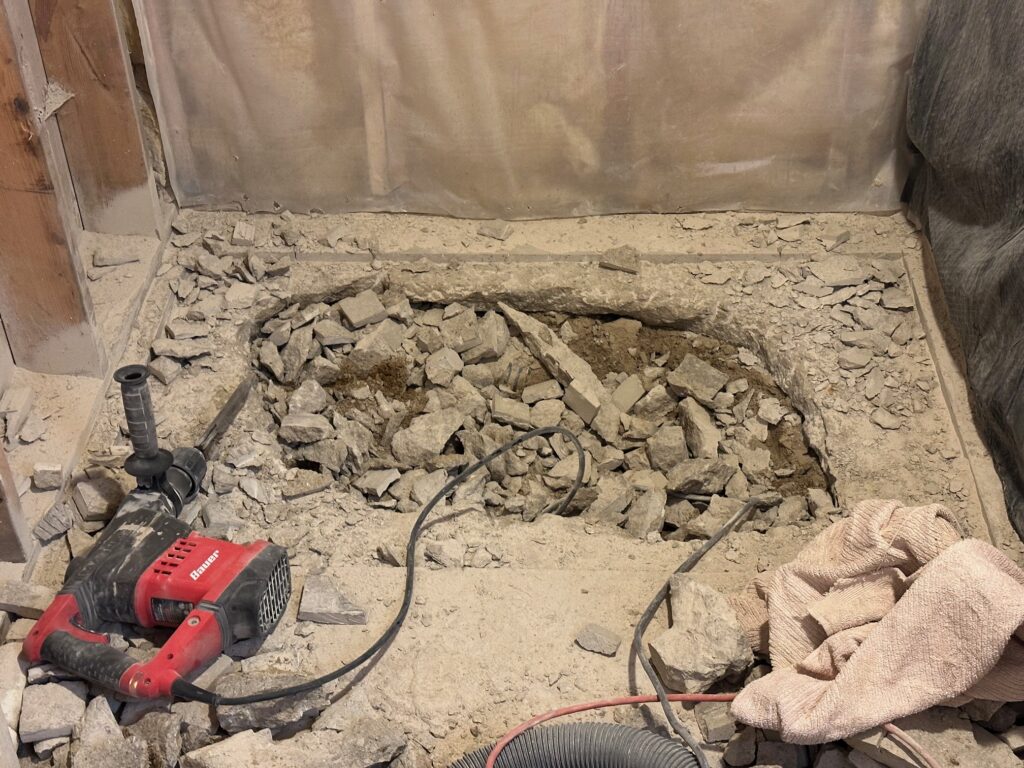
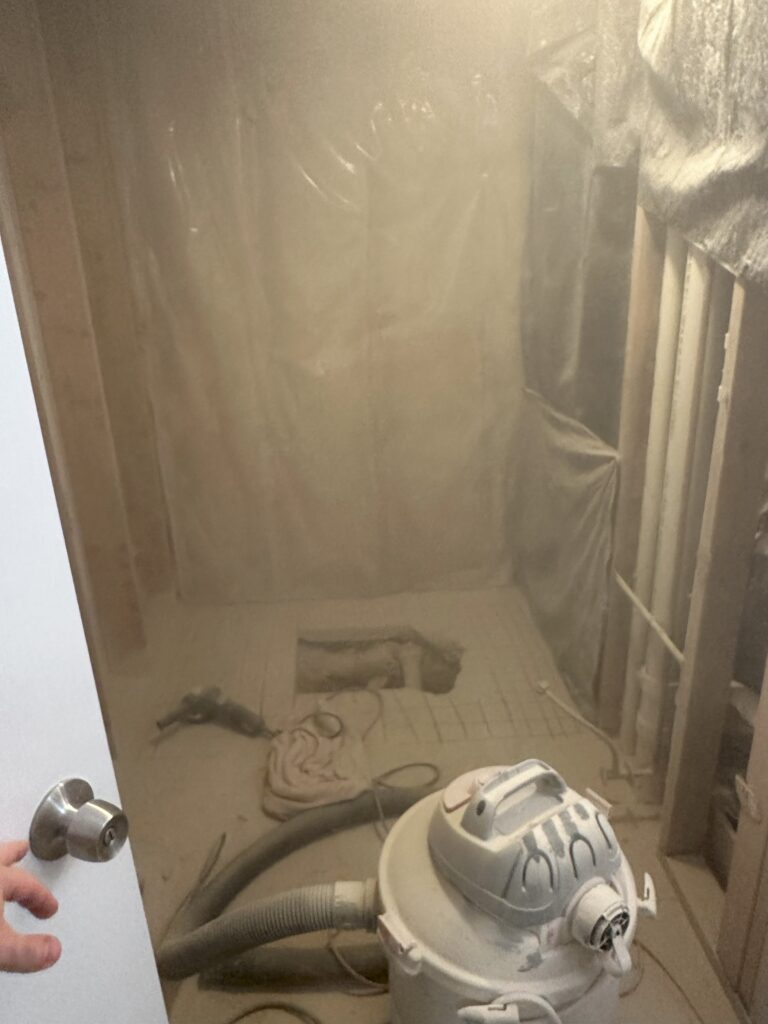
To move the drain, I used my brother-in-law’s hammer drill to break up the concrete. Then, I cut out the existing PVC pipe and replaced it with new piping. In the slideshow below, you will see a pink string I hung from the ceiling, which I used to make sure the pipe was perfectly centered as I applied PVC cement.
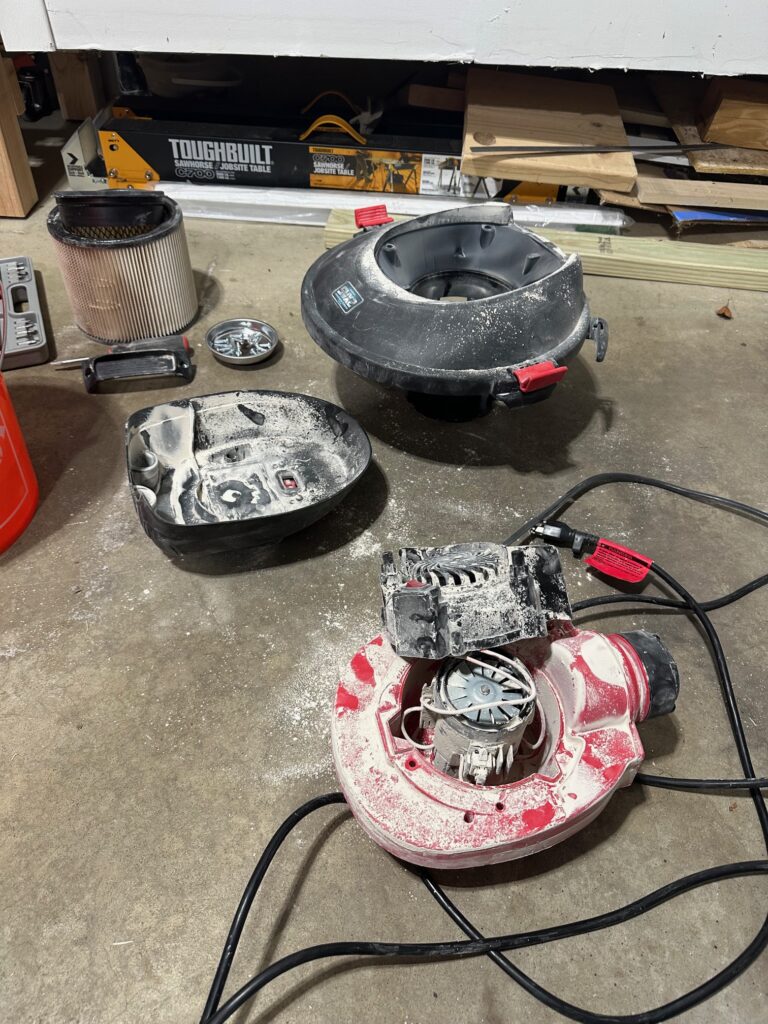
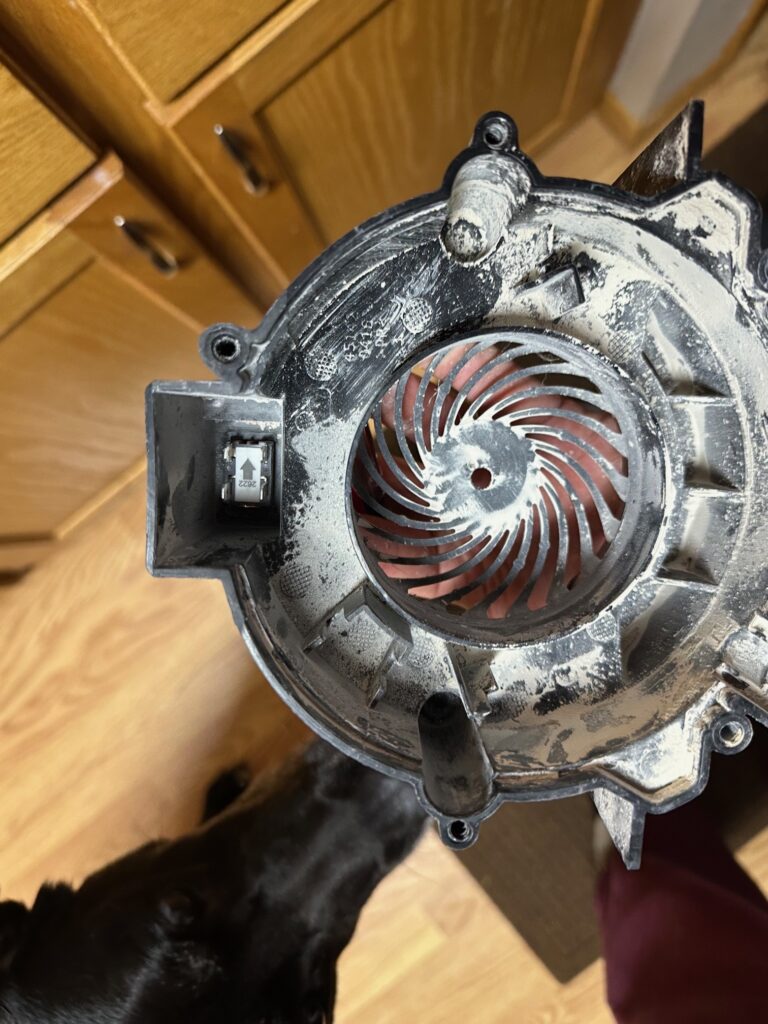
Tearing up all of that concrete made a huge mess and kicked up a lot of dust. This happened because I used my circular saw and a mason sawblade to cut several lines before hammering at them. At some point, my ShopVac stopped working. I found the on/off switch had become clogged with dust particles. The company itself was not helpful in finding a solution. Thankfully, I found a replacement switch online and was able to put it back together and get it working again.
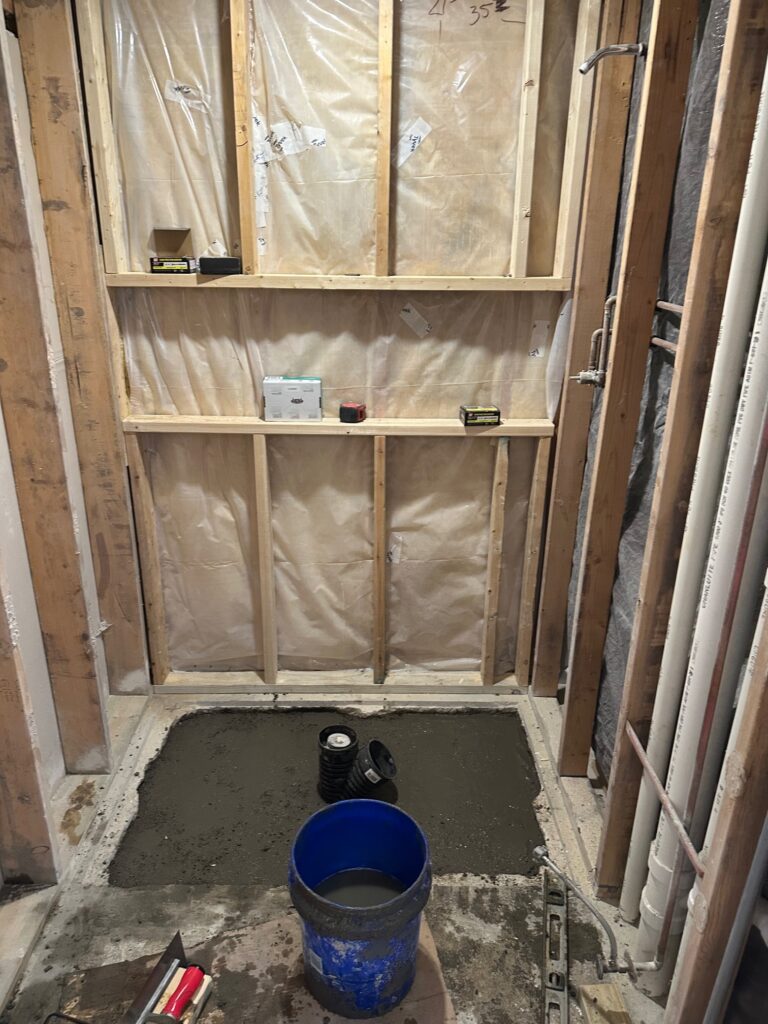
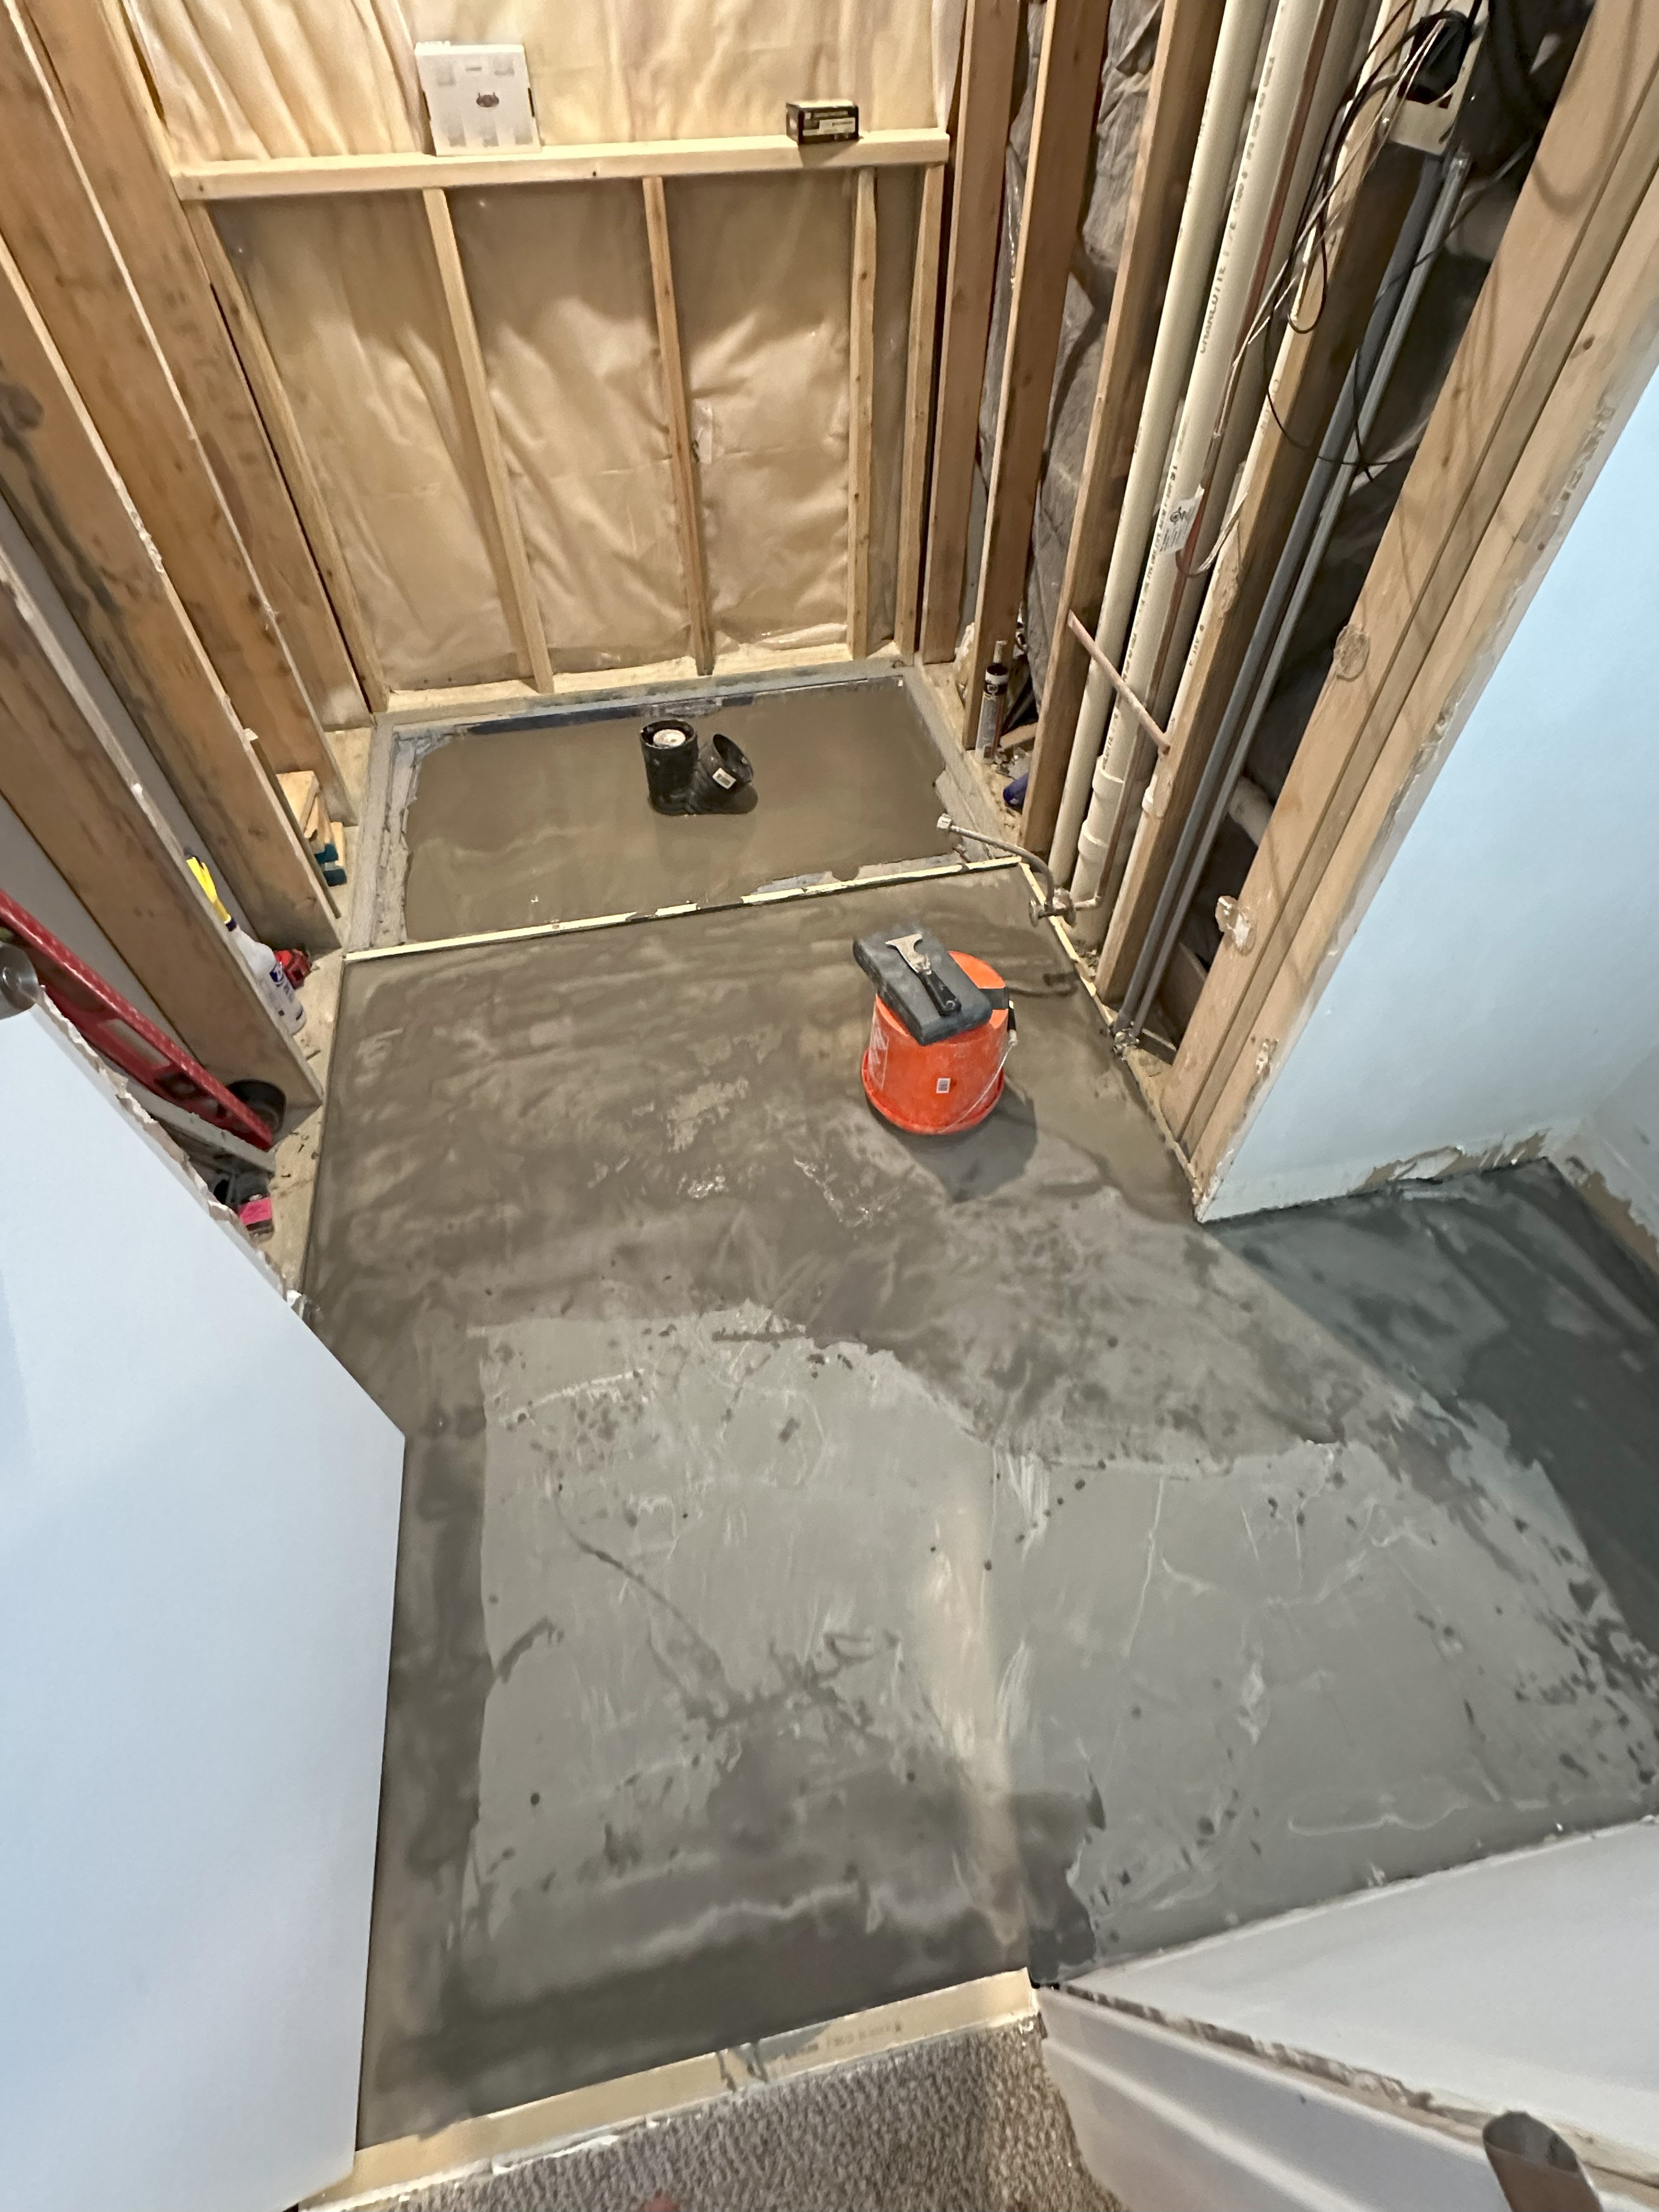
After moving the drain pipe, I figured I should probably replace the busted foundation. I used 4, 60-lb bags of Quikrete to create the new slab of concrete. I intentionally lowered this layer of concrete an inch and a half below the previous foundation, leaving room for me to eventually create a sloped shower pan with zero-barrier entry. After the concrete cured, I put down a layer of insulation and installed the heated floor cabling. I installed a mat system from Warming Systems.
The heated floor now installed, with cabling going up conduit to a thermostat, I poured a layer of self-leveling underlayment. The underlayment does several things: it holds the heating cables in place, it radiates the heat produced by them, and it also creates a flat surface for tiles. I used a few temporary pieces of wood to keep the underlayment from spilling out of the room and into the shower pan.
For the sloped shower pan, I mixed up about 75 lbs of bedding mortar and slowly packed it down to the floor of the shower. I used a level to scrape the floor from the sides to the drain, creating a slope for the water to follow. The drain is from FloFX.
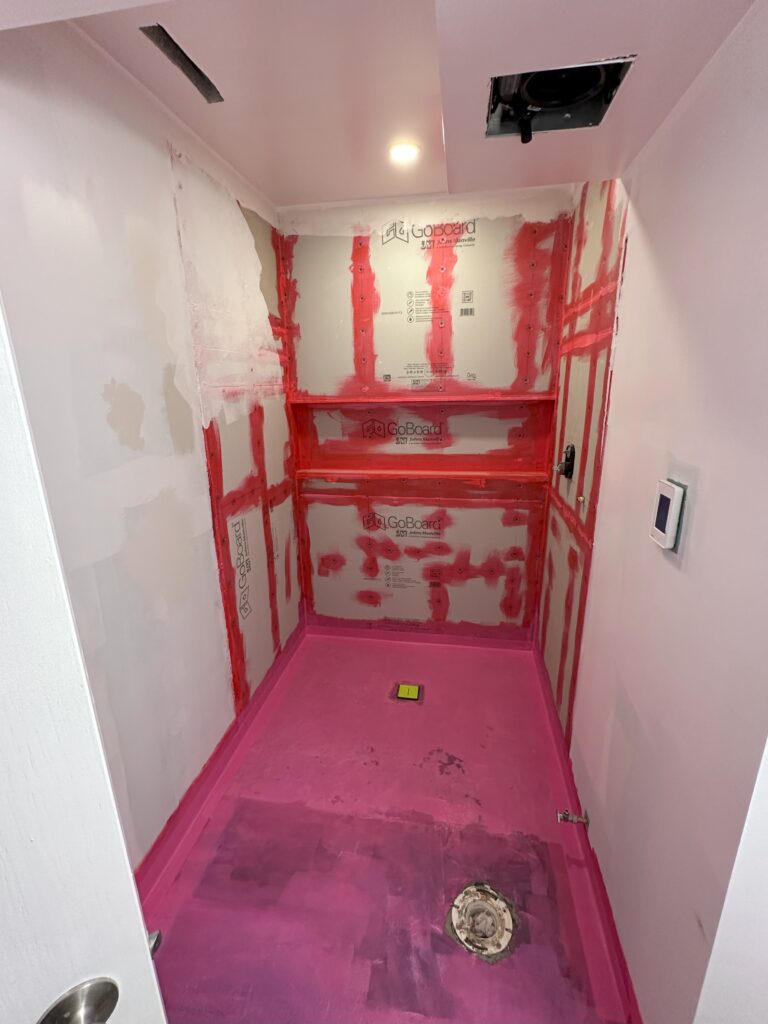
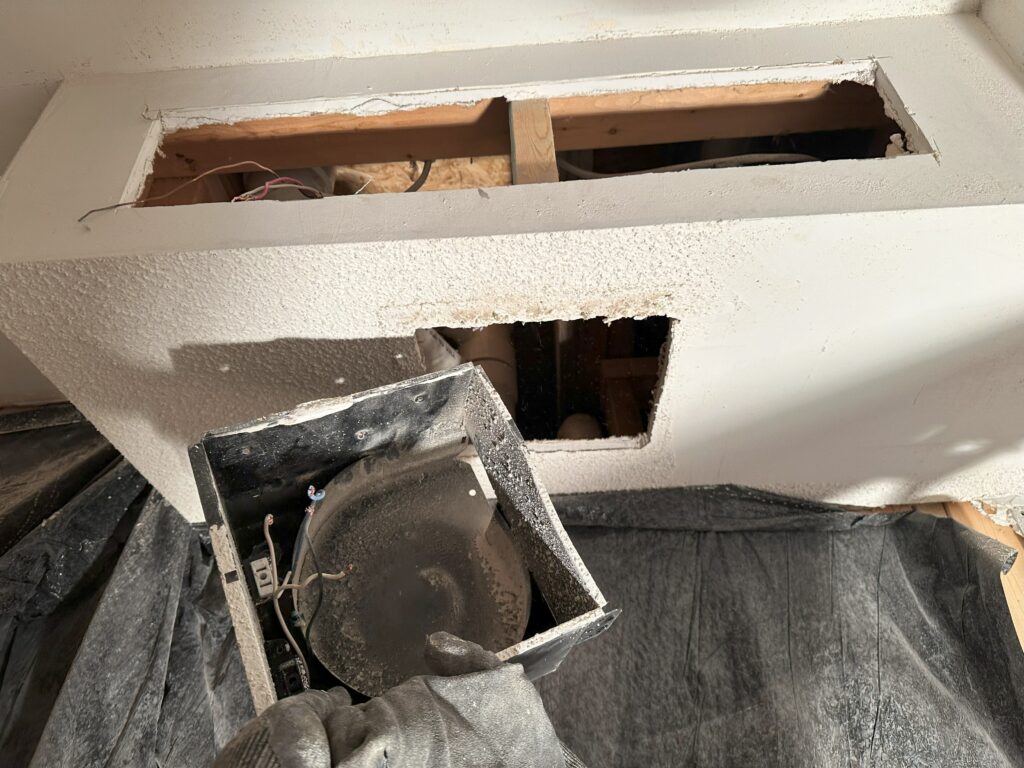
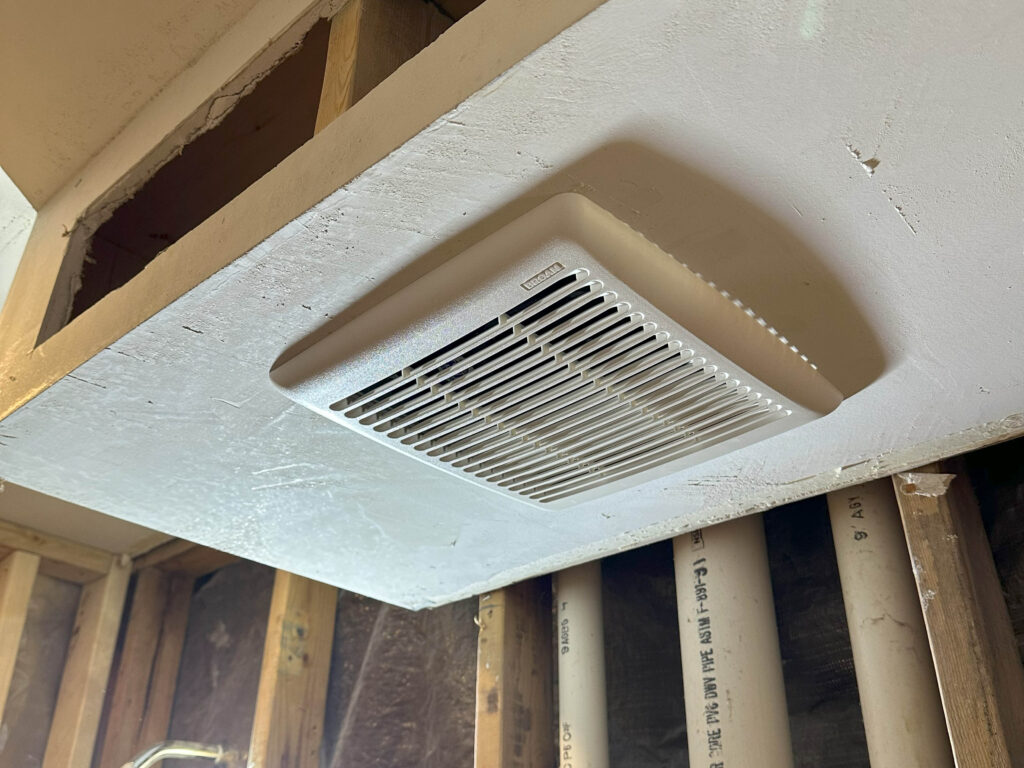
Around this time, I also started putting up paneling in the shower. I had planned to install concrete backerboard, until I was walking in a hardware store one day and came across a lighter-weight option. I had never heard of GoBoard, but looked into it and decided it was worth the extra price. It was very easy to cut and install. Next, I turned my attention to the ceiling fan, which I replaced with a newer unit of similar dimensions:
With much of the electrical work complete, I replaced the drywall I had removed to access the wires.
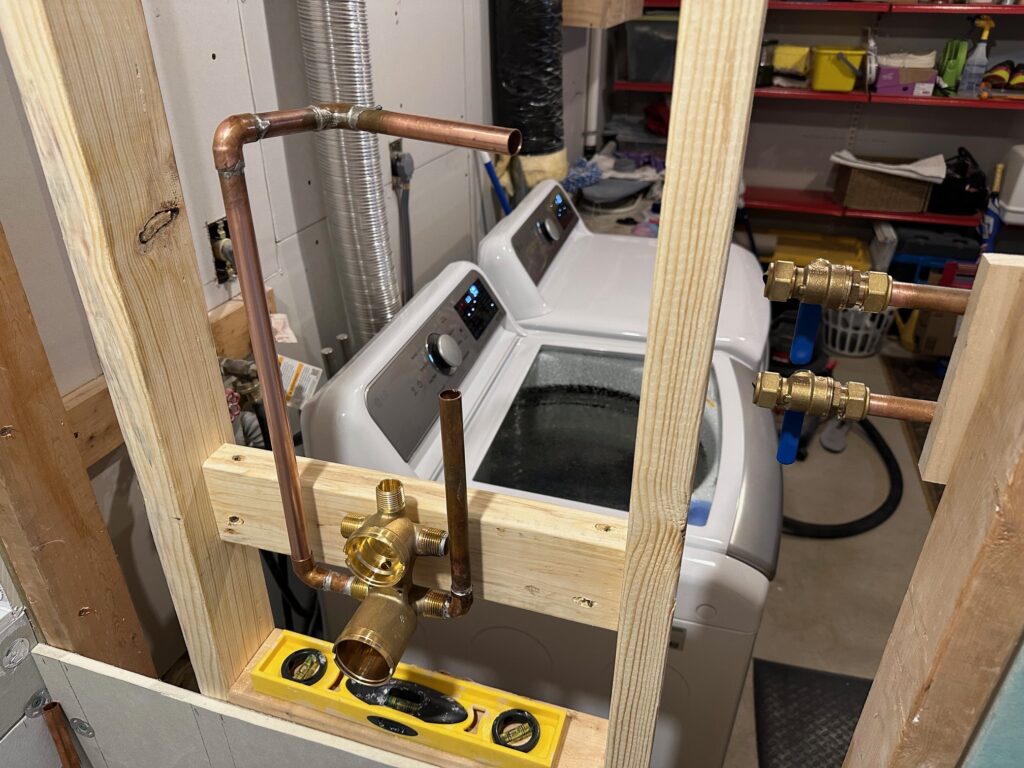
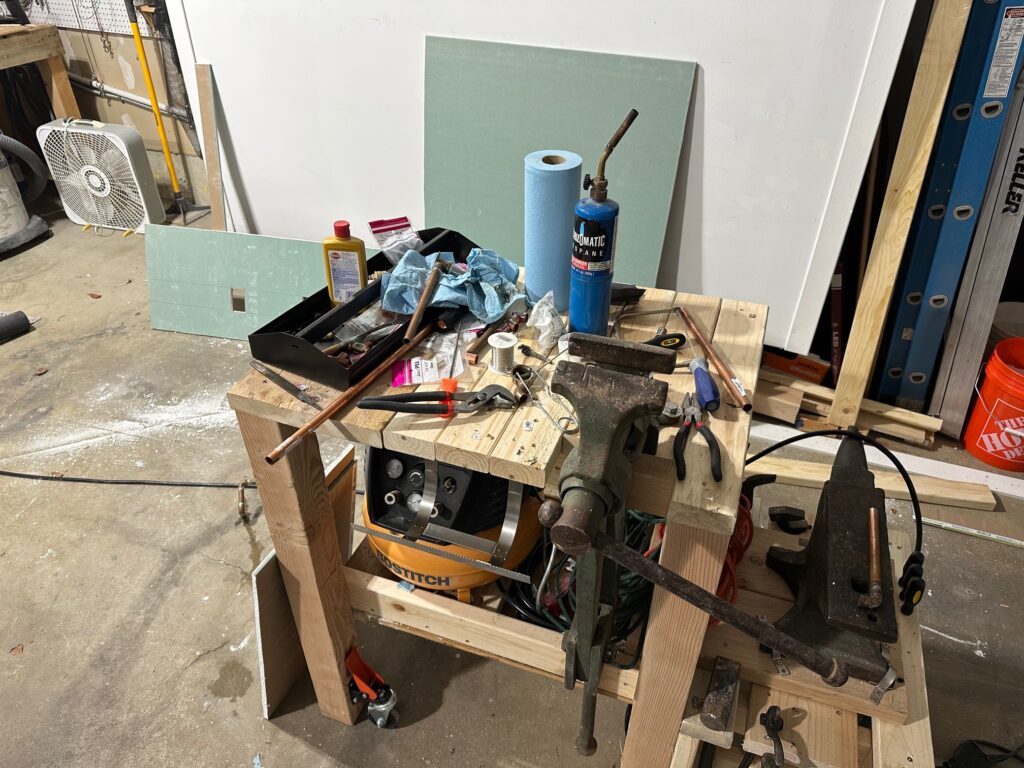
Taking a pause from masonry, electrical, HVAC and drywall, I got to work on the plumbing for the new shower. We knew we wanted this bathroom to have a “luxury” feel to it, so went with a faucet from Delta that has both a shower head and a handheld sprayer. I used my new workbench in the garage to solder pipes together before putting everything in place.
Happy with the plumbing, I finished installing the GoBoard, applied the recommended Johns Manville sealant to joints, put a waterproof membrane on the floor, then coated everything with RedGard waterproofing. Here’s a video of the first time I tested the shower:
That was a lot of work and there’s still plenty to do! Up next, choosing tiles and installing. Click here to see that blog post. Thanks for reading! -Mike