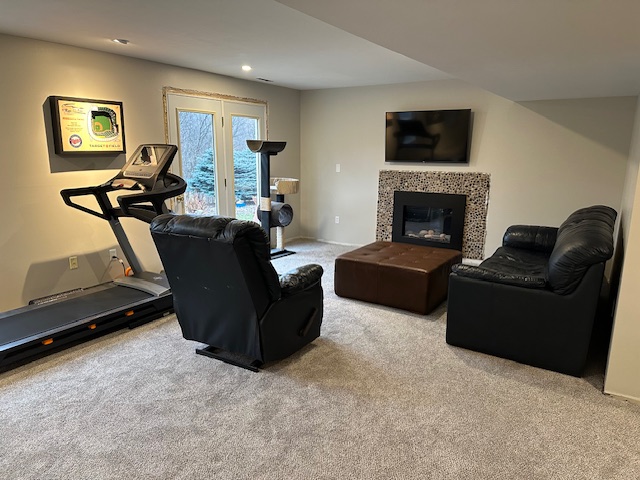
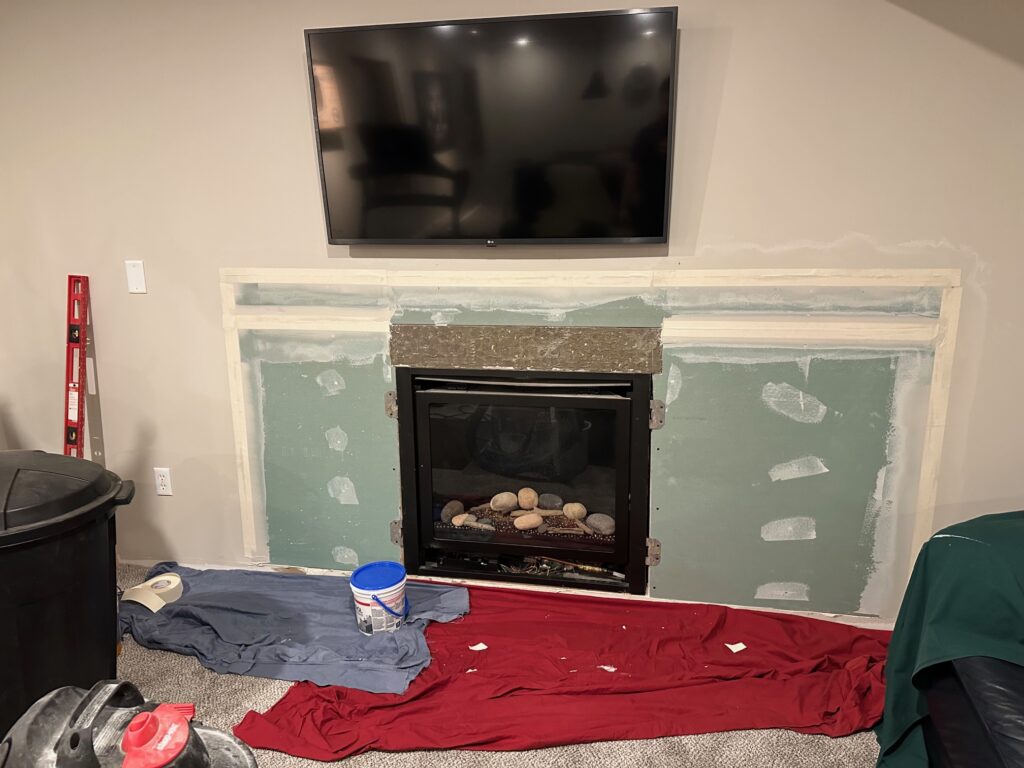
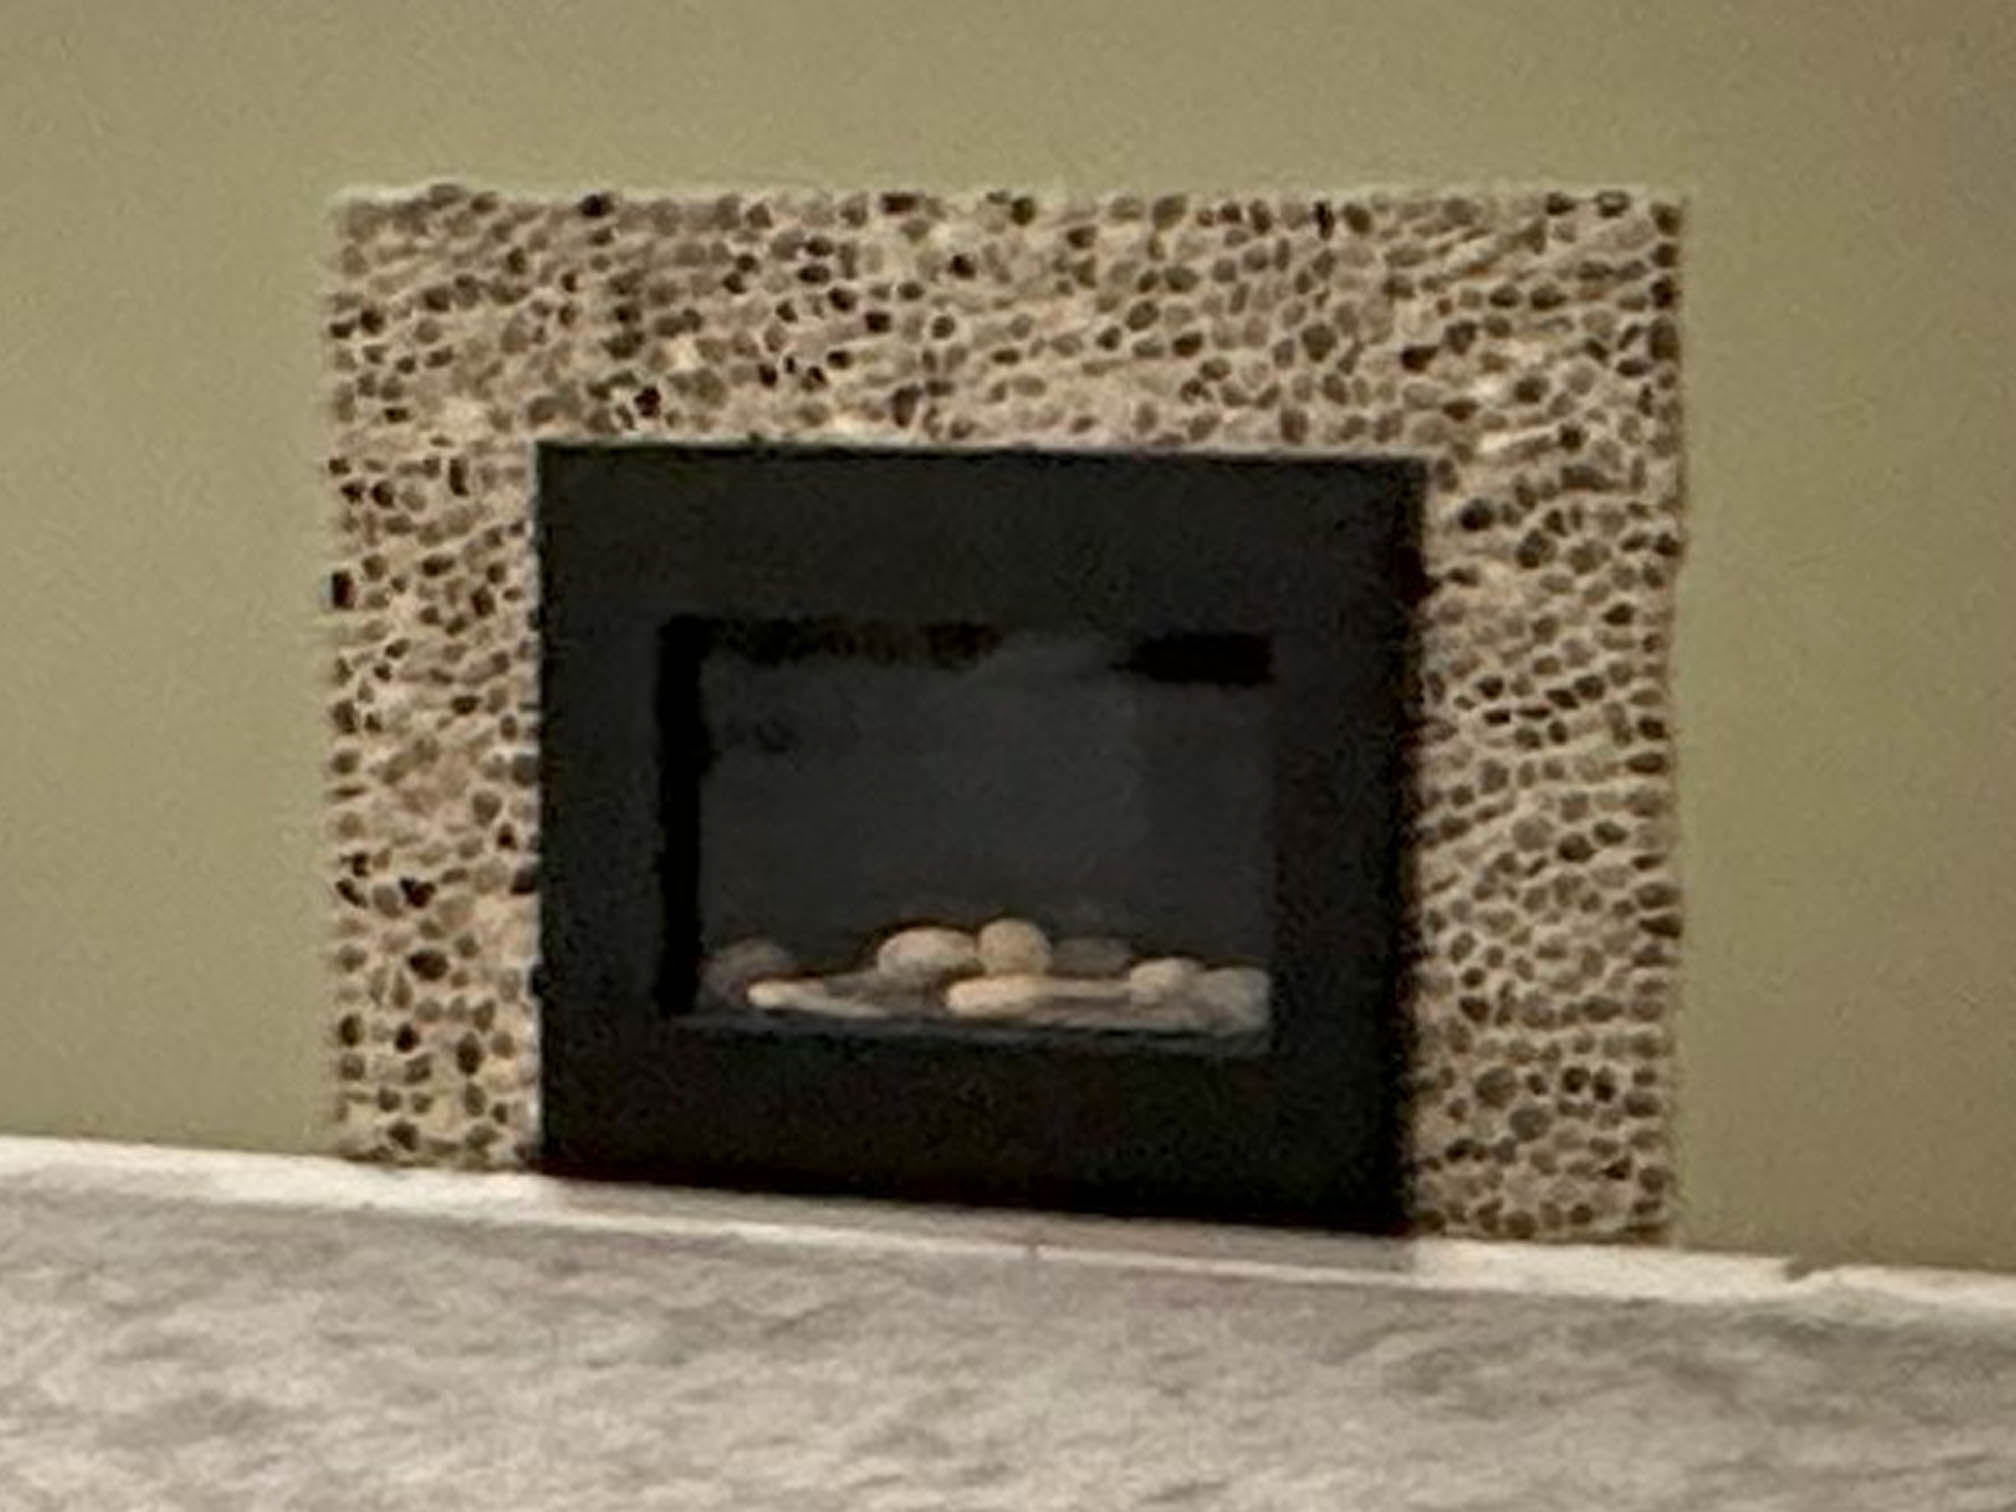
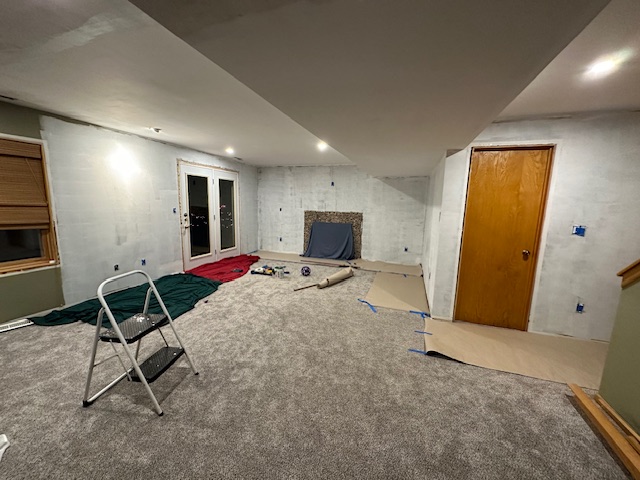
This project was one of the finishing touches of our basement living room renovation project, which also included removing the popcorn ceiling. As shown below, the fireplace began with a very different look, which we described as something you’d expect to see in The Flintstones.
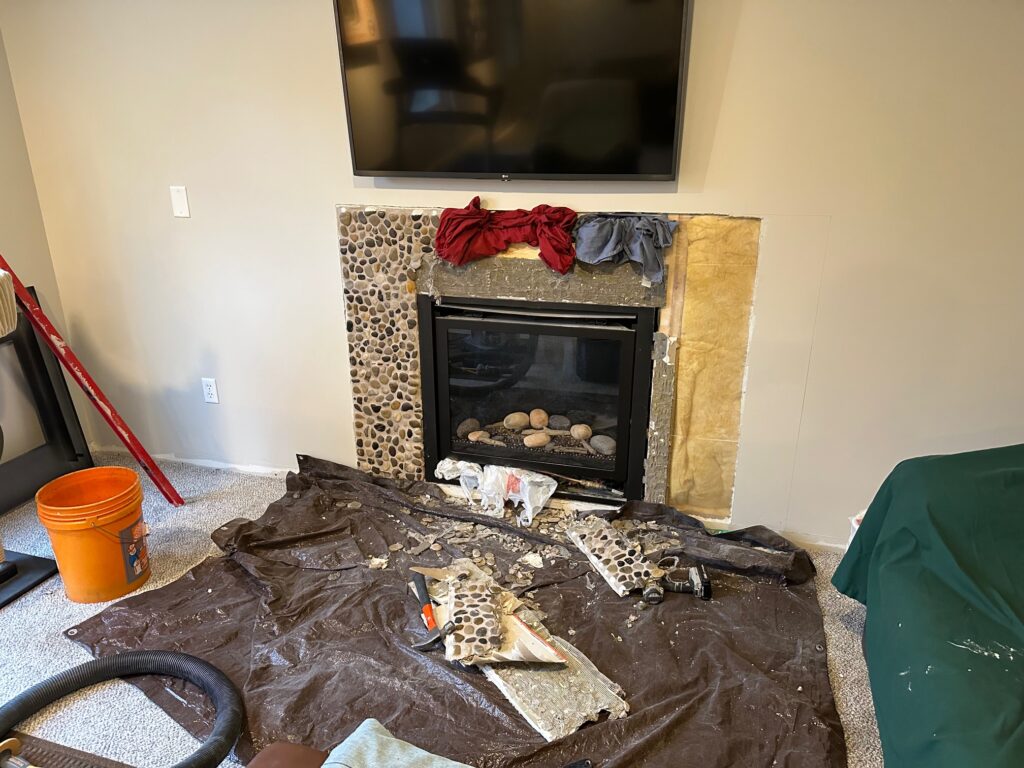
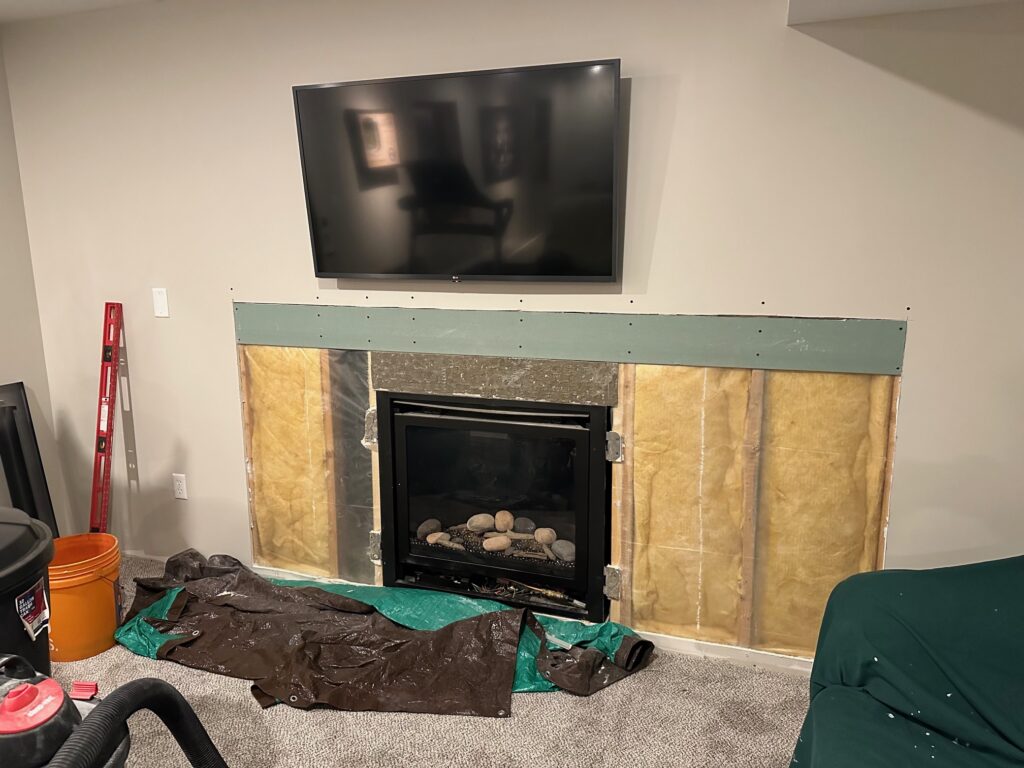
I somehow found a way to make demolition a lot harder than it needed to be. How did I do this? I started by plucking individual stones from the wall, thinking I could preserve the drywall. This turned out to be really difficult. Stones weren’t coming off very easily. After chiseling about 2 dozen rocks from the wall over the course of an hour, I ended up cutting the drywall to remove the rest of the stones. This meant replacing the drywall, but saved me a ton of time!
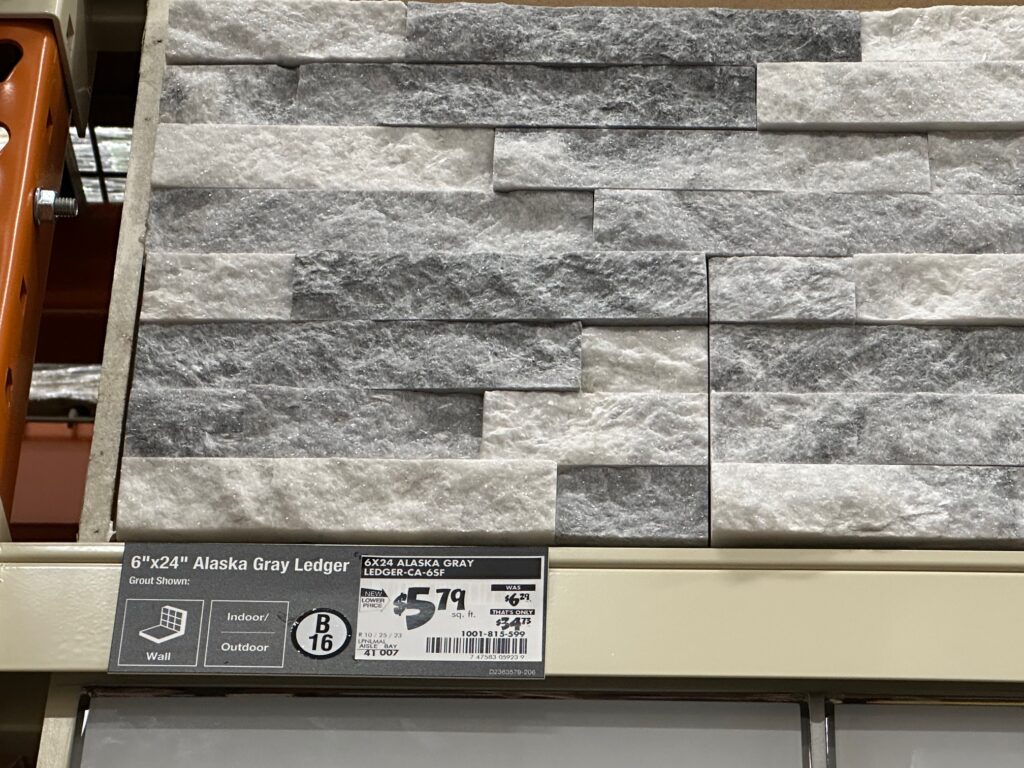
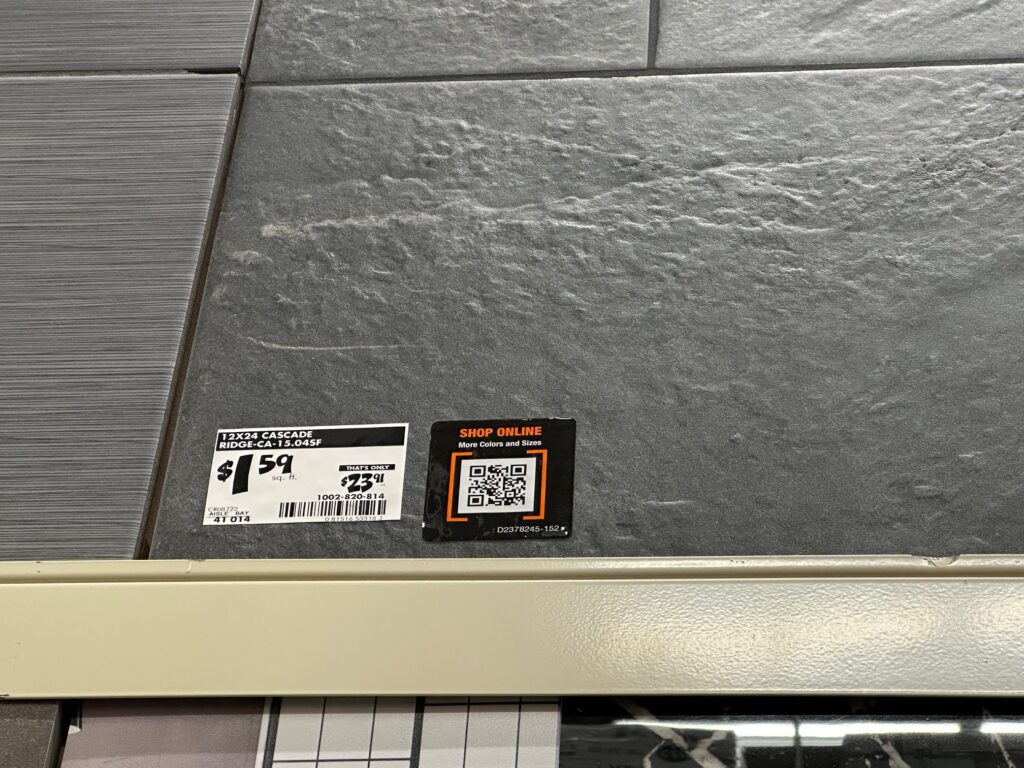
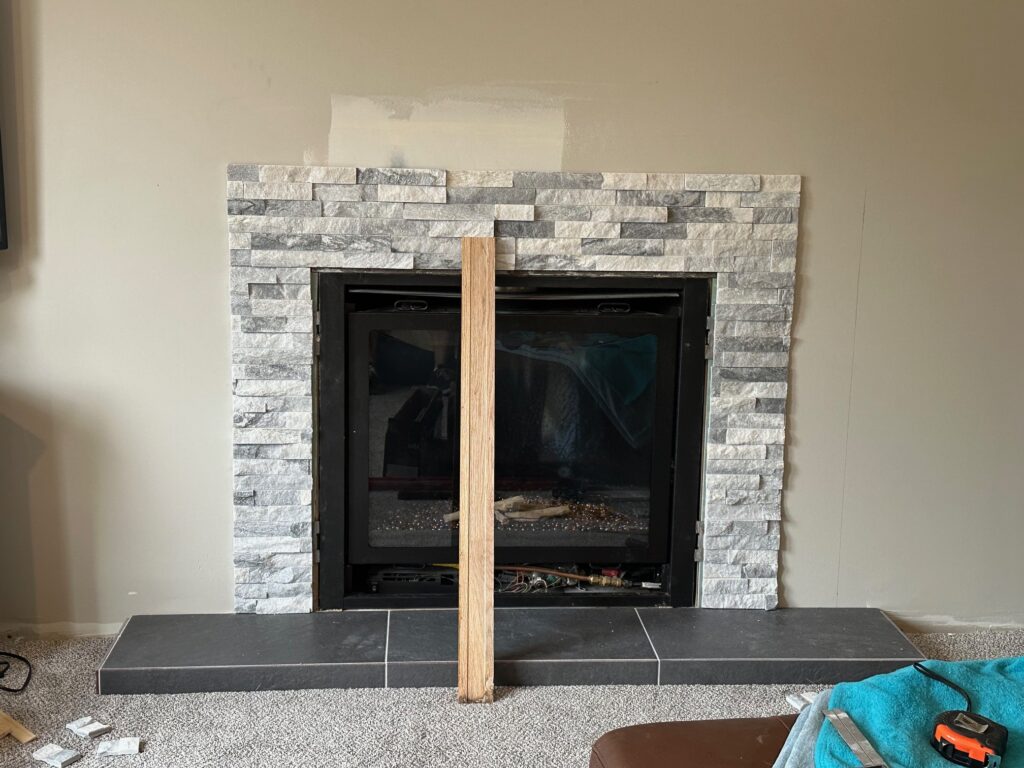
We found our new tiles at Home Depot.
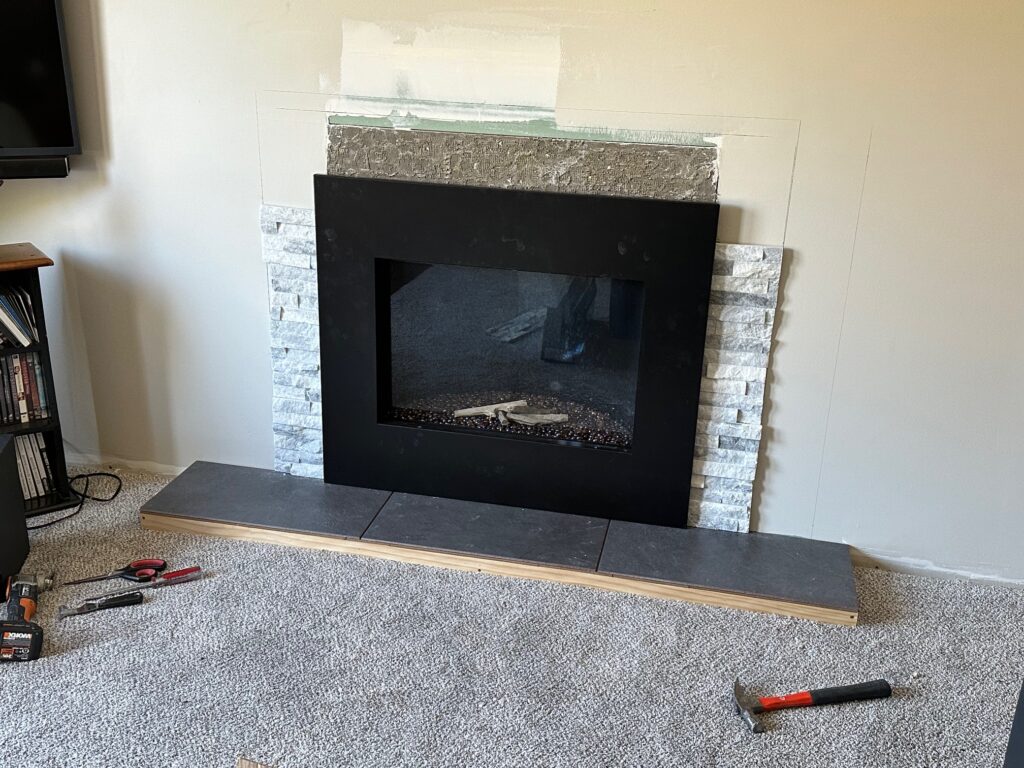
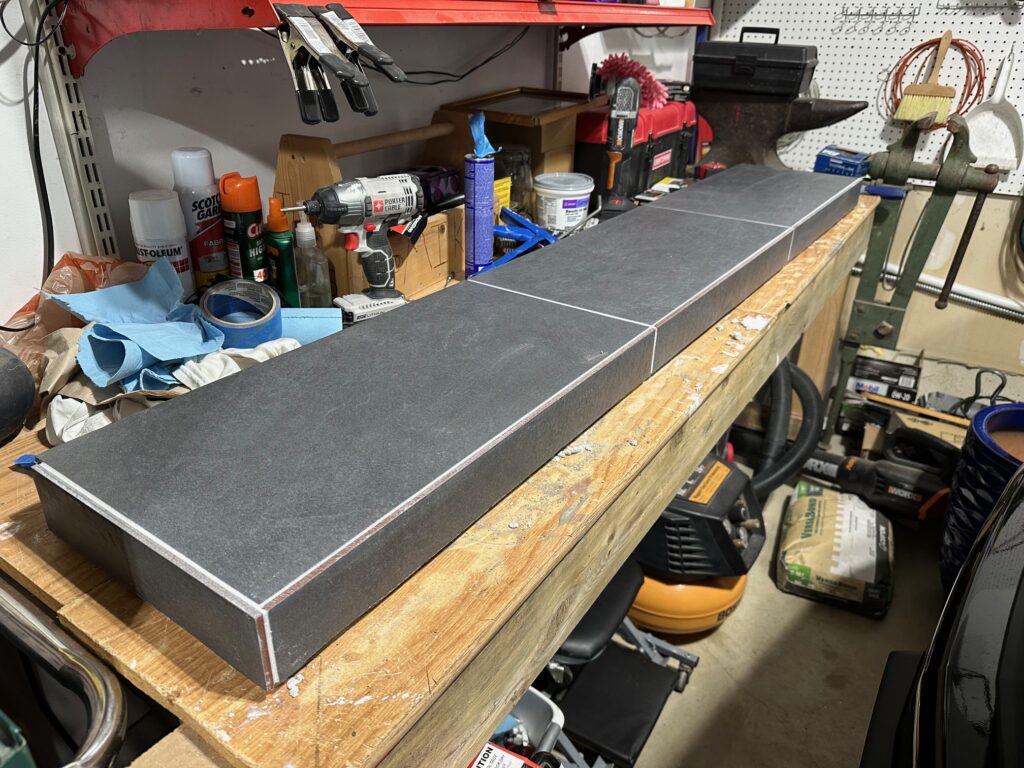
In addition to updating the fireplace surround, we also built an elevated slate hearth. I cut out a small section of carpet and put the tiles on a grid of 2x4s.
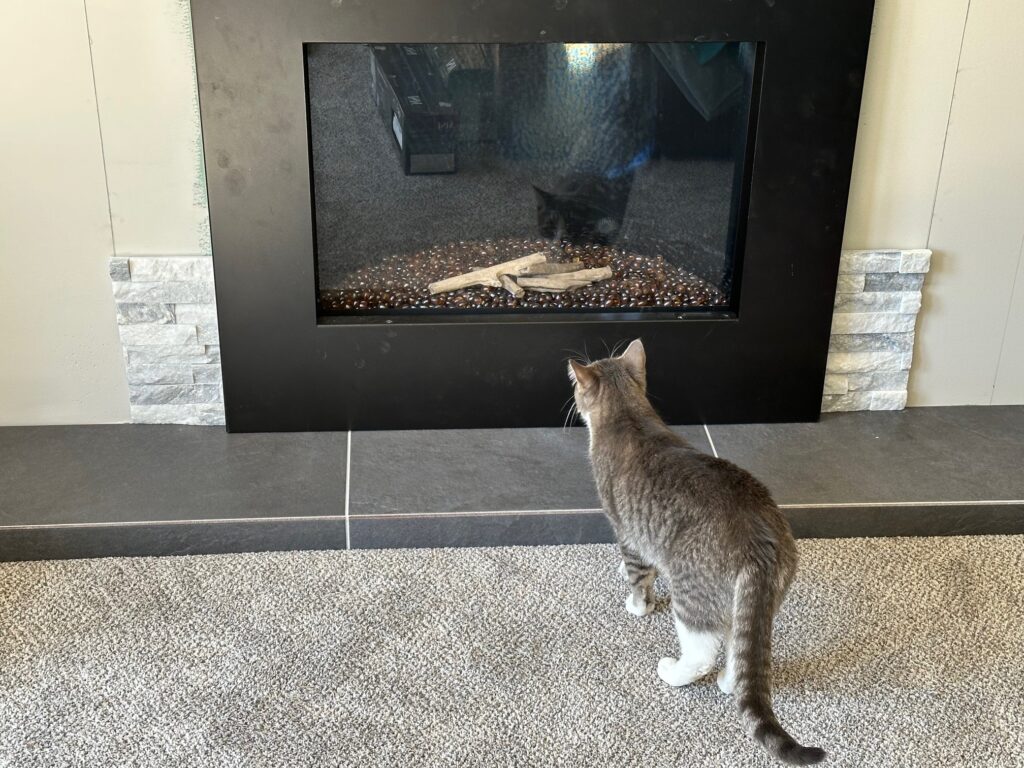
Gus supervised the progress
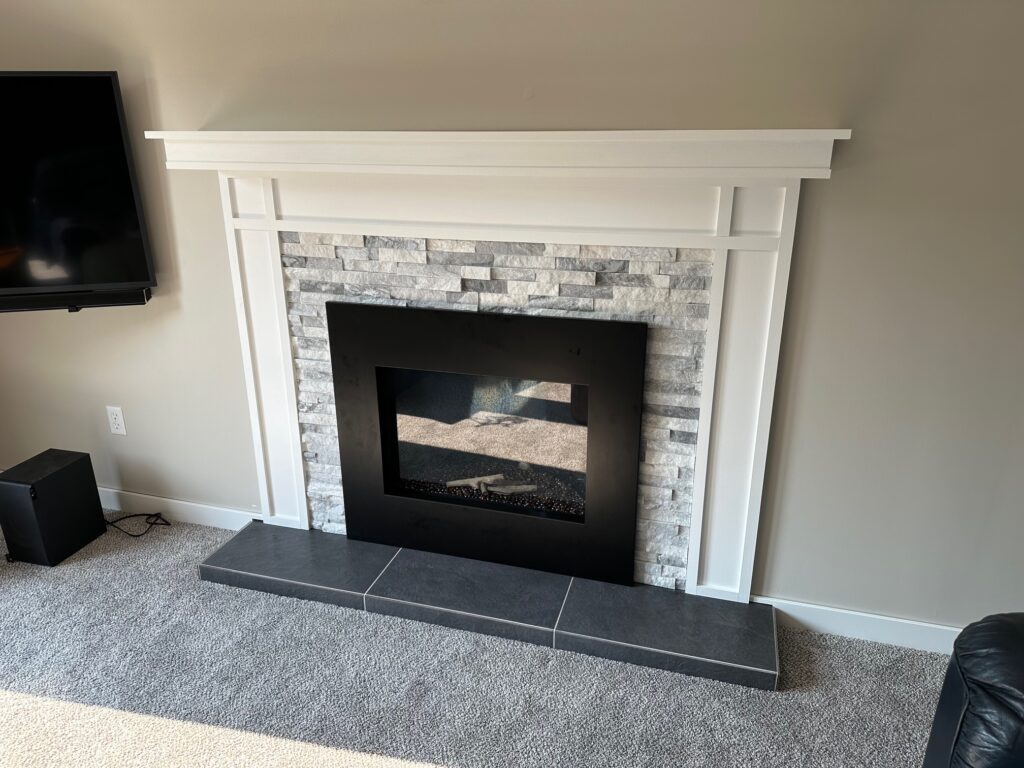
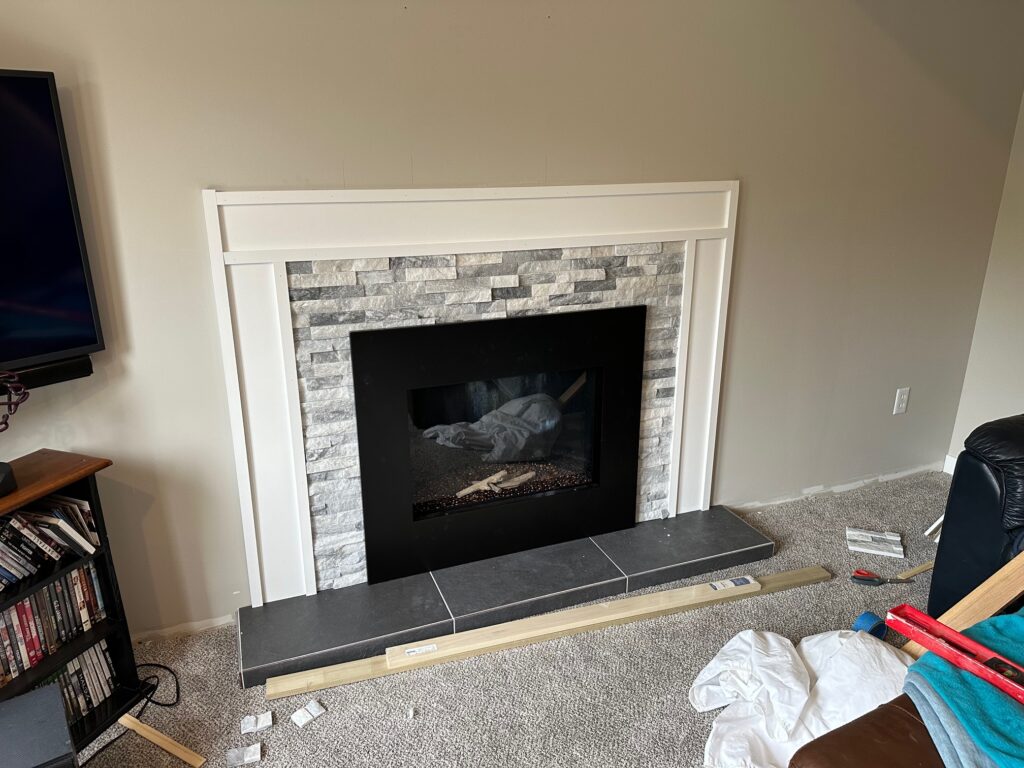
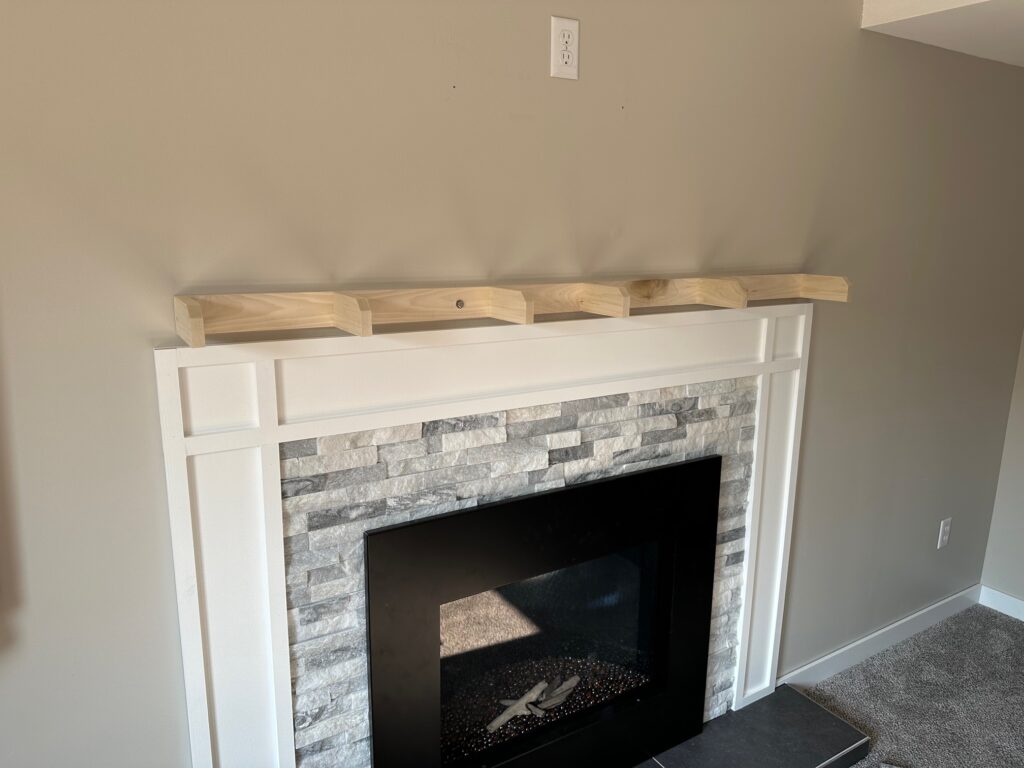
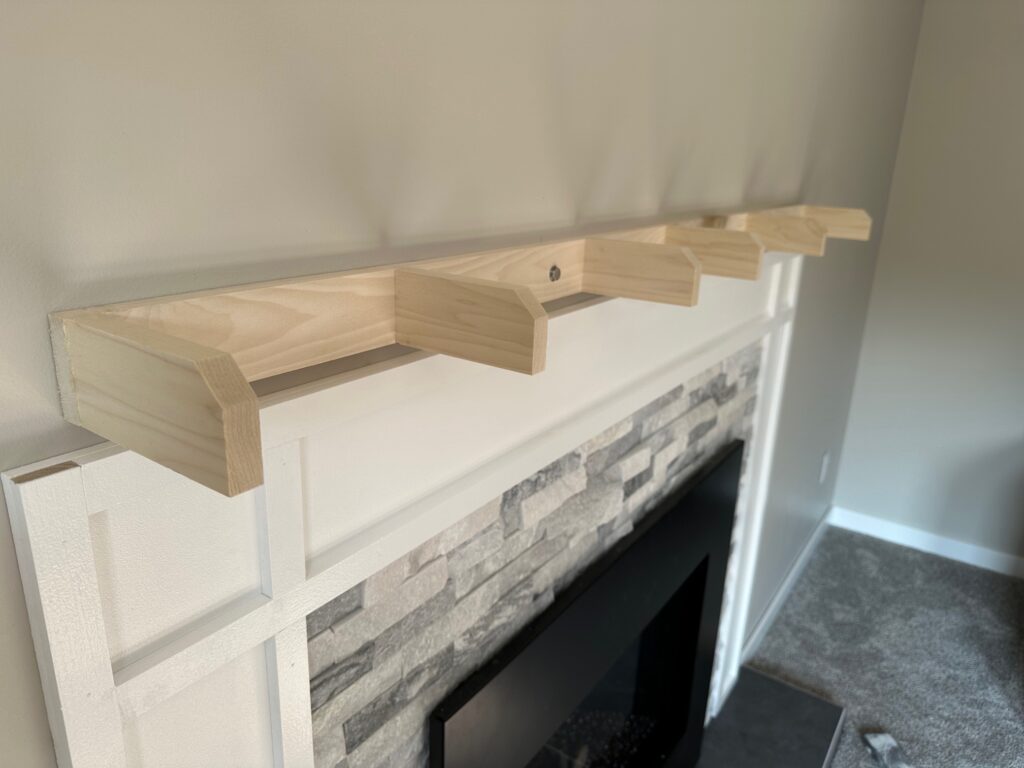
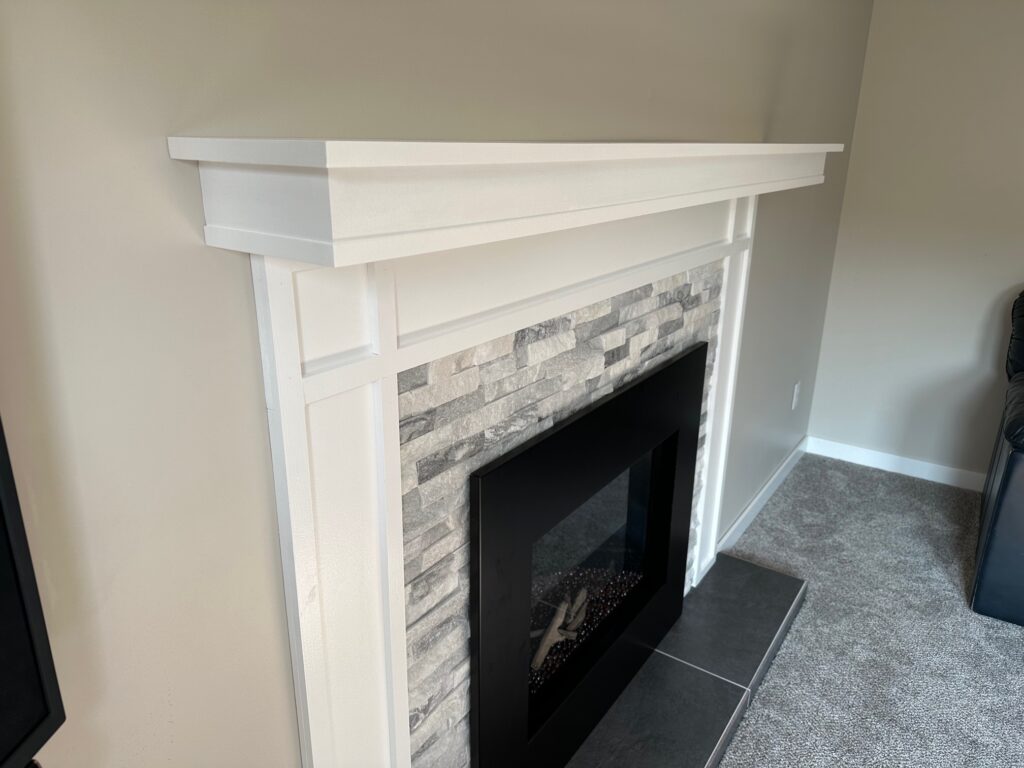
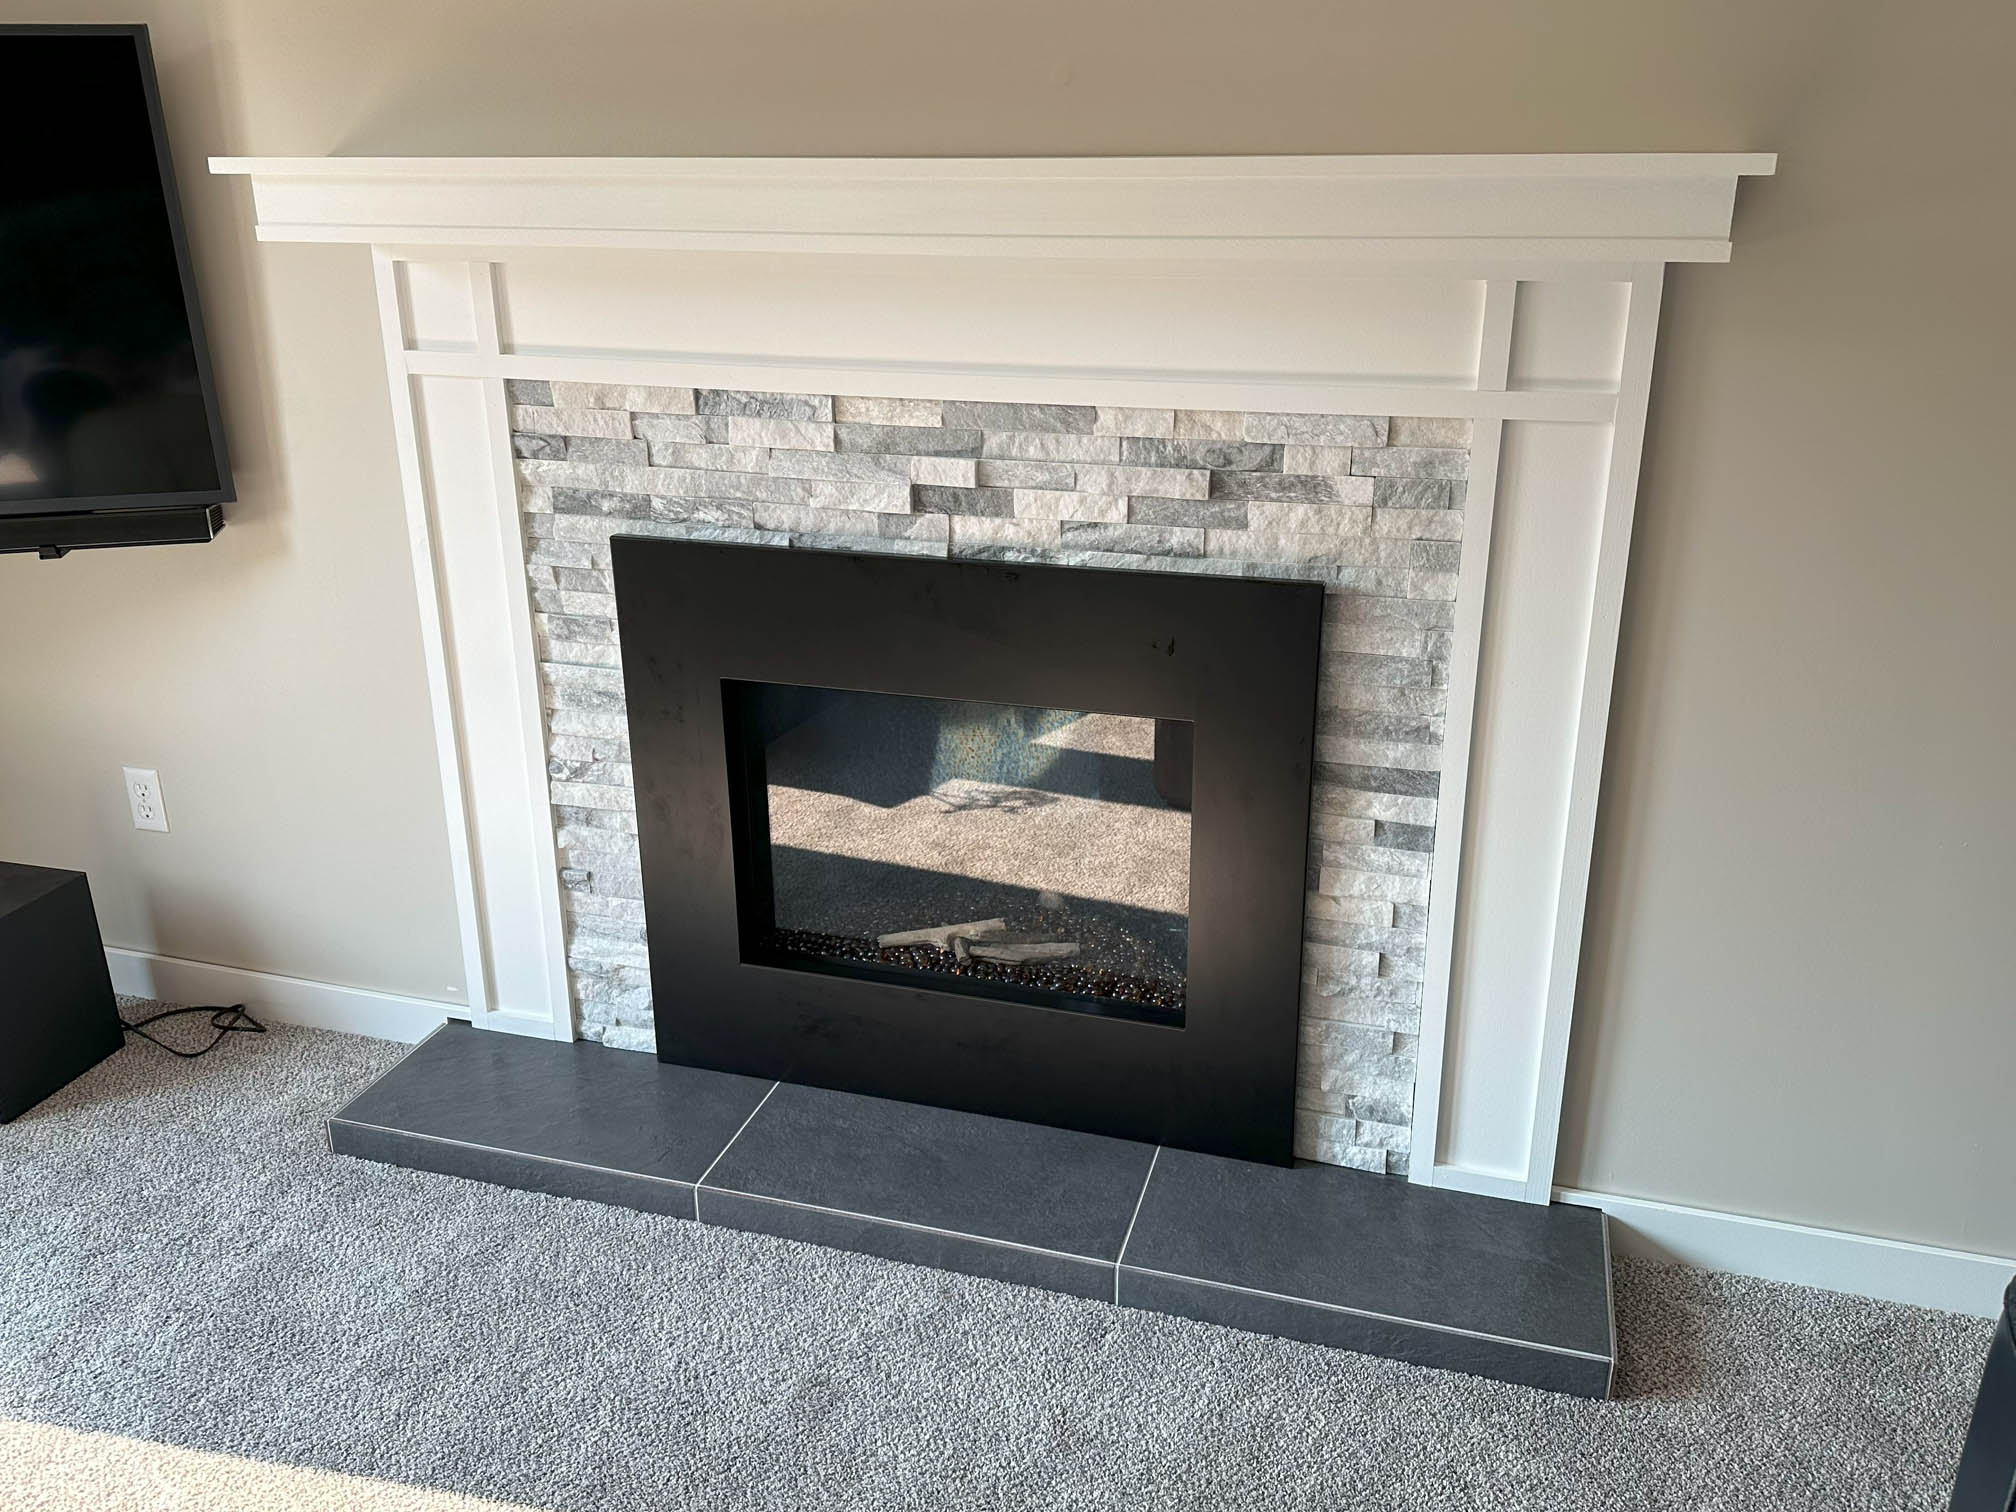
With the masonry finished, we completed the project with a mantel.
We love how much this improved the space! Thanks for reading! -Mike
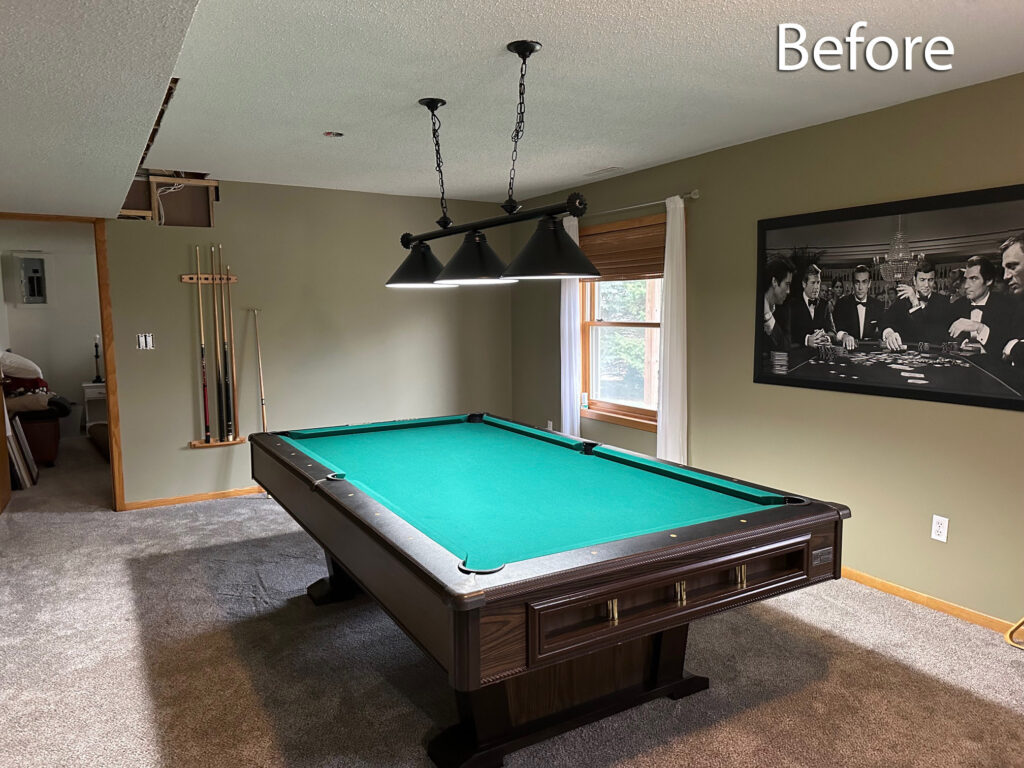
Quite often, our projects begin with the thought of making one small single improvement. In this case, we wanted to paint the basement, replacing the green walls with a neutral gray. However, like most of the projects we’ve shared on this blog, this one also snowballed into a ton of work. The payoff, however, made the time and effort all worth it!
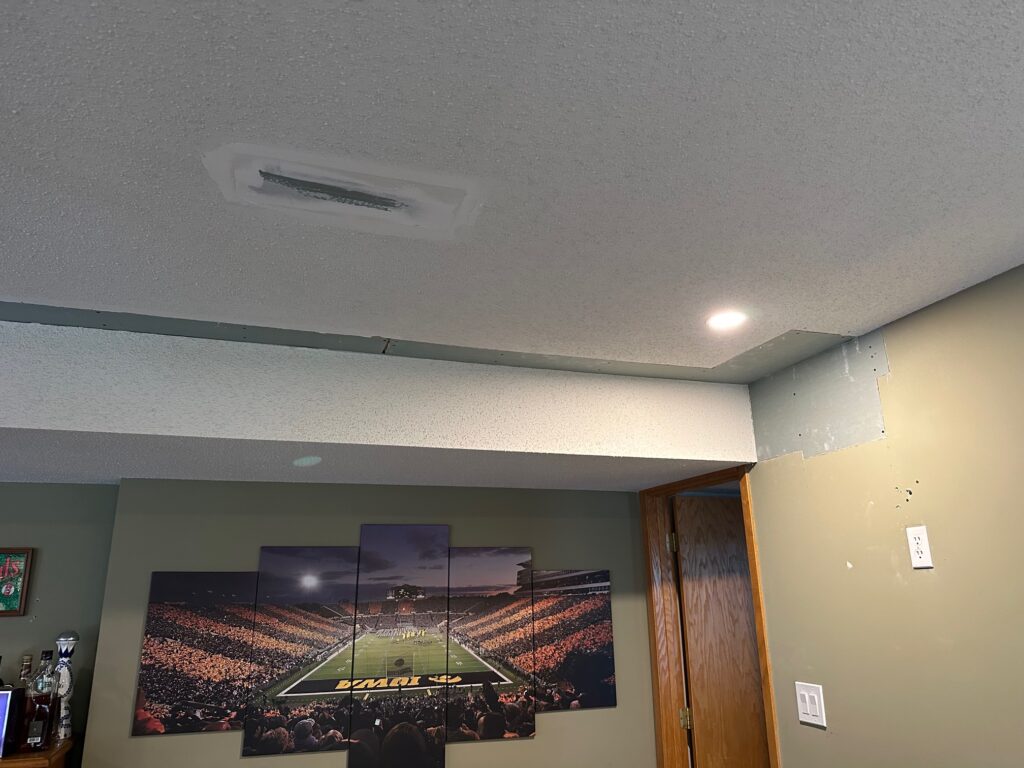
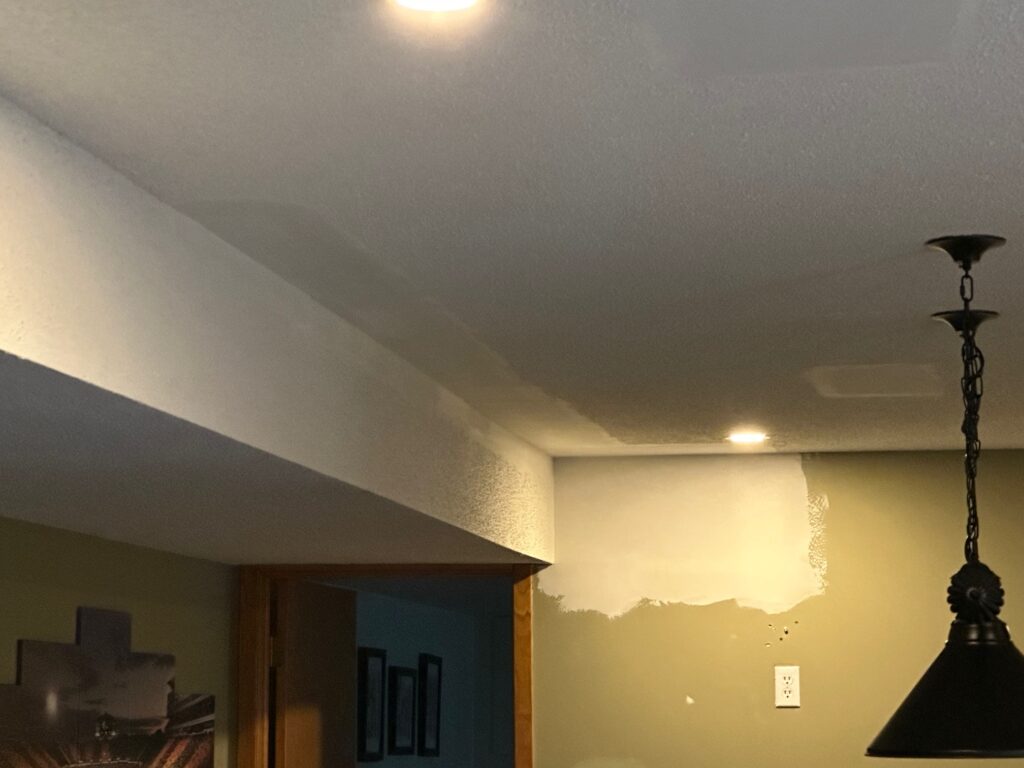
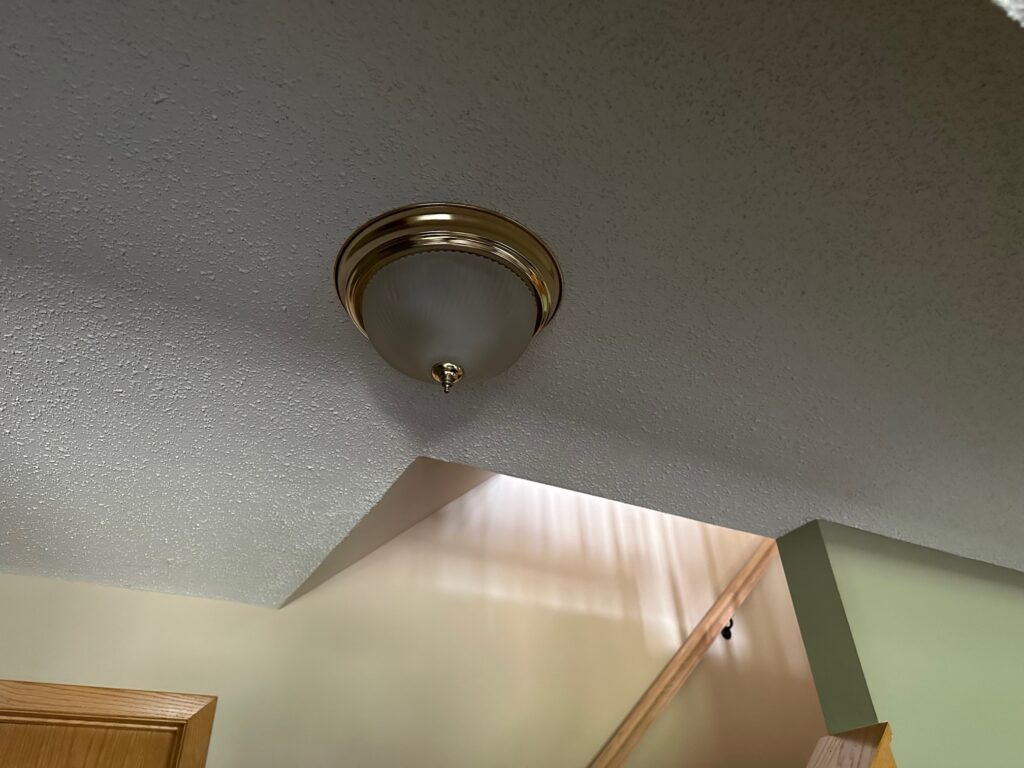
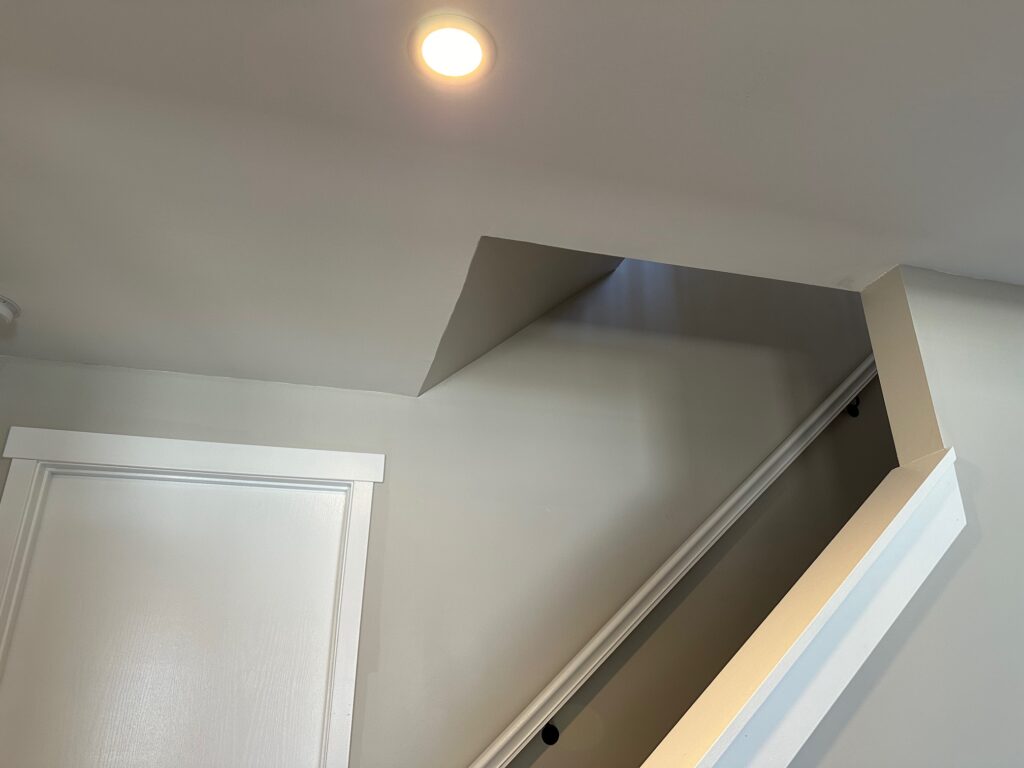
The biggest complication with simply painting the walls centered around the fact that I had cut large holes in the ceiling when installing the pool table lamp. After installing the over-table lights, I figured, “well, I’ve already torn into the ceiling, might as well also replace the dated ‘boob’ lights and put in can lights.” Again, snowball forming.
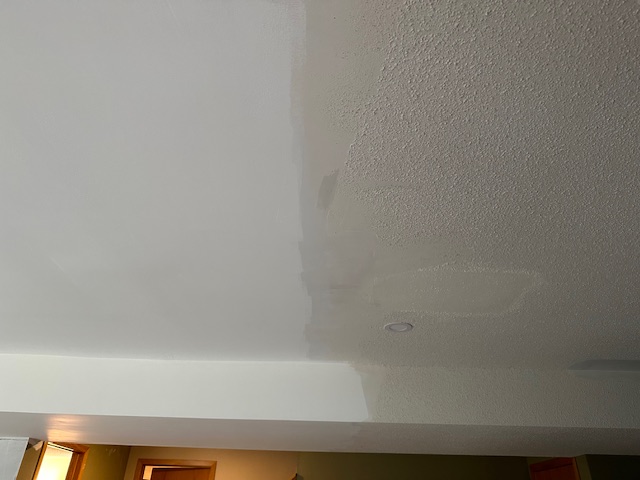
When attempting to patch those ceiling holes, I admit I lacked the experience to match the existing popcorn texture.
And thus the project stalled, creating a financial conundrum. I stared at the ceiling for months, reminding myself of two key outcomes when proceeding:
1. If I hired an expert, it would cost more money than I think I wanted to spend.
2. If I stripped the popcorn texture myself, it would be a hell of a mess and a bunch of work AND I’d risk ruining the carpet that was relatively new.
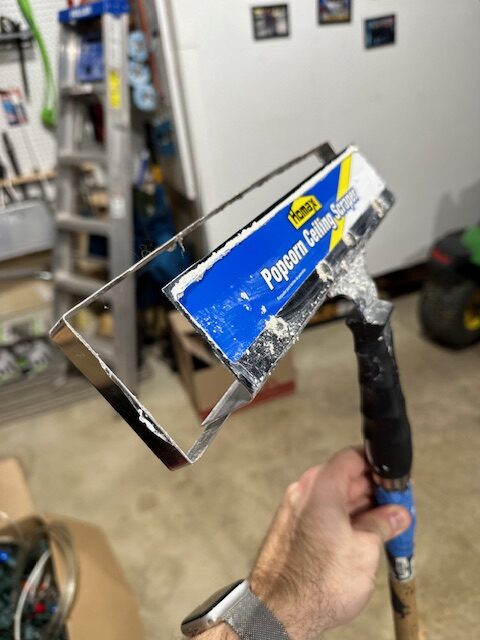
Ultimately, money won. I decided to make a mess and get to work. Fortunately, I did make a good purchase and bought a ceiling scraper to help reduce the aformentioned popcorn scraping mess:
The tool lets you attach a bag for the popcorn to fall into while you scrape the ceiling. It’s really easy to use, especially when you spray the popcorn with a little water before you start. I used our multi-purpose pump sprayer that we have had for years, here’s a link, for the water application.
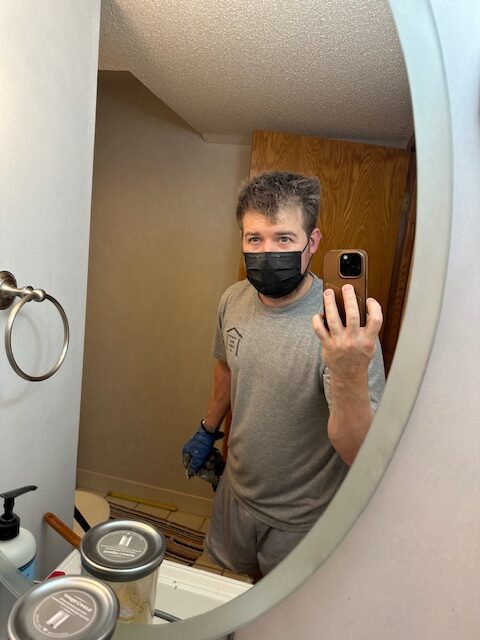
I was also careful about the dust that was unavoidable, always wearing a mask, gloves and eye protection. I also worked in stages, moving and draping all the furniture to one side of the room, to reduce the after-cleaning process.
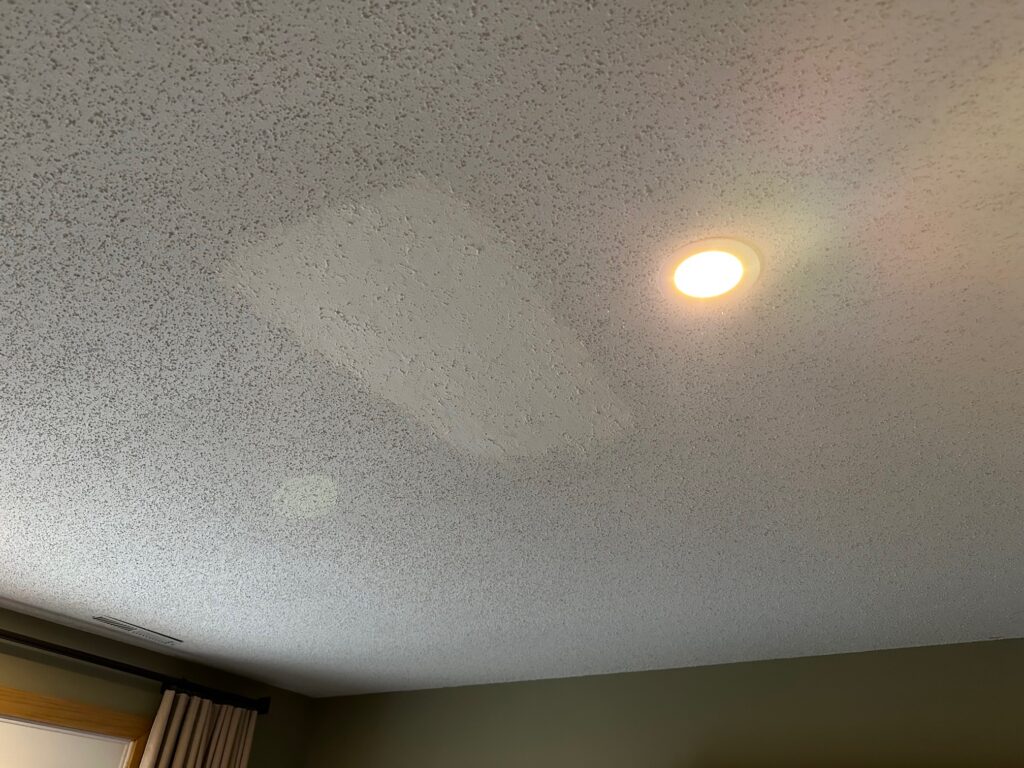
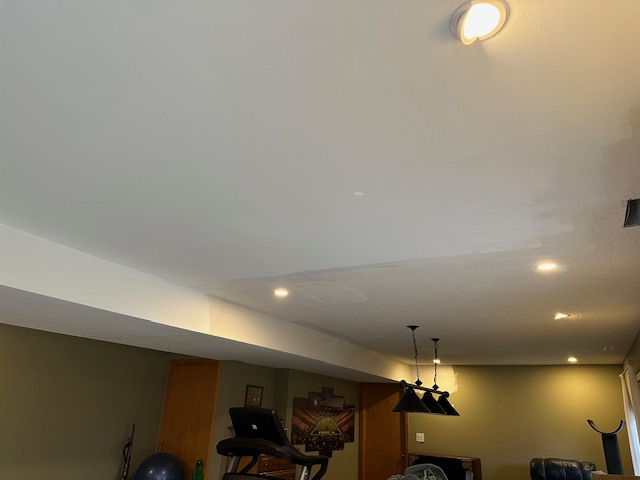
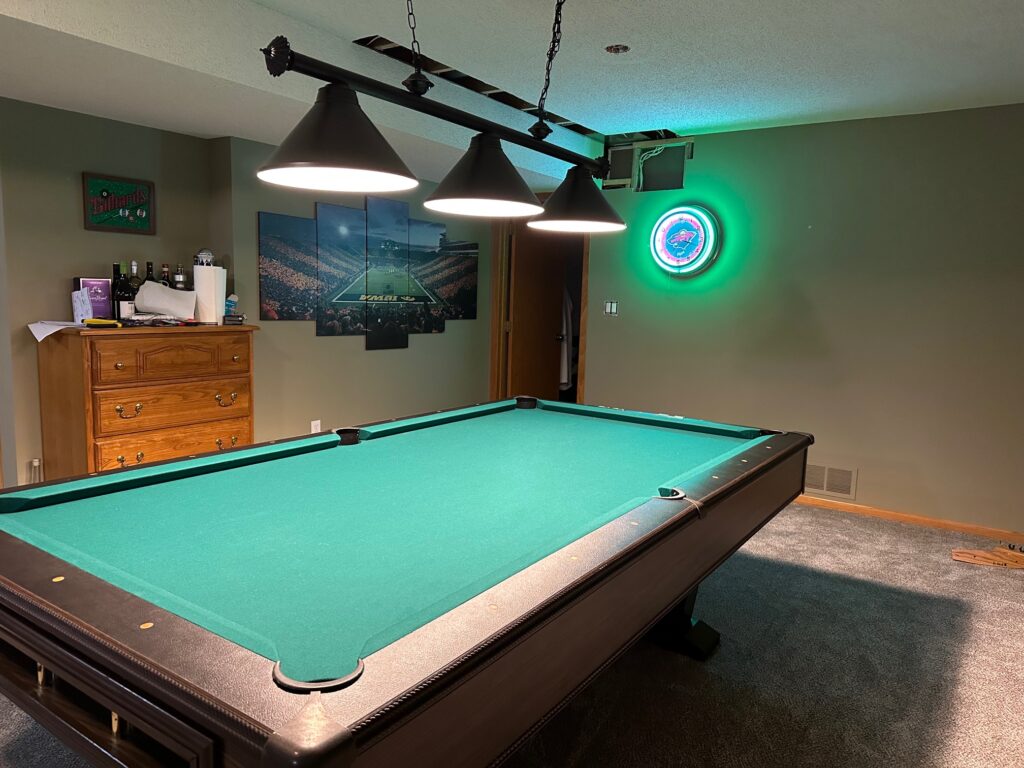
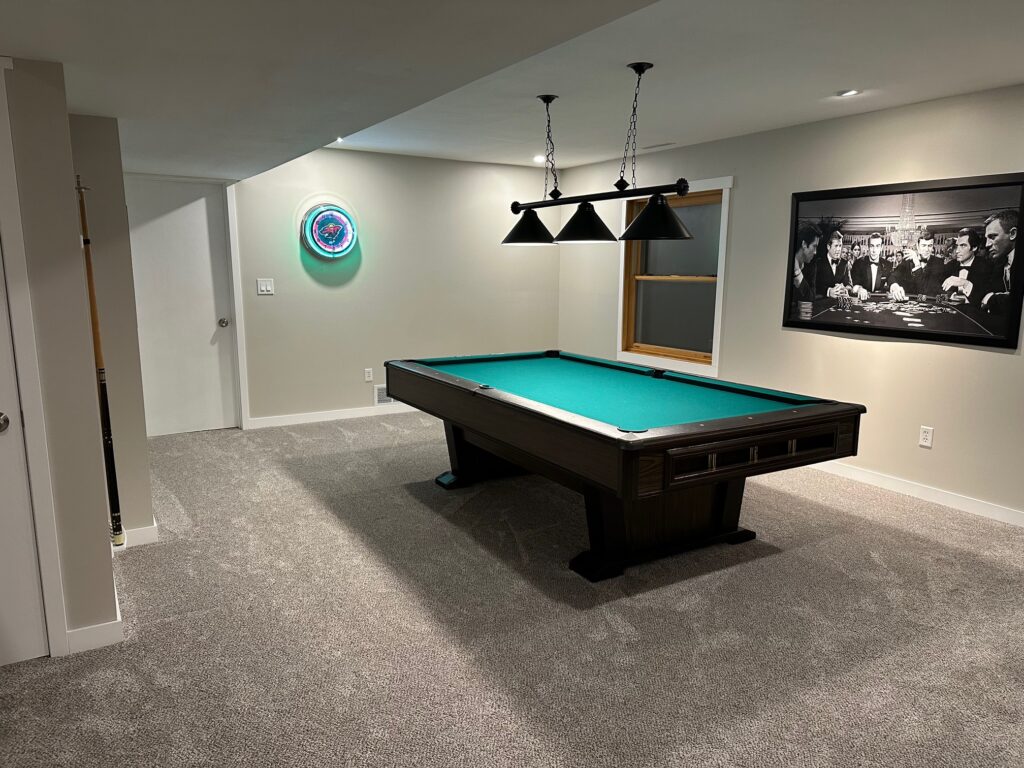
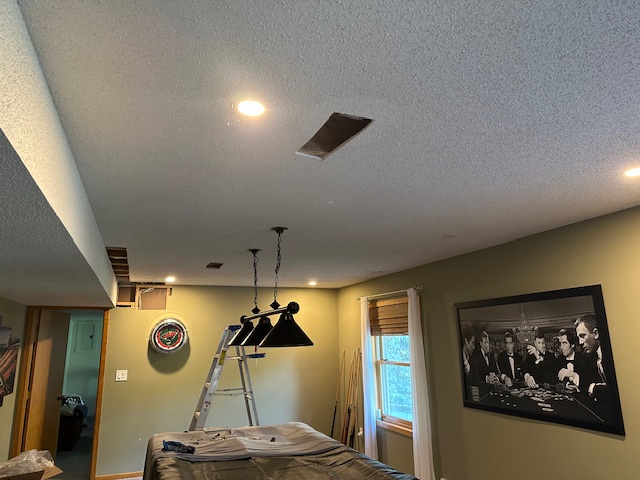
These photos show one side of the room stripped of popcorn texture, with the other side still untouched. I used 2 coats of primer and 3 coats of white ceiling paint. The difference in the two sides of the room was dramatic:
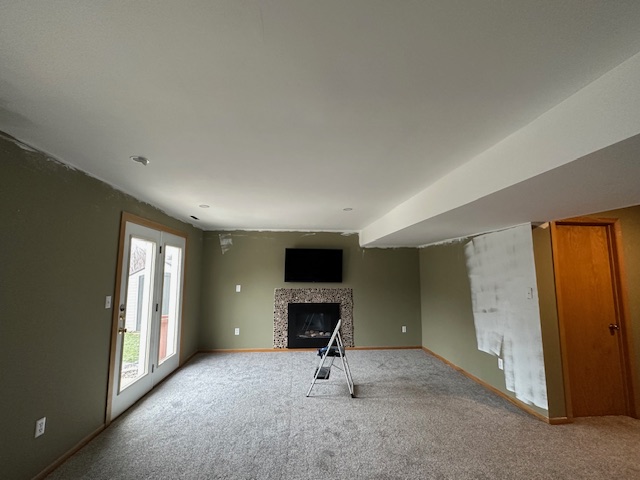
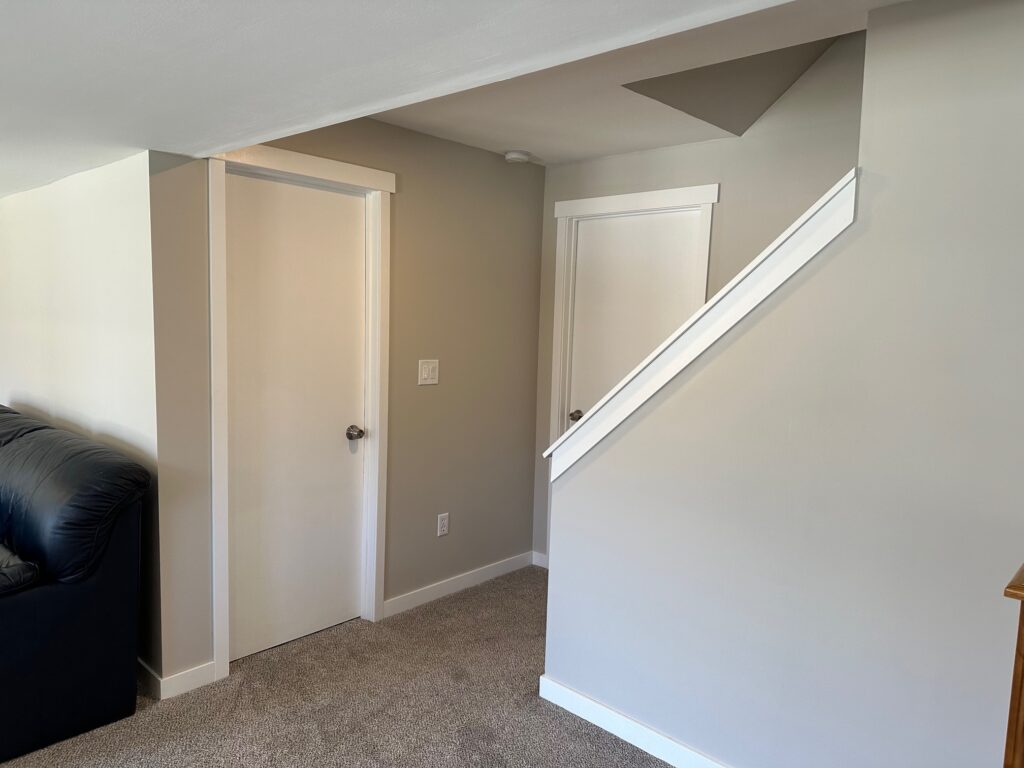
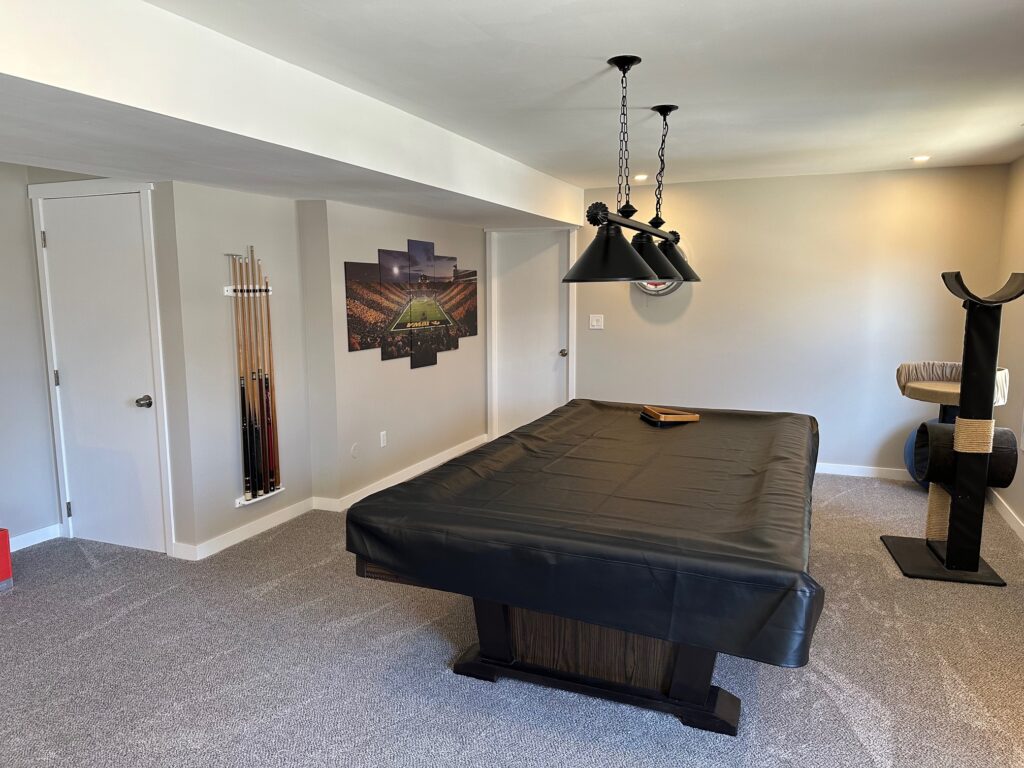
After finishing the ceiling, I primed and painted the dark green walls. We used the Behr color “Mineral” in an eggshell finish. We used Mineral in several rooms in our Apple Valley home and liked it a lot as a neutral “greige.” The room immediately looked bigger when covering the dark green paint.
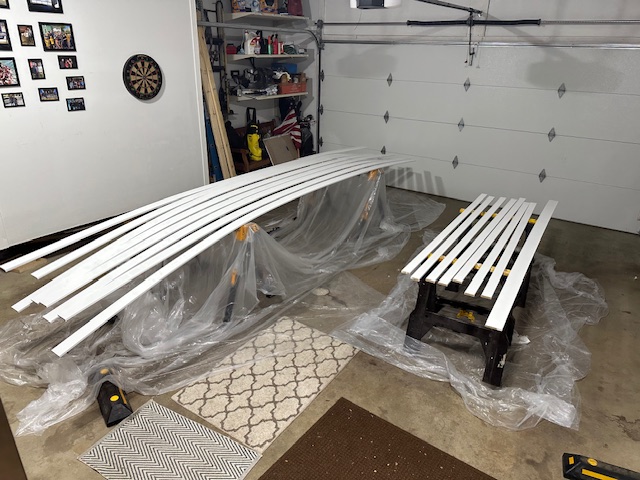
Rather than priming and painting the existing trim, we decided to go a little more contemporary with slightly larger trim. For the baseboards, I used primed 1x4s. For the door & window trim, I used a mix of 3/4×3.5 casings and 9/16×2.25 casings. Everything was painted in Behr Semi-Gloss Ultra Pure White Latex.
We also painted the doors and updated the hardware.
Here are some before-and-after pics of the whole room:
Up next? Replacing the old, leaky windows and re-doing the fireplace surround and adding a mantle. Thanks for reading! -Mike