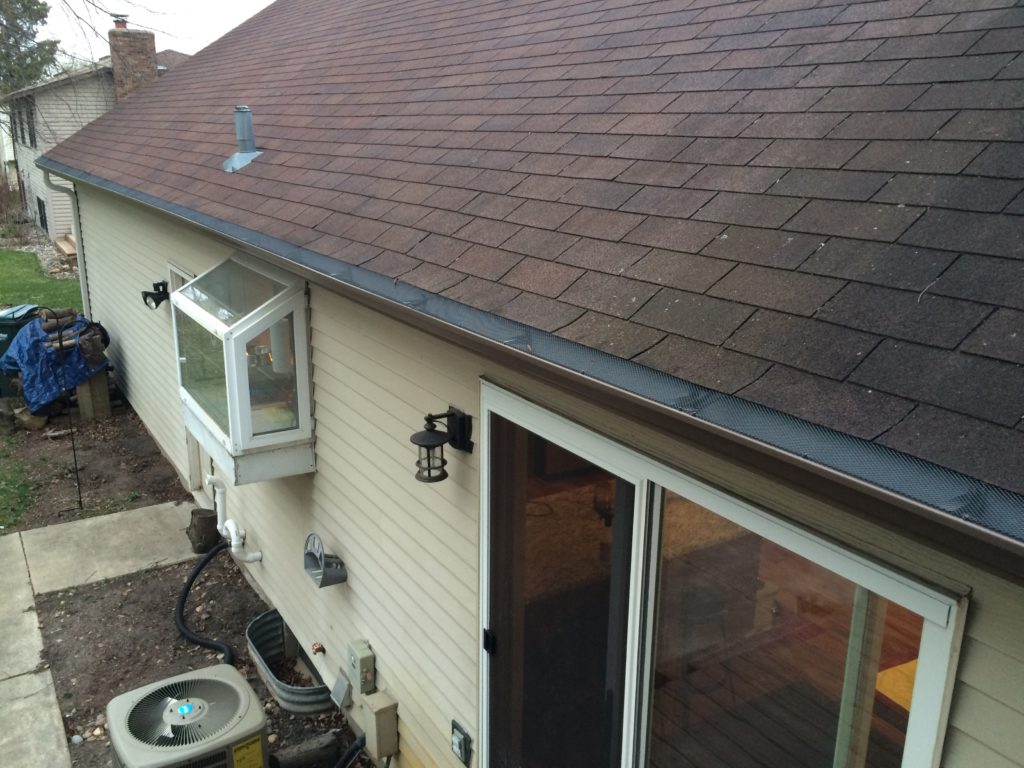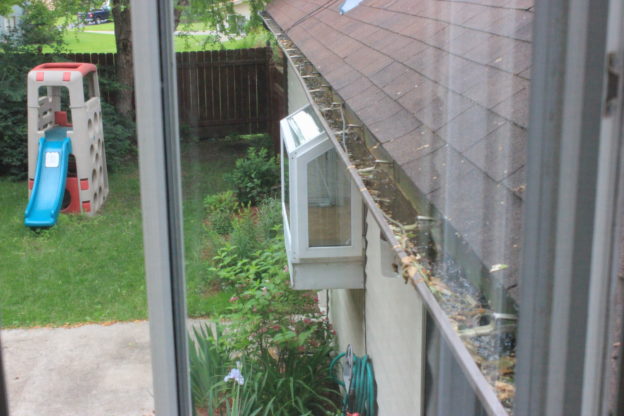
There are few things worse than the smell of rotting organic material. This was just the first sign that our gutters would probably need some attention someday. If you’ve ever dragged out a ladder, put on gloves, and held your breath to clean gutters, you know exactly what I’m talking about. Gutters provide a valuable service to homes. They collect rainwater from the roof and divert it away from the structure. However, unless they have a leaf shield or screen, leaves are bound to fall inside too, and if it’s not cleared out on a regular basis, it becomes a make-shift compost pile. One spot on our house was so bad, weeds were growing out of it. Look closely in the photo below and you’ll see what I’m talking about:
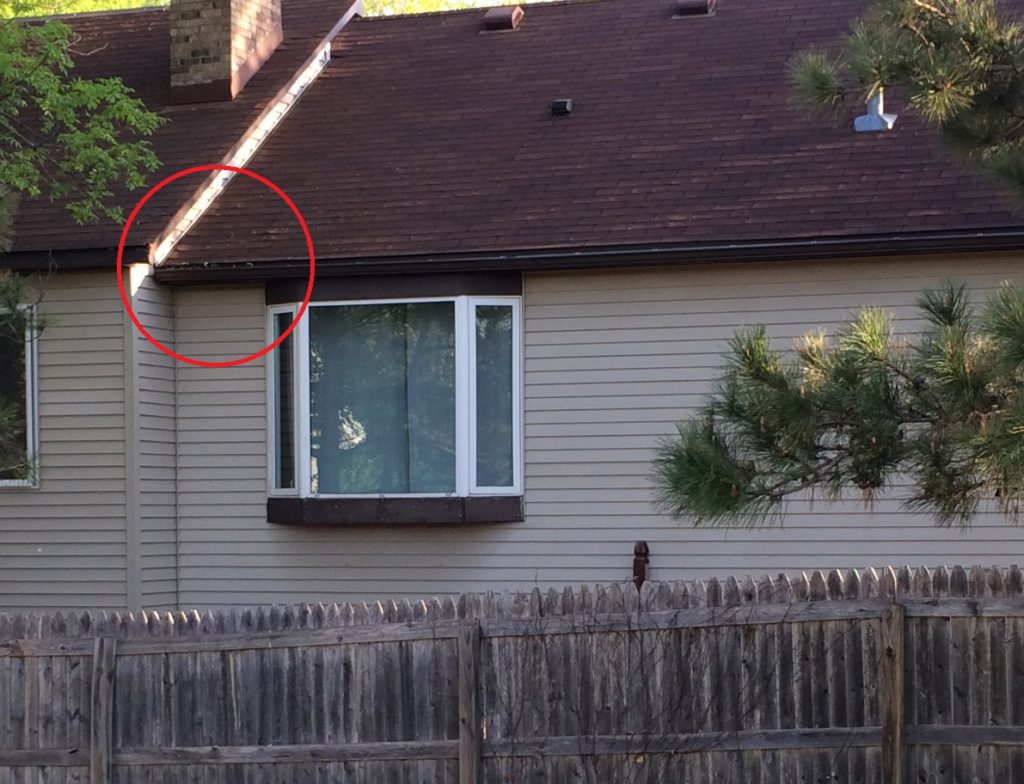
The second sign that we needed new gutters, and what finally made us pull the trigger on replacements, was a small leak that developed above our back patio door.
I put Winnie’s water bowl under the drip because I was having concerns about the water splashing off of the deck and on to our house. As homeowners, we have always been told that water can have a devastating impact on your house. Not only that, the water that was falling from the gutters was a rusty brown color, and it was staining our siding. I think the rust came from how the hole developed in the first place; years of standing water in steel gutters. Knowing we were bound to replace the gutters within the next couple of weeks, I drilled holes in the bottom of the gutters to help the water flow out. Look closely in this next video for the stained siding:
After a little bit of research and calling for estimates, we chose a local company to install new gutters for us. We were presented three options. All three included gutter technology aimed at keeping leaves out of the trough. We chose the most affordable option, which came with a wire mesh and slightly larger downspouts.