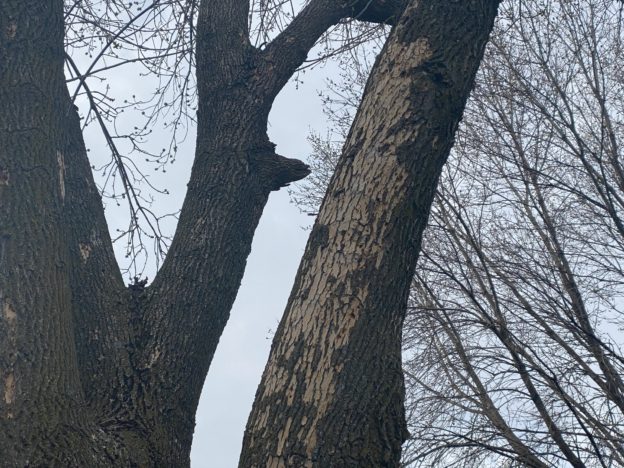
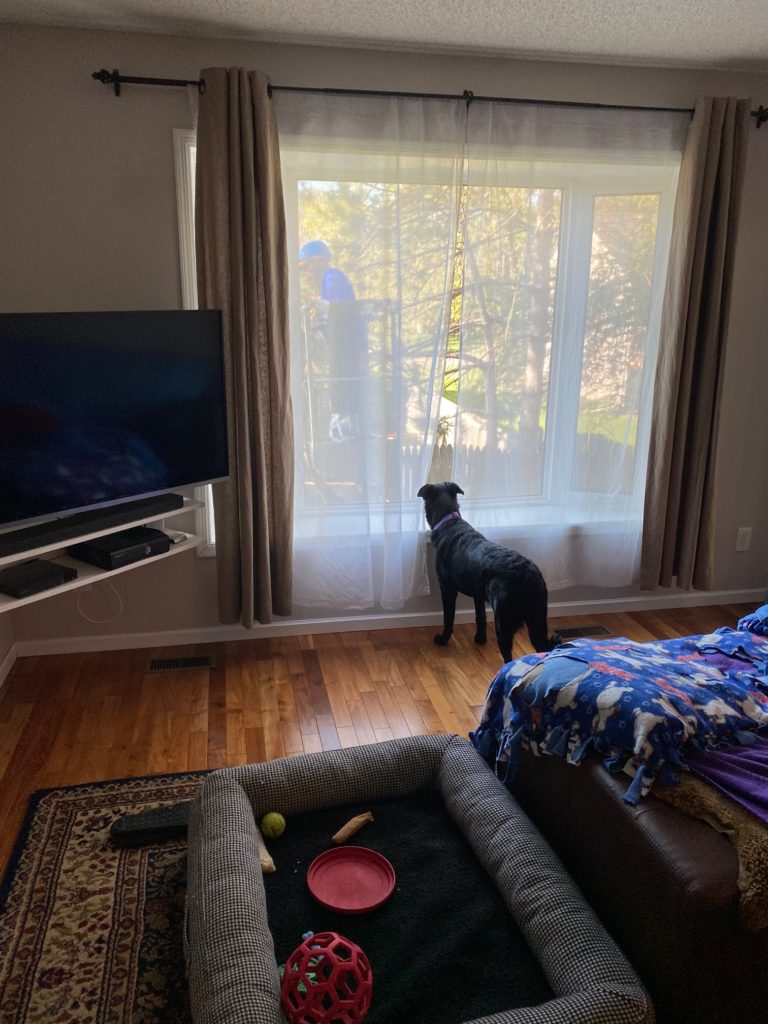
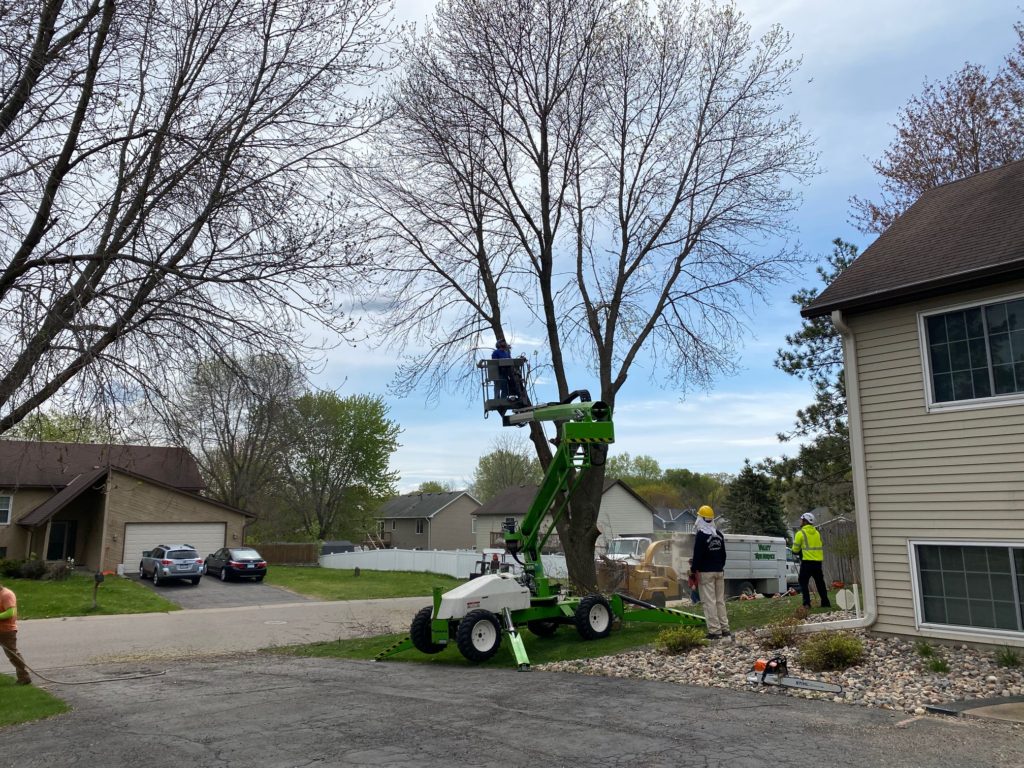
In the spring of 2021, we made the difficult decision to have three of our trees cut down. The trees were all infested with Emerald Ash Borer.
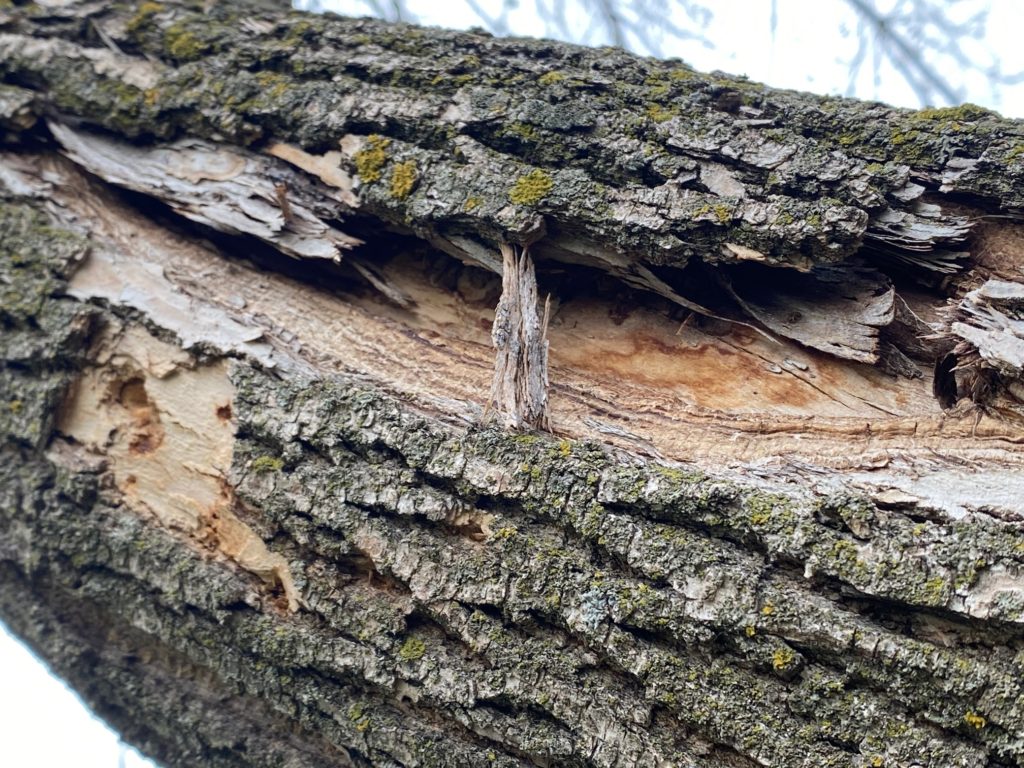
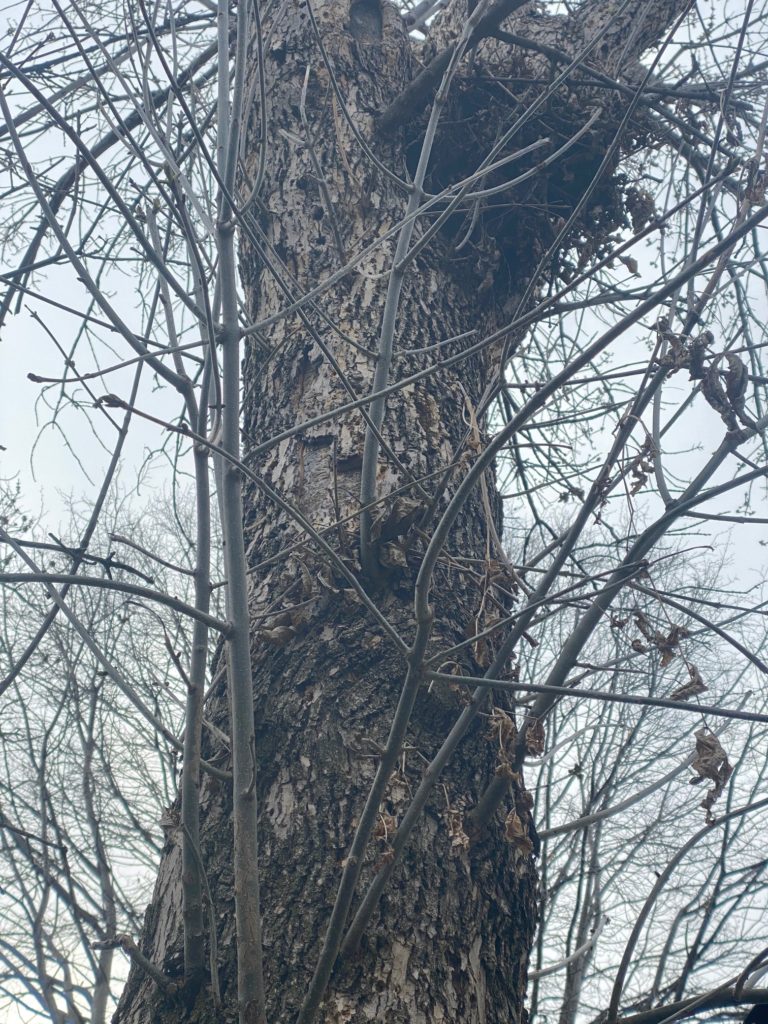
Emerald Ash Borer is an invasive species of beetle, According to the Arbor Day Foundation: “Adults usually emerge in mid- to late-May from infestations to the trees during the previous year (earlier if the weather is warm), with females laying their eggs shortly after. The larvae bore into the ash tree and feed under the bark, leaving tracks visible underneath. The feeding disrupts the tree’s ability to transport water and nutrients, resulting in dieback and bark splitting.”
I tried using chemicals to treat the trees for several years, but the damage was too extensive. All of our ash trees were showing damage and struggling to grow leaves. We hired a local tree trimming company to take them down.
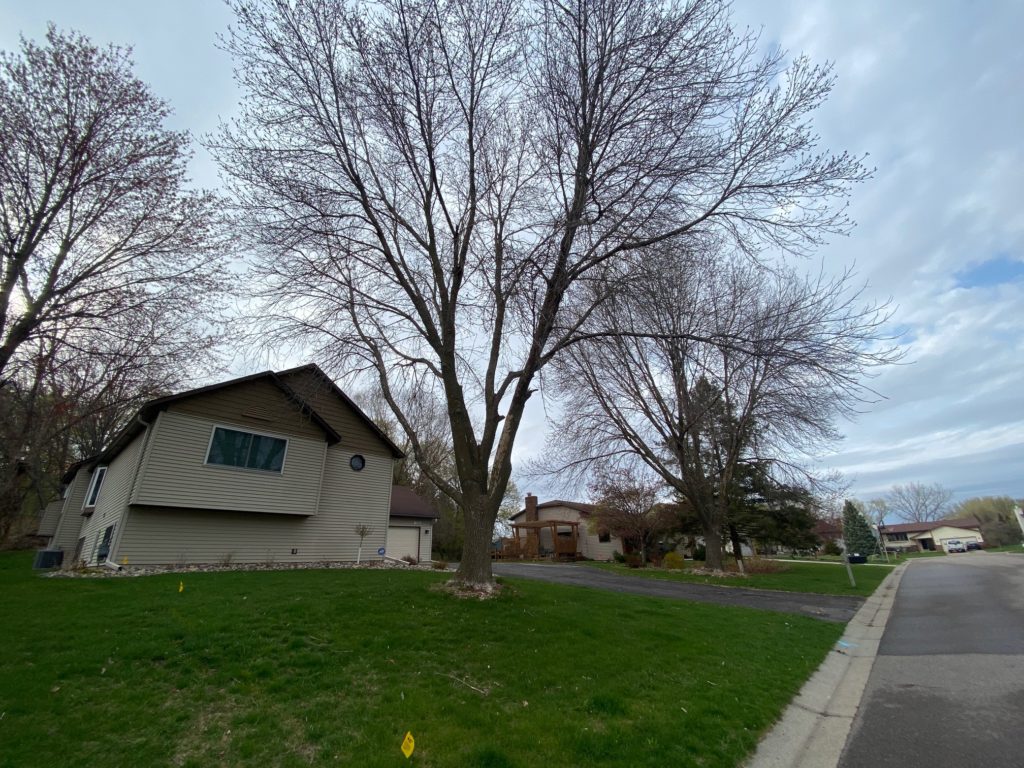
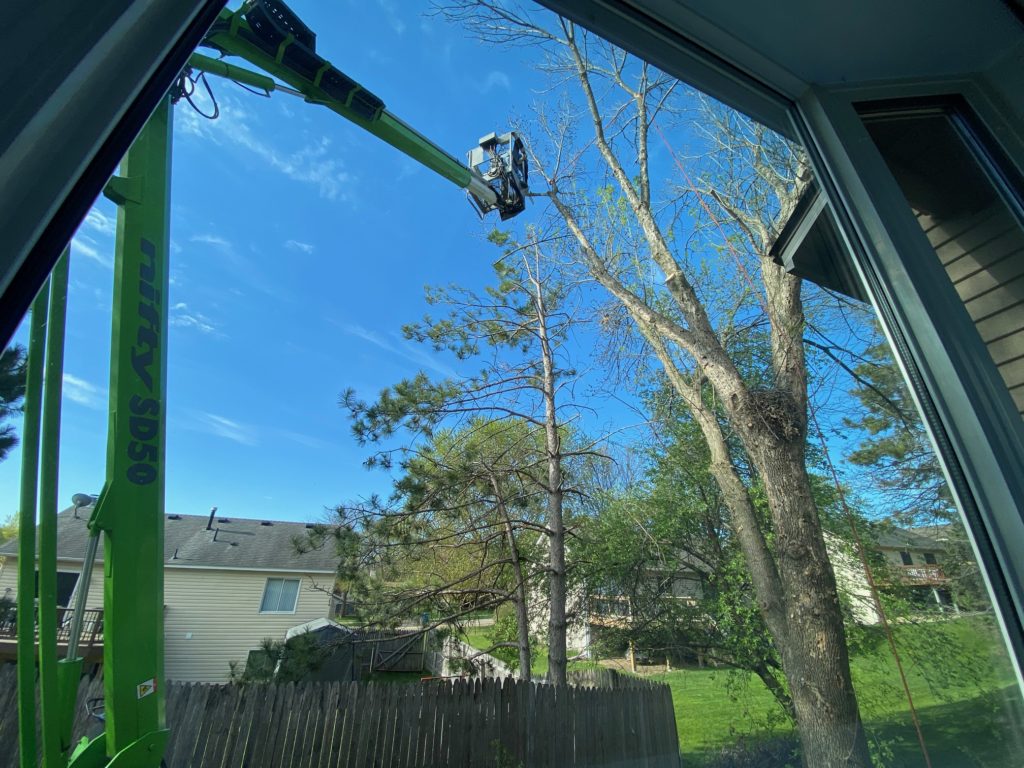
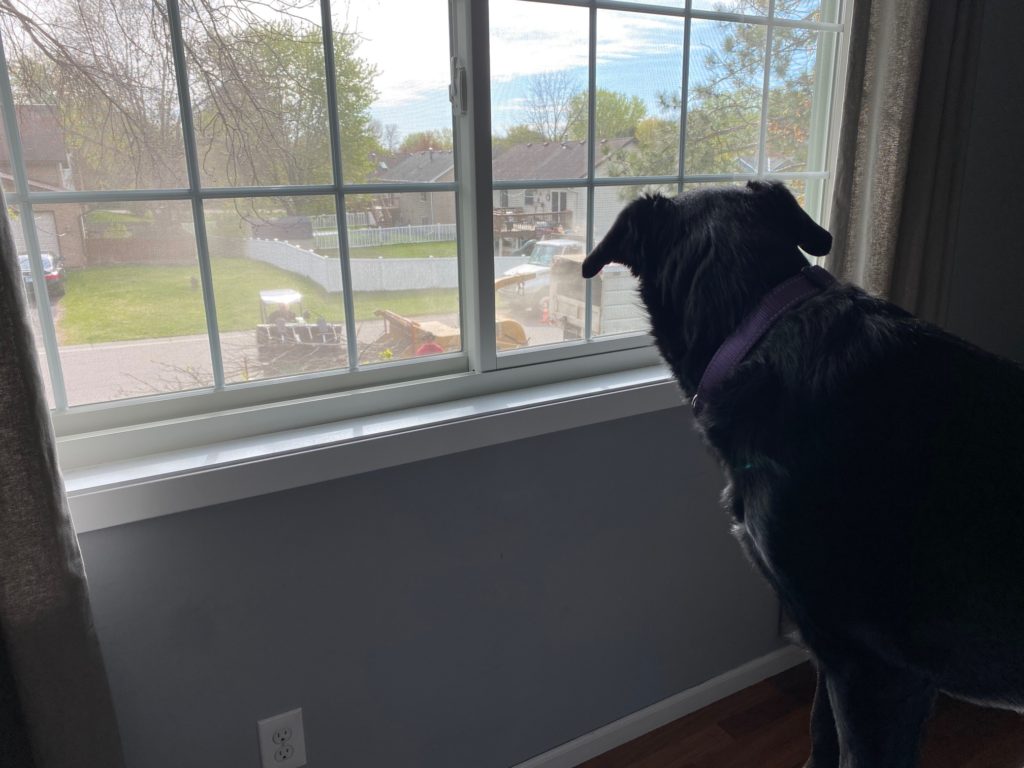
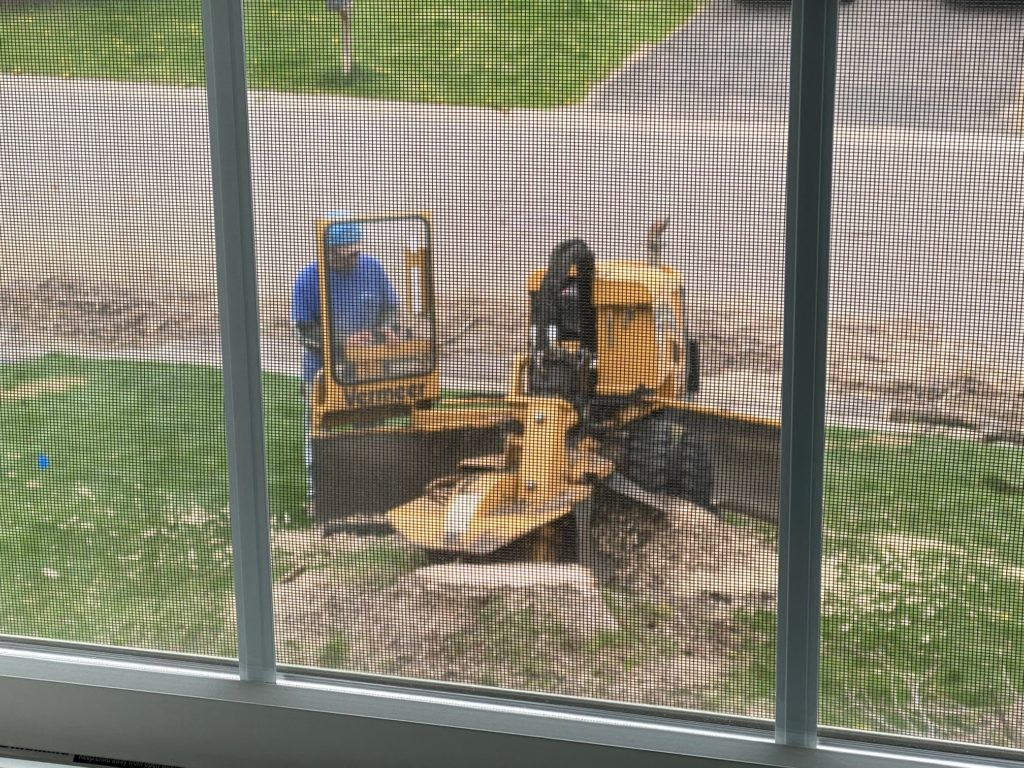
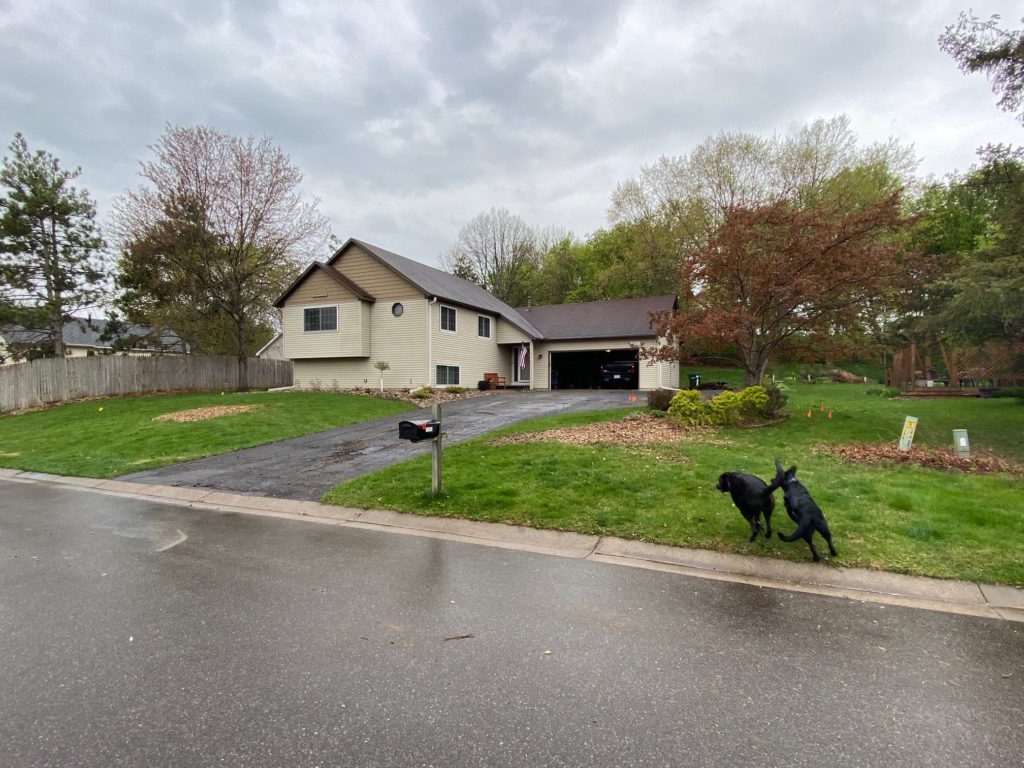
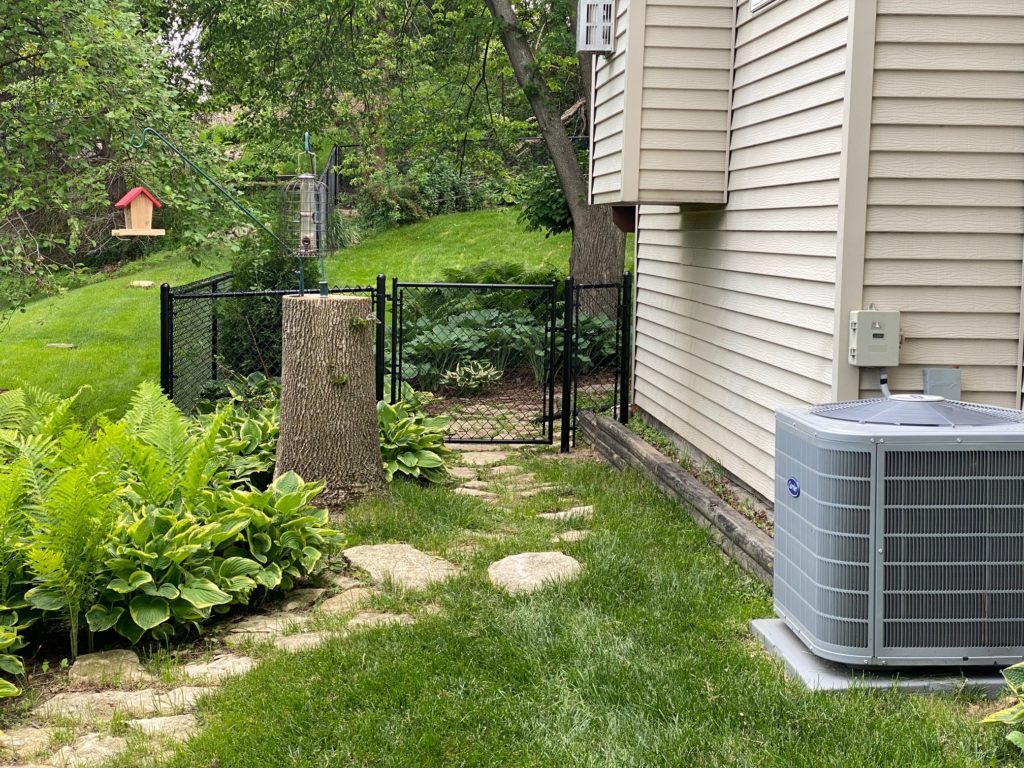
Stella watches the crew get to work from the living room window.Stella later moved down to the bedroom to watch the crew use the massive woodchipper.This photo is a good example of how the trees were struggling to grow leaves. In past years, they would have just as many leaves as the trees in the distance by this point.Not the best photo through the screen, but it shows the machine they used to grind down the stump in the front yard.Winnie and Stella running around after the tree crew had left. The front yard looks so different without those beautiful trees!We kept one of the tree trunks around the side of our house to hang bird feeders.
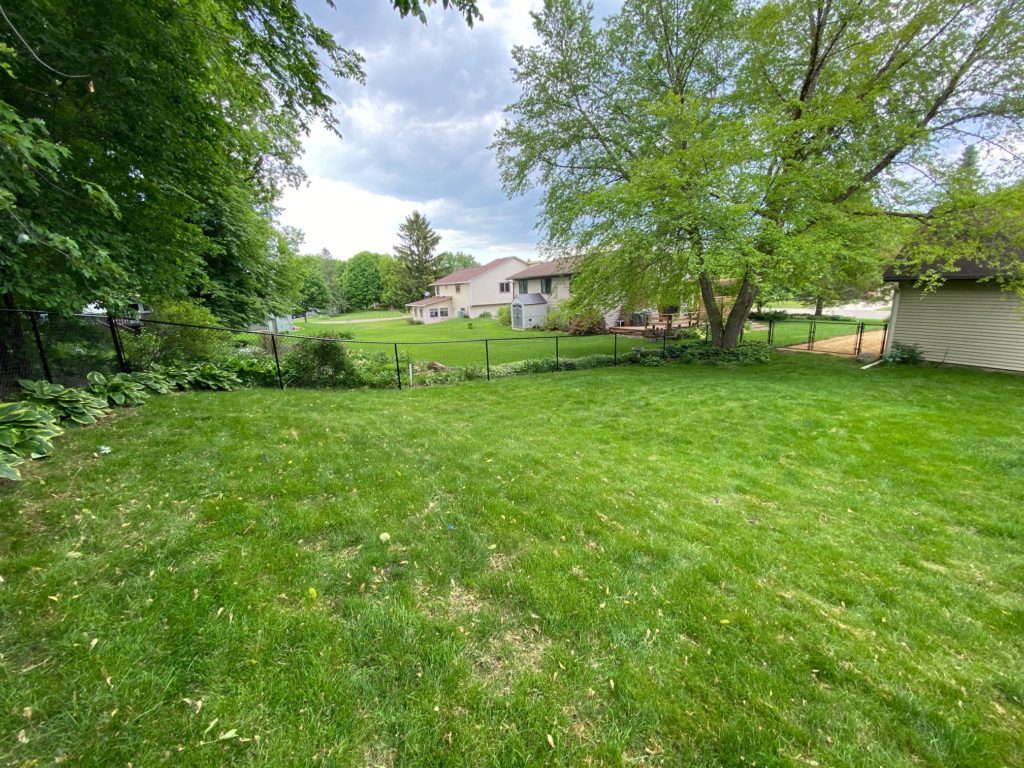
Winnie and Stella now have a place to run free in the comfort of home, while Mike and Sara no longer have to worry about our dogs chasing squirrels beyond the property line, or dealing with a tie-out cable that’s frozen to the deck in the middle of winter. This post is about the newly installed fence in our backyard.
Pure happiness is a dog rolling in the grass. Not terribly relevant to this post, but an adorable video!
Installing a fence at this home was never a major priority, especially because of the breed of our first dog Winnie. As a Doberman/German Shepherd/Labrador retriever mix, she learned to respect an invisible fence boundary quickly, and we never left her outside for extended periods of time. This breed difference was very noticeable to Mike, who grew up needing a fence to keep his Beagles from running away to chase every small critter smell. Sara had a different experience growing up, with a Bichon that did not have a fence and was happy enough to spend very short amounts of time on a line in the yard. However, when we adopted Stella (a Golden retriever/Labrador mix) in 2020, and more of our neighbors had had young children and adopted pandemic dogs of their own, we decided it was a good time to consider our options for fencing in our yard.
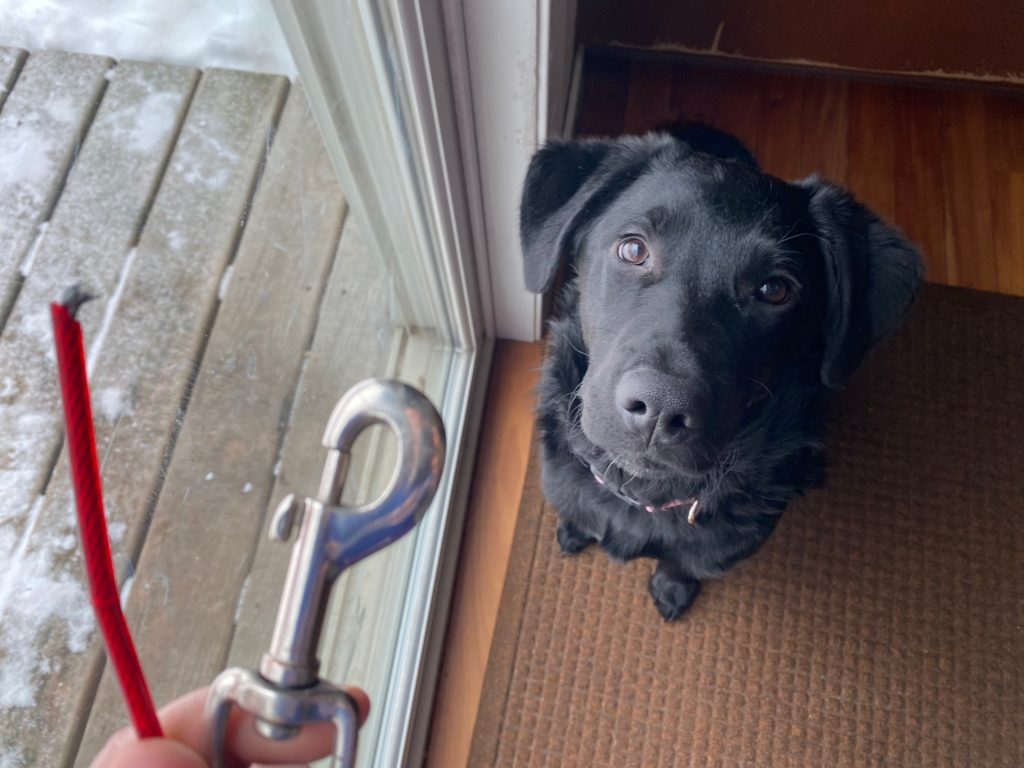
Stella after breaking her line. One of the many reasons we installed a fence.
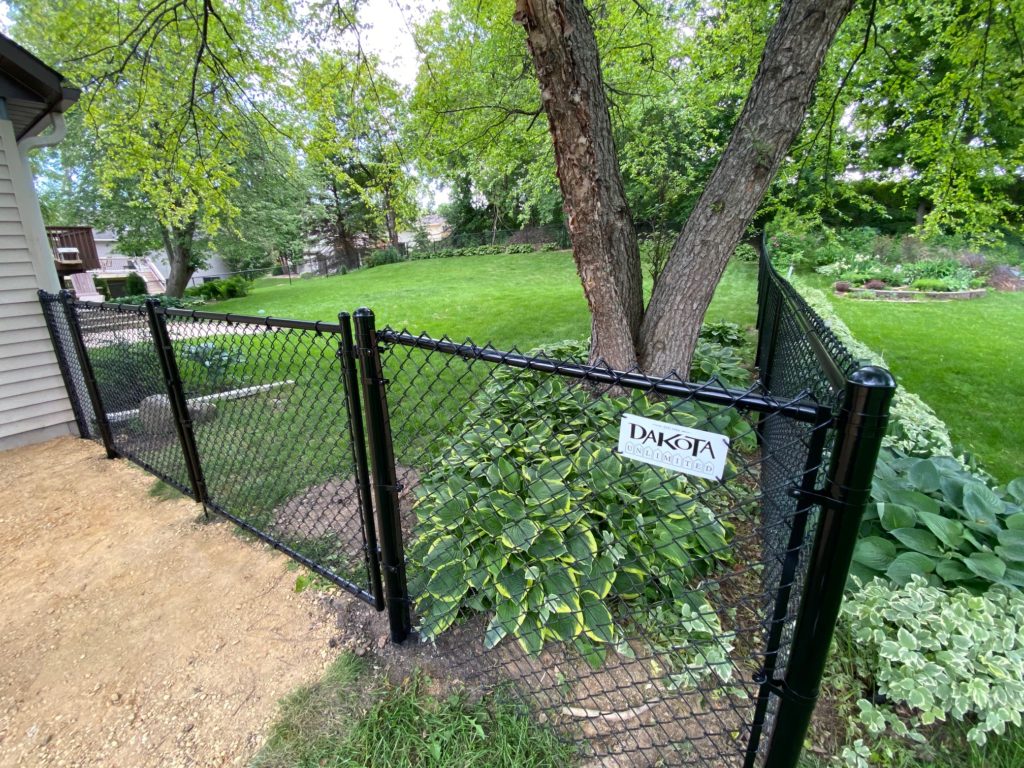
We looked at several styles of fencing, including wood, decorative aluminum and chain link. We ultimately decided on black chain link because it was the most affordable option that best matched our neighborhood. Dakota Unlimited in Rosemount, MN offered us the most attractive offer, so we pulled the trigger in December 2020.
Winnie spent the winter trying to avoid getting tripped by Stella’s line.
Installation did not happen until much later. It seems quite a few people adopted dogs in 2020 (the year of the pandemic) and also decided they needed a fence. We were 80th in line for installation with Dakota Unlimited for the coming season. The fence was ultimately installed in early June 2021.
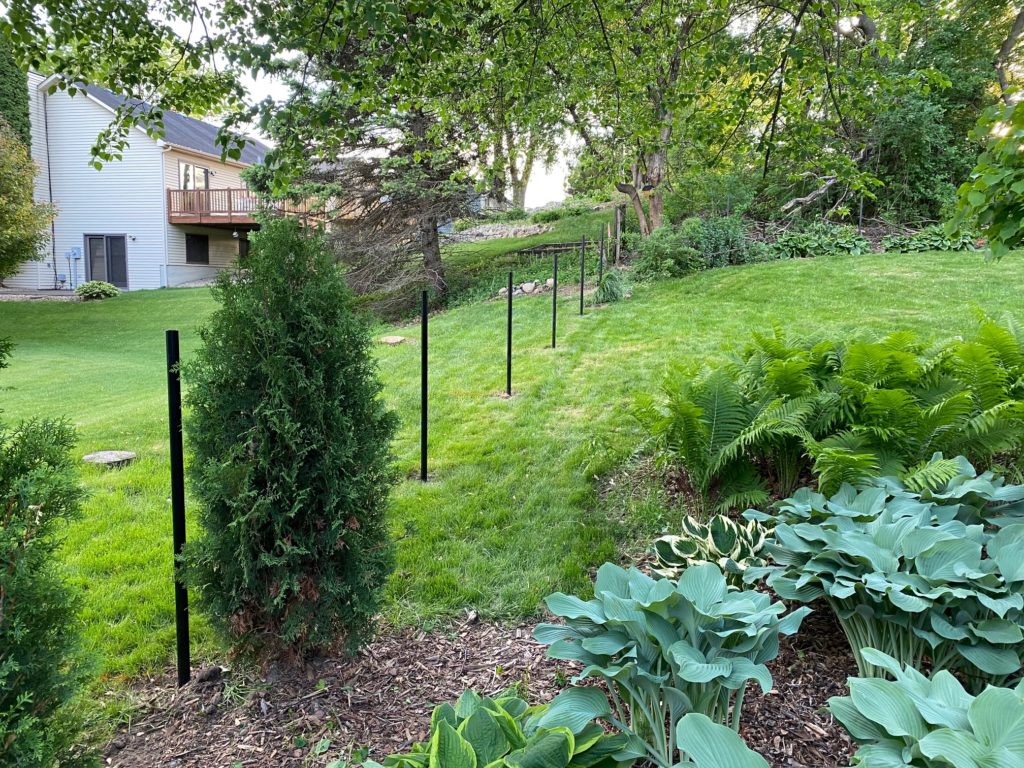
Every fence post is individually cemented into the ground.
There is a 10.5′ wide gate along the side of our garage.
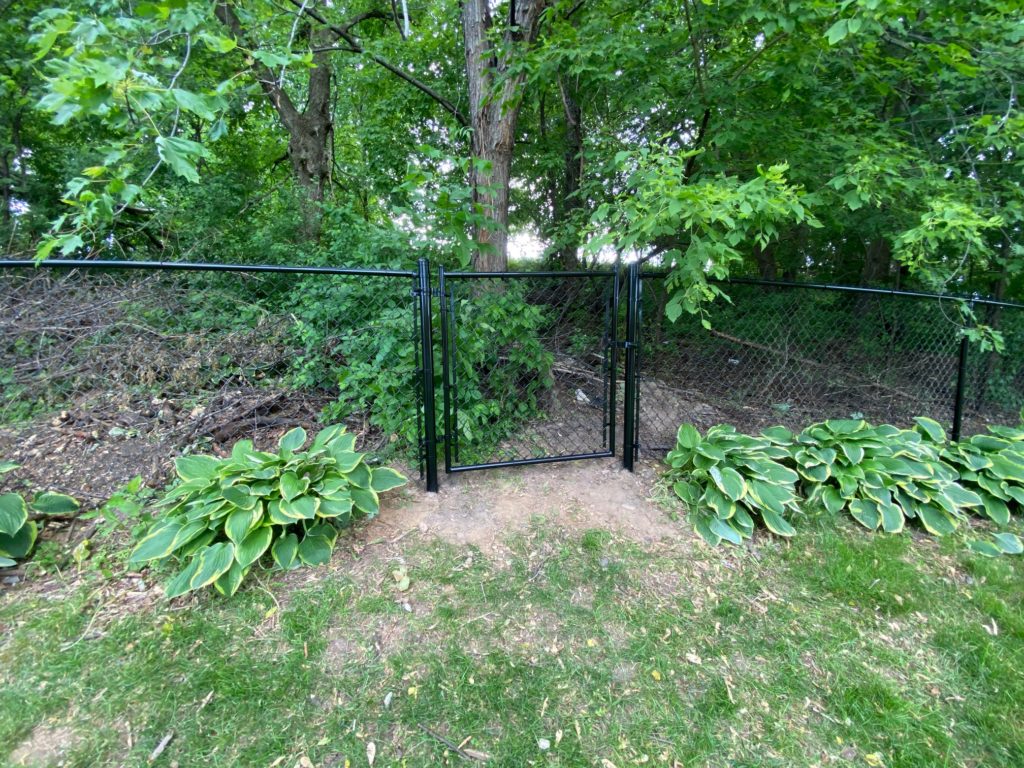
There are also two additional gates– one at the back of the property and another on the south side of the house.
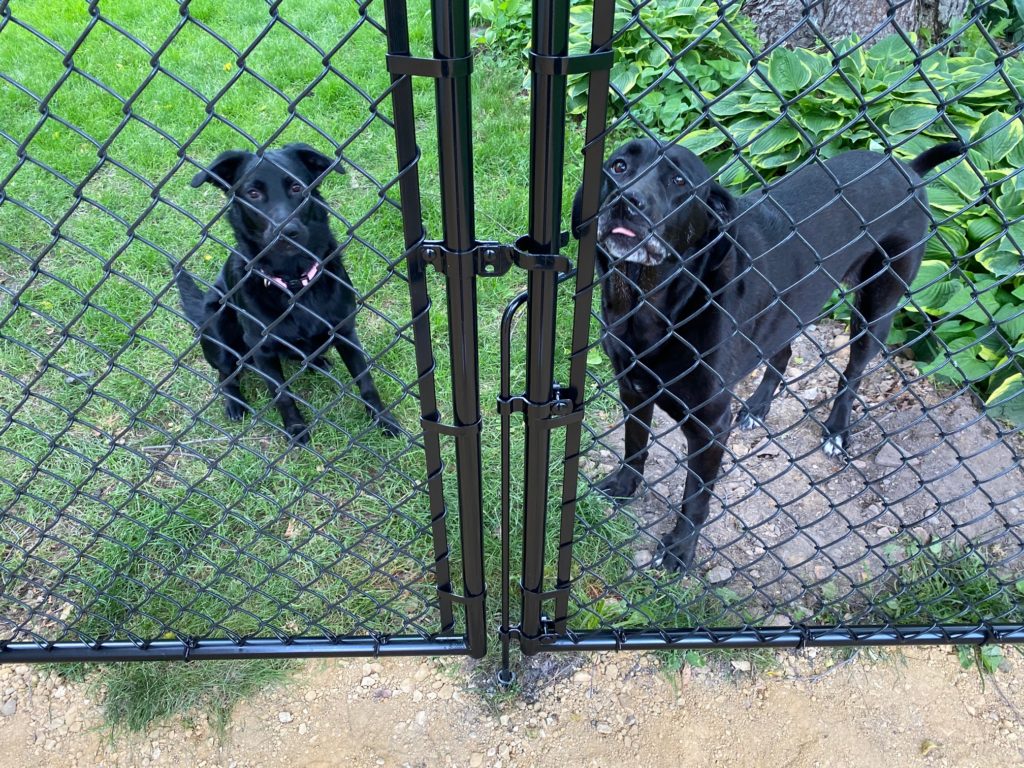
Here is a video of Winnie and Stella stepping outside for the first time in their personal dog park:
Overall, we are very happy with the chain link fence. It makes letting the dogs out a little less stress-free.