A fresh coat of paint is often the most affordable way to update a space and make it feel more like your own. Nearly three years after moving into our second home, we realized we had never made any meaningful updates to the main upstairs living area.
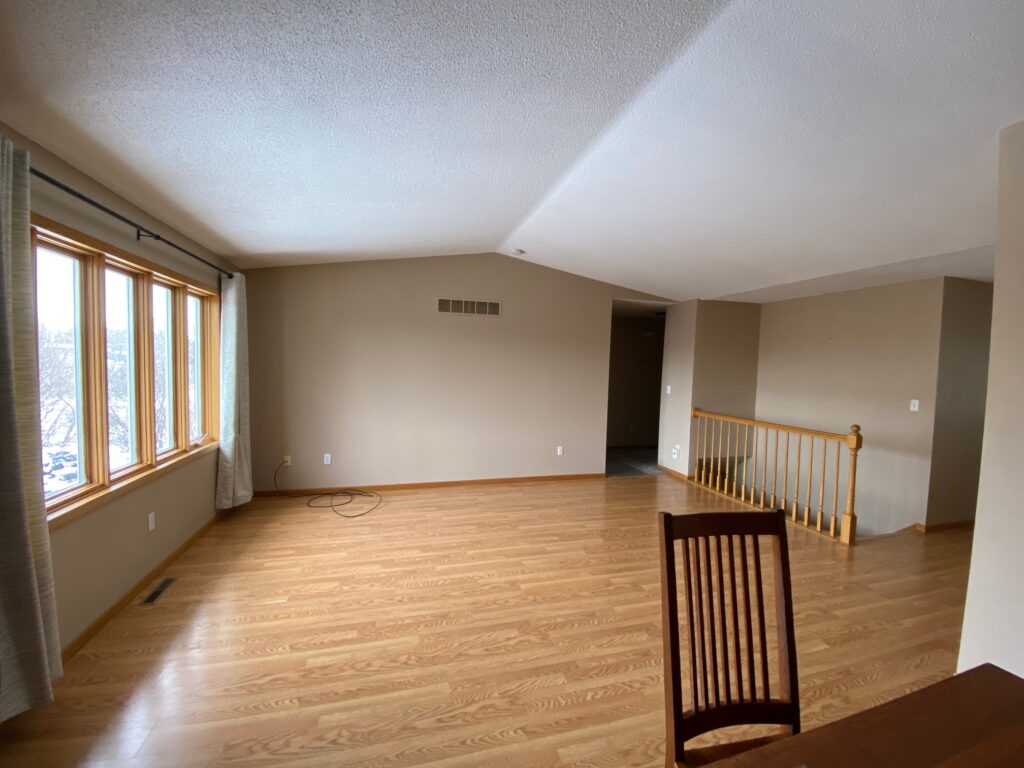
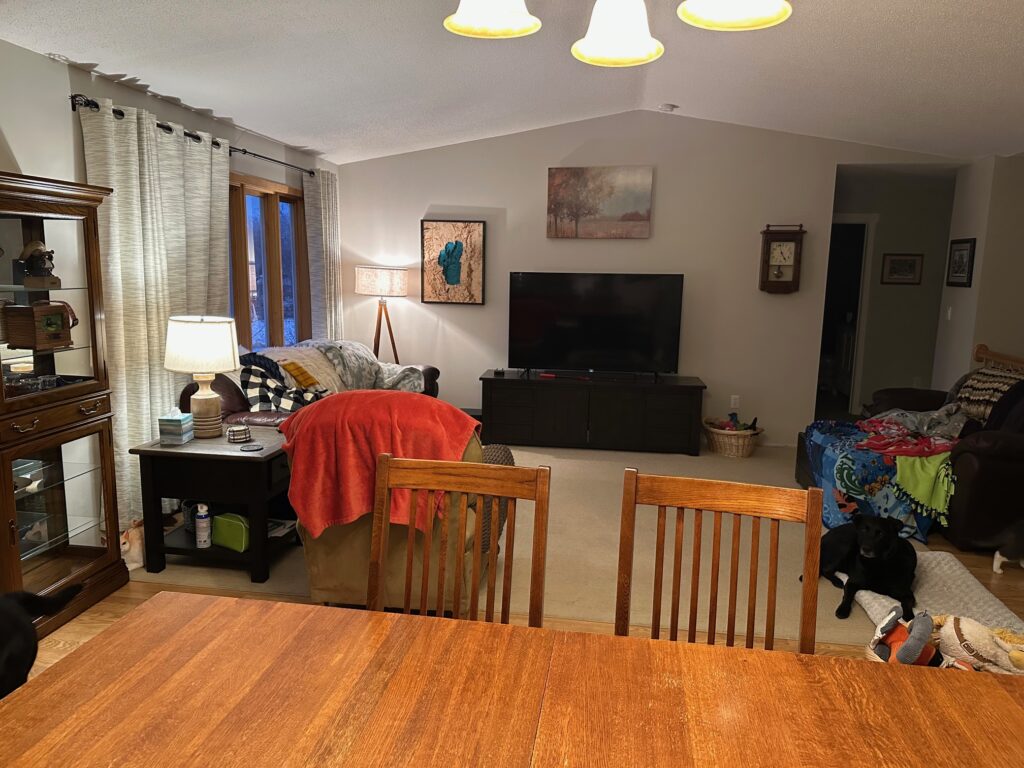
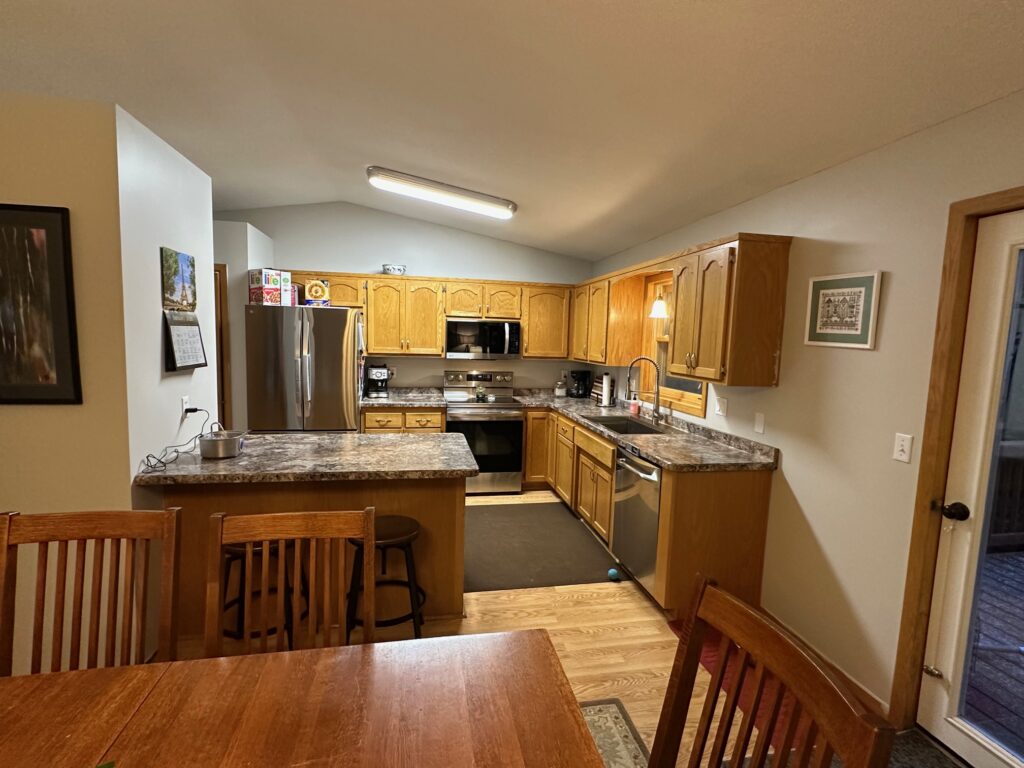
Ironically, the great room was one of the reasons we chose this house in the first place. The kitchen flows directly into the dining room, which opens into the living room, and the space felt finished enough that it never demanded immediate attention. If money were no object, we’d push the entire back wall out several feet and completely redesign the kitchen—but that’s a future project. For now, we focused on changes that would make a noticeable impact without breaking the budget. After all, we spend a good chunk of our time in the upstairs living room:

Each winter, my workload slows down a bit around the holidays, giving me time to tackle home projects. It’s the same window when I renovated the basement living room a couple years ago and completely rebuilt the basement bathroom last winter. This year, that downtime became the opportunity to refresh the upstairs.
Setting the Goals
The plan was straightforward:
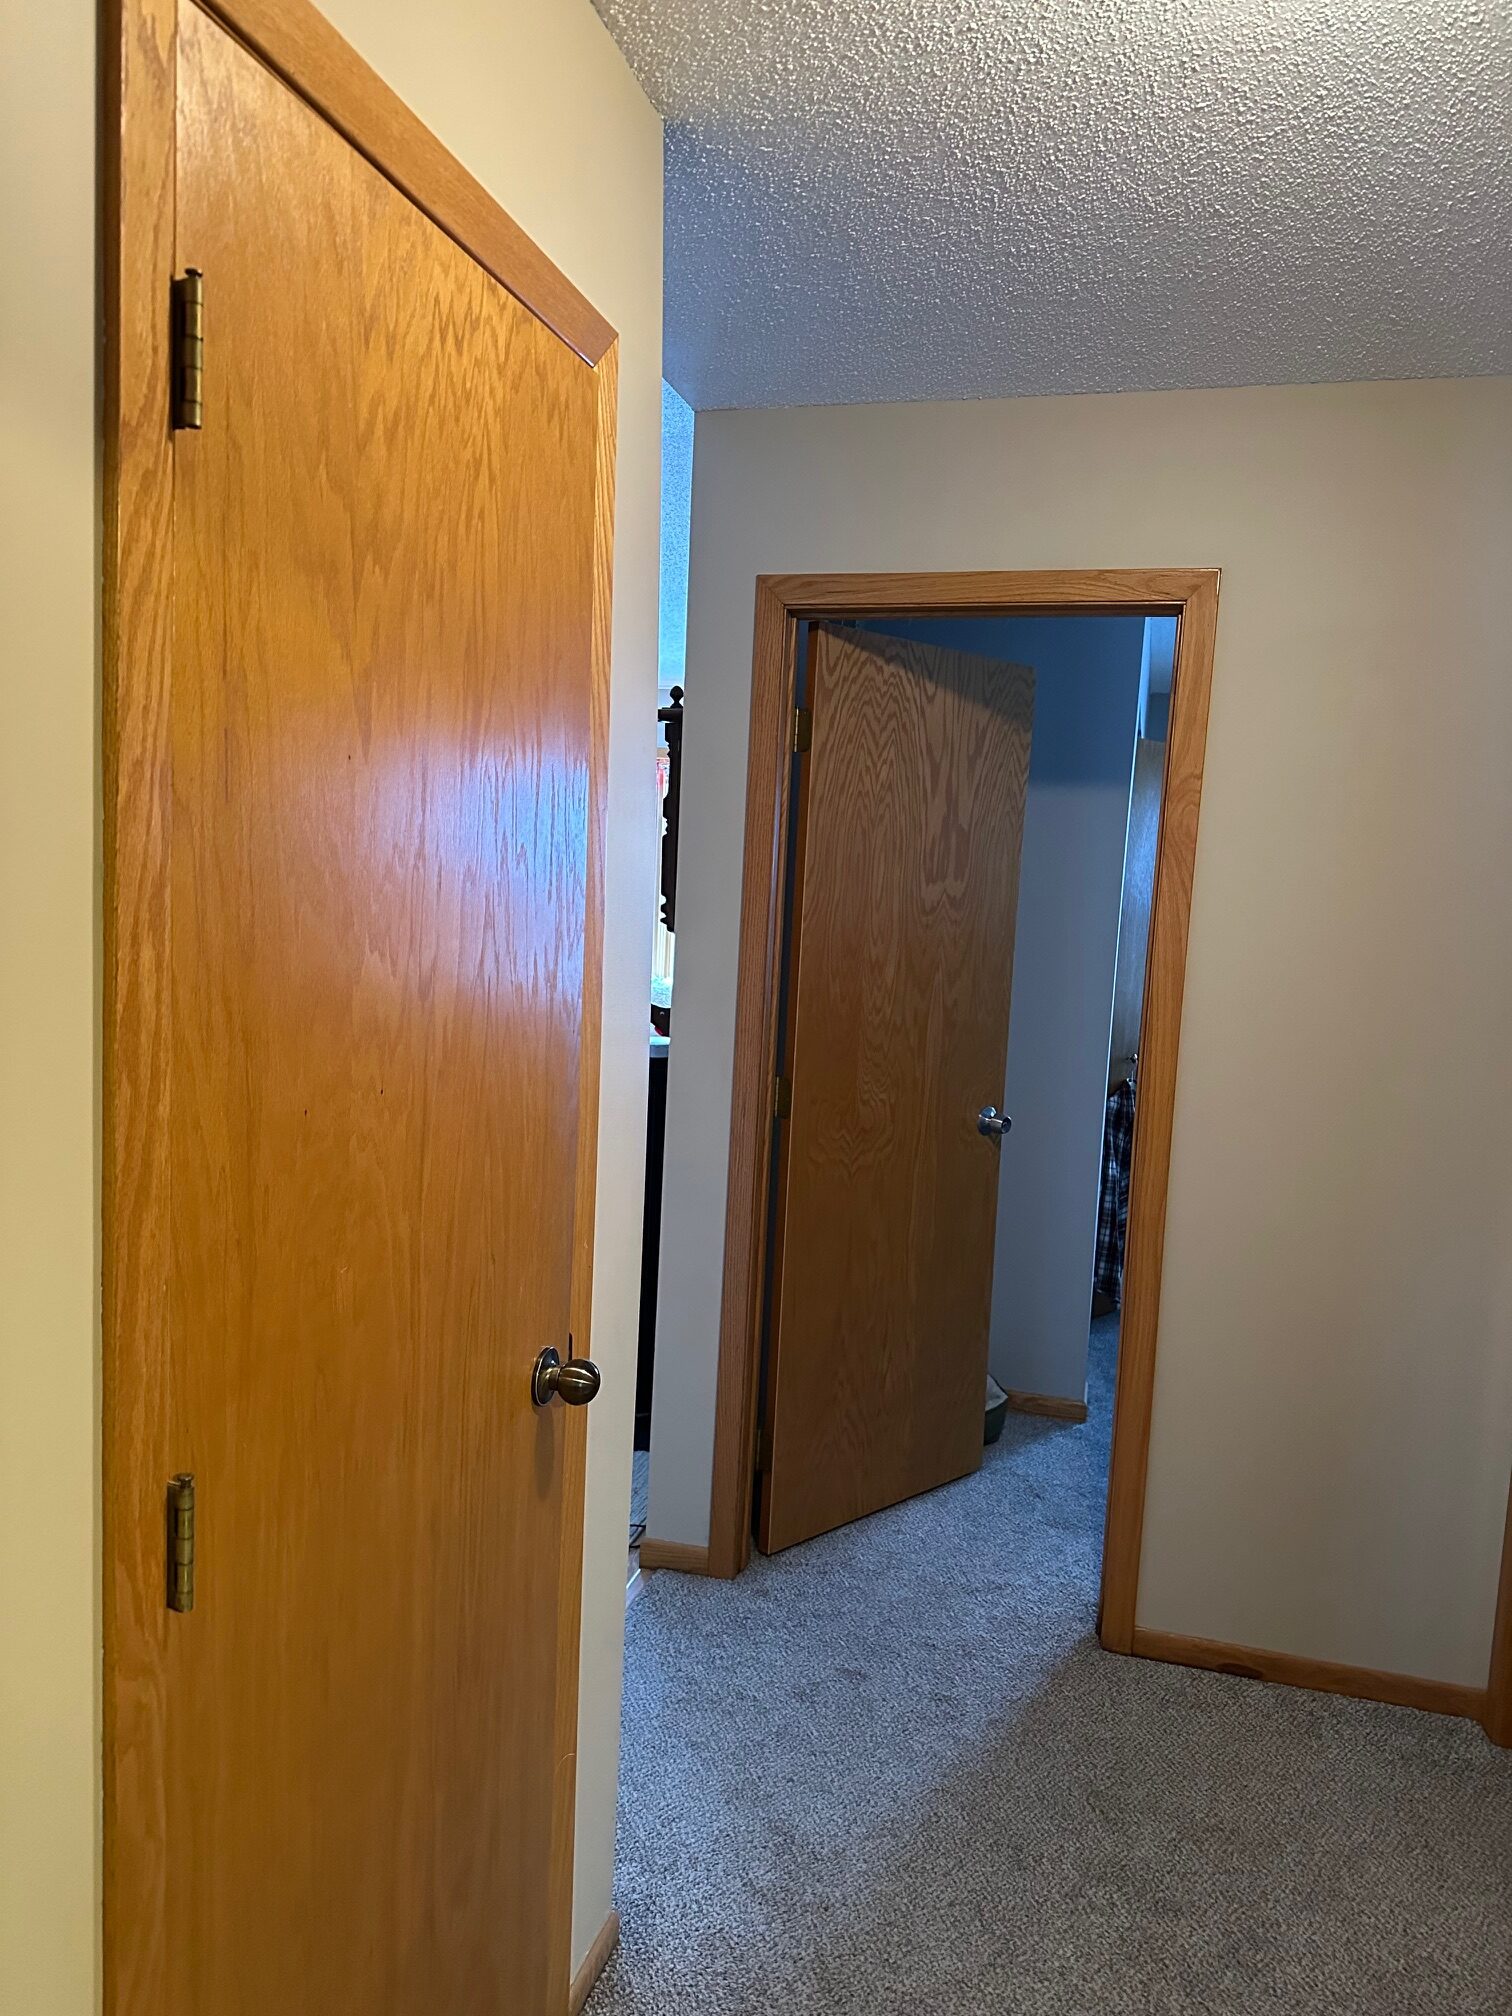
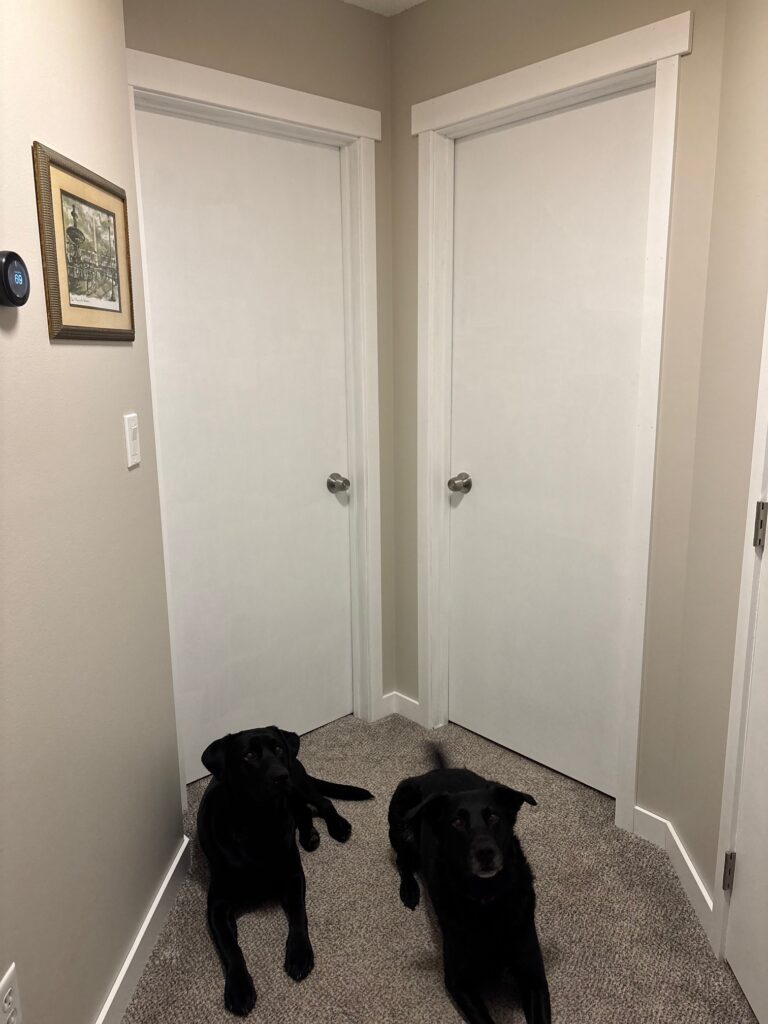
- Paint all interior doors white
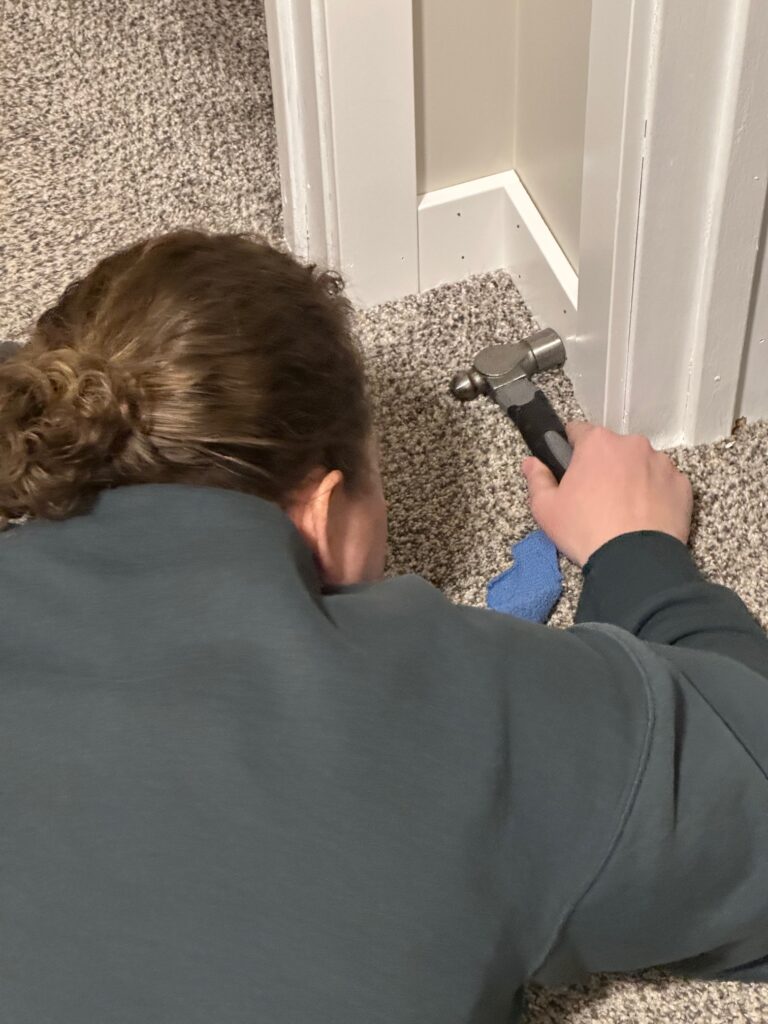
- Replace thin baseboards with thicker Craftsman-style trim
- Paint the great room and hallway
- Address a few smaller upgrades along the way
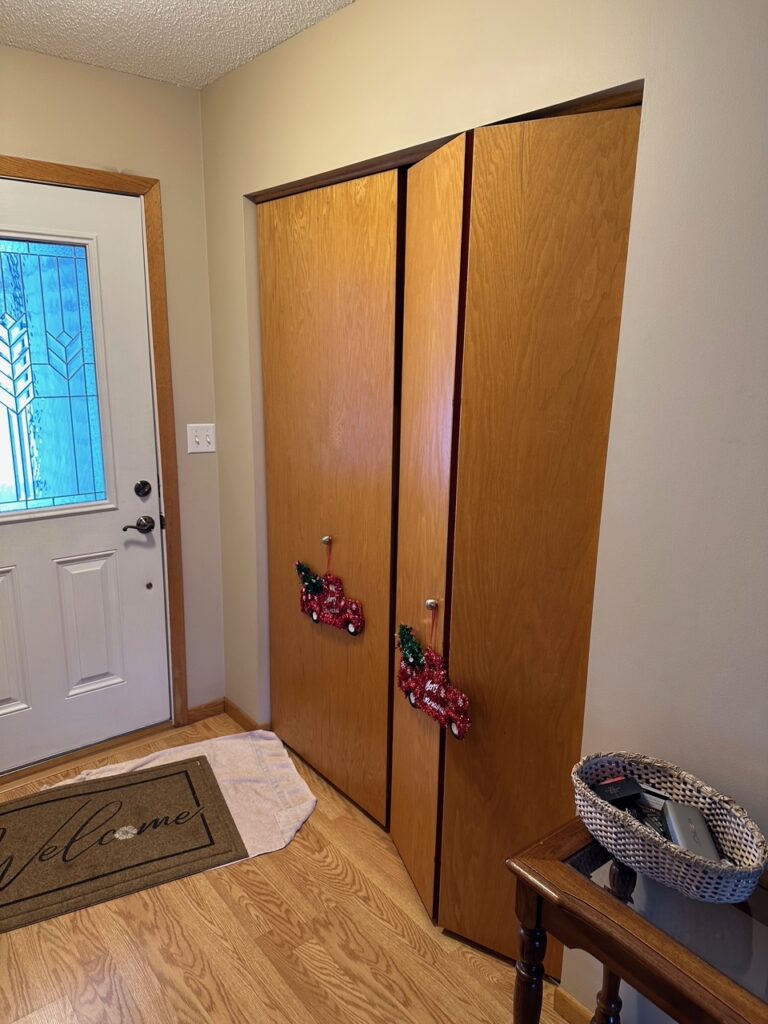
Painting Doors and Trim
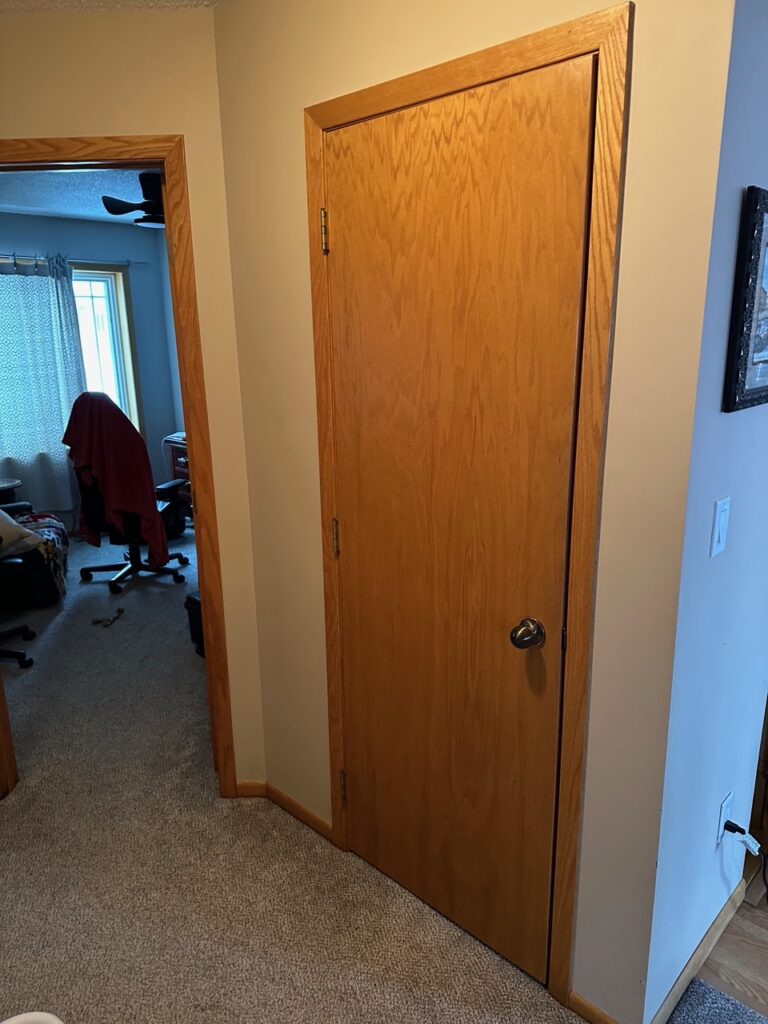
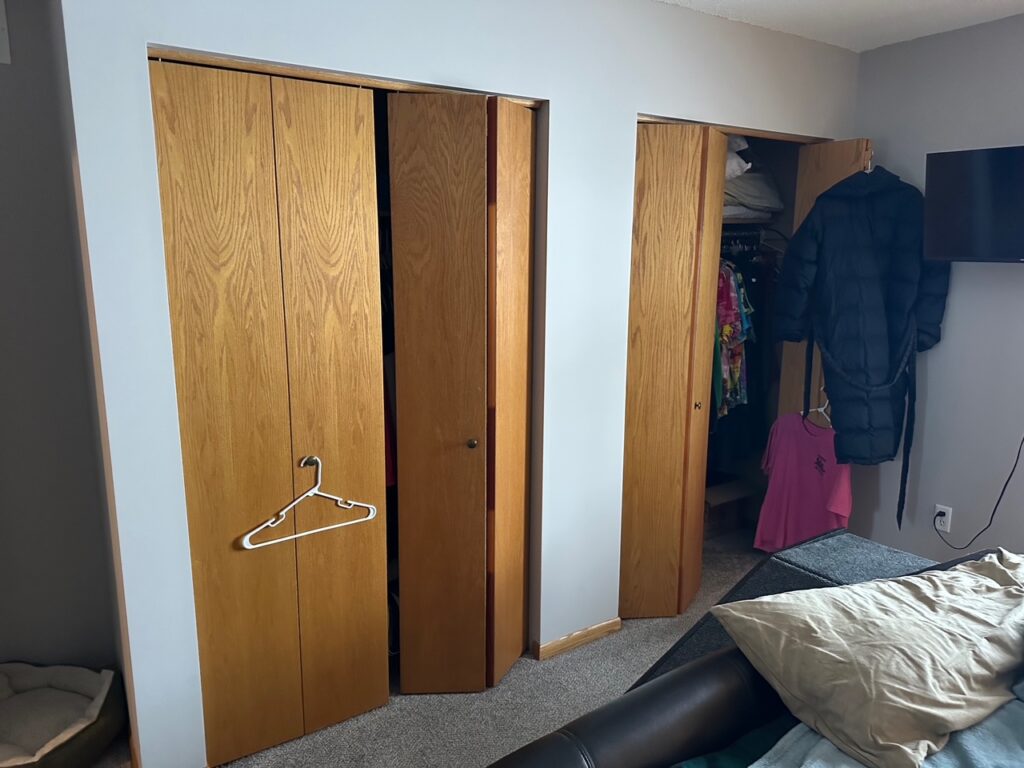
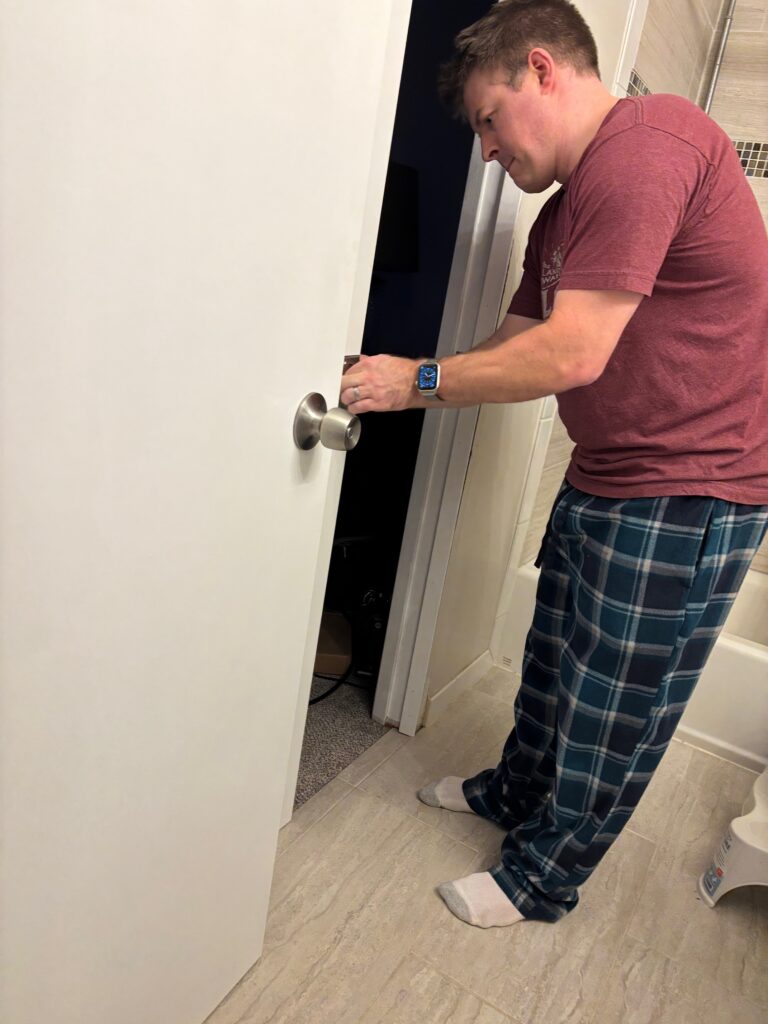
I started with the doors, something I had plenty of experience with from projects in our first house in Apple Valley. Based on what I learned there, I skipped heavy sanding and instead used a Zinsser bonding primer designed to adhere directly to polyurethane finishes. It’s not pleasant-smelling, so all priming happened in the garage—but it sticks well and prevents future chipping.
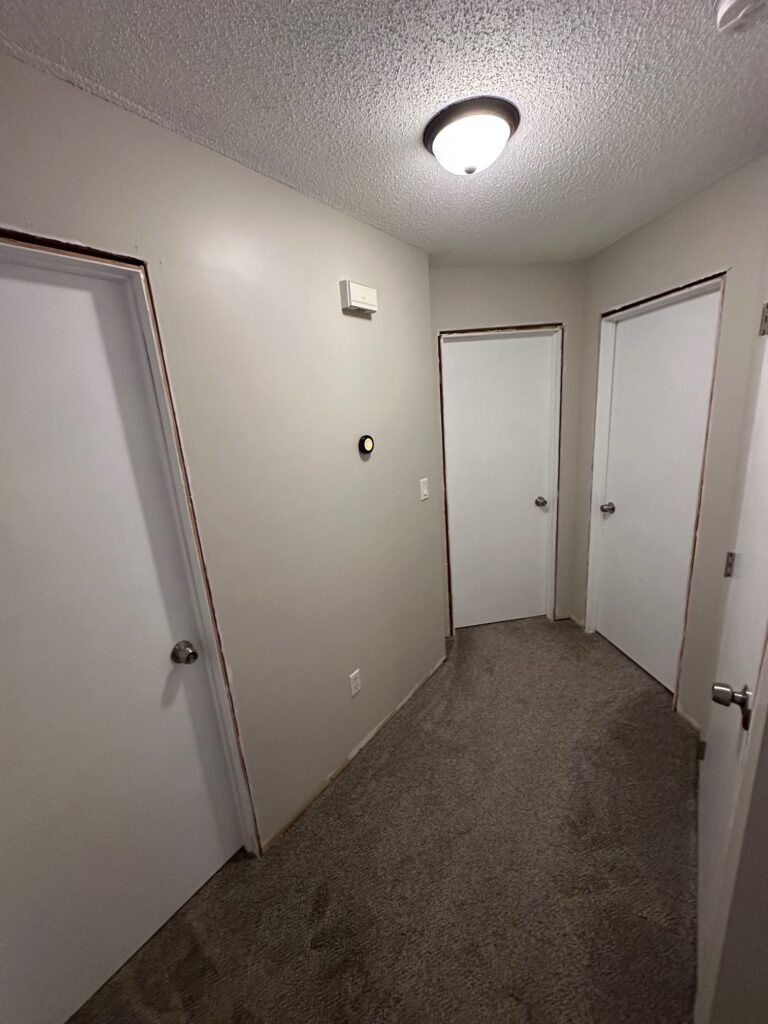
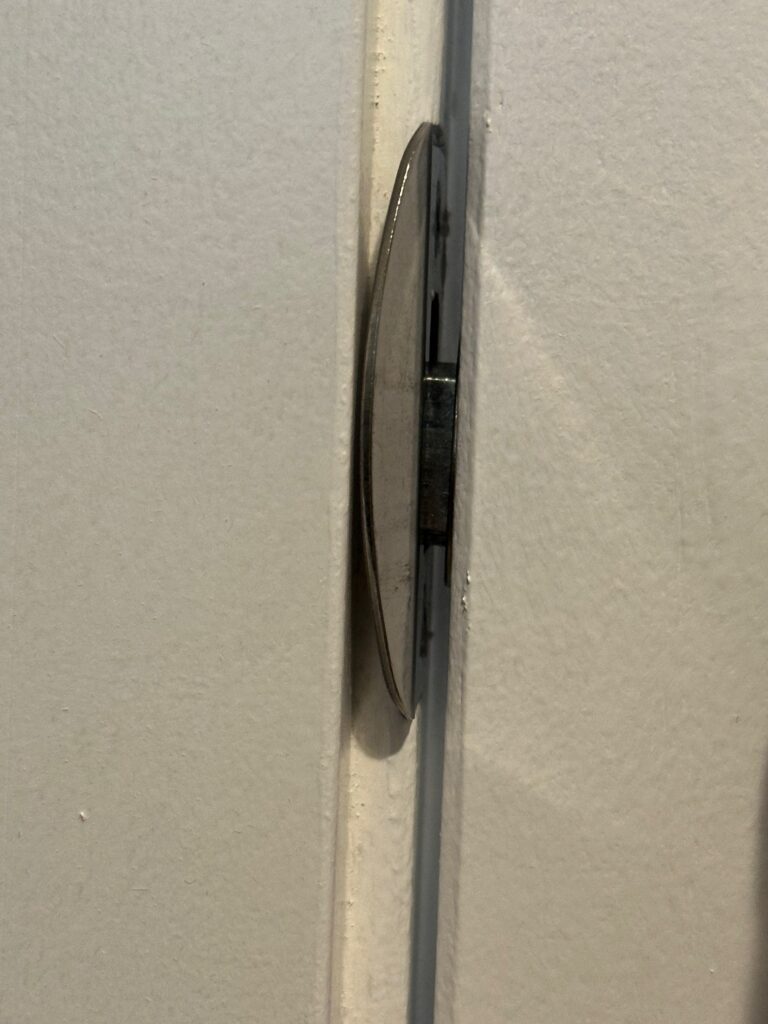
After priming, everything was painted with Behr Ultra White semi-gloss. Removing the door trim also gave me the chance to fix a long-standing issue in one bedroom where the door latch never lined up properly. The door either shifted over time or was installed incorrectly, but once the trim was off, I was able to correct it—making it possible to actually close and latch the door when needed.
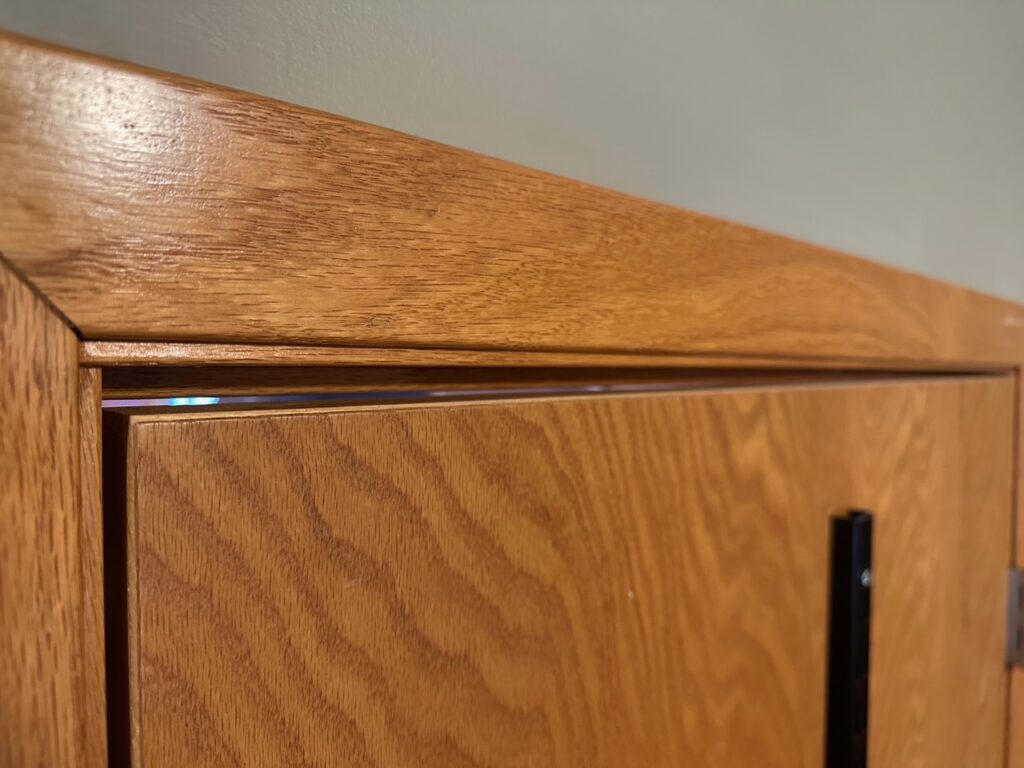
All of the door trim was replaced with the same Craftsman-style profile used in our basement renovations, helping visually tie the spaces together and giving the upstairs a more updated feel.


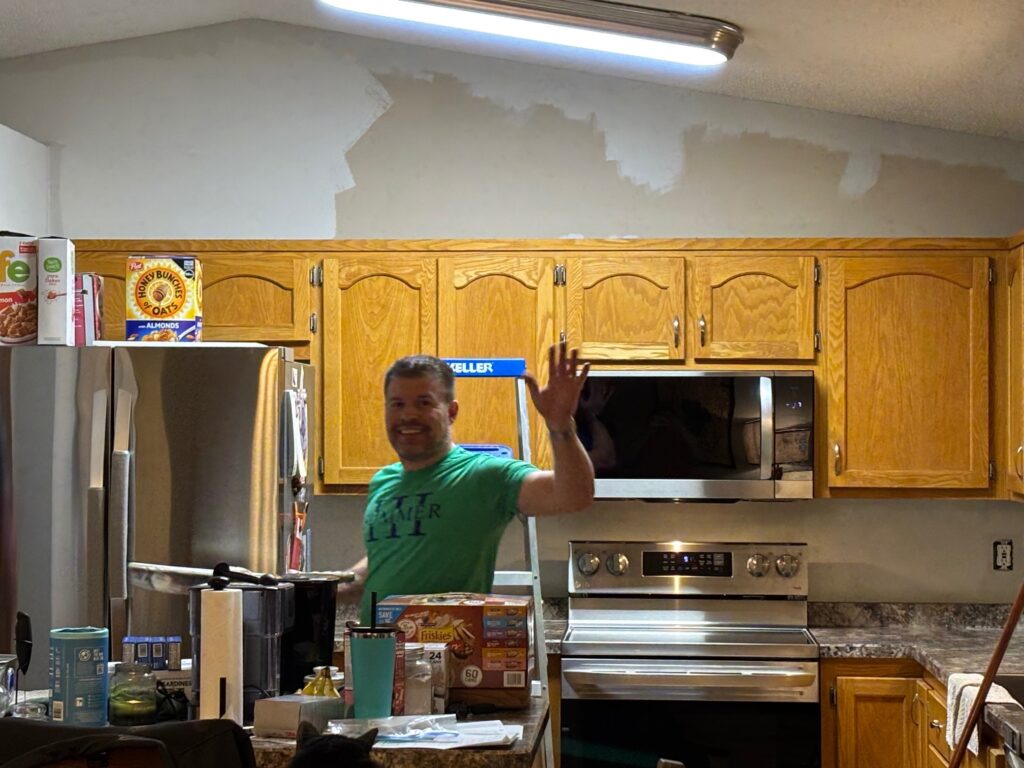
Choosing Paint Colors
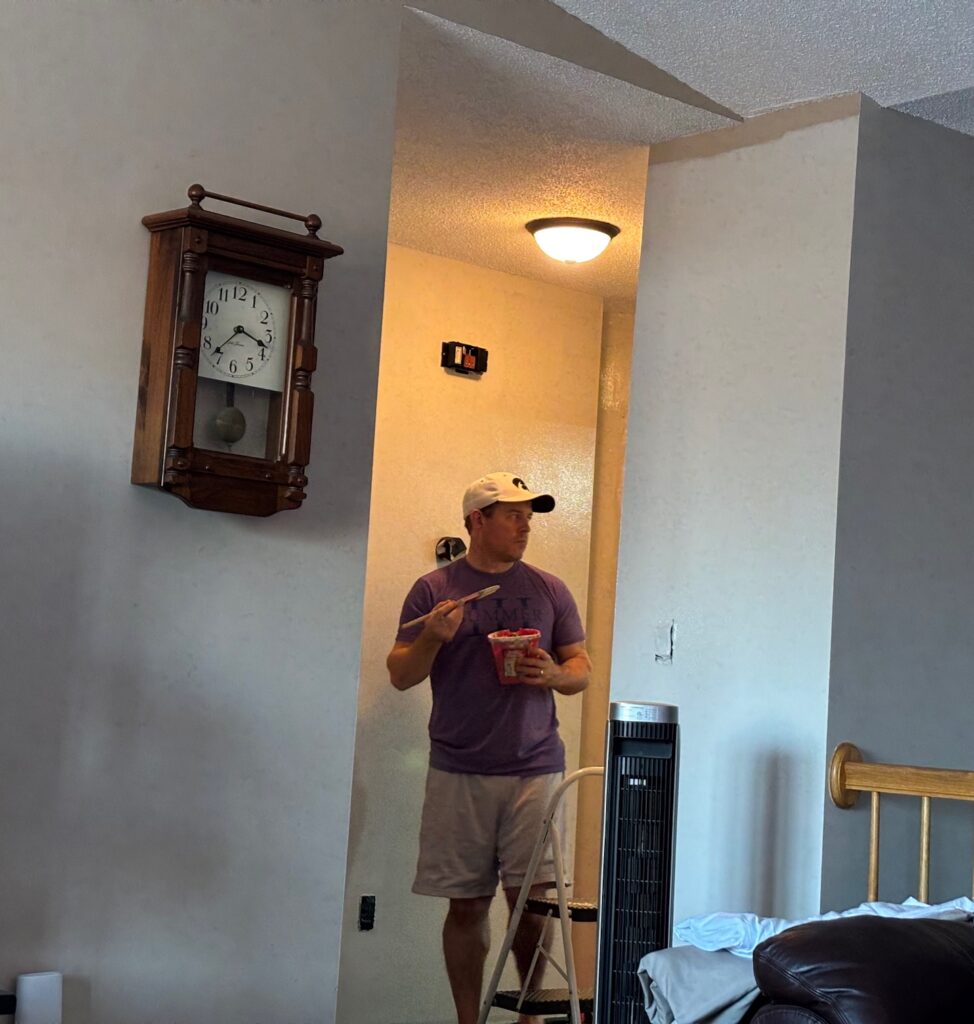
For the hallway—and eventually the great room—we used Behr Mineral in an eggshell enamel finish. This is a familiar color for us: it was used in the kitchen of our first house and later throughout the basement in this one. After debating alternatives for the main living area, we stuck with what we knew worked.
Painting the great room itself was the most time-consuming part of the project. It took several evenings to complete, and since I don’t do this for a living, pacing was key. That meant using more rollers than a professional might—but the tradeoff is saving on labor, which always feels like a win.
While working in the upstairs bathroom, I also repainted the sliding door, replaced the hardware with a brushed nickel finish, and cleaned out years of built-up dust from the track.
What’s Next
With the walls painted, the next step is replacing baseboards throughout the rest of the upstairs.
I was able to complete the hallway near the bedrooms and bathroom, but the office, bedrooms, living room, dining room, and kitchen will have to wait until spring while we rebuild the project budget.
Like many projects around here, this one isn’t finished all at once—but it’s another step forward, building on what we’ve learned from past renovations and slowly making the house feel more like home.
Thanks for reading!
-Mike