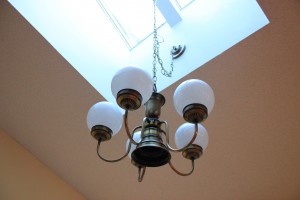
The previous owners of our home had a thing for lighting. Almost every room is some sort of track or recessed lighting. Most of the lights looked pretty good, except for the fixture in the kitchen. Welcome to 1984:
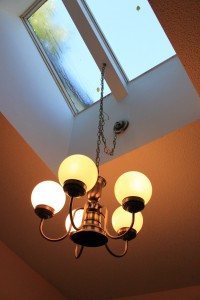
View from above, in case you didn’t get a feel for the vintage: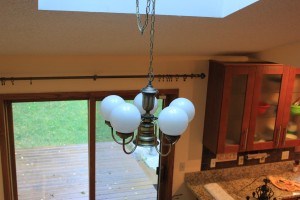
So, Mom (Sara’s Mom) has been changing out old light fixtures in the Nelson household, and has been offering up the old lights to Mike and I. Being the avid DIYer’s that we are attempting to become, we have taken them in, and begun the process of making them workable for our new home. I knew that I wanted to go with oil rubbed bronze on the hardware in this home, and have determined that a can of spray paint is more affordable than changing everything out for new. So the first big project to test our spray painting prowess, the great big chandelier that used to hang in my parents dining room, which will now call our kitchen home.
These are the only “before” photos we were able to get before the *new* chandelier was taken apart and attacked with tape:

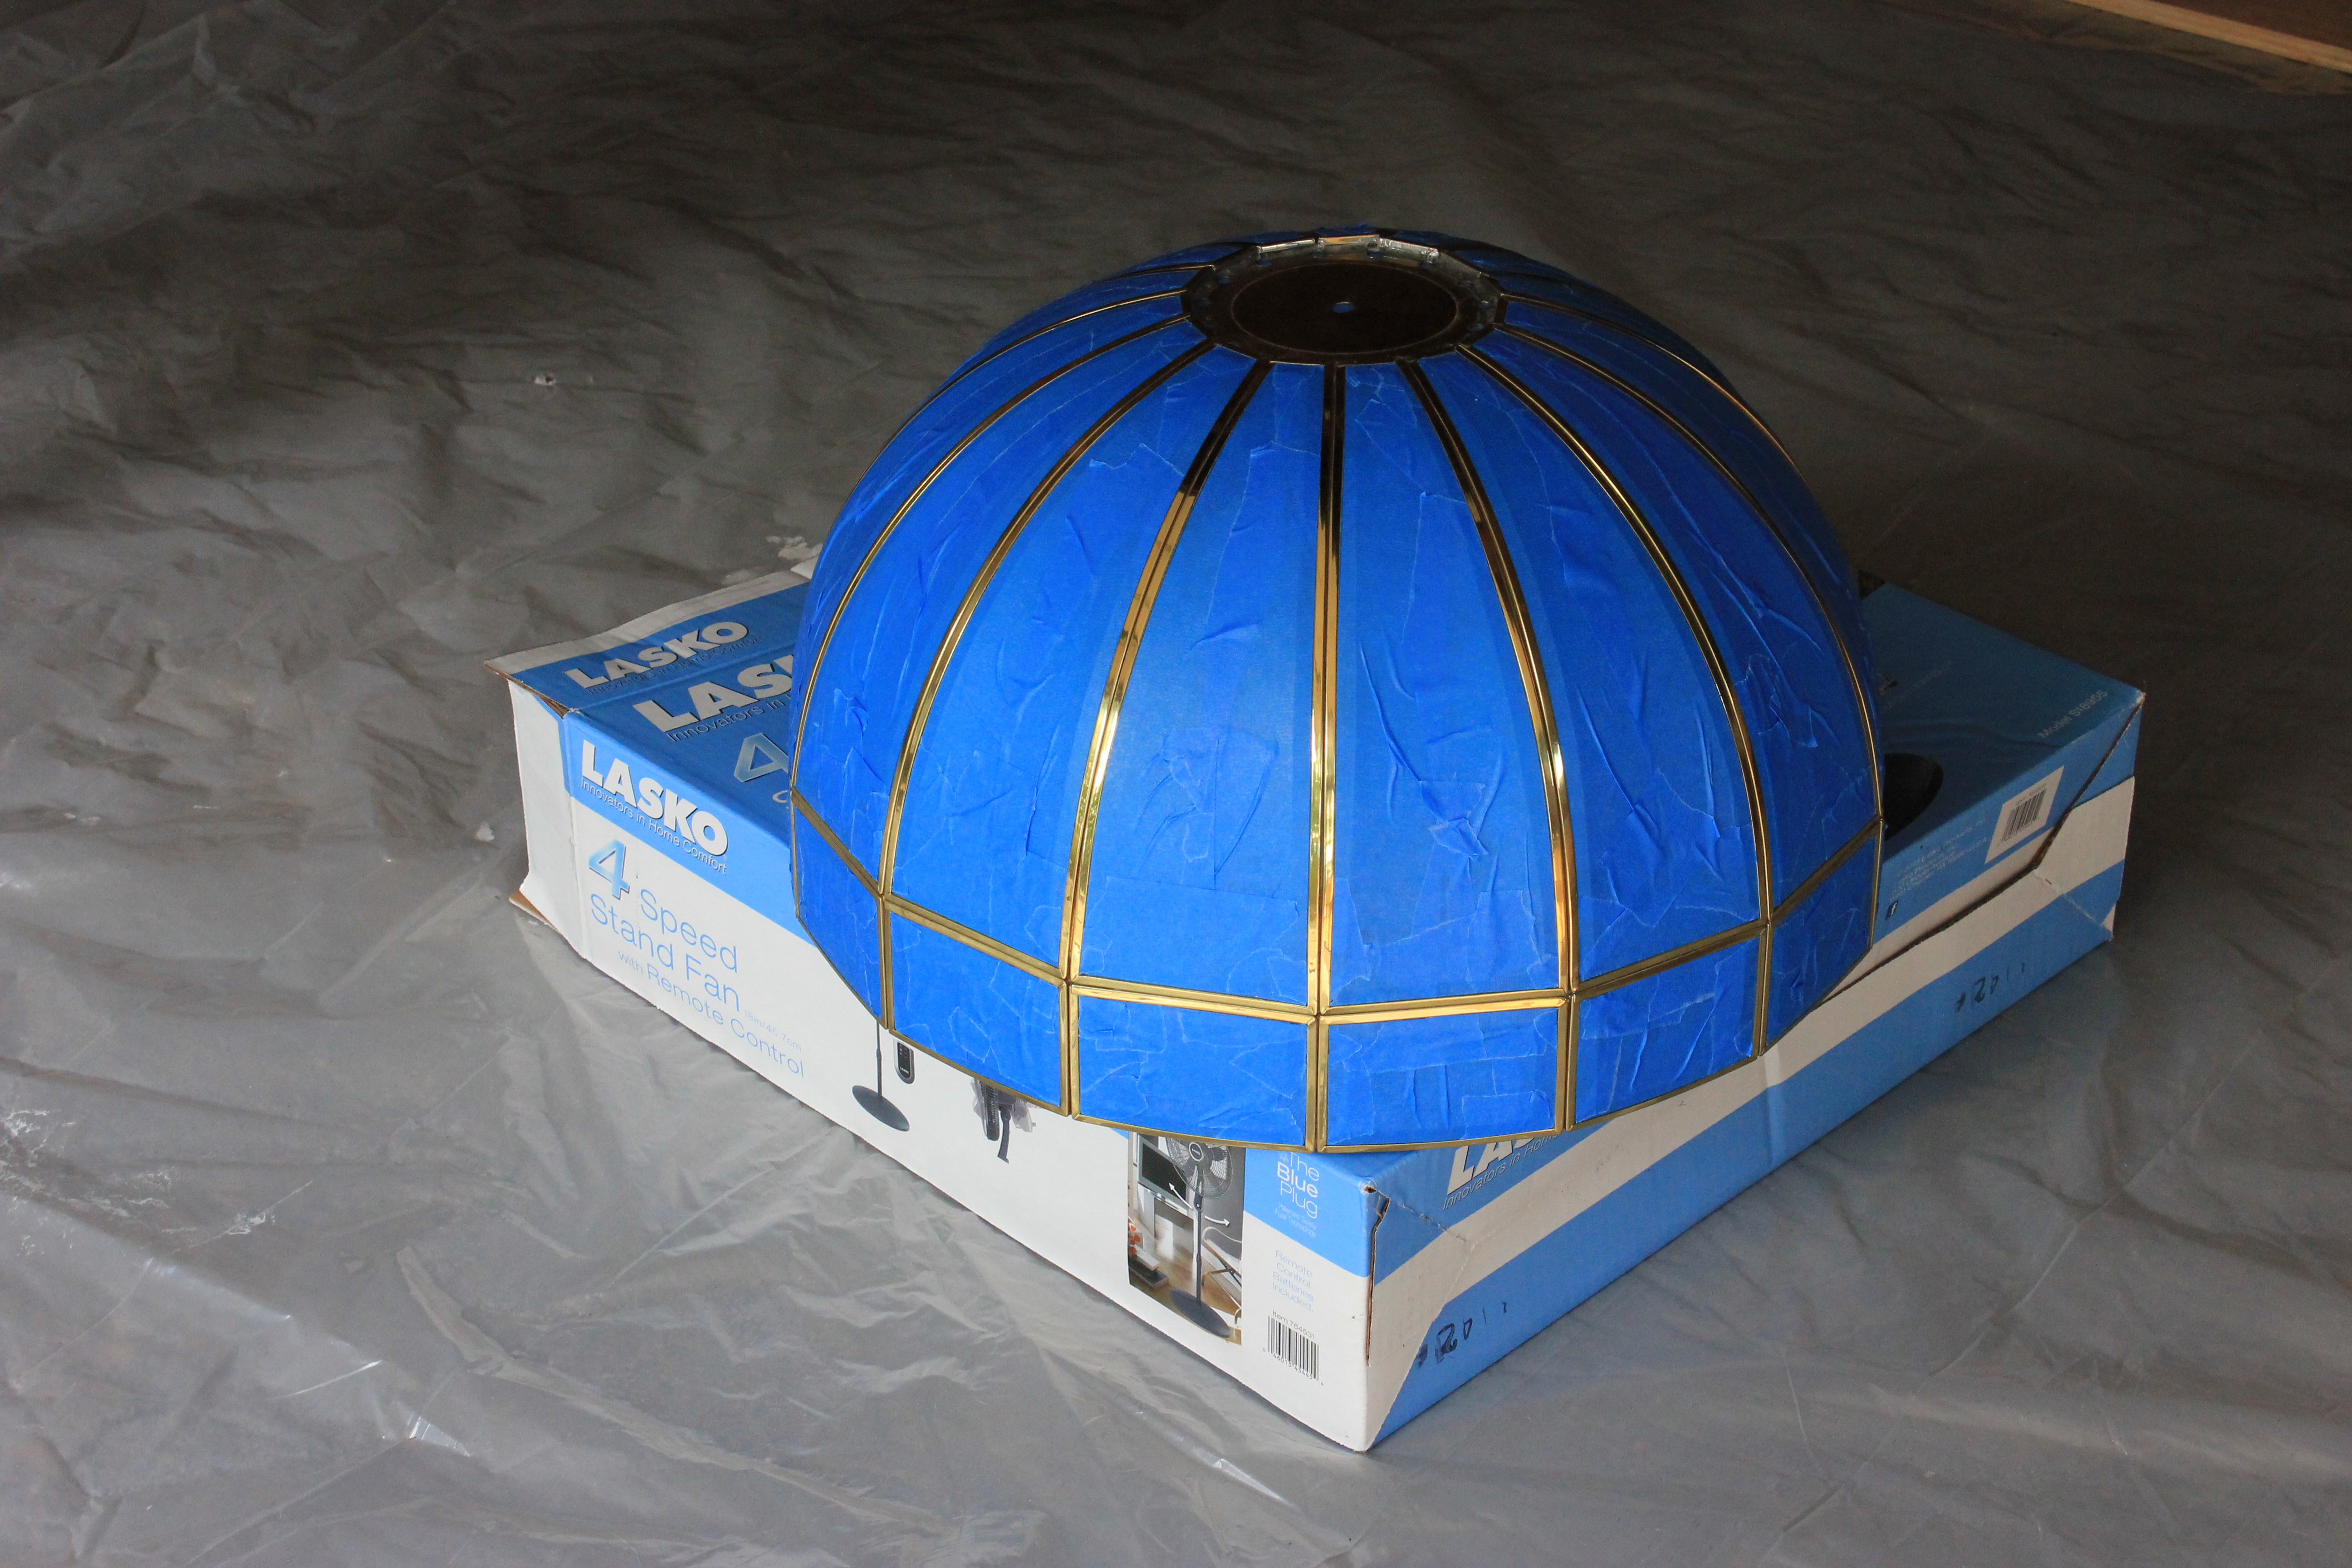
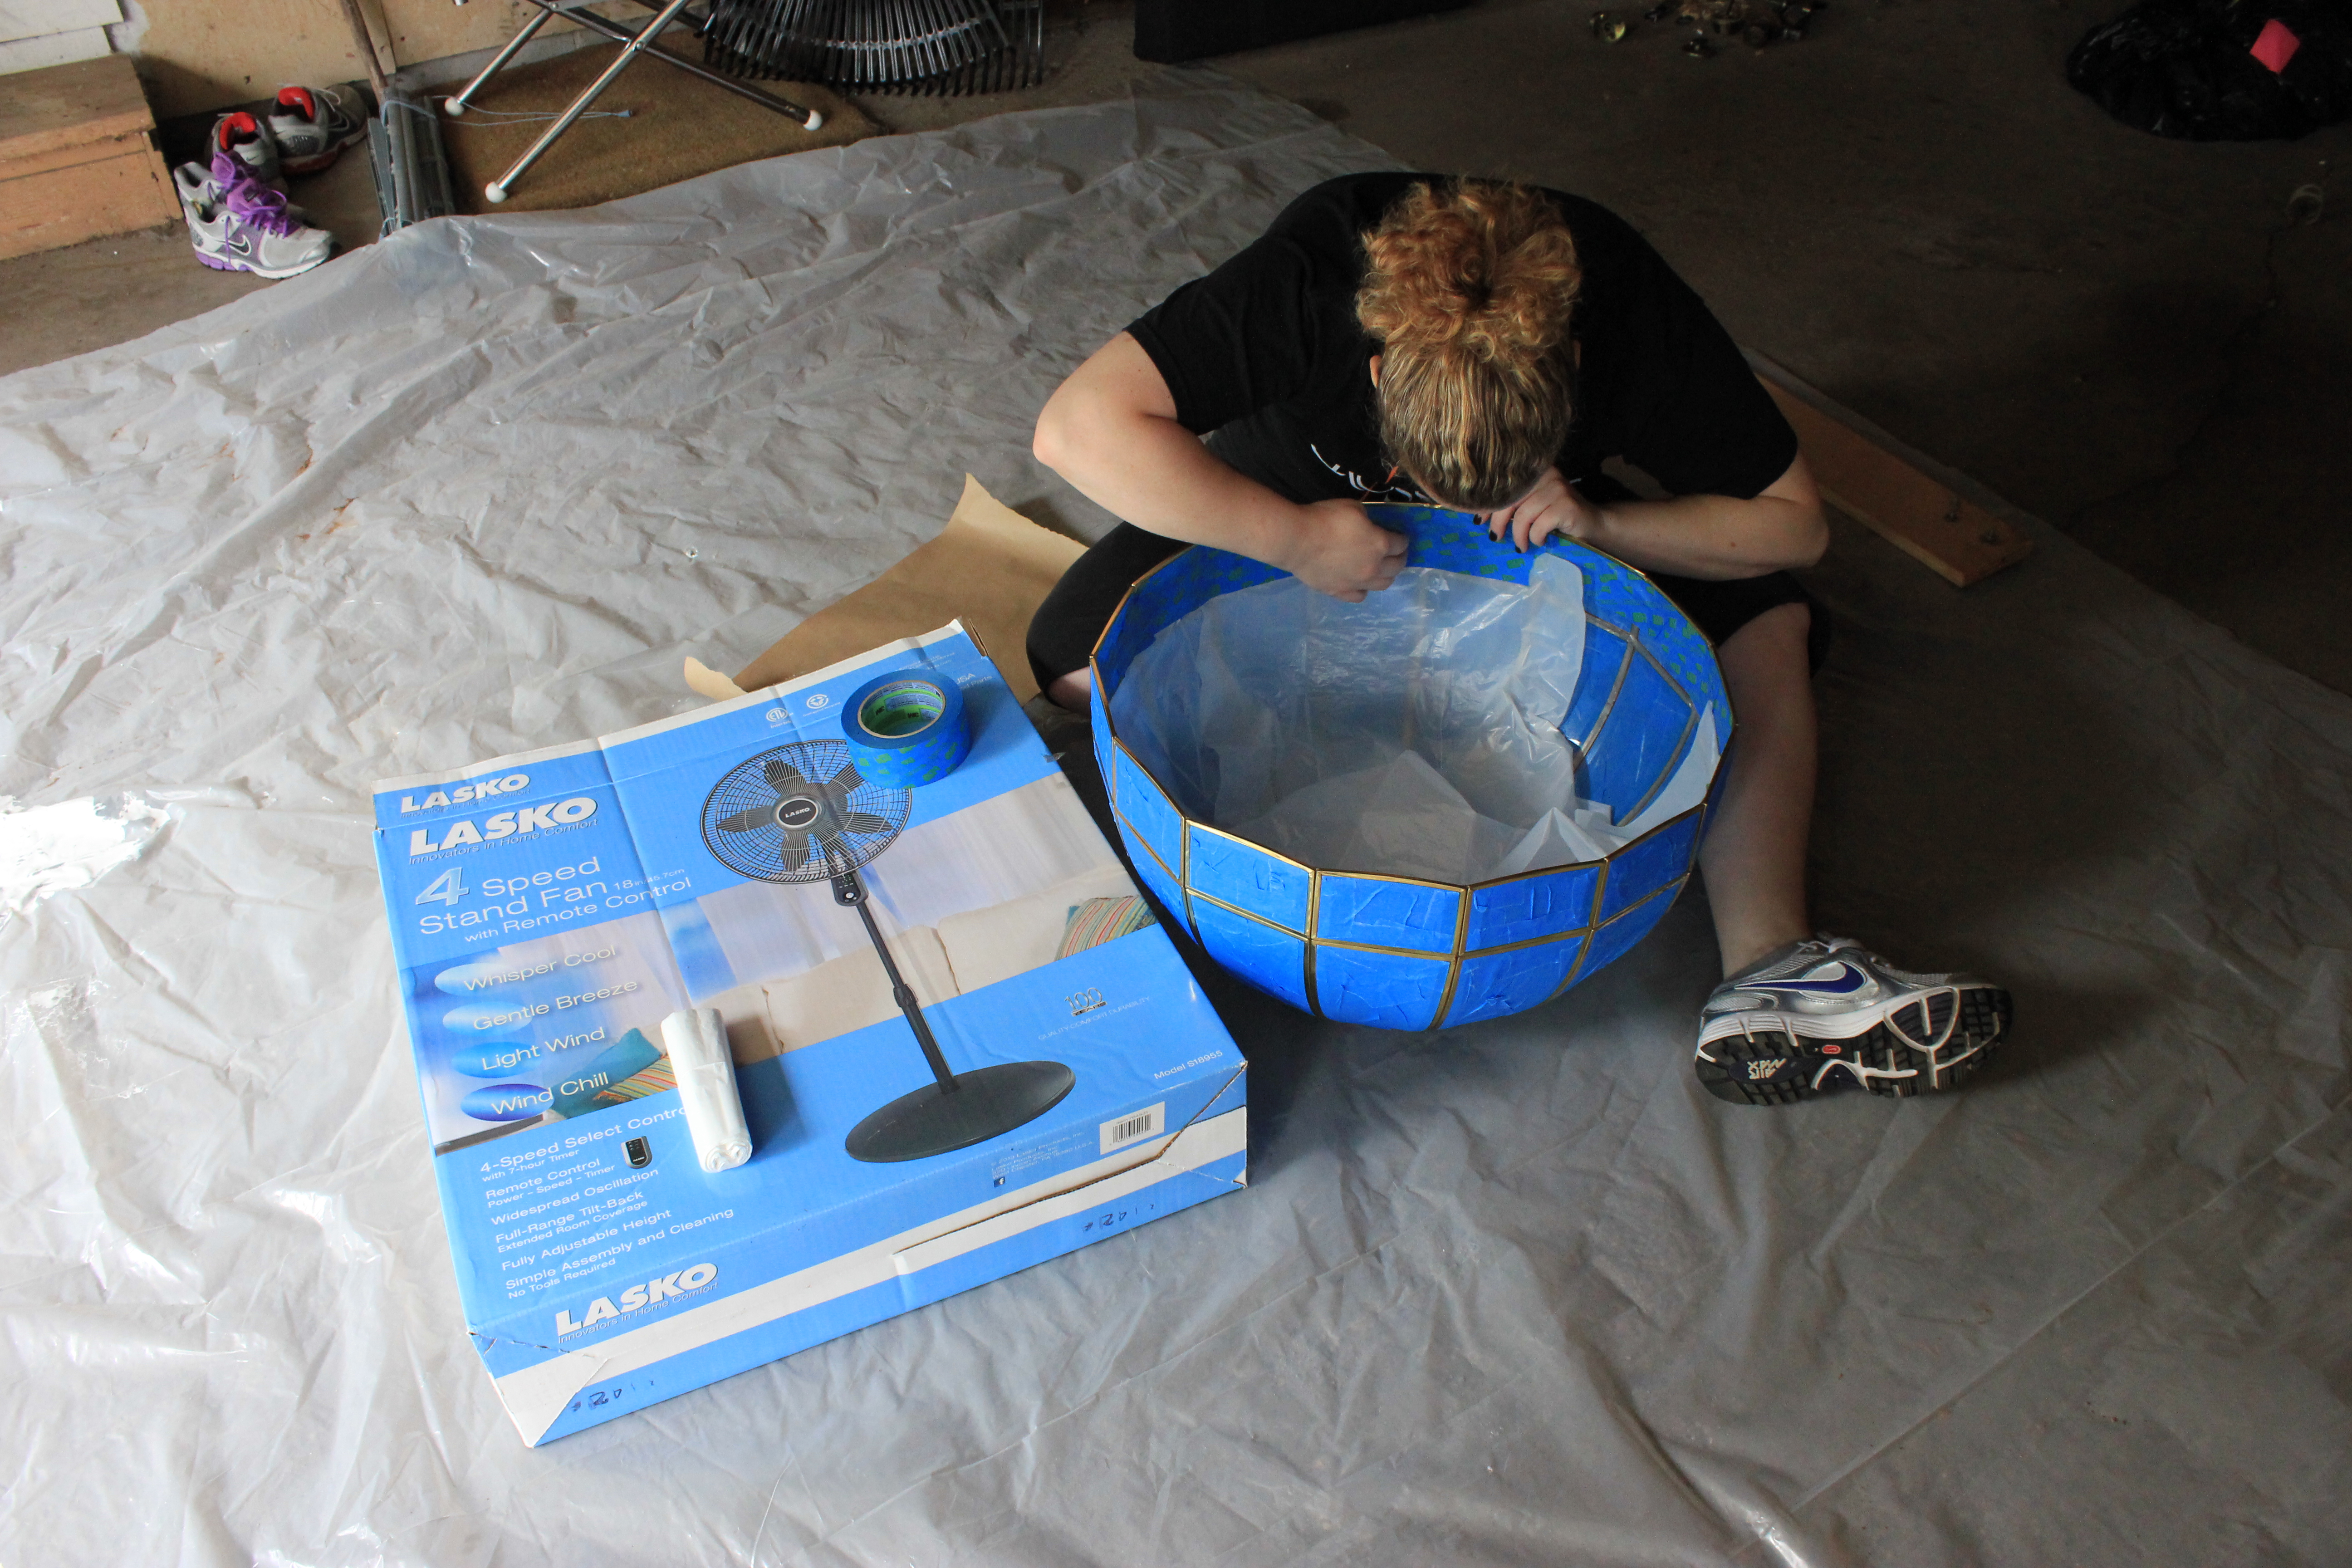
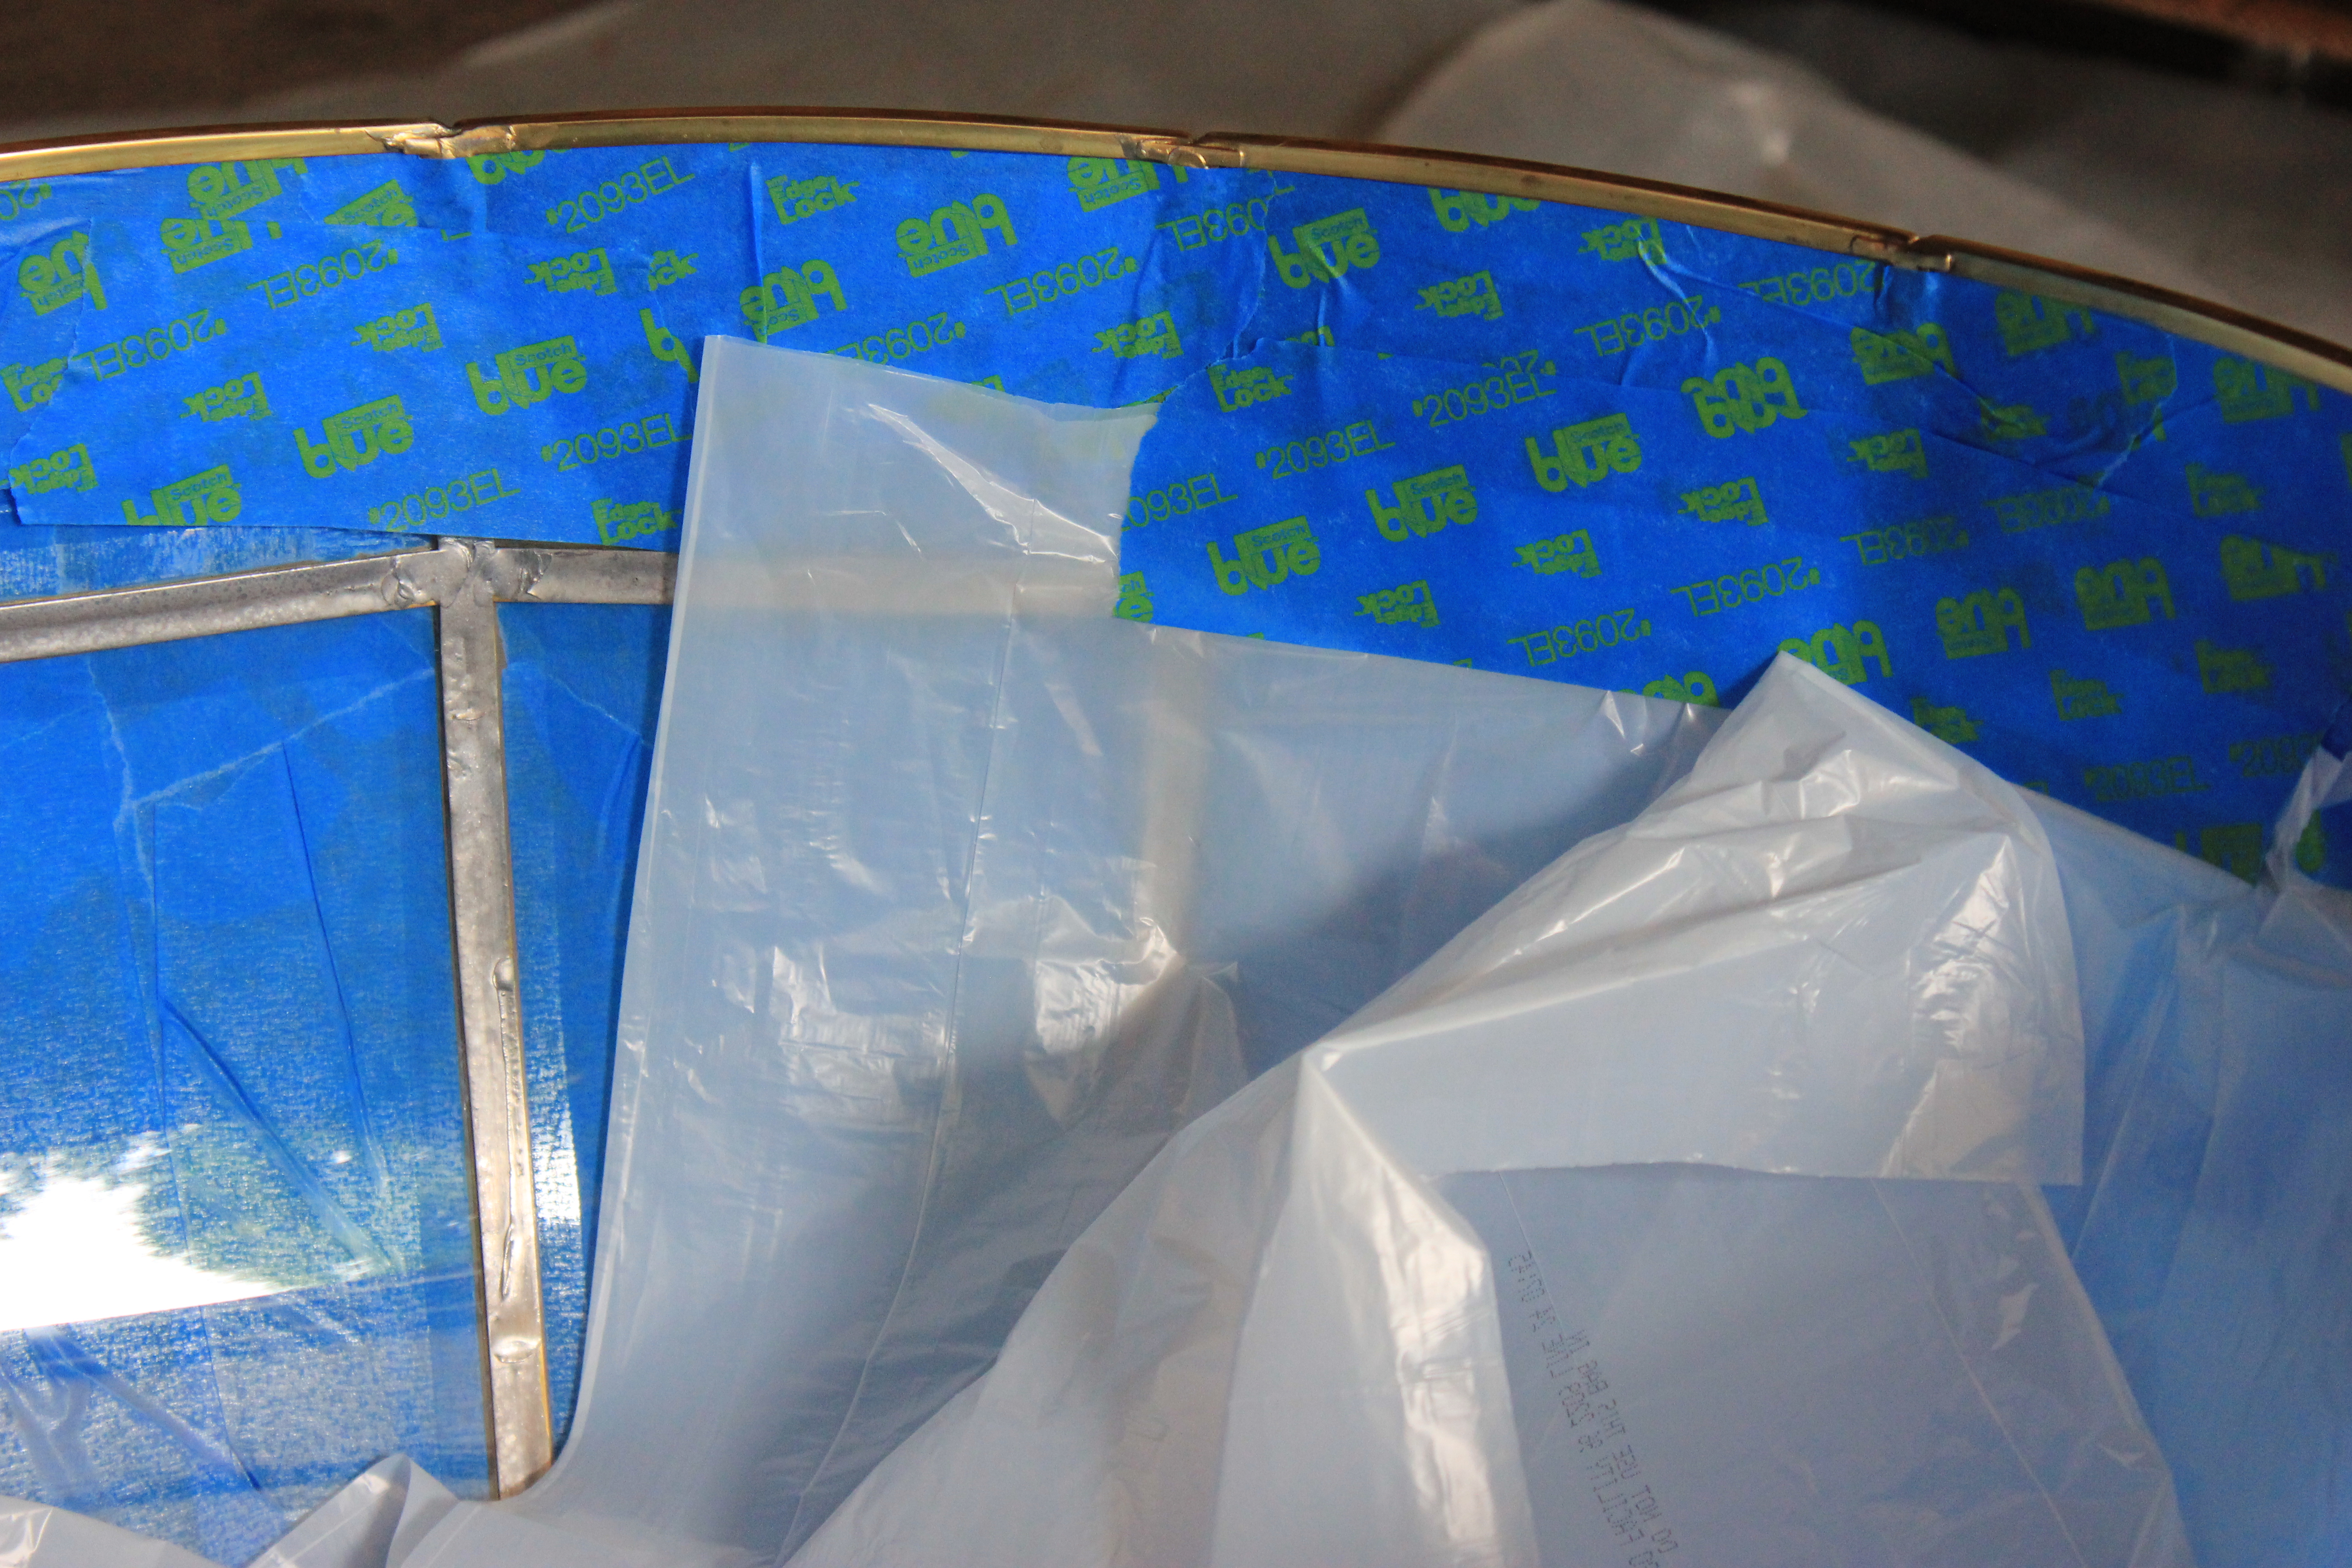
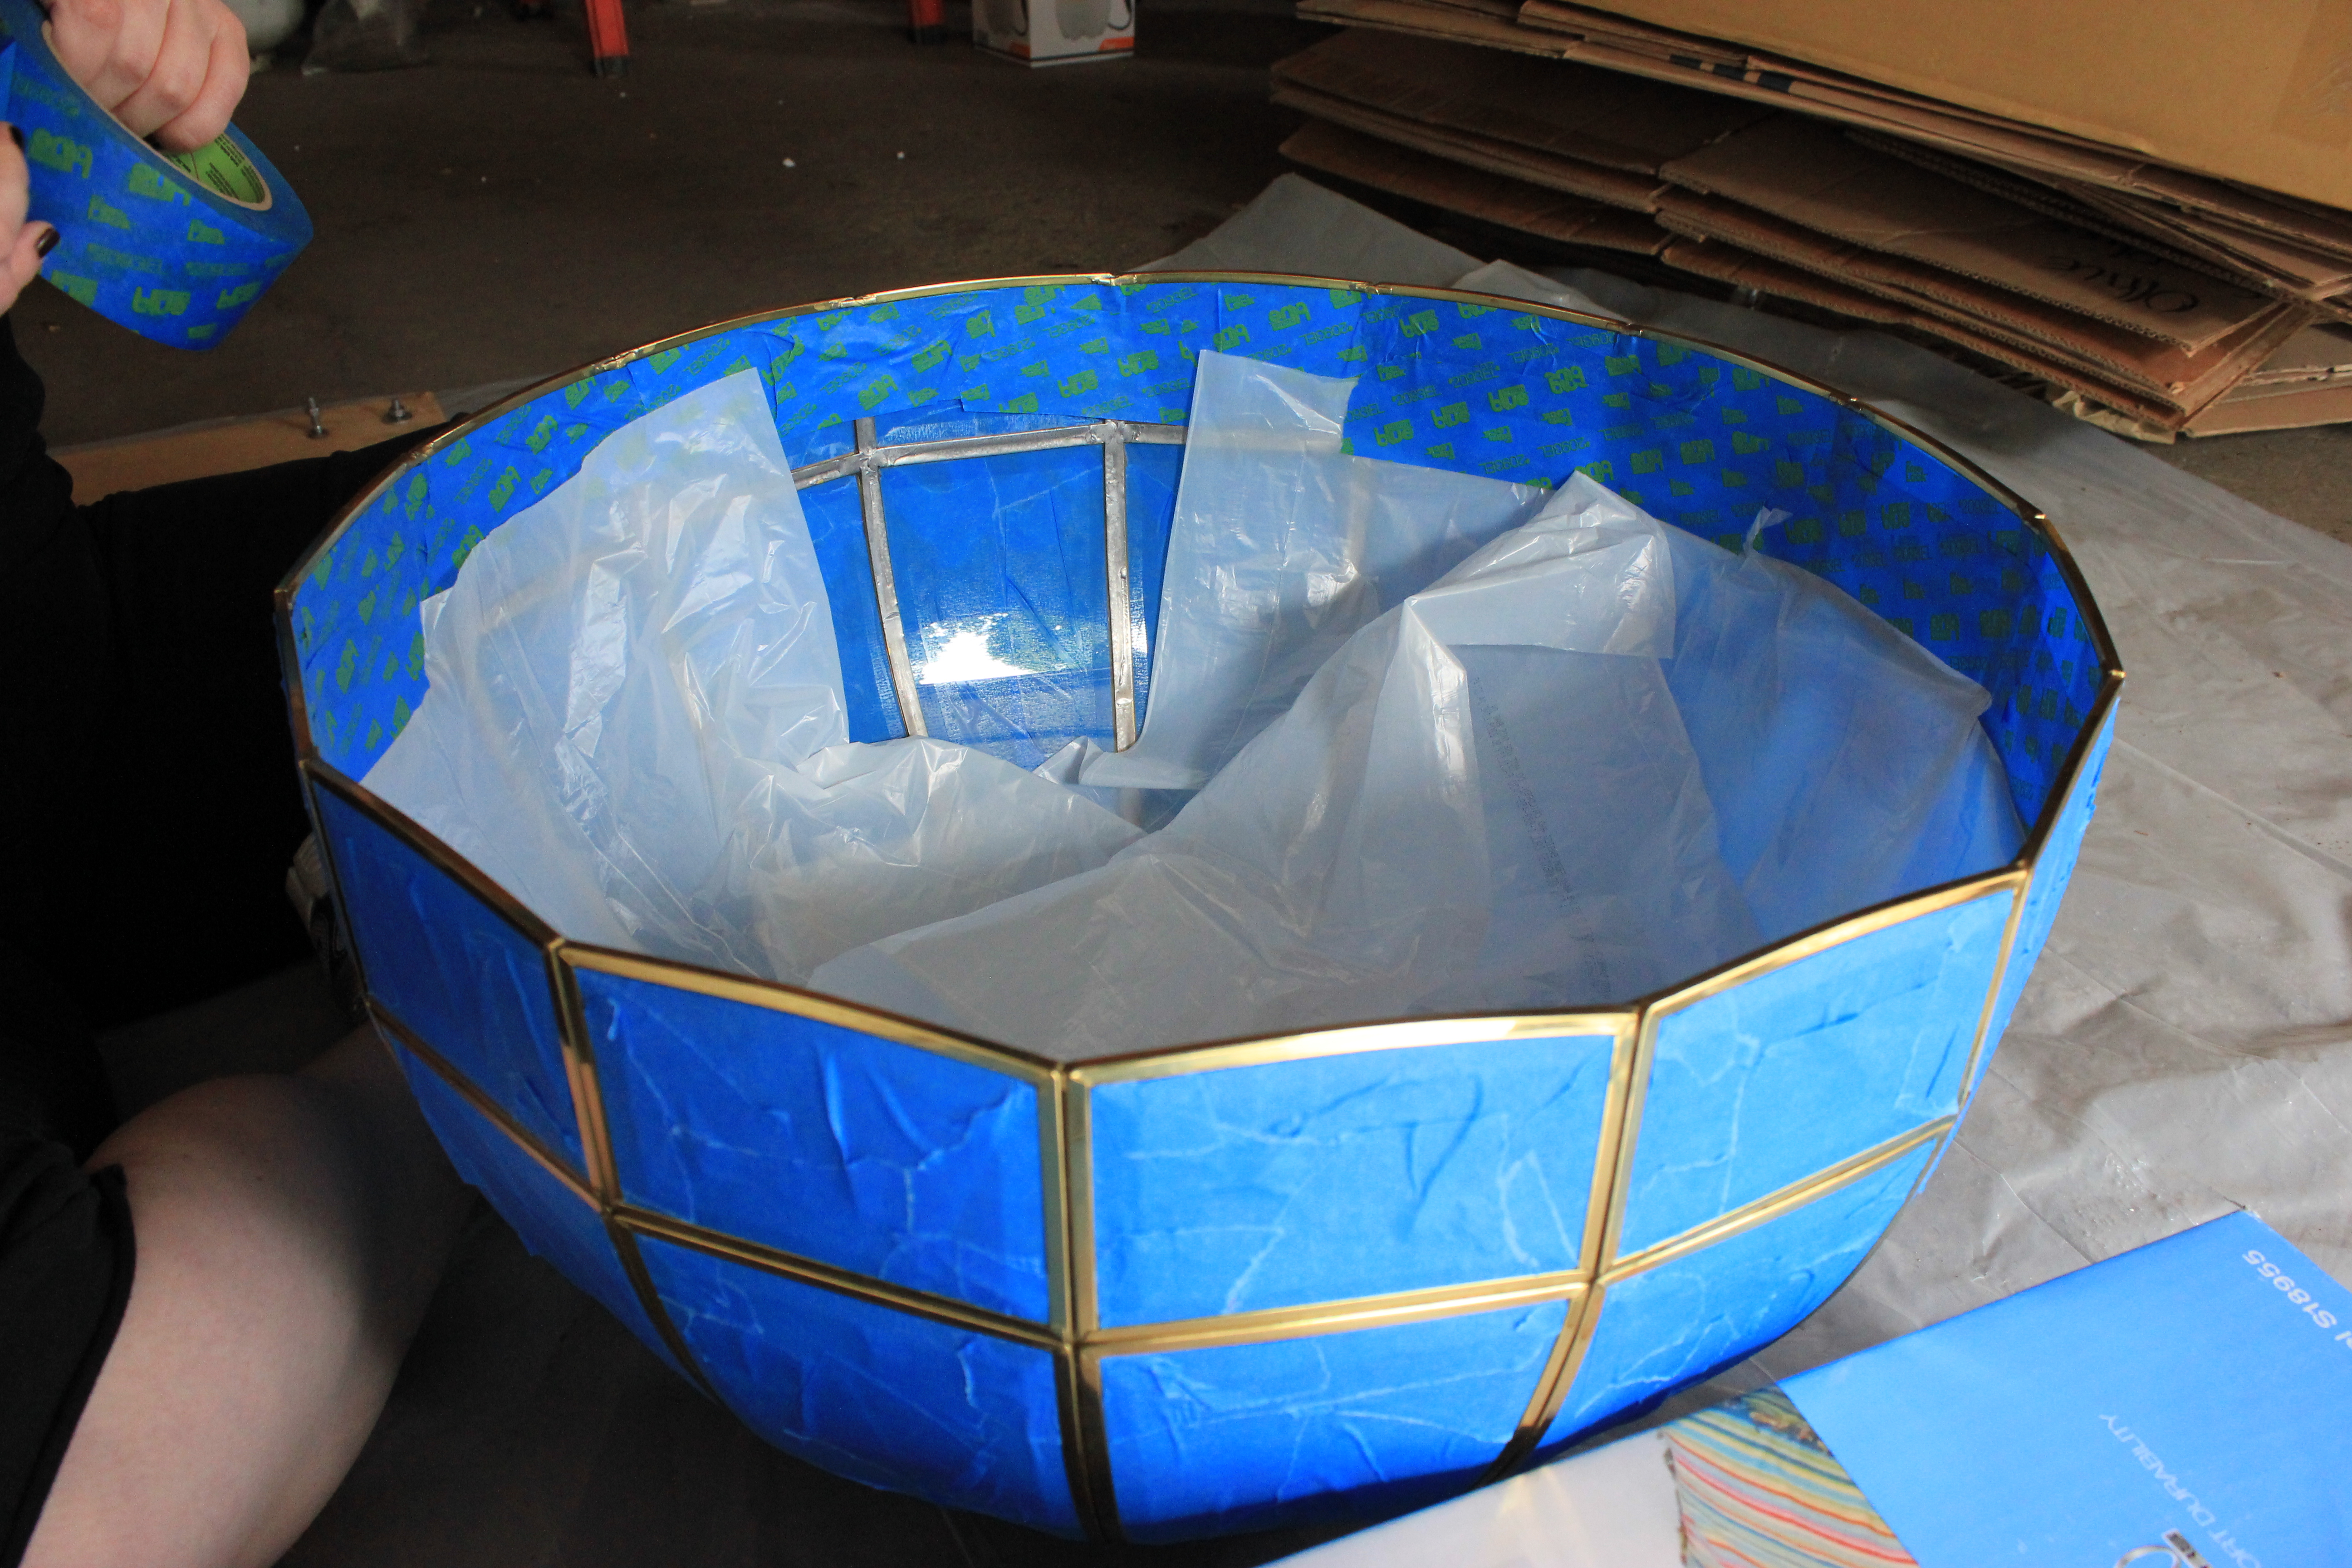
Let the taping begin.
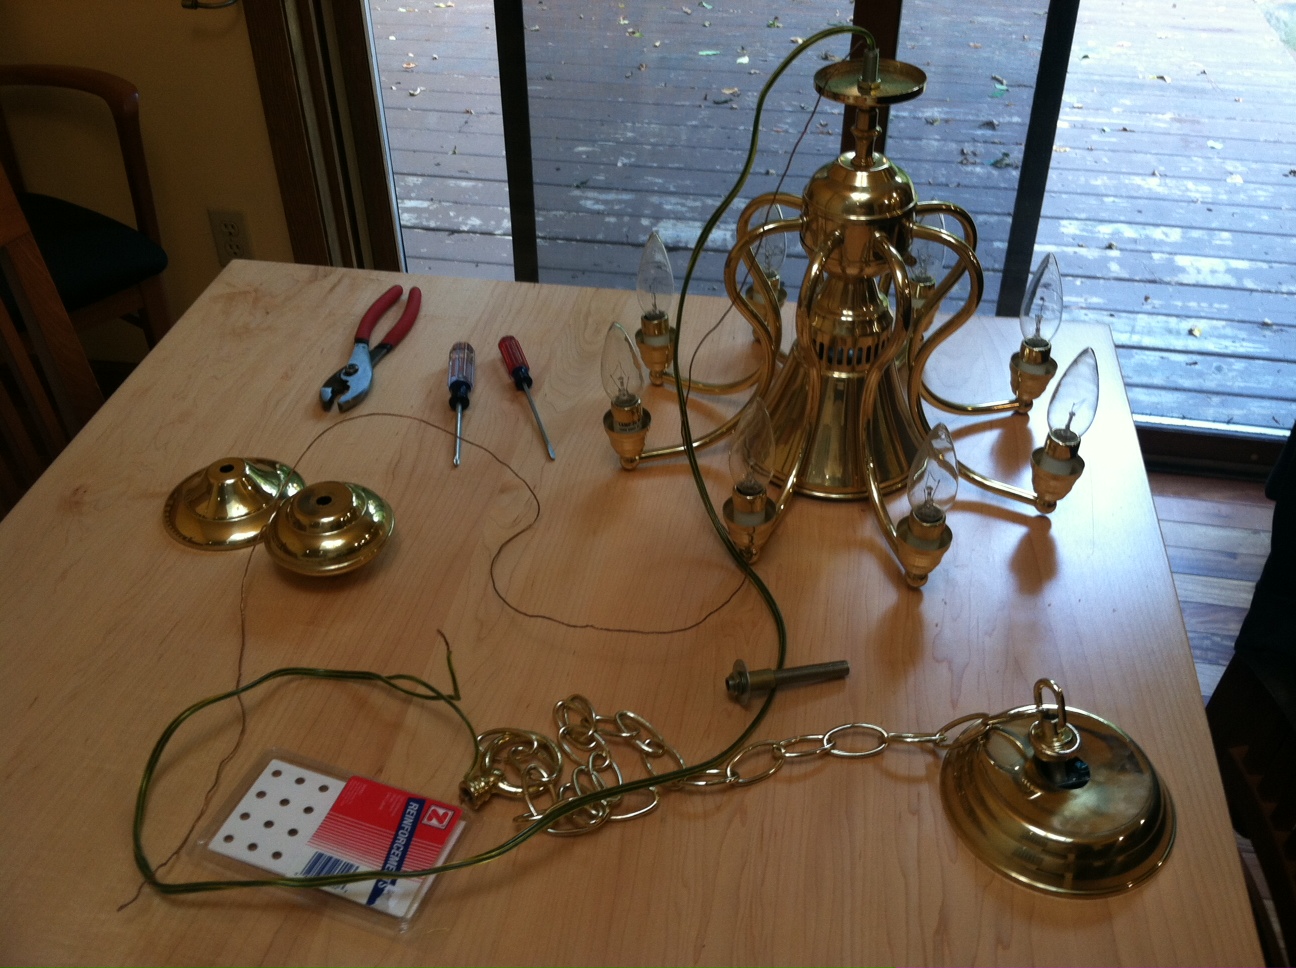
So many little pieces to paint!
I’m not sure how much tape we ended up going through, but it was totally necessary since I really didn’t want to have to scrape up the chandelier trying to remove the over-spray.
Here is the paint and primer we used: Both are RustOleum
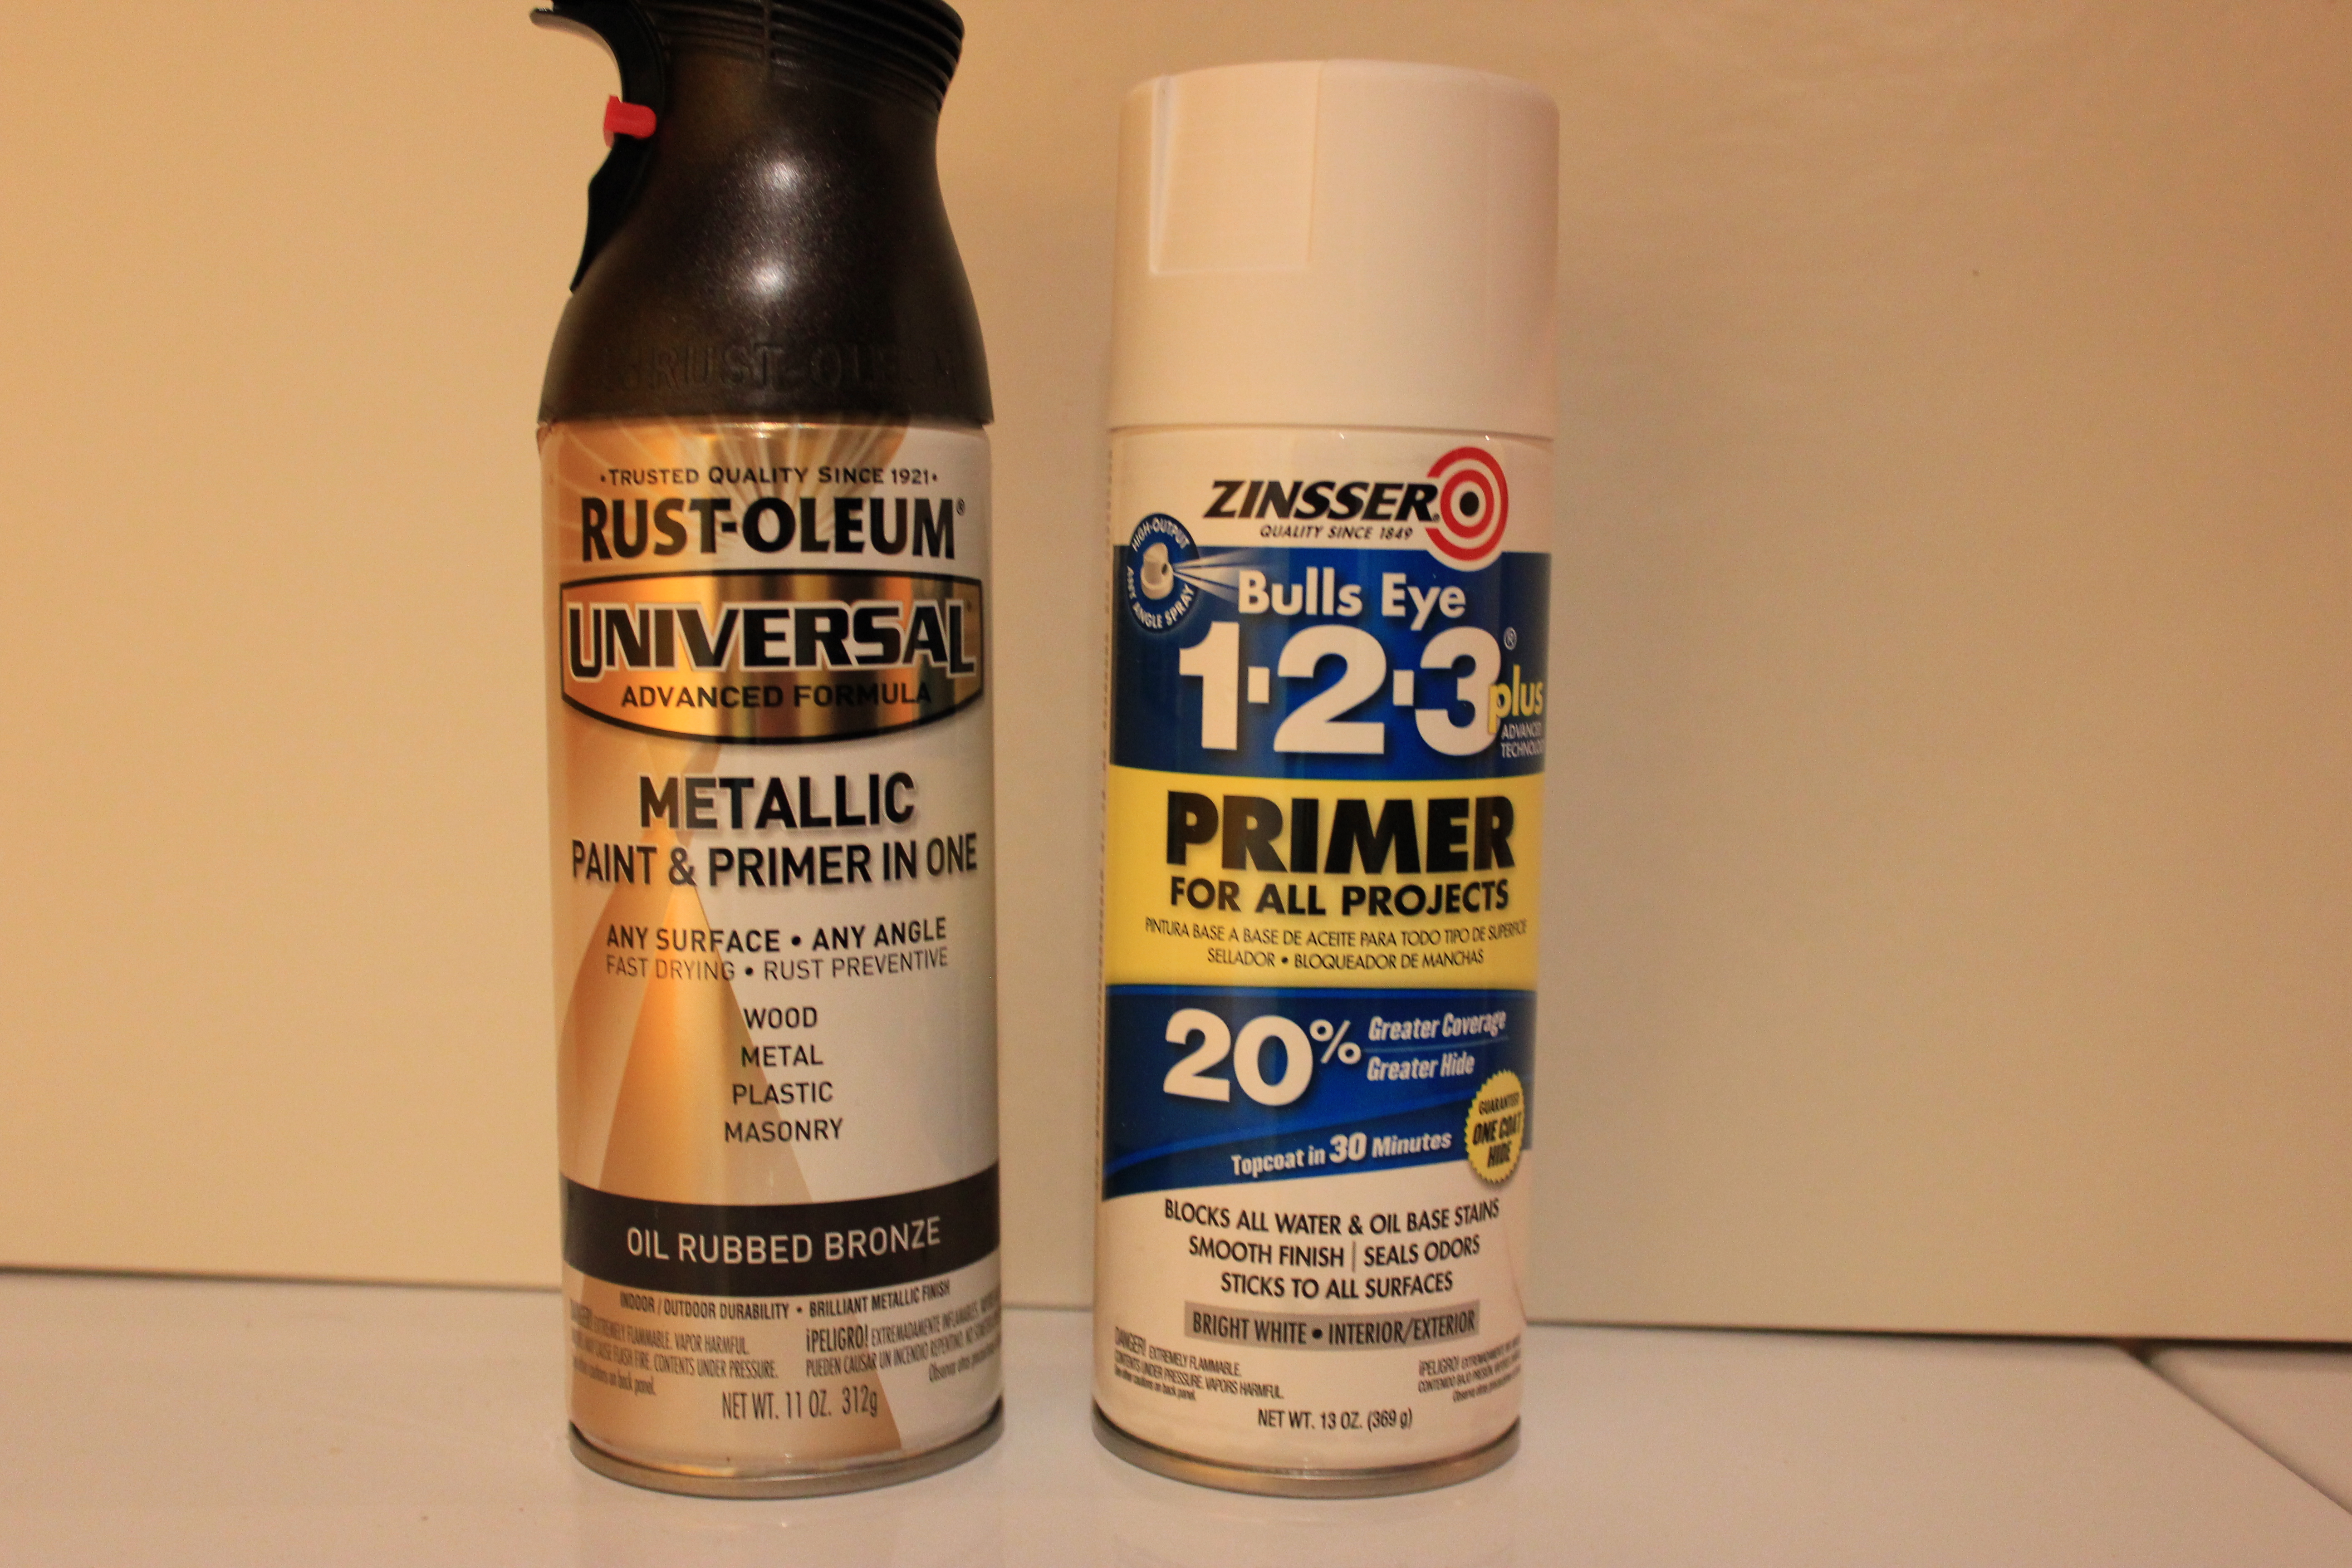
I didn’t prime the chandelier with a think coat of the Zinsser, as I wasn’t too worried about a little of the gold peaking through the Oil-Rubbed Bronze topcoat. I only used enough primer to make sure that the color would stick.

- TA-DA! Here is the dome all dry!
Confession time: I don’t have any photos of me spraying the candelabra parts, because I was a little hasty with this project. It was a rainy week in Minneapolis and the humidity was too high to spray out in the garage, so I decided that the utility basement was ventilated enough. This was not smart. I totally inhaled waaaay too much spray paint, and had to go lie down to get my breathing to normalize (I might have over-reacted just a tad). But anyways, I was finally able to move outside later that week and was able to get the dome sprayed without doing further harm to my lungs.
Now comes the fun part, pulling the old beast down and stringing up the new!
Mike starts to dismantle the old fixture:

So many wires!
I wish we had gotten more photos of this process. It was so tedious, and at one point I’m pretty sure we almost had a small kitchen fire. However, the final product was totally worth it! Final photos below:

What an improvement!

When looking at this photo you should hear angels singing… I do.
Now we’ll be able to put this fancy-shmancy fixture on a dimmer, and enjoy a little mood lighting!
Thanks for visiting! – Sara