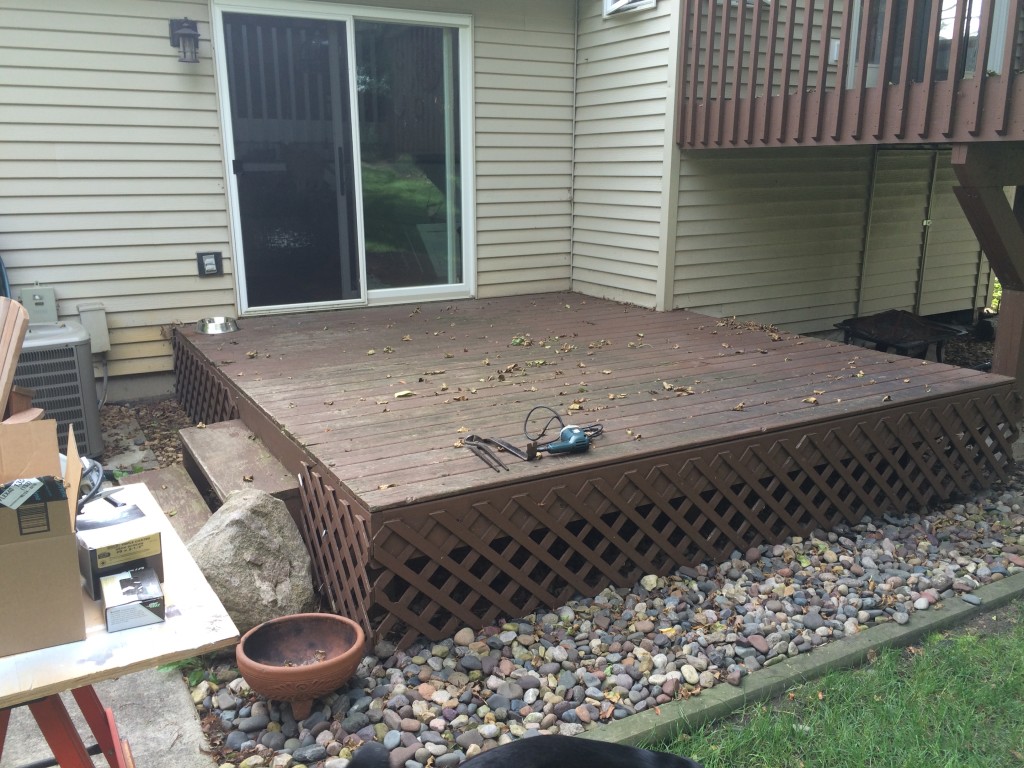
Hard to tell in this photo, but the top boards have soft spots due to all of the moisture over the years. Also note the size of the old steps
The back of the house has been a (slow) work in progress since we moved in three years ago. We have wanted to do something about the lower deck outside our dining room, but put it off because we have big plans to eventually completely re-do the backyard. However, those plans are at least another year away, and with the top decking starting to rot out, we needed to at least replace the top boards this year. The Saturday project started with removing the decking, which confused Winnie.
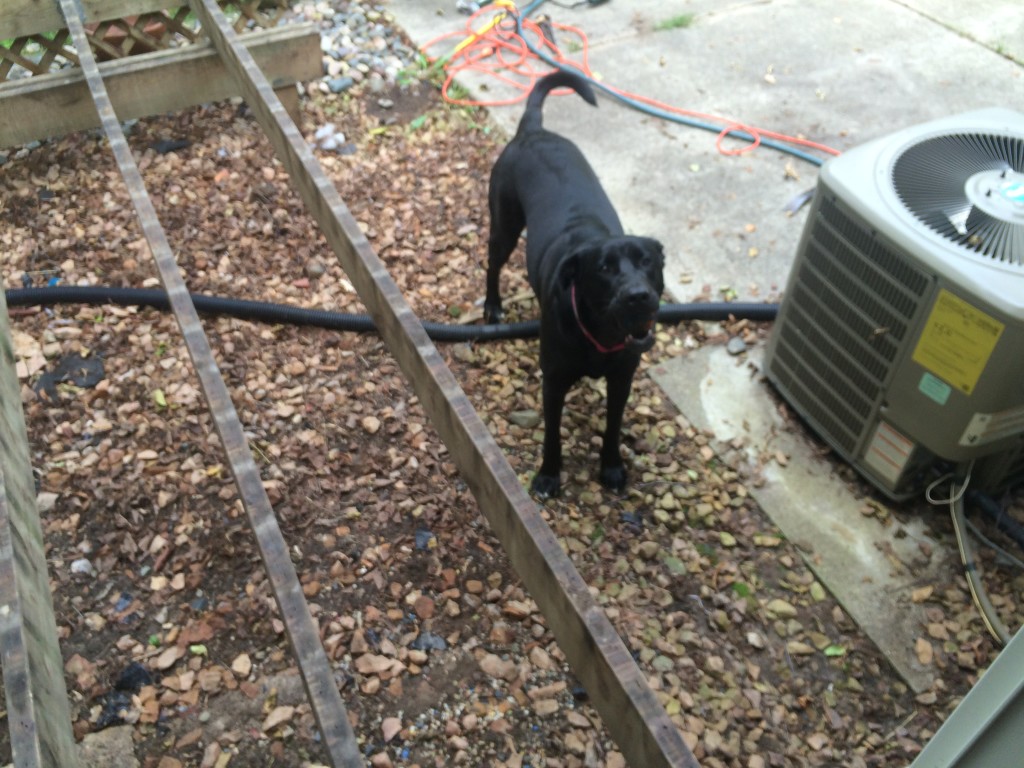
Winnie whines and barks, which translates to: “How do I get inside?”
We were pleased after removing the (rotting) deck boards to find the joists were still in good shape. We extended the step for visual appeal, and really like the way that it turned out. When we eventually make more updates to the back patio (tearing out the old cement and replacing with pavers) we may wrap the step around the front – tbd.
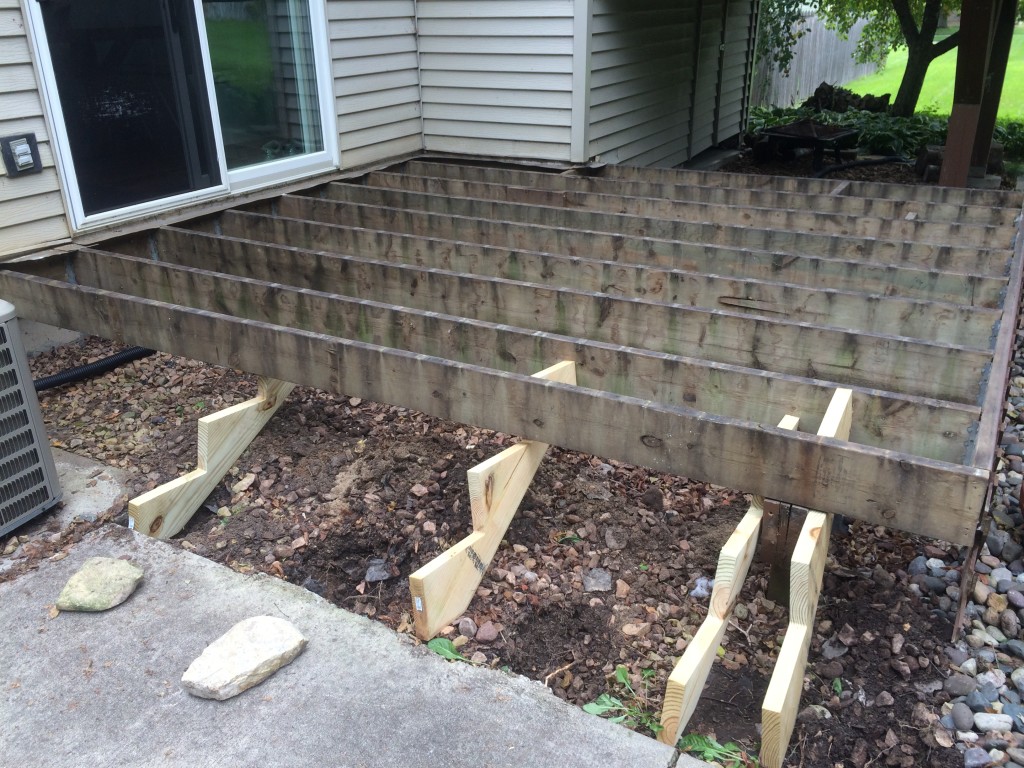
Photo taken while laying down limestone rocks as foundation for expanded stairs.
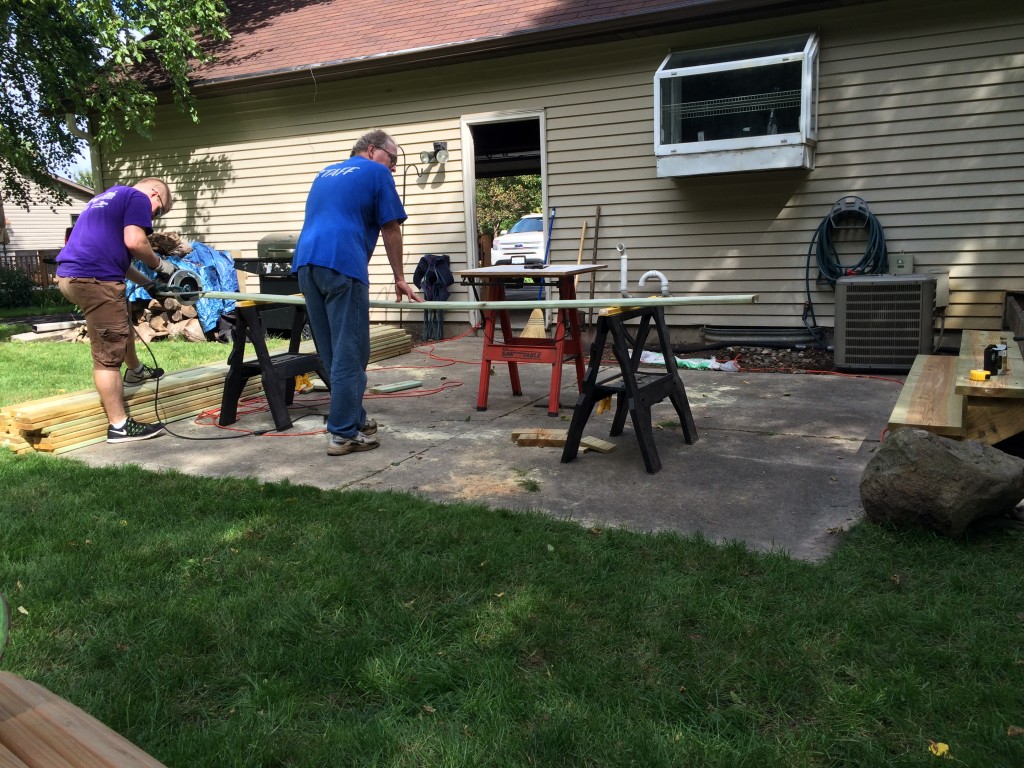
Sara’s dad helping Mike make the cuts.
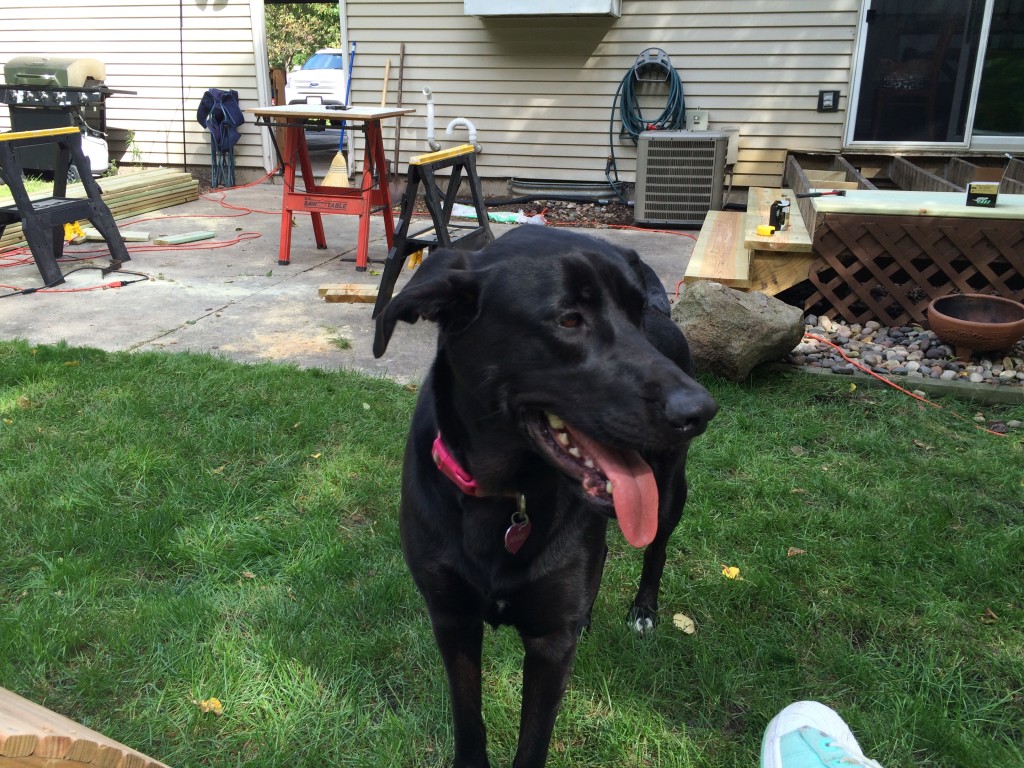
Winnie helping Sara and her mom supervise.
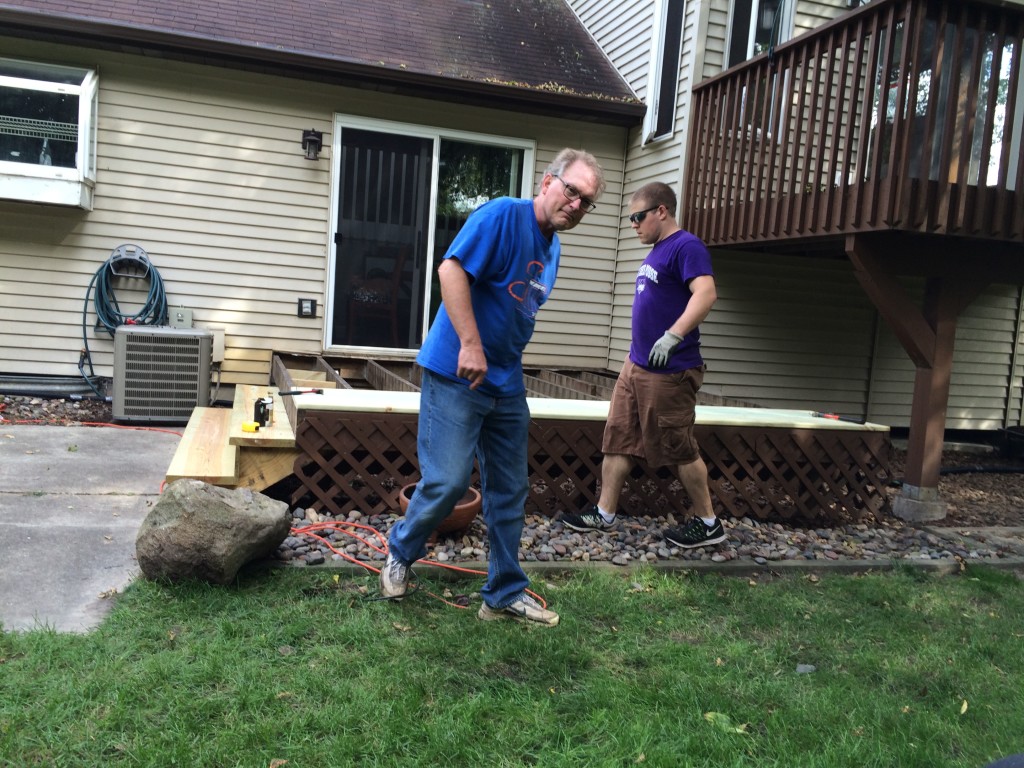
Installing the boards was a simple, but slow process. We measured each distance before making the cuts, in case the joists weren’t perfectly aligned. Additionally, we used 2 3/4″ coated deck screws.
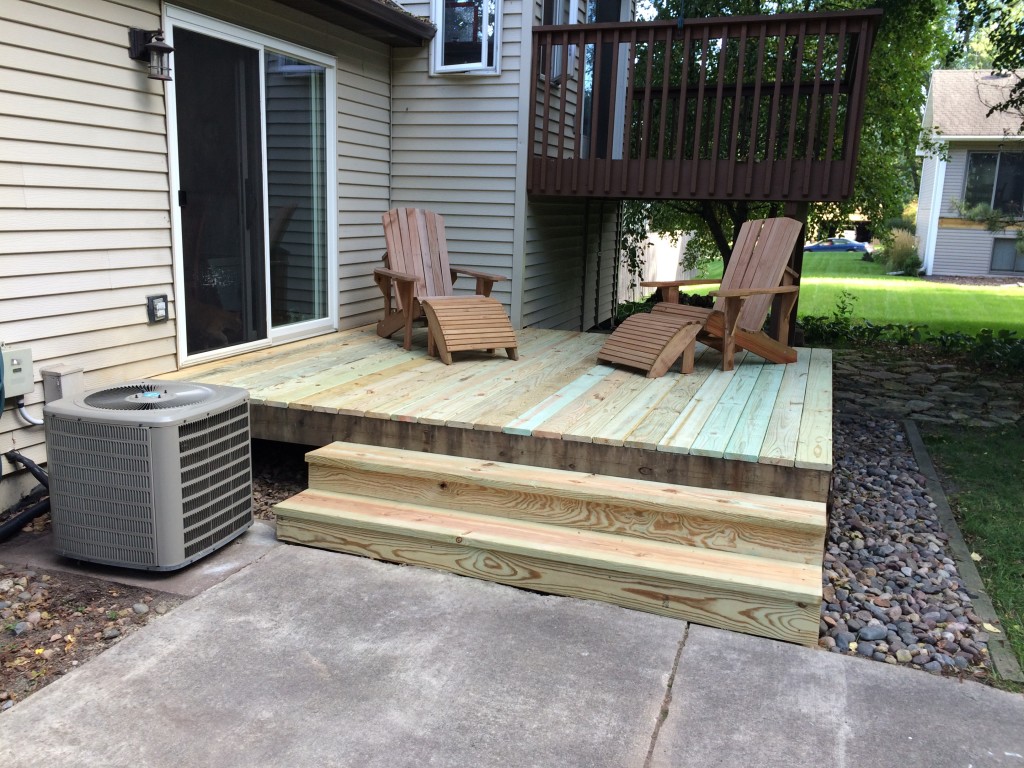
Much better!