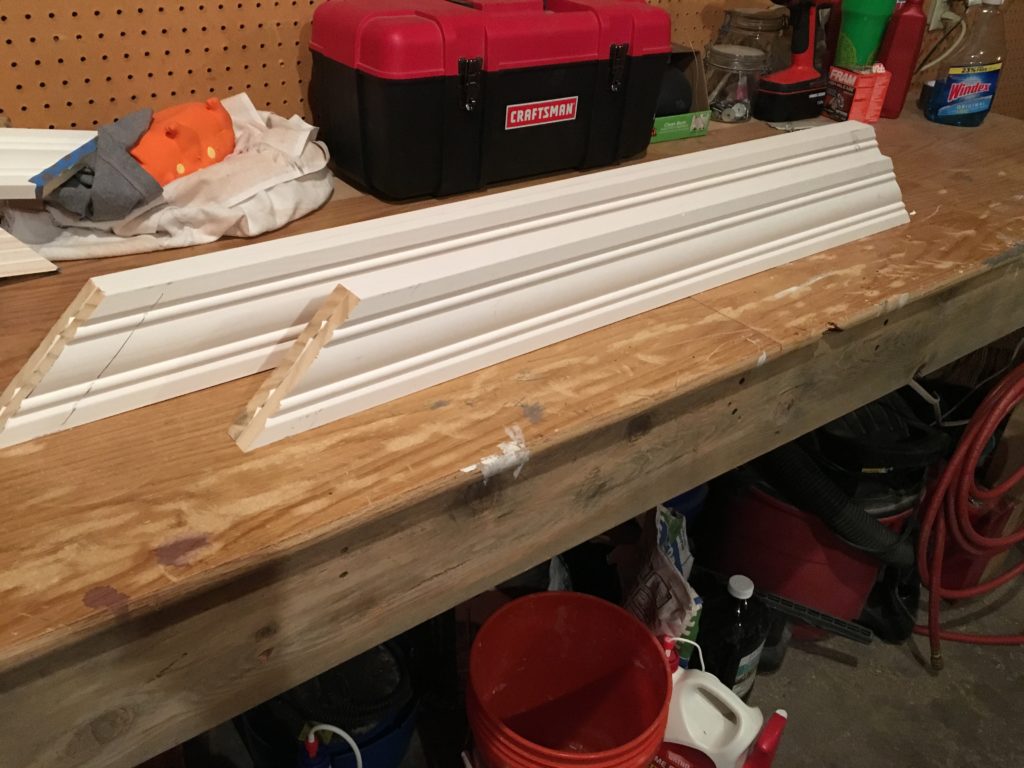
I’ve been putting off buying a miter saw for years, mainly because I don’t want to spend the money, but also because I don’t want to have to store something that I only use once or twice a year. As a result, I have been forced to find creative ways to make angle cuts. If the wood I’m working with is less than 2 inches wide, I typically just use a coping saw and go slowly. However, the project I’m working on right now involves 4″ boards (I’m making a frame for a bathroom mirror).
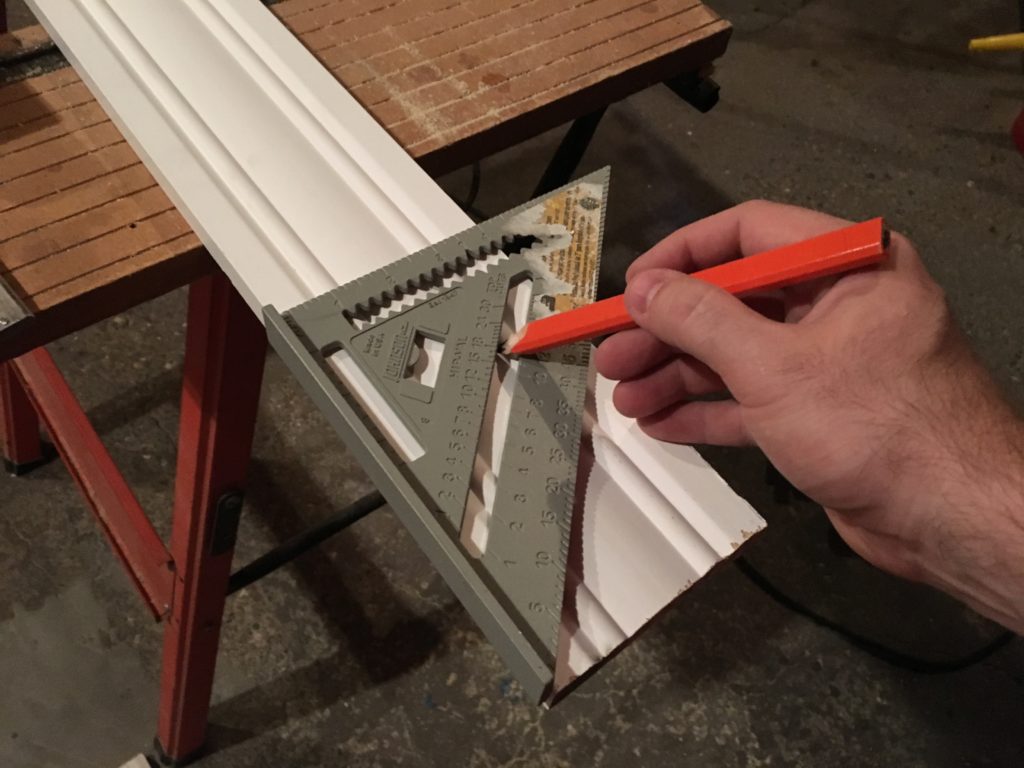
The picture below shows a helpful handyman hack I stumbled upon recently. The carpenter’s square I use to mark 45 degree angles has a notch nearly 1.5 inches away from the edge of the line I want to cut. I start by marking that line with a pencil.
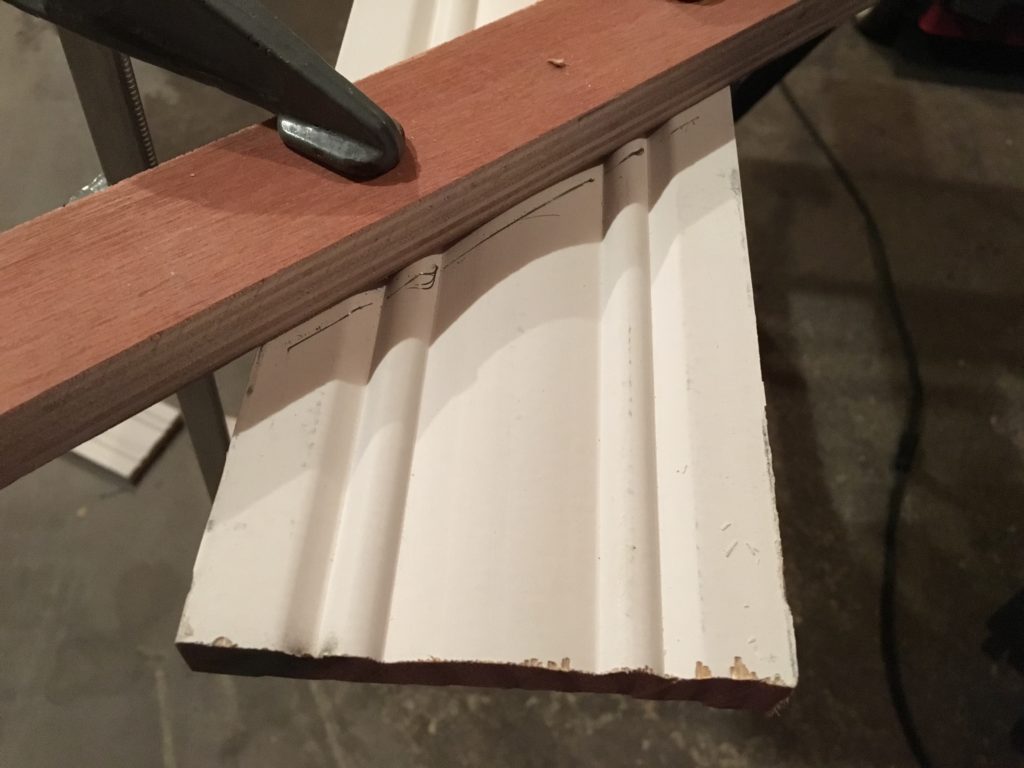
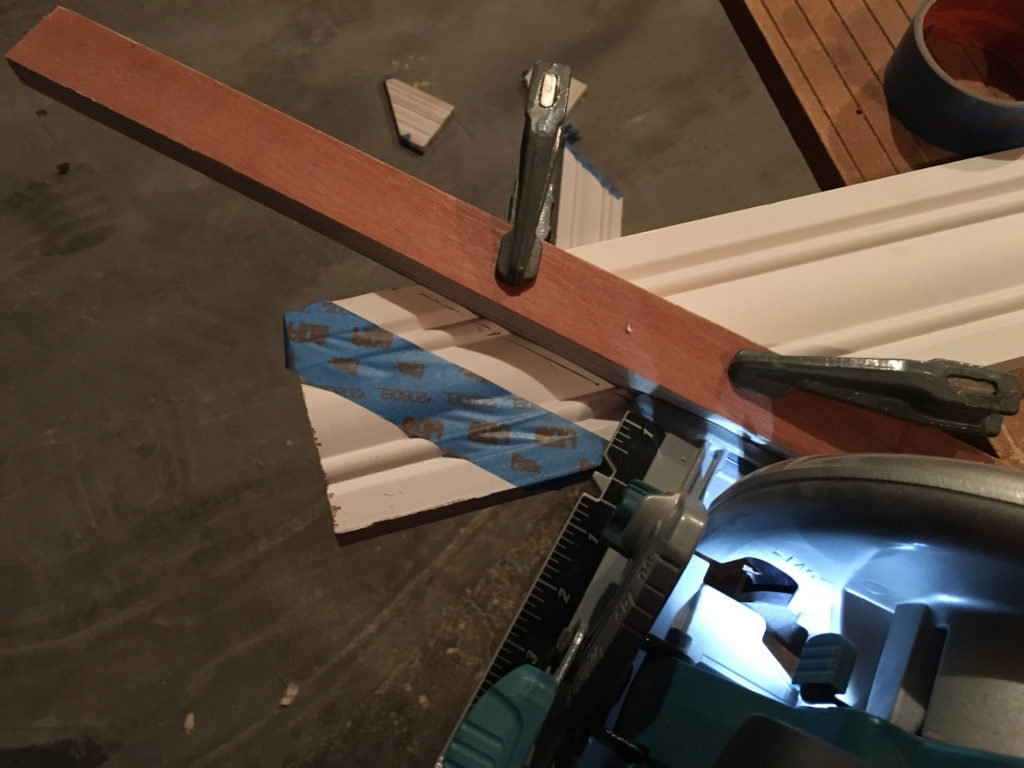
Next, I clamp a straight piece of wood along the line just marked. However, I need to move it 1/8 of an inch away from the line, because the guide on my circular saw is slightly different from the distance marked with the carpenter’s square. I learned this distance through trial and error and I’m sure not all circular saws are created equal.
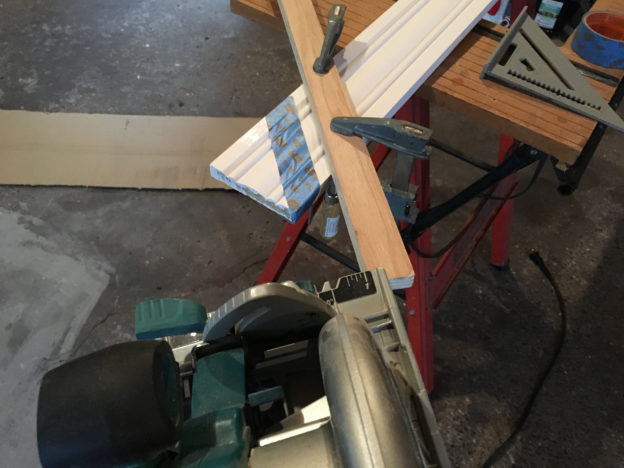
The next step: make the cut. I use tape along the line to make it as clean as possible.
This process takes considerably longer than simply using a miter saw, but it saves me a few hundred dollars and the need to store another bulky tool. Thanks for reading and check back for another post about putting this mirror frame together.