
Ever since flat-screen televisions became a hit during my college days (2003-2007), I have always wanted to mount one of them in my living room. I think that dream grew even more the longer we spent living in rental units (no holes allowed). We waited a couple of years to tackle this project in our home, just because we wanted to be certain we liked having our TV in that spot before making it permanent.
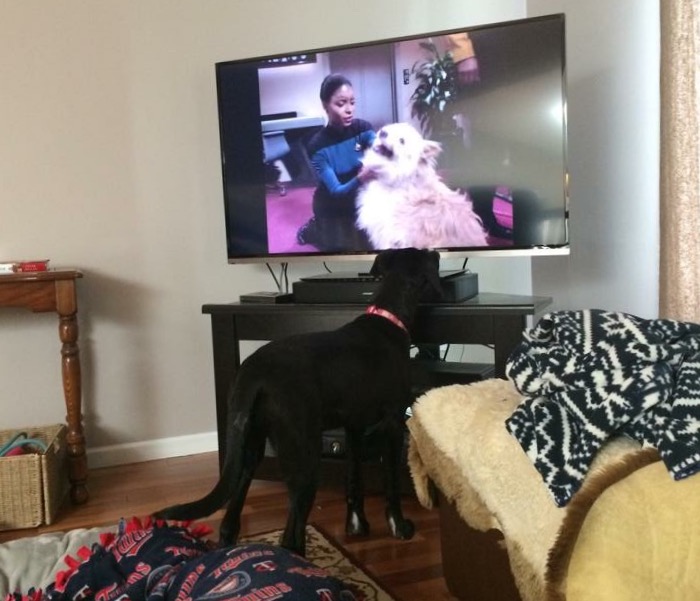
One of the only “before” pictures I could find of the old corner TV stand. Thankful I take so many pictures of Winnie!
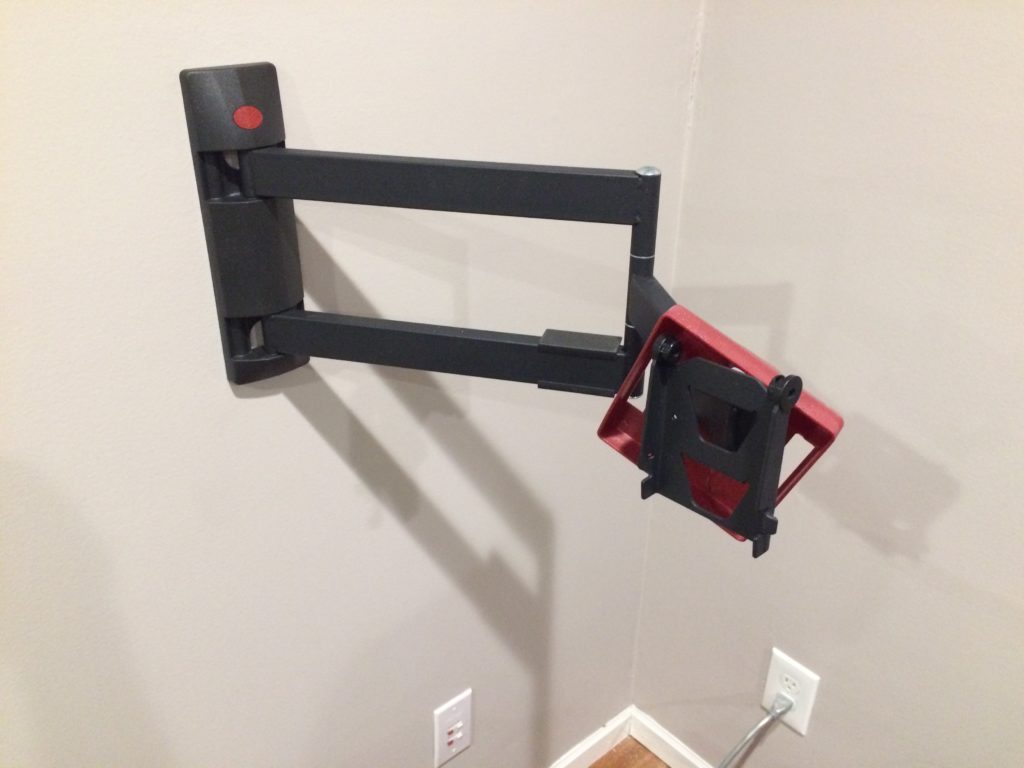
The wall mount I chose came from Home Depot. I can’t remember the exact specifications, but I know it was easily capable of handling our 50″ LED screen. Installation was fairly simple. I just needed to find the wall stud then put two lag bolts into the wall.
The floating shelf design is something I just came up with from materials I had sitting around from the banquette project. I used a couple of pieces of 2×6 for the wall bracket and two pieces of 3/4″ plywood for the shelves. I wanted the front of the shelves to match the angle of the TV, so took some careful measurements before cutting. Each shelf is simply screwed to the 2×6 using 3 wood construction screws. Very simple design, yet surprisingly sturdy.
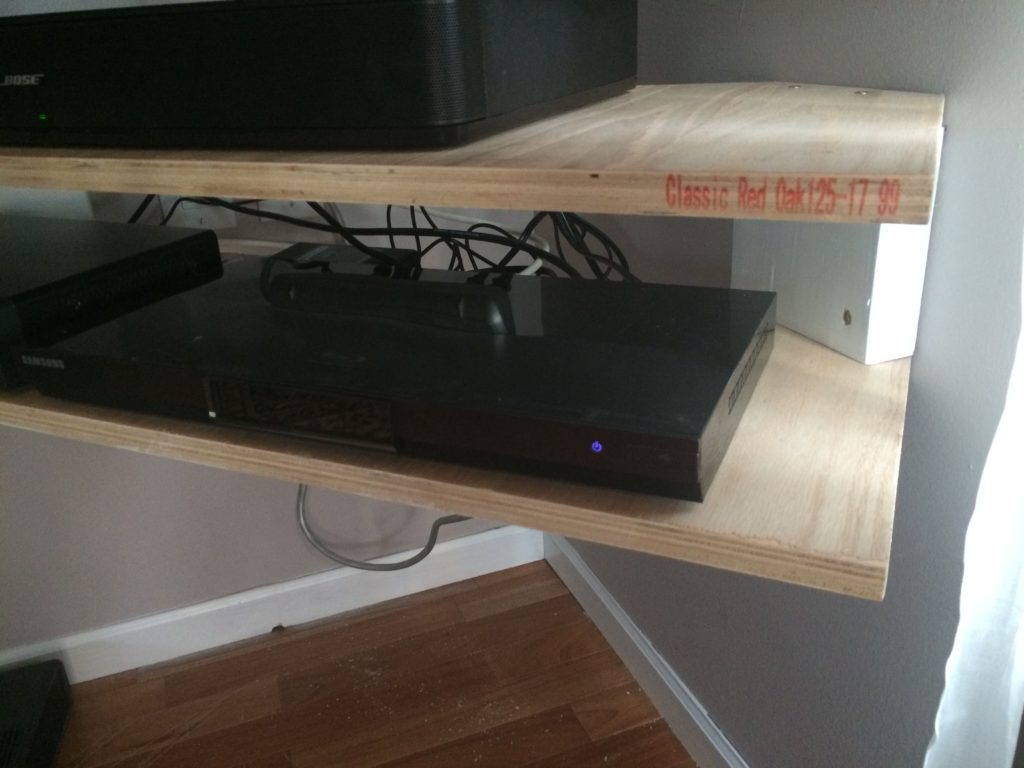
The one problem with using plywood: the edges aren’t very pretty and don’t get much better with paint. My solution was to buy some small pieces of trim wood that were 3/4″ wide. See photo below:

One final requirement of my “wall-mounted TV with floating shelves” dream was to hide the cables between the TV and the cable box/game system. I did this by cutting holes in the wall and installing fancy wall plates for cables.
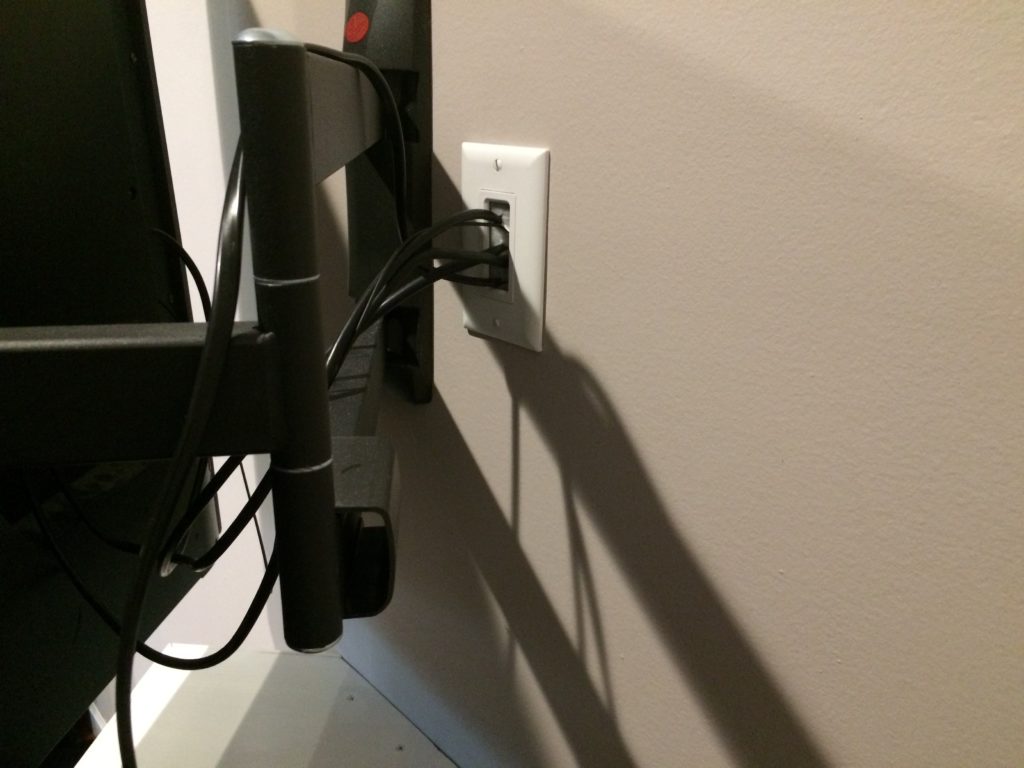
Look! No Cables!
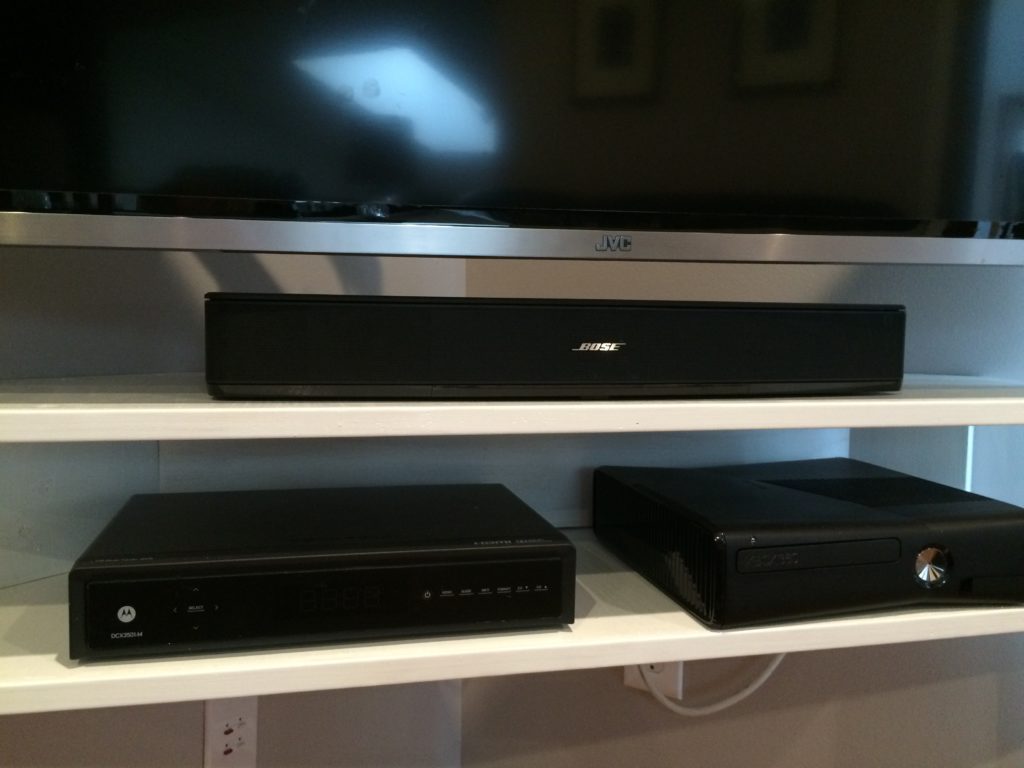
The finished product:
