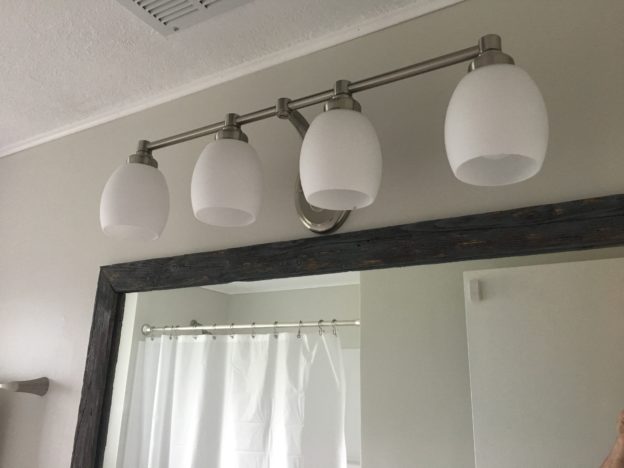
Look closely at the photo above. Maybe you see it, maybe you don’t. If you don’t, look a little closer. I promise this isn’t like one of those Magic Eye puzzles that everyone used to lie about in elementary school. “I see the boat!” “No you don’t.” “Shut up!”
I’ll admit, my talent for tearing trees out of the ground does not always translate into projects requiring a delicate touch. It also doesn’t help that as I approach the end of a project, there can be a tendency to rush to the finish line. But this one really made me frustrated with myself. I was hammering in nails to secure the new mirror frame to the wall in our recent bathroom renovation, when I thought to myself “gosh, that nail I’m about to hammer in looks dangerously close to that glass shade of the $80 lamp we just purchased and installed.” What did I do? Proceeded to hammer. -Clink- Don’t tell me that’s what I think that was…
I broke it. The beautiful new lamp shade. Broken.
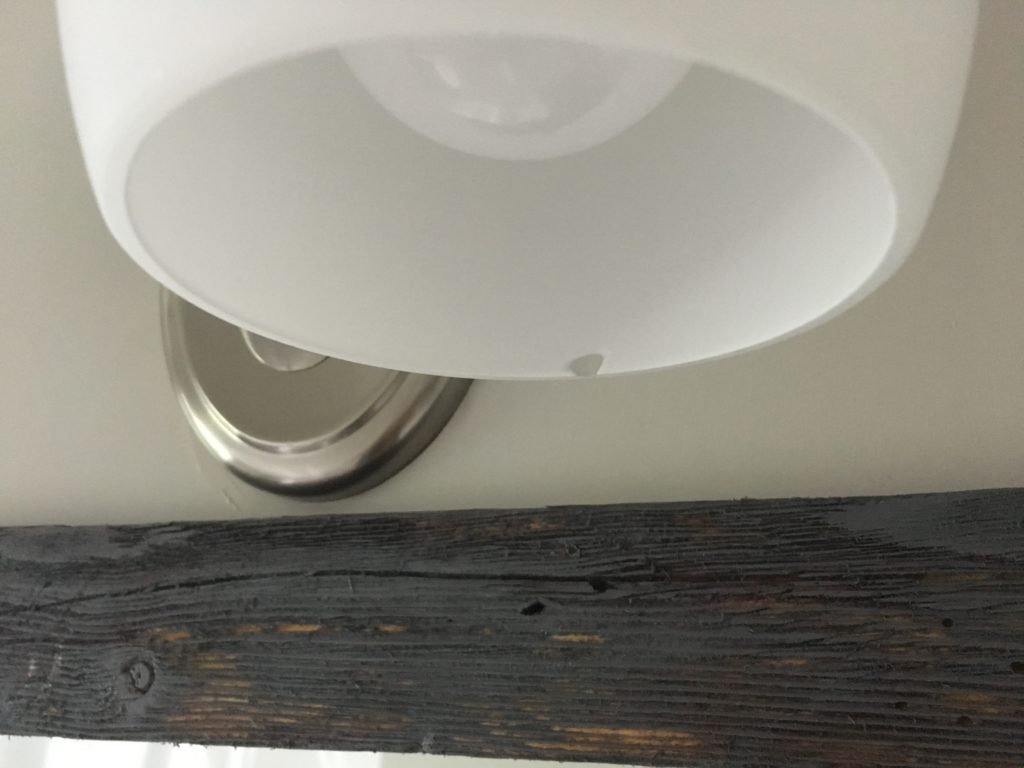
“Maybe I can just spin it in another direction and nobody will notice,” I thought.
-Still visible.
“Maybe I can just paint it using frosted glass spray paint,” I thought.
-It’ll still be visible.
I finish hanging the mirror, then start looking online for a replacement. We bought the lamp at Menard’s. It’s a Patriot Lighting Olympia 4-Light Satin Nickel Vanity Light. I search all around on the website, and while I find plenty of options for replacement glass shades, I can’t find any in the “Olympia” style. I decide to go to the store to ask about it. A woman in the lighting section is very helpful, but can’t find it in the system. She takes my information and tells me their expert in the department will call me to help the next day. When I get a call the next day, I learn that Menard’s can make a special order for the item, but that it could be months before it ships, because the company is having such a hard time meeting demand for the product. I guess we picked a popular lamp!
Around this time, a thought pops into my head. “Do I just buy the same style of lamp in the single bulb variety?” It would cost $30, which is $10 more than the price I was quoted for the special order. The decision is really pretty simple. I really don’t need the replacement at this moment, and it would be wasteful for me to buy a lamp only to throw away most of the components to keep the glass shade. I place the order.

I’m a little amazed when the package arrives just a few weeks later.
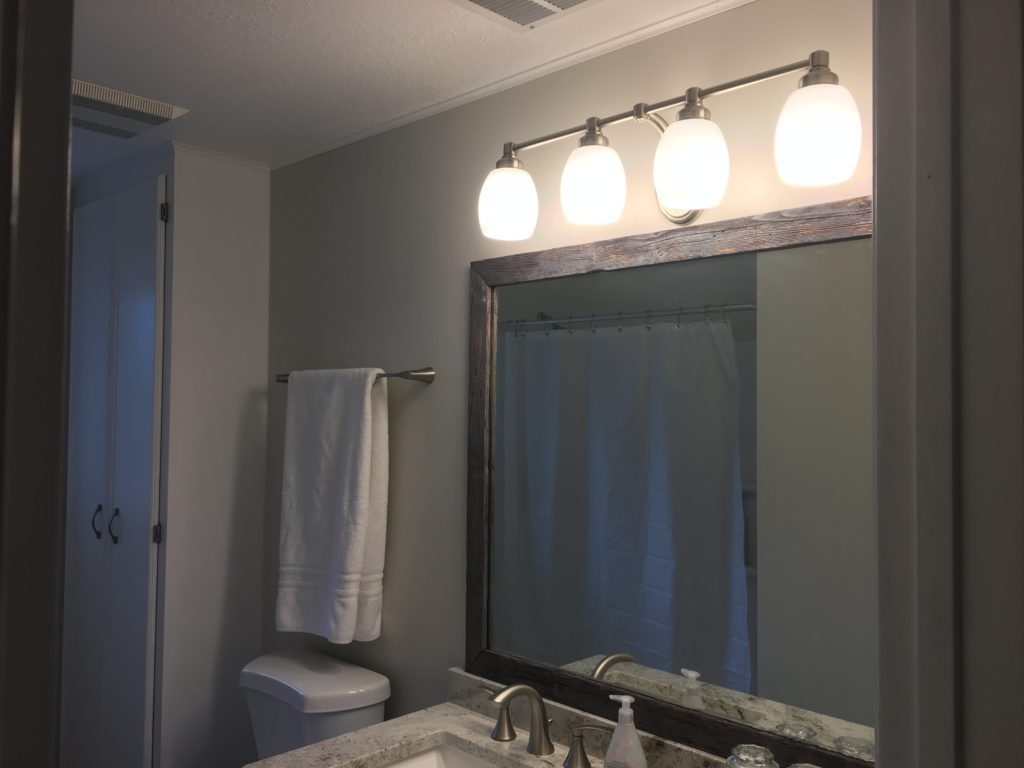
Much better! A $20 lesson in patience, but much better. I’ll remember to just remove the glass shade if I ever encounter the same situation again. (I hope)

![IMG_1840[1]](http://verlohousetohome.com/wp-content/uploads/2017/06/IMG_18401-1024x768.jpg)