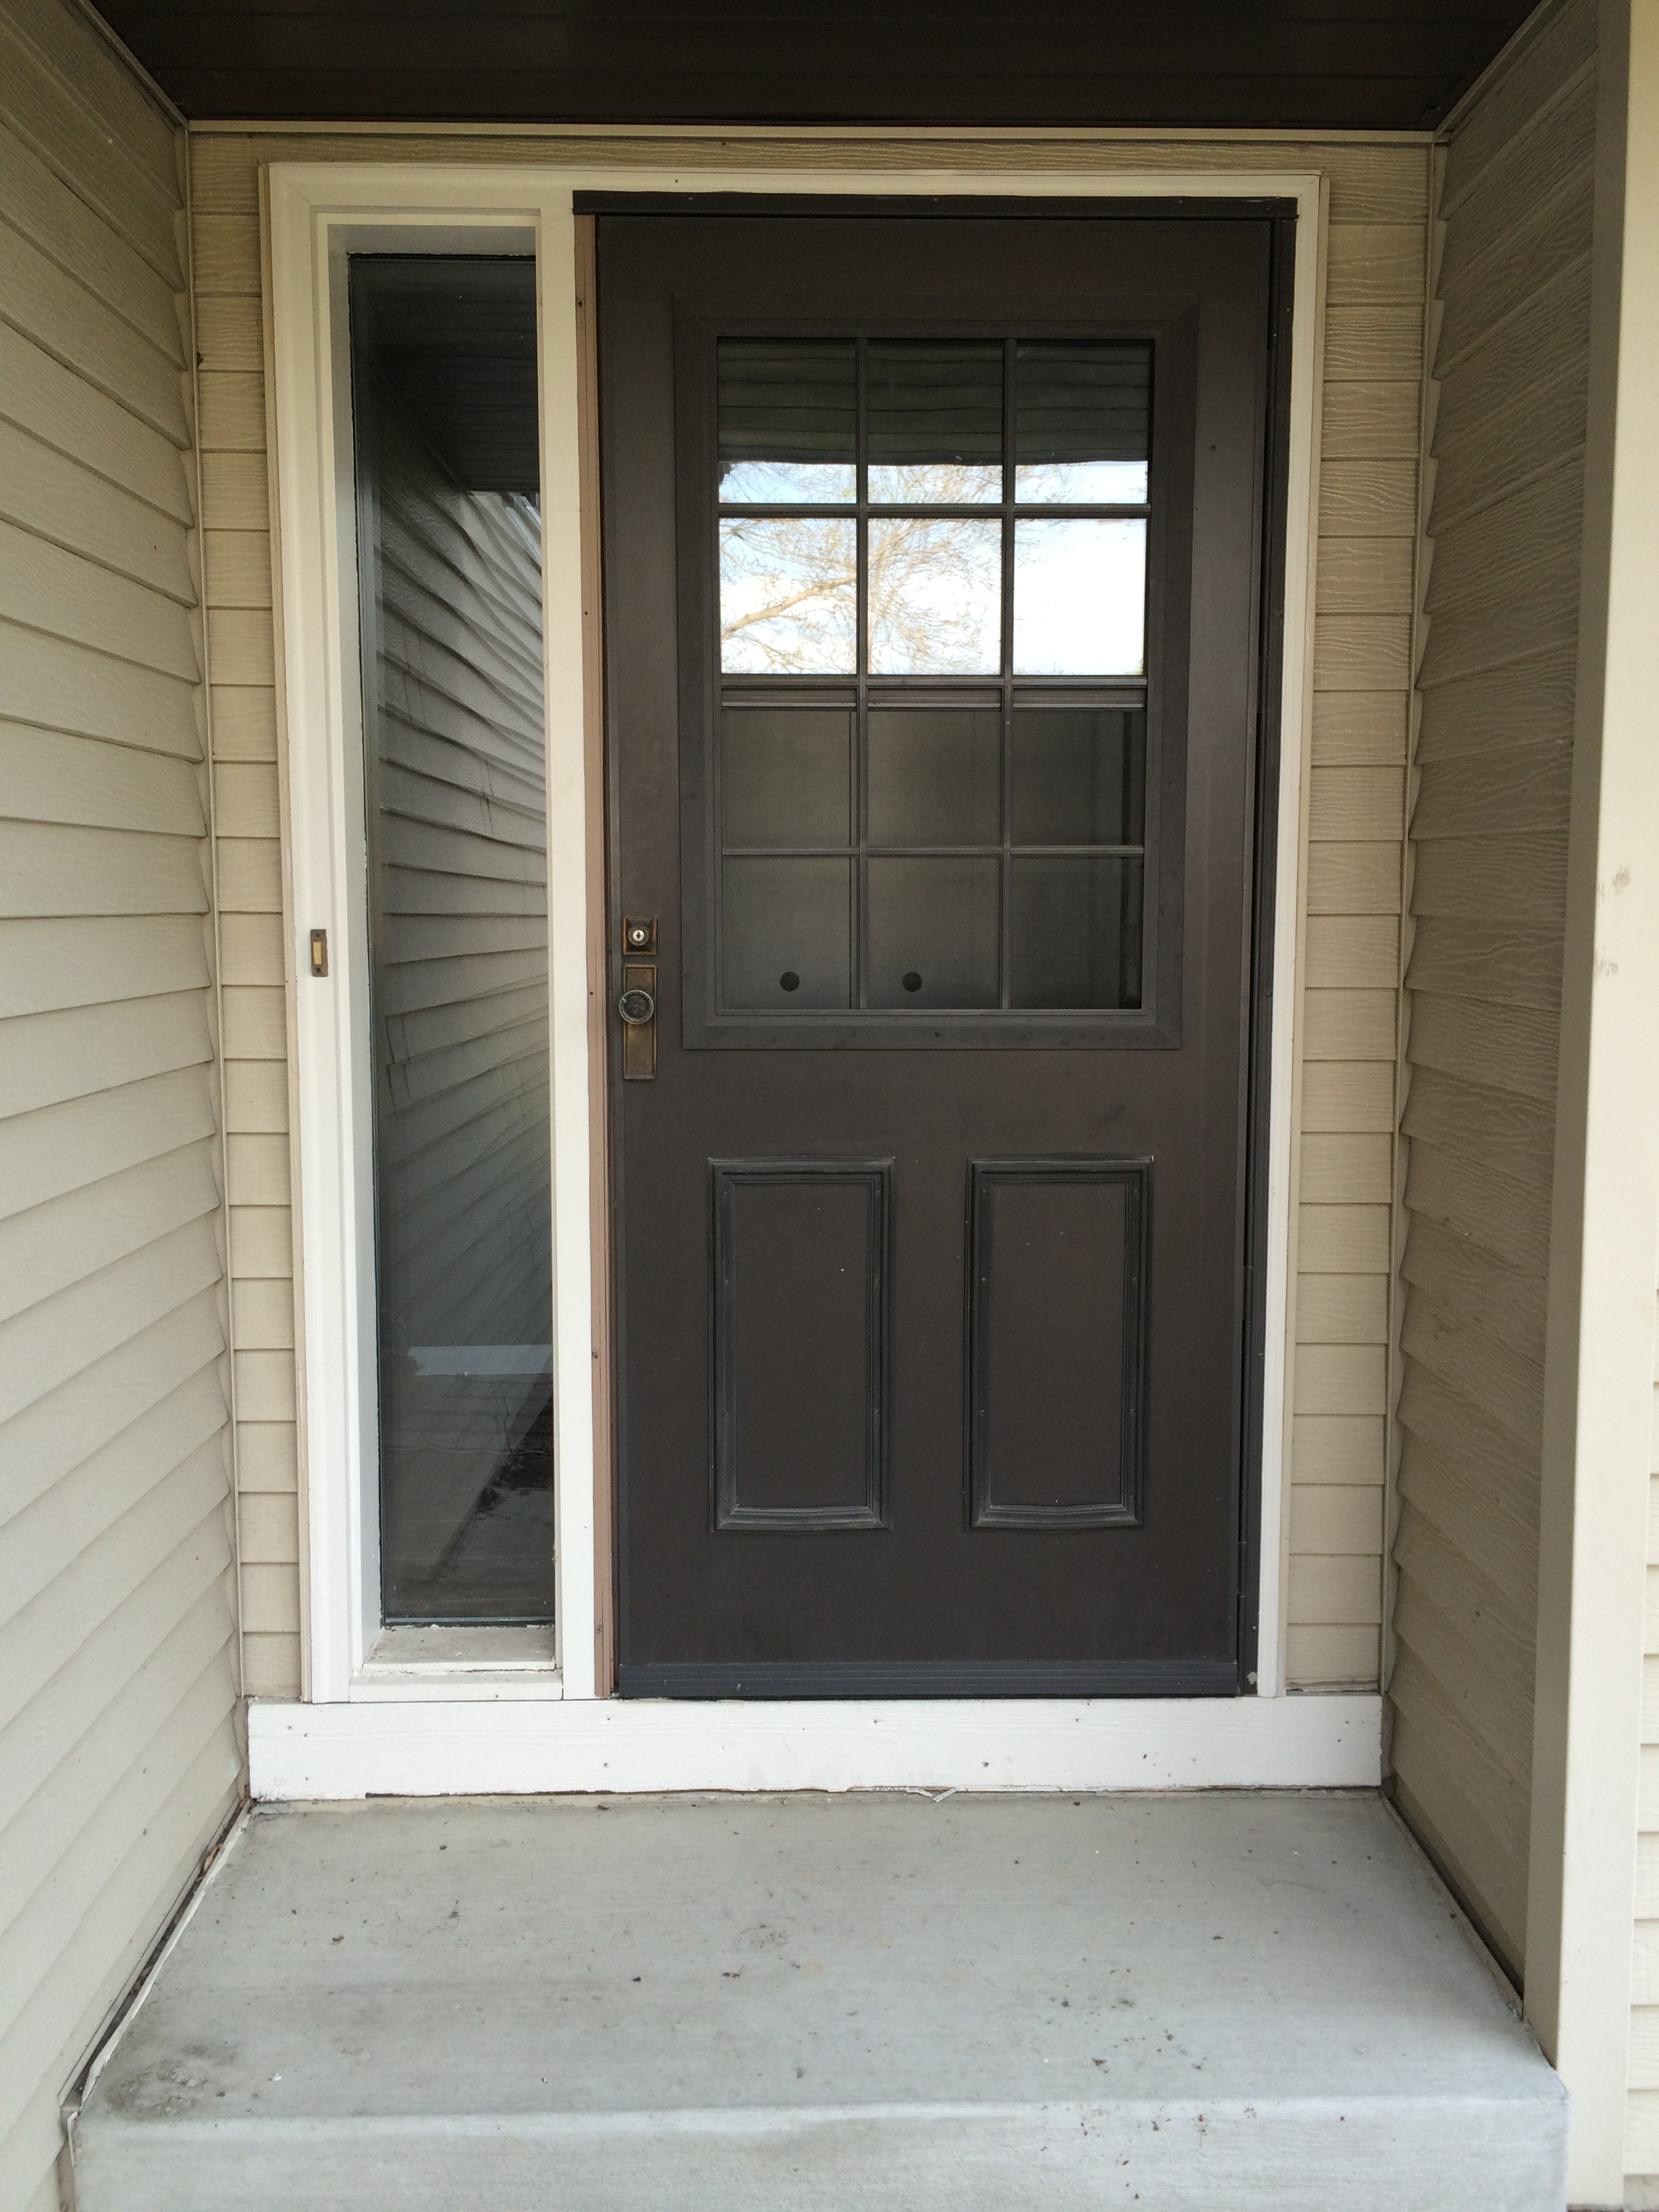
Category Archives: Small Projects Around the House

New Front Screen Door

IMG_0390

Old and dingy.

Your front door is one of the first things people see when entering your home.  This storm door wasn’t say’n much other than “good luck getting 30 years of grime off me”.  Also notice how it opens on the left side, which is oddly awkward when guests arrive. “Welcome, let me just open this door into your face!”

We looked for storm doors at several stores, but found the largest selection (and competent help) at our local Lowe’s.  The store is roughly five miles further than Home Depot and Menards and for whatever reason, had fewer customers on a beautiful Sunday afternoon, so we had an easier time  finding someone to help answer questions. The person we worked with listened to our needs and talked us into the Larson Signature.  We wanted a door with both storm glass for winter and a screen for summer.  But we did not want the screen to open, because we don’t like the look of a bar in the middle of the screen (example: click on this link).  This was also another great example of how much we are using my parent’s truck this summer!
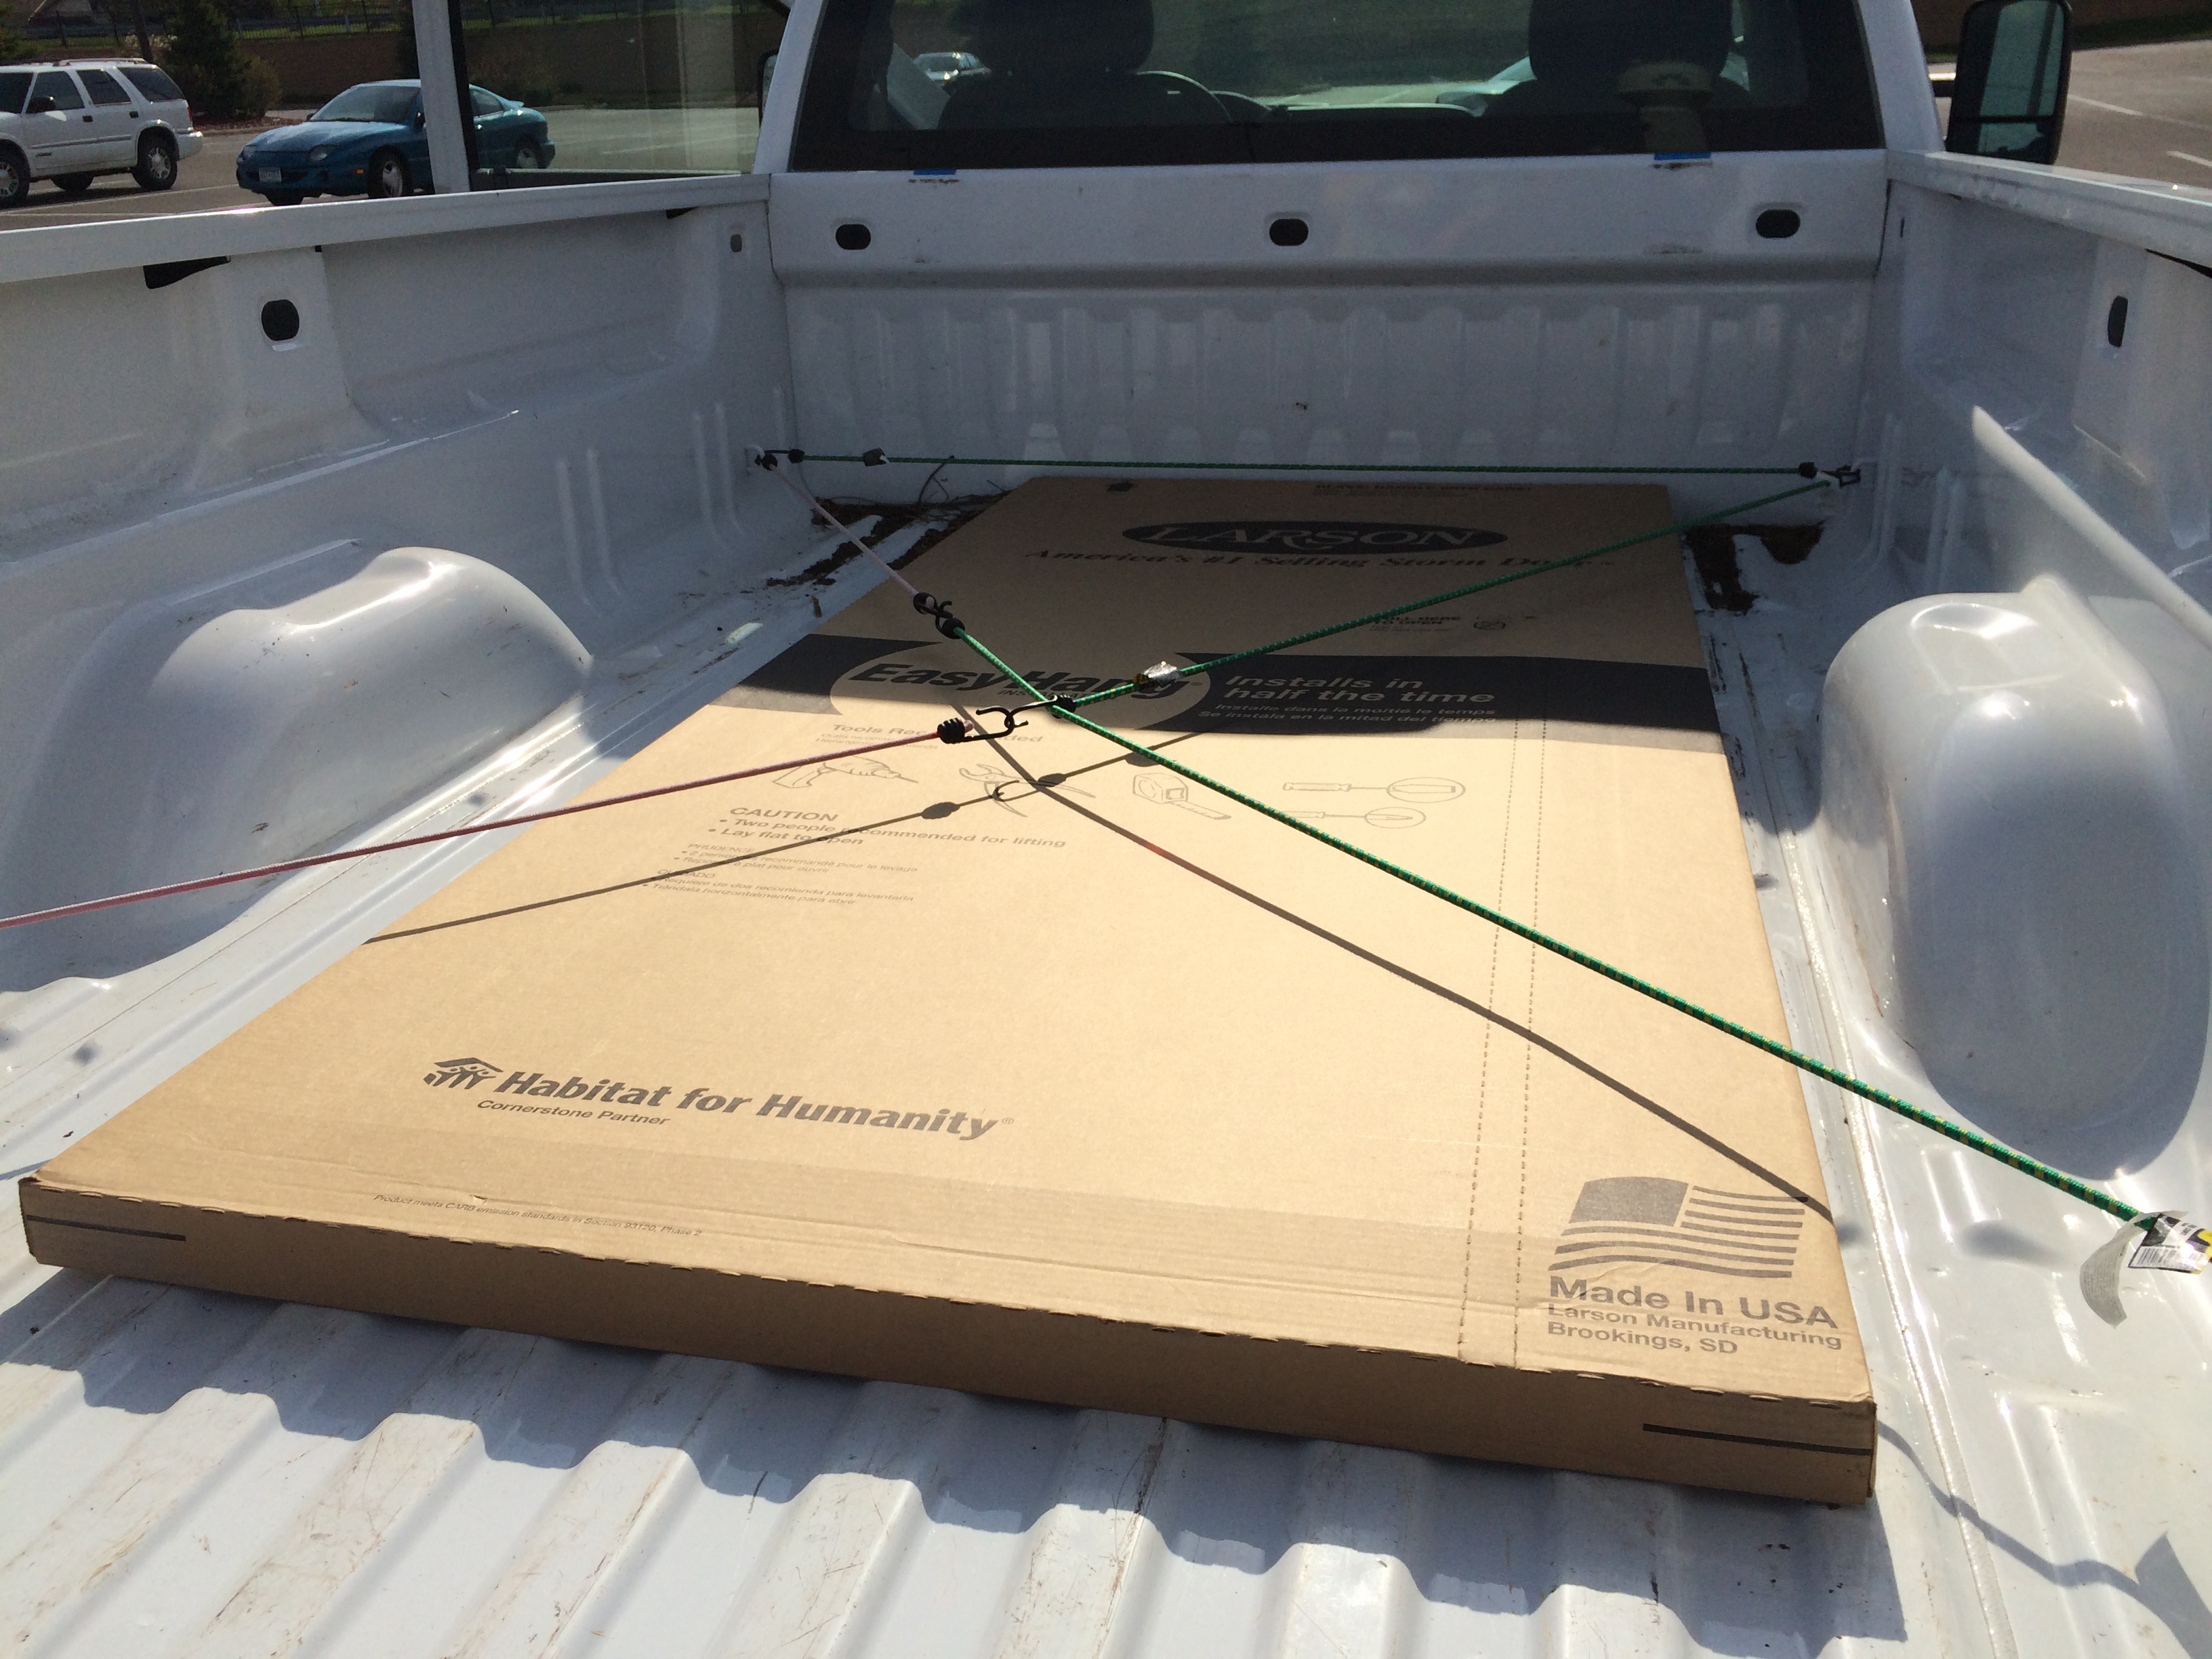
IMG_0389

Required: 8ft bed

We unloaded the door right in the driveway and opened the box for ease of installation.

IMG_0391

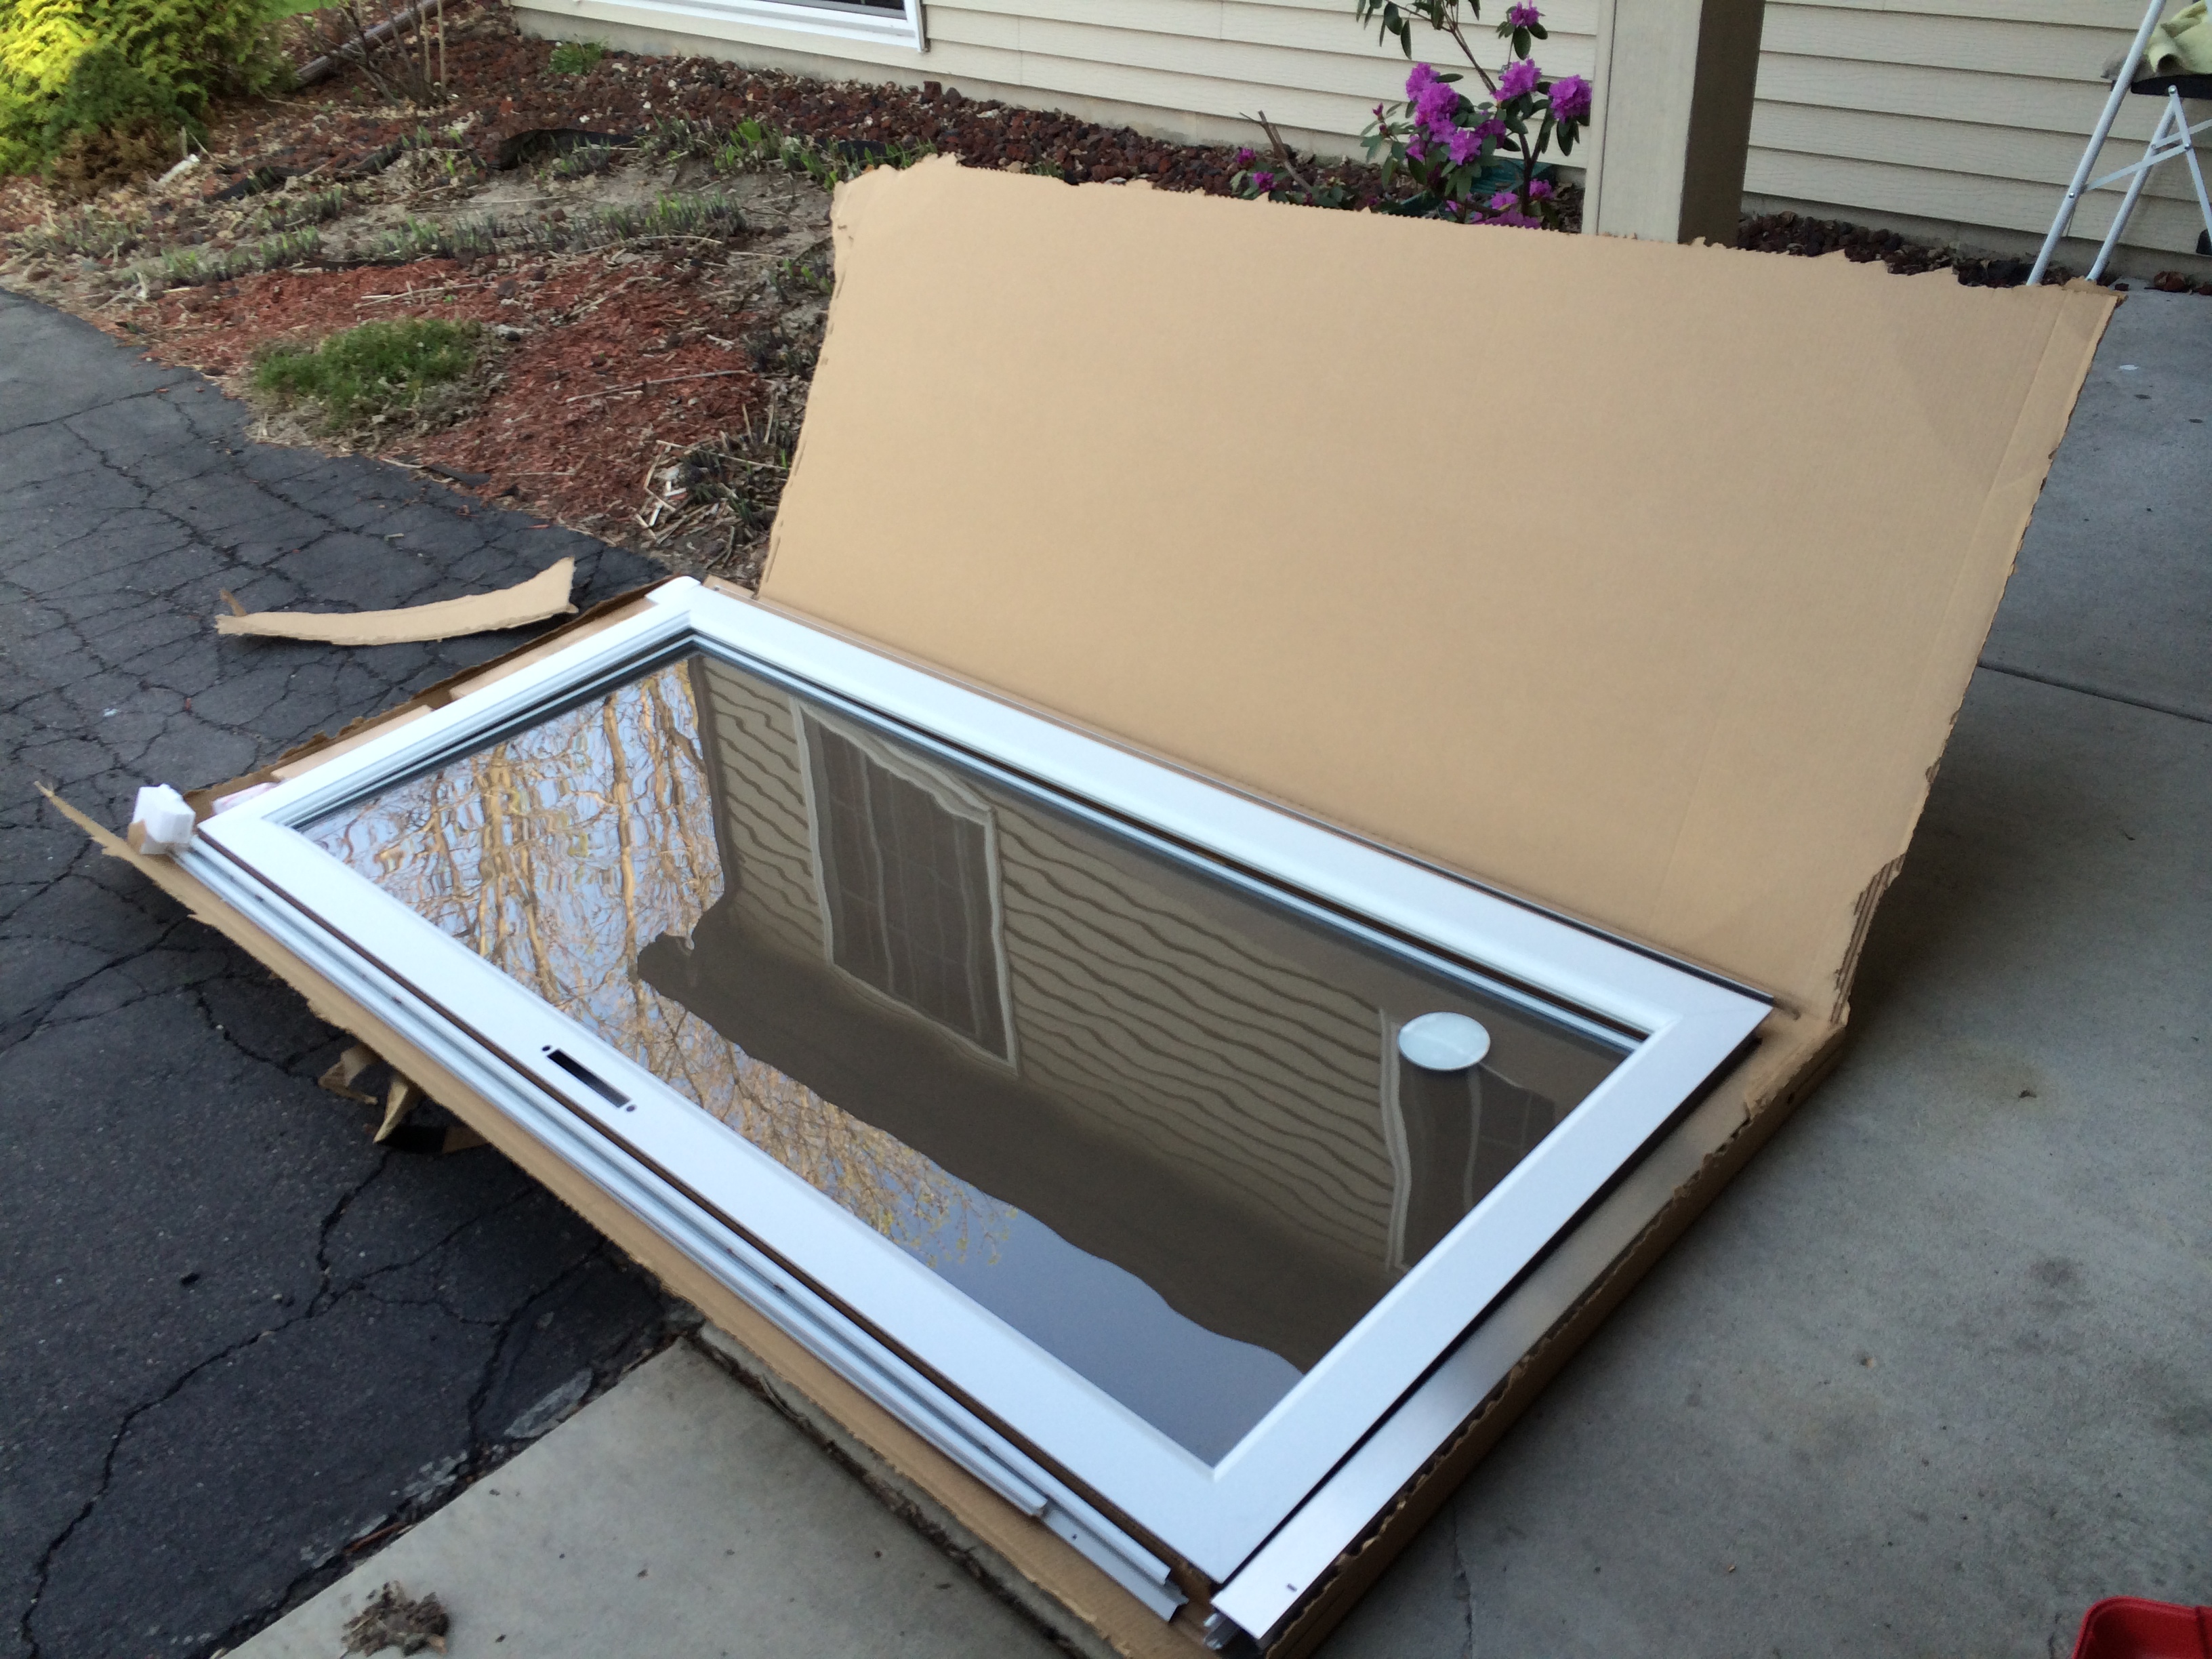
They don’t waste much packaging space.

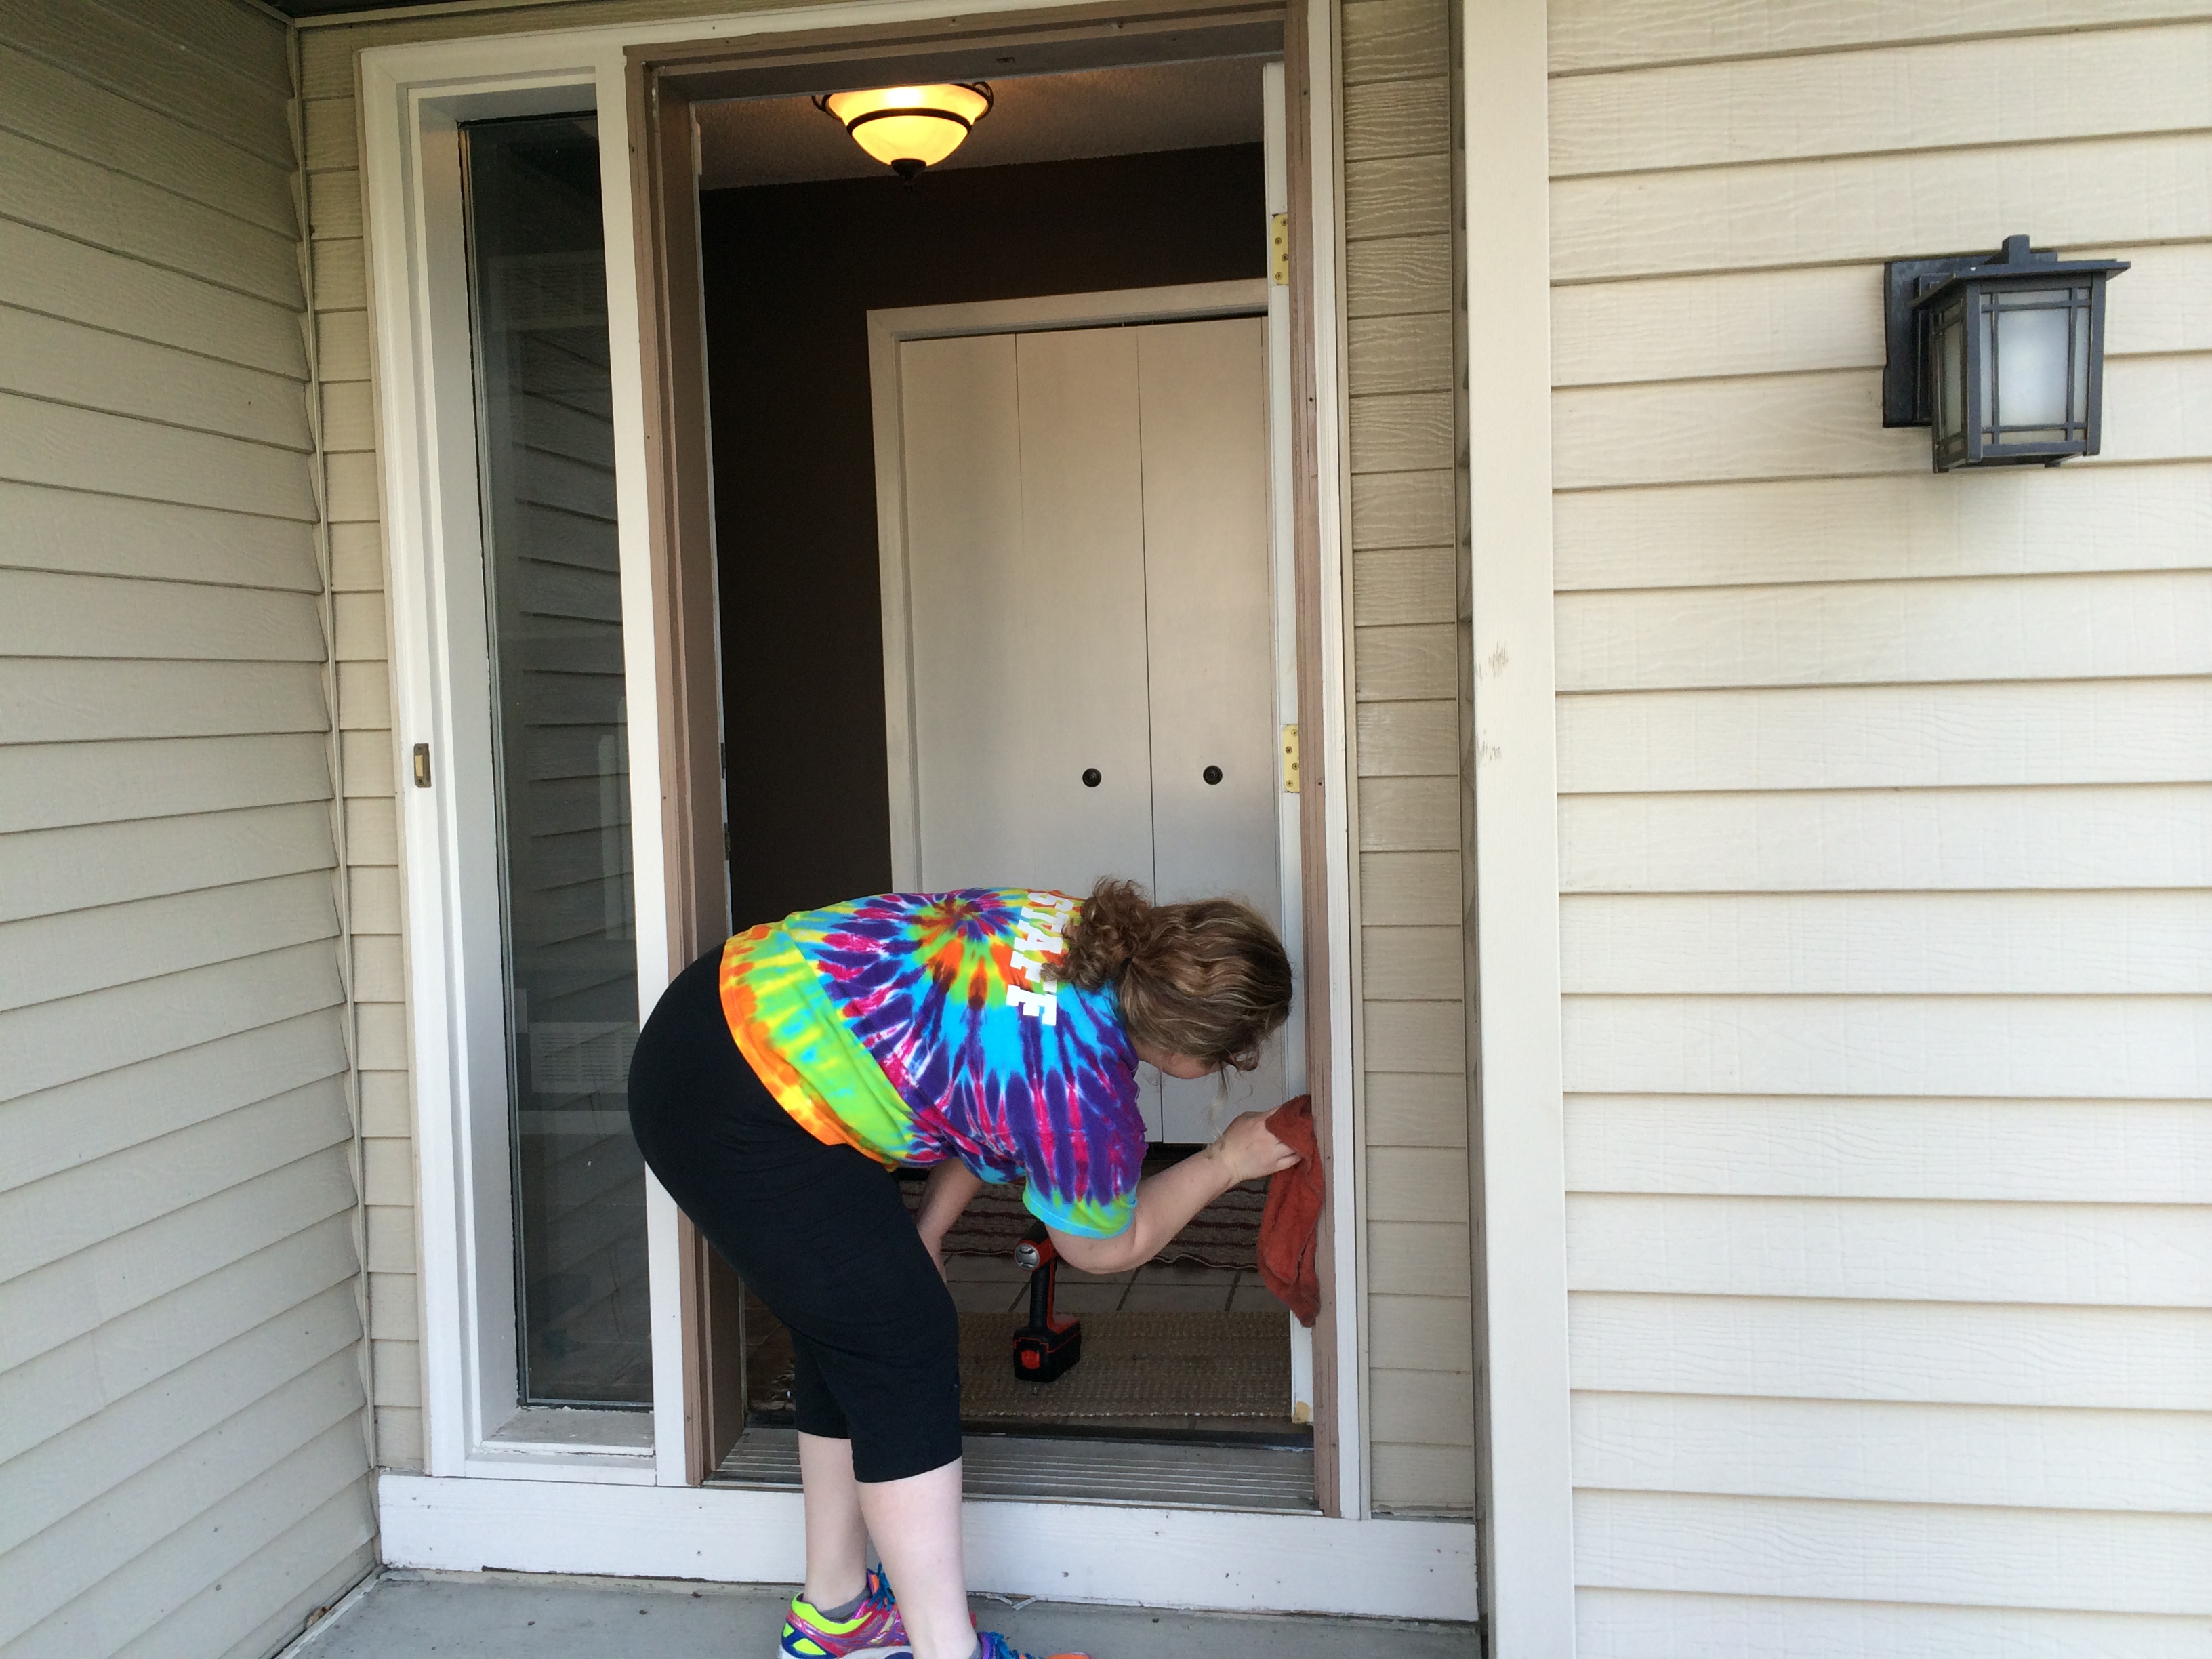
After we removed the old door, Sara took a few moments to clear away 30 years of grime.

IMG_0392

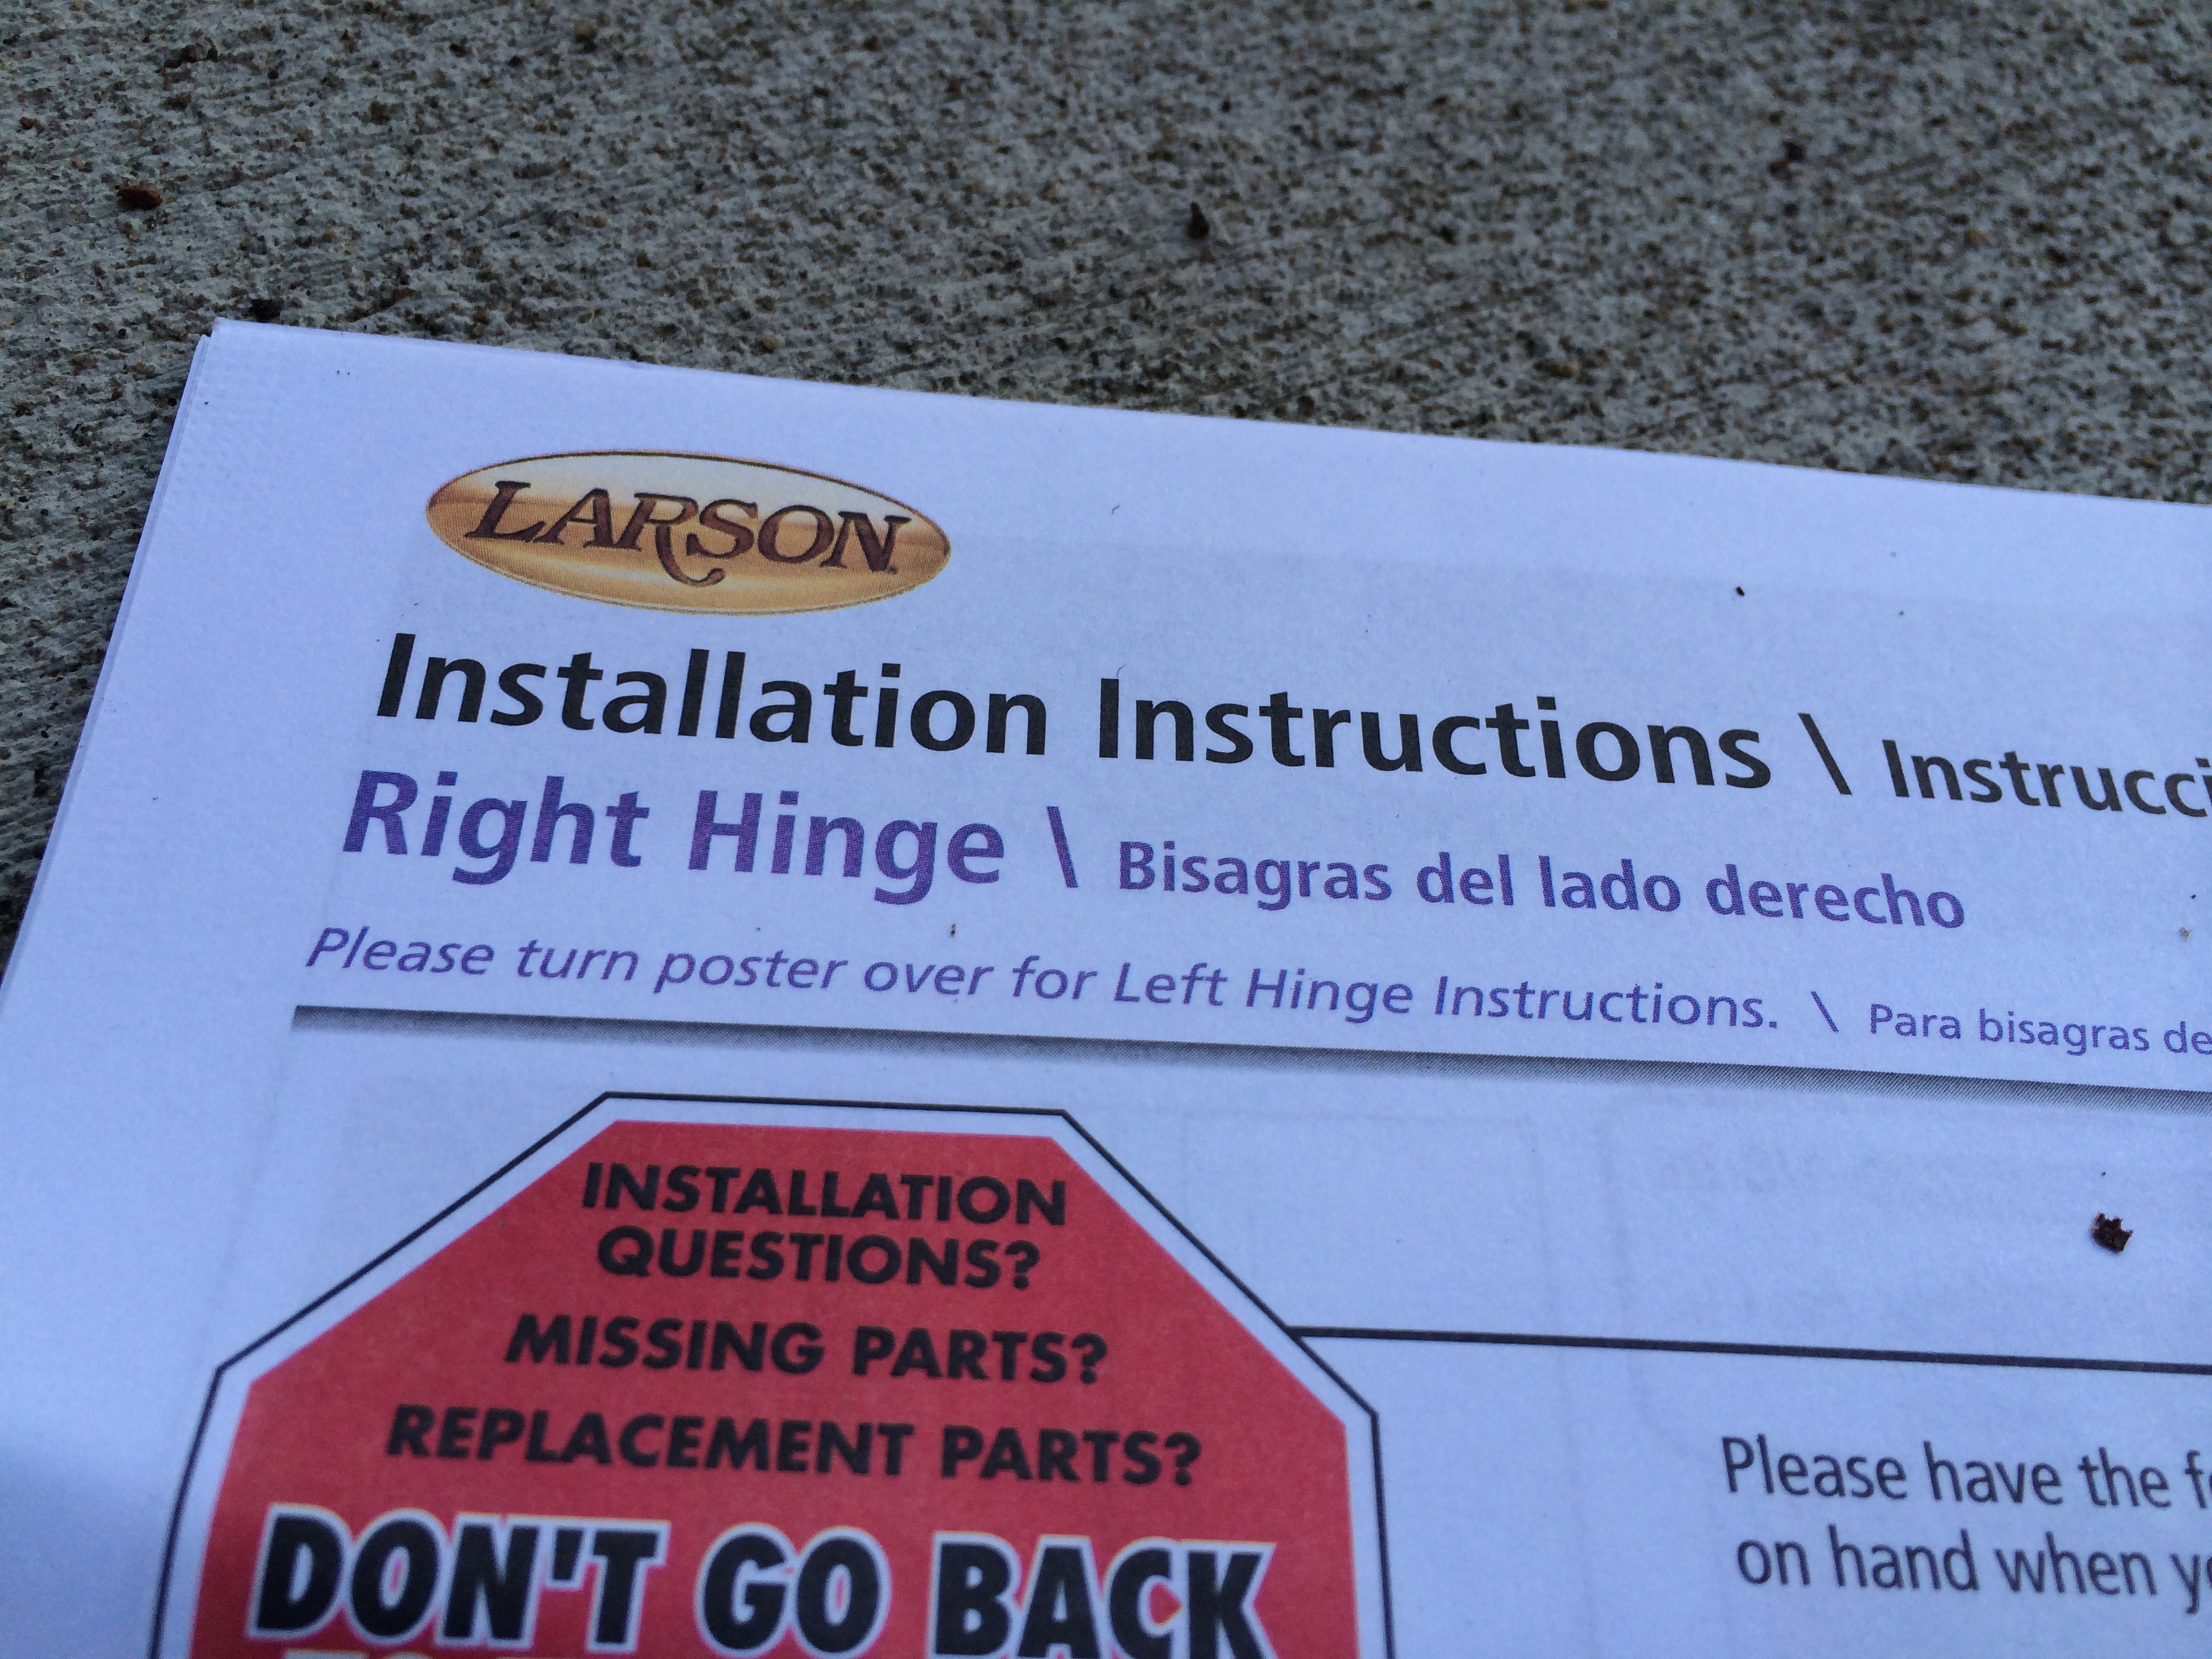
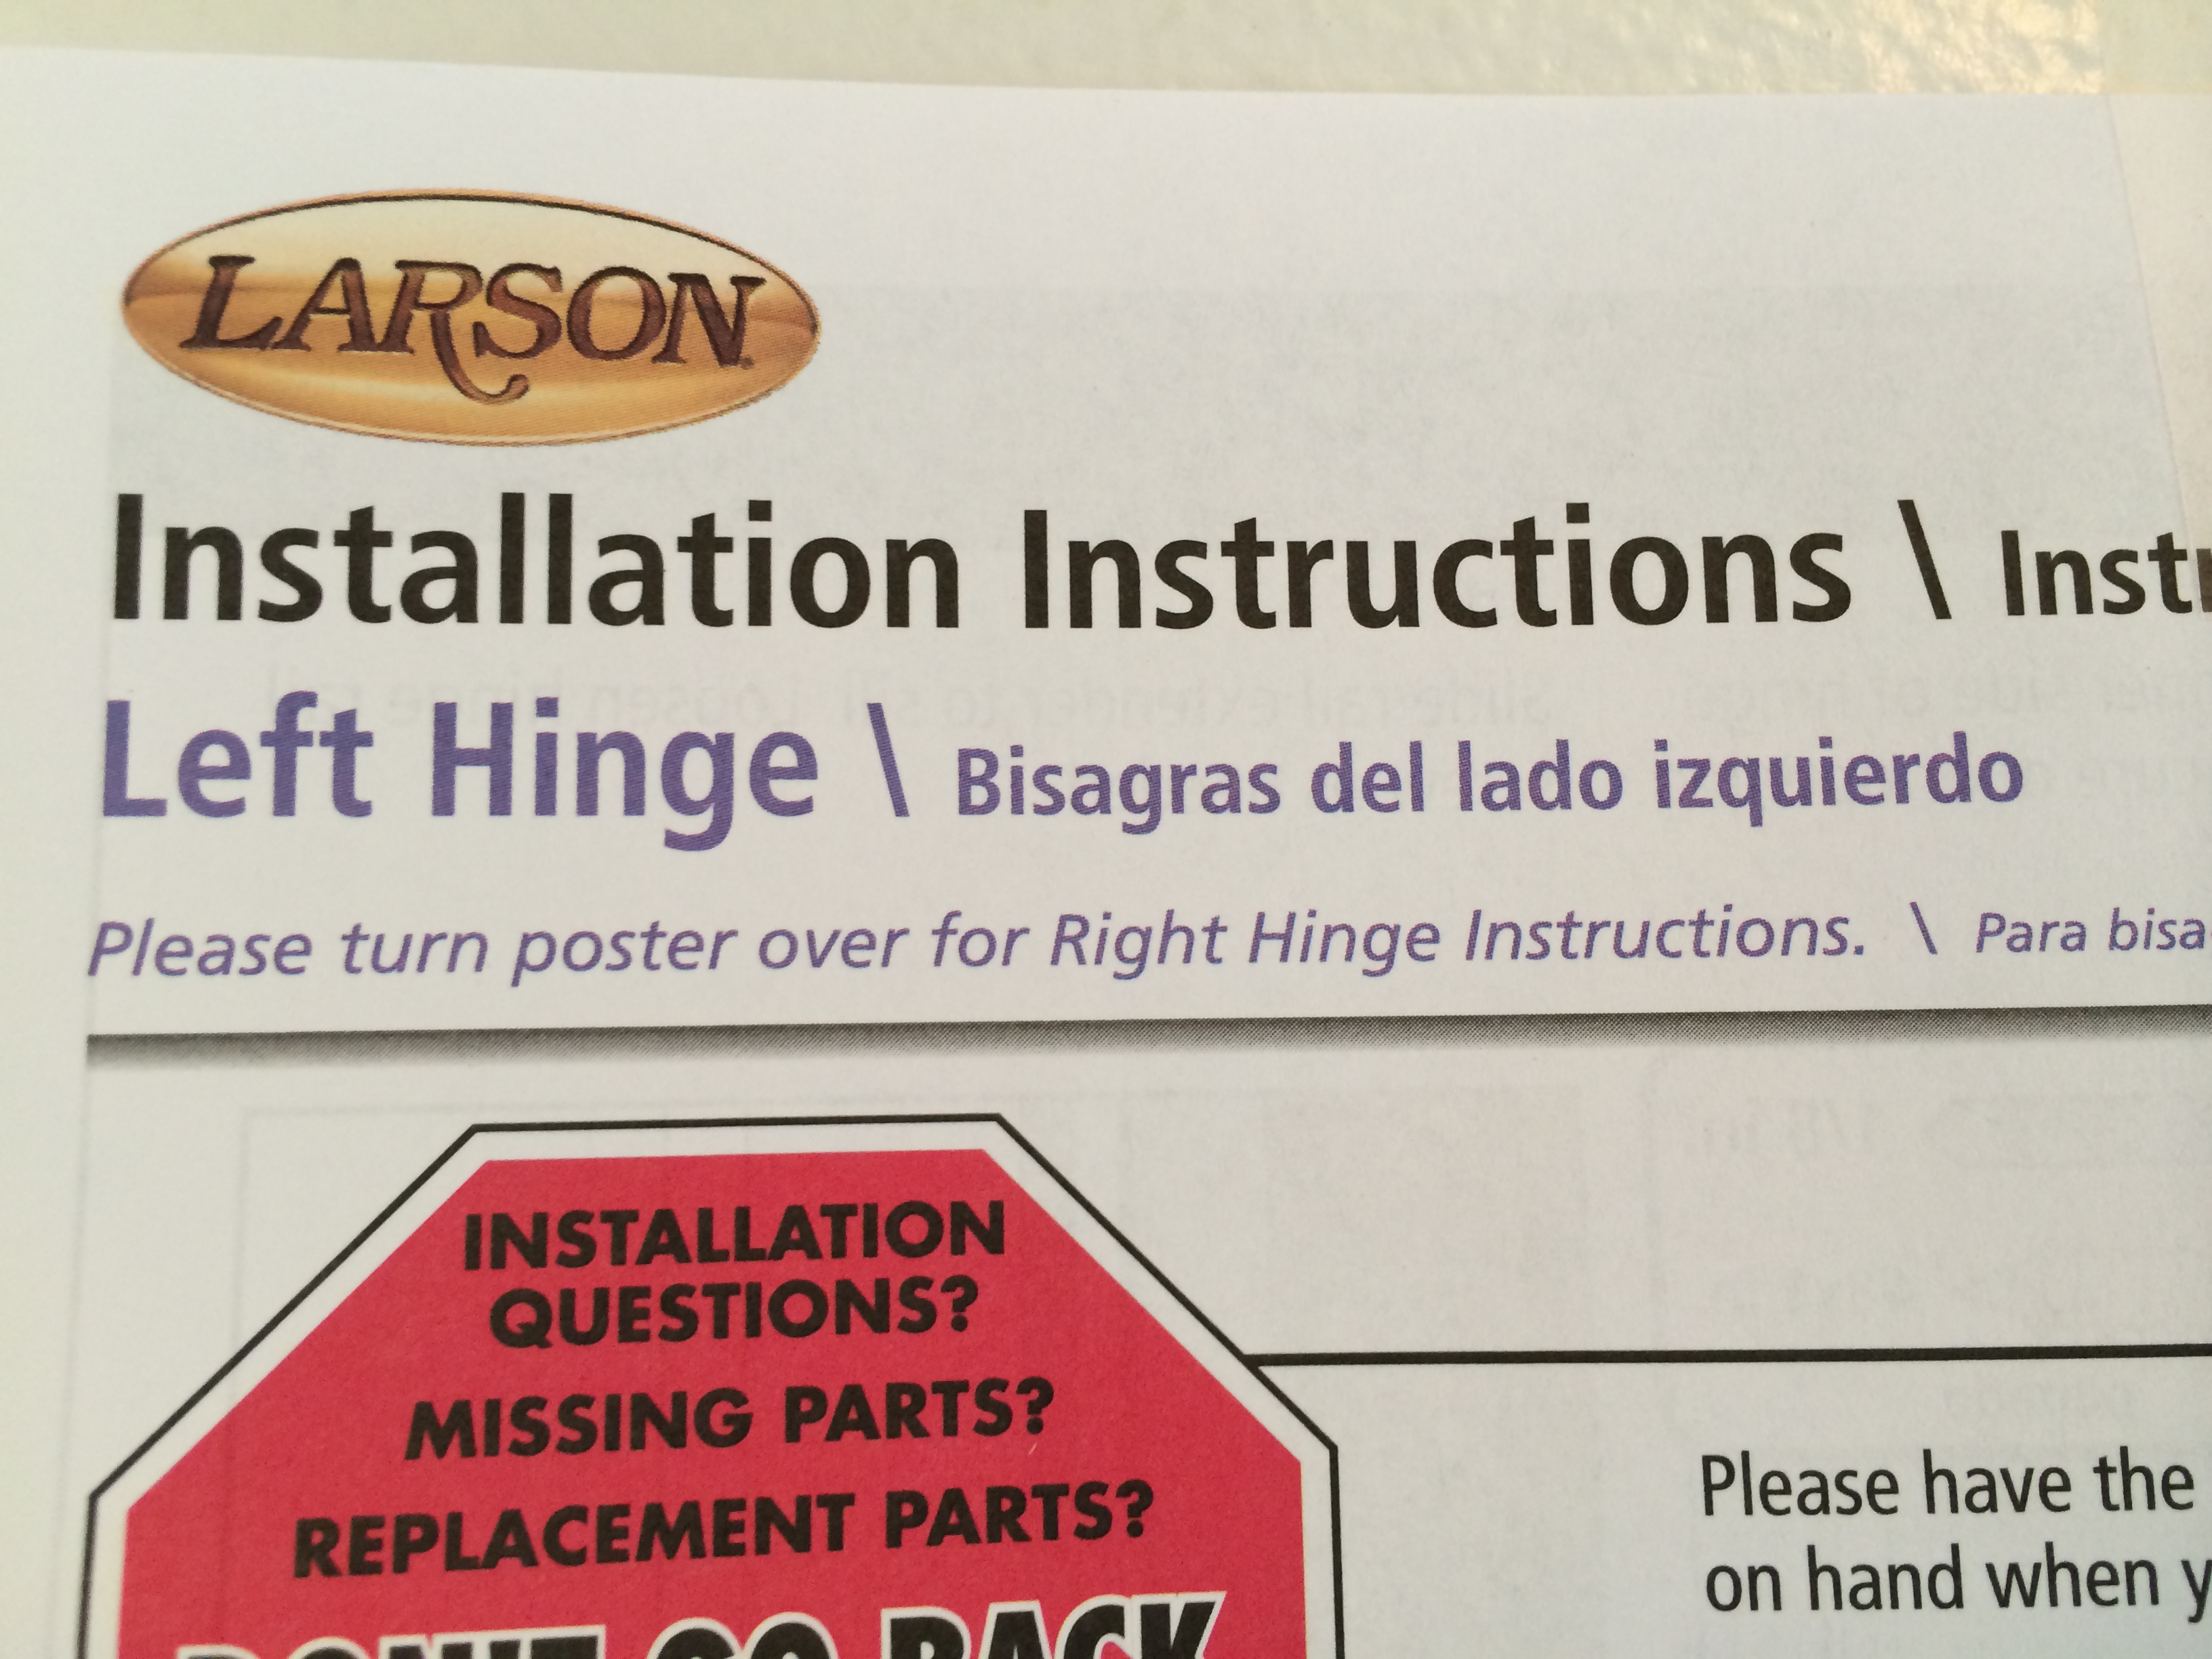
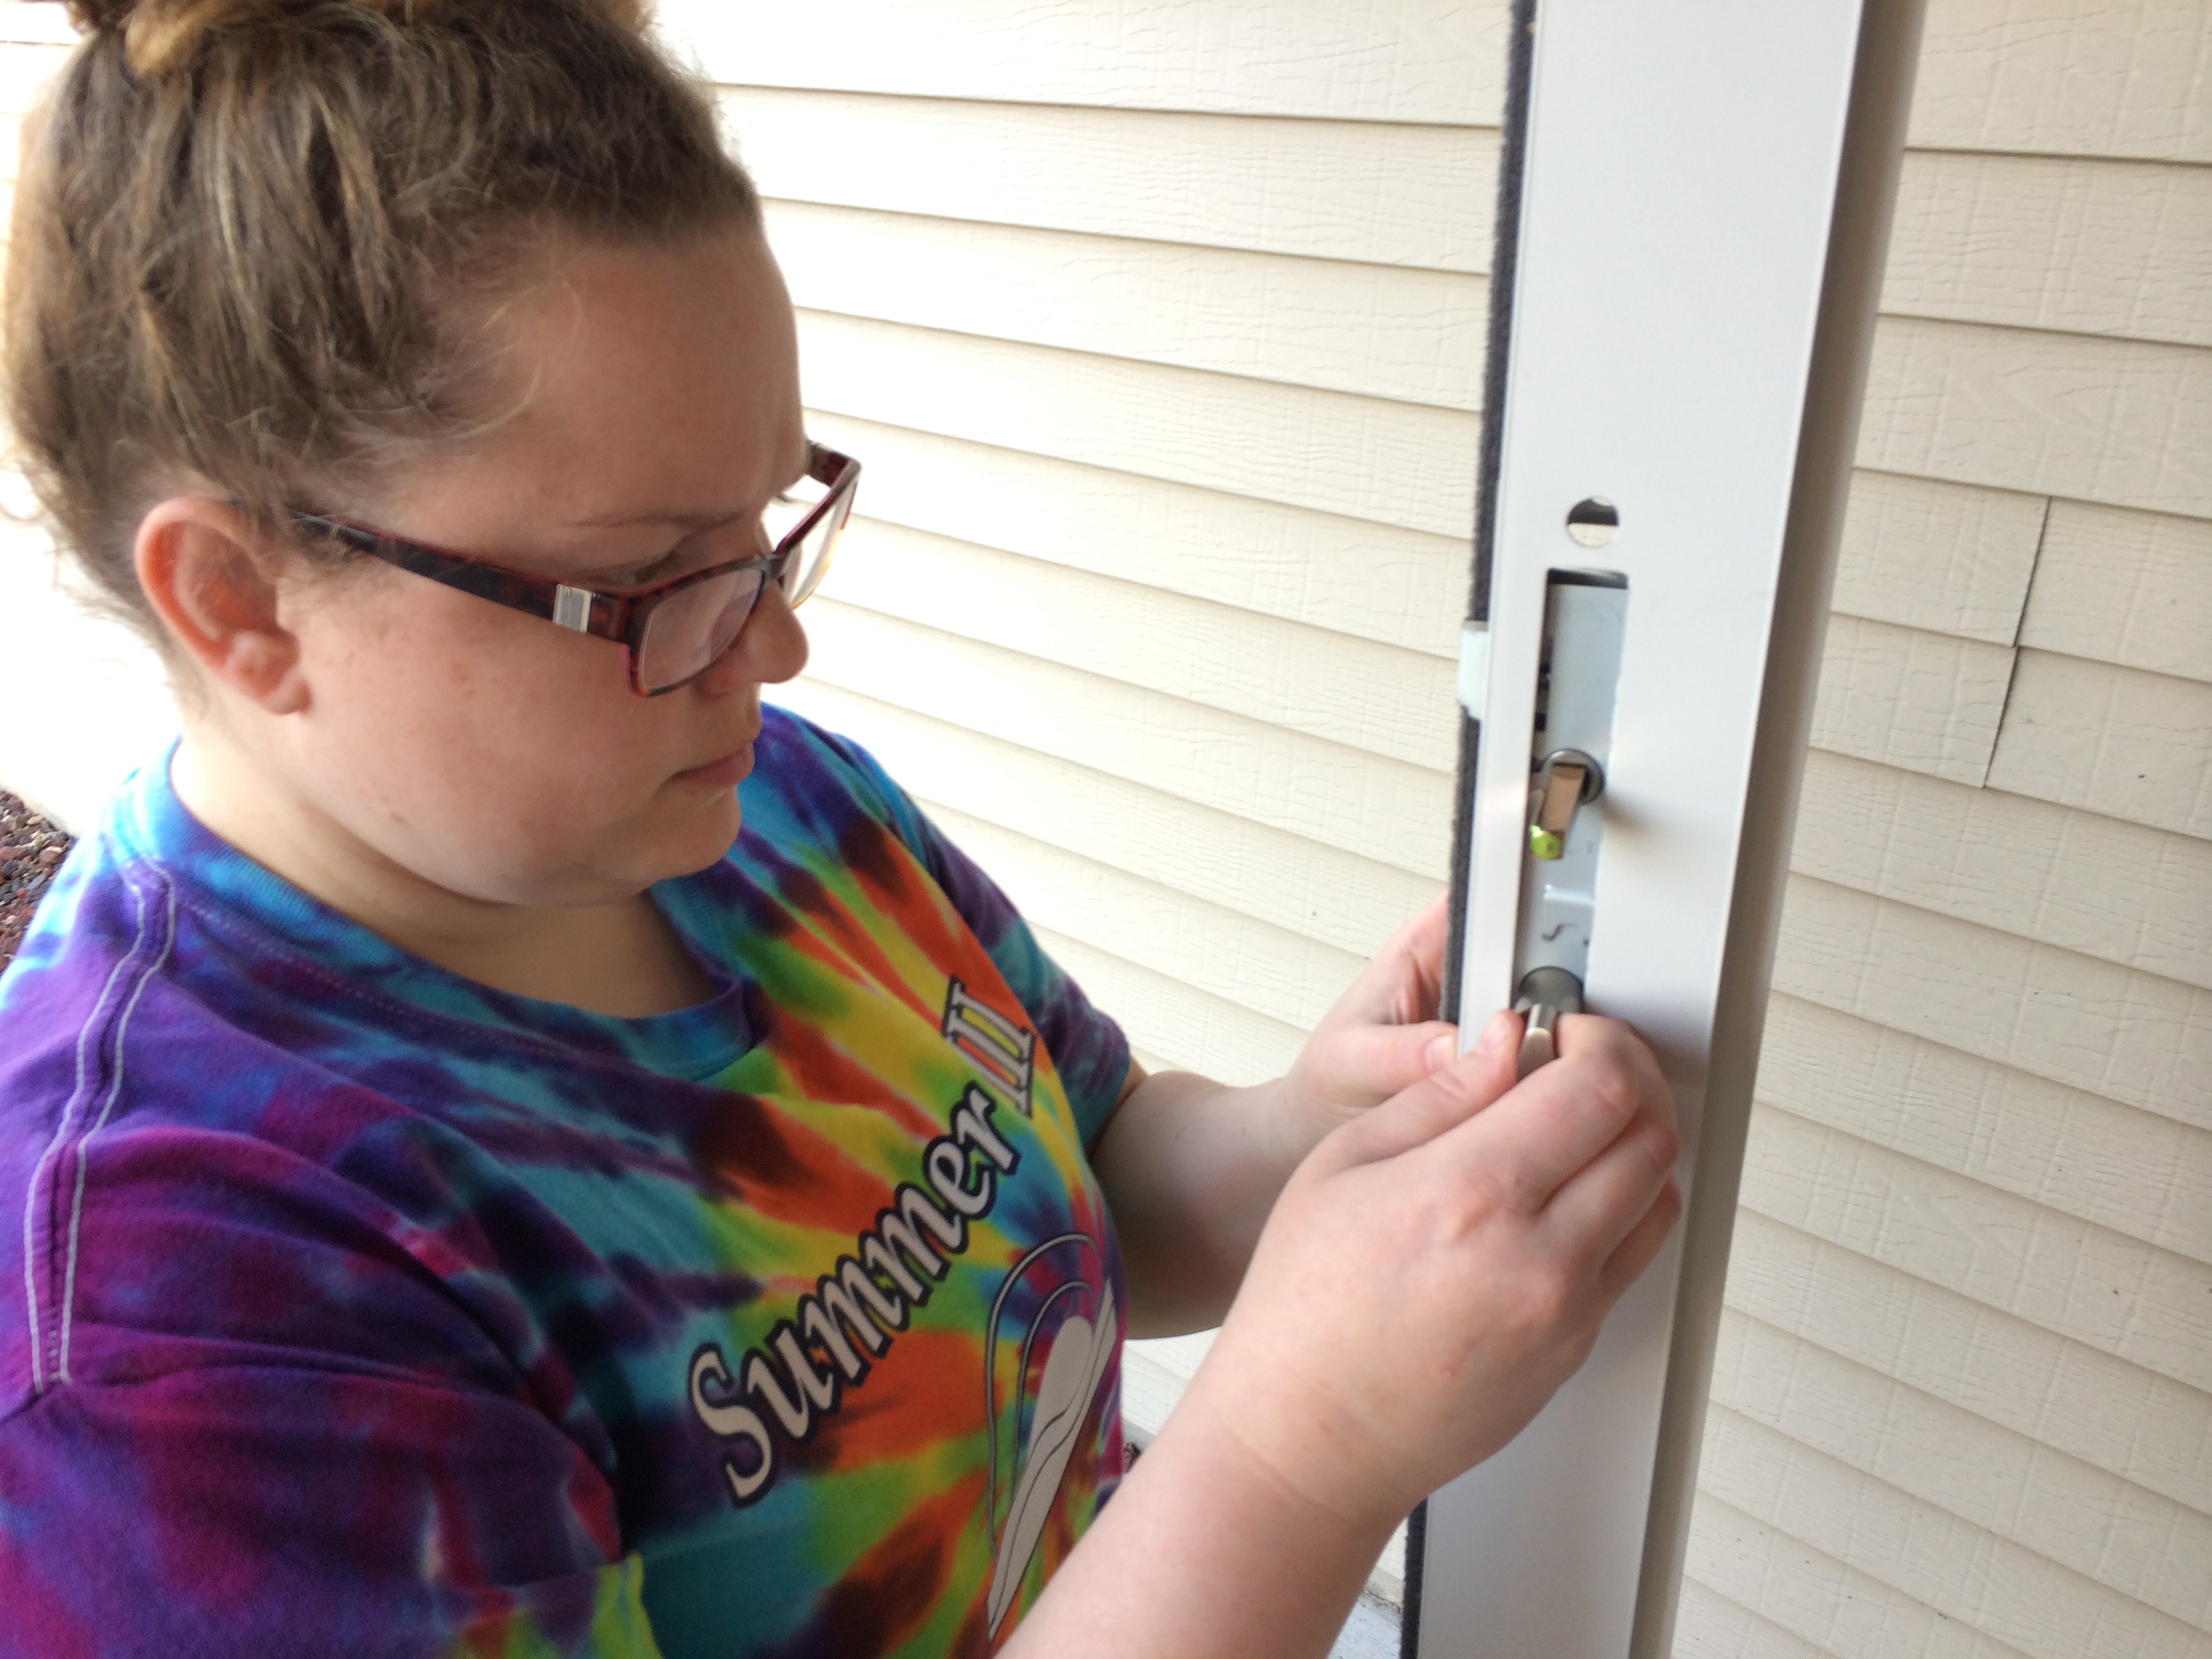
The instructions came double-sided.  We needed to look for the side that said “left hinge” as we were planning to reverse the direction of the door from what was previously installed (example below).

IMG_0393

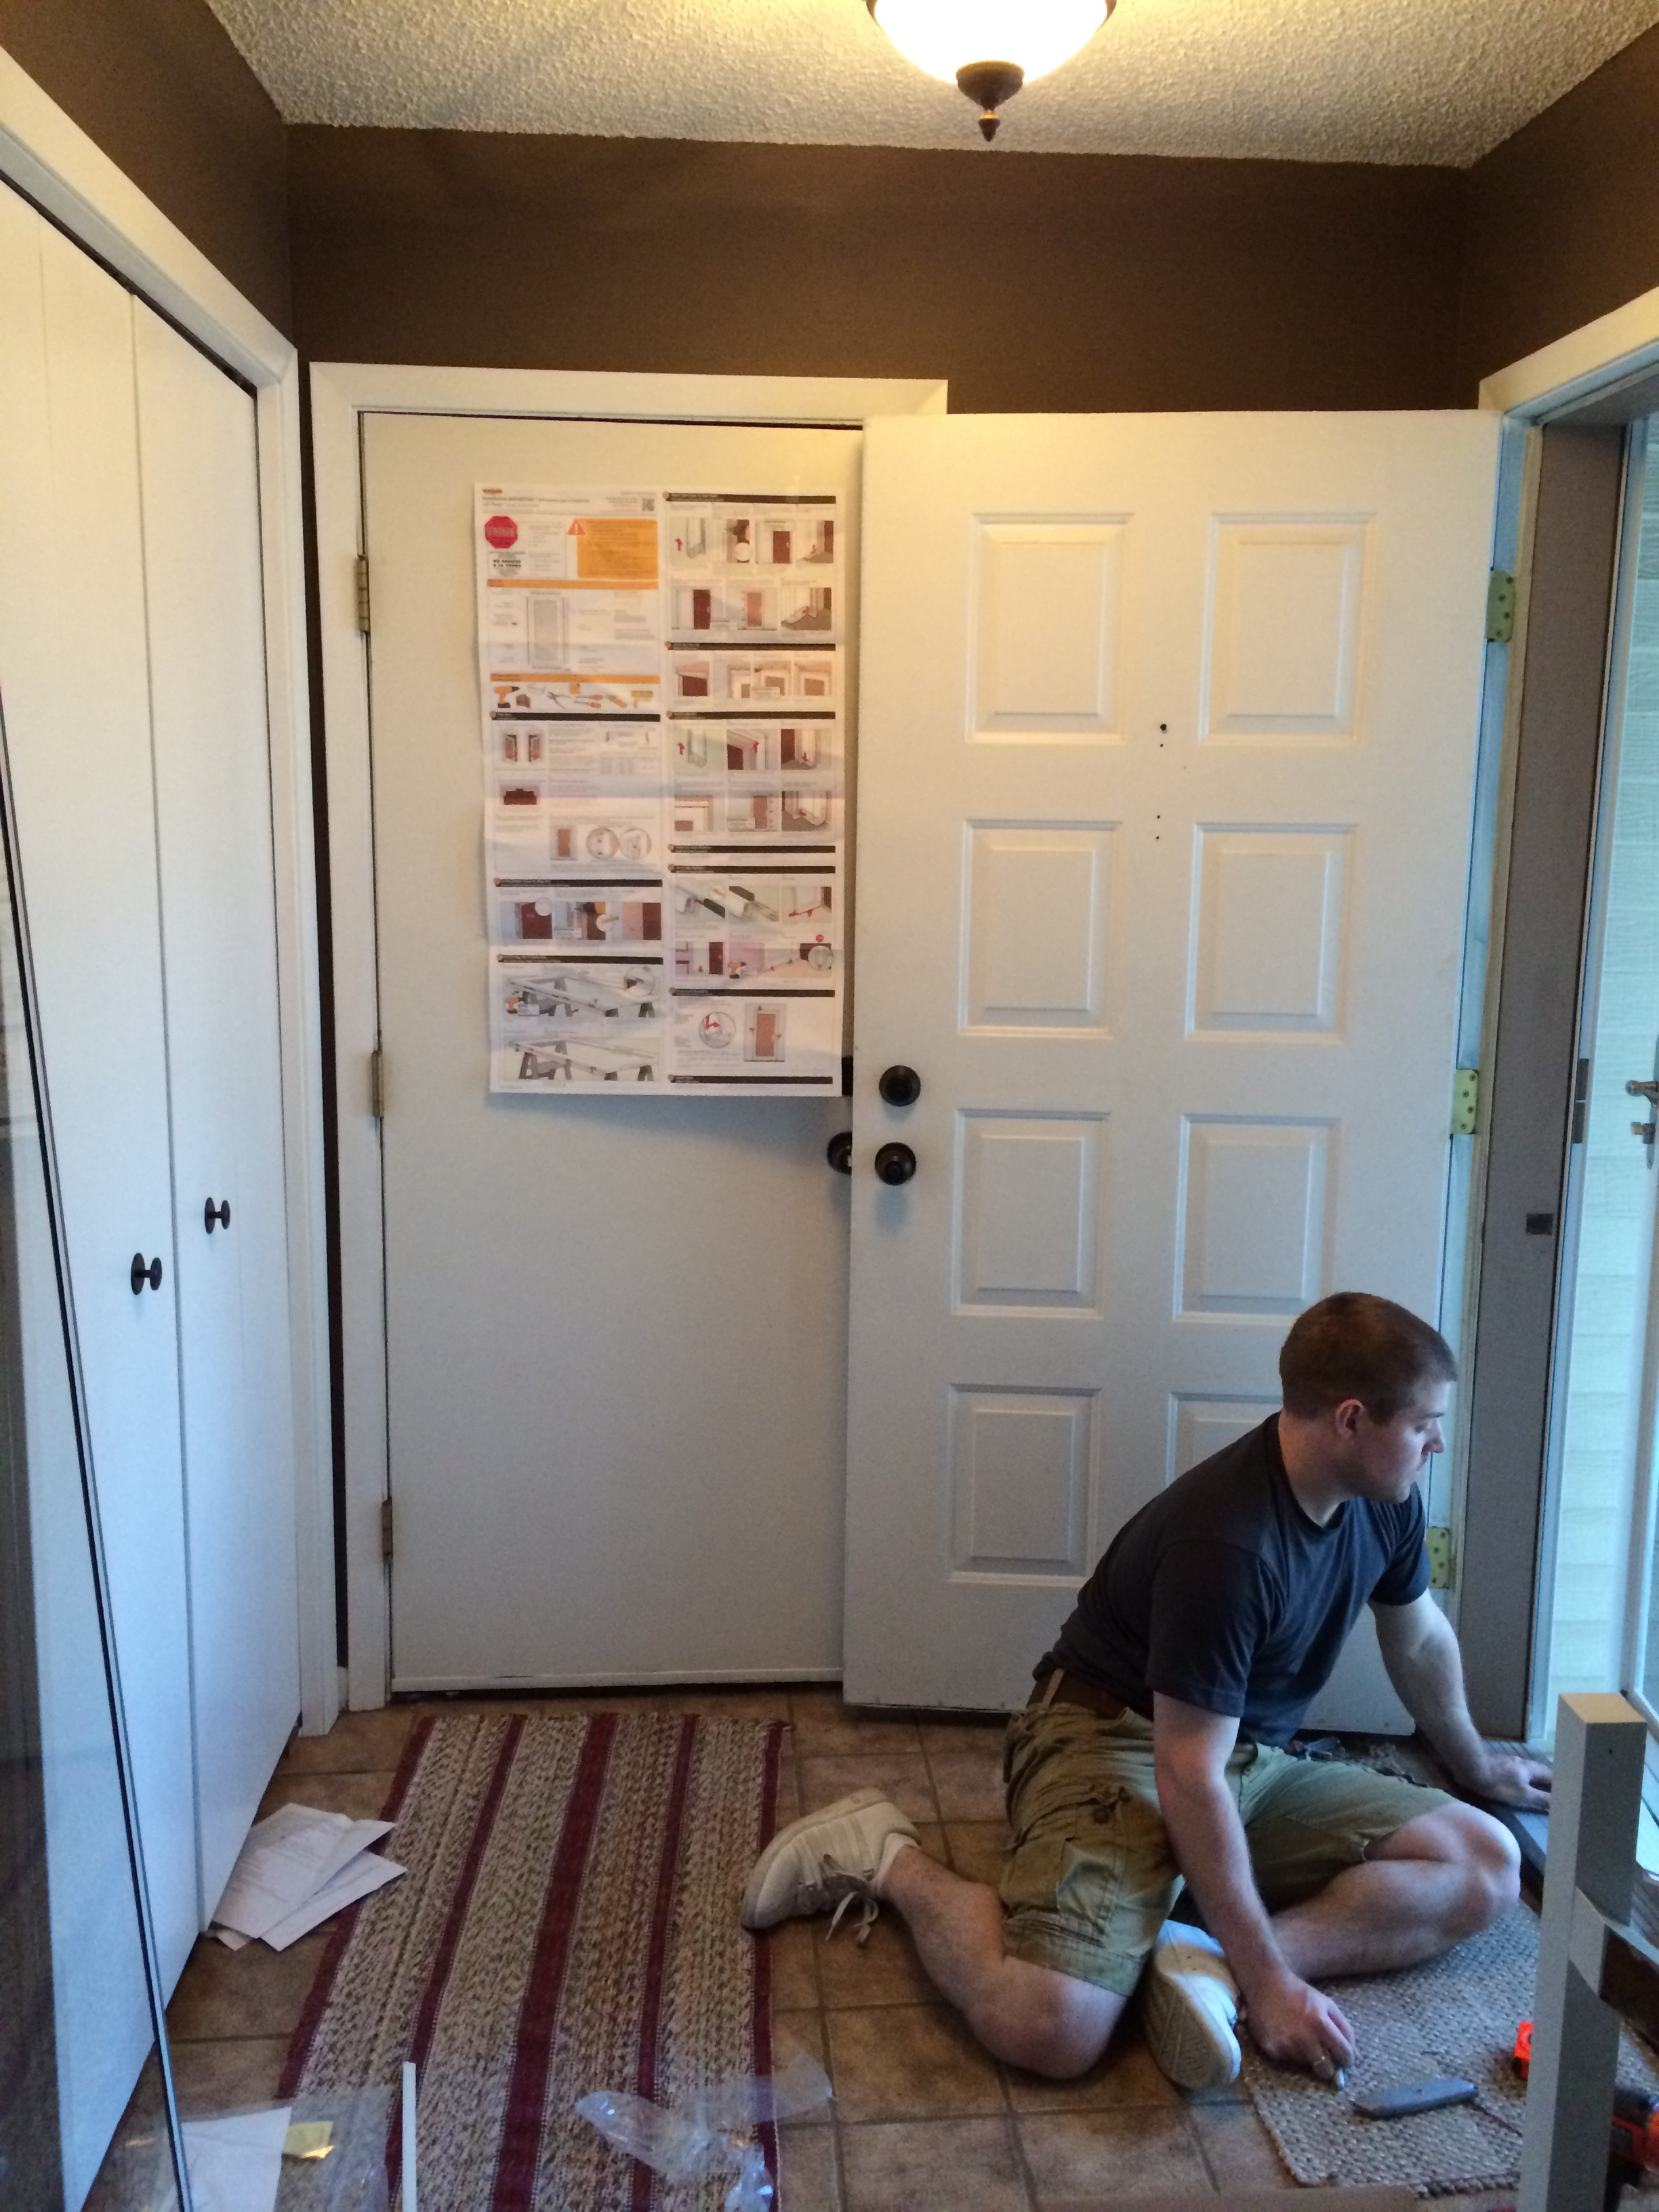
After a few minutes of feeling overwhelmed by the directions poster, I decided to tape them to the door to the garage for easy viewing (and pop a Ritalin).

IMG_0394

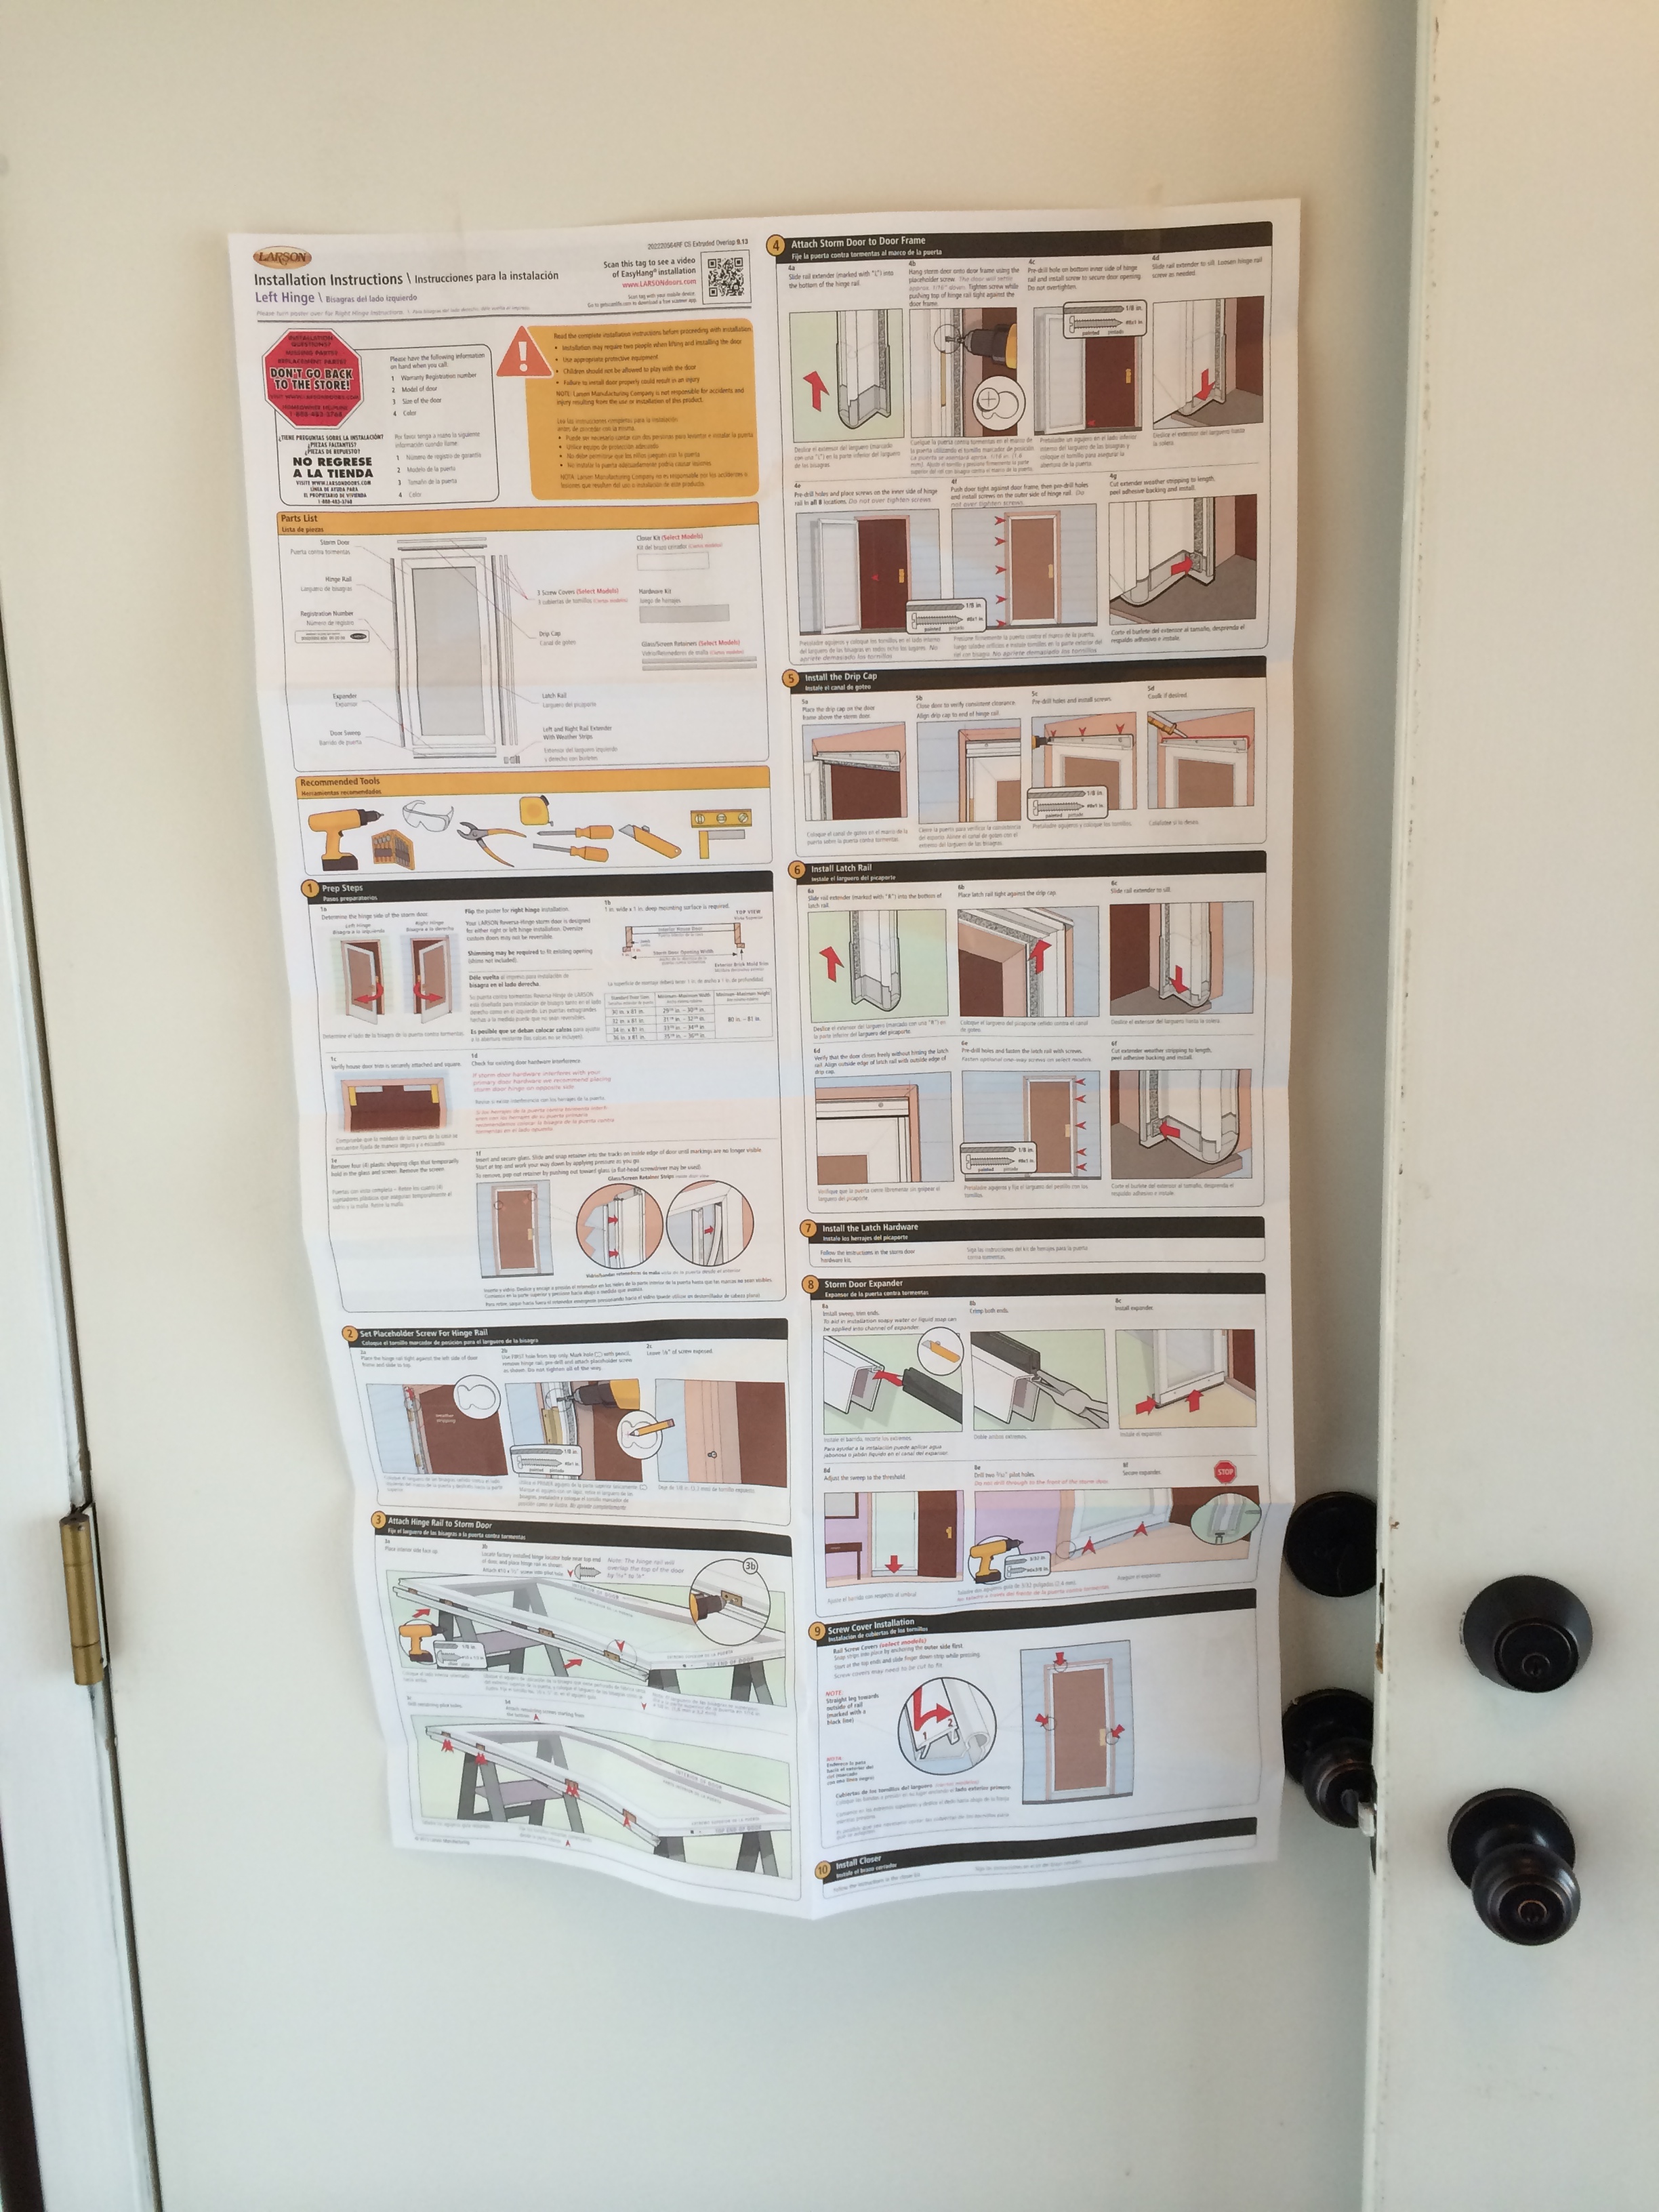
Holy complicated batman!

You’ll notice we have the correct hinge direction that we want.  “Left Hinge.”

IMG_0395

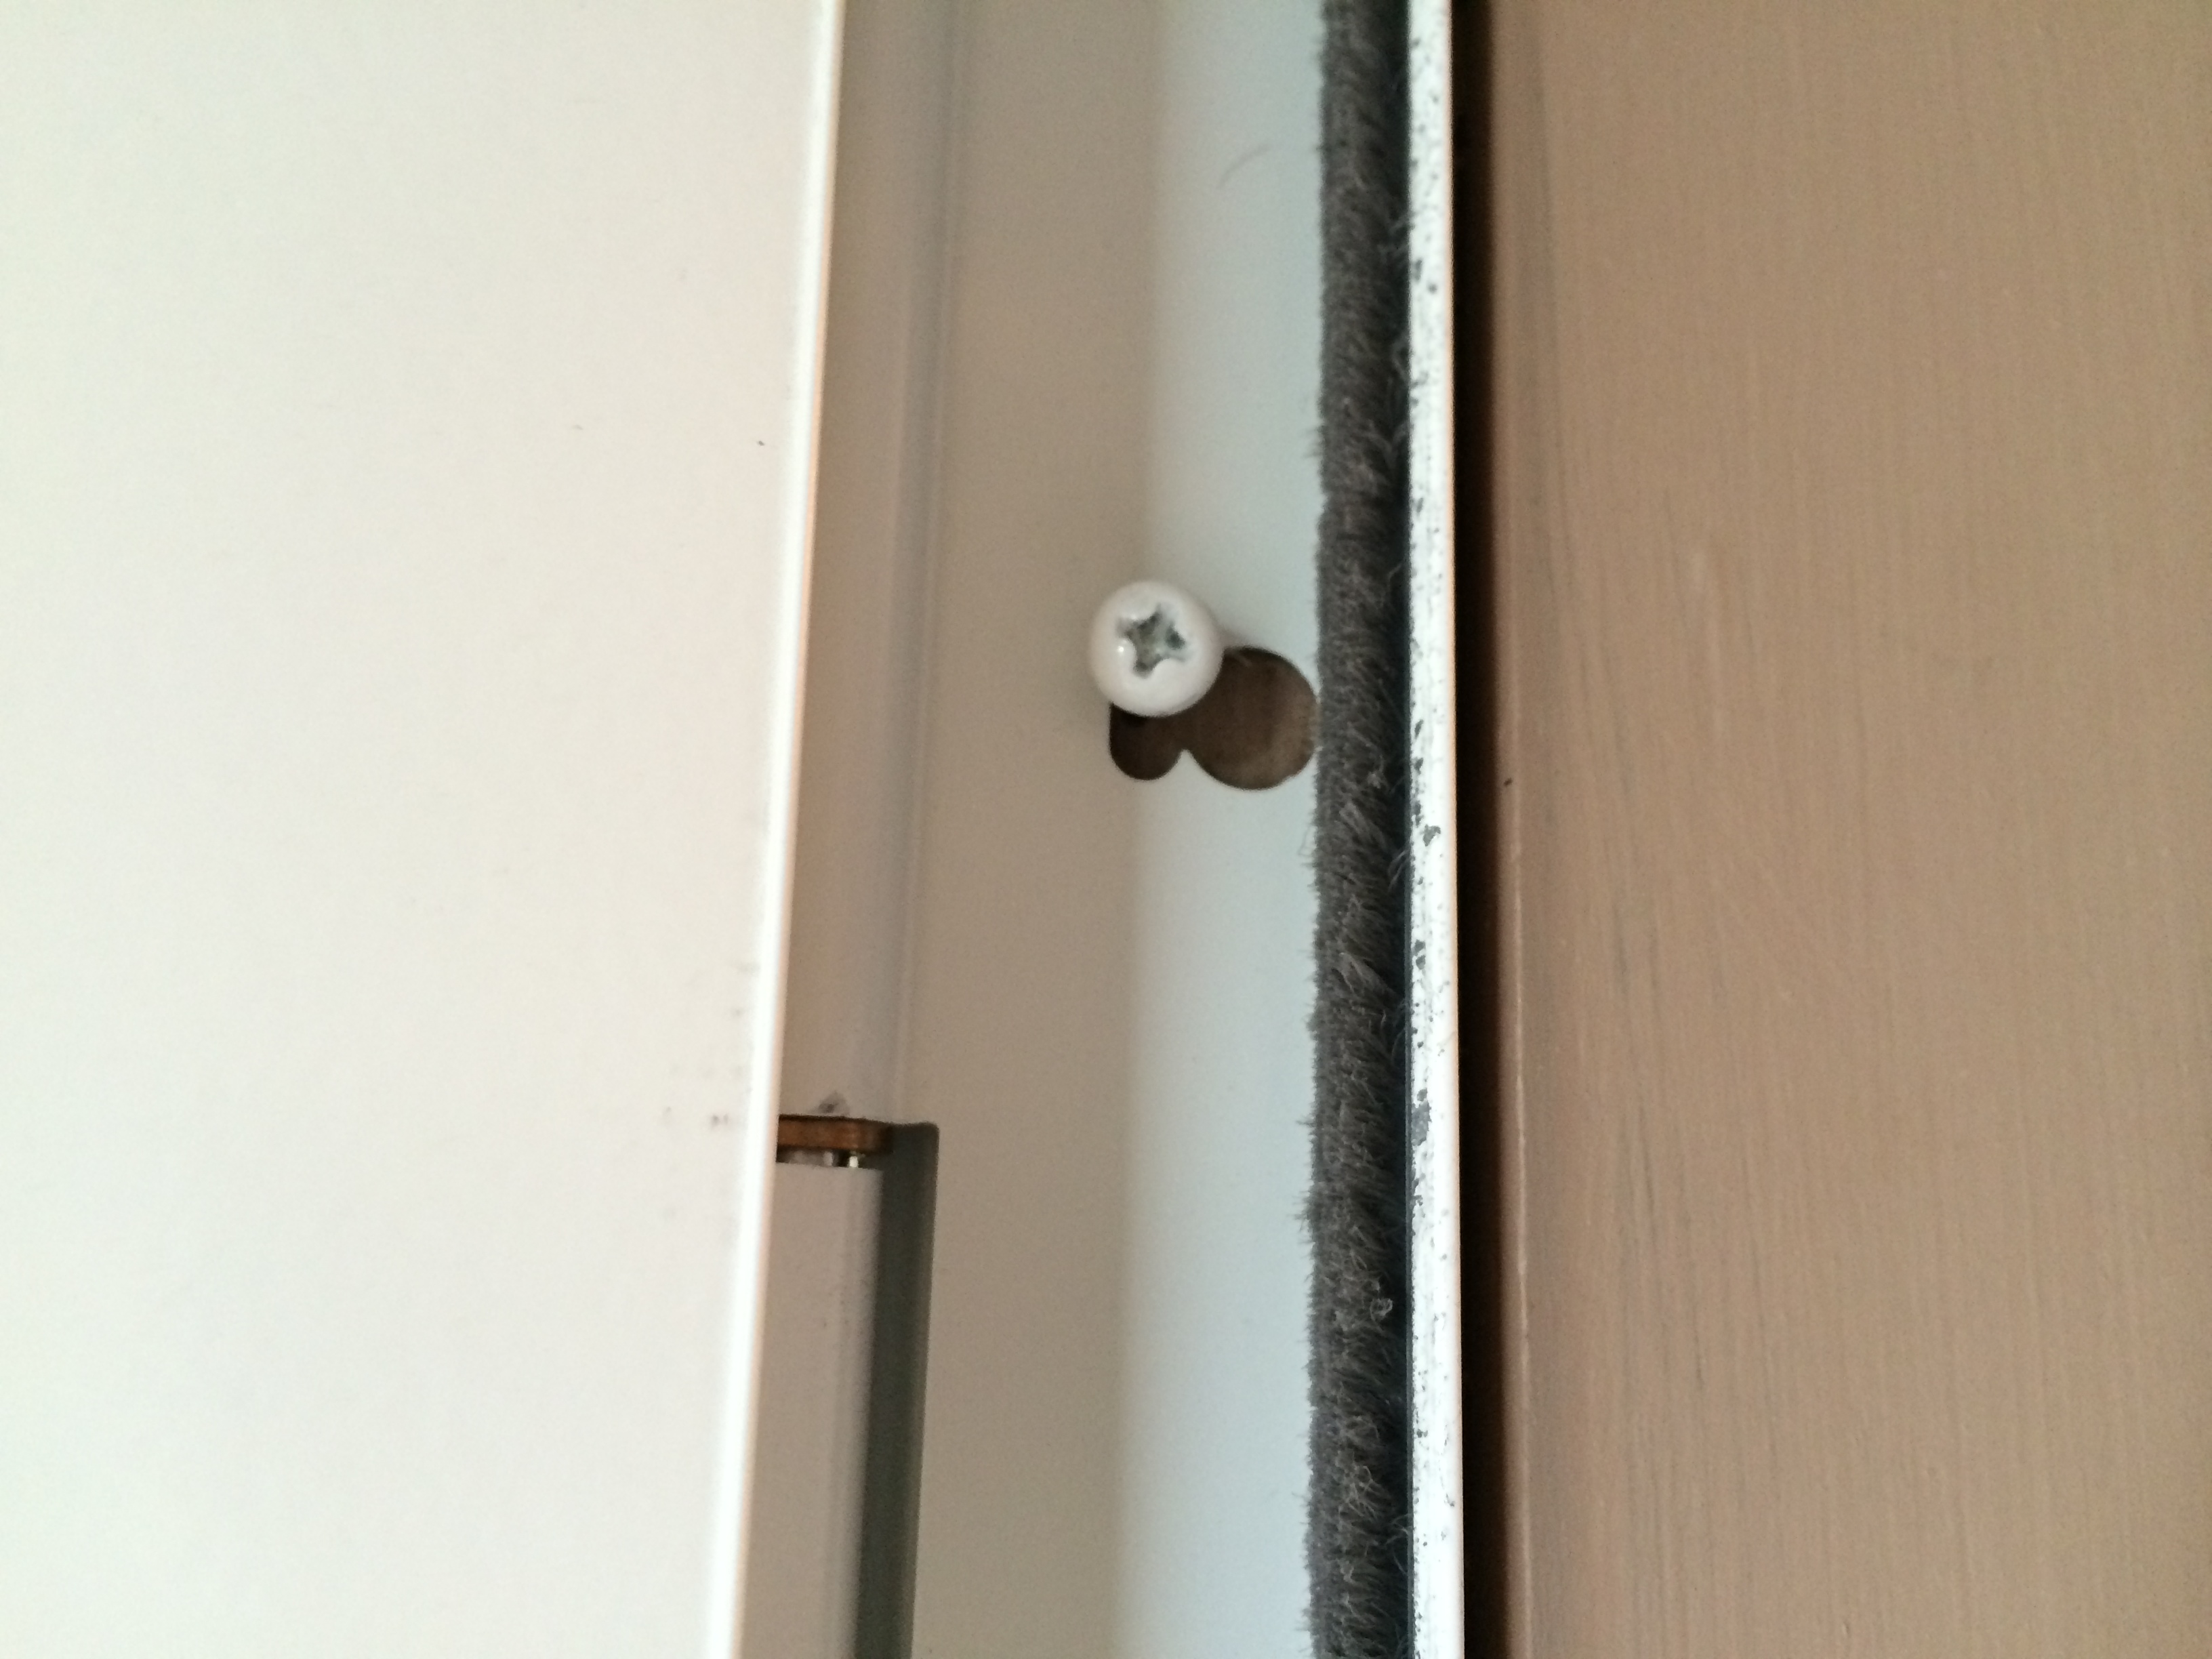
The photo below shows the door suspended on a single screw. This is the first screw to hold the door in place.

IMG_0397

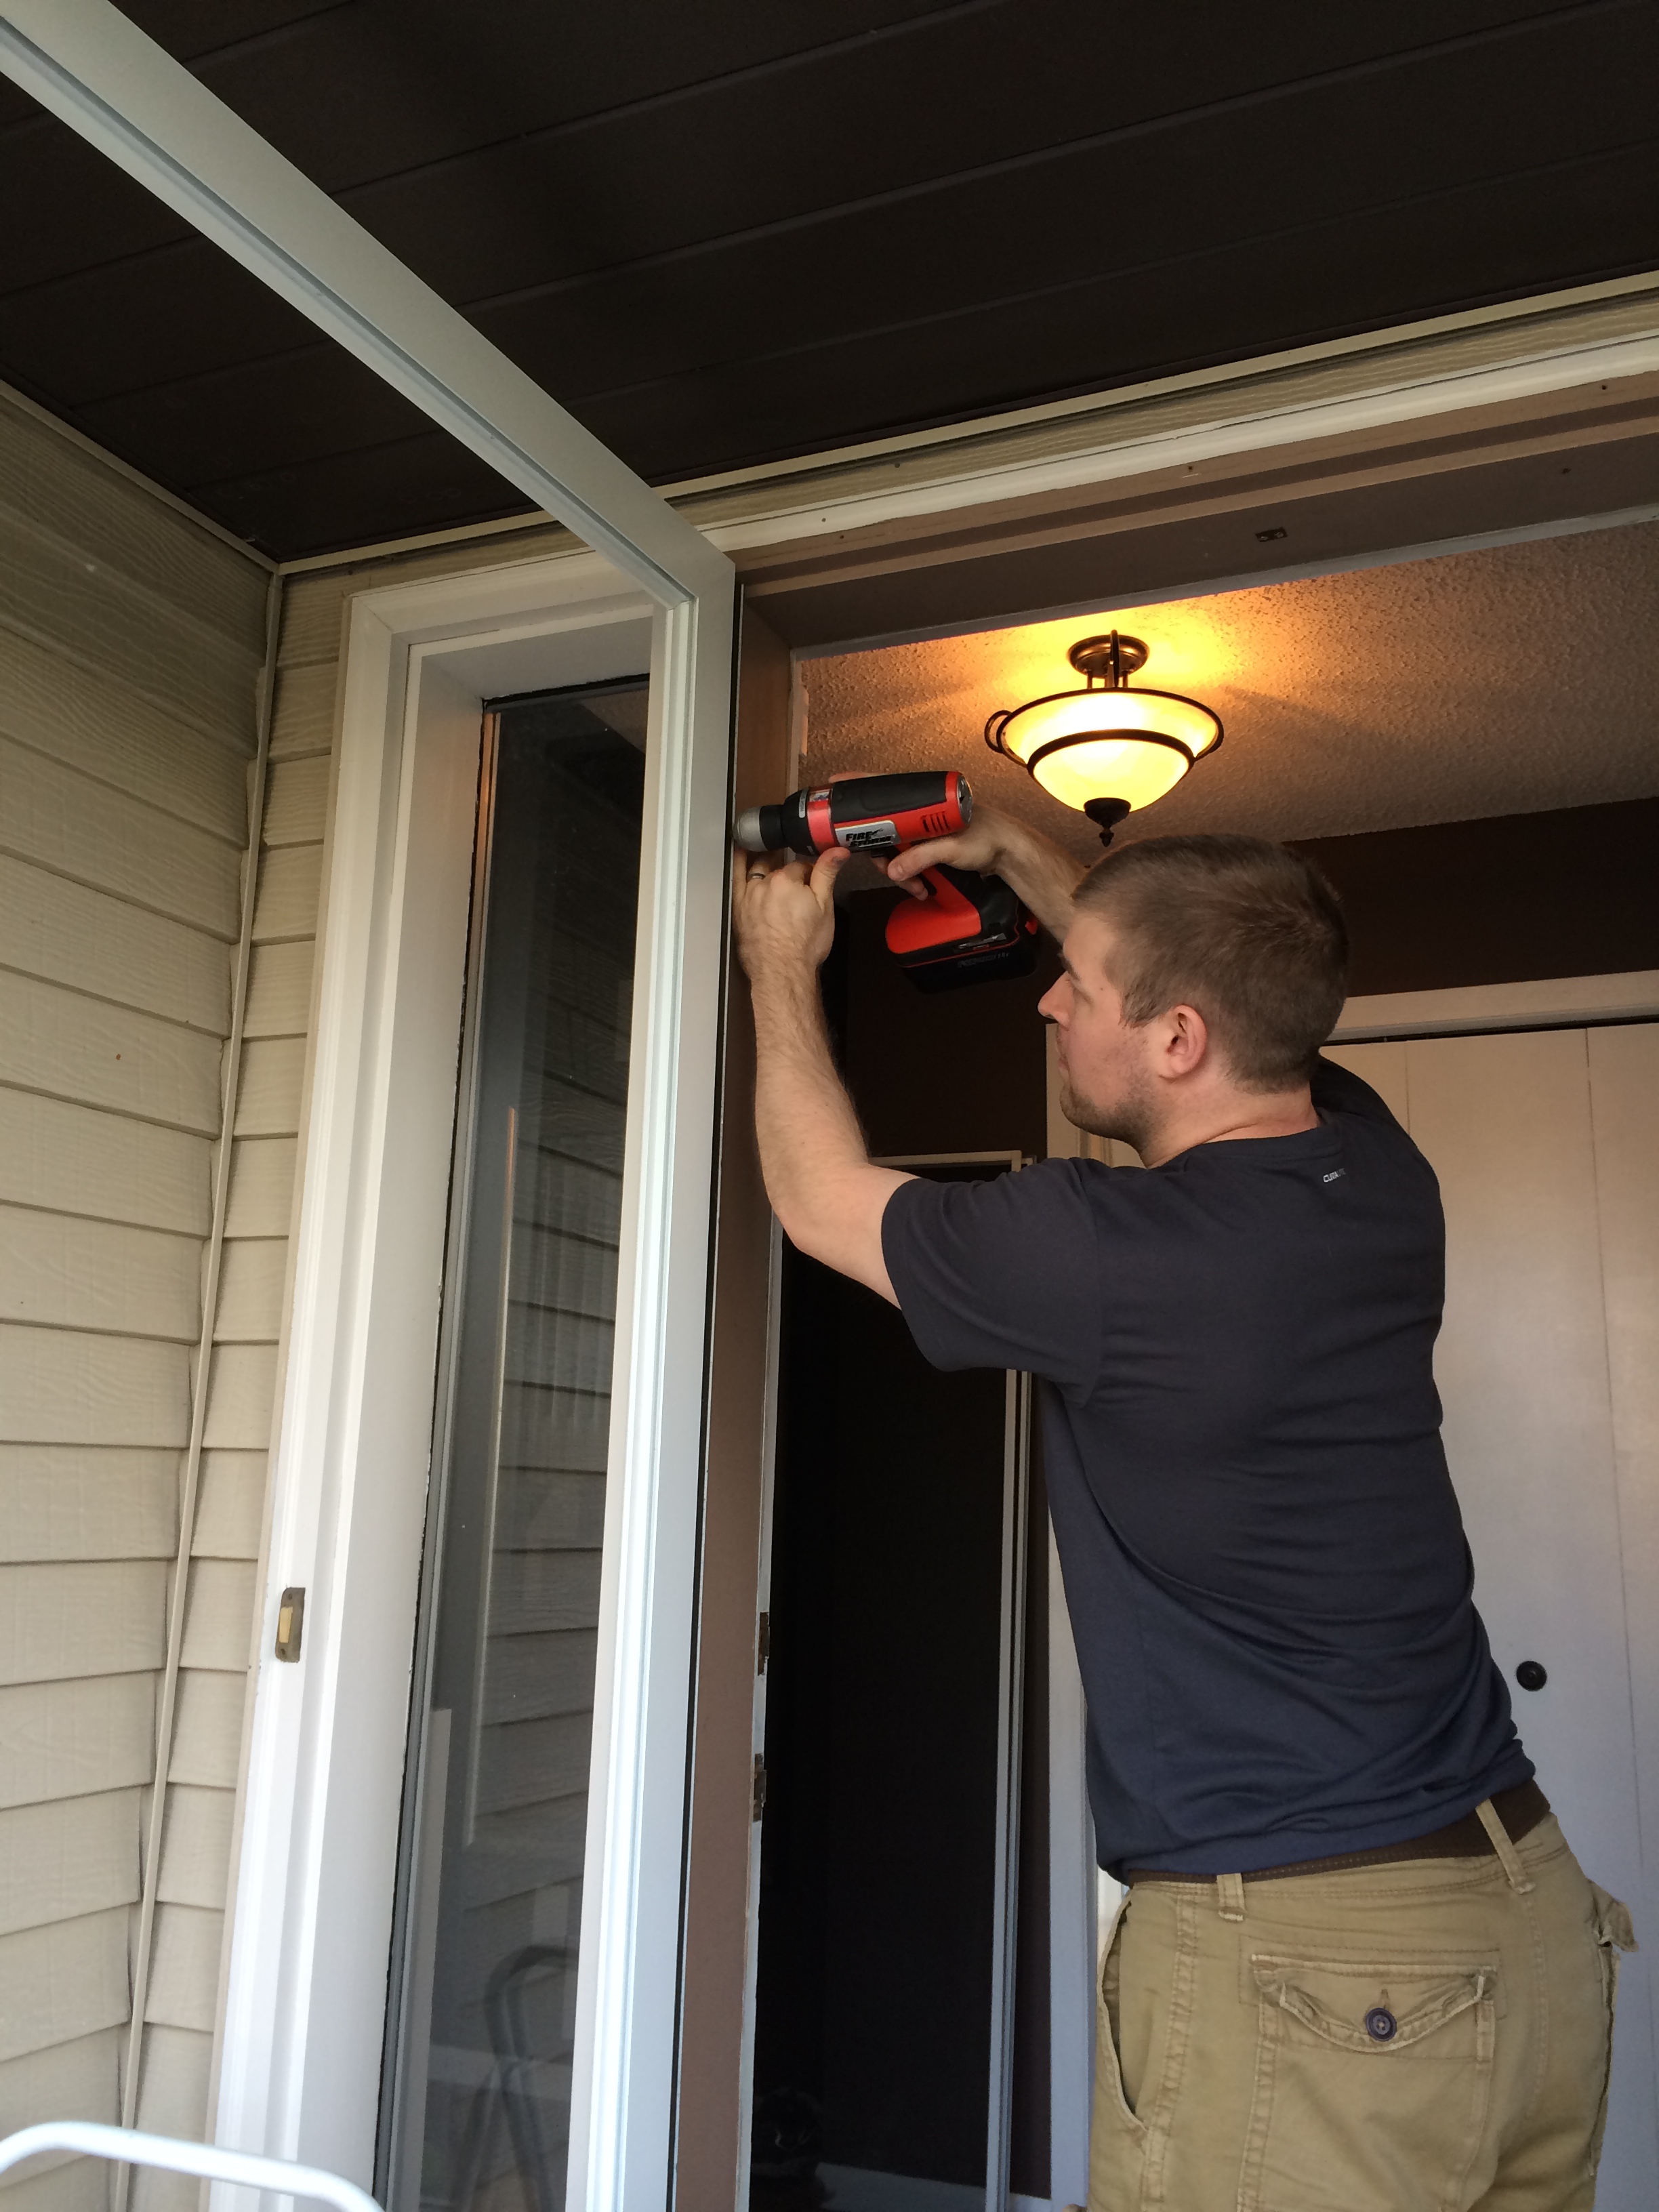
Mike working to secure the remaining screws on the hinge.

IMG_0398 IMG_0399


IMG_0400

Sara’s thought process through this project: “are we sure we’re doing this right?”

IMG_0401

Complicated door mechanism time.
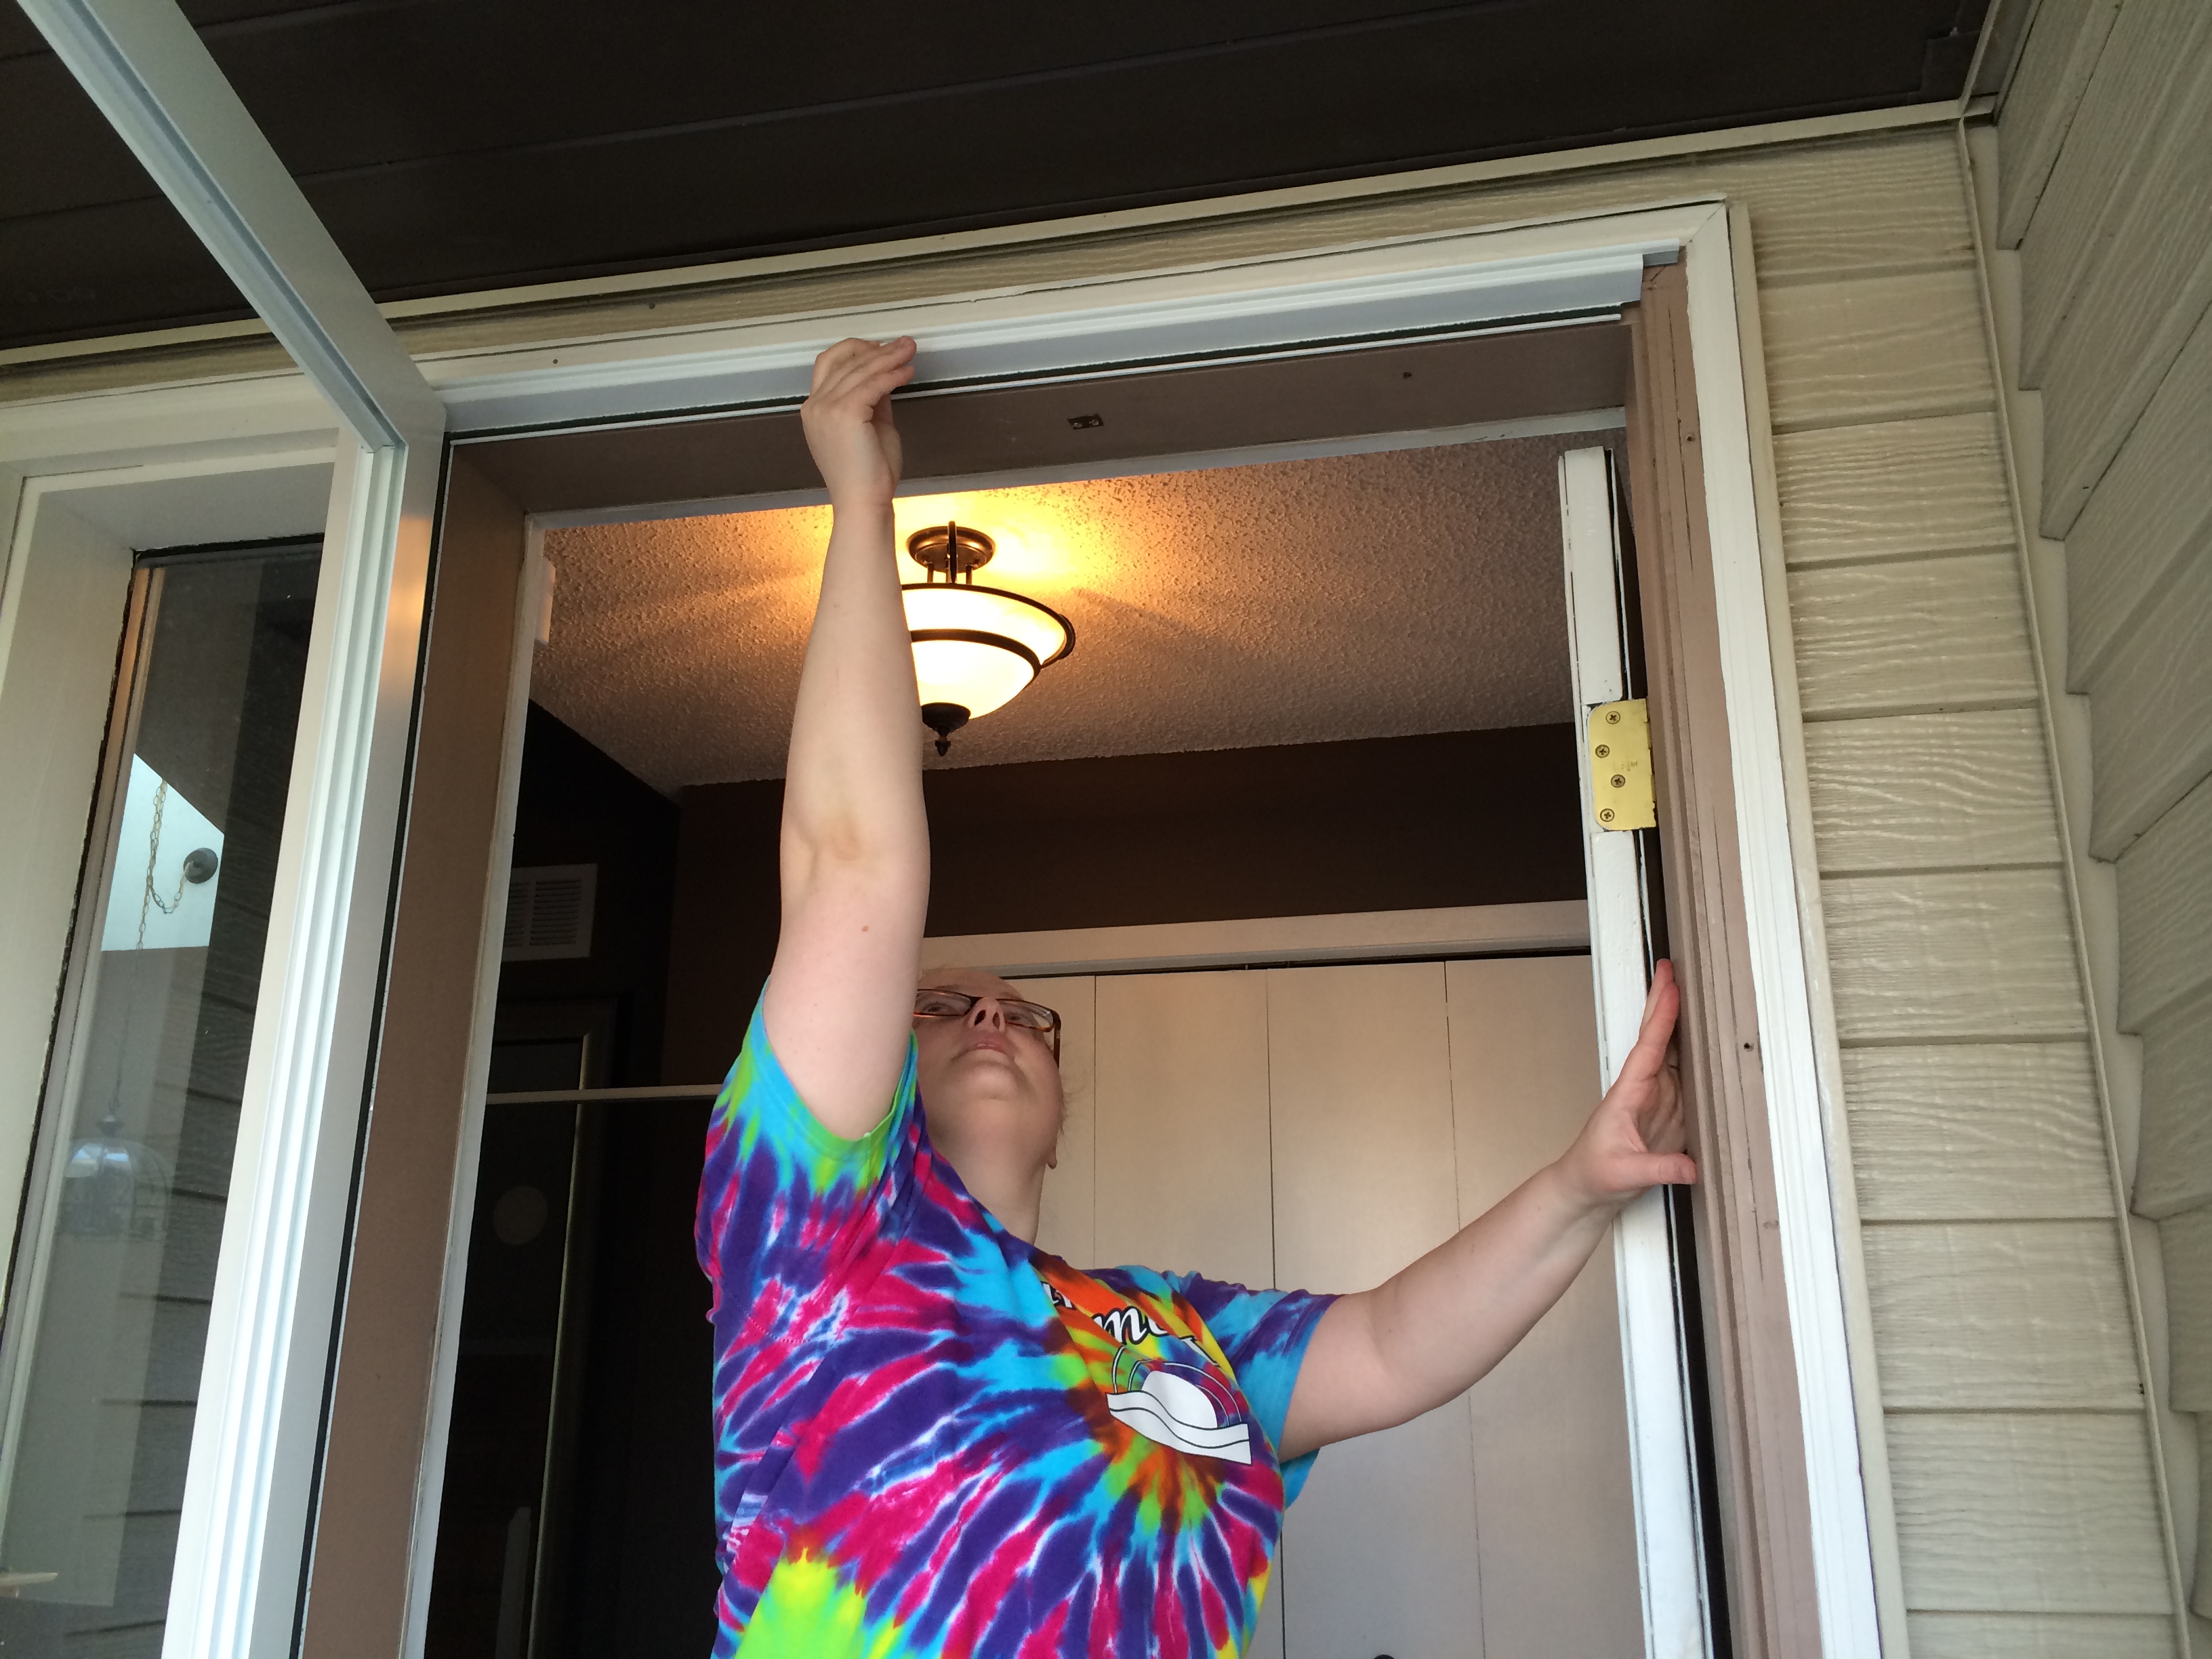
IMG_0403

Slow process.

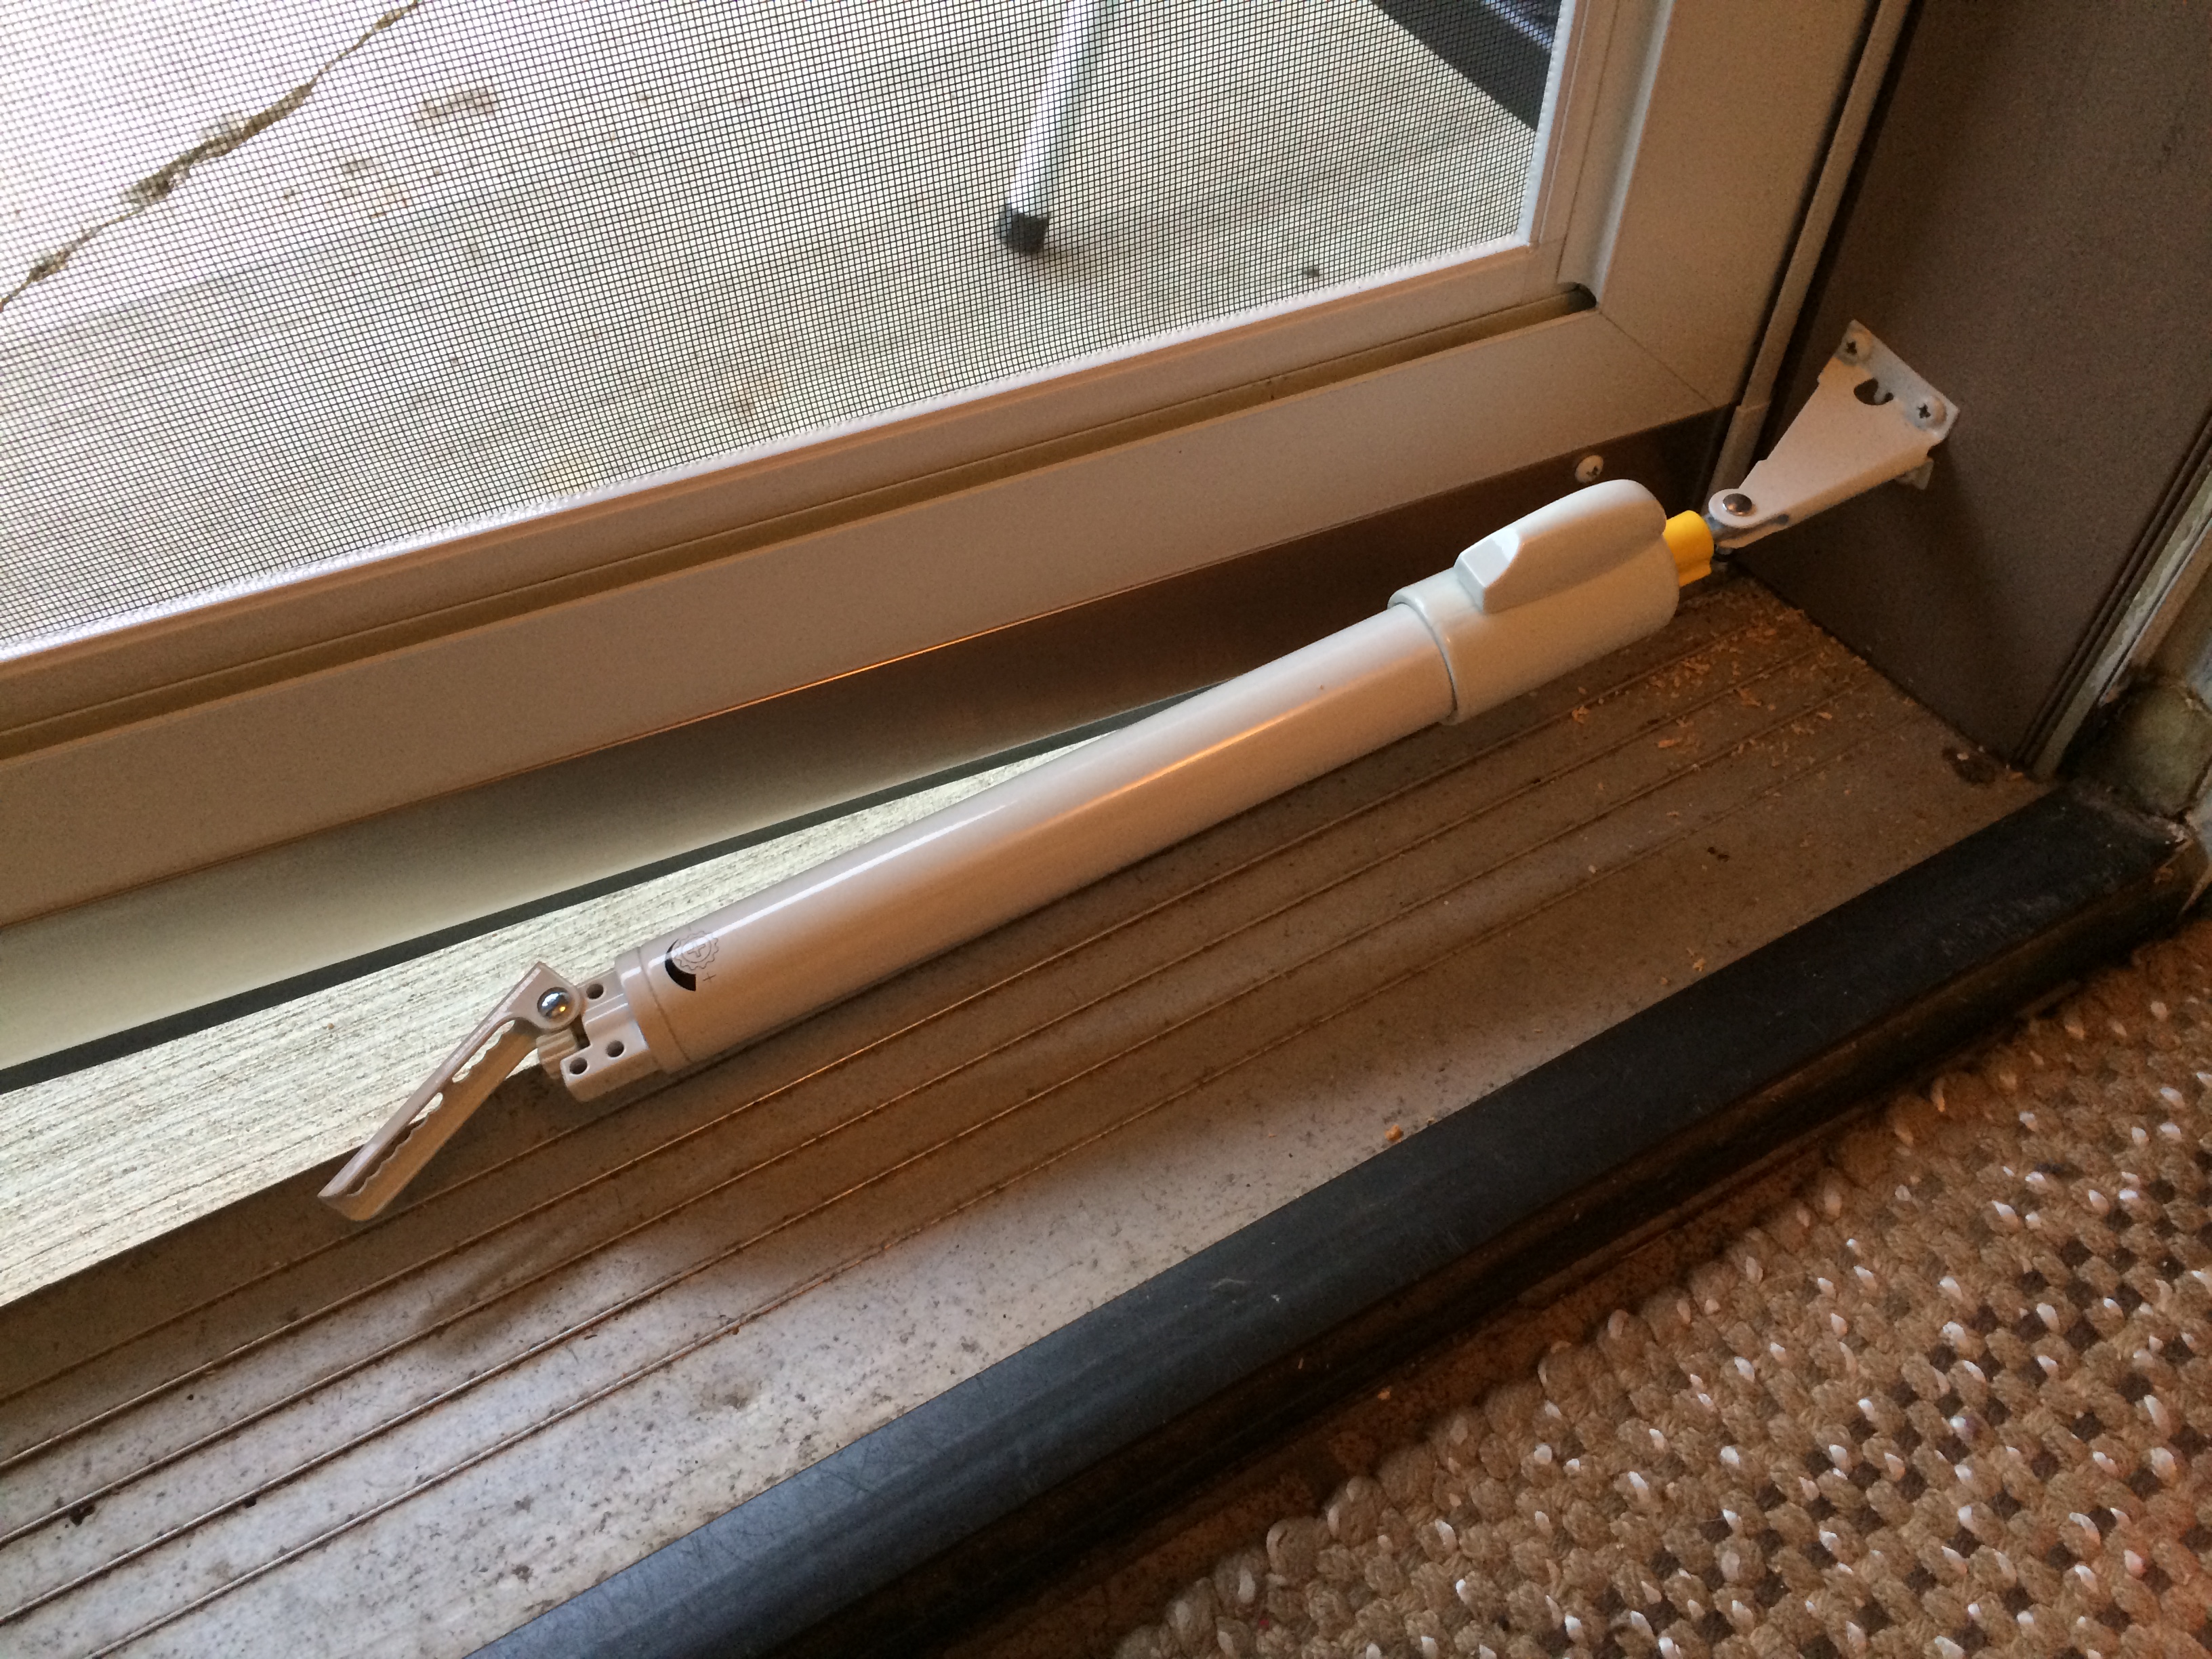
One of the final pieces we installed.  These door closers have really made some advancements in recent years.  They now have a part that you can hit with your shoe to keep the door from closing.  Smart!

IMG_0404


IMG_0405

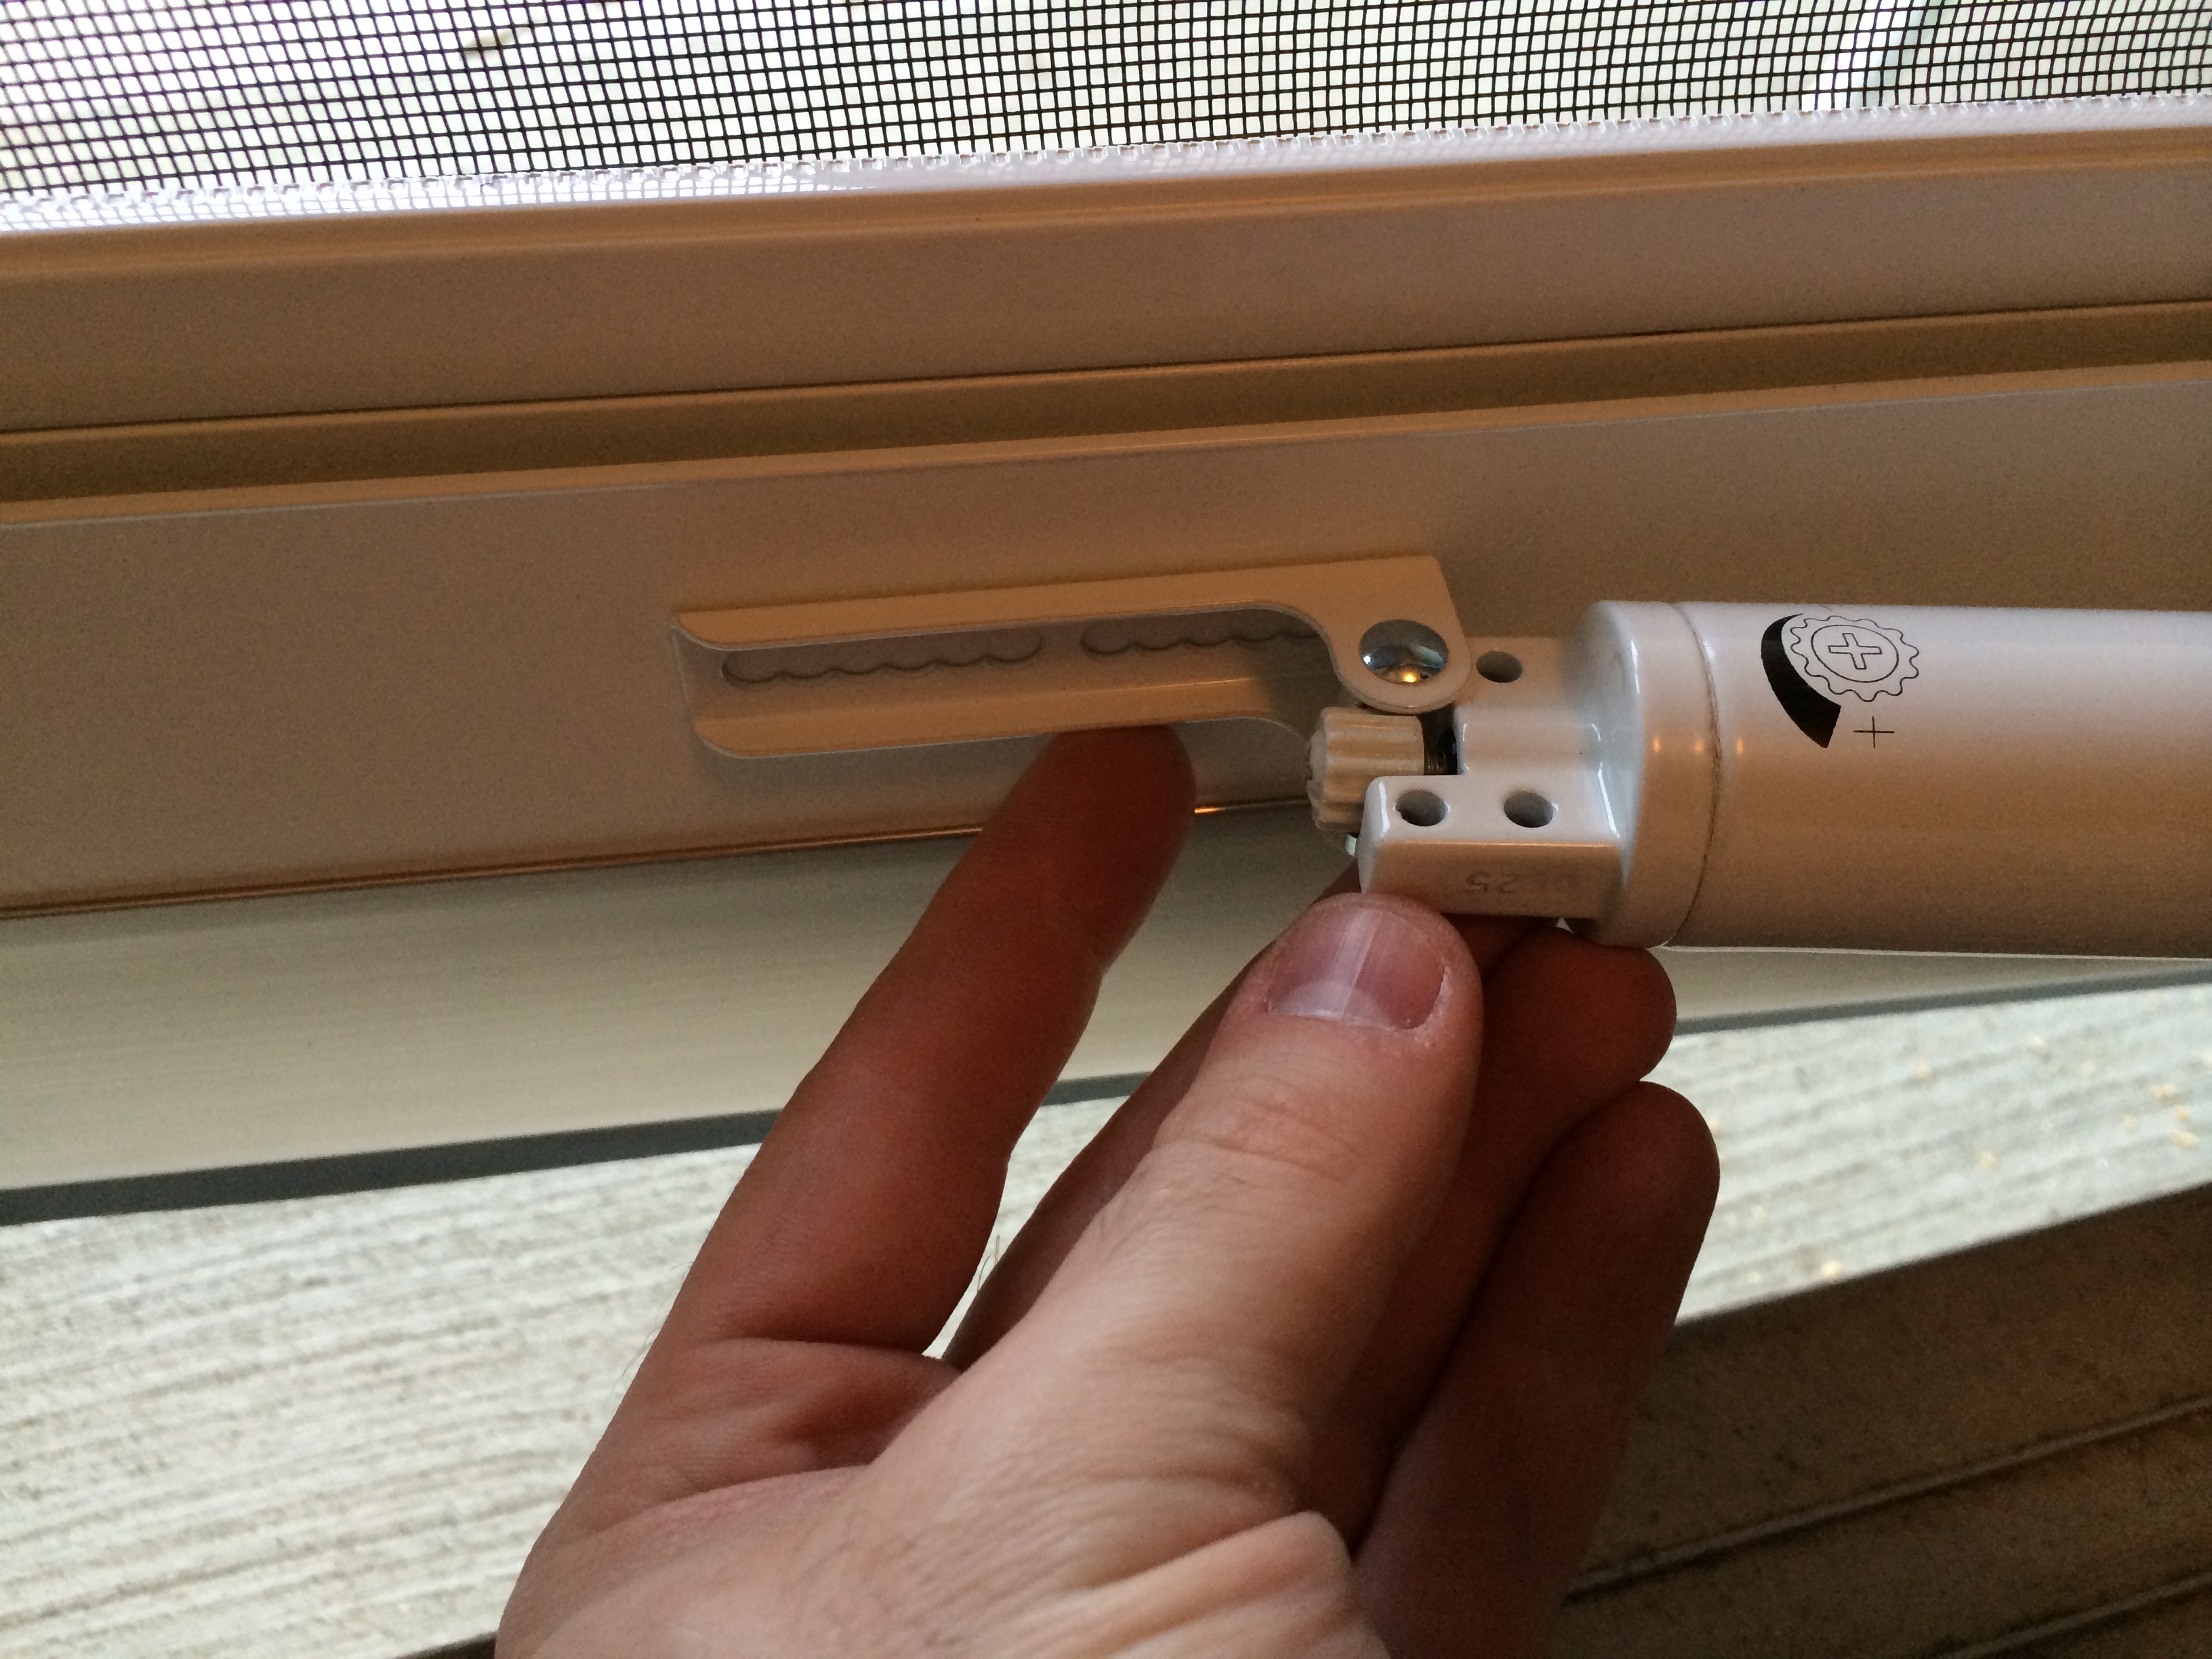
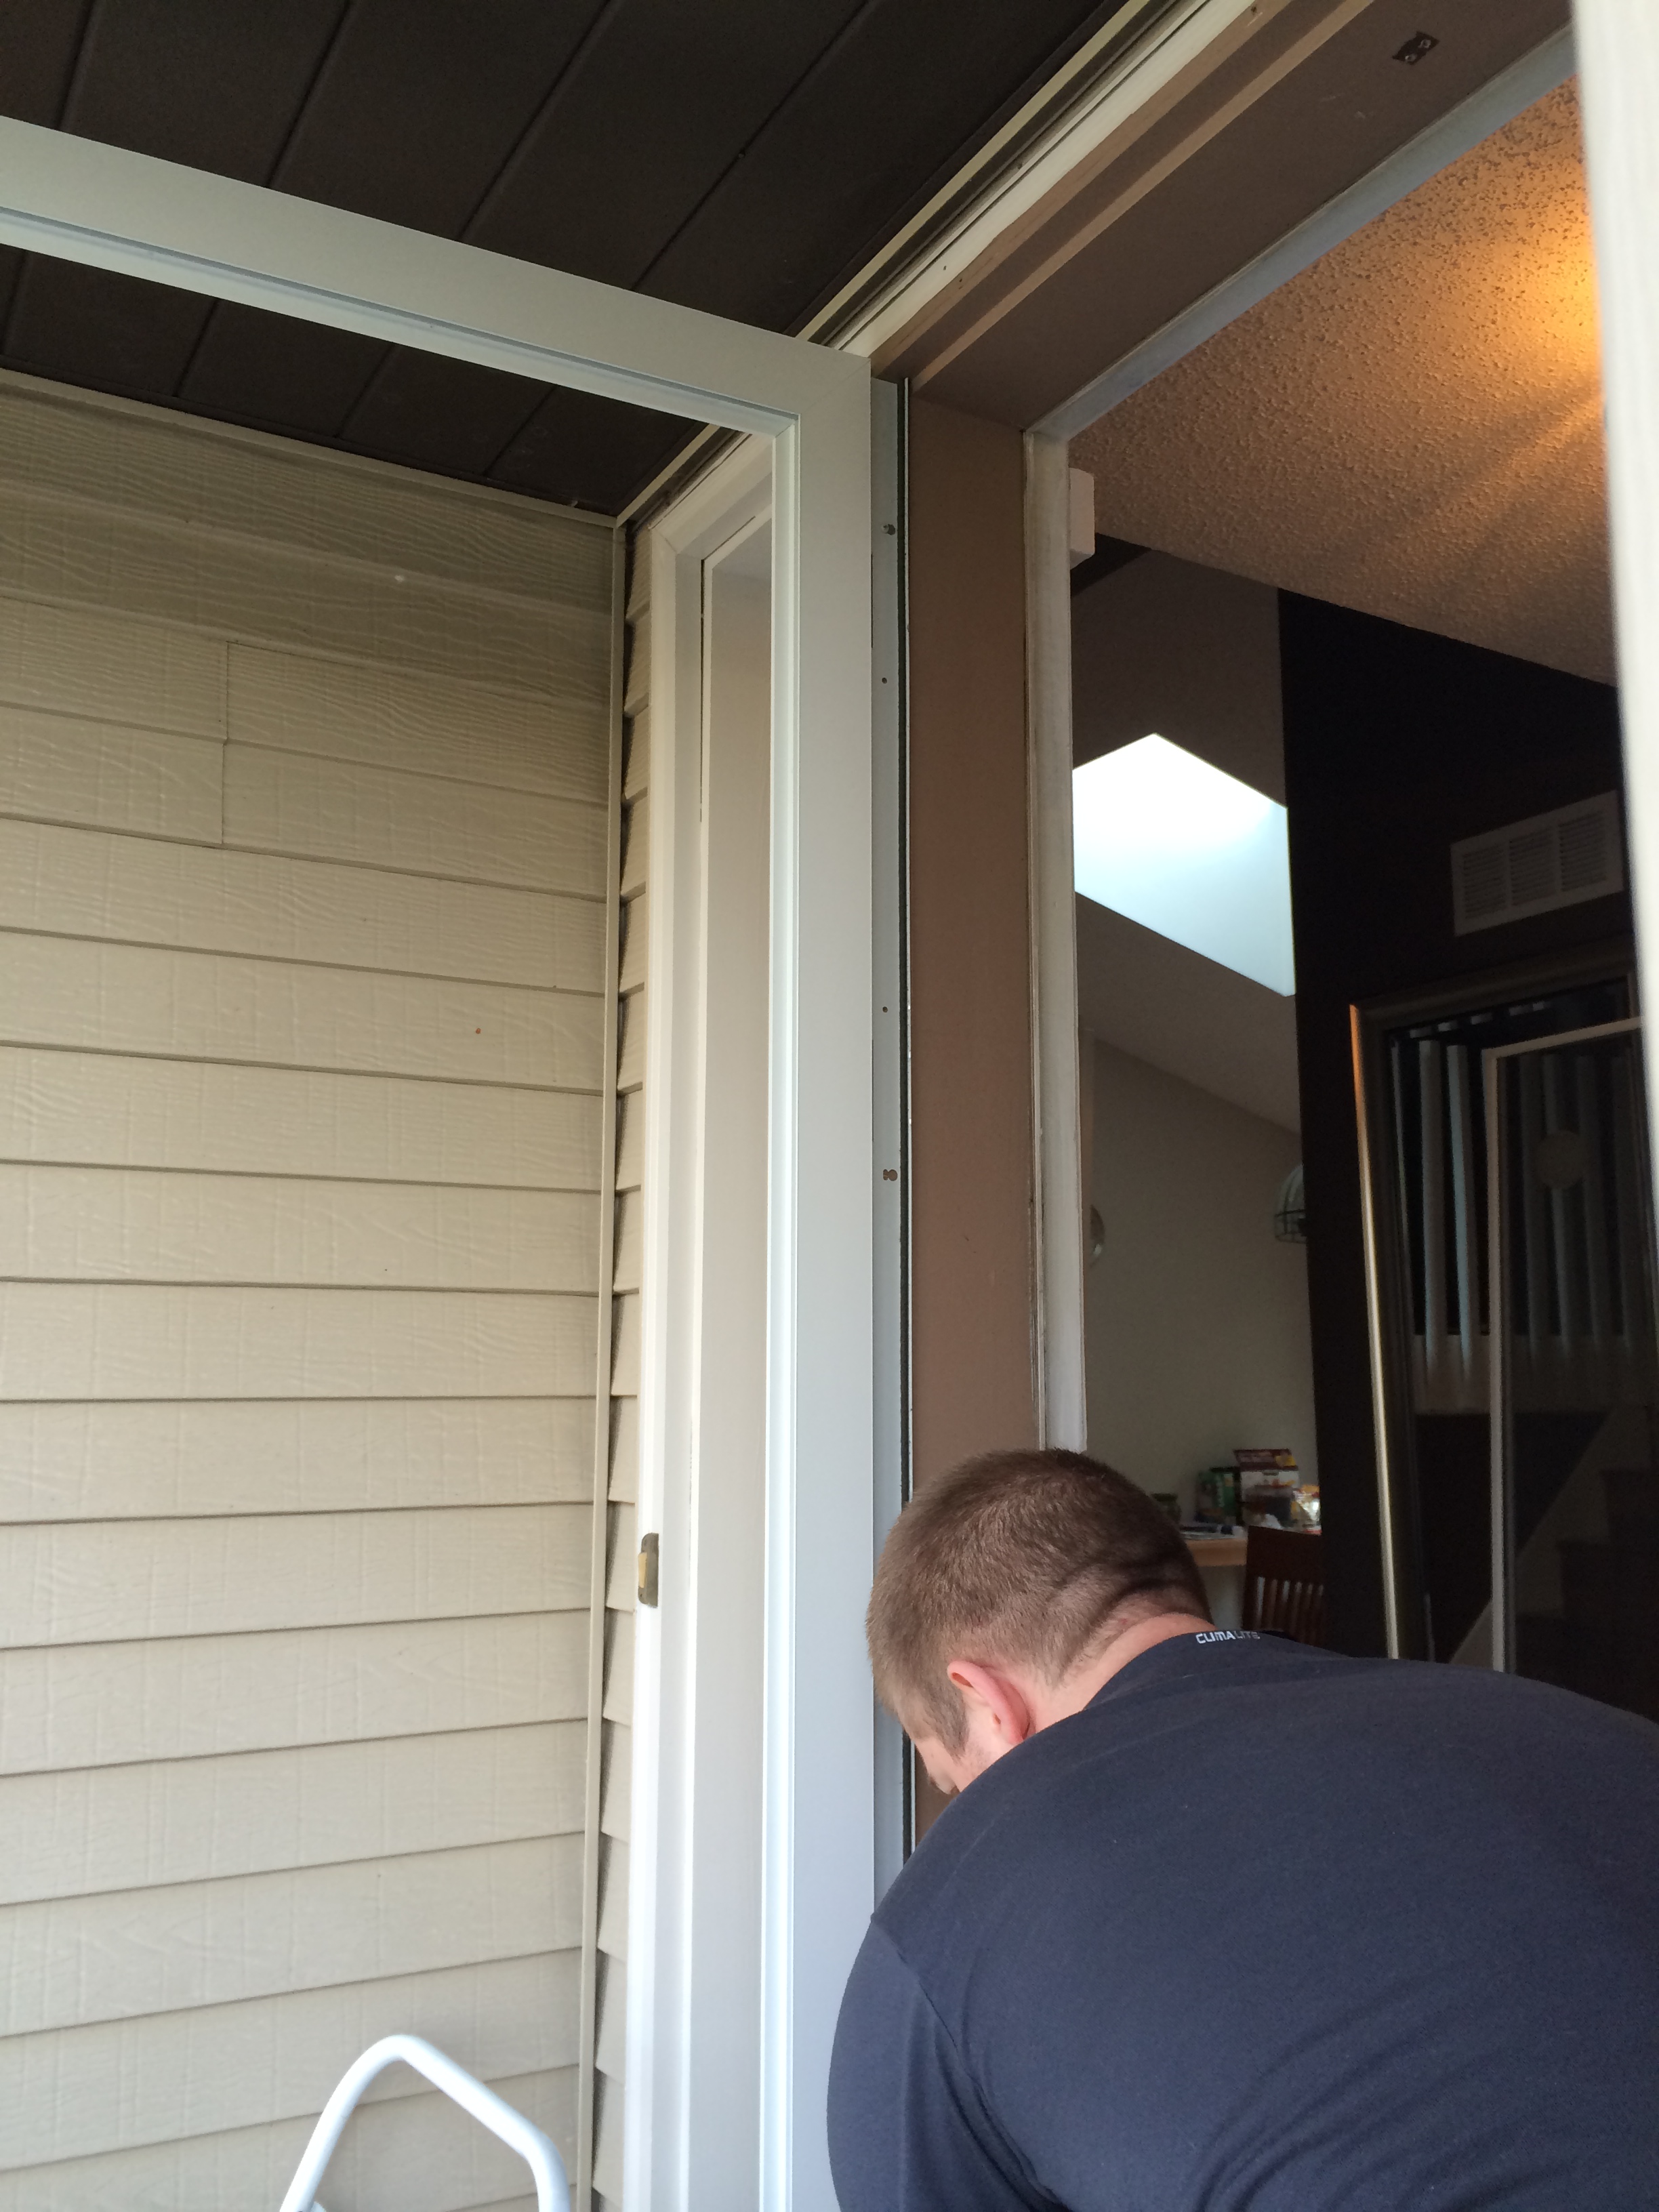
Lining everything up.

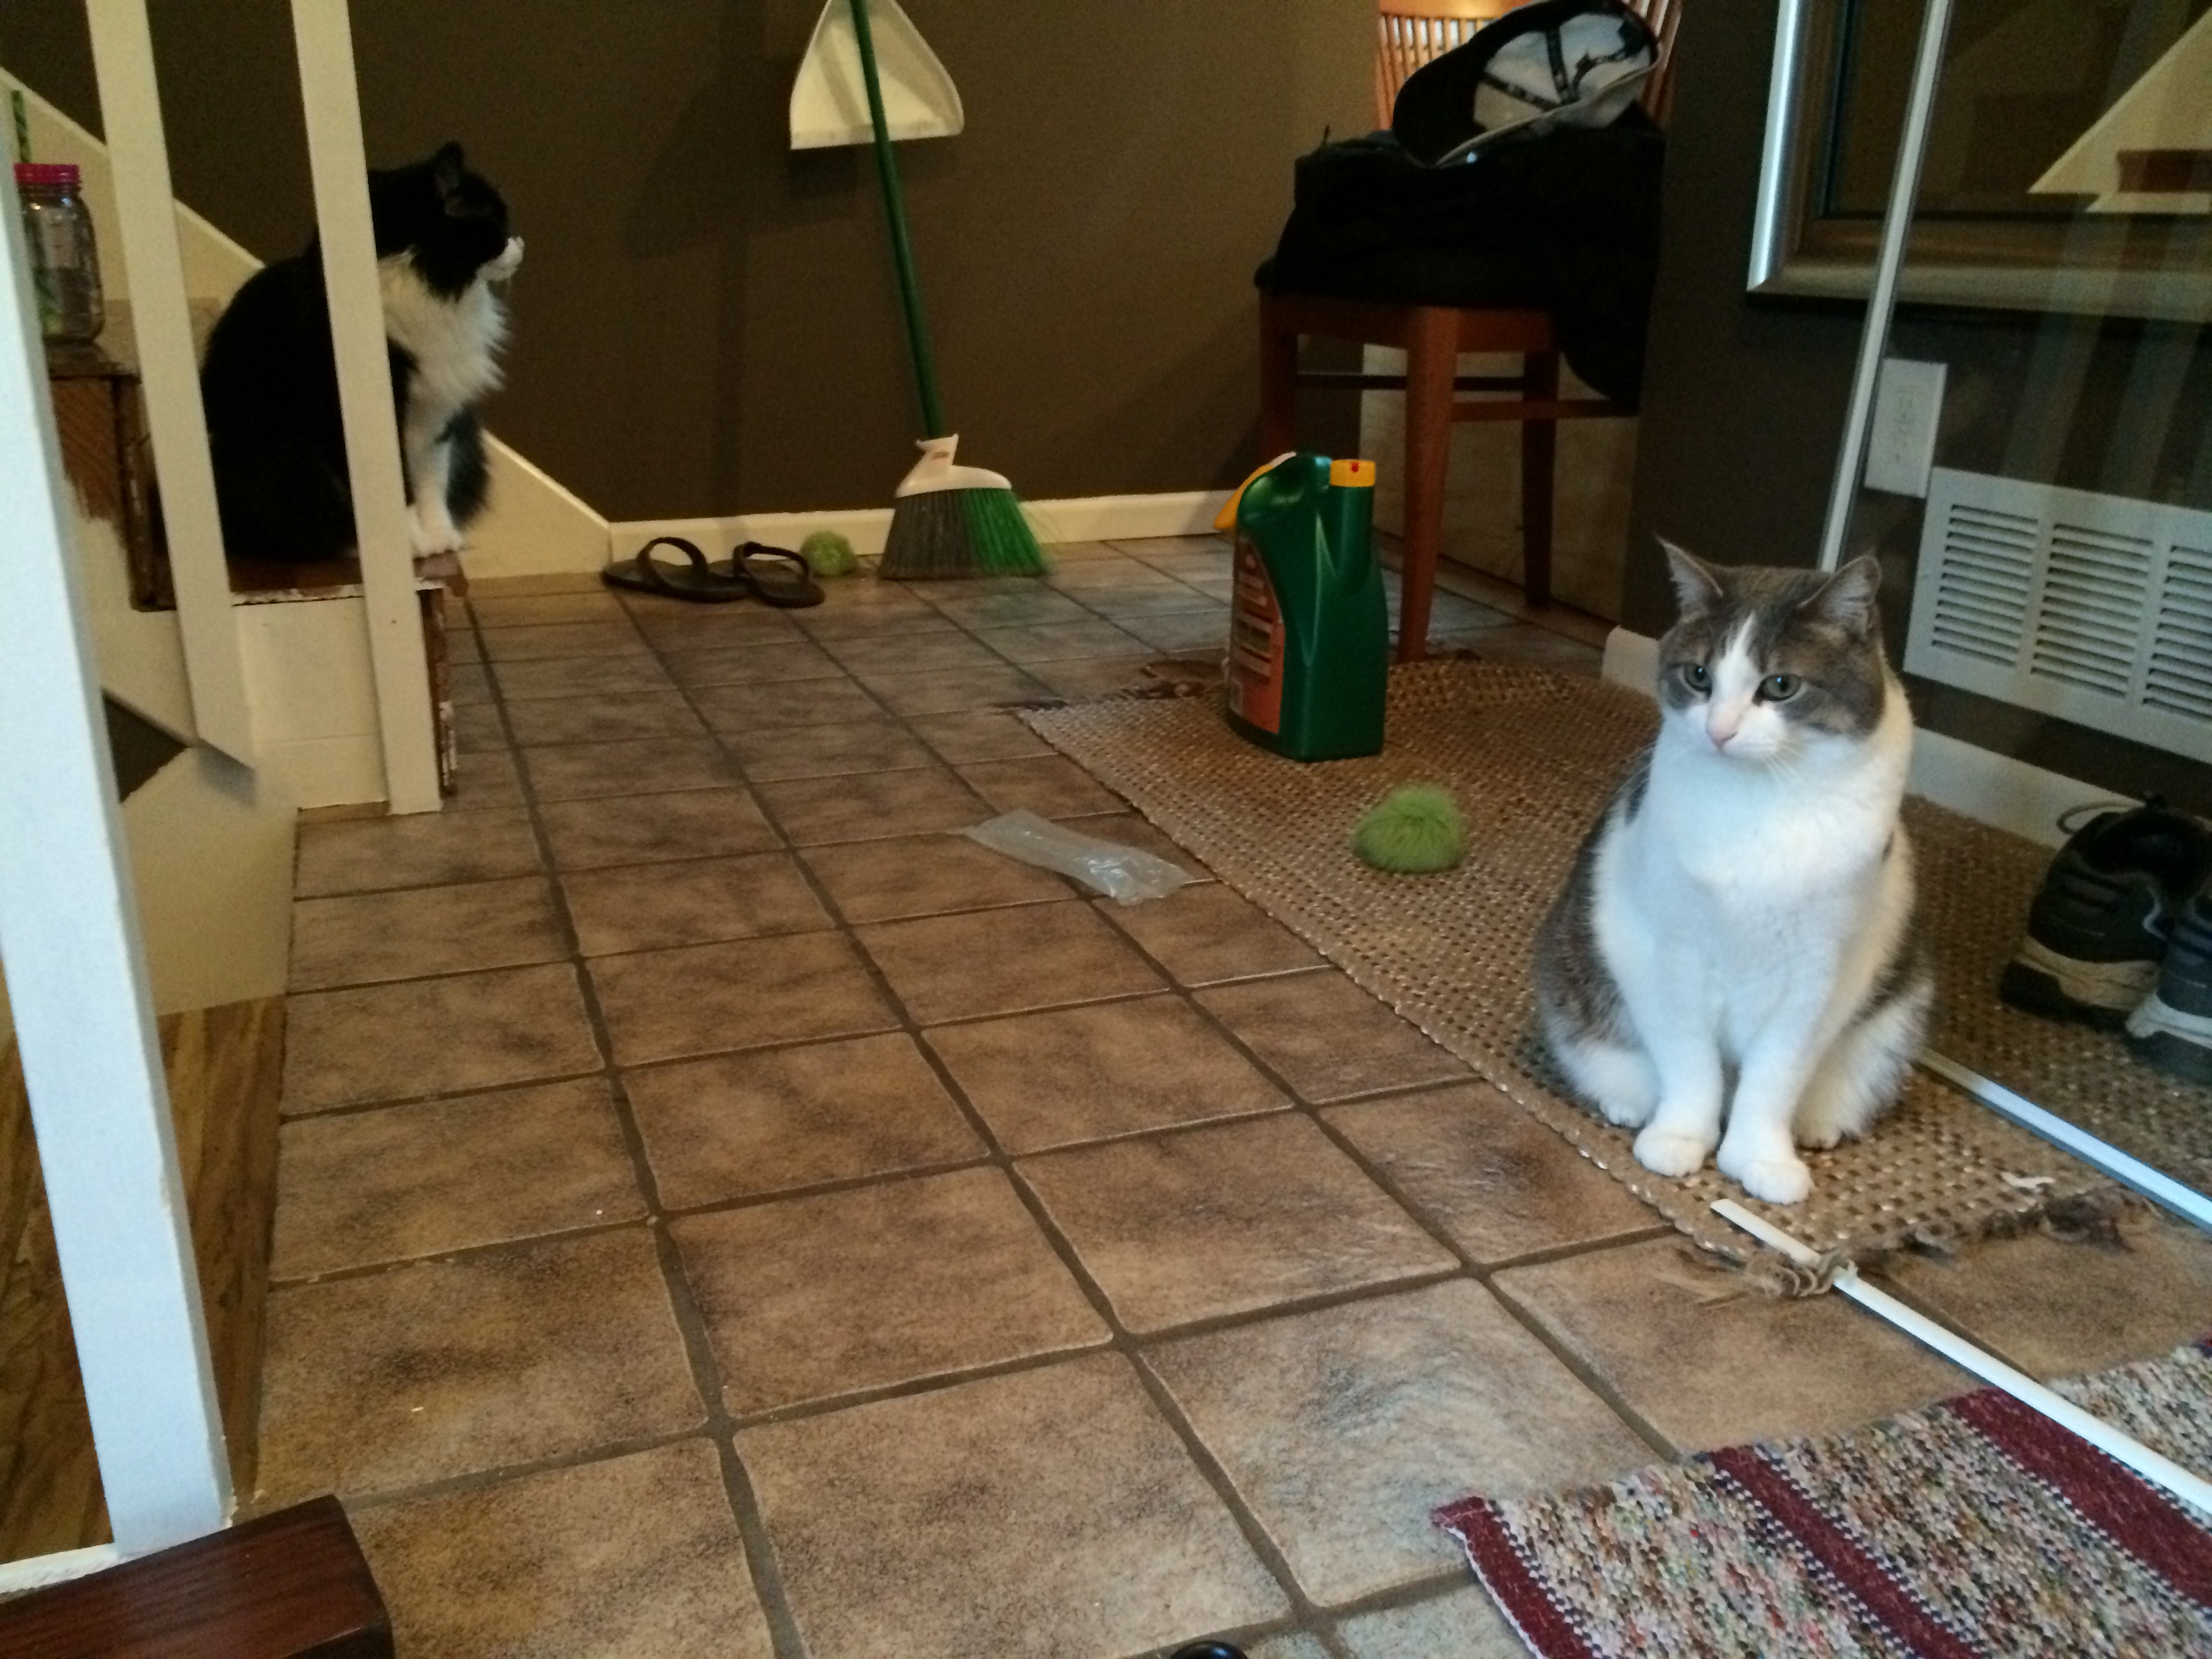
The cats were eagerly waiting to check out the new screen door.  Robert, who you see on the right, watched us intently through most of this installation. He was very excited about finally being able to watch birds out front!
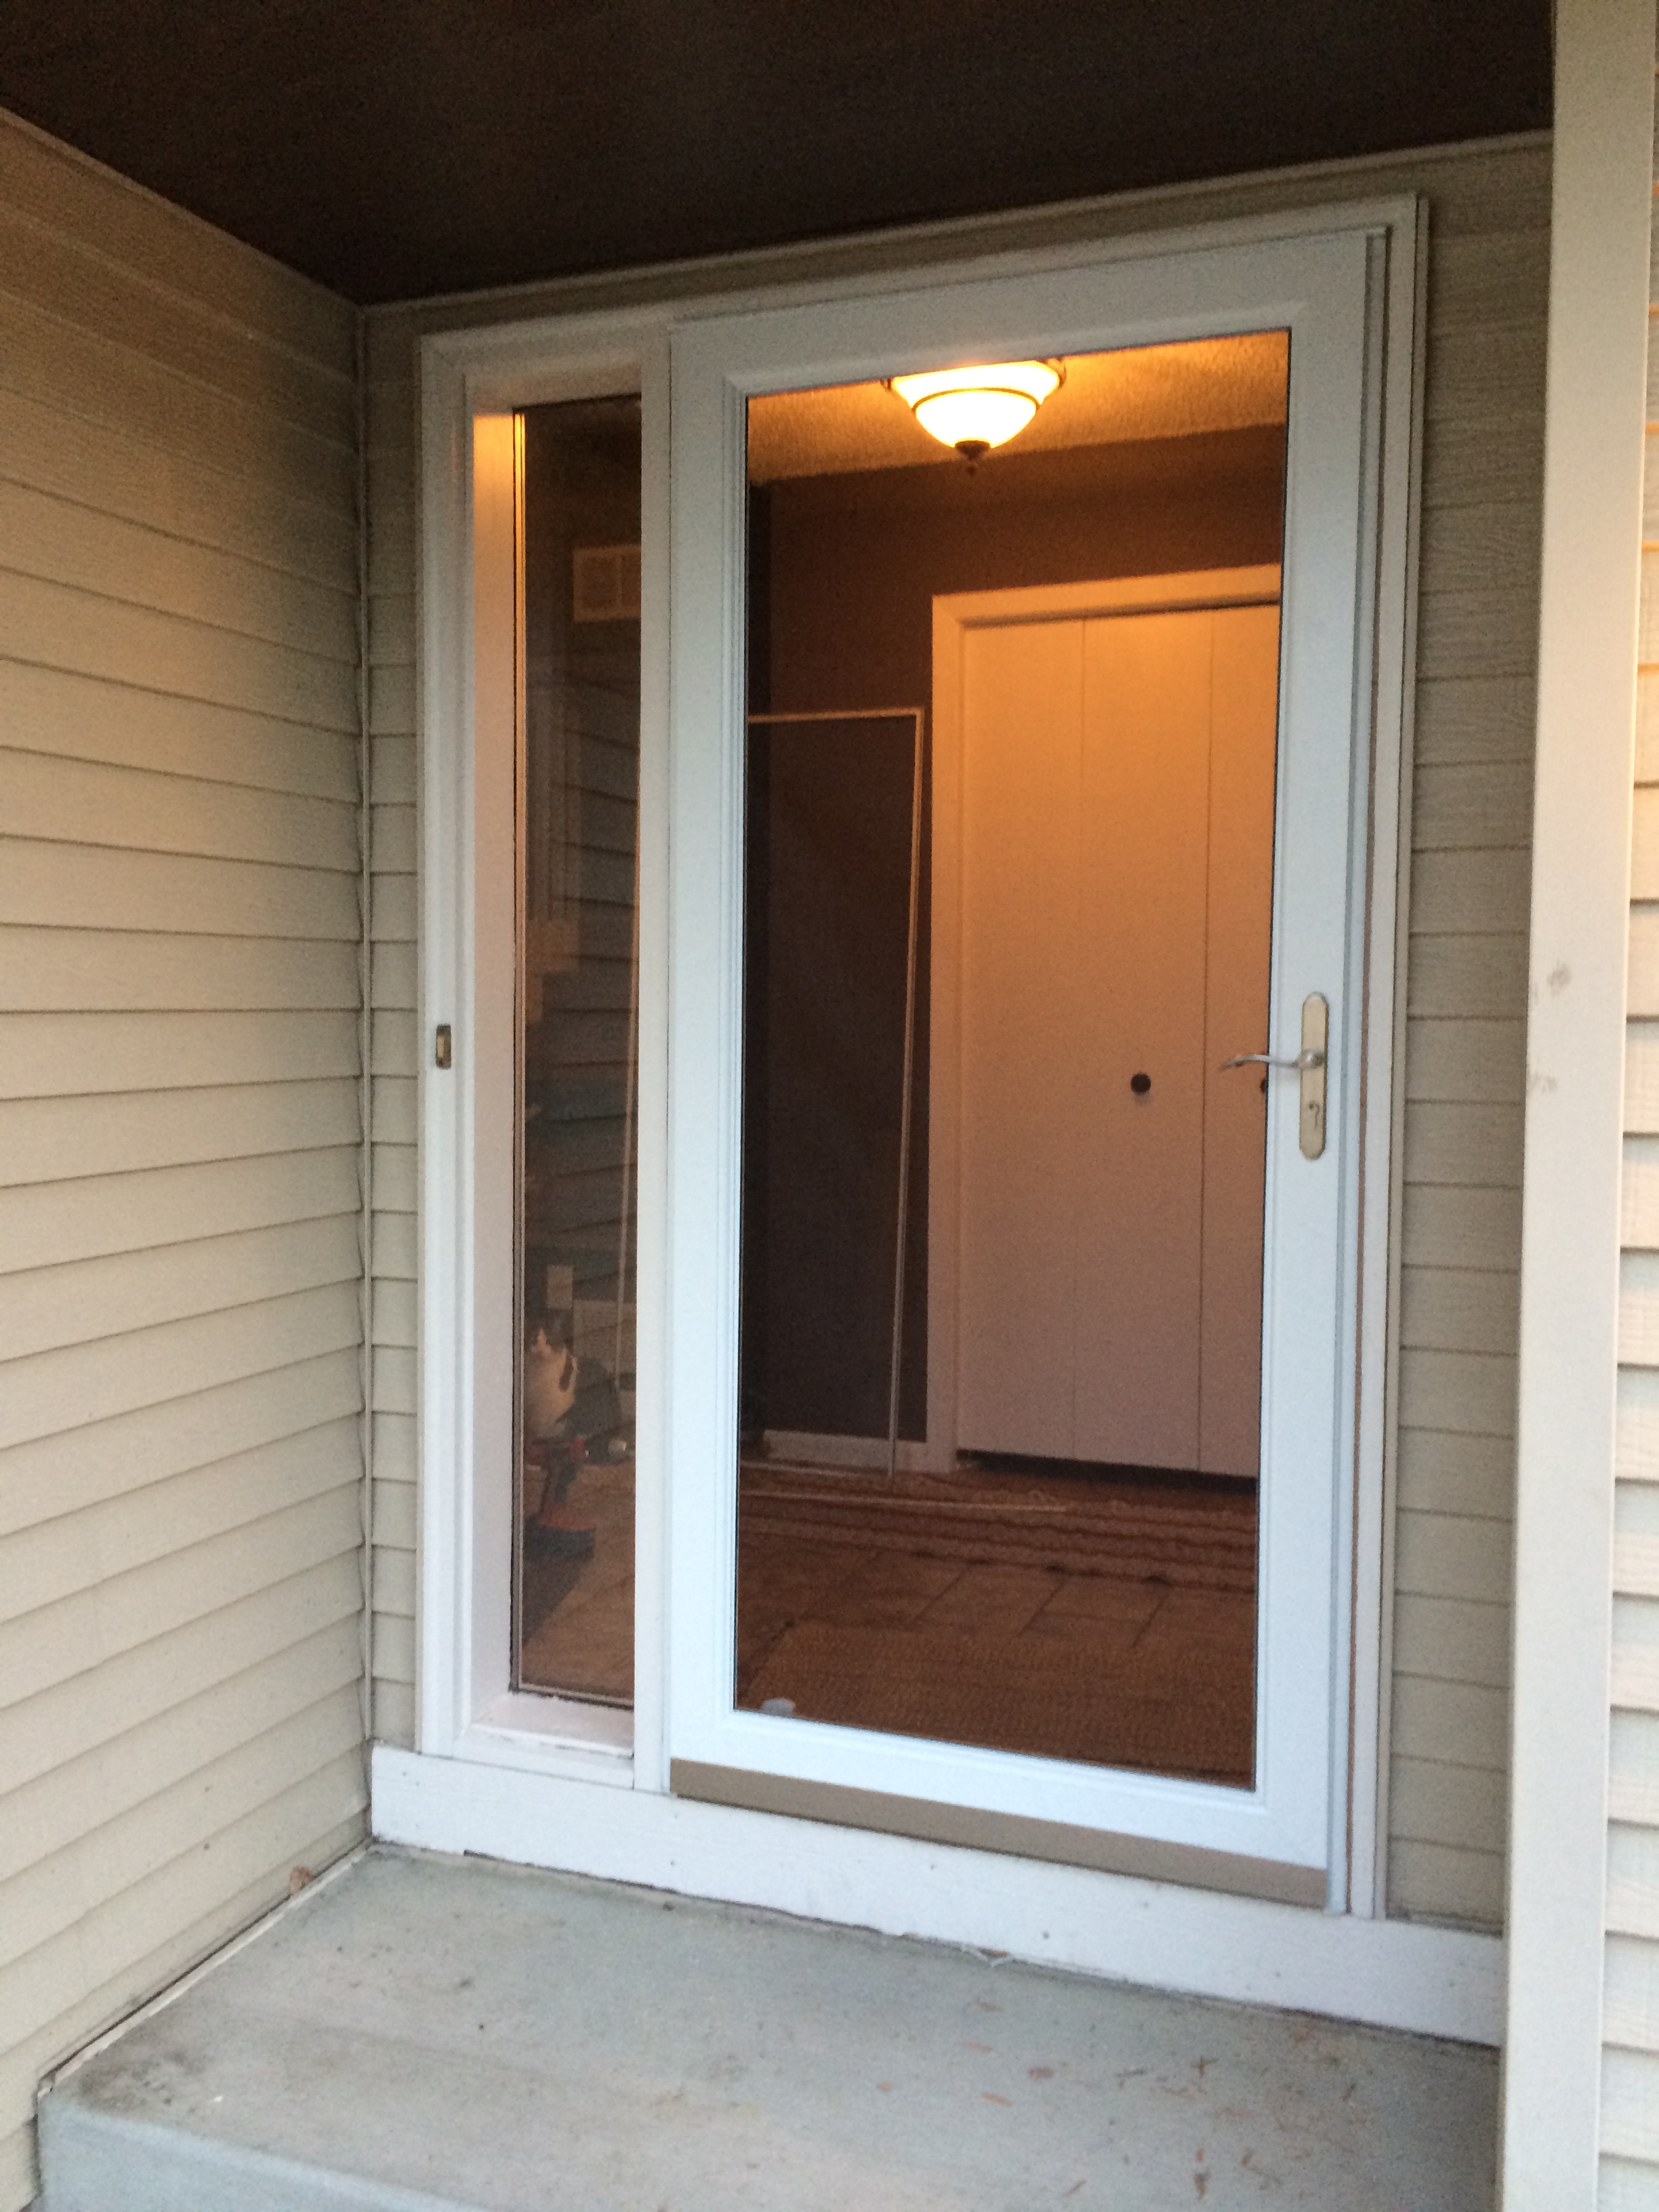
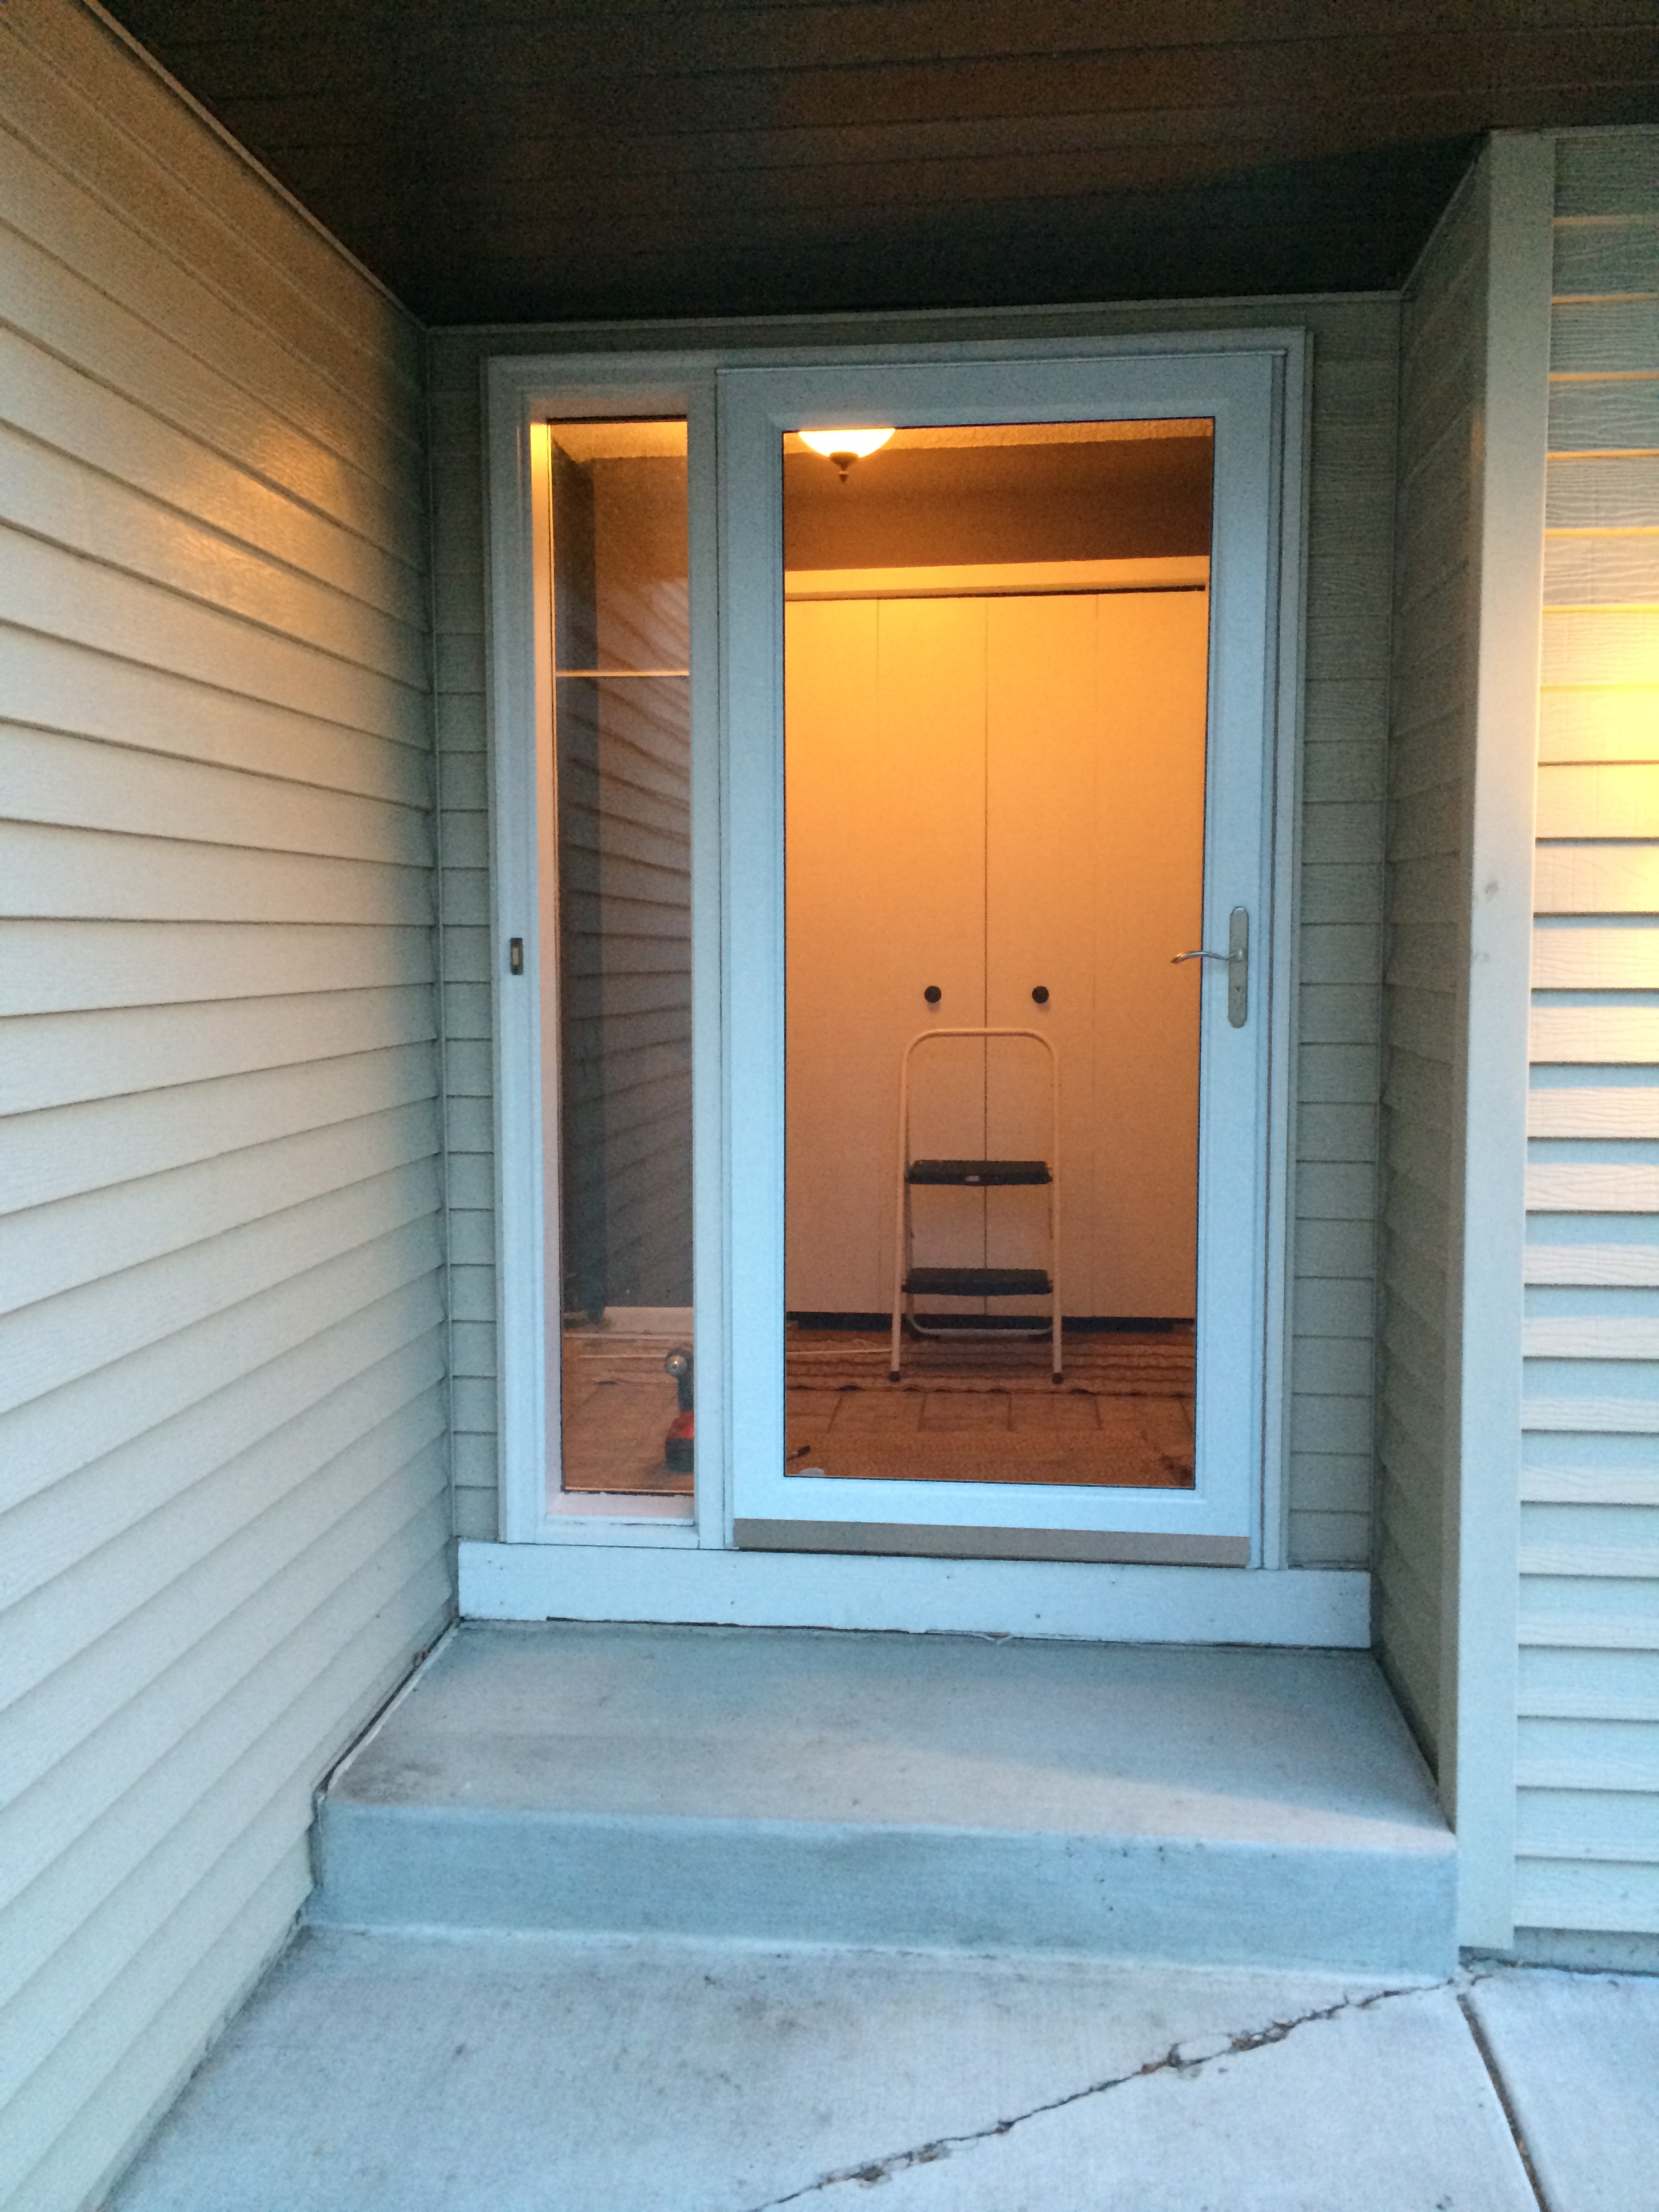
IMG_0406

Finished door!

IMG_0407

Robert still watching.
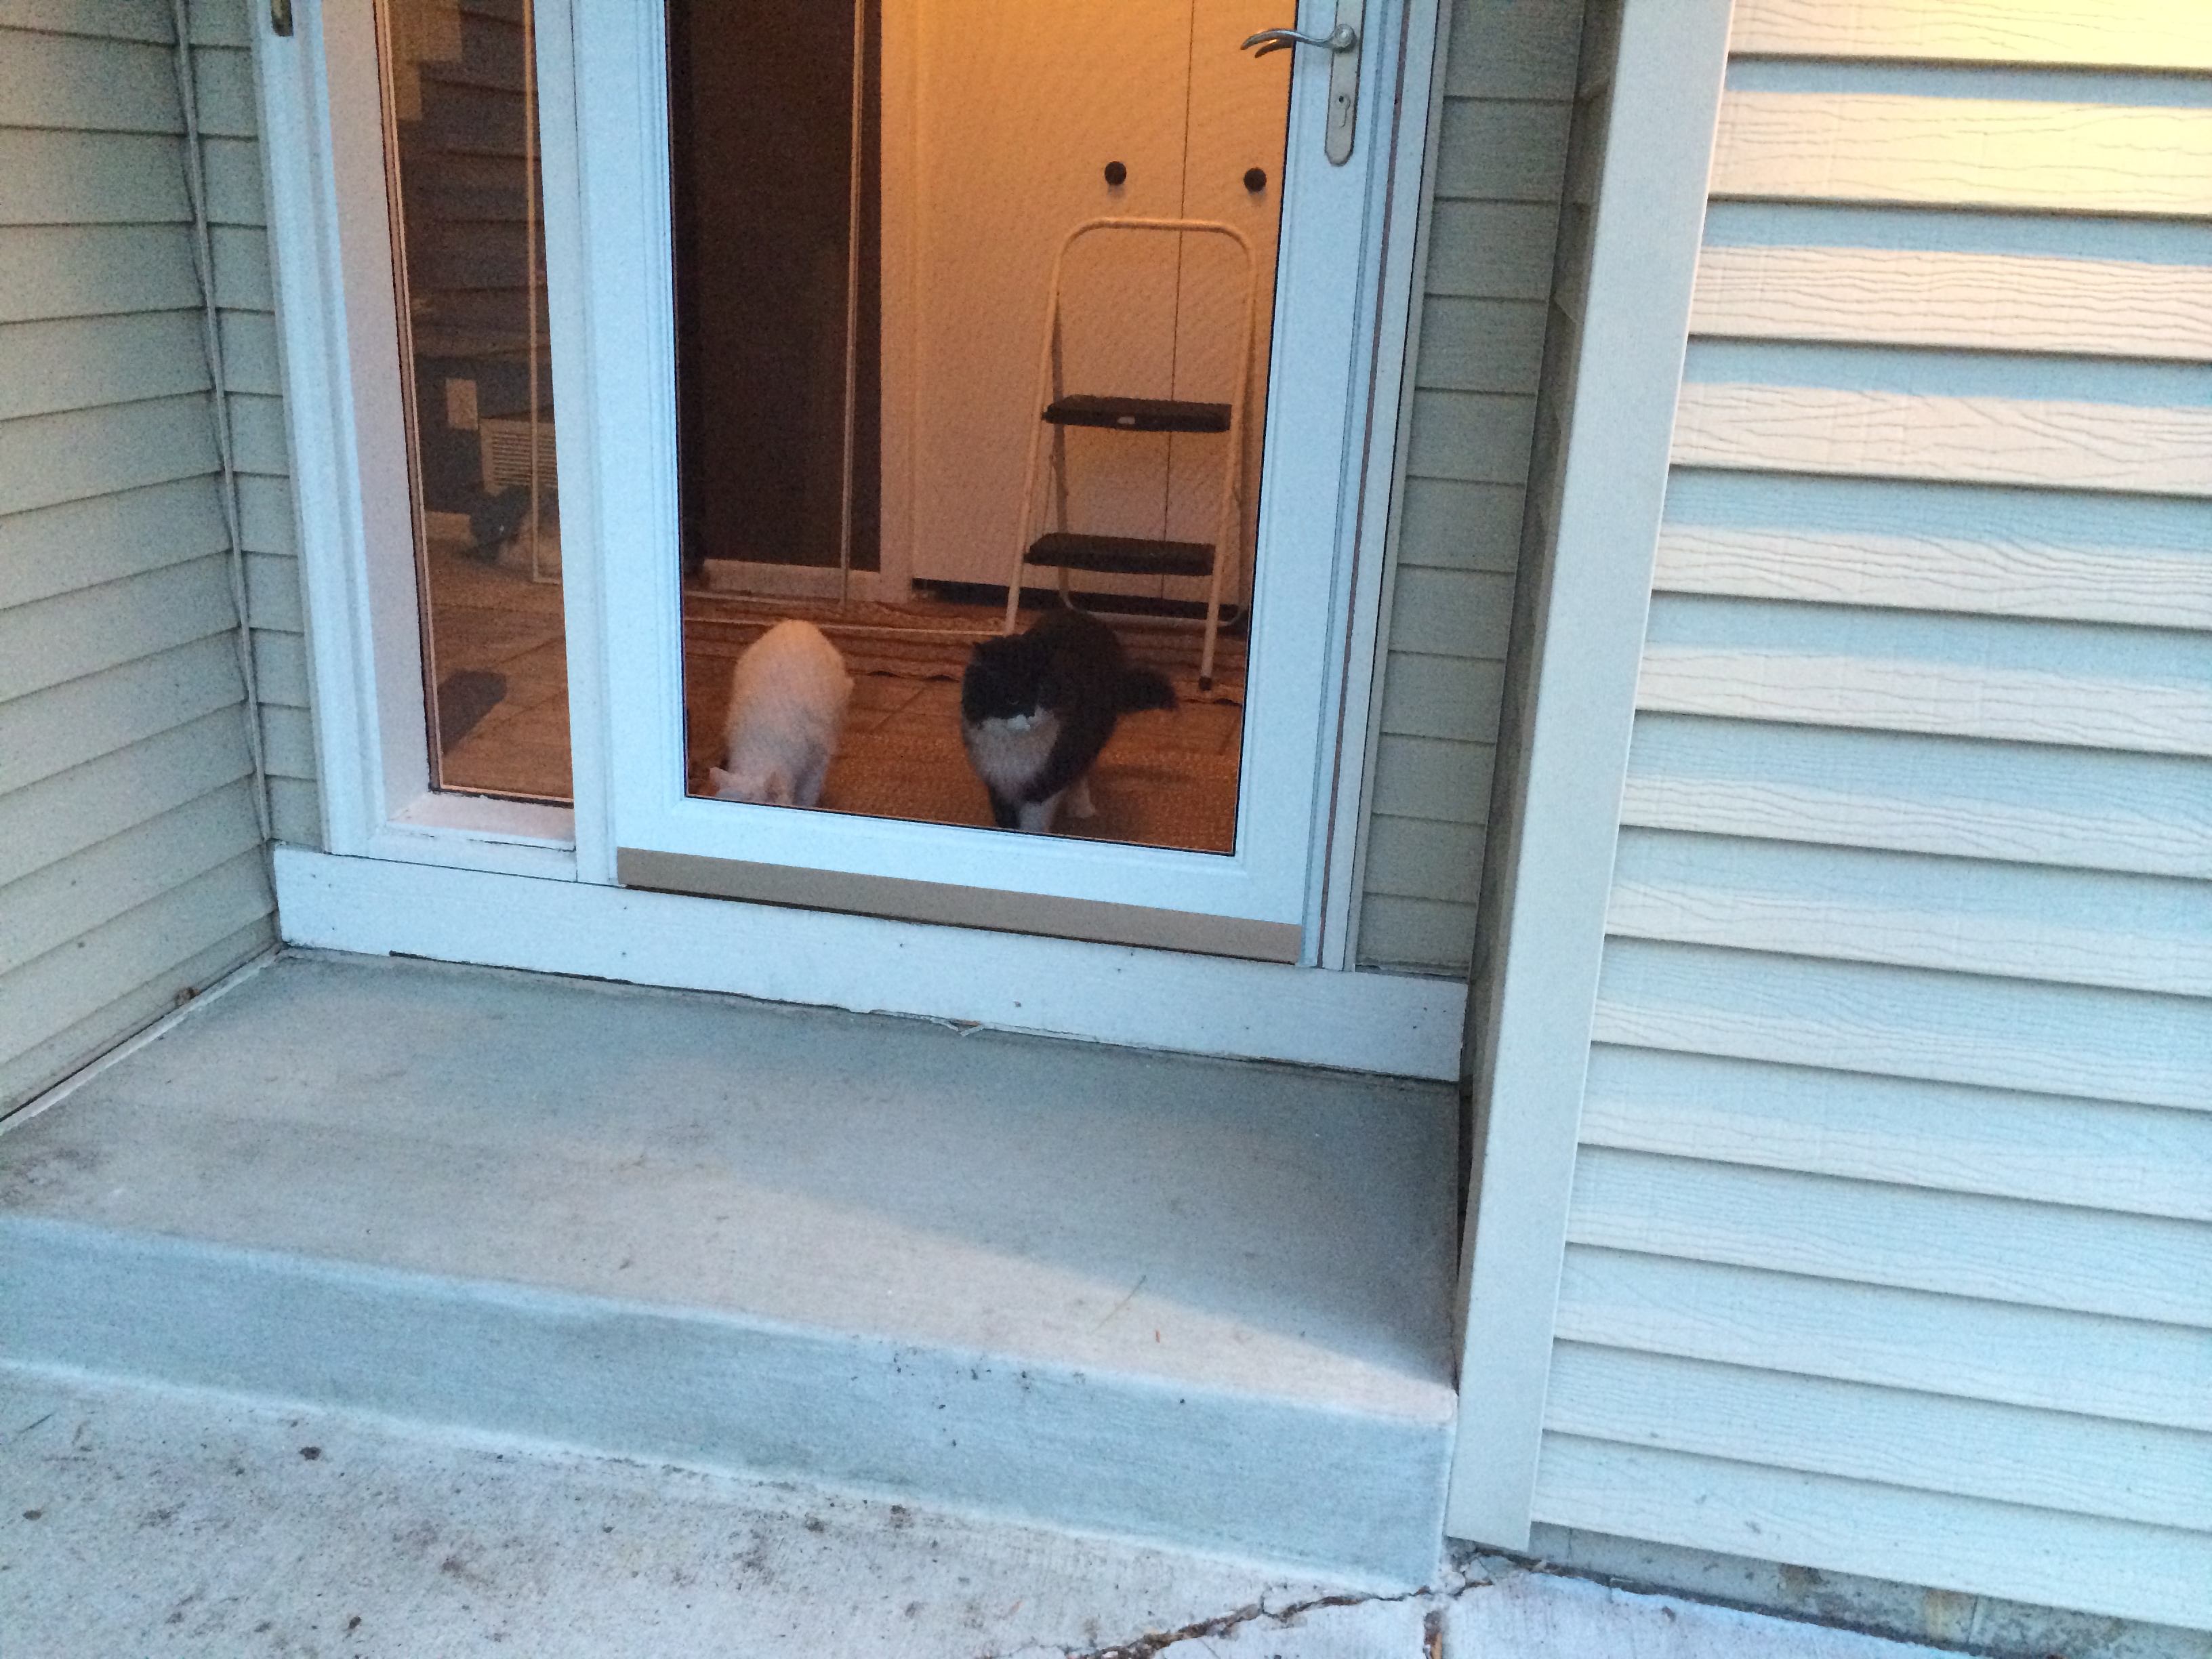
IMG_0408

The cats approve.

Another view of the finished door.  Such a huge improvement.

IMG_0409

– Mike

The First Project

Mike Here.  When we had our first walk-through of this home, one of the very first things we both agreed had to go was the glass sliding doors on the upstairs full bath.  There was black stuff growing around the corners (mold? fungus? general rot?), they didn’t open and close correctly, the list goes on.  The day that we closed, we both knew this needed to be the first project.  When we packed up the car the morning of our closing, I made sure to pack my tool box, including a hammer, screwdriver, putty knife and razor blades.  Within 30 minutes of taking possession of the property, the ugly glass sliding doors were history.  We walked into the house on a mission, both taking a few minutes to embrace the feeling of being new homeowners, then got own to business.  The doors came off no problem, and with each piece I would remove, I did a small victory lap with my demolition material to the garage, before heading back to the bathroom.  However, after the doors, this demo took a turn for the sweaty (gross!).  The frame that was sealed to the tub with silicone was a whole different story.  I FOUGHT that frame.  I thought I was going to rip off part of the tub I was pulling so hard.  You probably won’t see it in these pictures, but by the time that I got to ripping up the bottom piece, I had sweat dripping from my forehead (good thing I was in a shower!).  Eventually, all of the unwanted metal frame was gone, and all that remained was a thin layer of silicone, which I am still trying to figure out what to do with. The silicone is a beast as well, we cannot figure out how to scrape it off without destroying the porcelain tub. Also, at some point we’ll have to re-grout some parts of the tub because no amount of cleaning will remove some of the dingy leftovers.  It is our plan to eventually redo this bathroom, but this works for us for the time being.

IMG_1766

Mike: “Am I doing this right? No? I’ll just pull harder!”

IMG_1767

Happy to be using tools again after two years.

IMG_1768

Better, but still gross.

photo

Much better.

Updates Still to Come for the Upper Full Bath:

  1. Remove leftover silicone
  2. Paint Trim
  3. Frame around mirror (Source for Idea: House of Smiths)
  4. Paint Cabinets (Behr: Ultra Pure White Semi-Gloss)
  5. Paint Walls (Color: TBD)
  6. Re-paint grout (Heard really great things about Polyblend Grout Renew) Source: LiveloveDIY – this woman is awesome
  7. Replace Hardware to match Oil Rubbed Bronze shower curtain rod
  8. Remove the medicine cabinet (the project I dread most in this room)

I’m sure we’ll think of more things!