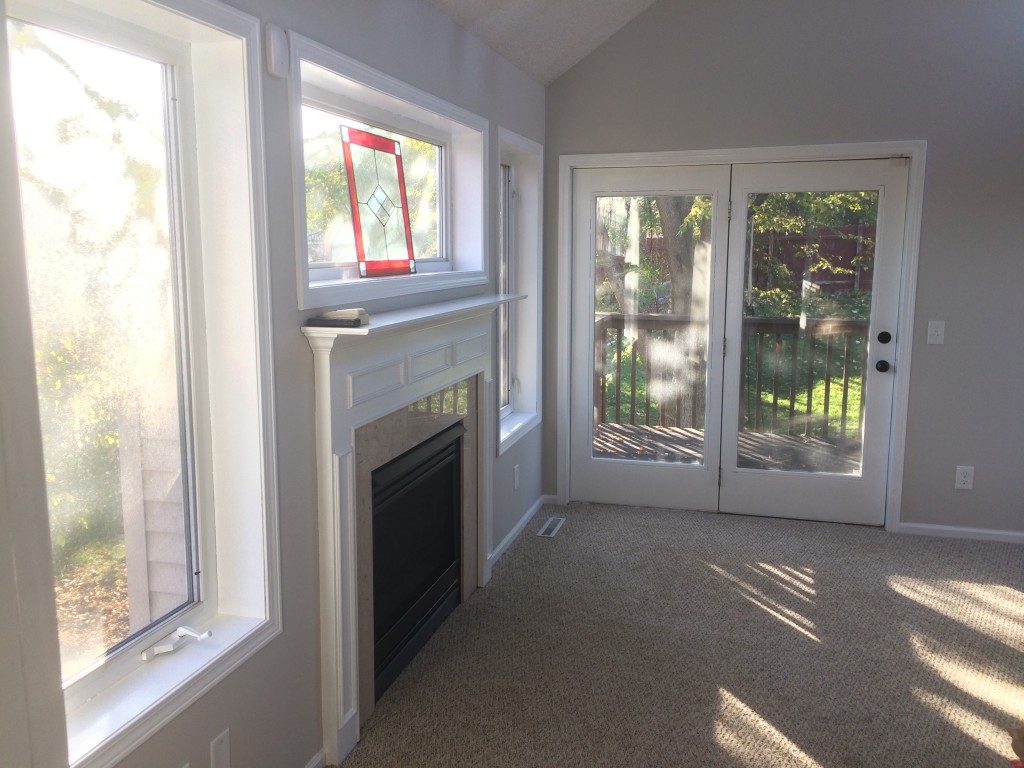
For this post, I’ll begin with the “after” picture, since it looks so great. We call this room the sun room, which we initially planned to leave alone, until making a split-second decision to fix it. This room was not original to the house. It was built from an existing porch, and the shed beneath it was described in an earlier post about stopping rodents. The project involved fixing a leak in the patio door, painting all of the trim, fresh paint the walls and having carpet installed.
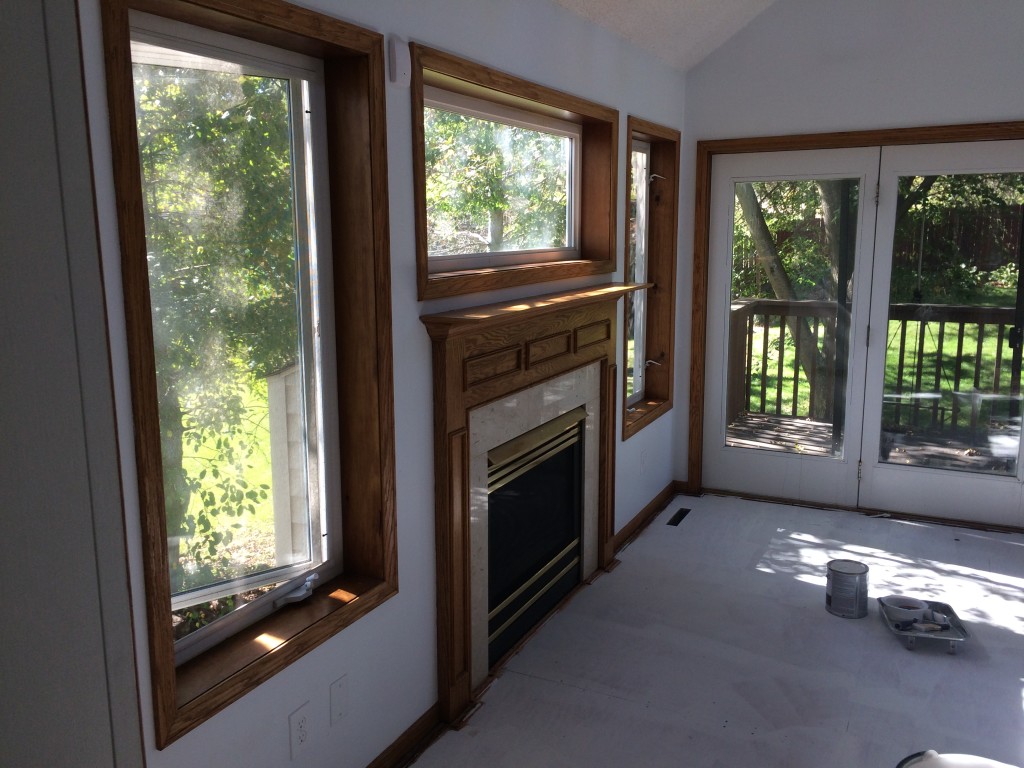
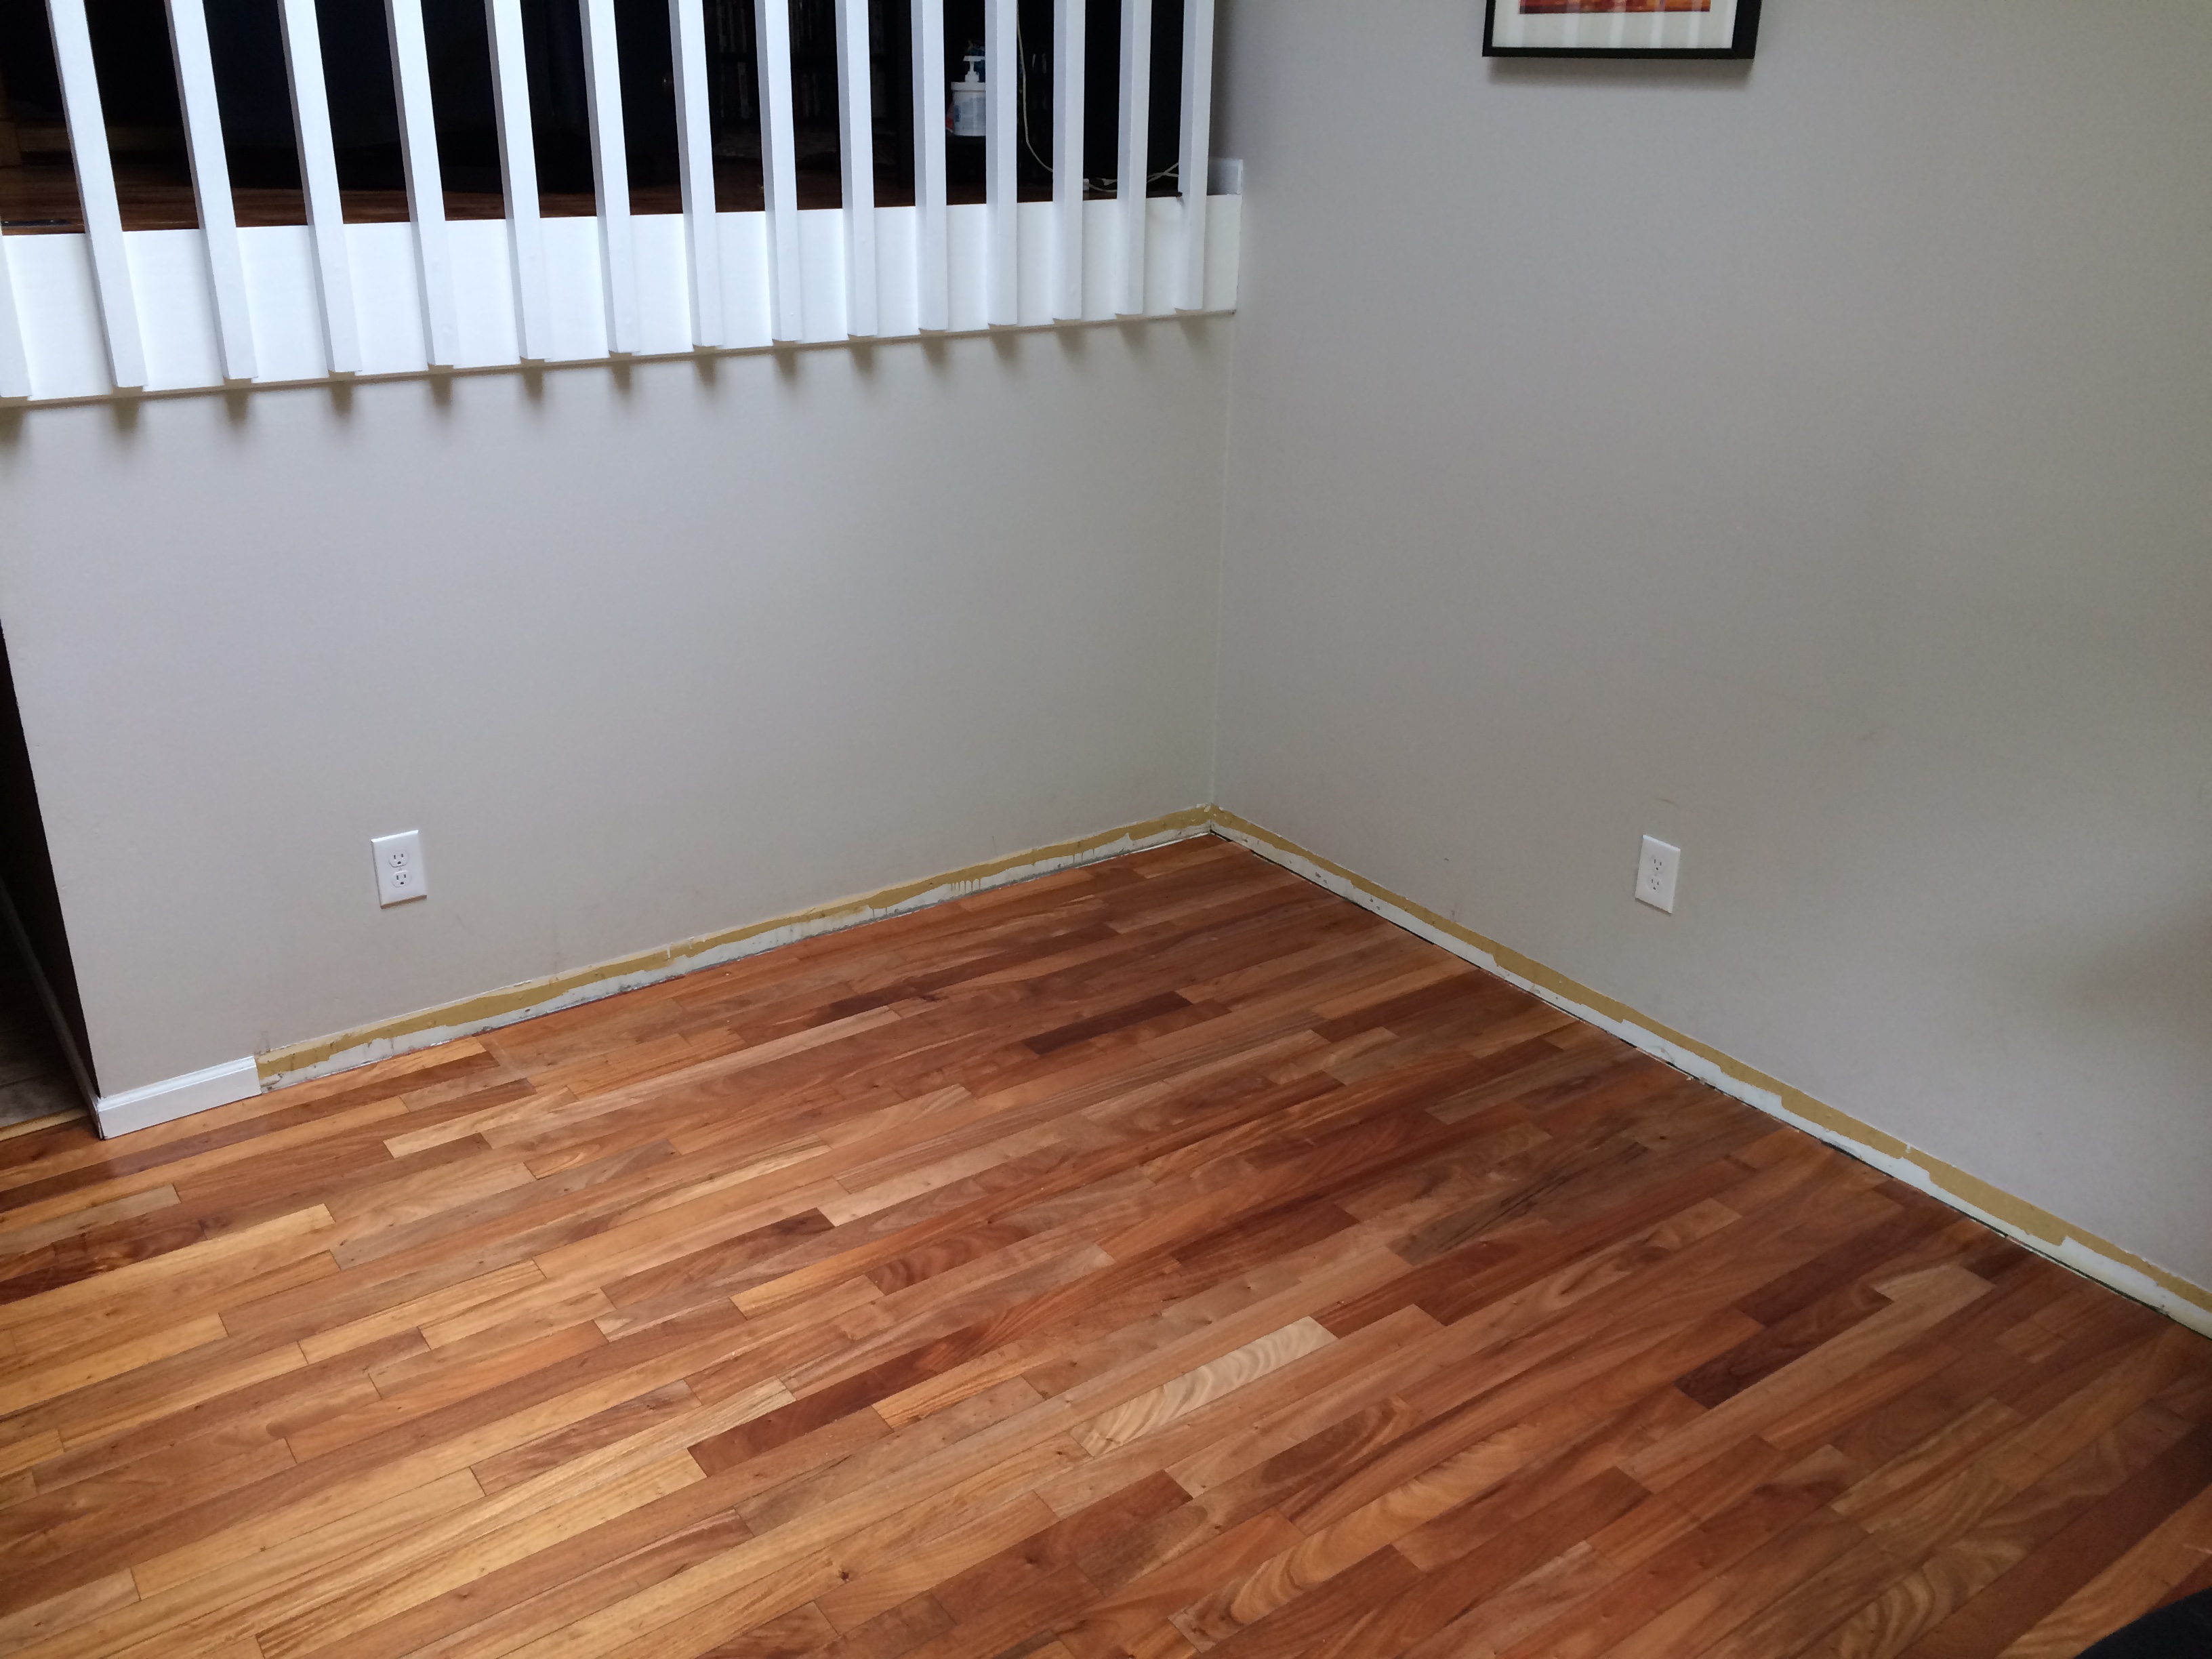
The first step was to pull up the old carpet, which smelled terrible, and was a driving force in the decision to update the space. We used Kilz primer on the baseboards to block any future odors.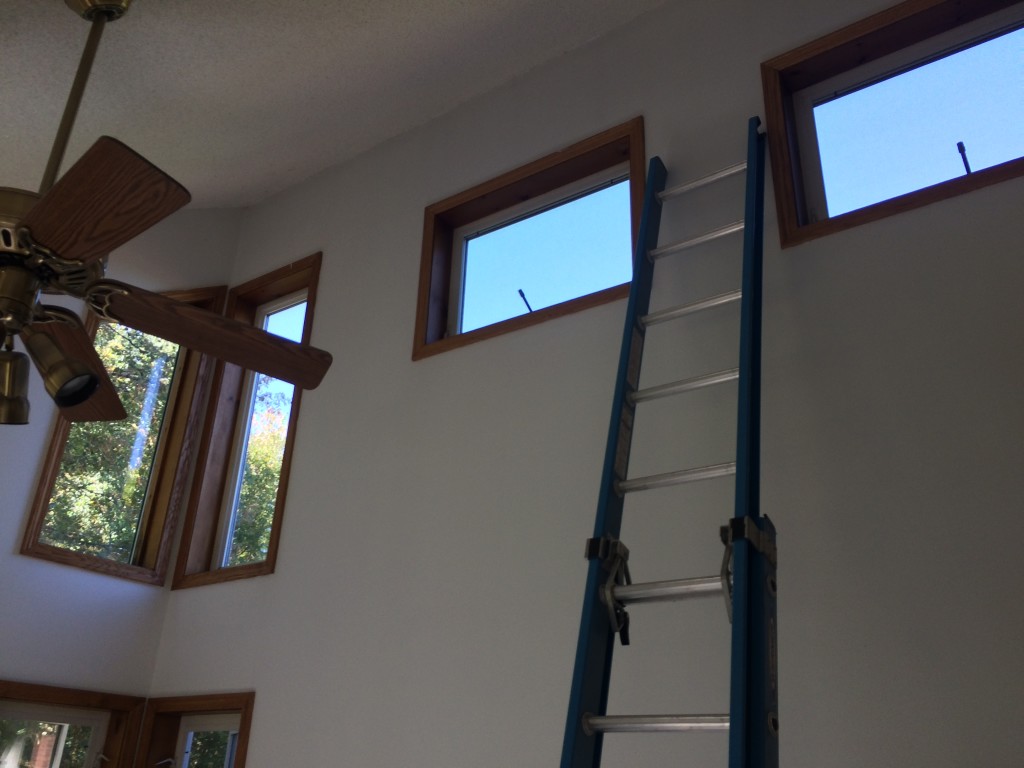
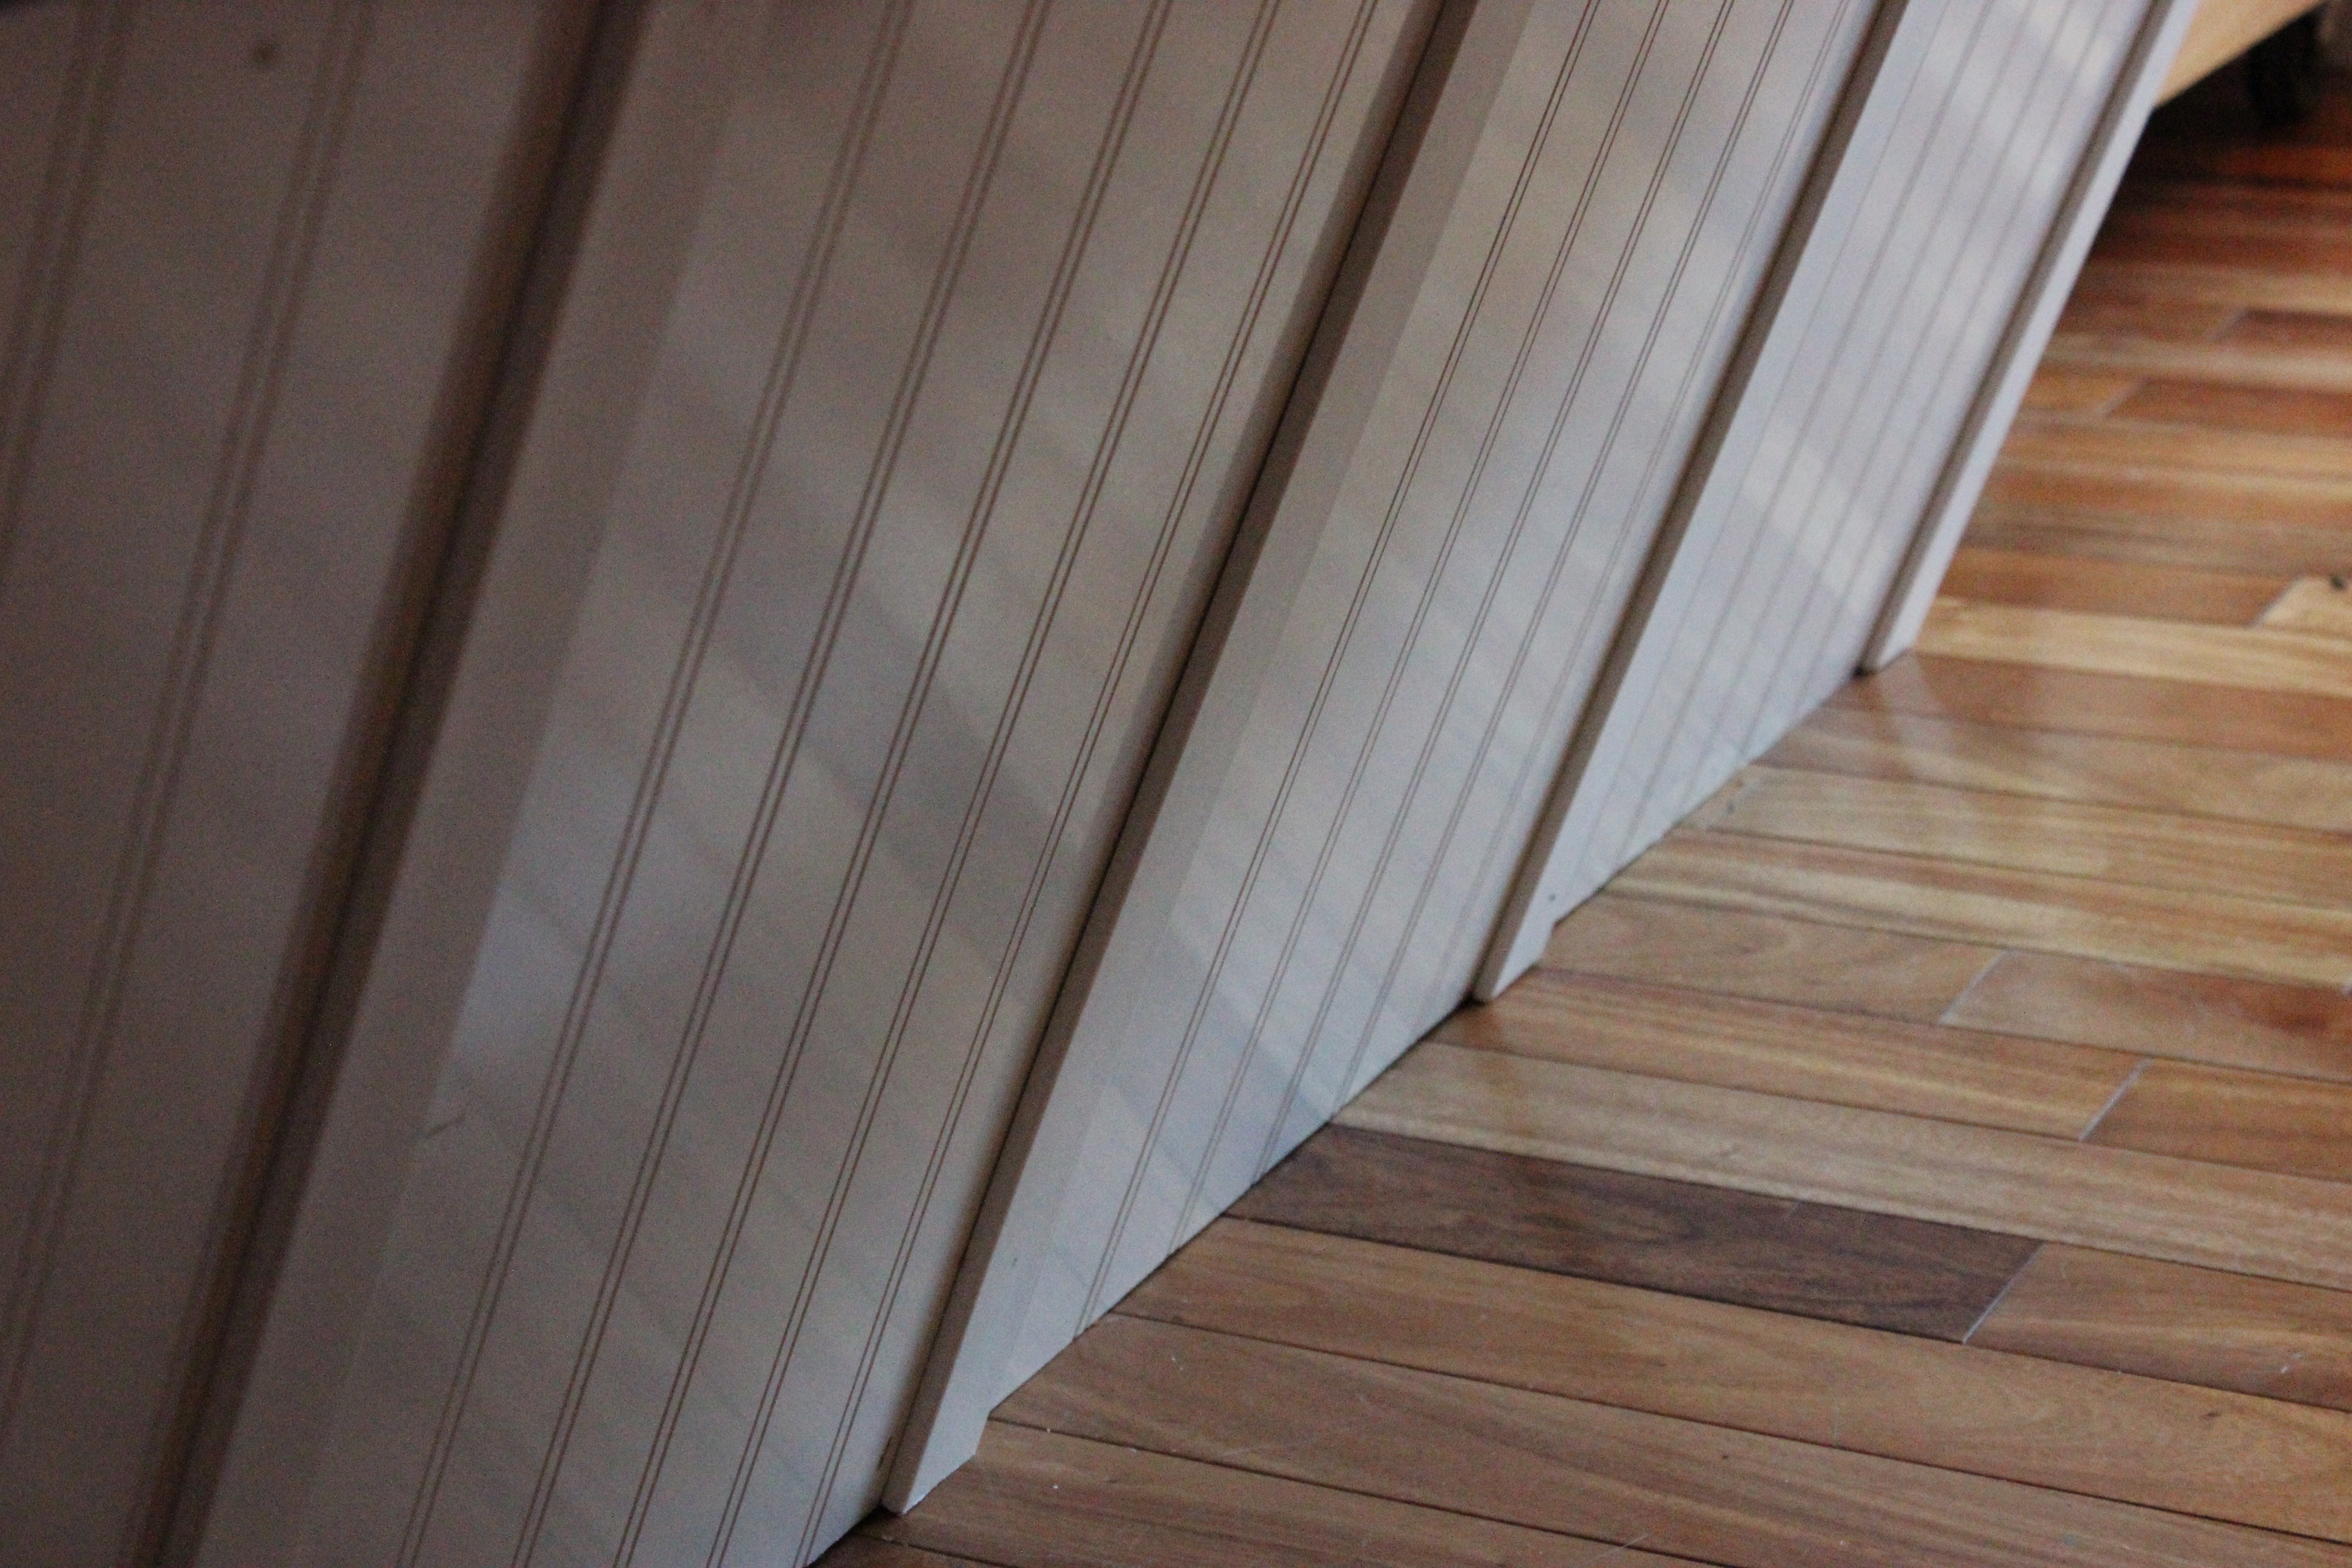
The next step was to pull out the ladders (one wall is 18′ high!) and paint the trim. But before painting could begin, Sara cleared away any dust from the wood.
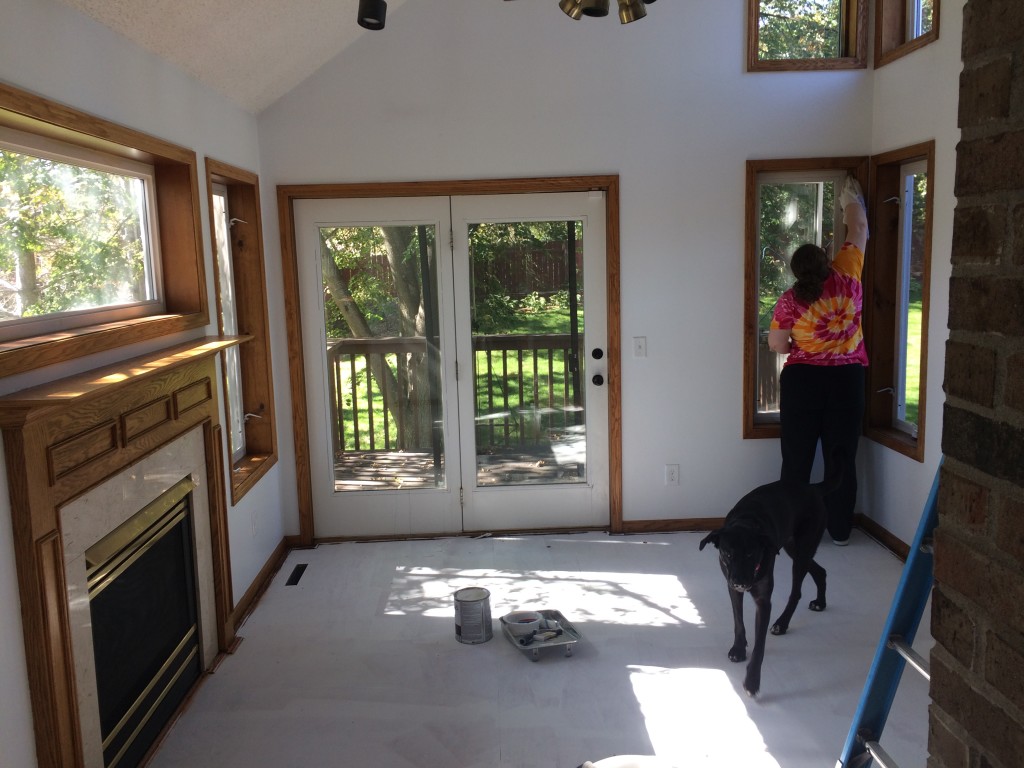
Sara cleaning the trim before Mike got to work painting it. Winnie supervising as usual.
For the trim, I once again used a bonding primer, which sticks right to stained surfaces, no sanding needed. Without bonding primer, paint on a stained surface will scratch away with as little as a fingernail.
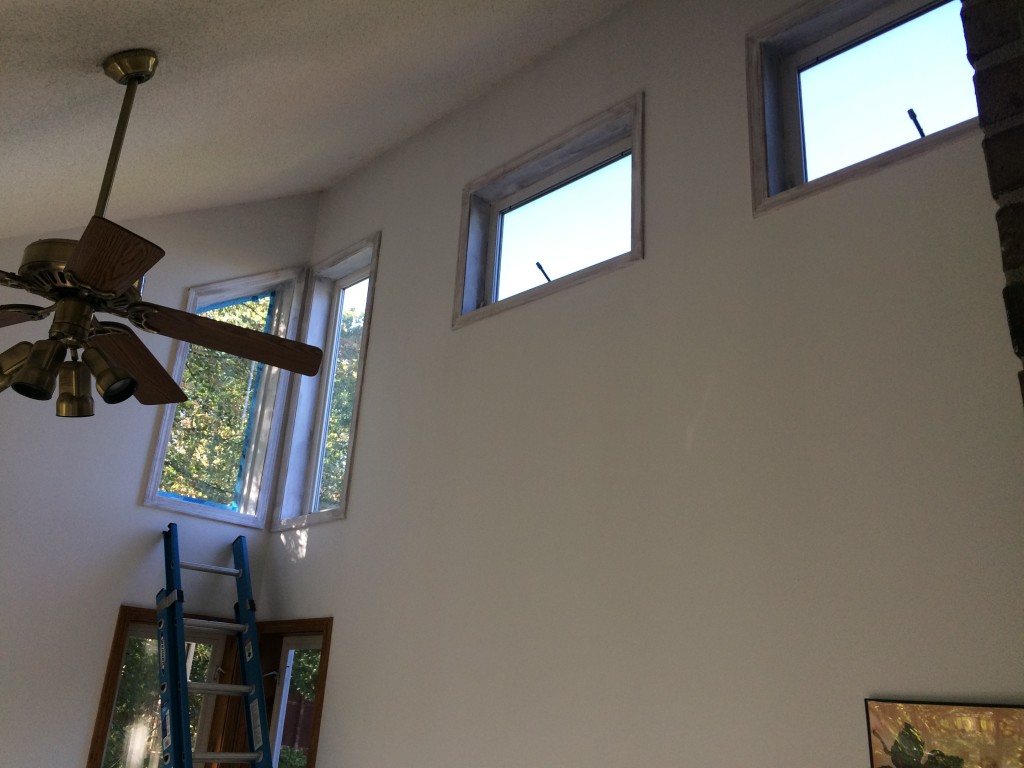
With 9 windows, 2 door frames and some cabinets to paint, I got pretty exhausted of that whole process pretty fast. After a few hours, I decided to take a break from painting and tackle the next big job: fixing a water issue with the door.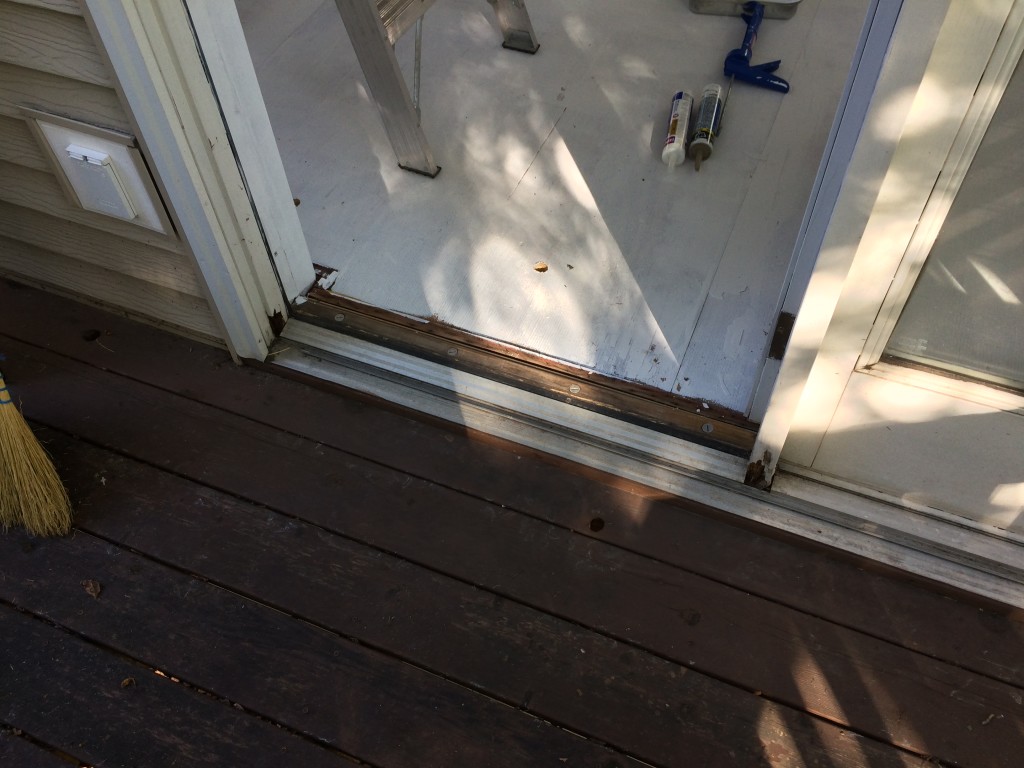
The door had rotten wood at the base of the frame. There were several ways I could have tackled this issue. My first option is to simply replace the whole door, but that would have cost hundreds of dollars in a project we already weren’t budgeted for since, again, we’re in the “room we aren’t going to touch.” Second, I could just fill the hole with caulk, which would be a cheap (read: unattractive) solution and wouldn’t really fix the problem. Third, I could cut out the rotten wood and replace with new pieces of trim.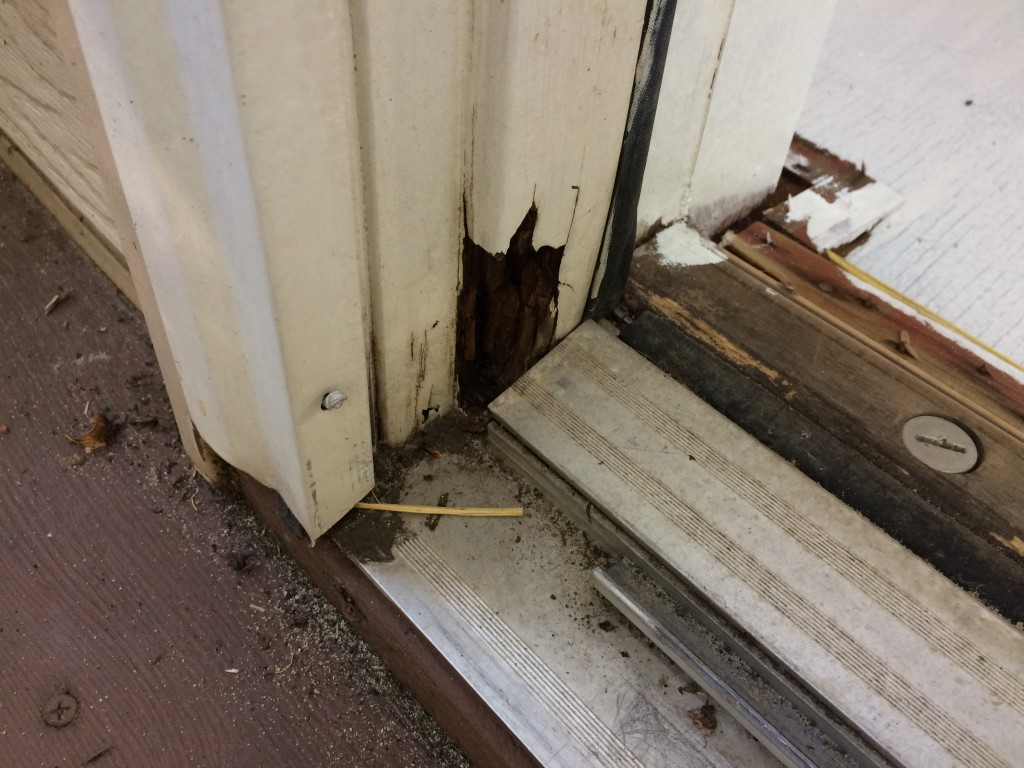
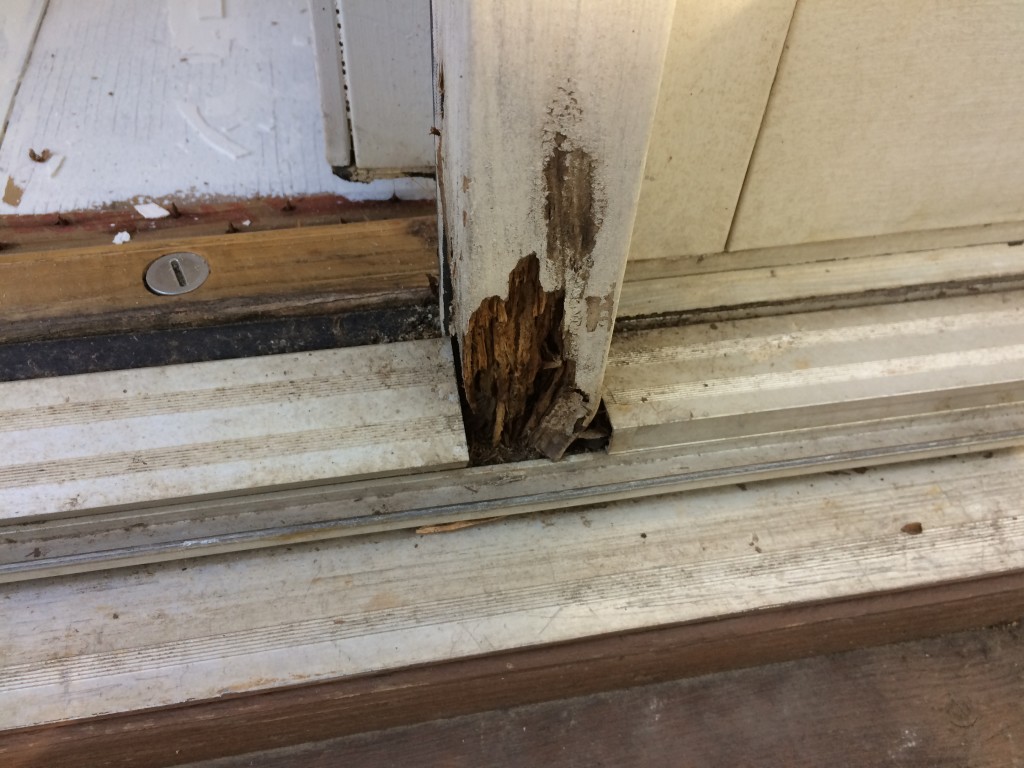
After a few minutes of weighing my options, I decided to go with the third option and cut new pieces.
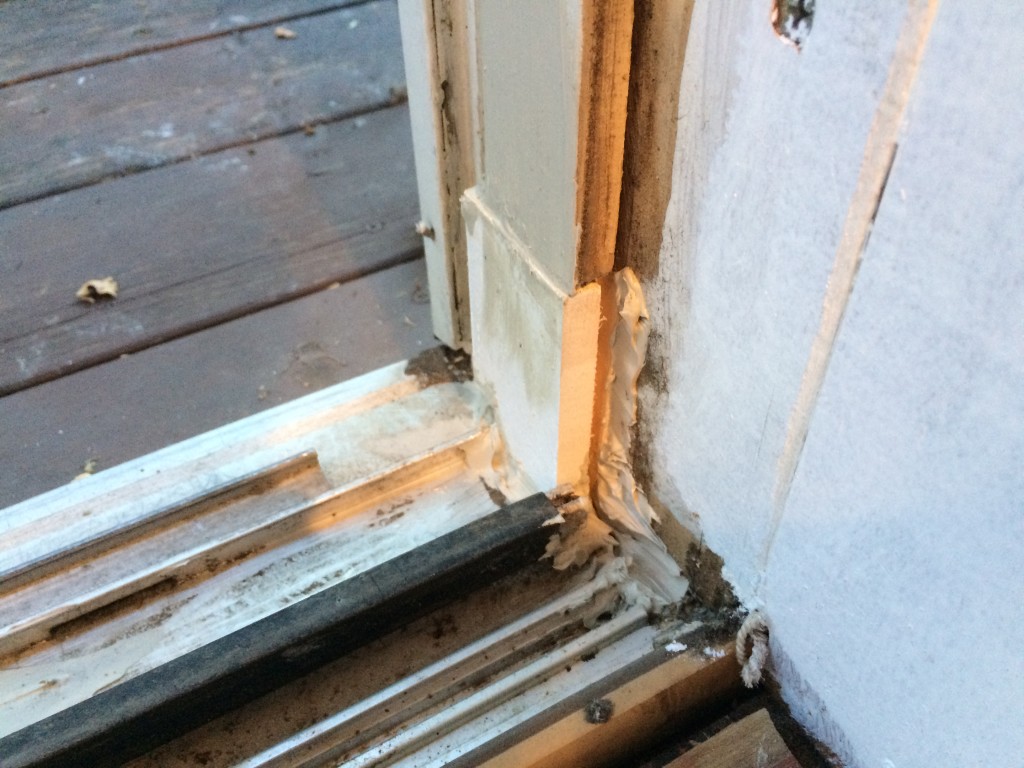
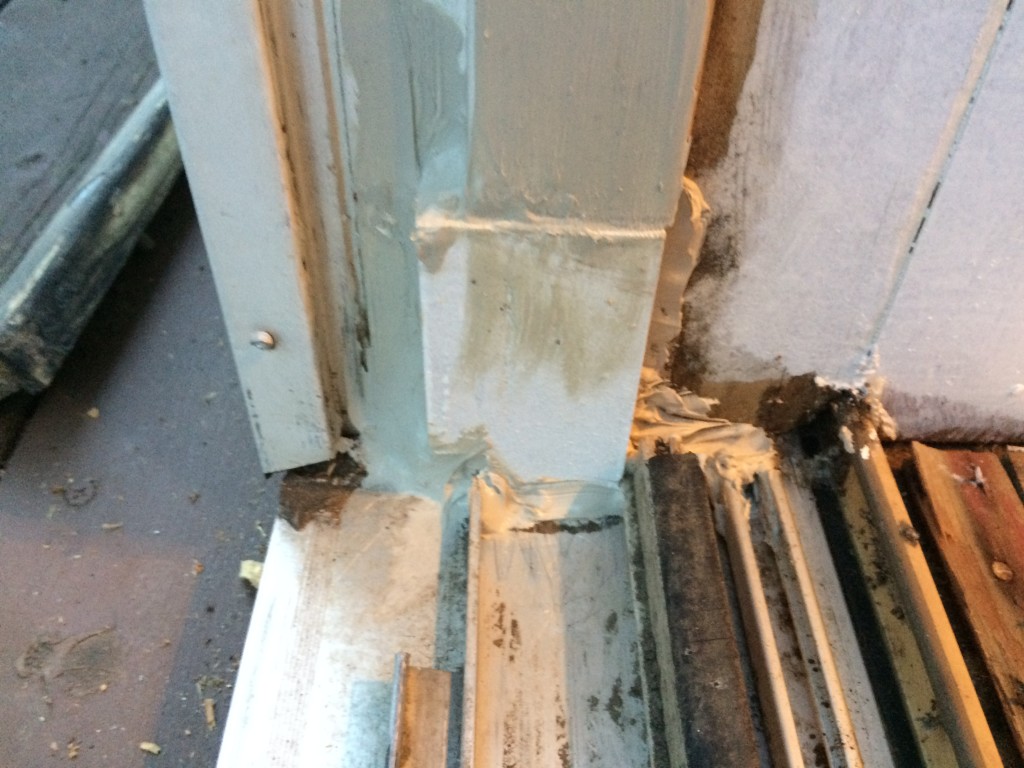
Notice the small grooves cut into the wood where the door seal will be inserted
The new pieces are held in place with an exterior caulk. This solution is not permanent, but will stop the water issue and will buy us a few years before we someday replace the door.
A quick status update picture on the painting: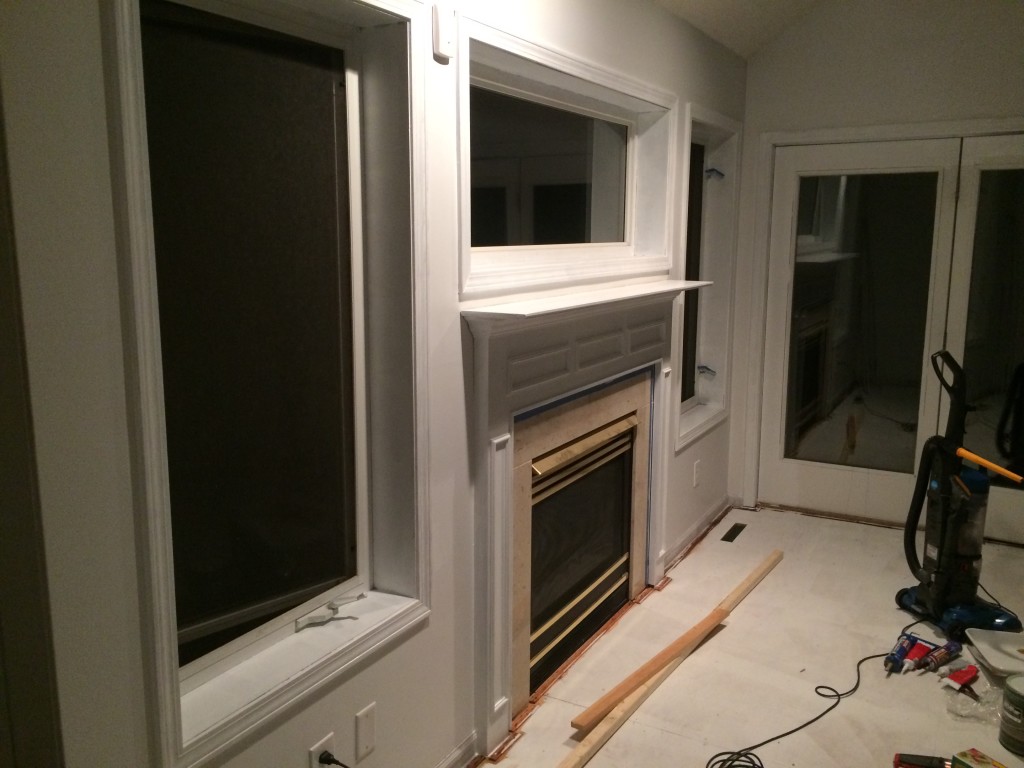
Some of the highest areas required a bigger ladder. I pulled out my 28 footer, which gave me added stability and made painting up high feel a lot safer. It’s just such a pain to move into the house because it weighs so much.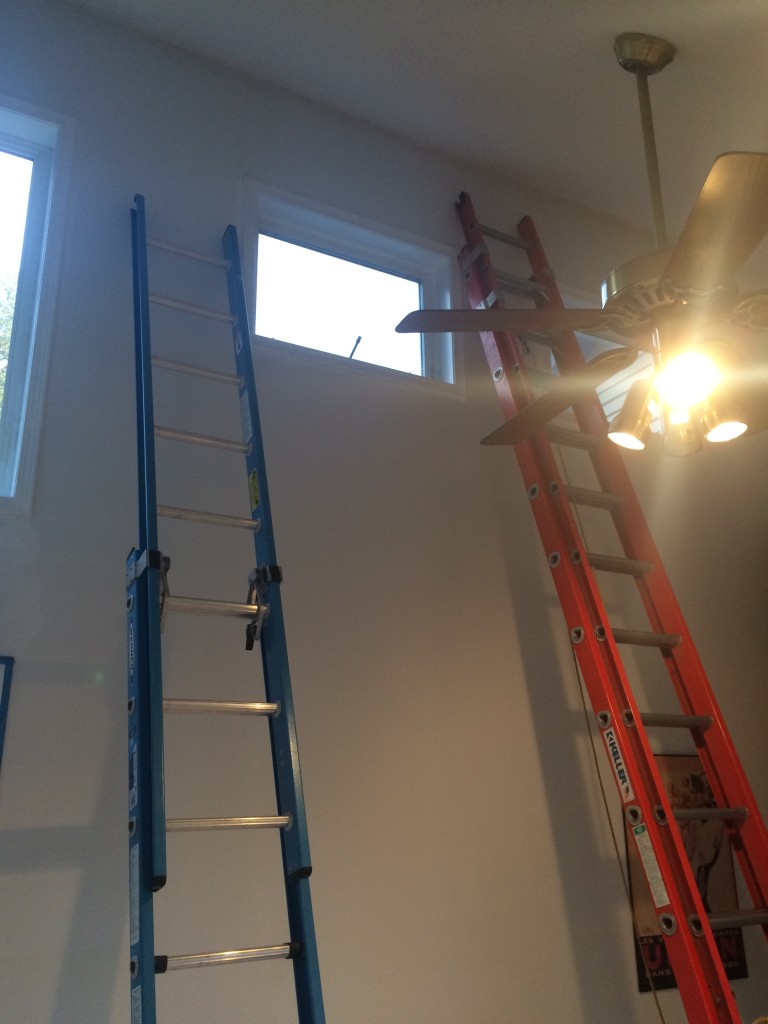
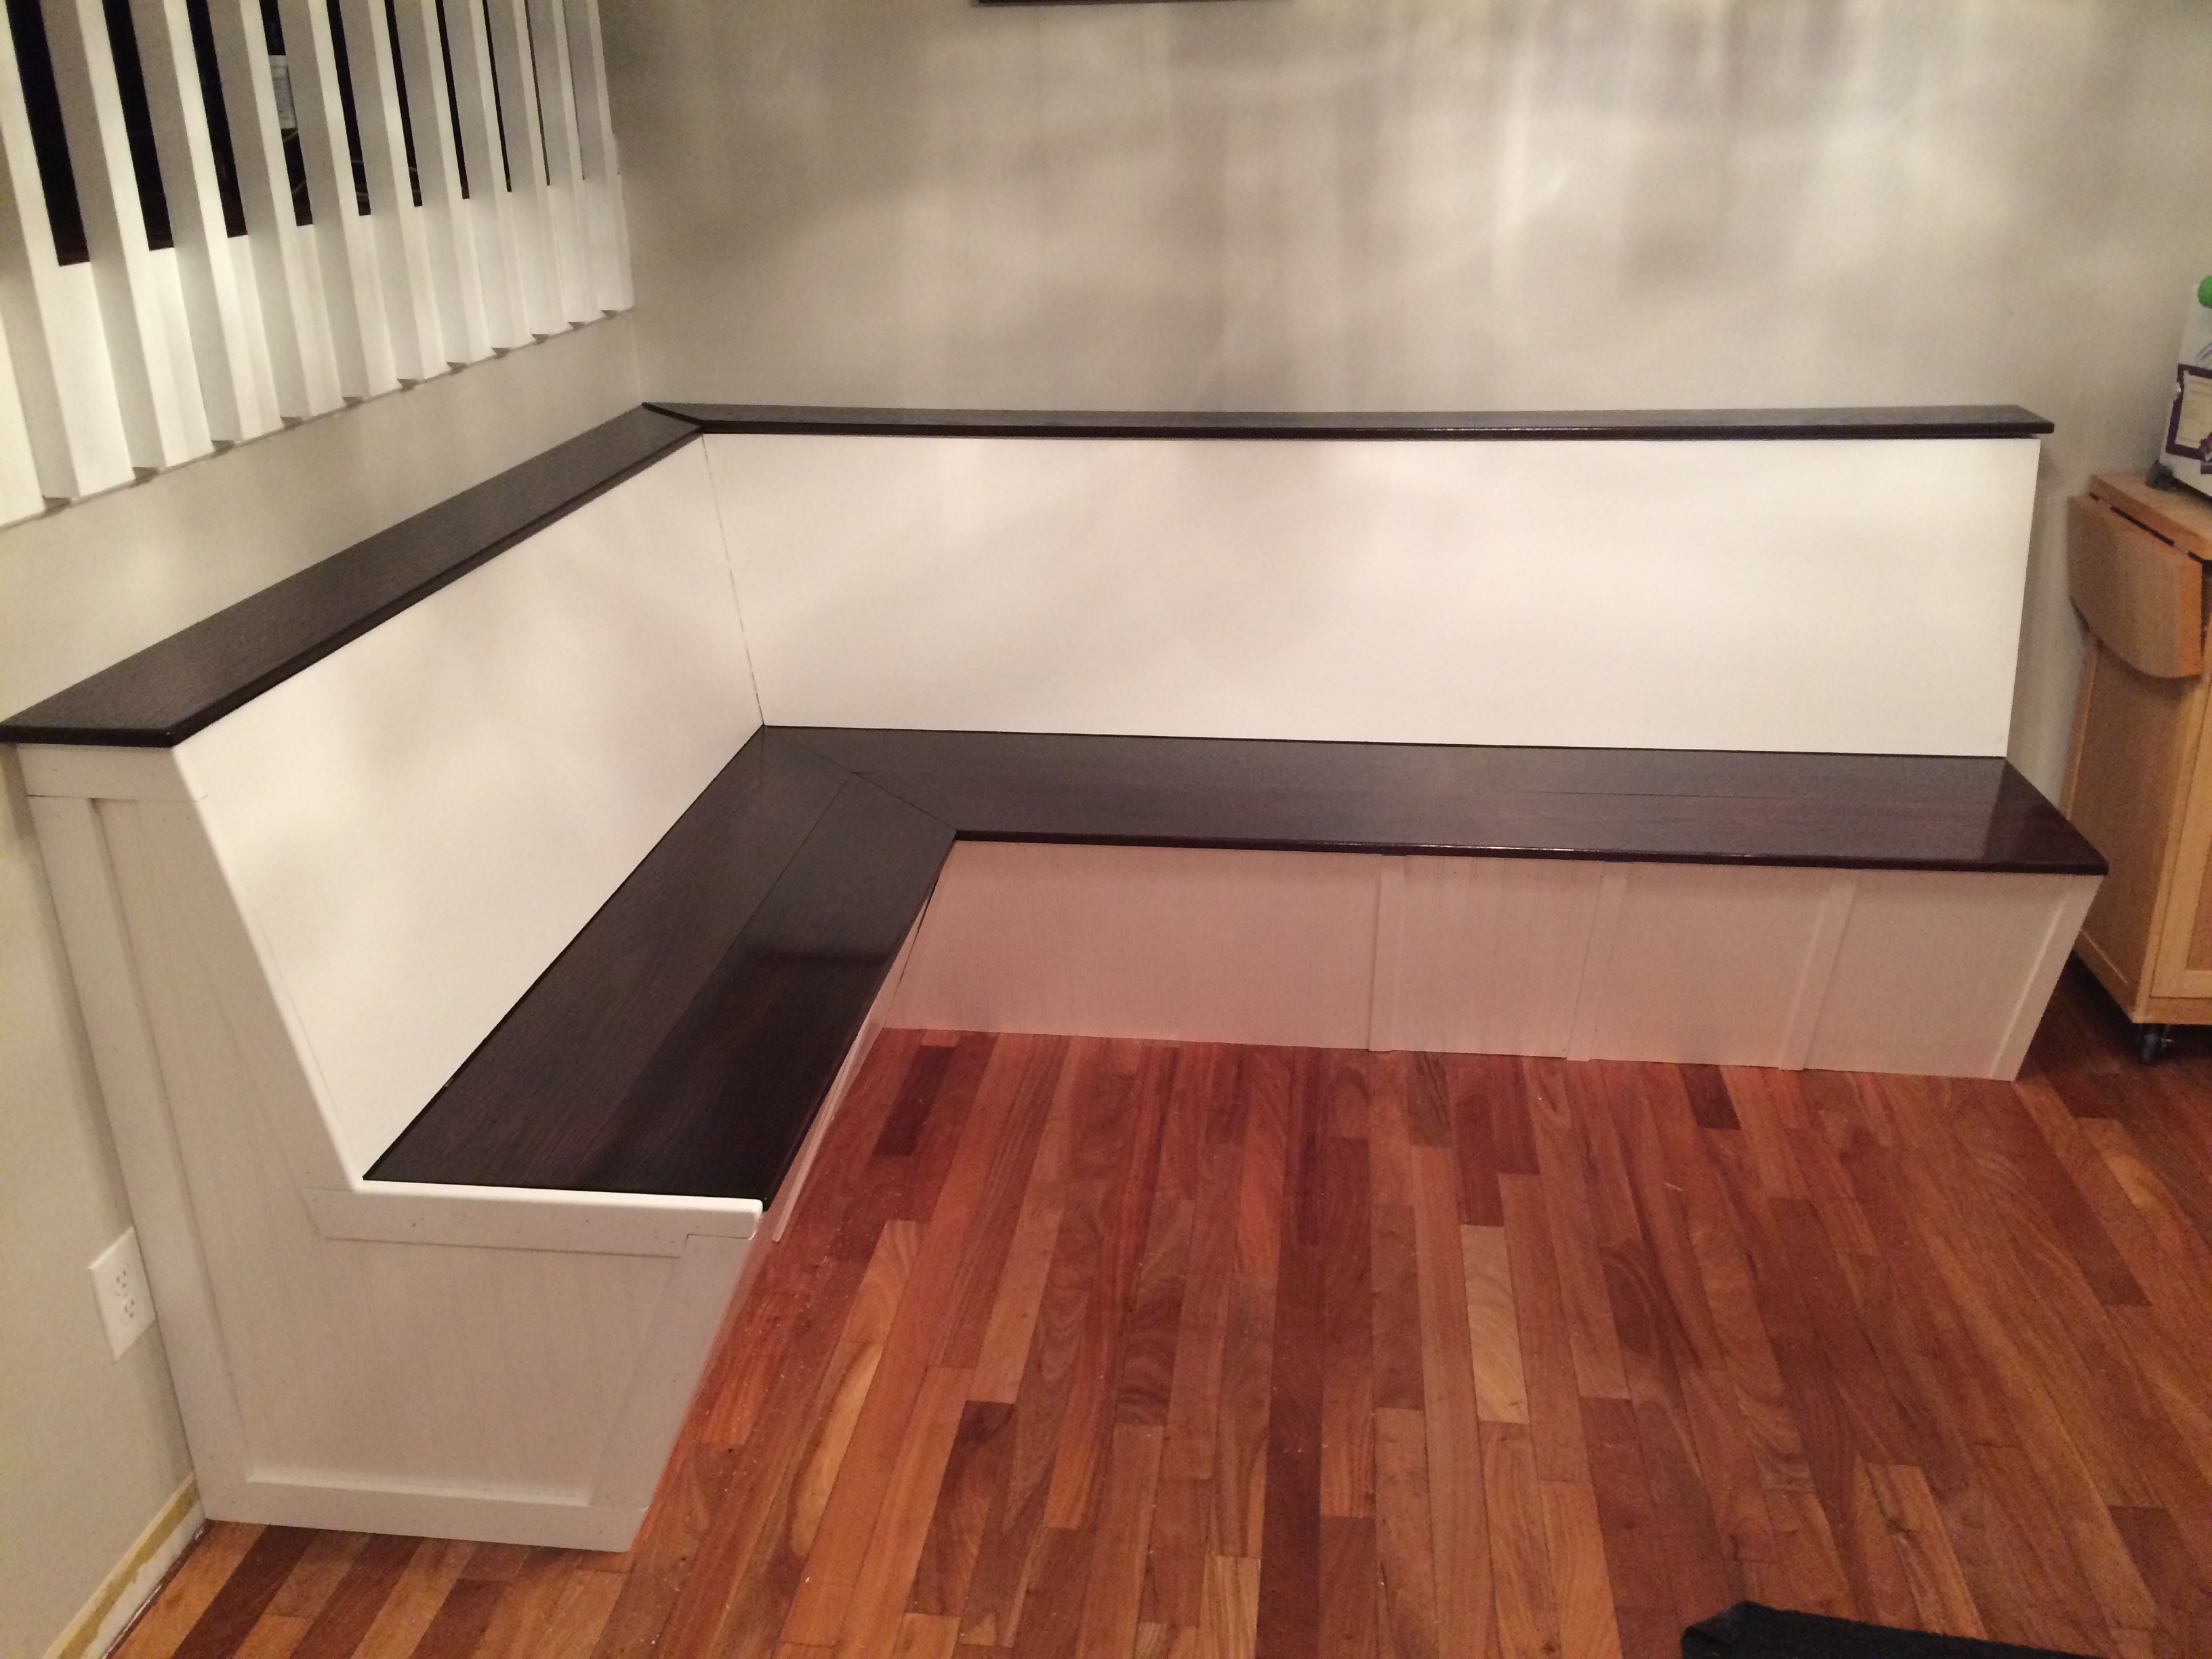
The trim now finished, all of the edges needed some tape to paint the walls.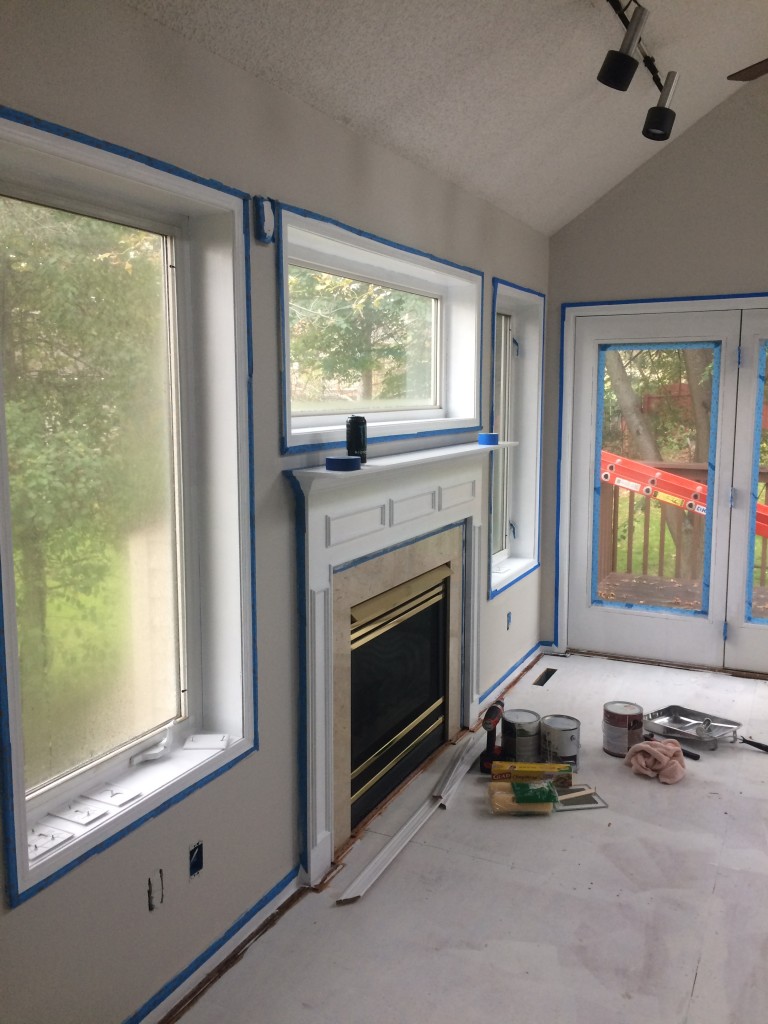
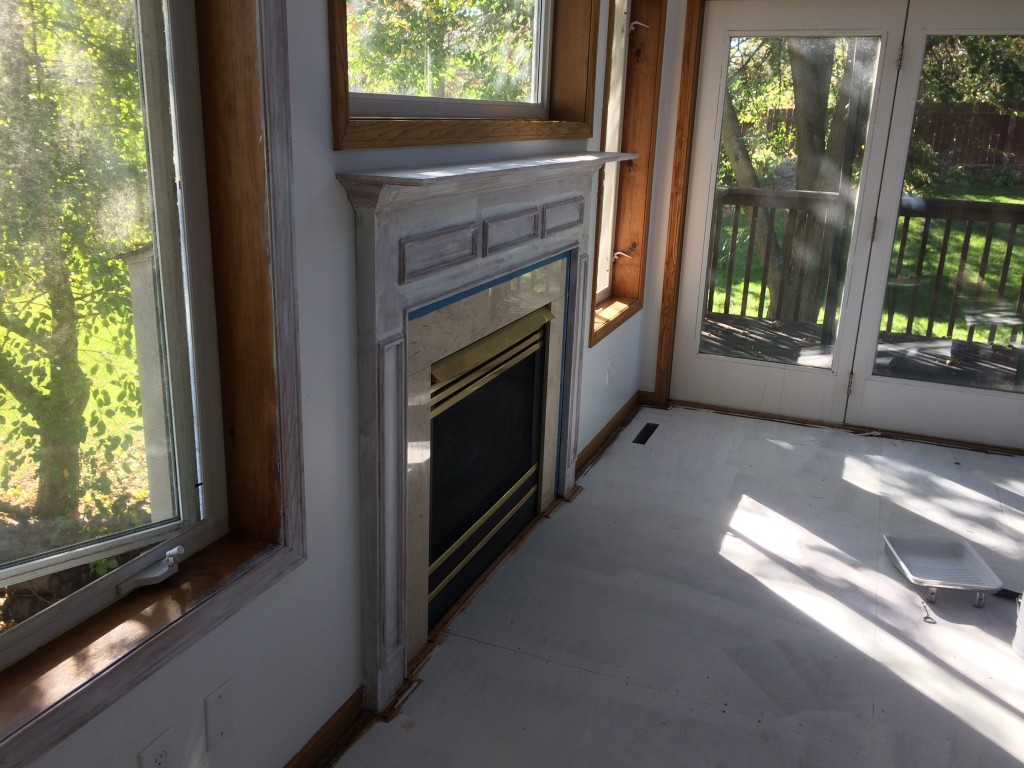
For the walls, we went with Behr Mineral in a flat finish. If we used this room more often, I would probably choose a satin, so it would be easier to clean.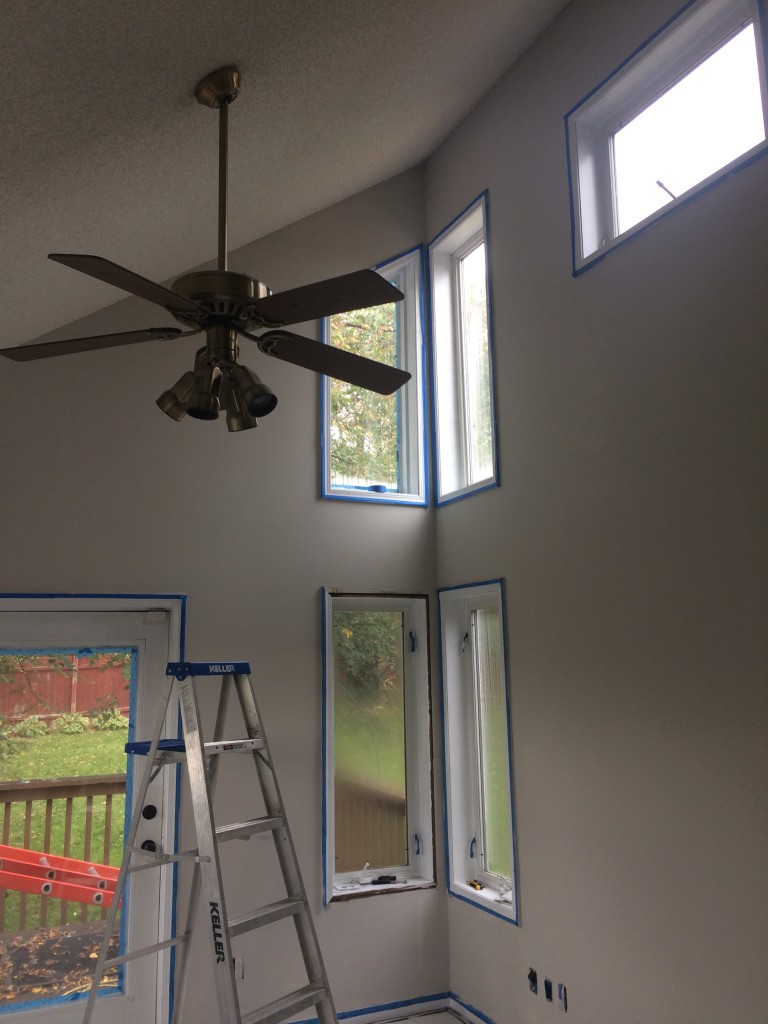
Final step: Carpet. We first considered buying the carpet at a hardware store (Menards, Home Depot, Lowes), but after adding up the costs, decided to hire the professionals instead. For carpet alone, hardware stores offer quite a bargain, but after you hire an installer and pay for all of the equipment they will need (and don’t provide), it is about the same price, and you don’t get the warranty offered by professionals. We hired Carpet King and were very pleased with the result:
Aside from the carpet smell, one other big reason we haven’t used this room in the past is how cold the floor would get. As I described in the post about rodents, we had spray-foam insulation installed beneath this floor. So far, it is much warmer than before. With a warmer, more appealing sun room, we now have the task of figuring out what to do with this room.
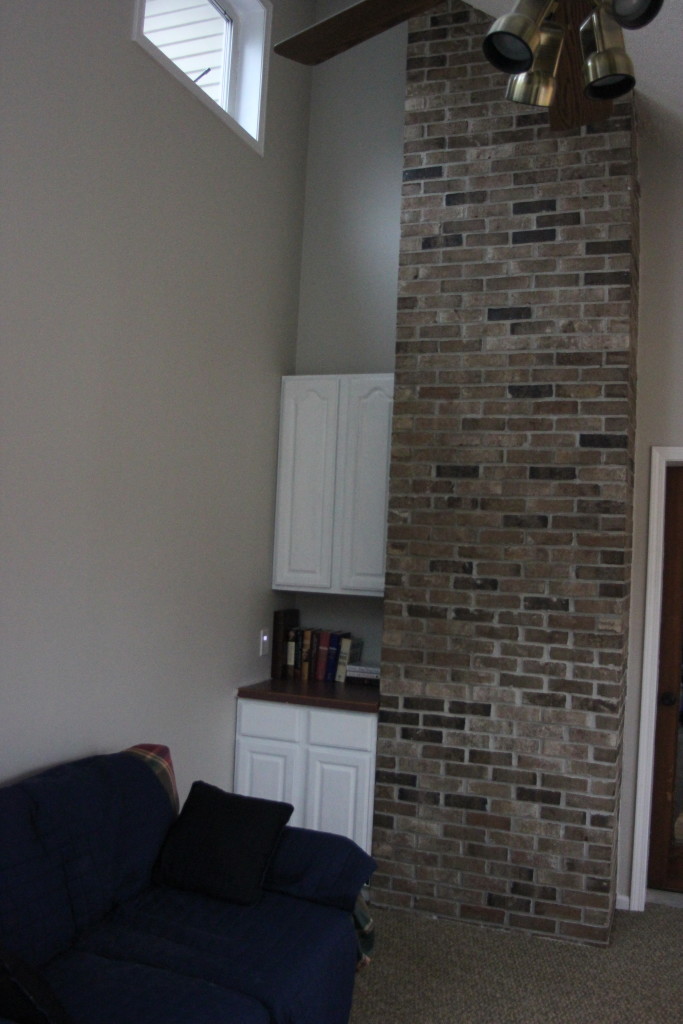
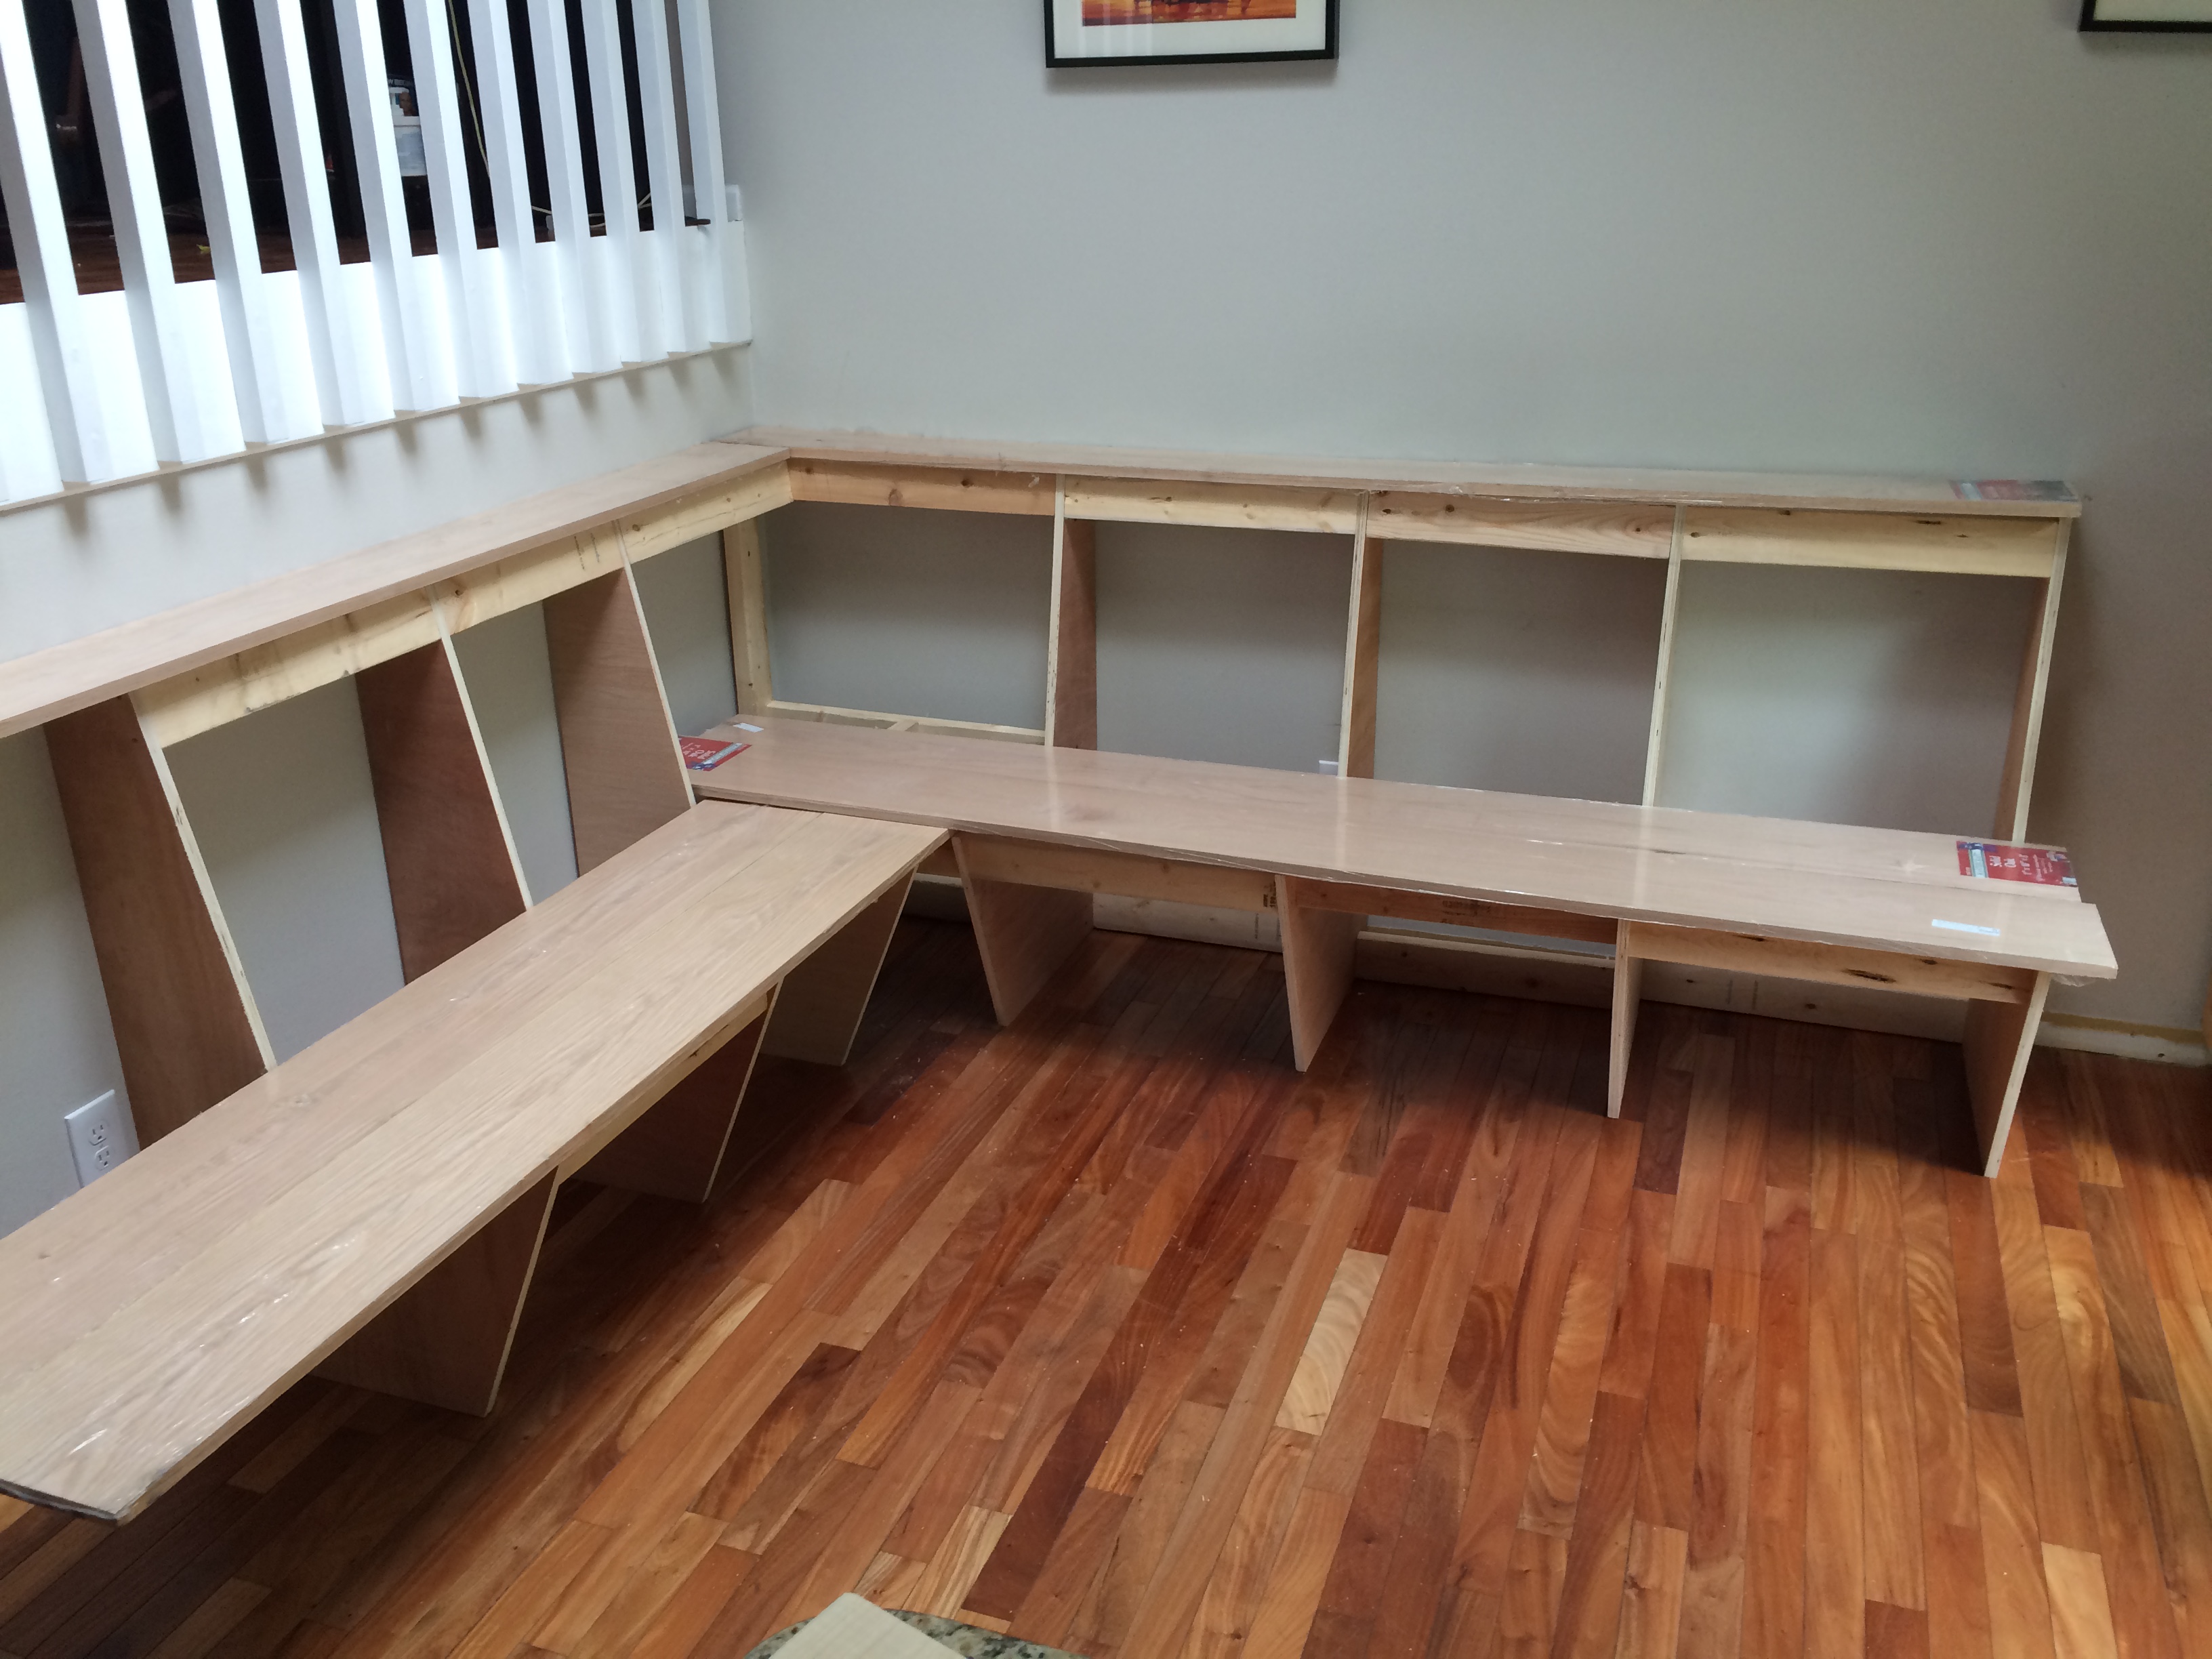
For now, Sara’s parents gave us a couch and a chair to put in there, and we plan to use the room as a reading area. In the future, we are considering making more upgrades and installing a book shelf running all the way up the wall next to the chimney. It would be awesome to have a library ladder next to it! We are also excited after buying our first full size Christmas Tree and setting it up to in the corner by the fireplace.

Thanks again for reading!
-Happy New Year, Mike


