Category Archives: Uncategorized

The Upstairs Bathroom Remodel – Part 1 of 2

This is a project we have wanted to do since the first day we moved into this house.  The upstairs guest bathroom had a cracked floor, moldy shower grout and an 80’s style that just couldn’t woo us.  Step one: Demolition!

IMG_2013

I tried to find a balance between my inner child wanting to swing a hammer, and my inner adult, warning me not to smash through two walls with one swing. (the living room wall is to the right)

Below are some of the materials we purchased.  Porcelain floor tiles, mortar, pre-mixed grout and concrete backer-board from Home Depot.  Ceramic subway tiles and 2×4 wall studs from Menards (because the prices were cheaper that week).

IMG_2016

Faux wood porcelain floor.

IMG_2015

When reading up about what we would need for this project, I saw that it would be helpful to have an extra drill, because mixing mortar by hand can be exhausting and totally unnecessary if you have a good electric drill.  I found this vintage Craftsman at a local thrift shop called Empty The Nest for $5.  It doesn’t go in reverse and smells a bit when you first use it, but it still has a lot of life left in it and was up to the task.

IMG_2019

“Rosie the riveter would be proud.”

With the supplies purchased, the demolition continues.  I now have all of the wall taken down around the shower.  I had an old blanket in the bottom of the tub to prevent scratches from falling tiles.  We decided from the beginning that the tub would stay. Its porcelain and super heavy, so moving it would have created more issues in renovating the bathroom than the space would warrant. Luckily, its white and easy to clean, which also gives it a Verlo seal of approval.

IMG_2022

“Don’t look at me, I’m not decent.”

Now begins the LONG process of removing the floor tiles.  I started by pulling up the threshold between the rooms, and chipping one tile away at a time.  The photo below shows how much progress I had made after about an hour of grueling work.

IMG_2080

On the area that has been cleared of tiles, note how there was only plywood beneath the tiles. This explains why many of the tiles were cracking. I have been reading how tile floors need at least 1/4″ concrete backer-board as a sub-surface. The wood will have to go!

After drilling a test hole, I determined that the floor beneath the tiles consists of a 1/2″ plywood layer, on top of a 3/4″ plywood layer.  Using a much quicker SMASH technique (read: hammer and a crowbar), I have started to remove the 1/2″ plywood layer and the tiles above it.  This wood layer will eventually be replaced by concrete backer-board.

IMG_2089

One other lesson I learned when tossing these tile scraps into the garbage. One broken piece sliced through the pair of leather work gloves I was wearing and nearly cut my finger. I stopped my work and bought a better pair of gloves designed for handling sharp edges.

With demolition complete, the next step is doing plumbing for the new bathtub fixtures.

IMG_2087

Before.

When doing this bathroom remodel, we took into consideration what we would need for our next bathroom remodel.  Behind the tub fixtures in this bathroom, is the master closet, which will eventually become part of an expanded master bathroom, specifically, where the tub will be located.  In the image below, I soldered copper pipes so that I have plumbing ready to go when we are ready to move forward with the next bathroom remodel.

IMG_2093

Hot and cold lines passing through the wall into the closet on the other side. More work now, but less down the road.  Also attached: the brass fixture for the new tub controls.

With the plumbing finished, I have started to screw the 1/2″ concrete backer-board into place around the shower.

IMG_2144

Guy at Home Depot recommended using coated screws sold right next to the concrete board. They do not rust and hold the board firmly to the wall.

There are a few different ways to cut the concrete board.  You can use a scribe tool on each side, then snap the board in two pieces.  Or, if you want to go the Tim The Tool-man Taylor route, you can buy a angle grinder with a diamond blade.

IMG_2196

The power tool method kicks up a bunch of dust, so they recommend wearing a mask and goggles. Also, avoid a bunch of cleanup by doing it outside.

More walls are getting covered.  This process requires a bunch of screws and a drill capable of high torque.  The battery on mine died a few times during this process, so I did this slowly over the course of a week.

IMG_2200

Between battery charges, I worked on some finishing touches to the plumbing.  Since this was my first attempt at plumbing a shower, I purchased the wrong elbow bend copper piece for the turn to the tub faucet.  So, I improvised, using a small piece of 2×4 and fastening the pipes on both sides.  This will keep the faucet from wiggling to the left and to the right.

IMG_2205

Okay, the concrete backer board is up.  Time to begin adding the subway tile!

IMG_2209

Step 1. Secure a level to the wall.

IMG_2210

Step 2. Tape the joints.

IMG_2211

Step 3. Apply mortar and start putting tiles on the wall.

IMG_2212

The amount I was able to finish the first night of work. I took my time and measured each layer before starting it. I also used 1/8″ spacers.


The tiling process was very slow.  I was working by myself and had just three hours each night during my workweek to dedicate to it.  It takes about 20 minutes to prepare the mortar, a couple of minutes per tile when you add up the time it takes to cut some of them, and about 20 minutes to clean up after the job each night.

IMG_2215

The first wall is nearly in place. And 2x4s are holding up the corner shelves.

The corner shelves were a bit tricky.  They are an odd weight, and held in place using just mortar.  I had to stick them to the wall, then wedge the piece of wood beneath them.  And over the course of a half an hour, I kept making small adjustments using a level, because they would move slightly over time.

Once I had the corner shelves taken care of, my next hurdle would be finding a way to make holes for the shower pipe and the tub pipe.

IMG_2243

I found a tool at Home Depot that is designed to cut holes in tiles.  It comes with a reservoir that you stick to the tile, and fill with water.  The reservoir helps guide the drill bit and keep it cool to cut the hole.

IMG_2244

Holes cut, the tiles fit right into place, and the ceramic subway tiles look great!

IMG_2245

Click here to see the finishing touches of this project.

-Mike

Cut ‘Em Down and Pull ‘Em Out

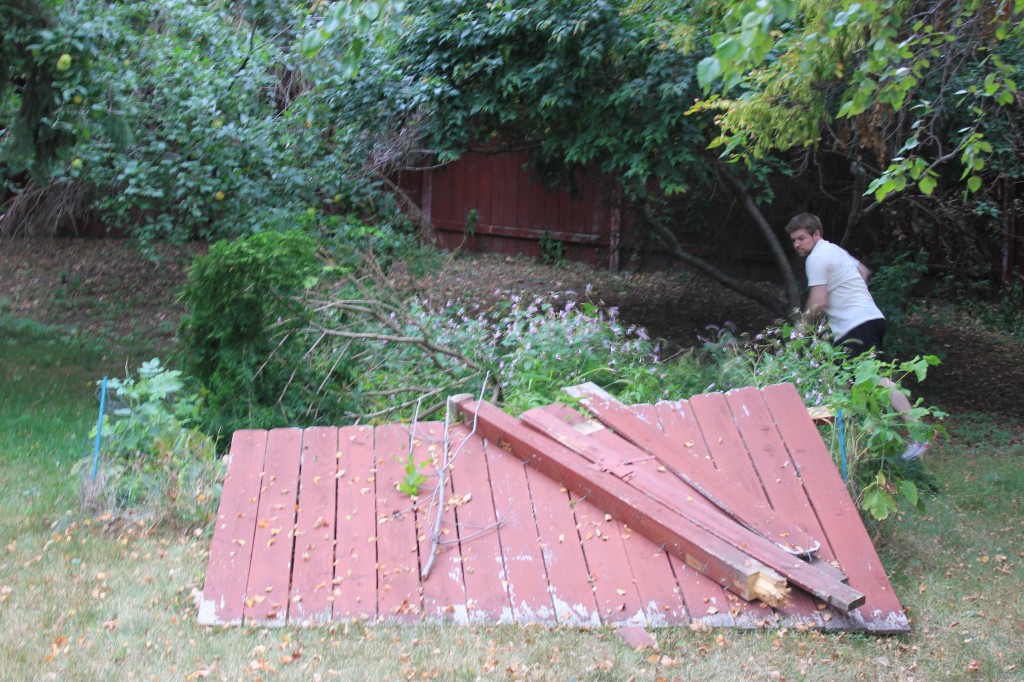
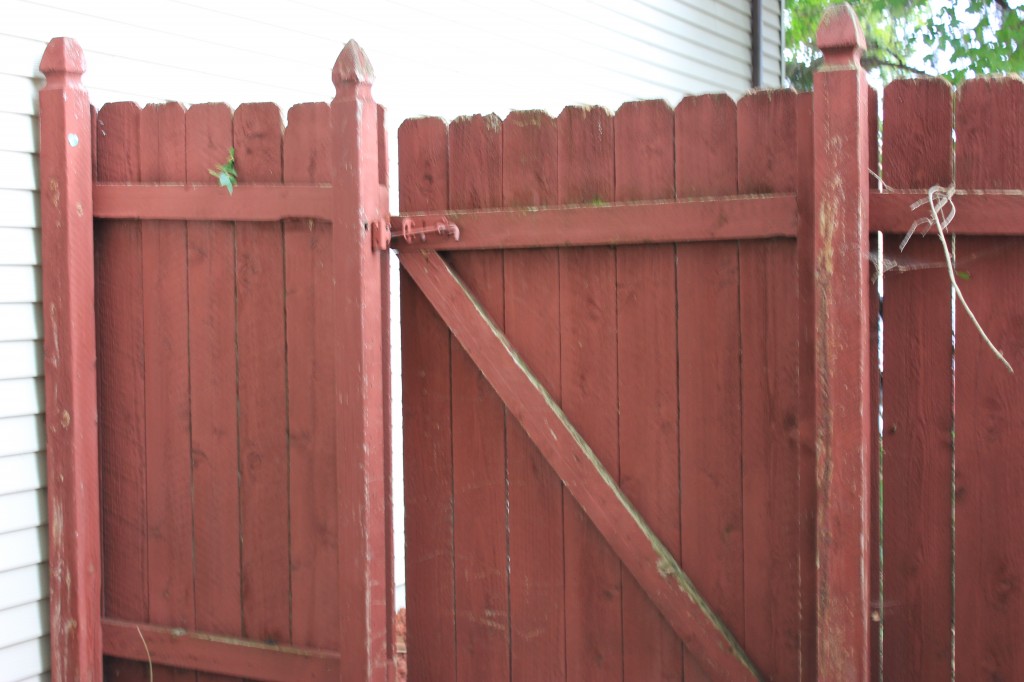
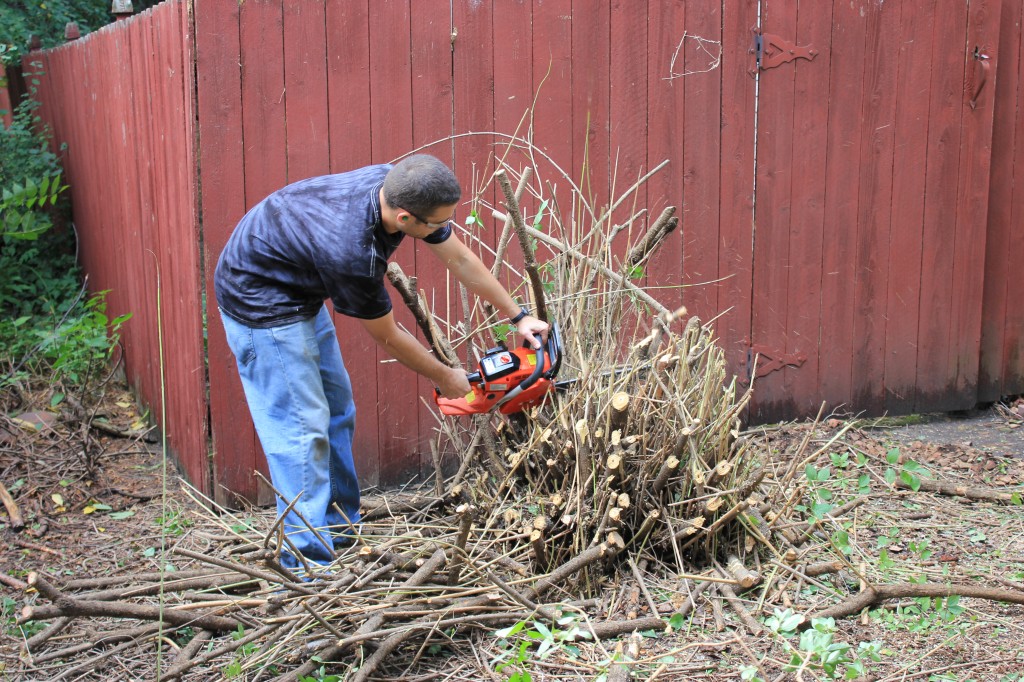
The best kind of motivation comes from friends and family. Last weekend, Mike and I were lucky enough to have both groups at our home spurring us on to continue with some much needed yard work. As we’ve previously posted, Mike has been steadily ripping down the old rotted red fencing around the backyard, creating large piles in various corners of the lot. With all the extra hands we had available last weekend, we were finally able to move some of these to the dump!

IMG_2033

Exhibit A. This was the fence removal in progress, as you can see Mike would move all posts to one location for removal later.

Our lucky helpers were Chris and Tara, who you’ve met previously in Let’s Pull Out Some Trees!, and my parents, Gary and Cindy, who were introduced in Family and the Washer/Dryer.

The morning started with a quick run to a friend’s house to pick up some items, mostly old furniture, that they asked us to take to the dump in one of our many anticipated loads. Winnie was very excited about sniffing these new treasures.

IMG_0353

Just as a side note, Mike and I did have a brief discussion about keeping this chair that was destined for the dump, simply because we thought Winnie was attached. The chair did not stay, and Winnie has gotten over the loss.

IMG_0354

This was the first load of fencing, notice how rotten most if it was. GROSS.

IMG_0355

Mike’s happy place. There is something about Verlo men, and their love of the dump. I wish I could explain it, but after 7 years I’m still baffled. I’m sure it has to do with the curiosity of seeing what other people throw away. The rule is, NOTHING can come back from the dump.

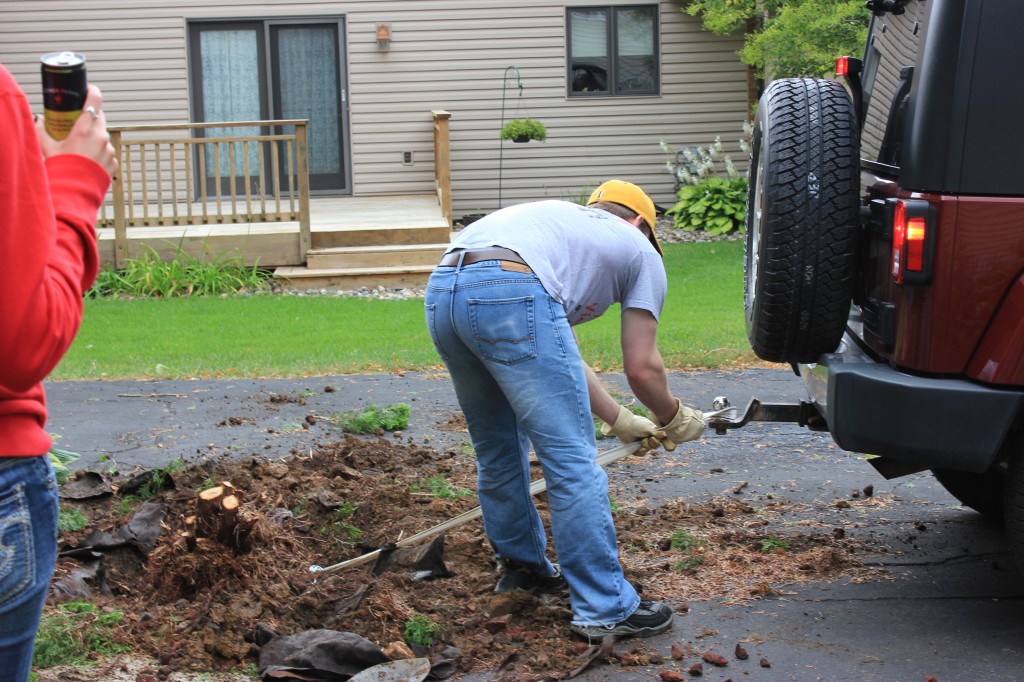
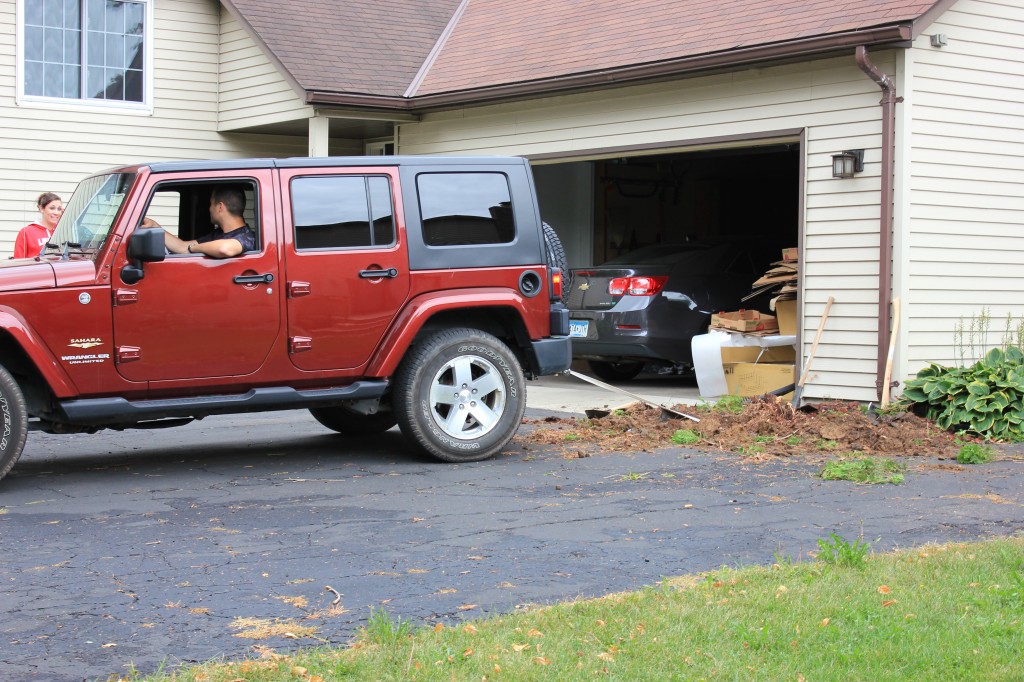
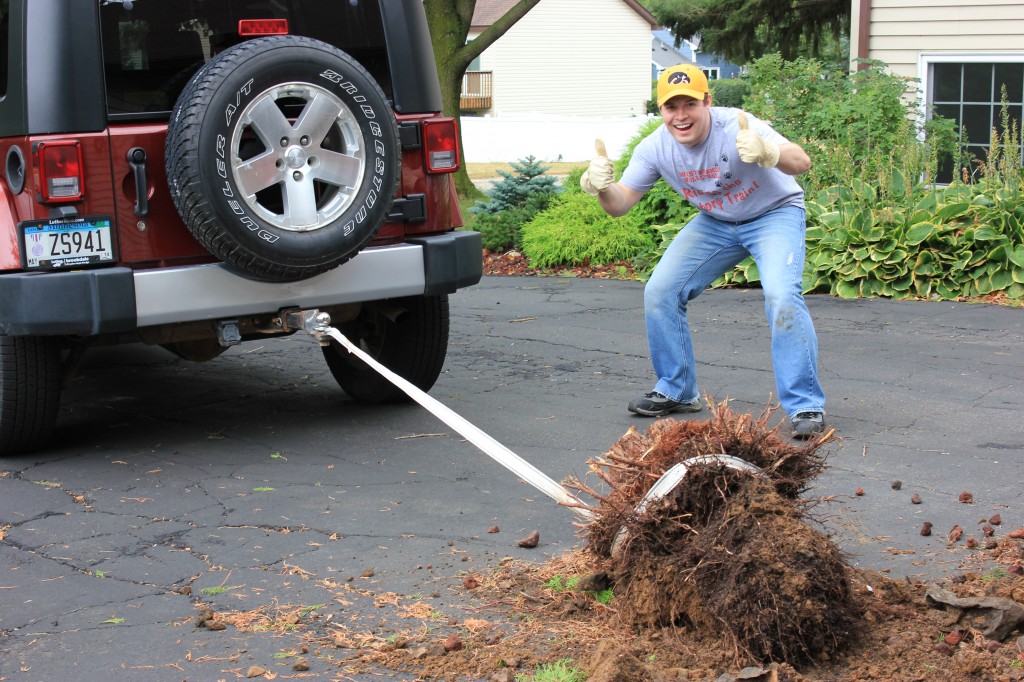
After the fencing was cleared, Mike was able to get the big truck backed into the yard for the real exciting projects of the day: Stump Removal!

Truck Pulling Trunk 1

This was victim 1, an overgrown bush that we cut back last summer.

Truck Pulling Trunk 2

Going…

Truck Pulling Trunk 3

Going…

Truck Pulling Trunk 4
Gone!
Truck Pulling Trunk 5
Man is triumphant.
IMG_0381
The offending stump.

See it now in motion:

Victim #2
Stump number 2
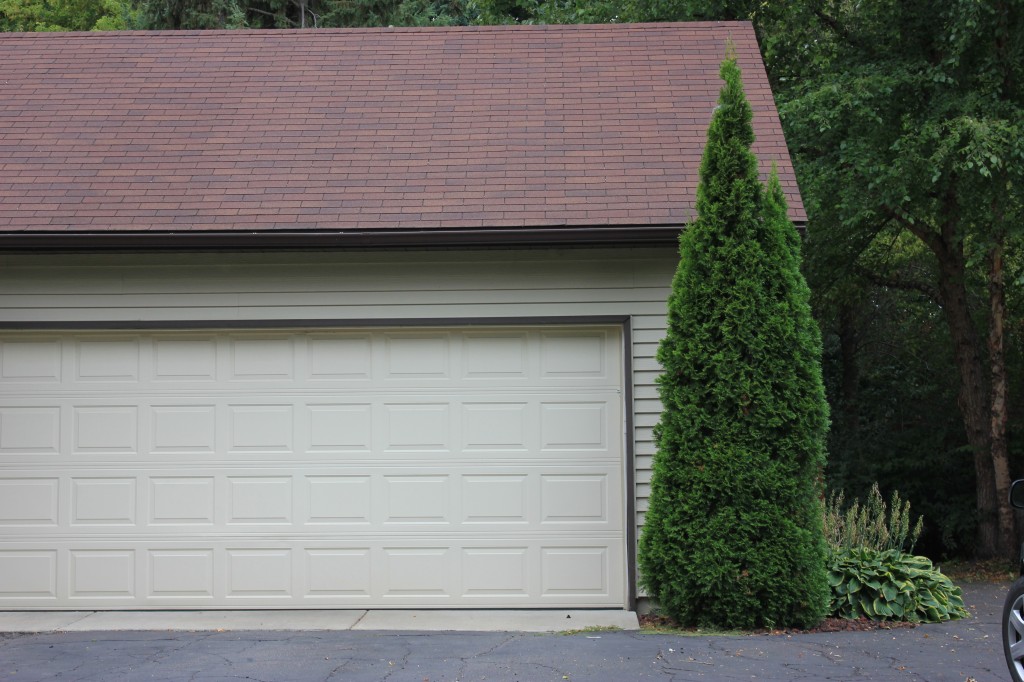
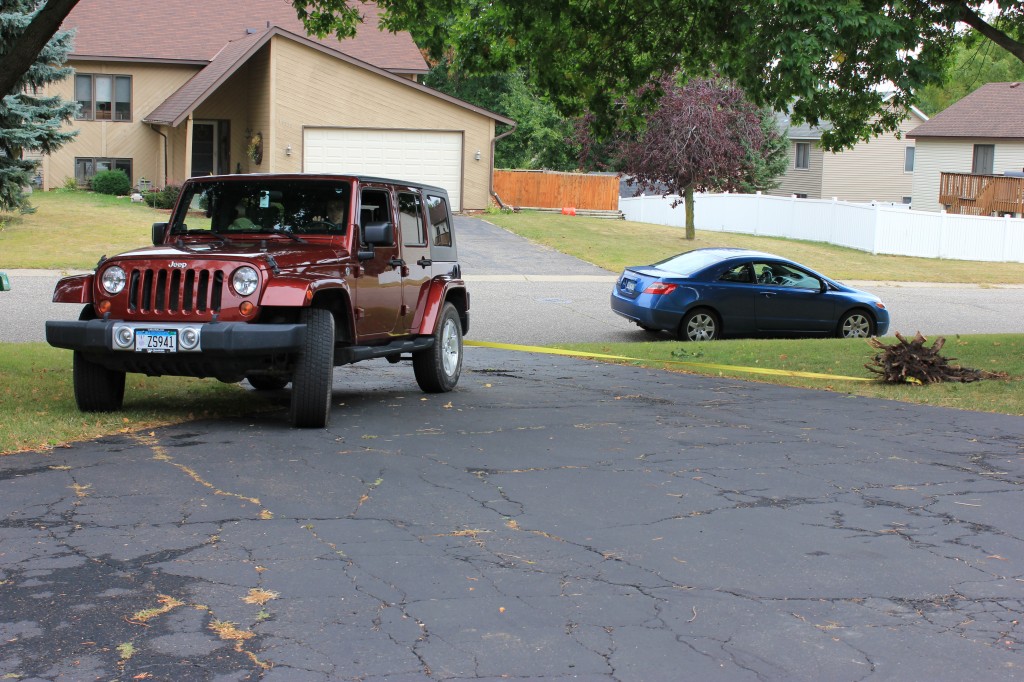
This next removal was the first of our overgrown evergreens to go. Eventually we’ll be removing all 4 from the back of the lot, as they no longer are healthy, and could even be considered a fire hazard considering how dry they’ve become.
Stump number 2 b
Attempt to pull out #1. Didn’t budge an inch.
chainsaw to stump
Chris decides that we should be pulling from a higher location on the stump, so he creates a notch in the back for the pull cable to hook onto.
chainsaw to stump 2
This fooled no one, he just wanted to use his chainsaw one last time that day. The notch did nothing.
hard time pulling out stump 2
Attempt #2 to pull. This didn’t work either. We ended up having to pull from another angle, and re-position the tow cable twice. Eventually the guys were able to get ‘er out.
IMG_0382
Man is victorious once again.
IMG_0357
Winnie gets lots of attention on project days.

The Other-Other Yard-related project of the day… the south side of the house.

IMG_0376

I didn’t know we had hosta’s on that side of the house until this spring!

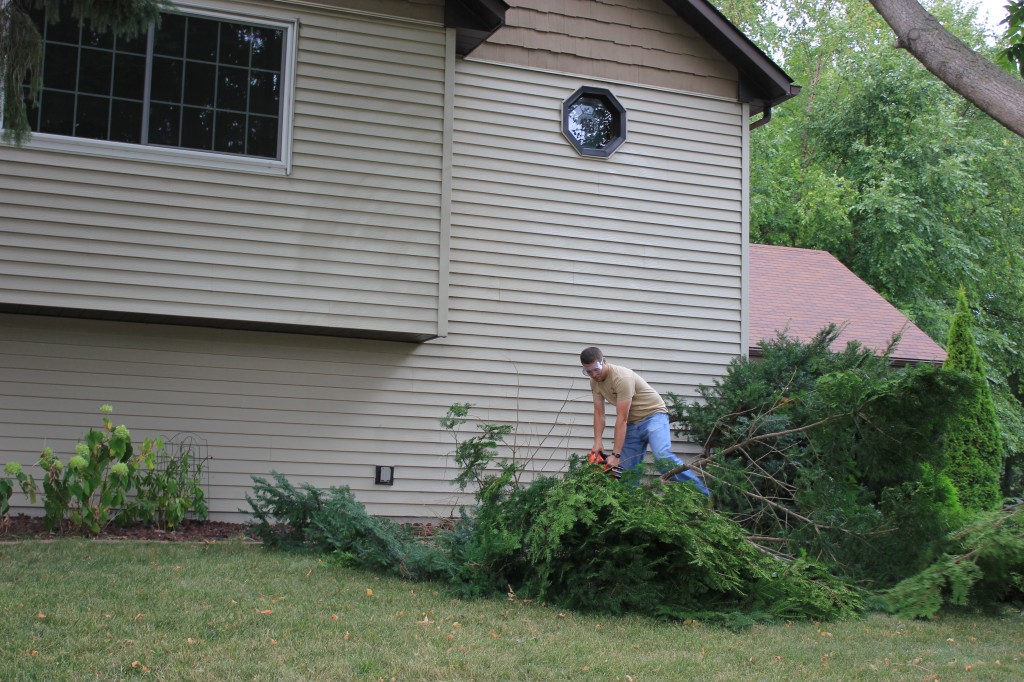
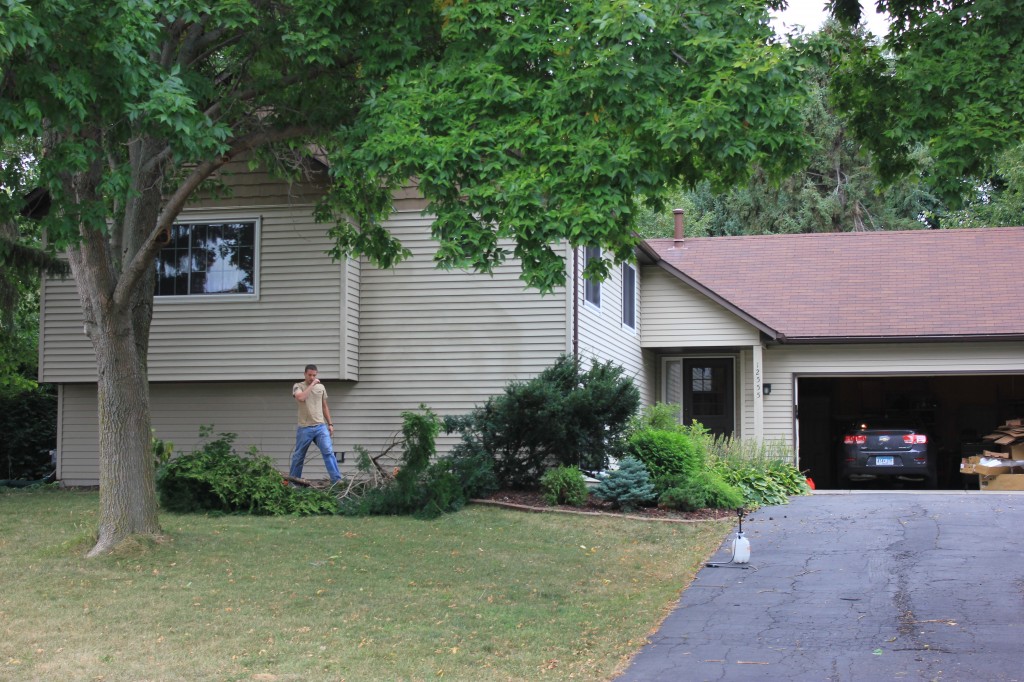
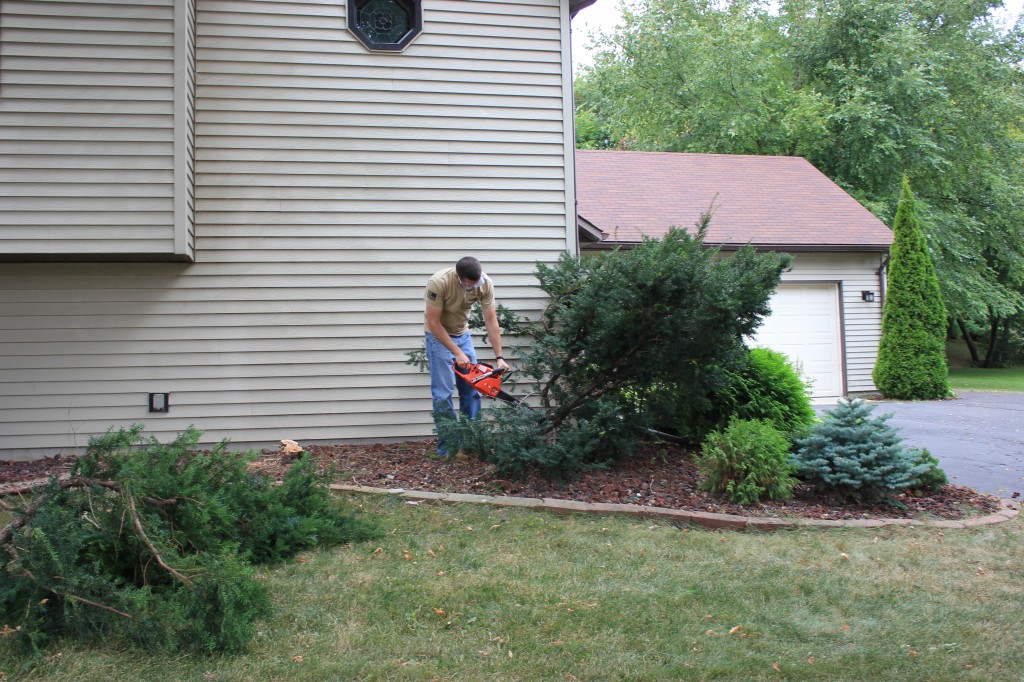
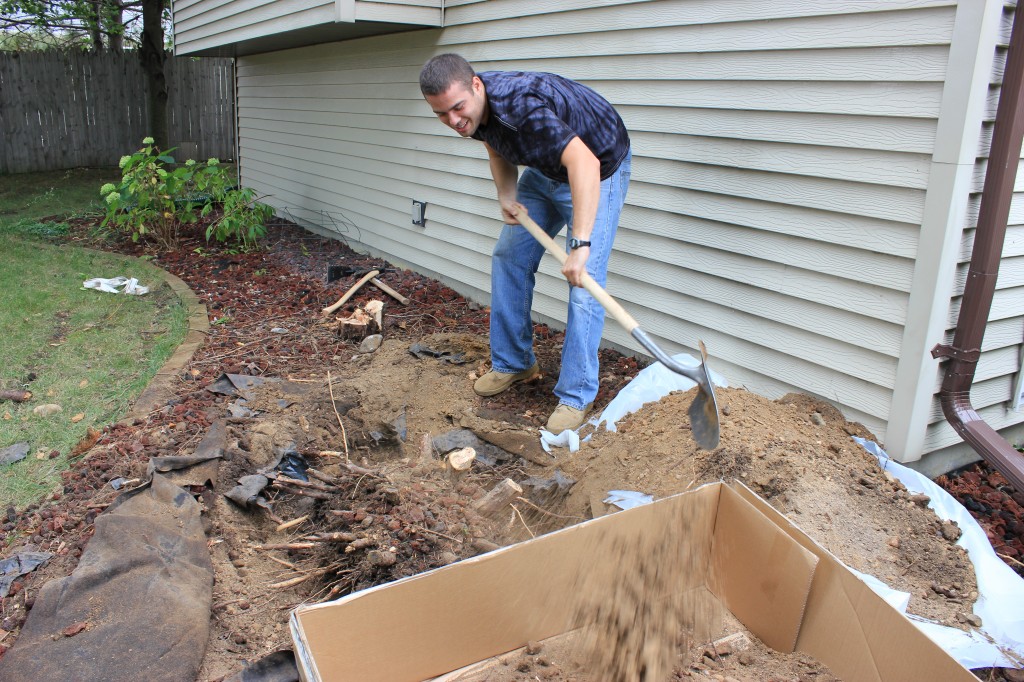
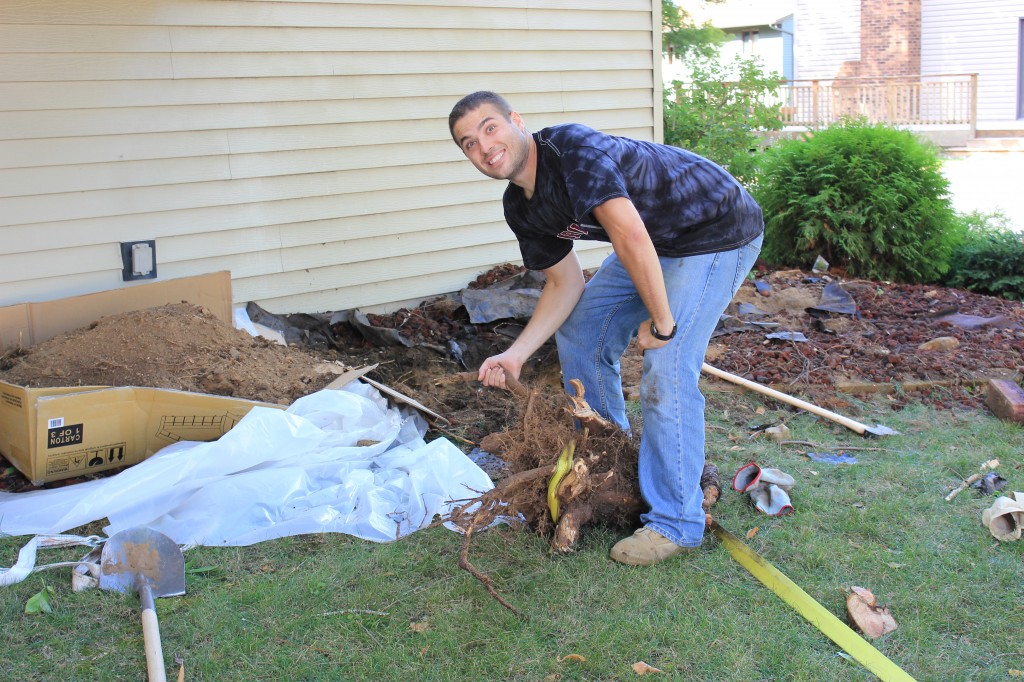
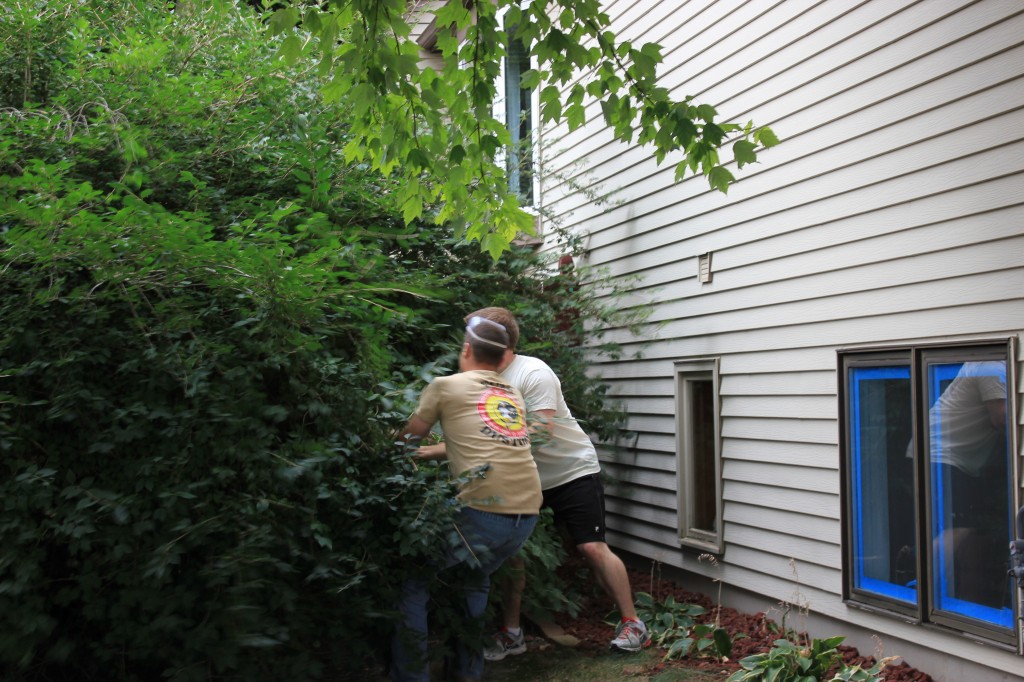
This was the area that Mom and I focused on for the afternoon. This side of the house was previously featured in Let’s Pull Out Some Trees! This was the side of the house that contained the ENORMOUS Bush, which was finally dug out with the help of my brother, David and our good friend, Eric. This was the “Before”:

photo

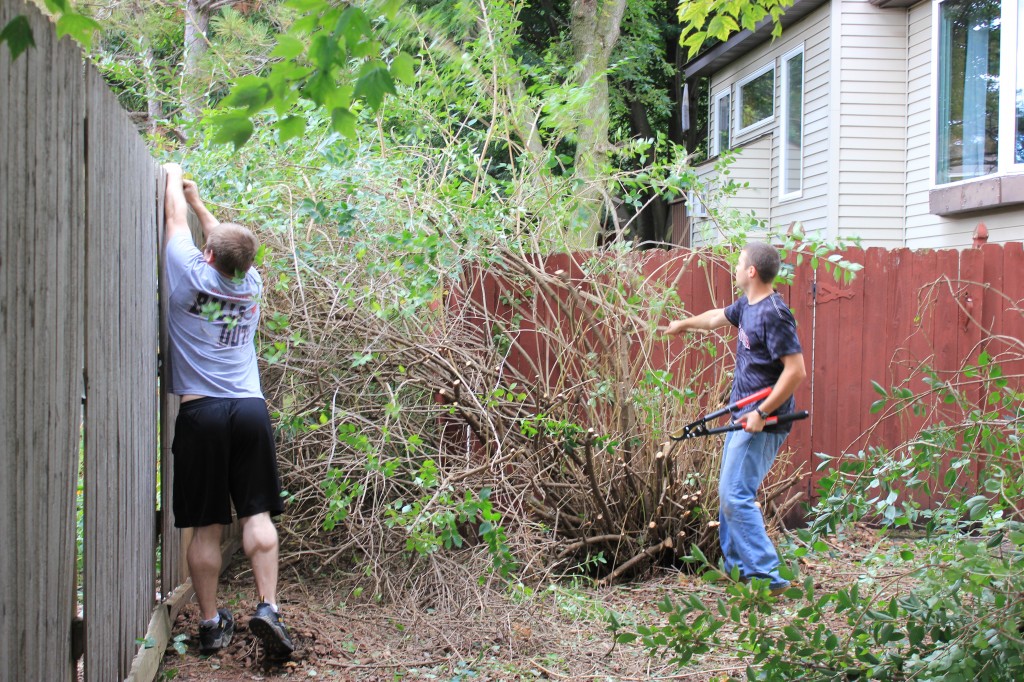
Mike and Eric working to get the ENORMOUS stump out. You can see that we were still also working on fence removal.

IMG_0366

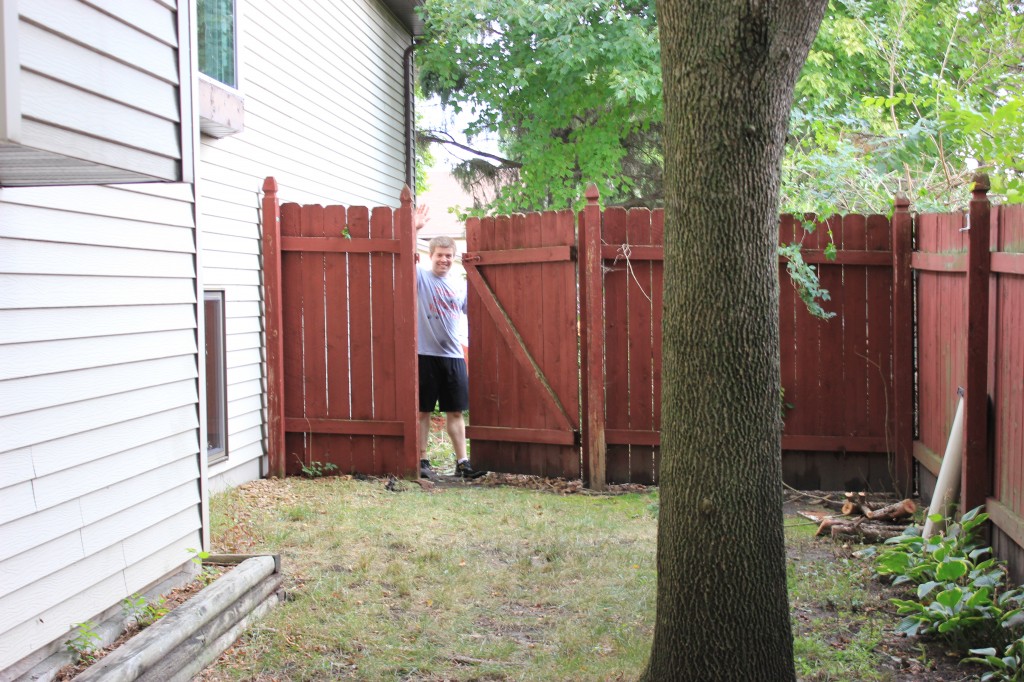
Hard to believe, but this is progress. Slowly but surely our yard is emerging out from behind 30 years of shade.

After a long day of hard work we sat on our back porch and enjoyed a beer while watching the sun set behind the remaining back fence wall.

Thanks again for reading!

-Sara