Mike here (with little edits by Sara). I just wanted to start by saying that bay windows are beautiful. This window was a big selling point for this house, even after the inspection, it really makes the living room brighter.
We knew that this window was going to give us some problems, and we knew that the flashing was going to be one of the first projects we addressed with this home. The flashing on the exterior of this bay window was incorrectly installed and was one of the top priorities to fix from our home inspector. There were holes in the caulk, which was letting water seep inside anytime it would rain/snow/hail/lightly sprinkle.
The first weekend that my parents (Arlyn and Paula) came up from Iowa to visit, my Dad and I ripped off the flashing. We found a layer of rotten wood inside.
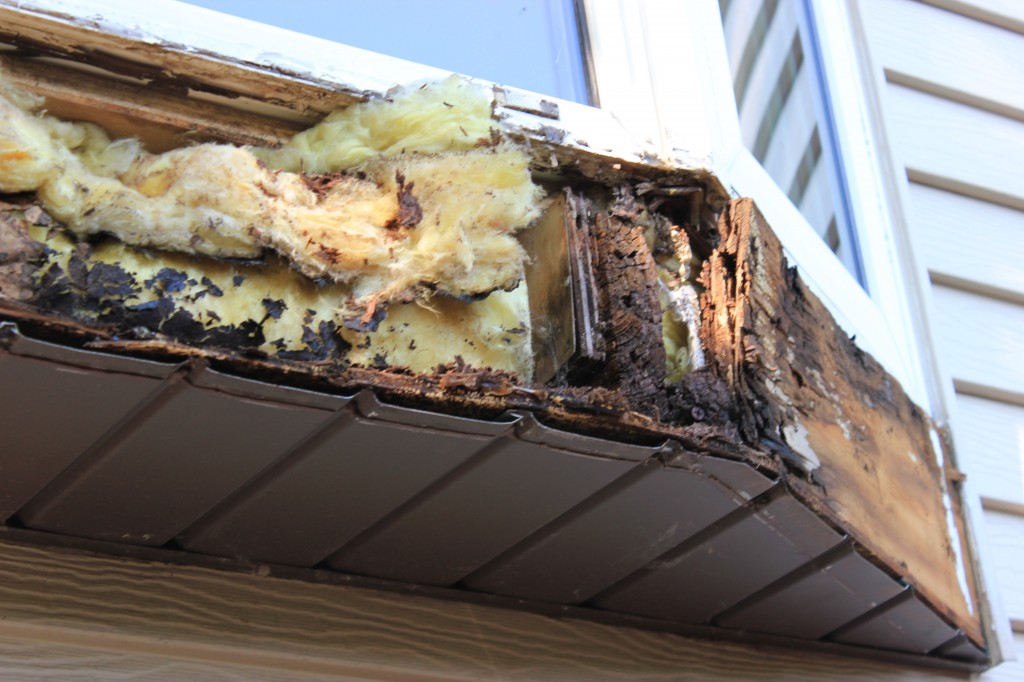
Check out the rot.
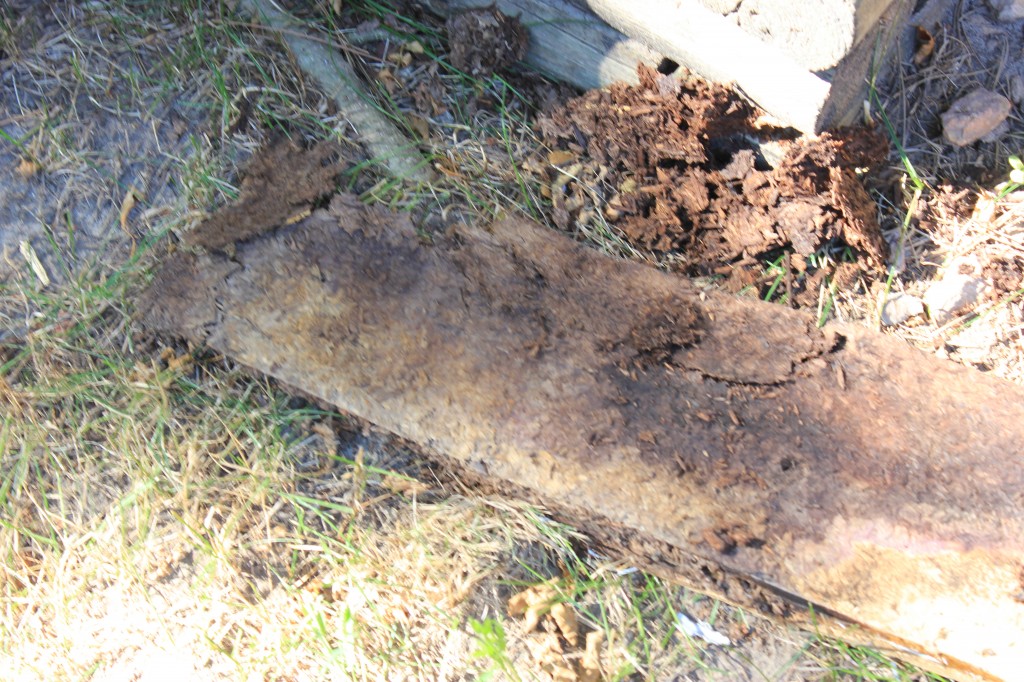
The center board was almost completely rain-weathered.
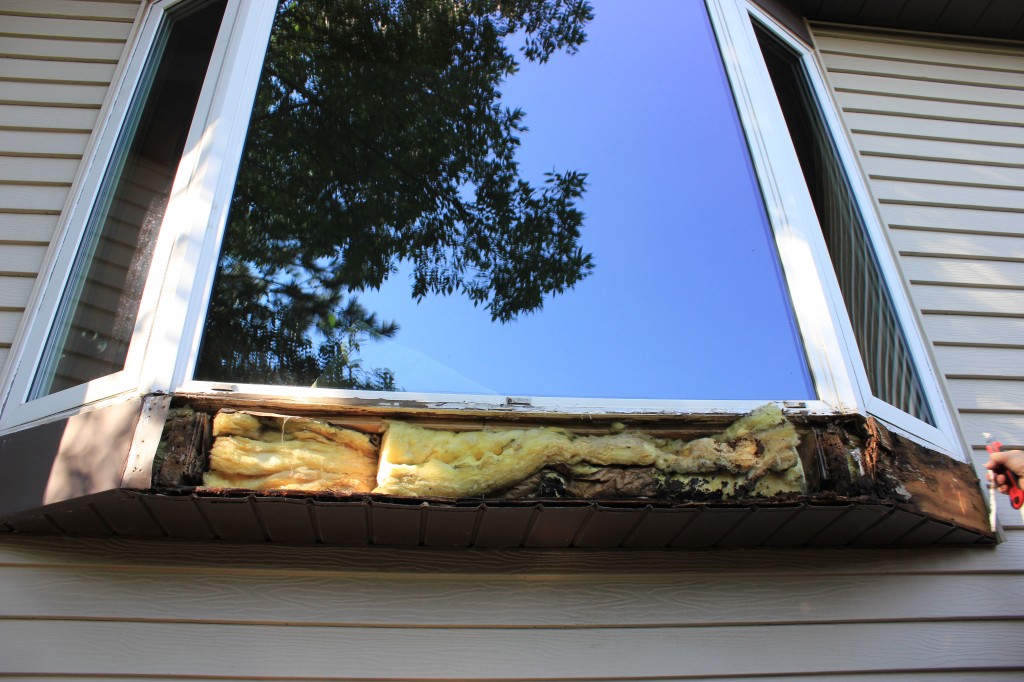
View from the ground. We had no idea it would be this bad.
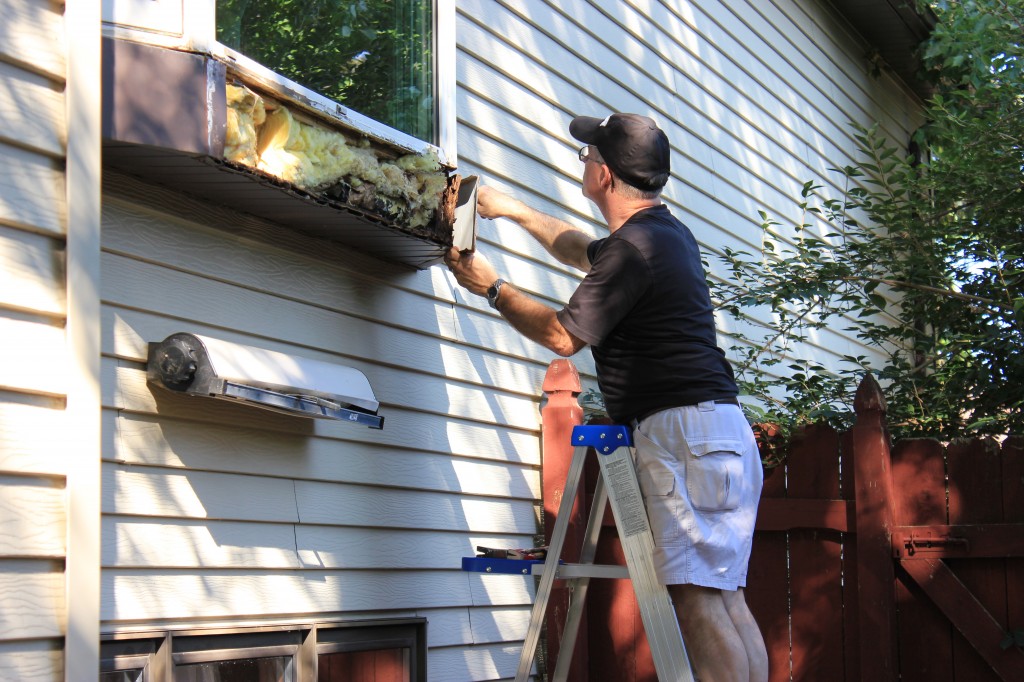
What will we find in here? More rotted wood!
Luckily, at least 2/3 of the supporting beams are still strong enough to hold up the weight of the window.
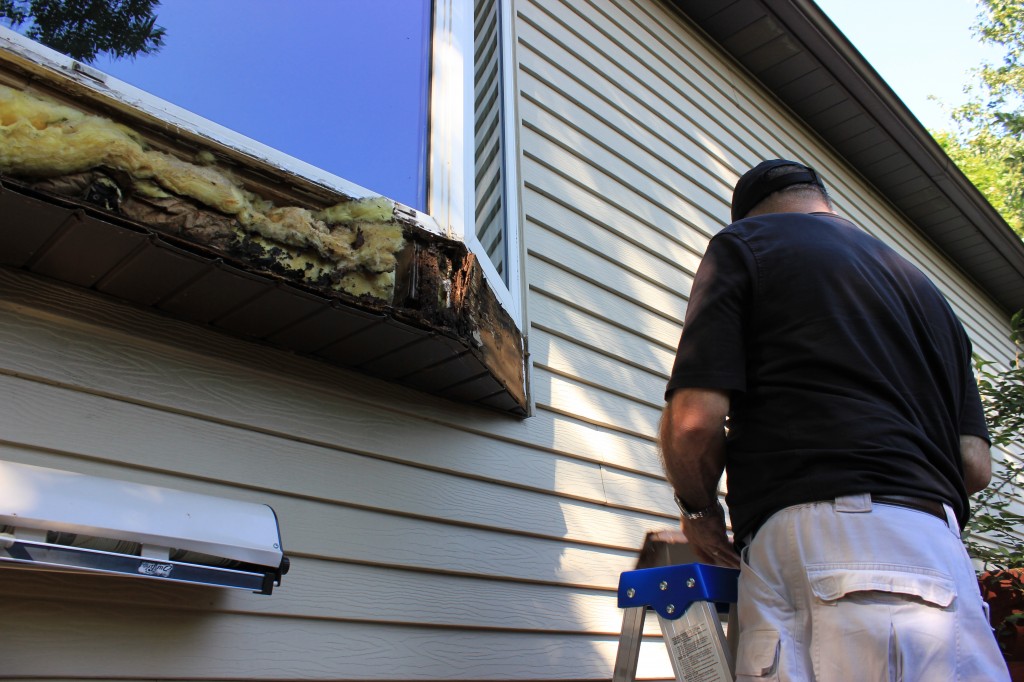
Arlyn having second thoughts about this whole project.
My Dad and I measured several times, then used some of the wood the previous homeowners left for us in the rafters of the garage to make replacements.
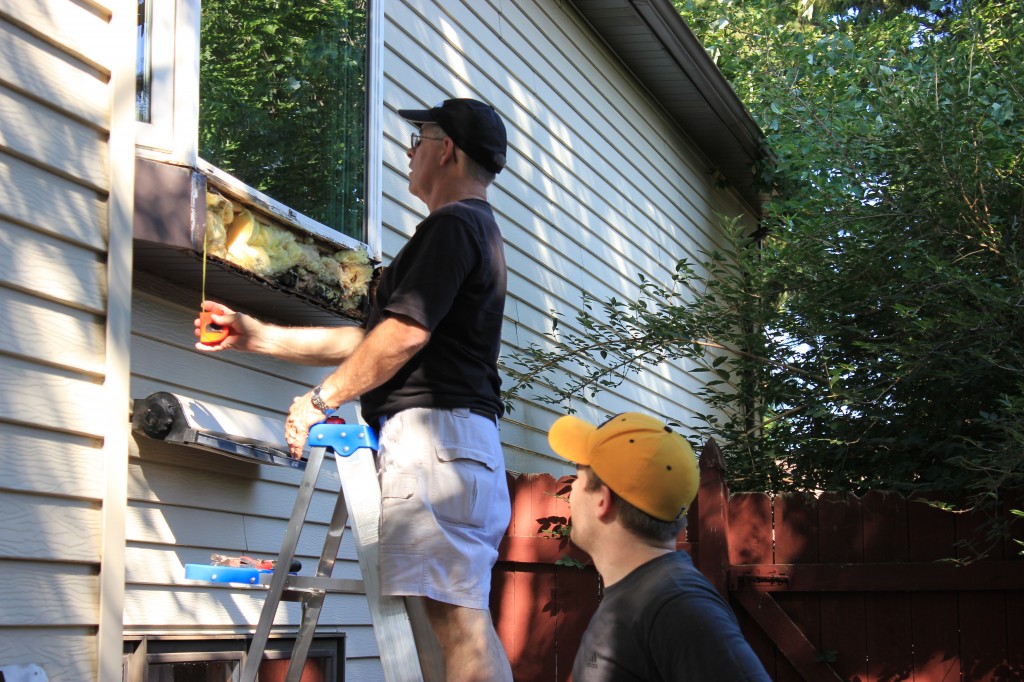
Measuring to determine if we have the necessary supplies.
Caution: Men at Work.
My Dad was kind enough to bring all of the tools necessary for this, including a saw table!
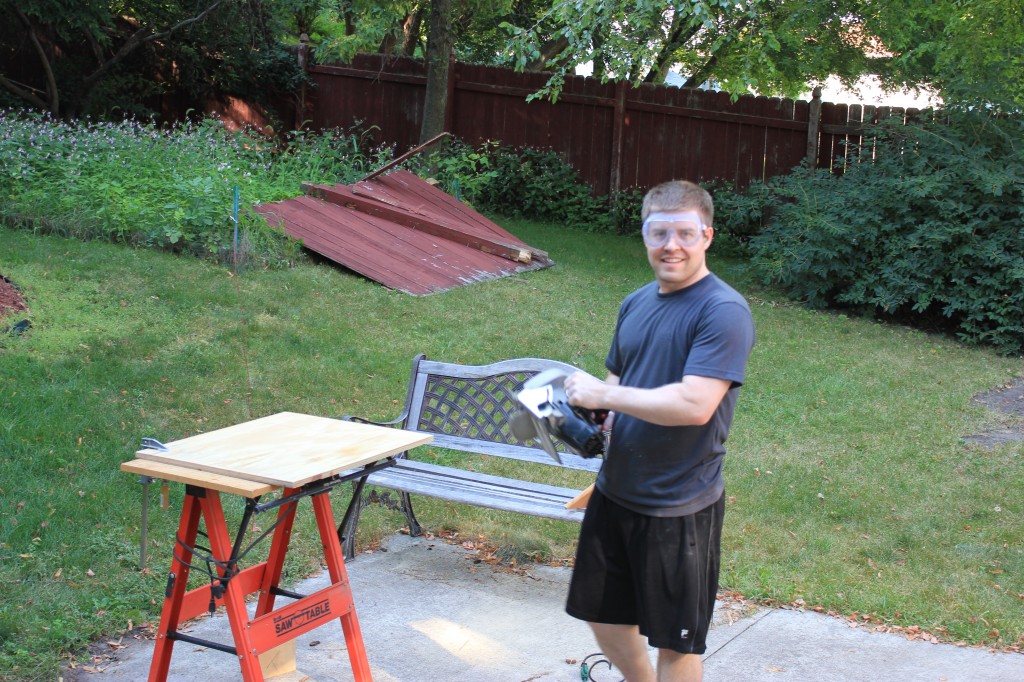
So happy.
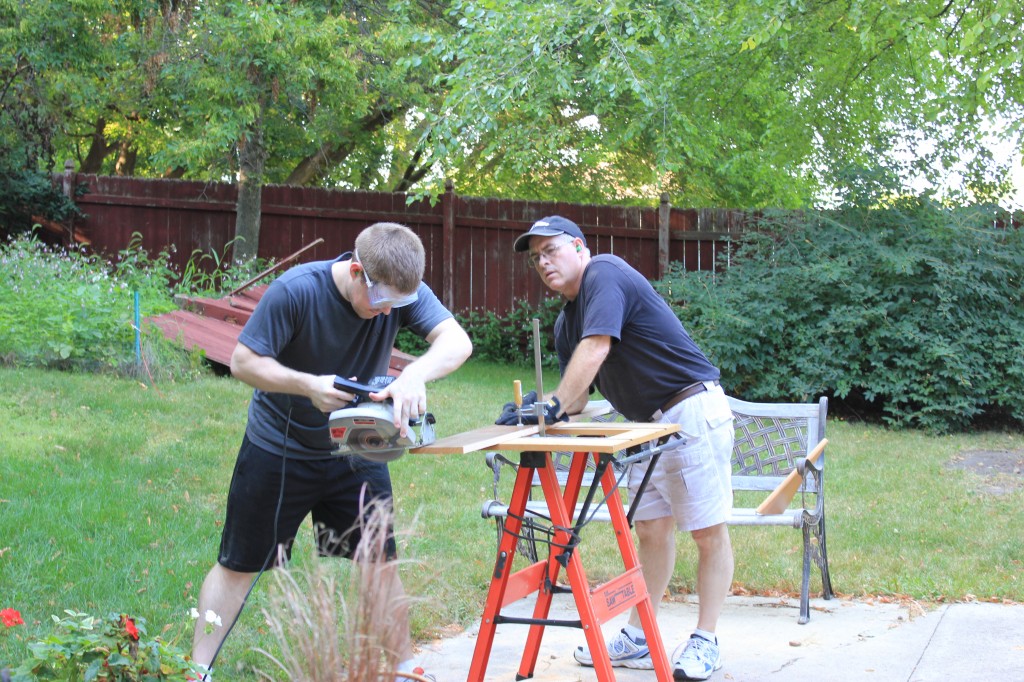
Angling the sides of the oak panels that will replace the rotten ones.
Verlo men forever live by the Boy Scout motto (“Always be prepared”)! We got all of the wood secured as well as we could, which was fairly simple.
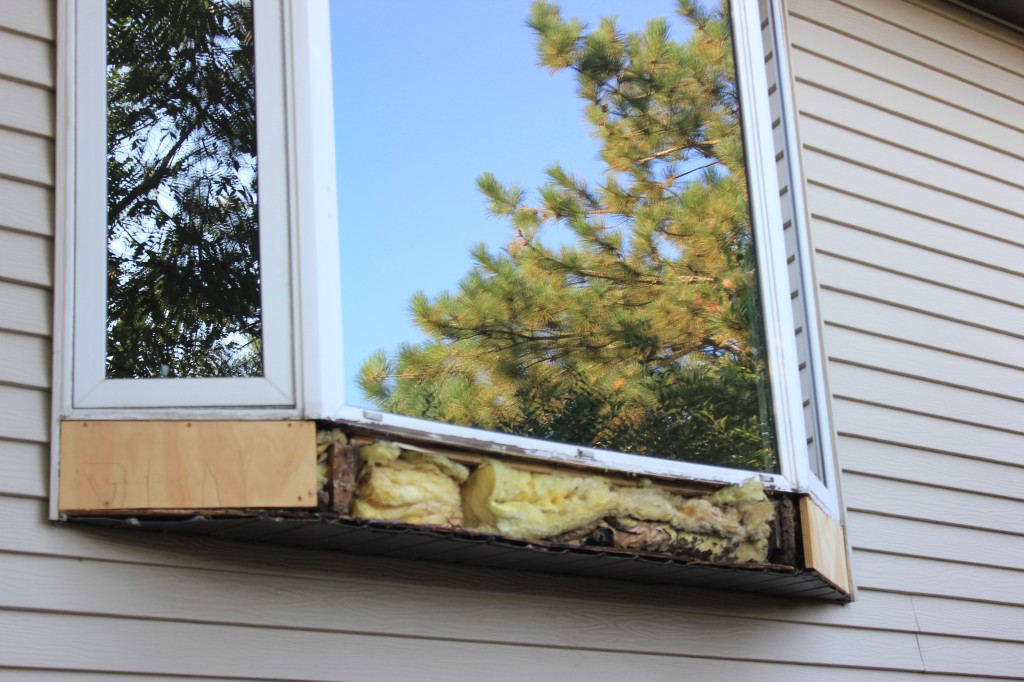
Already looks better.
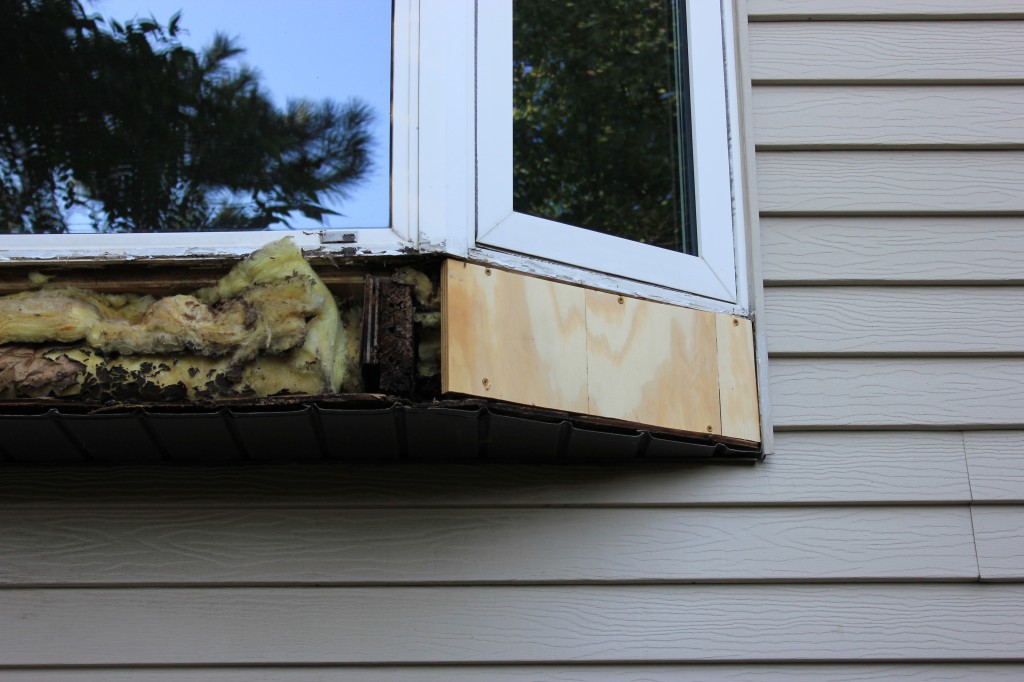
Closer view of the new interior panels.
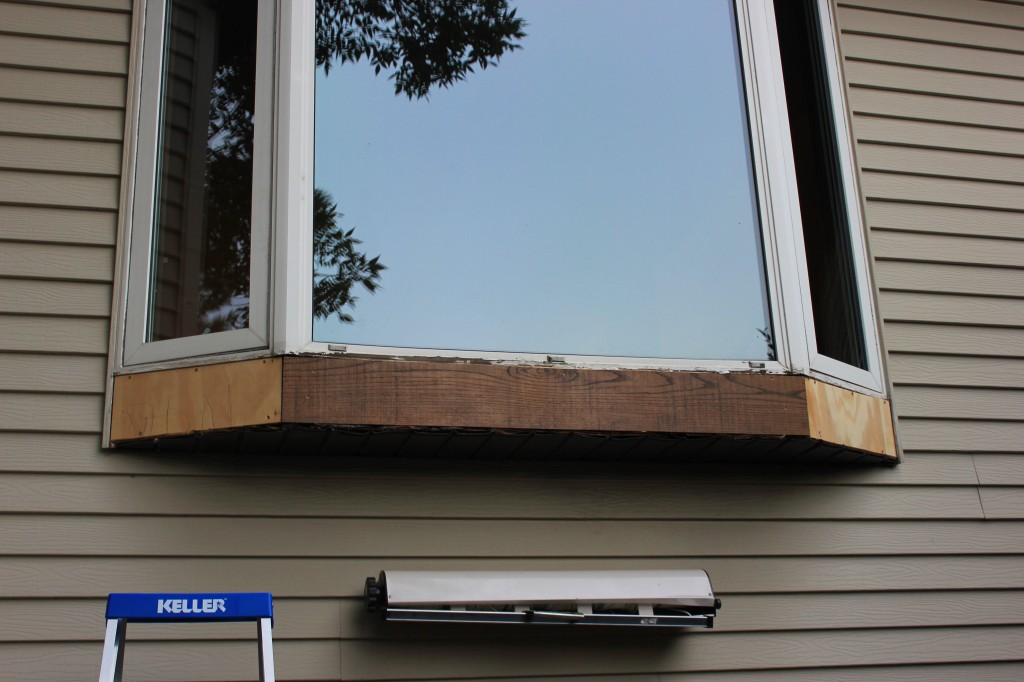
All new panels secure.
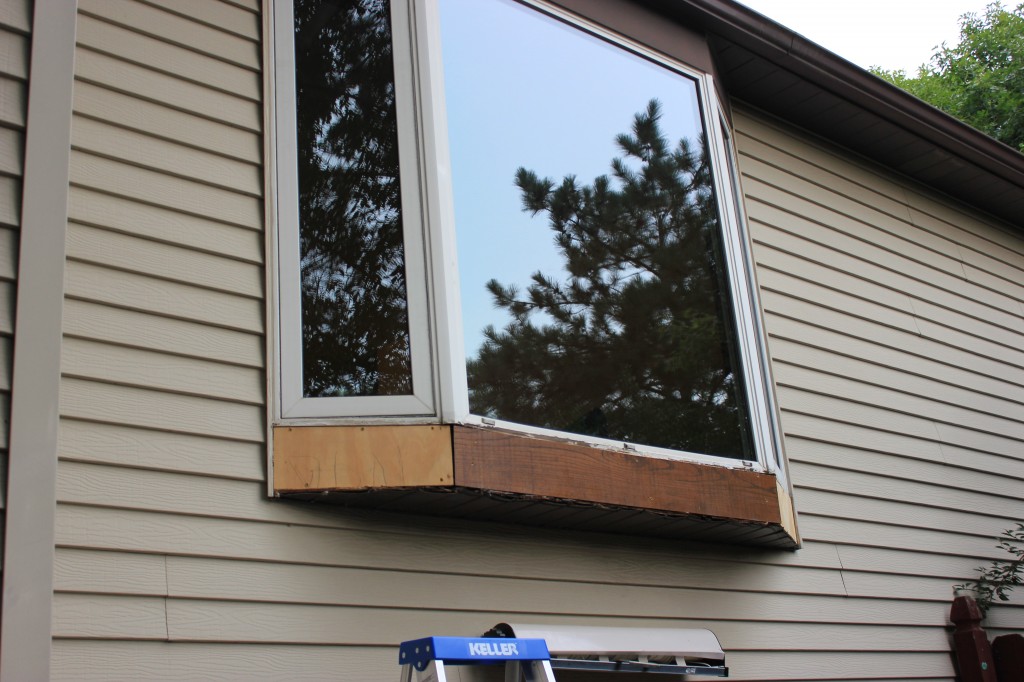
Another angle.
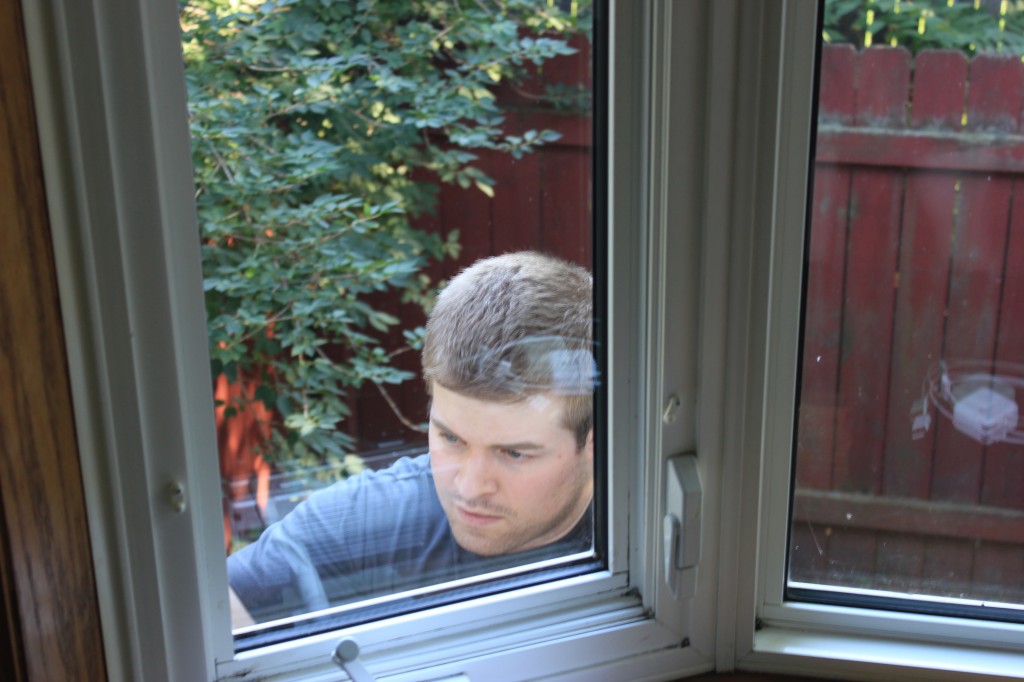
Trying to secure the flashing in place over the new panels.
The hardest part of this job was getting the old flashing into place.
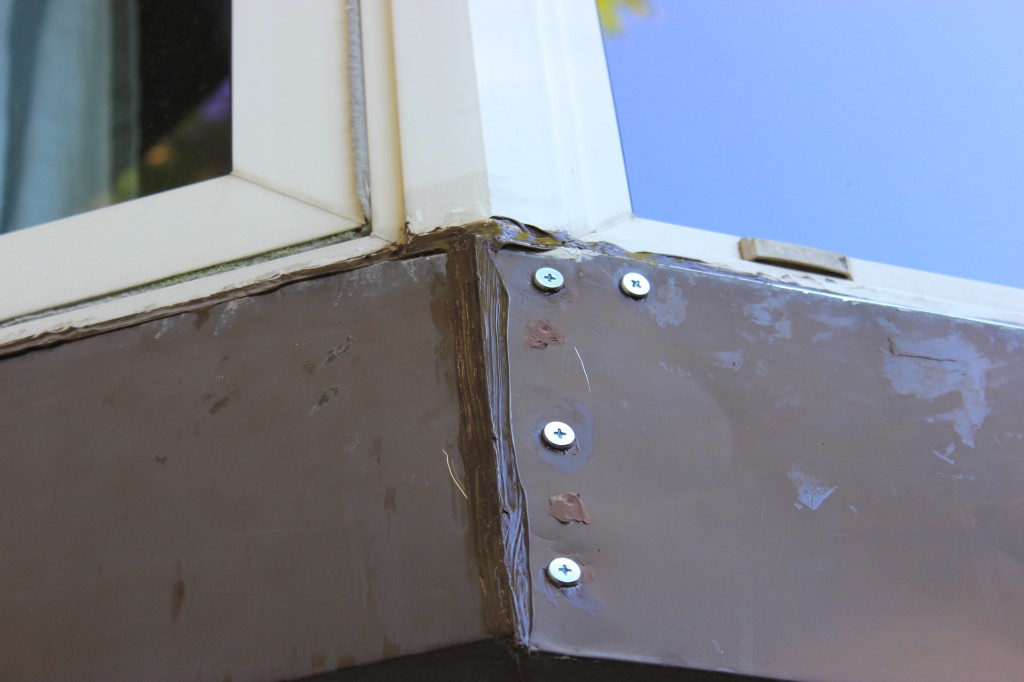
Brown silicone ans heavy duty screws.
The top side of it just did not want to squeeze between the wood and the bottom of the window. Eventually, we got it as far in as we could, called it good and sealed EVERYTHING with brown silicone.
There are also screws sticking through the outside but seeing as how we will likely have to replace the entire window someday, we are okay with the fact that it is properly sealed. 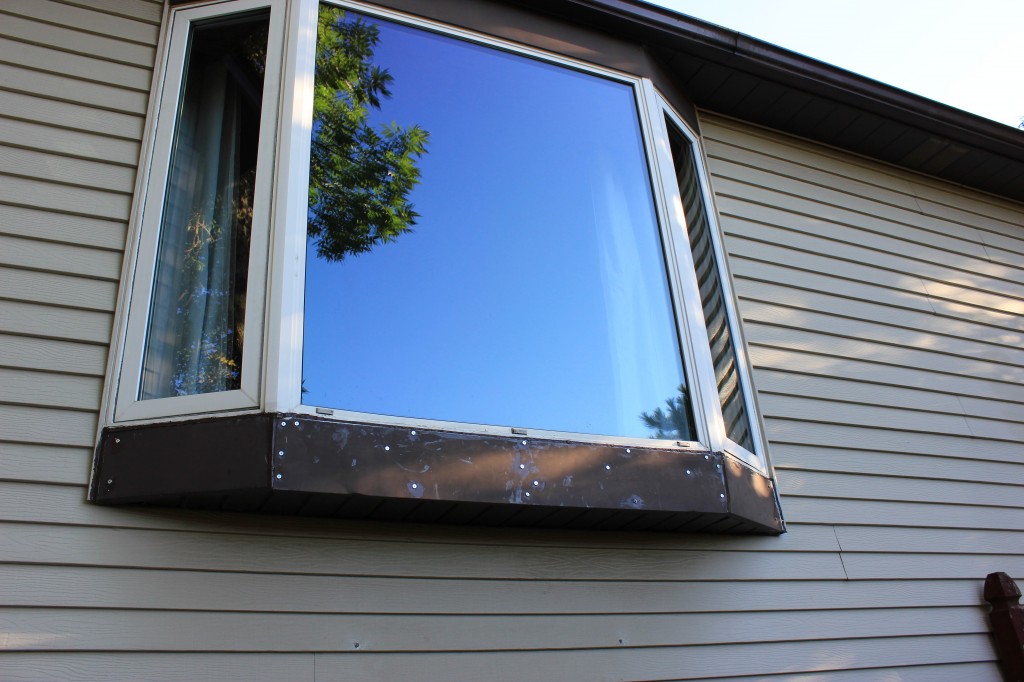
Now all we need to do is give it a fresh coat of paint, and we can forget about the bay window until our finances support replacing the whole thing!
