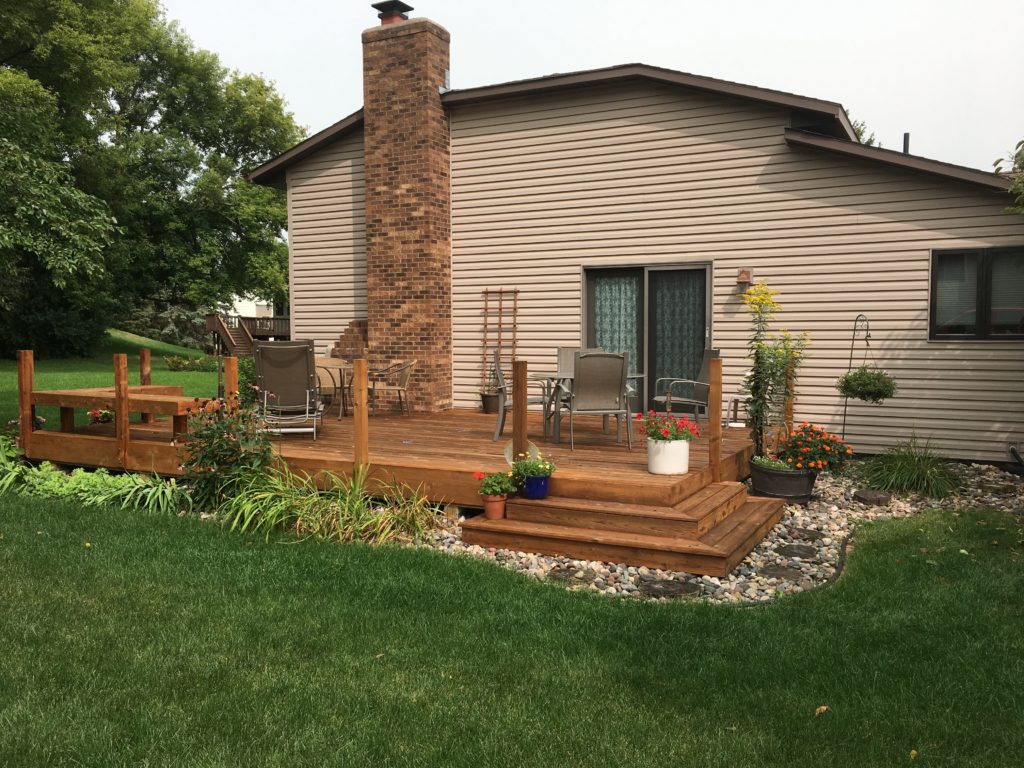
Part of the joy of living in a good neighborhood is sharing life’s little moments and dreams for the future with the people who live next to you. In this story, our next door neighbor was dreaming of having more shade on her deck, which is exposed to direct sunlight because it faces south towards our garage. However, she was rethinking her dream after getting a bid from a contractor with an unfathomable price tag. Since I had the tools and the time, I offered to lend my abilities to help her build one on her own.
The plans we used are from book by The Family Handyman.
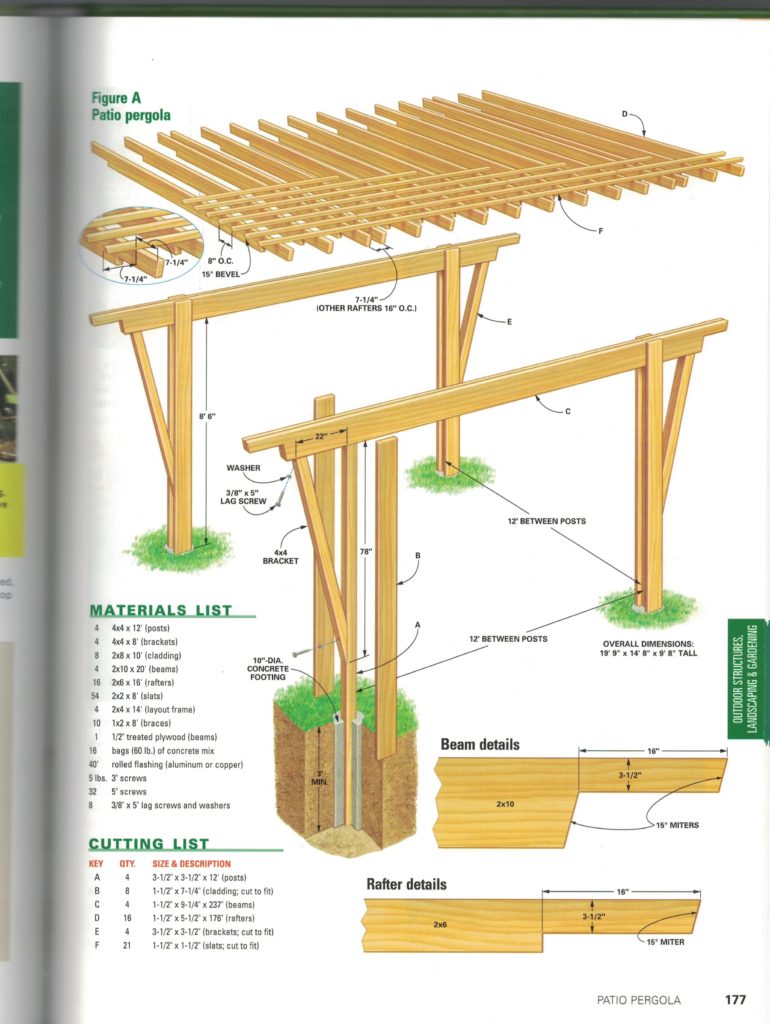
Page from The Family Handyman Home Improvement, 2012 Hardcover Book, Published by Readers Digest
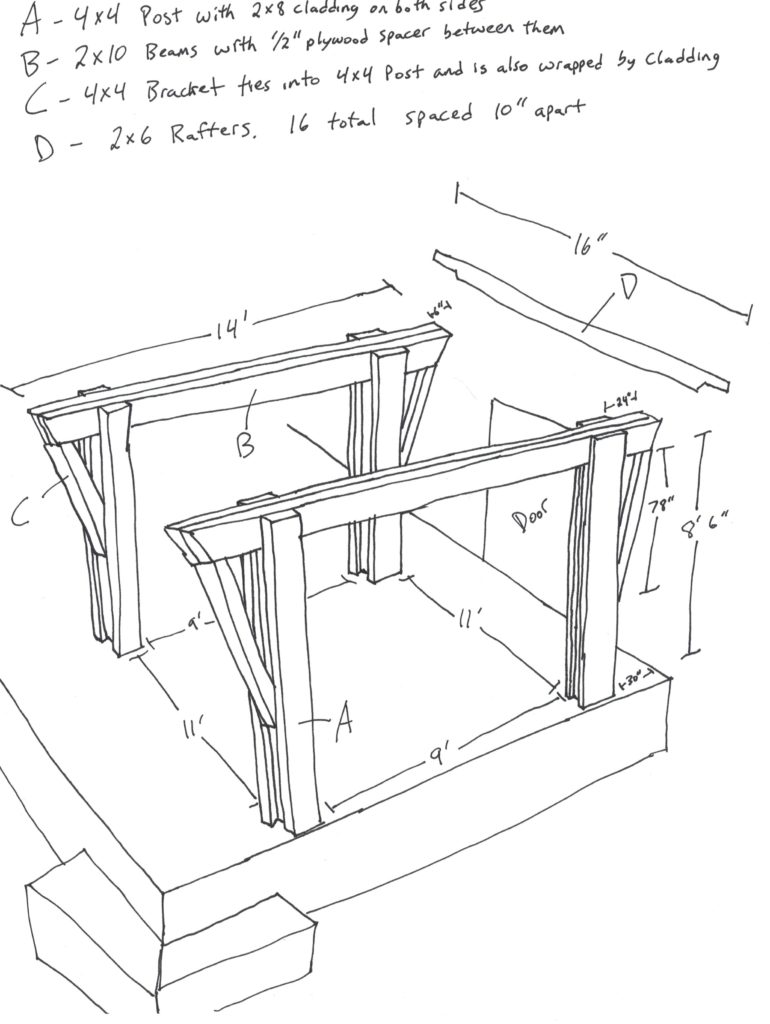
Not sure about building permits, I drew up individualized plans and she submitted for approval. The city said since the pergola would not be directly connected to the home, we did not need a permit.
Note: The distance between the posts is actually 12×12, as shown on the plans from the magazine. And the beams and rafters are actually 16’ in length. We revised the plans during assembly to better fit the size of the deck and the location of the joists.
The materials consisted of cedar lumber, aluminum flashing, bolts and screws. Pretty simple. They were delivered right to my driveway between our houses.
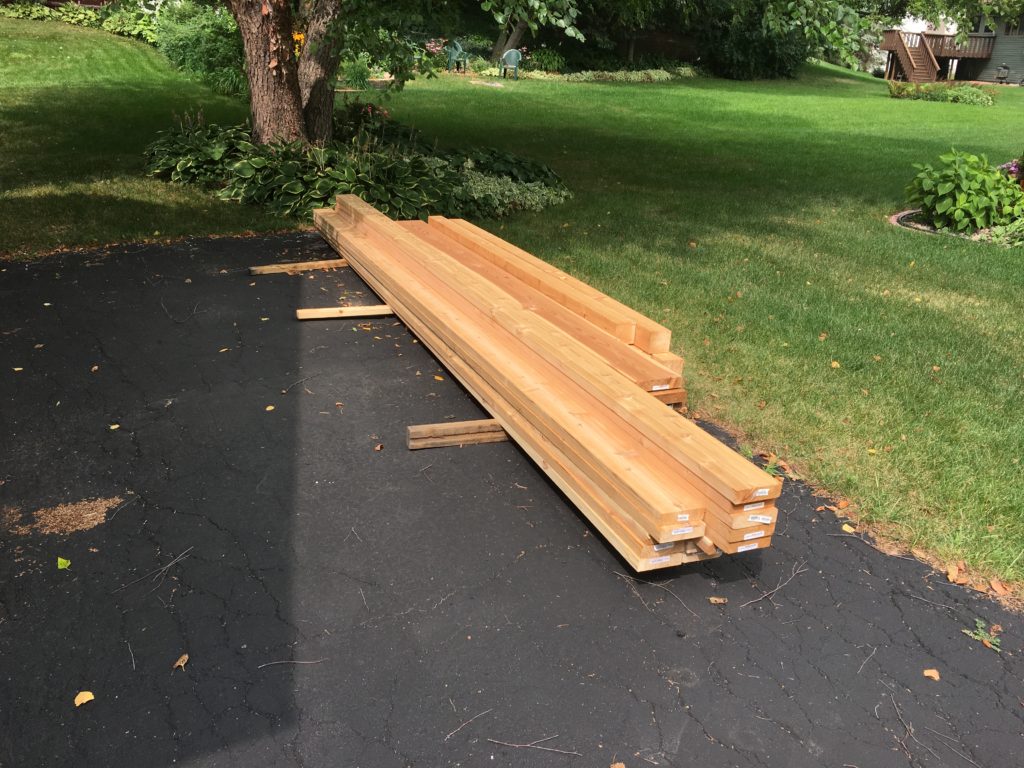
Not pictured: Four 16’ long 2x10s (they were special order and took a week and a half to arrive)
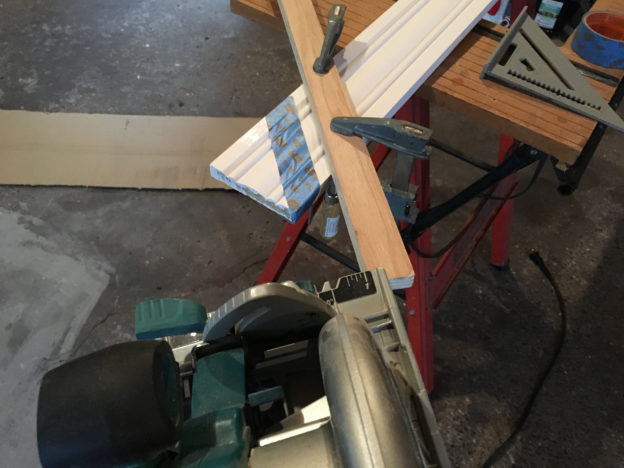
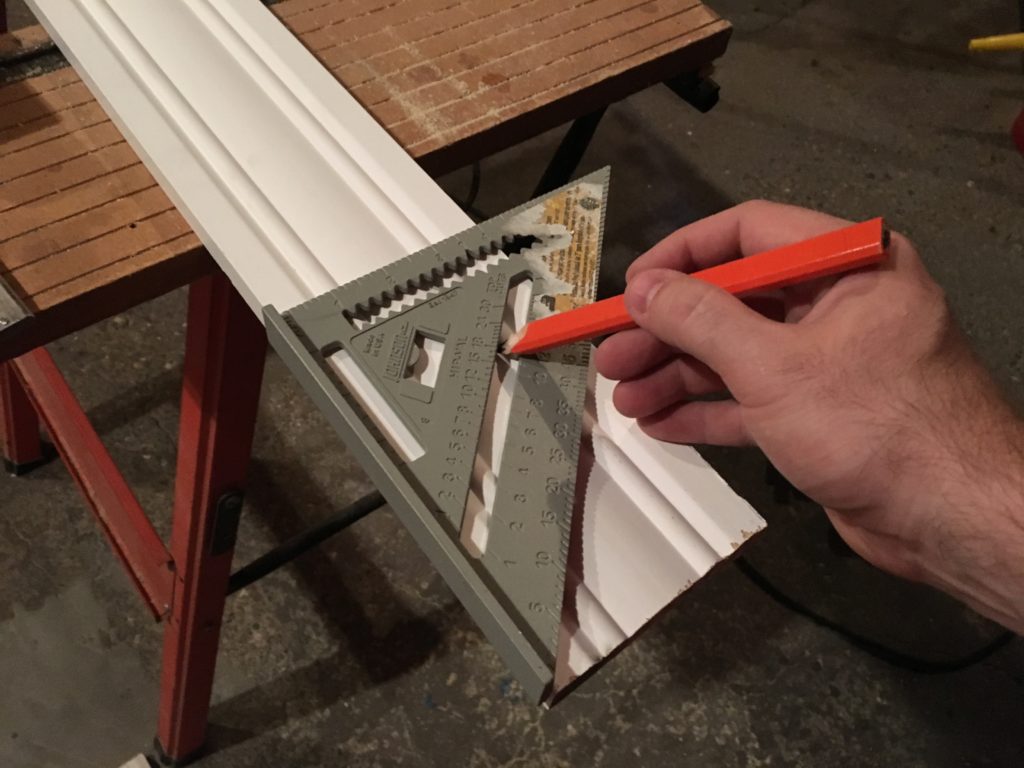
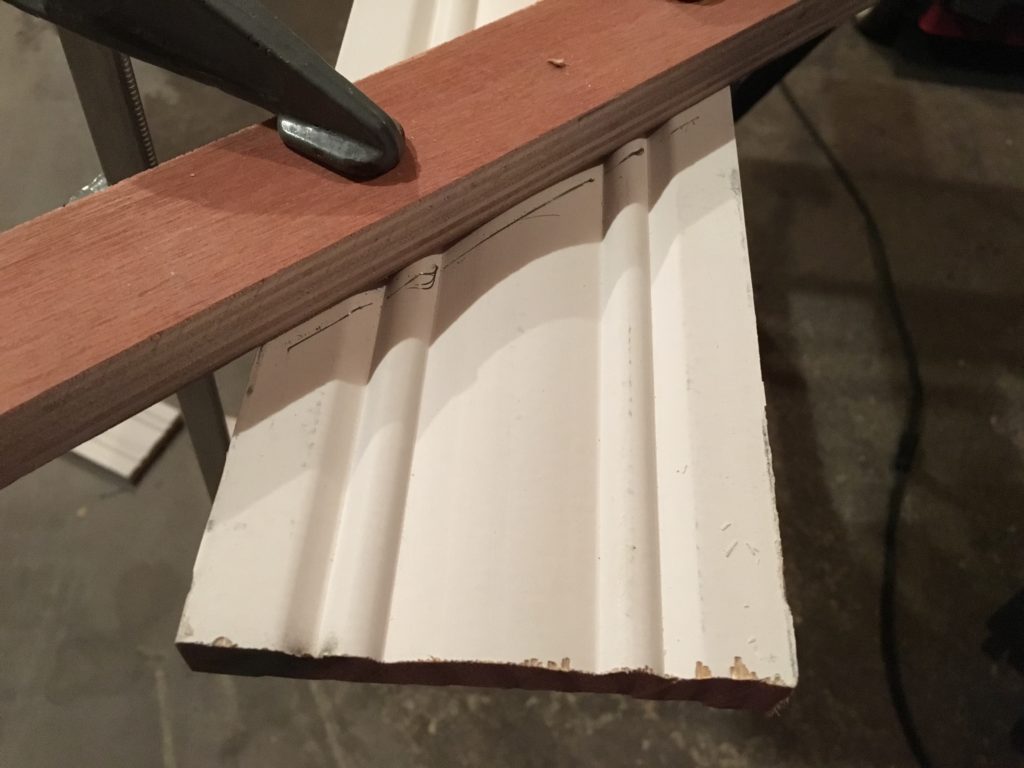
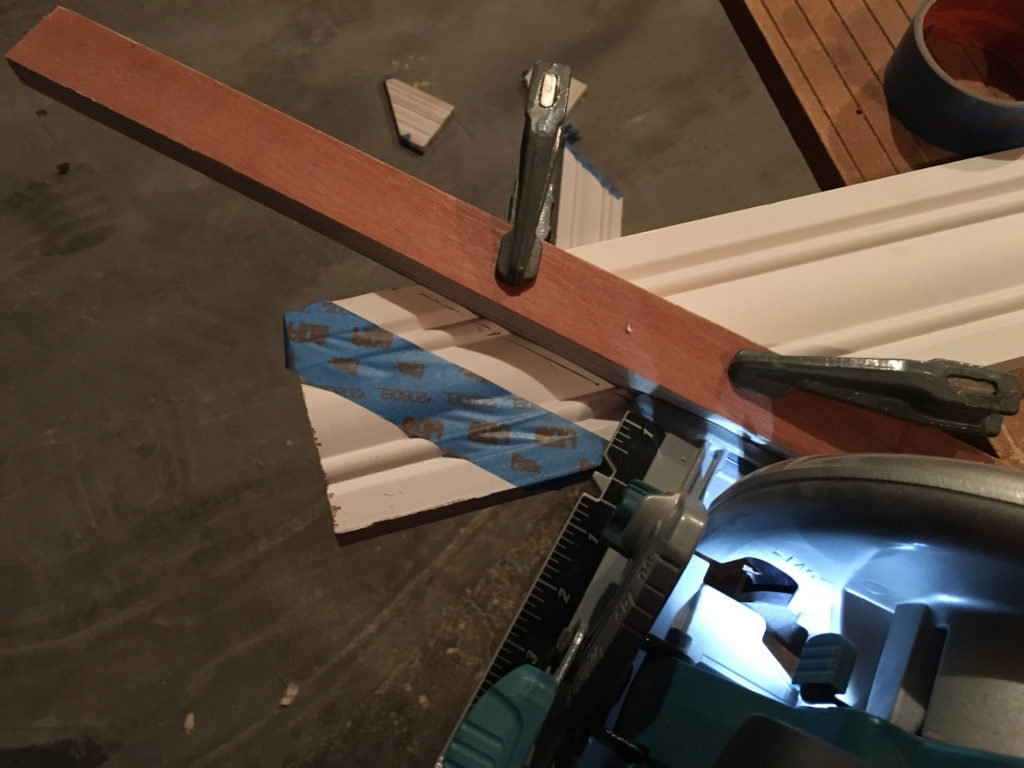
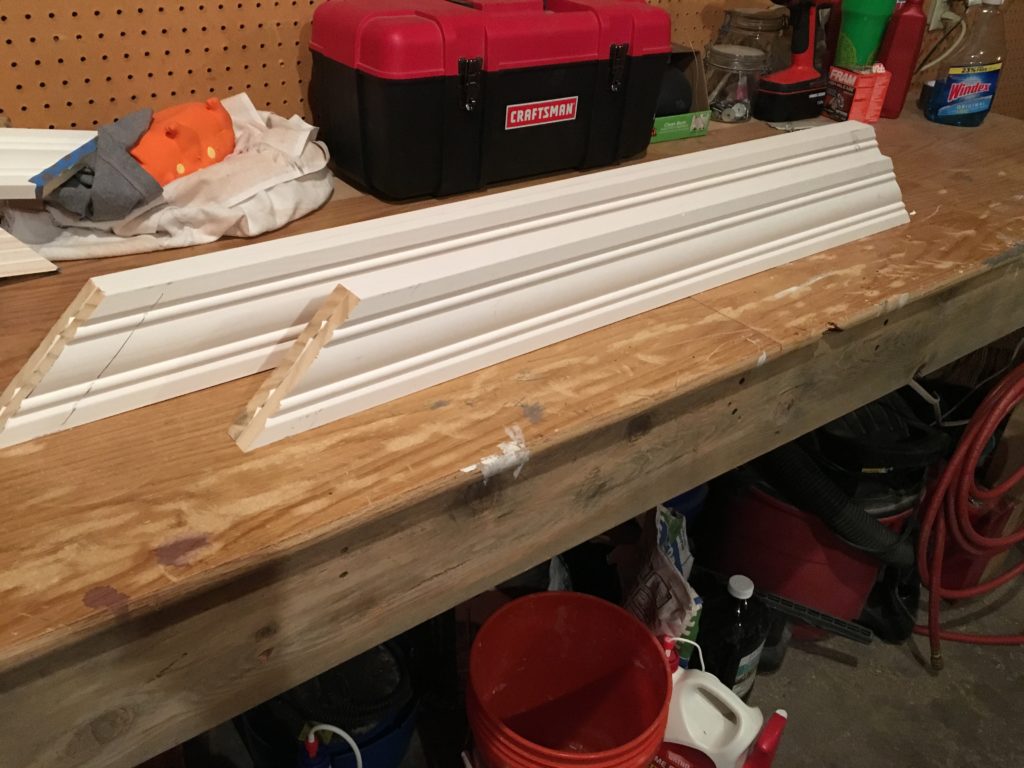
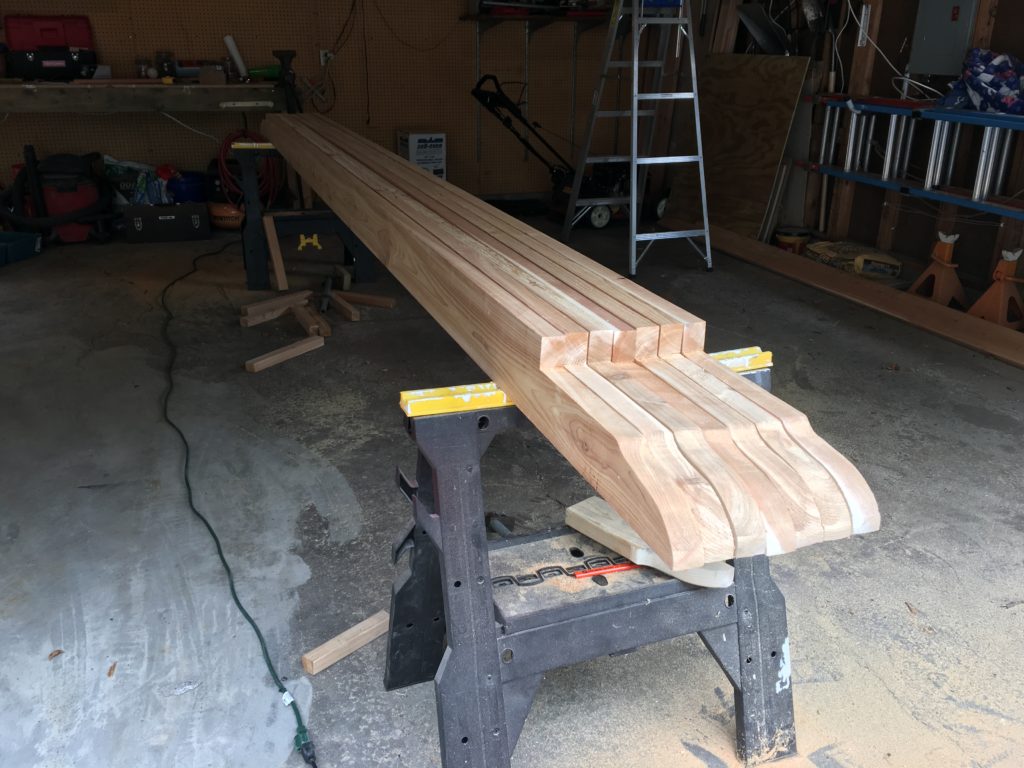
The first step was to cut decorative ends on the rafters and beams. My arm was TIRED after that, because I can’t remember making so many cuts with a jigsaw before.
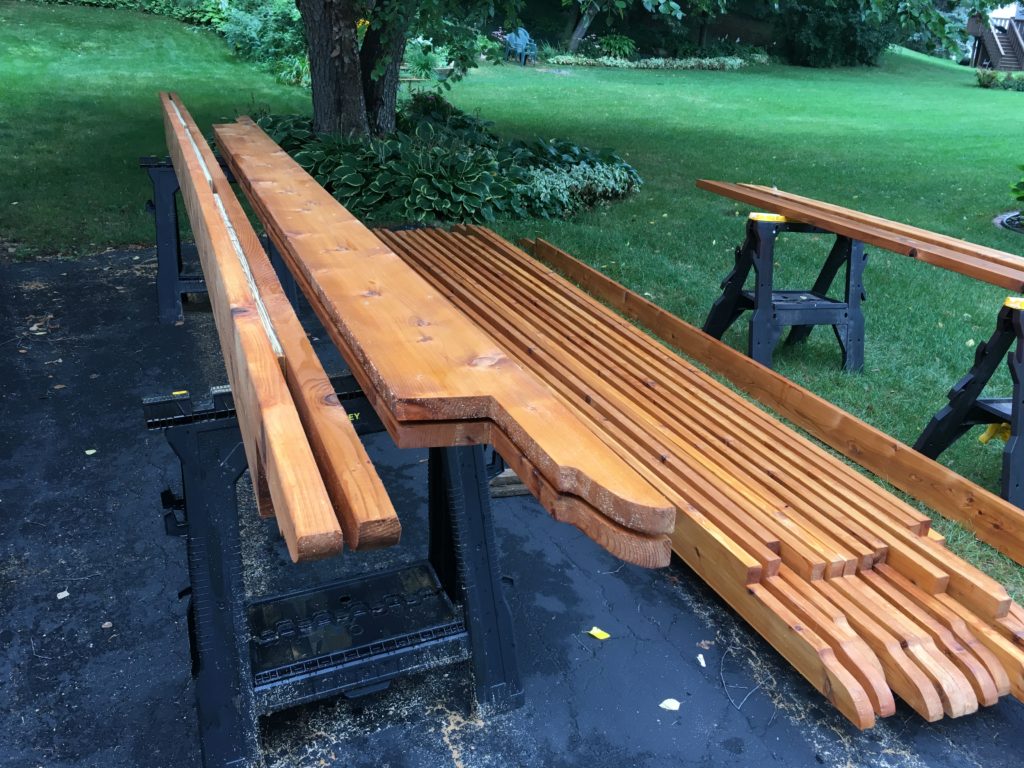
My neighbor stained the wood before assembly.
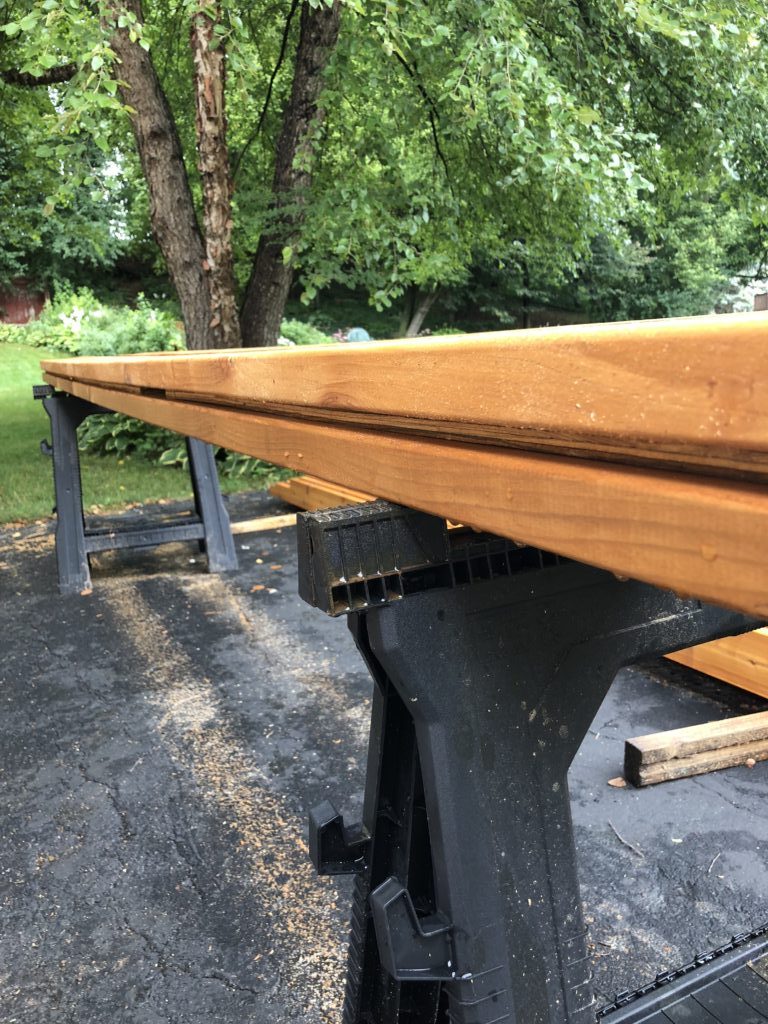
The beams are the heaviest part of this project. Each one is made from two special order 2×10 boards. The plans call for 1/2” plywood between the two boards, so when assembled, it would sit perfectly atop a 4×4 post (which is really 3.5” x 3.5”). Flashing is added to protect the plywood from water damage.
The posts sit right on the deck, but are solid because they are directly over joists.
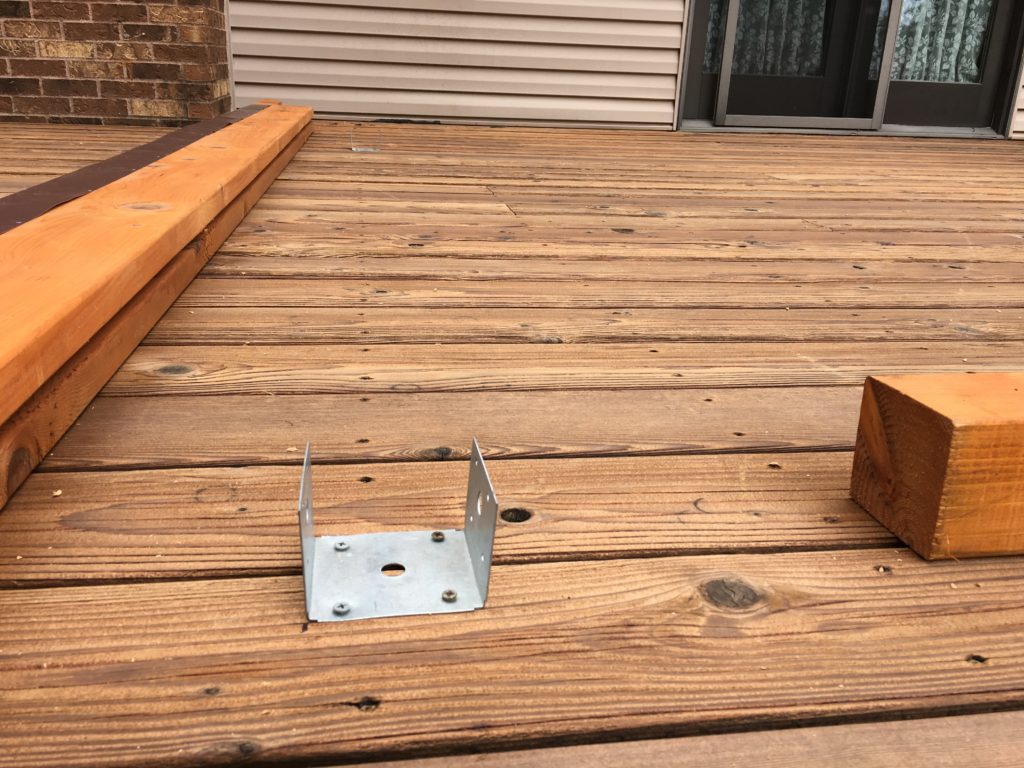
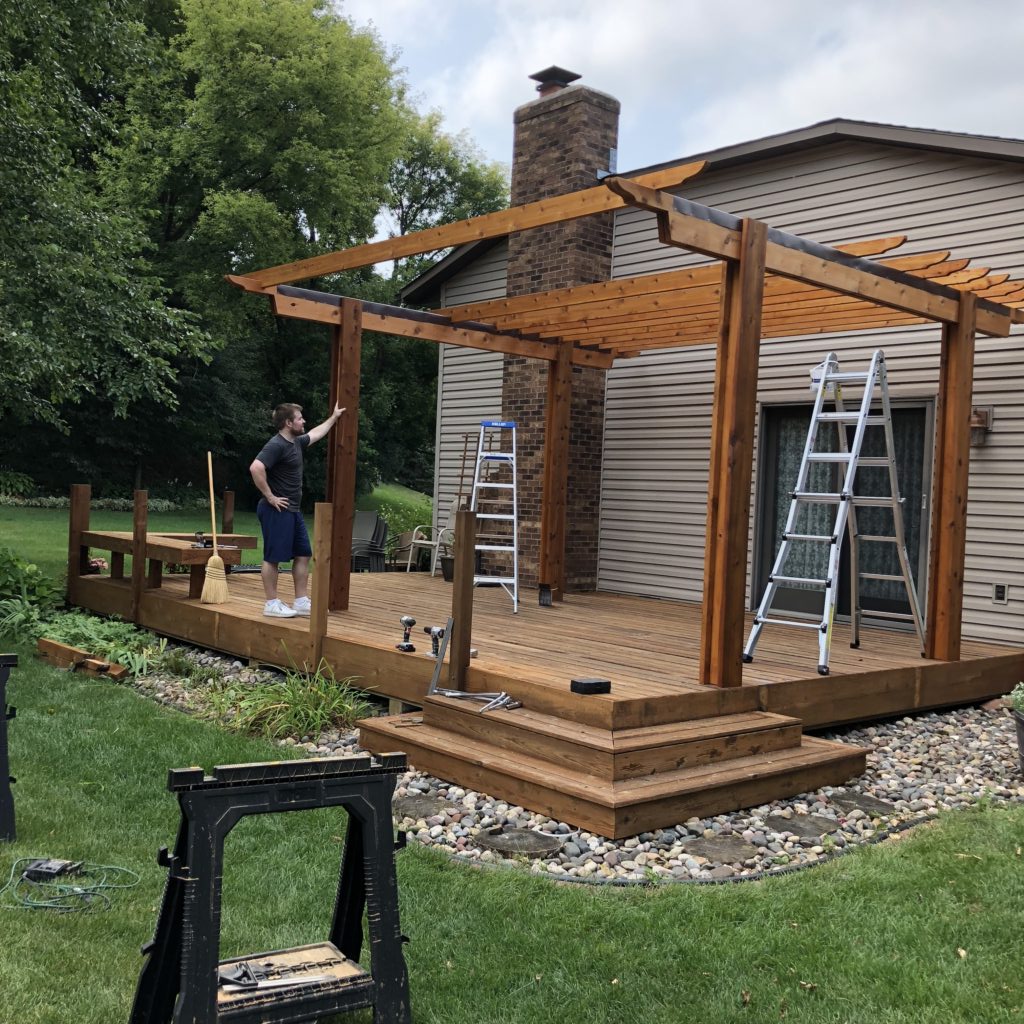
The single hardest part was lifting the beams onto the posts. At least two people are needed and we’d recommend going slow. Cladding goes on both sides of the posts and beams for strength. We added one side of the cladding beforehand lifting the beam so it had support while we secured it in place. Even more support comes from the 4×4 supports mounted on the four corners. Finally, we lifted the rafters up one at a time and screwed them into place from holes drilled above.

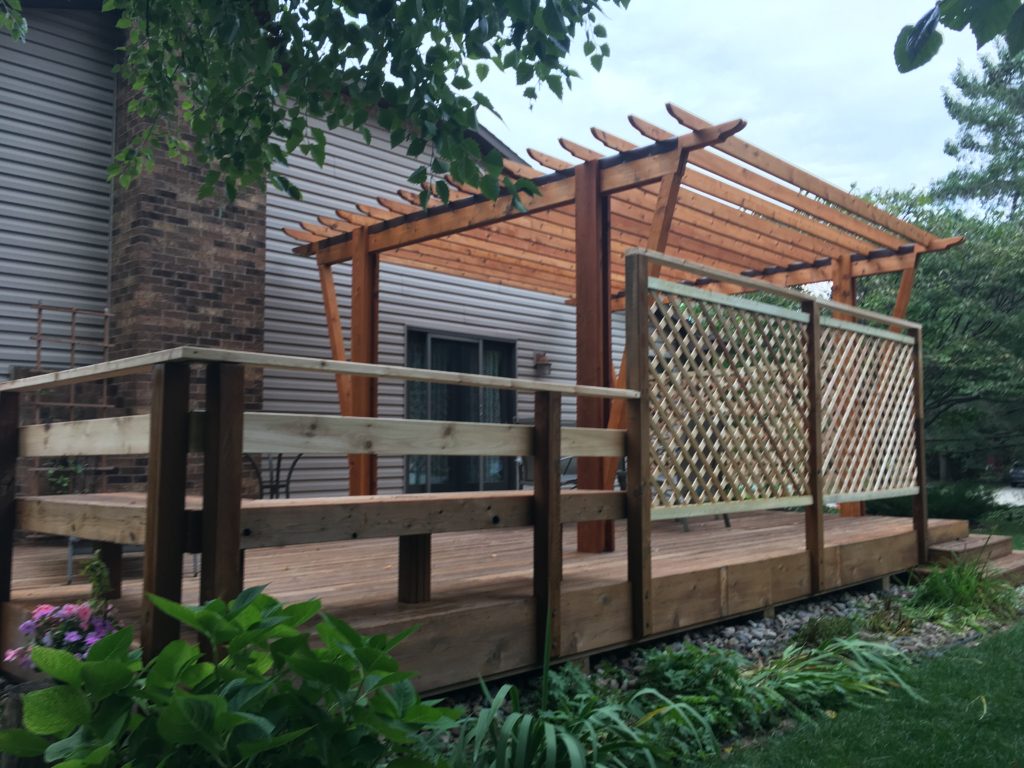
Once the pergola itself was done, we put up lattice and worked on a few cosmetic things on the deck and built-in bench.
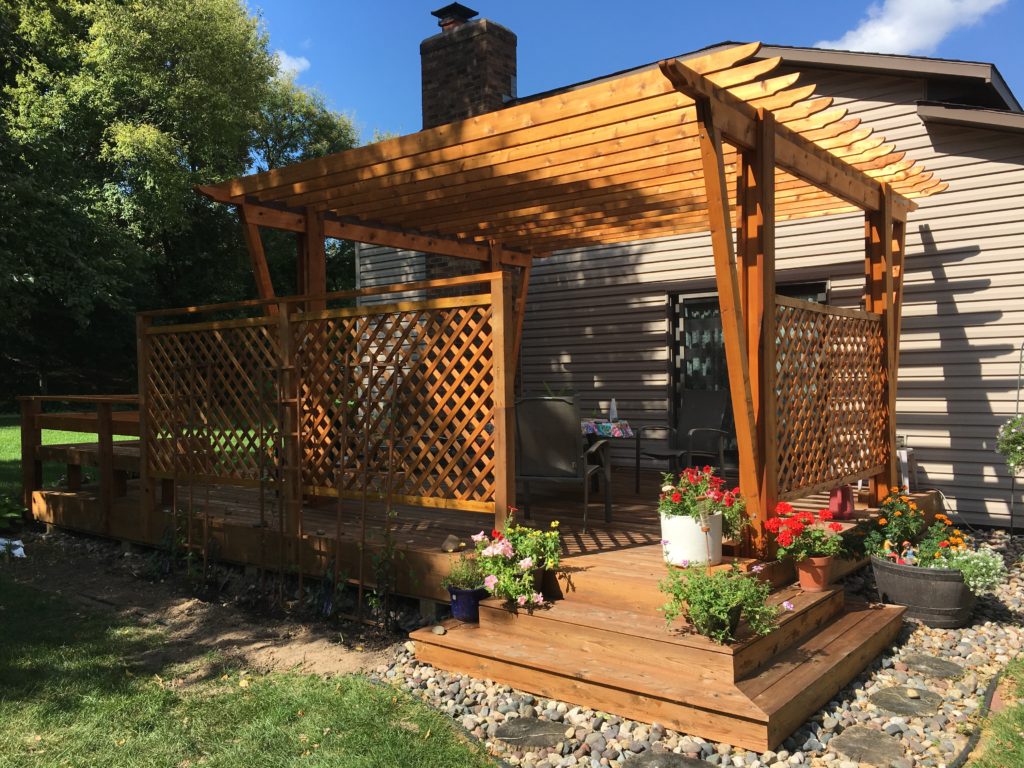
Add some more stain and wait for a sunny beautiful day, and we have an after photo:
Thanks for reading!