Mmm… frosting.
Cake dreams aside, honest question: why would anyone install a standard clear exterior window on main-level bathroom? Unless you TOTALLY trust your window treatment, this is just asking for peeping toms.
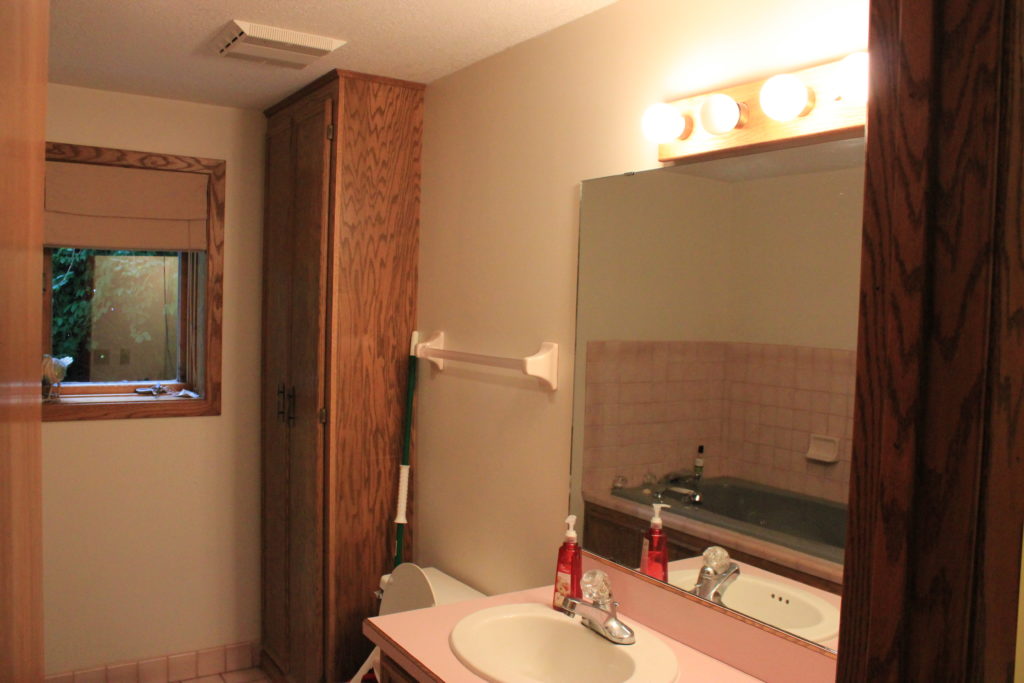
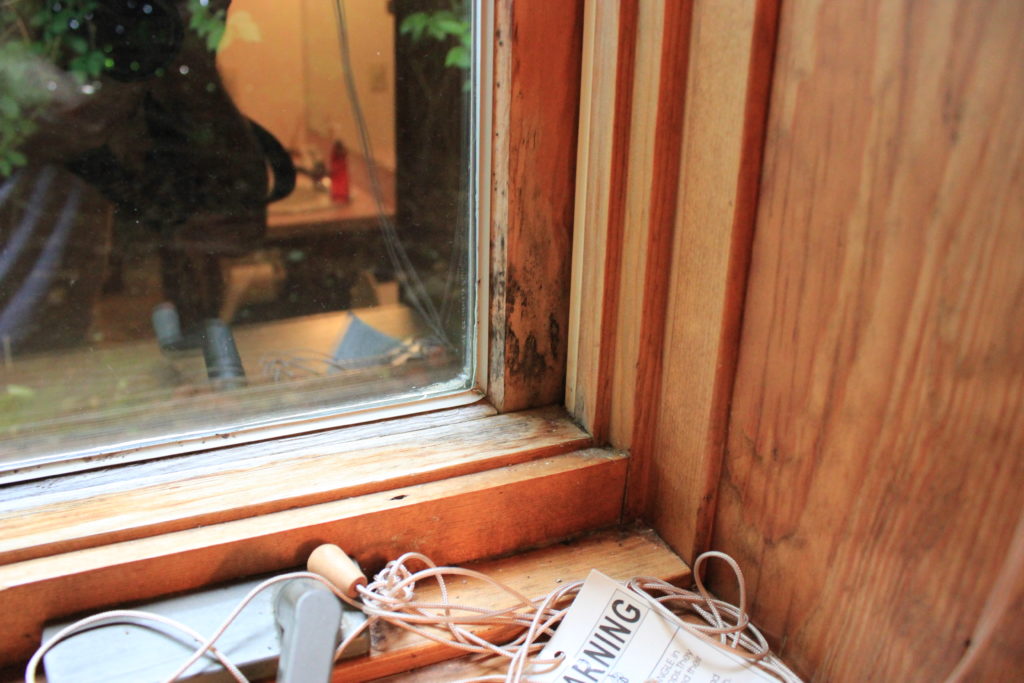
Our basement bath had this particular problem and I wanted a simple fix. I’m also not very adept with contact paper, so I didn’t want a cut to measure option that I would most assuredly mess up. One more note – this window may not be permanent to the home, as its 30+ years old and does have some water damage/past leaking issues. So, our options had to be: nothing too expensive and can be tossed if we ever save up the cash to replace it with an updated window.
All home renovation bloggers love the spray-paint isle, and I for one must practice restraint when I allow myself to go looking at the colorful cans. That being said, it is in this aisle that inspiration struck when I found Rust-Oleum makes a product that is specifically to create your own frosted glass! Perfect!
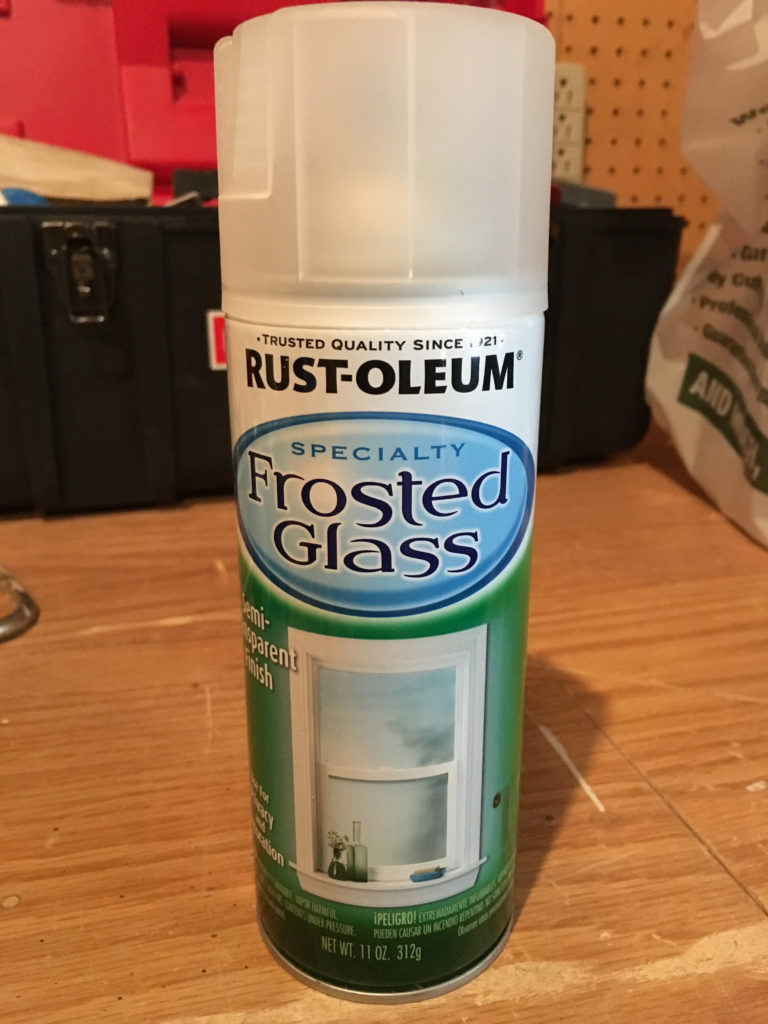
So, before we even painted the trim around the window, I went in and put on 2-3 light layers of the frosted spray. THAT’S ALL! I was sure to spray the glass with the window open, as it helped ventilate the room and limited the over spray on the trim. When the window was fully dry we were still able to tape the frosted glass and paint the trim in ultra pure white without damaging the new frosting.
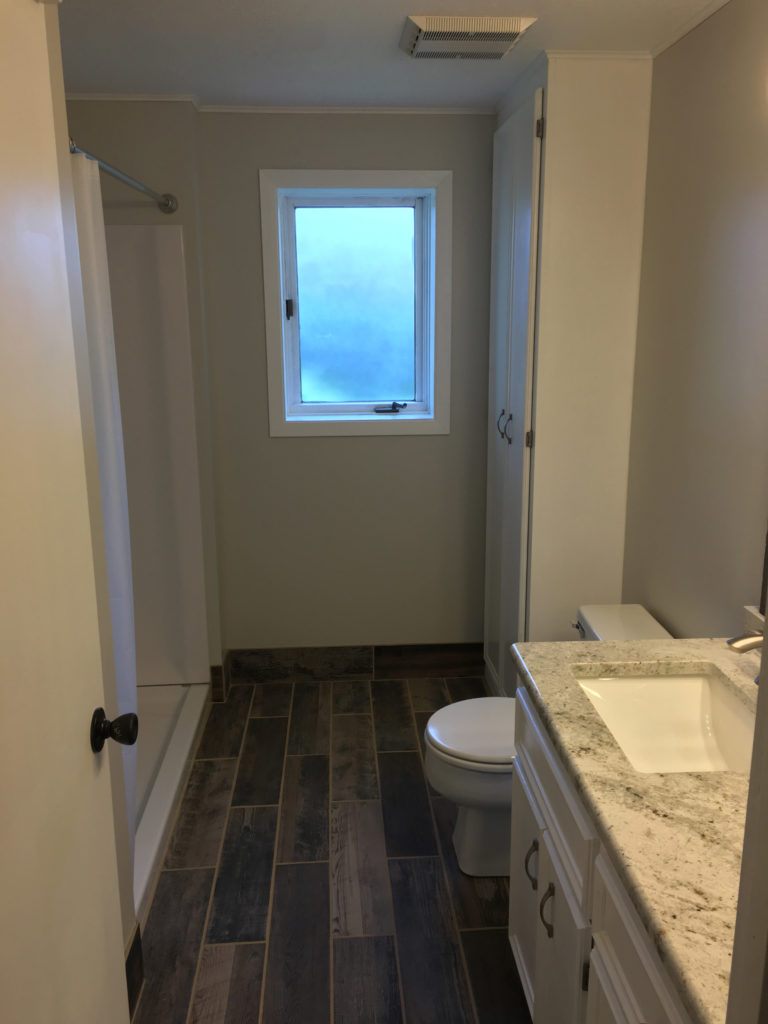
Its exactly what we needed, it lets in light and the only thing you can see from the outside is the light in the room turning on and off (you can’t even perceive figures moving around in the room).
So, the moral of the story is, just let your partner peruse the spray paint aisle once in a while – they might just find a cheap solution to a pesky problem.