Aya! (ˈī /yä)
Noun
One of the first words said by Mike Verlo. Word he would use in place of hammer.
Interjection
Mike Verlo’s childhood word to describe action of hitting something with a hammer.
It’s no accident that my first word was “Da,” as in Dad. He’s who I looked up to, who I wanted to be. To my mother’s dismay, my second word was hammer, along with the saying “Aya!” Aya is something a child might say when swinging a hammer with the goal of destruction. You won’t find this definition in a dictionary, at least not yet, but I tried my best to describe the action above. People often ask me how I learned certain skills when it comes to home remodeling. The simple answer is that I grew up around family home remodeling, so an inclination towards making things better is second-nature.
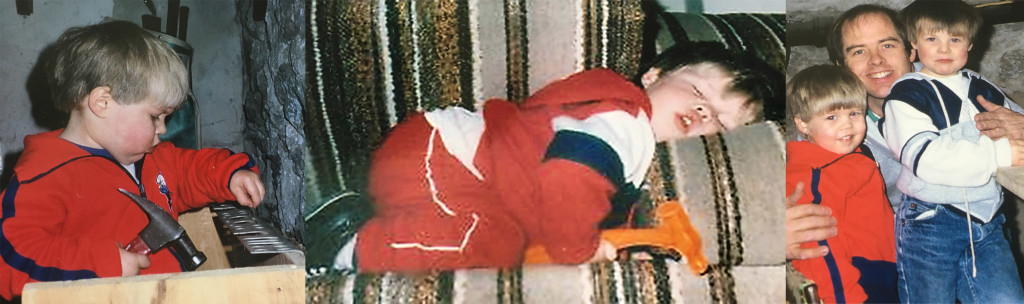
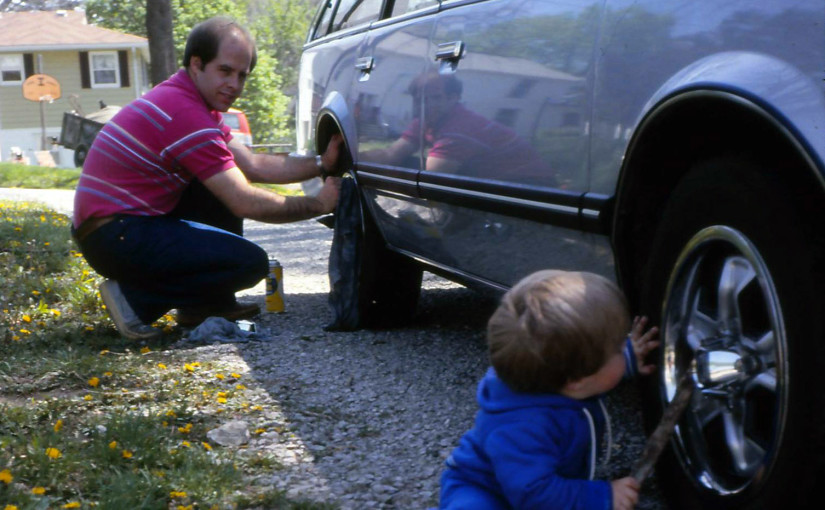
My dad worked as a mechanic, first automotive then in factories. Naturally, I wanted to be just like him, even if that meant trying to check the tire pressure with a stick as you saw in the picture at the top of this post, or trying to use his “adult” power tools.
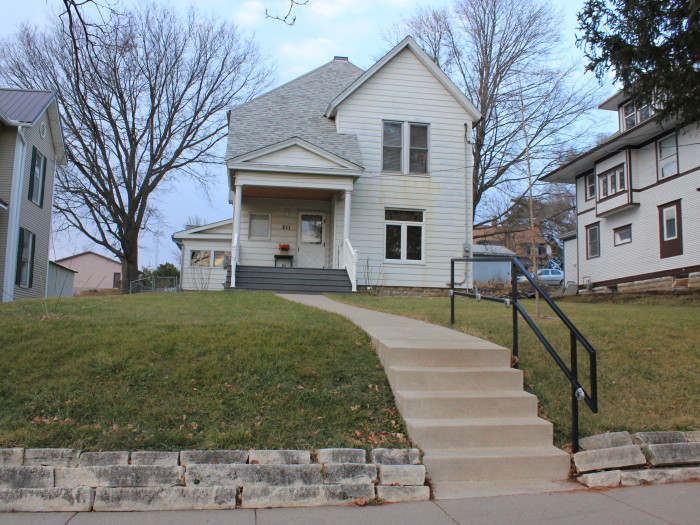
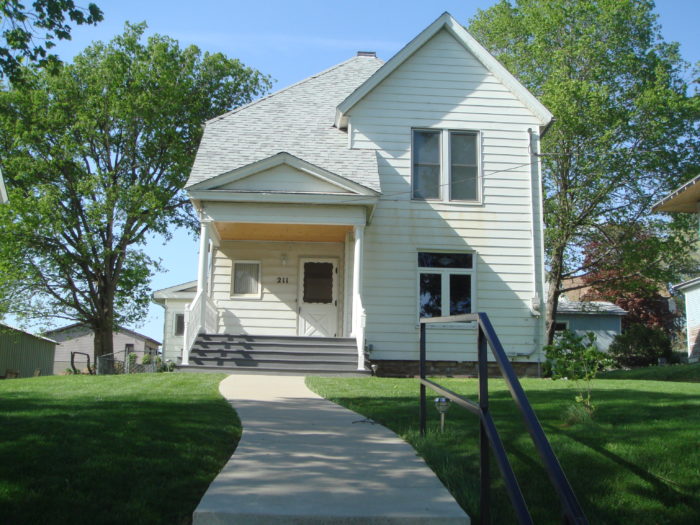
When he wasn’t busy keeping food on the table, my dad was constantly working to make our house a home, which was no easy task, as the home was built in 1889, nearly 100 years before we moved there in 1987.

My childhood home was a Victorian house built in West Branch, Iowa (hometown of President Herbert Hoover.)
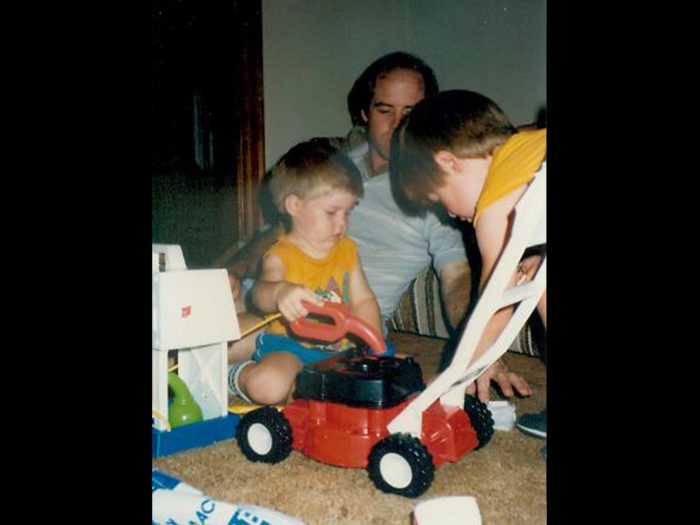
From the time I was 3-years-old through adulthood, my parents renovated nearly every room in the house, sometimes more than once. Paint, drywall, electrical, plumbing, floors, ceilings and everything in between. Weekends were often spent in a hardware store; weeknights in torn jeans helping my dad hammer in nails. In elementary school, I got to help design my own bedroom, which was an addition to the house, built adjacent to the room I previously shared with my brother, and on top of what used to be the laundry room roof.
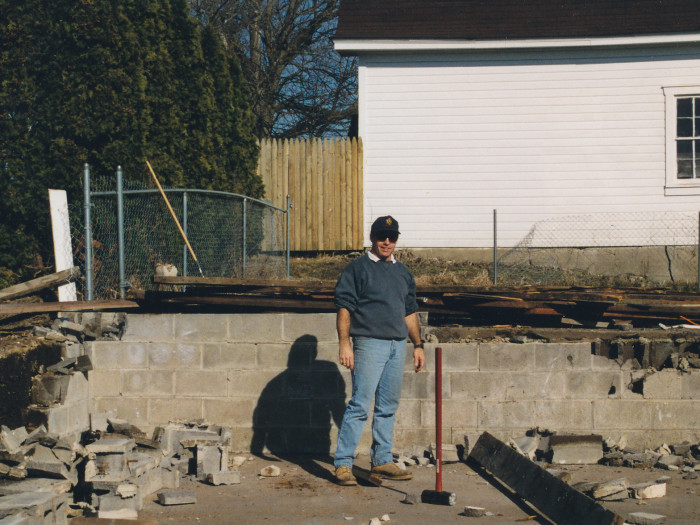
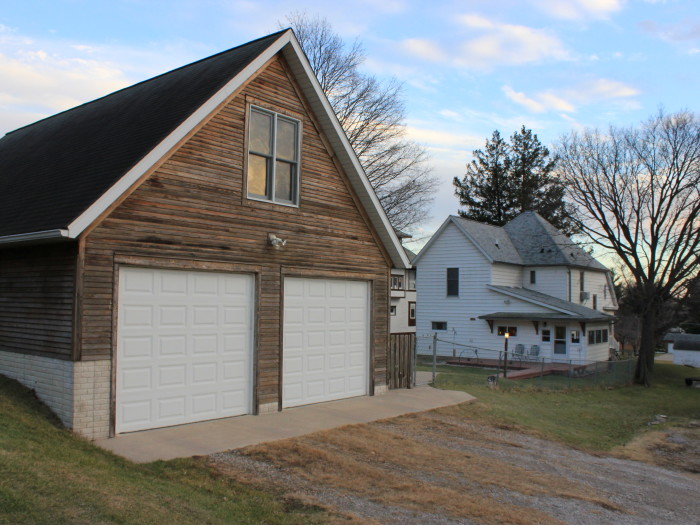
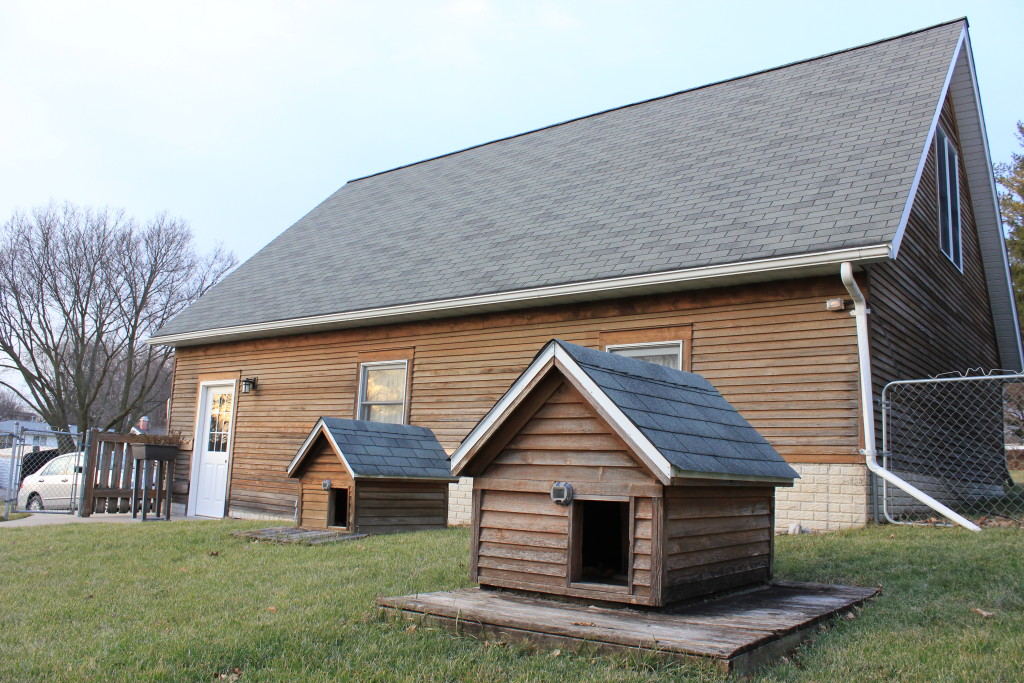
In middle school, I helped demolish the old garage, to clear the way for a 2-story replacement that was a workshop dream.
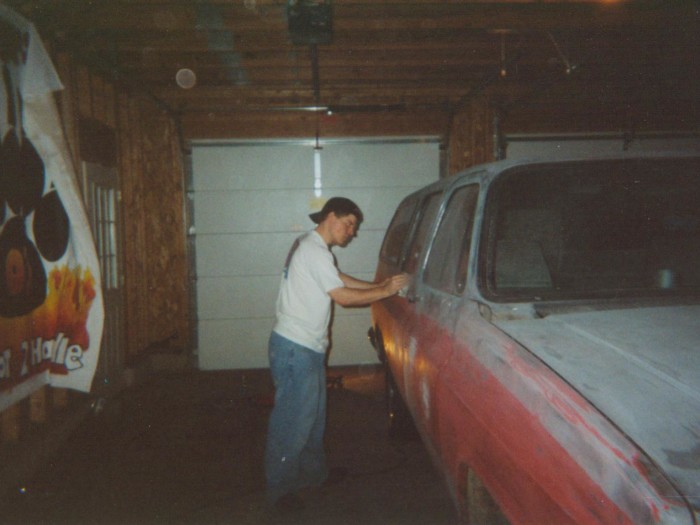
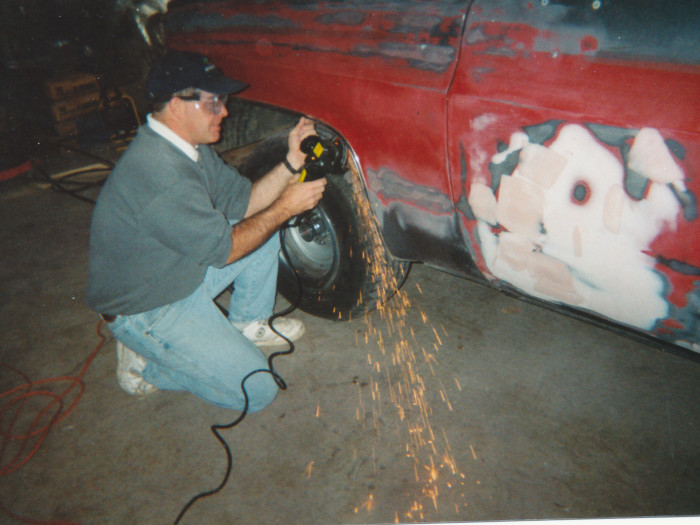
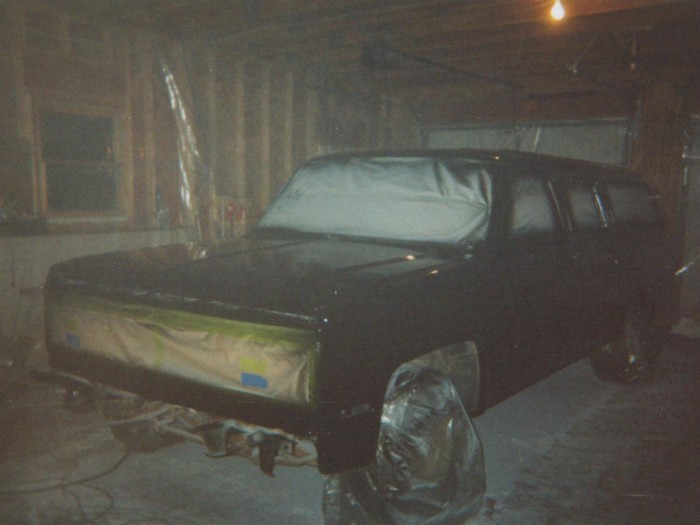
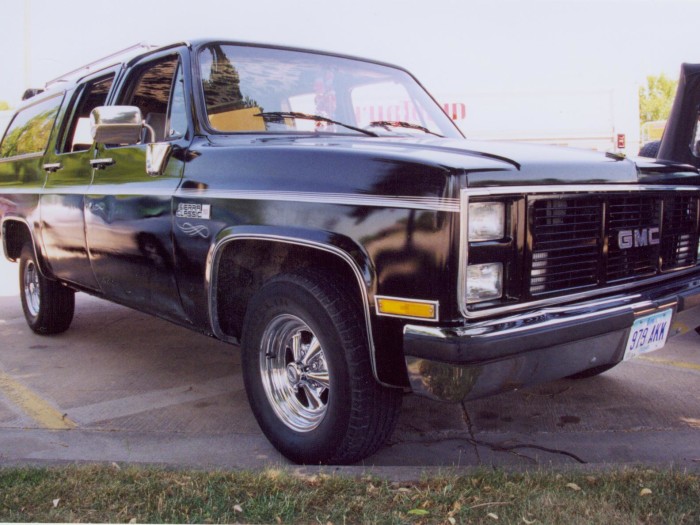
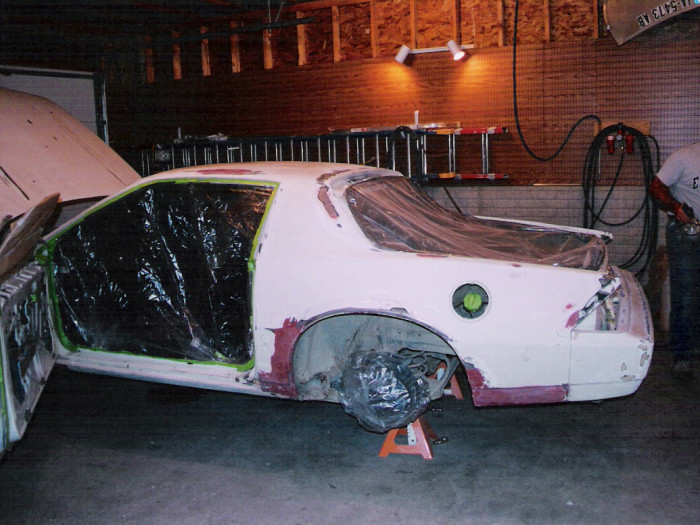
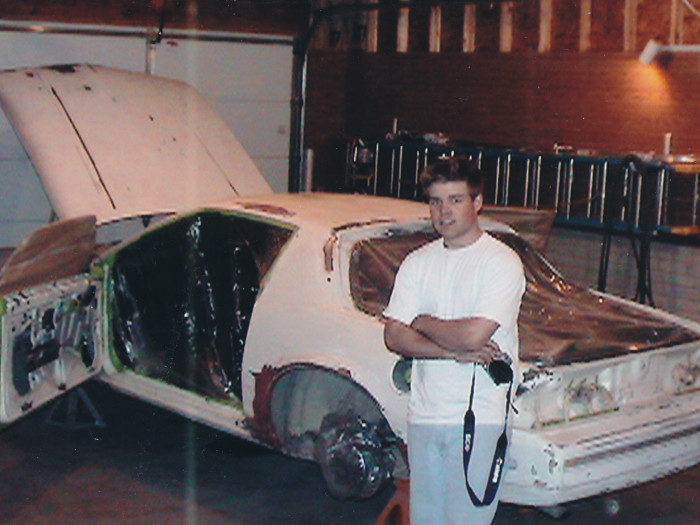
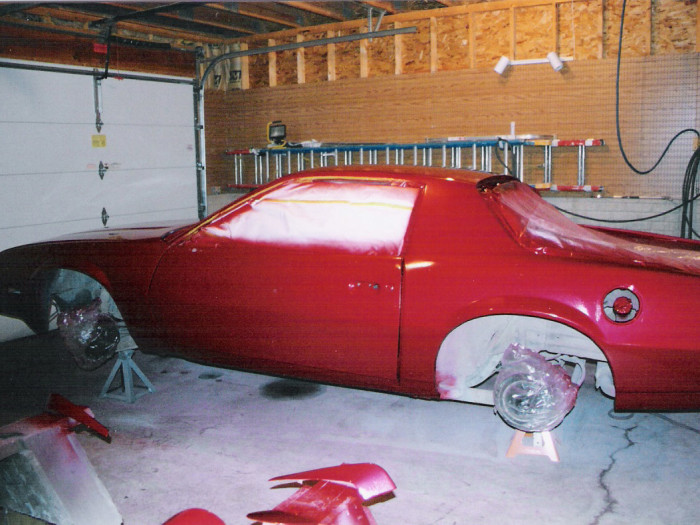
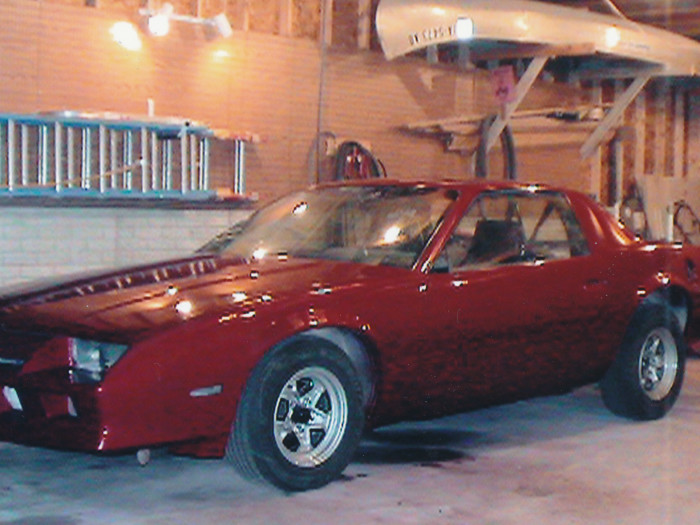
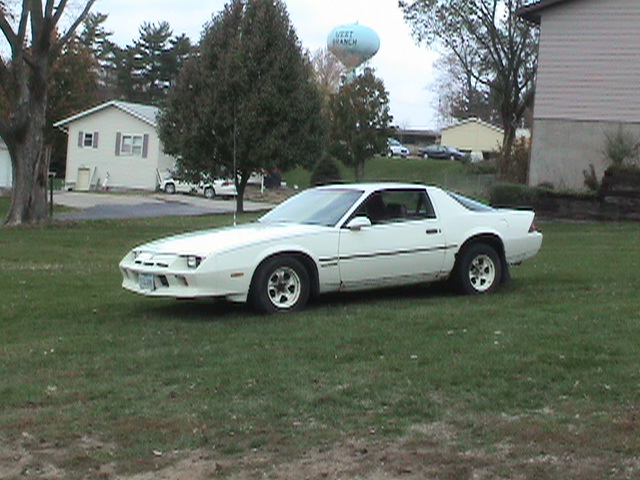
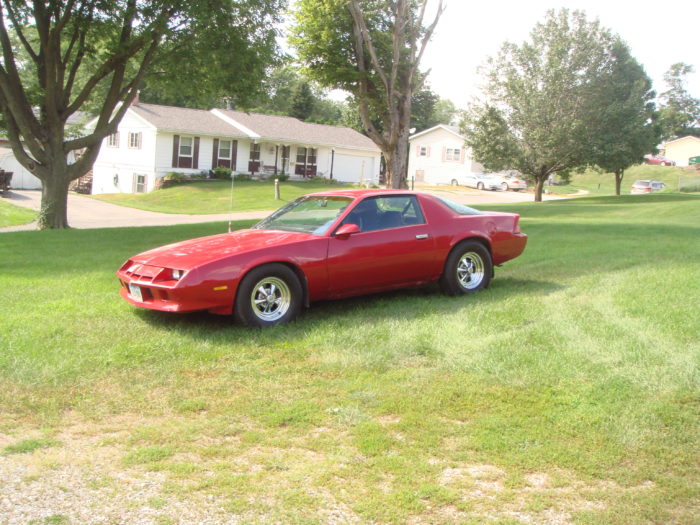
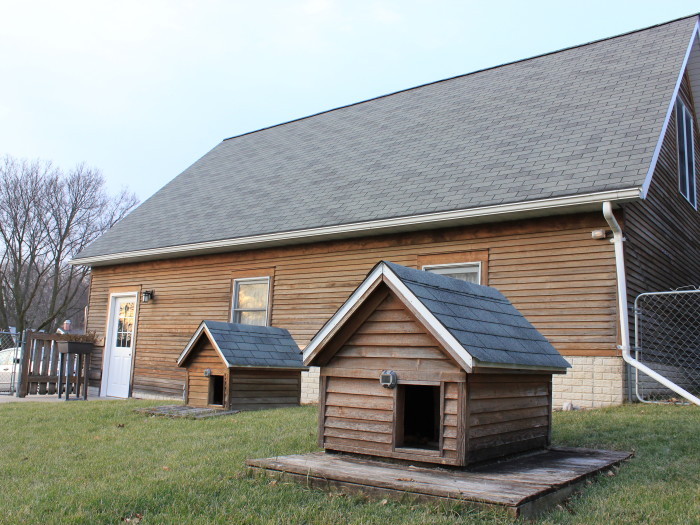
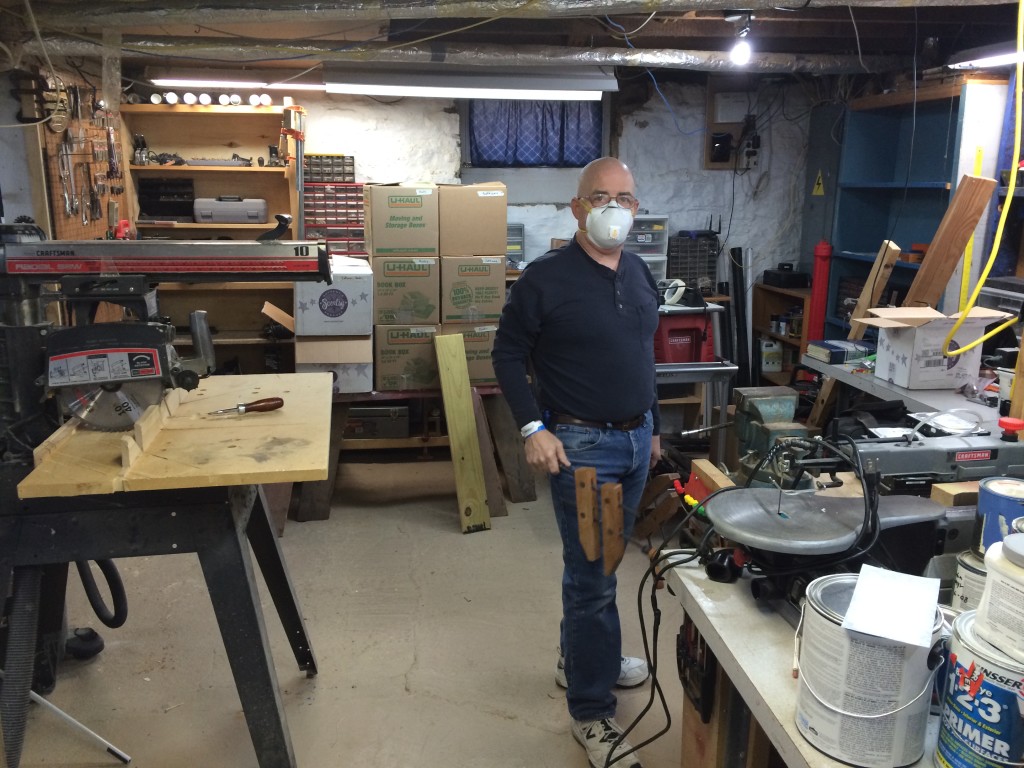
The new garage is where I would learn to weld replacement panels onto a Suburban, paint two vehicles and countless other lessons in being handy. I also watched my dad build two doghouses that were identical to the garage itself, which I have always thought was cool!
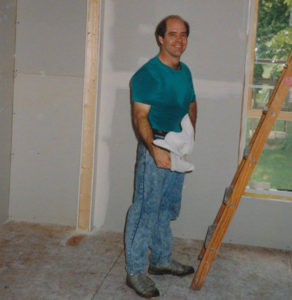
Photos showing the vehicles we painted in the garage together:
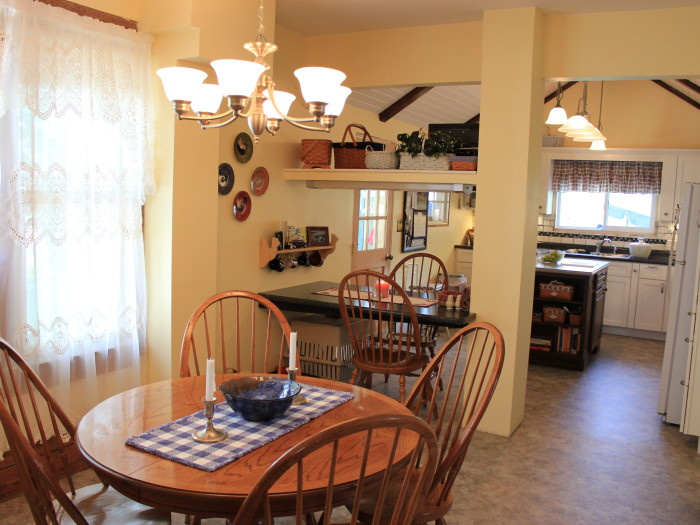
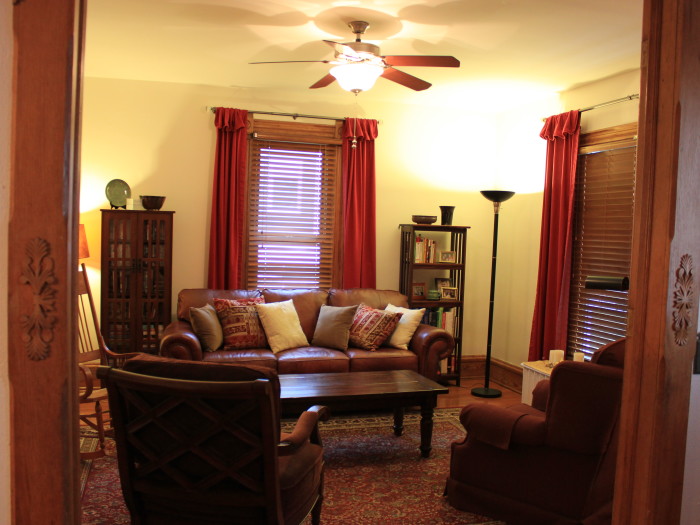
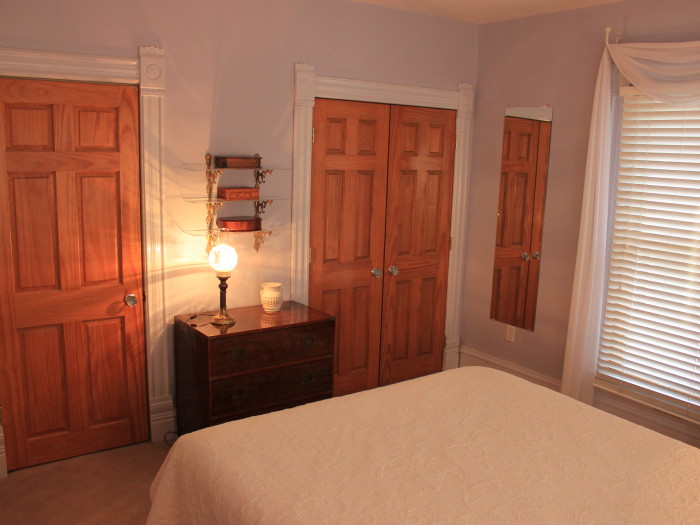
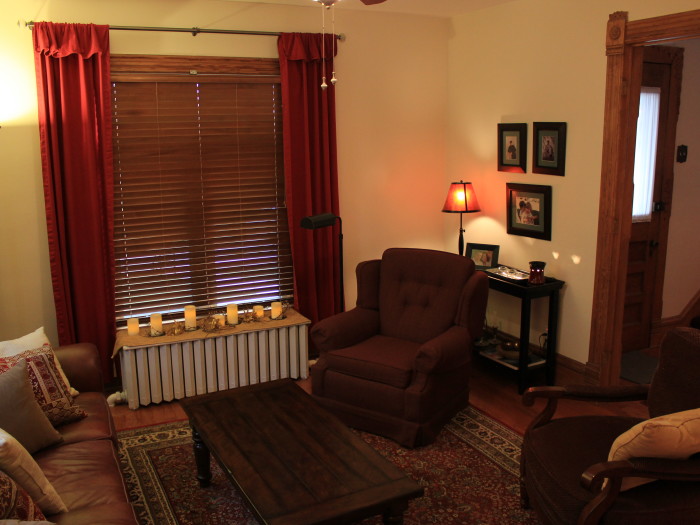
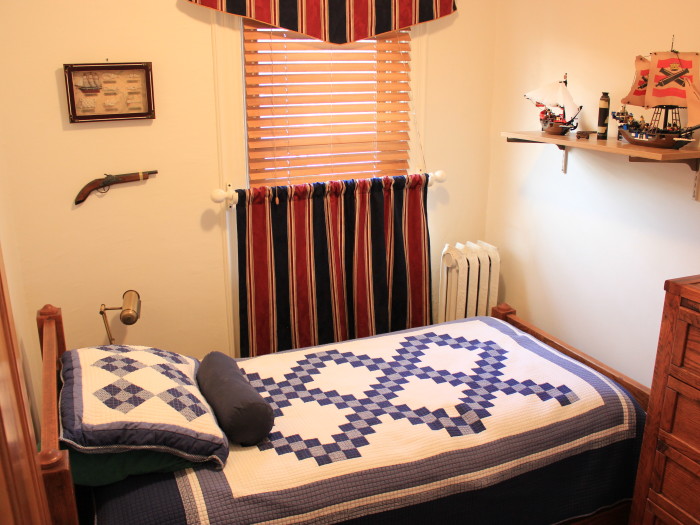
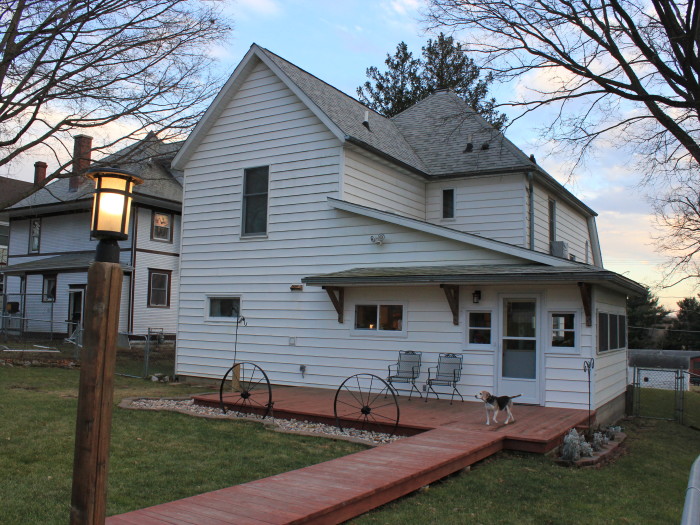
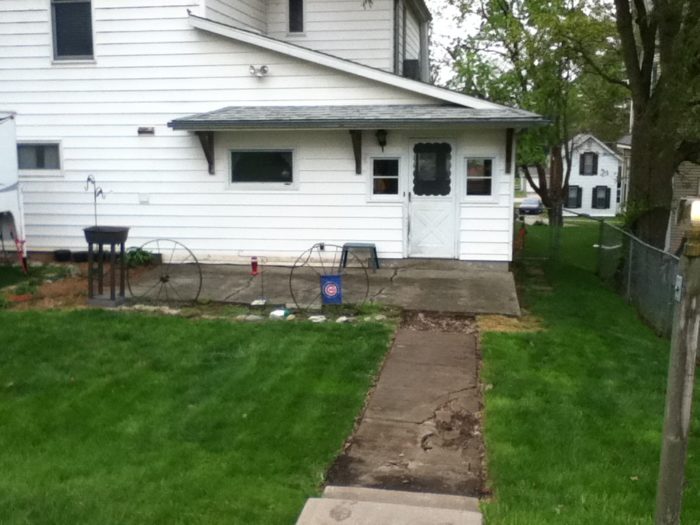
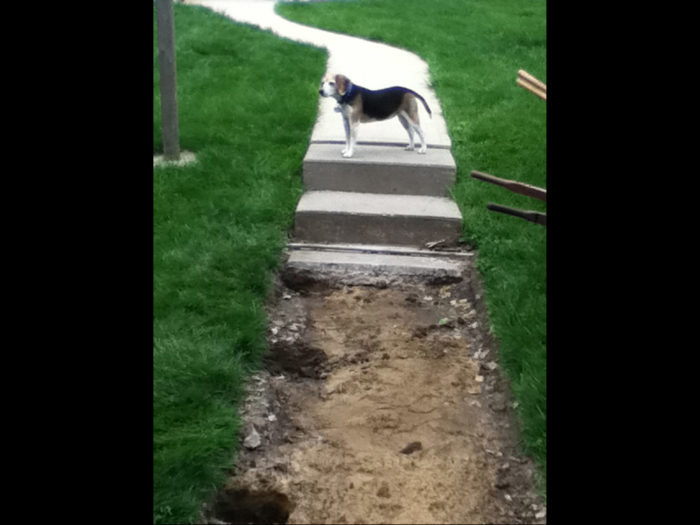
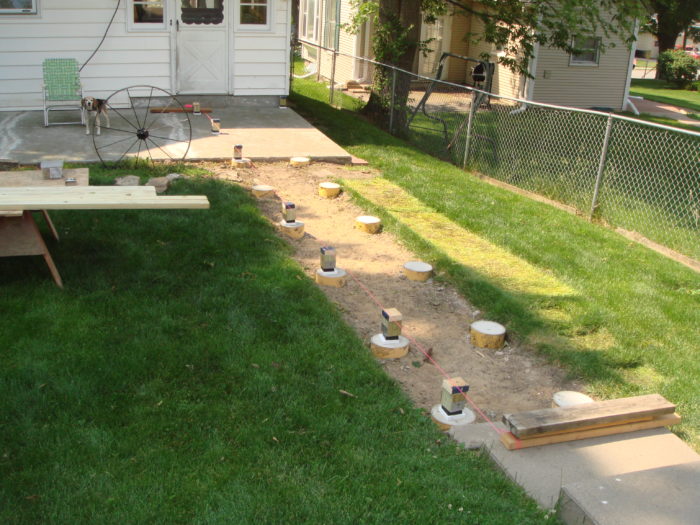
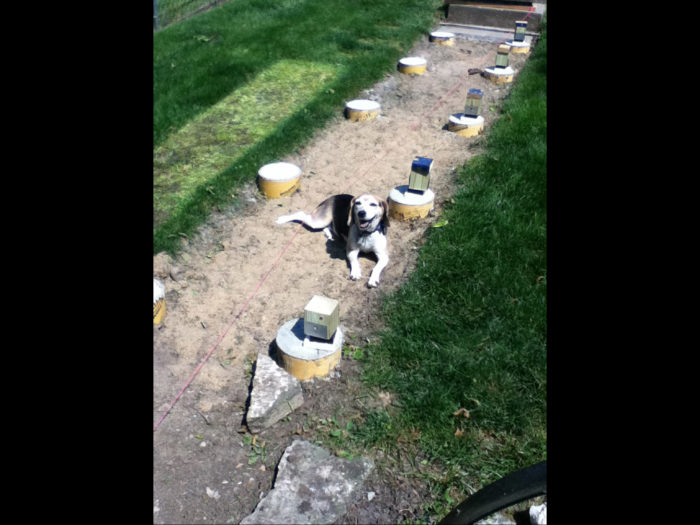
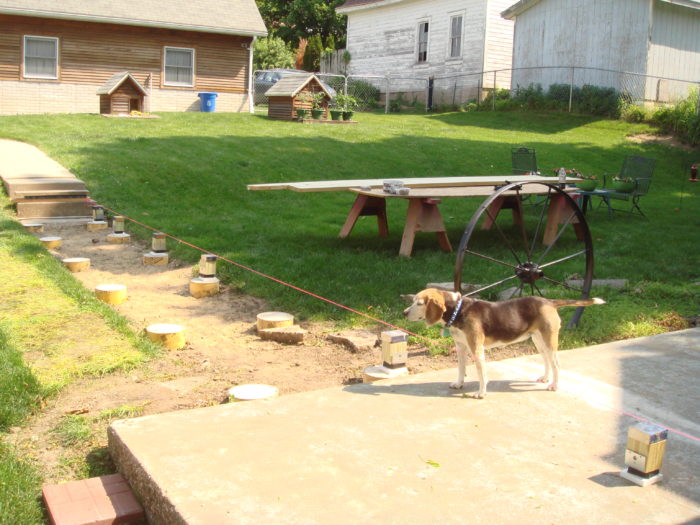
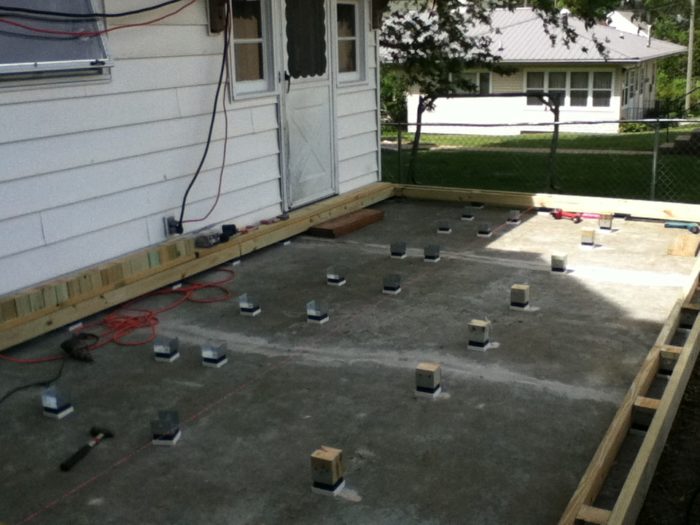
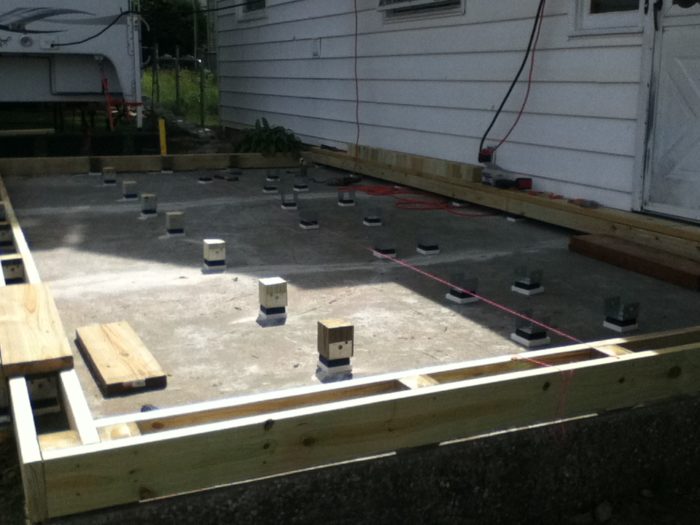
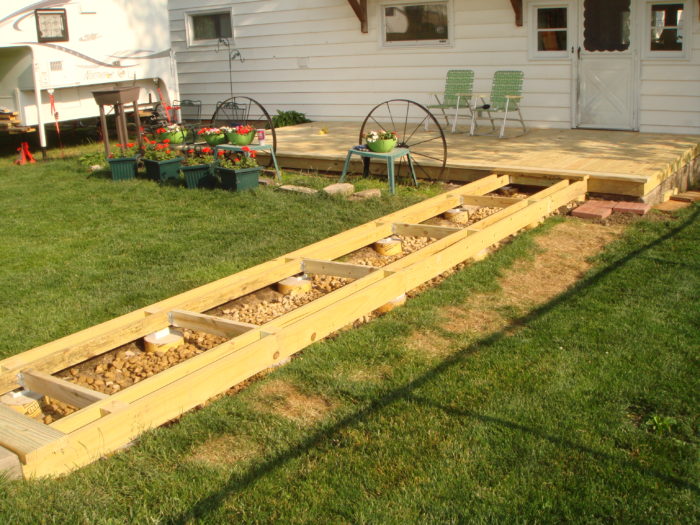
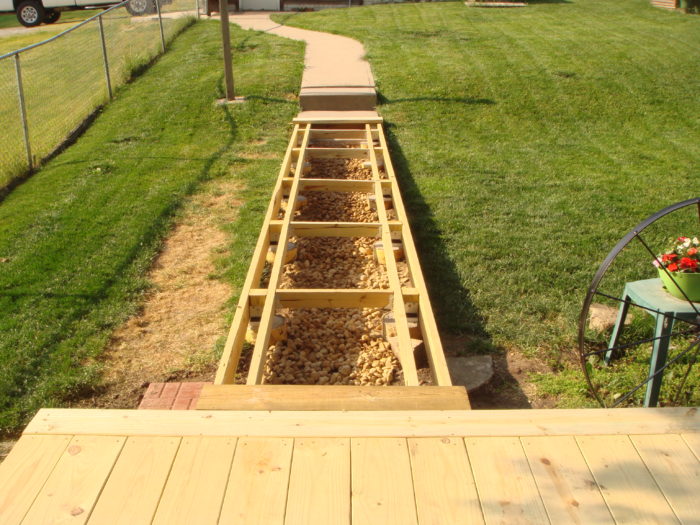
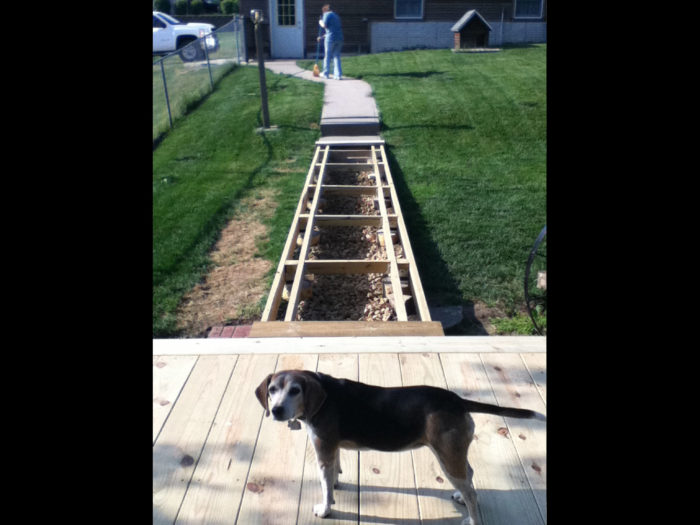
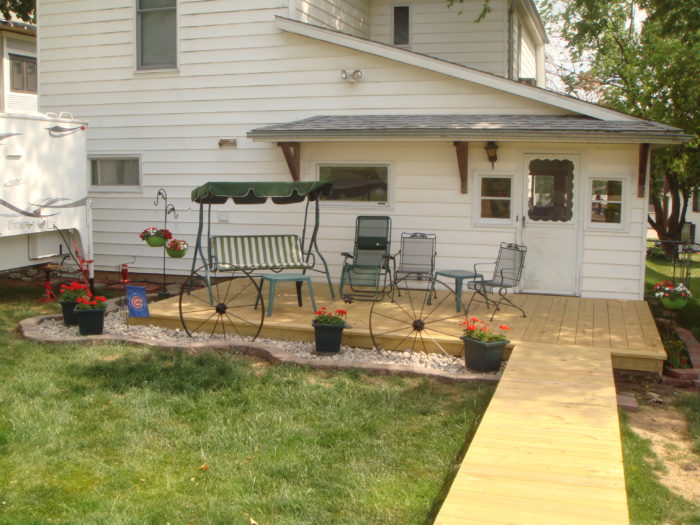
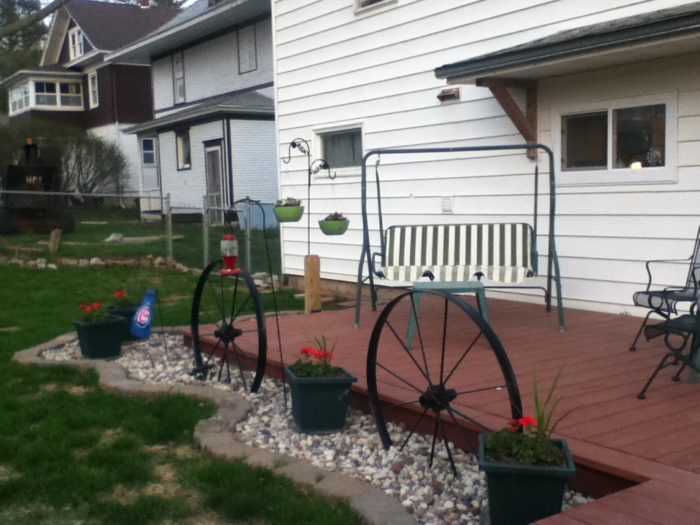
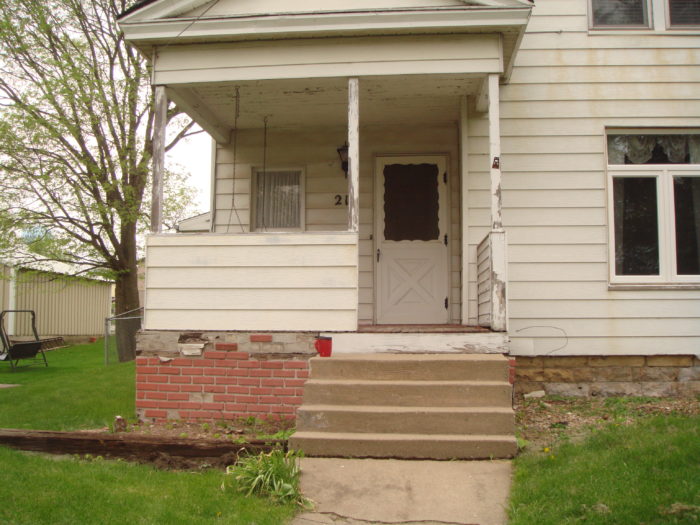
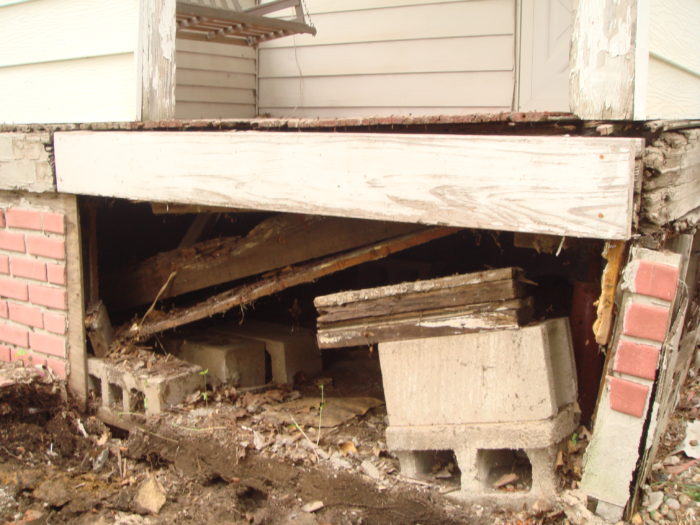
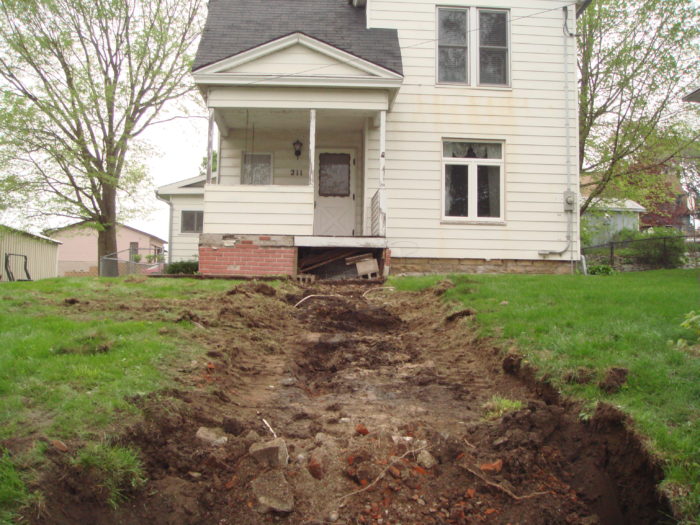
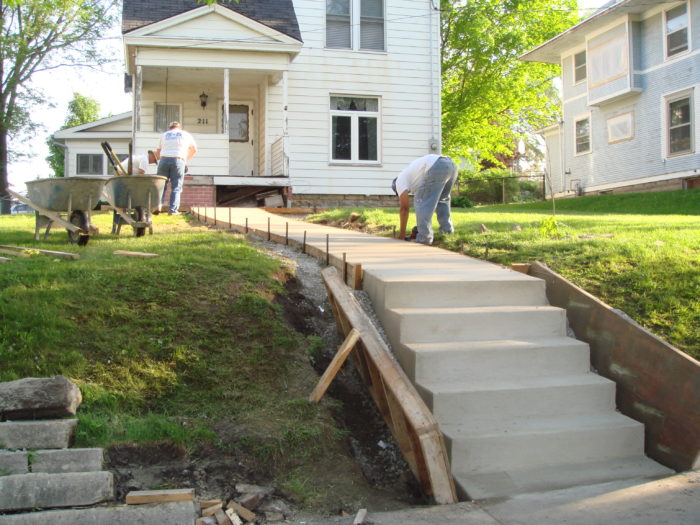
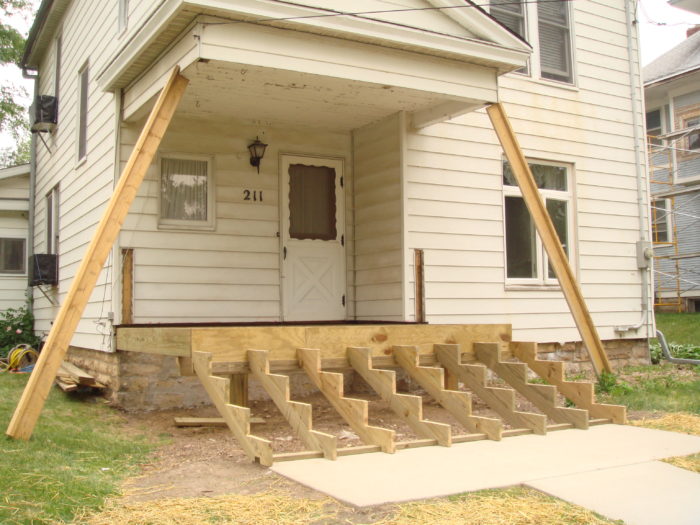
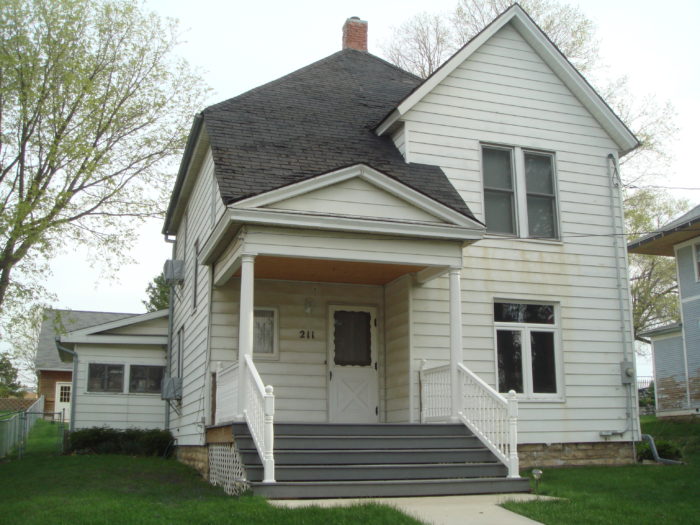
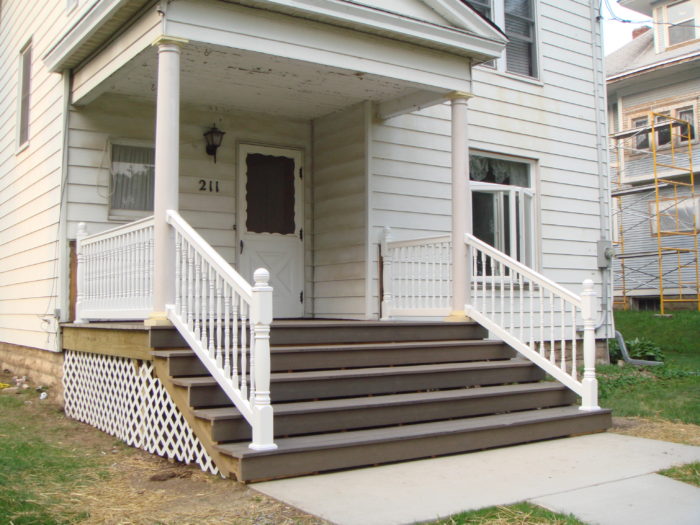
Below are a bunch of photos showing the improvements to my parents house.
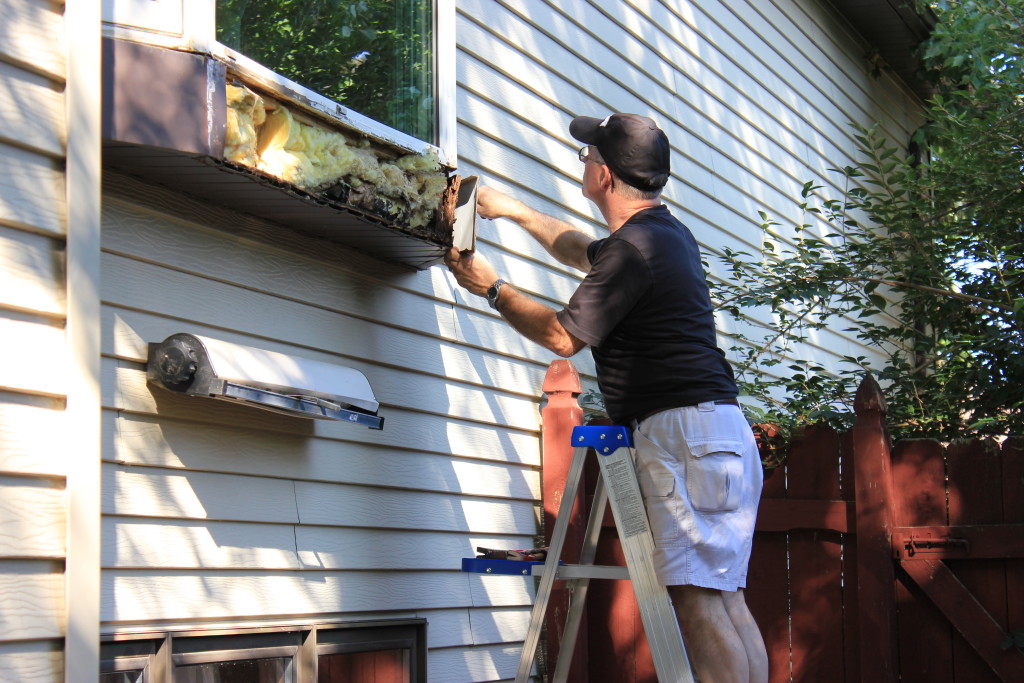
I spent about 10 years after high school in dorms and rental properties before Sara and I finally bought our own place. It was such a good feeling to be able to put holes in the wall and not worry about asking for anyone’s permission or what the landlord was going to say. I was also ready to begin making our own house into a home. The first weekend my parents visited us in our new house, my dad came with a truck filled with tools. It’s like he knew I would want to work on stuff, but also knew I probably didn’t have all of the equipment that we would need. He was correct. Together that first weekend we fixed a water problem with a bay window, which left untouched, would have resulted in thousands of dollars in damage.

Around that same time, my dad started to mention pain in his shoulder. At first, he figured it was probably the effects of a lifetime of manual labor. However, the pain ended up being an indication of something much worse. In the Fall of 2013, doctors diagnosed my dad with Multiple Myeloma, a cancer of the blood plasma cells. It was terrifying to watch my dad, who had long been the strongest person I’ve ever known, become frail and incapable of doing the things he most enjoyed in life.
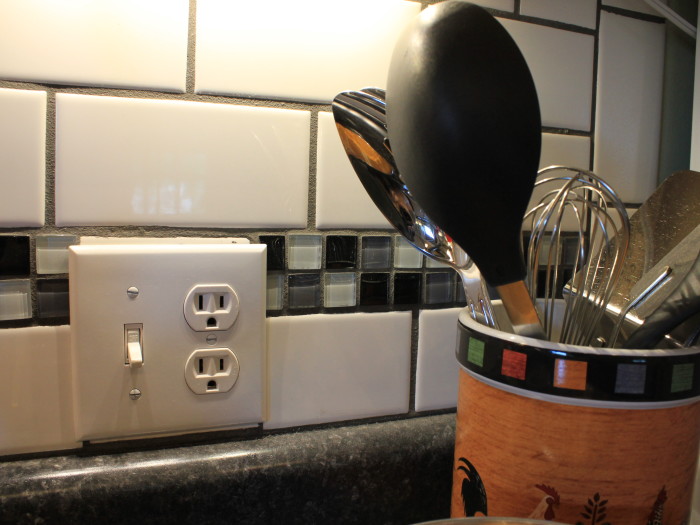
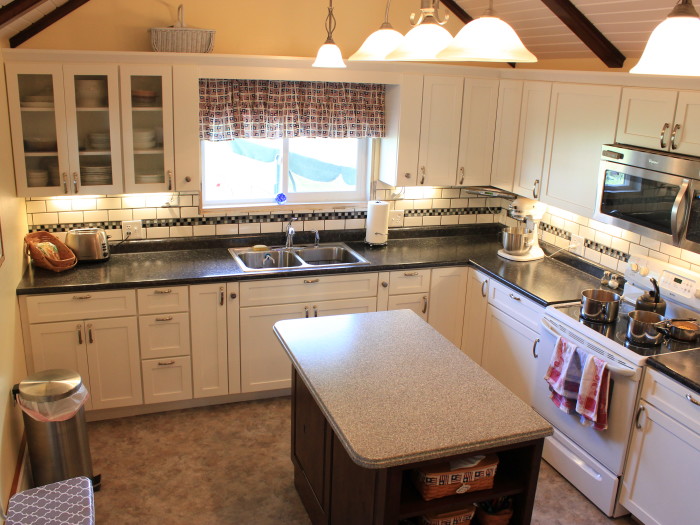
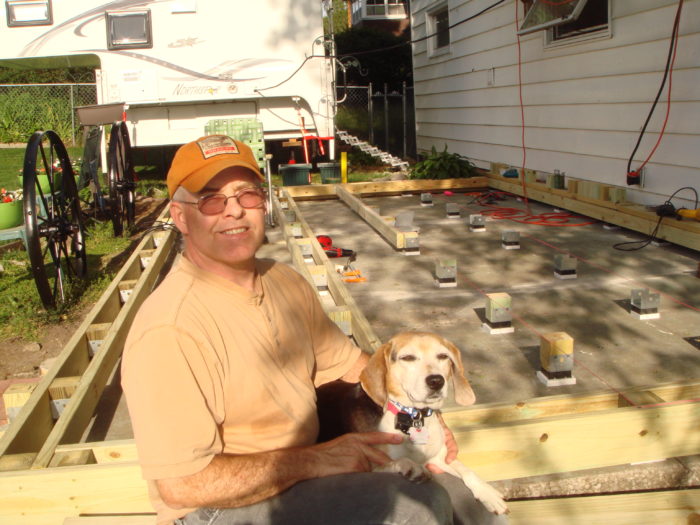
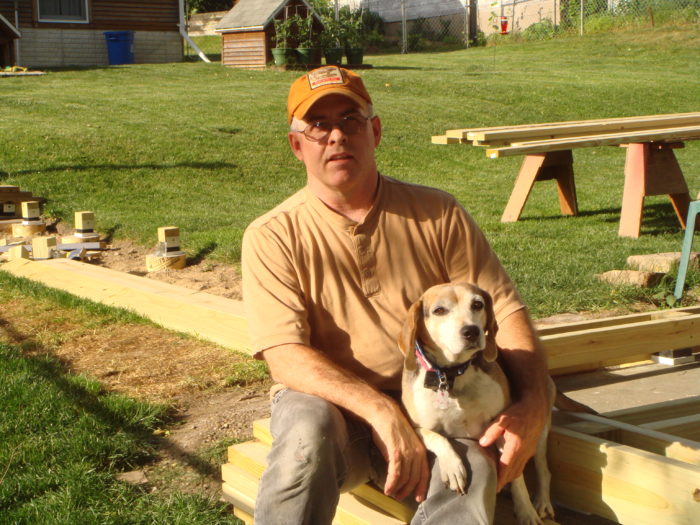
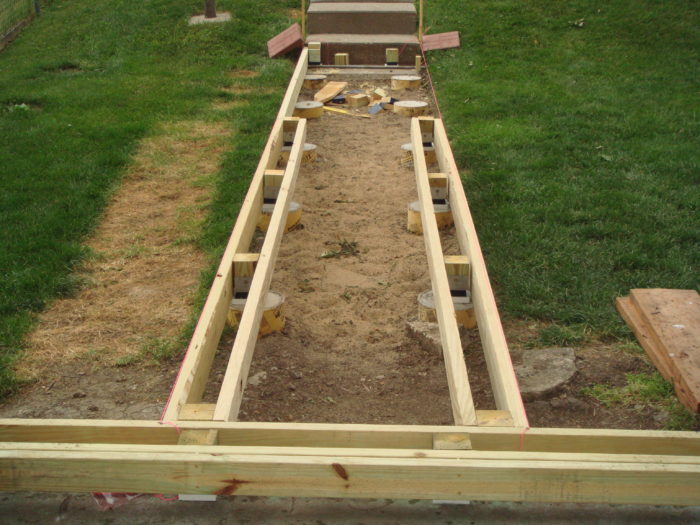
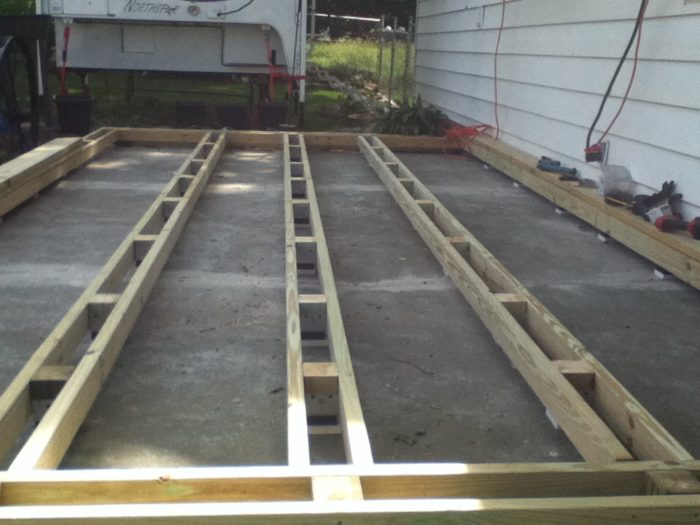
Much of the work you have seen done on this blog over the past three years (2014-2016) was completed as my dad underwent chemotherapy and bone marrow transplants. When moving in, I had assumed my dad would be able to visit every few months to help me tackle a new project or share his insight. However, the treatments meant a compromised immune system and travel was impossible. In a way, I saw my projects as a way for me to keep my dad’s drive for improving things going while he wasn’t able to be there in person. I would often video chat with him to ask how he would go about a certain task, or if he had any ideas. He helped me design the banquette, walked me through soldering copper pipes, taught me how to replace power outlets, and many other things. I am very happy to report, three years later, my dad is in remission and becoming stronger everyday.
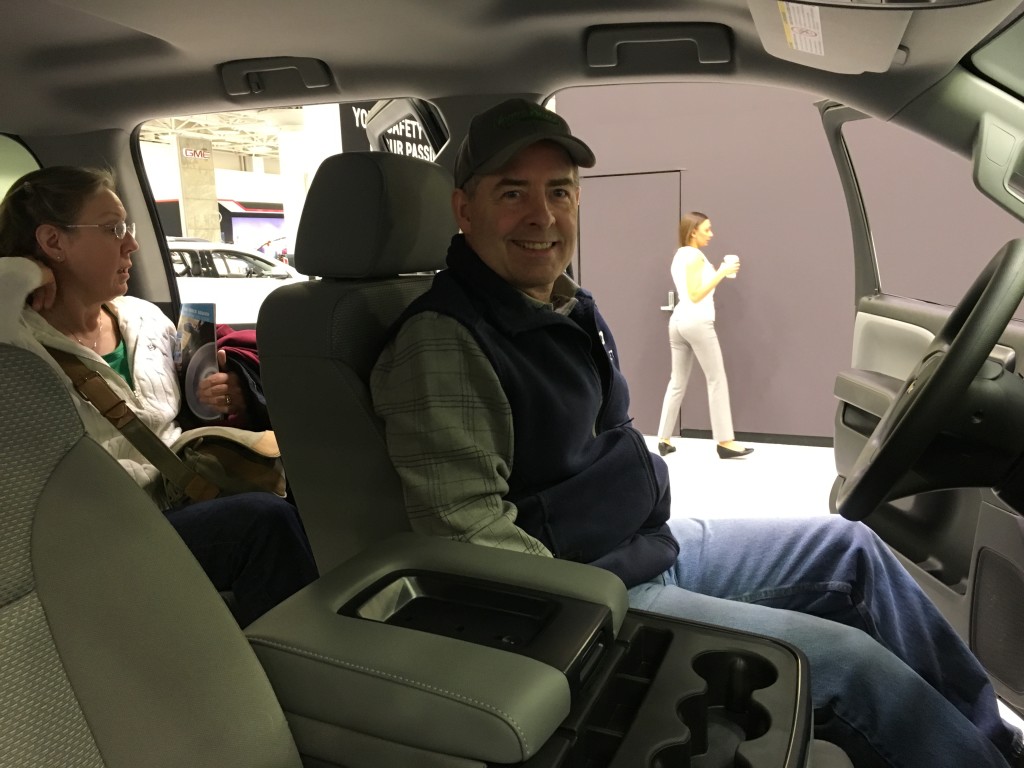
First visit to Minnesota in 3+ years since diagnosis. All smiles as we checked out the new trucks at the Twin Cities Auto Show.
I am very thankful for the lessons my dad taught me over the years about not only home improvement, but also about finding something you are passionate about and doing it whenever possible. Hobbies are a way of life in the Verlo house, no matter the era.

![IMG_1840[1]](http://verlohousetohome.com/wp-content/uploads/2017/06/IMG_18401-1024x768.jpg)