WAYYYY back in the summer of 2013, before we had even begun the home buying process, I had started looking at home blogs for ideas of what sort of style I want to bring into my own home. One of my favorite blogs is thehouseofsmiths.com – go check it out. Everything that they do is so clean and sleek. It was while pursuing their site one day that I found the inspiration for our next big DIY project. A front entry bench (check out the inspiration).
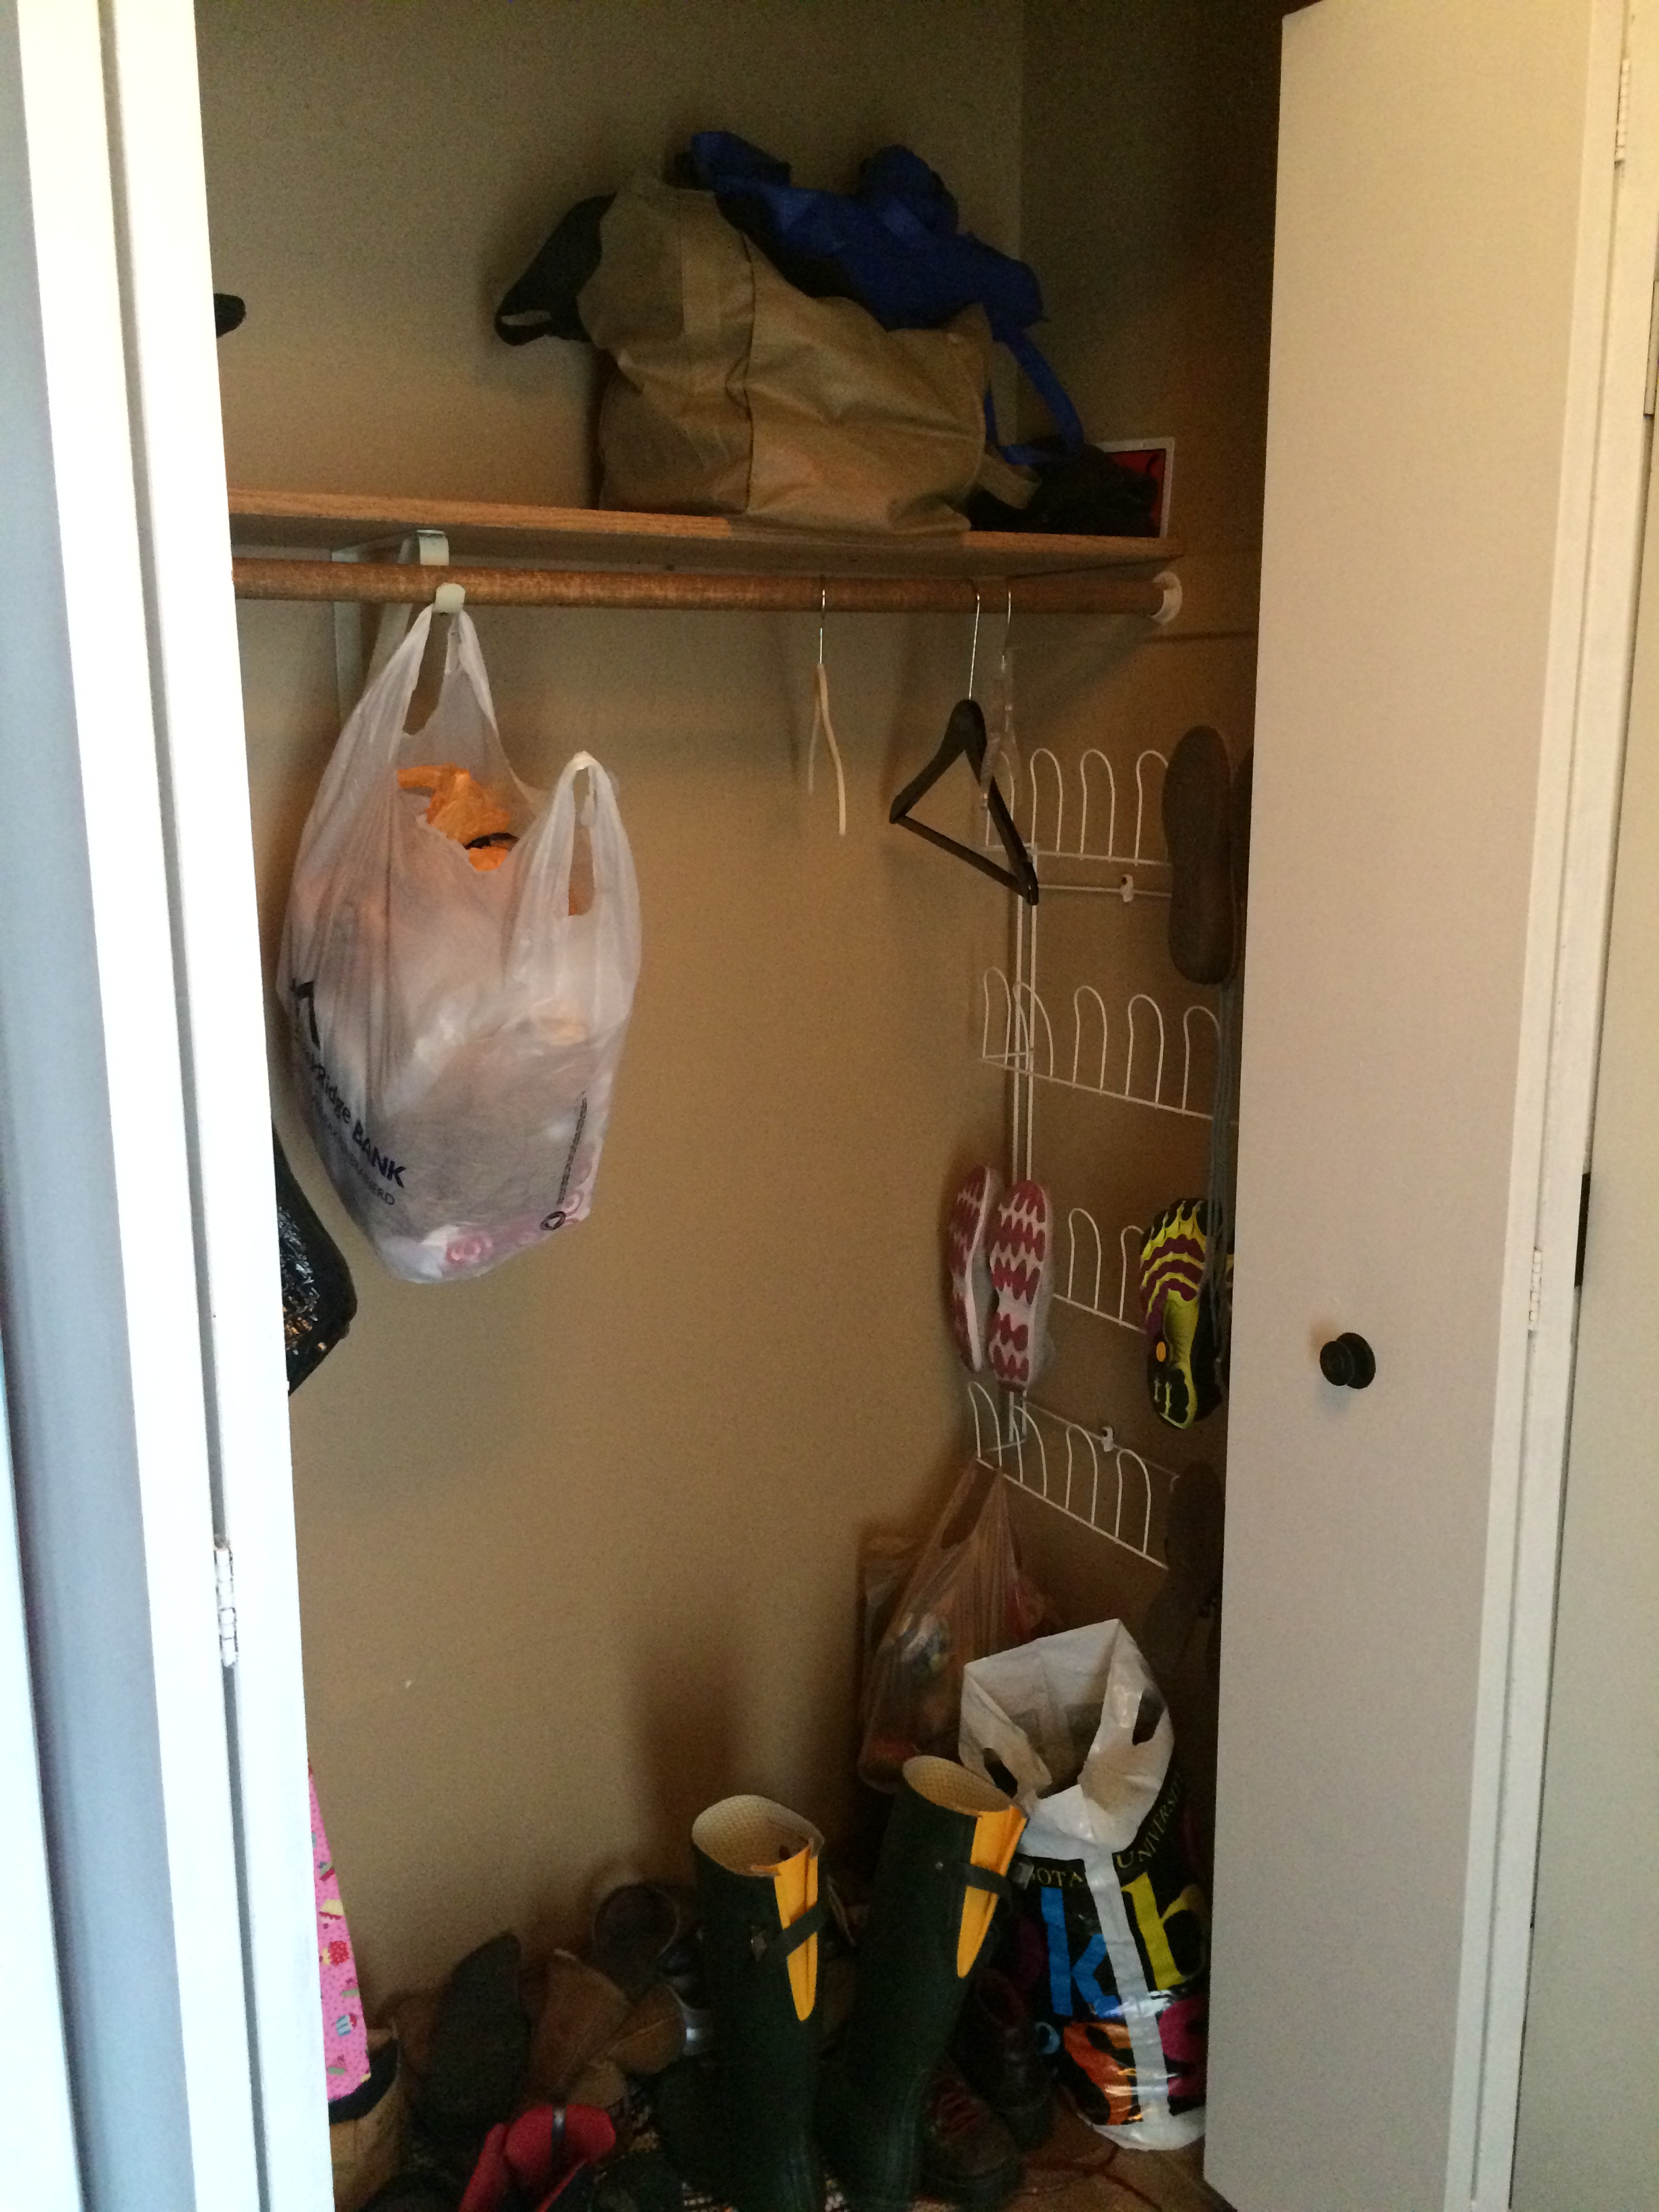
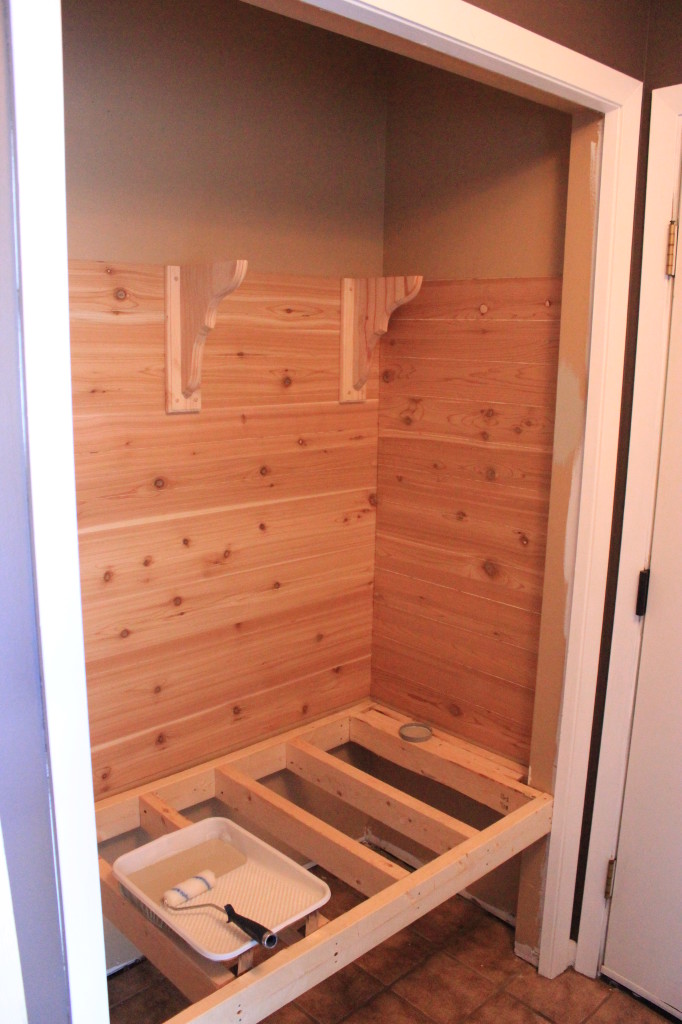
So here is what we started with. While I don’t think our front entry closet was by any means useless, it just wasn’t necessary. We’re also lucky that we had a full-size closet to begin with, as the inspiration blog did not and removing wall was necessary in their case.
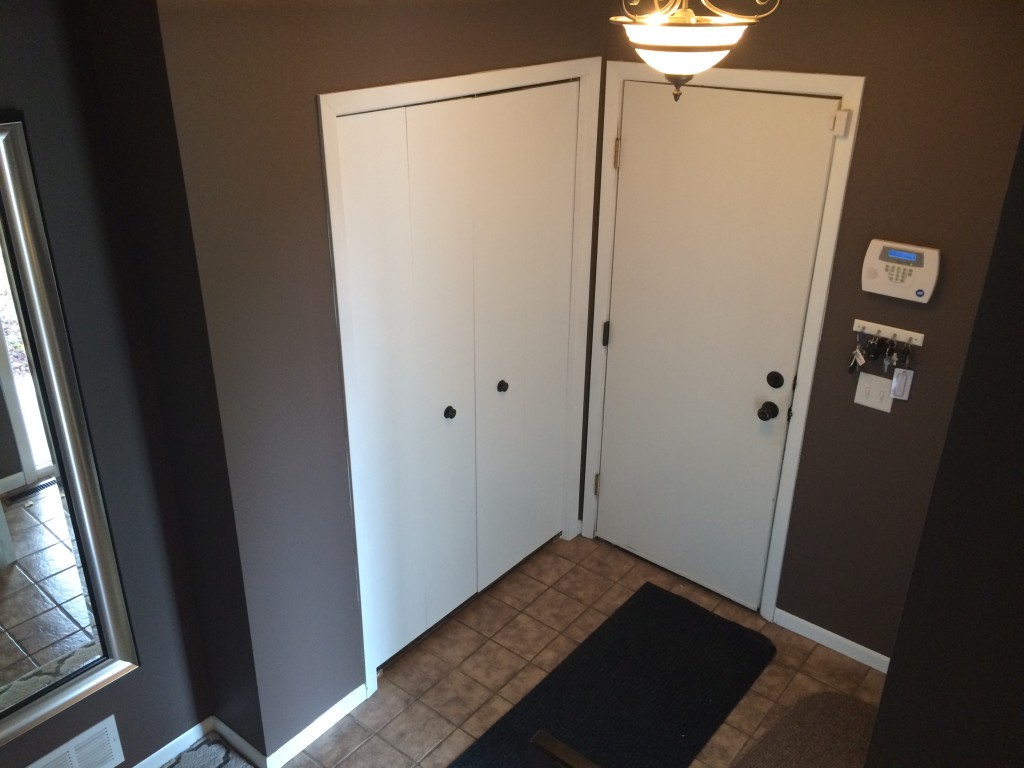
Before

“I’ll just make it smaller than all the rest.”
I questioned whether or not I wanted to post the picture on the left of the inside of the closet, but whatevs – you needed to know my plight (and we’re all family here -right? – so no judgement).
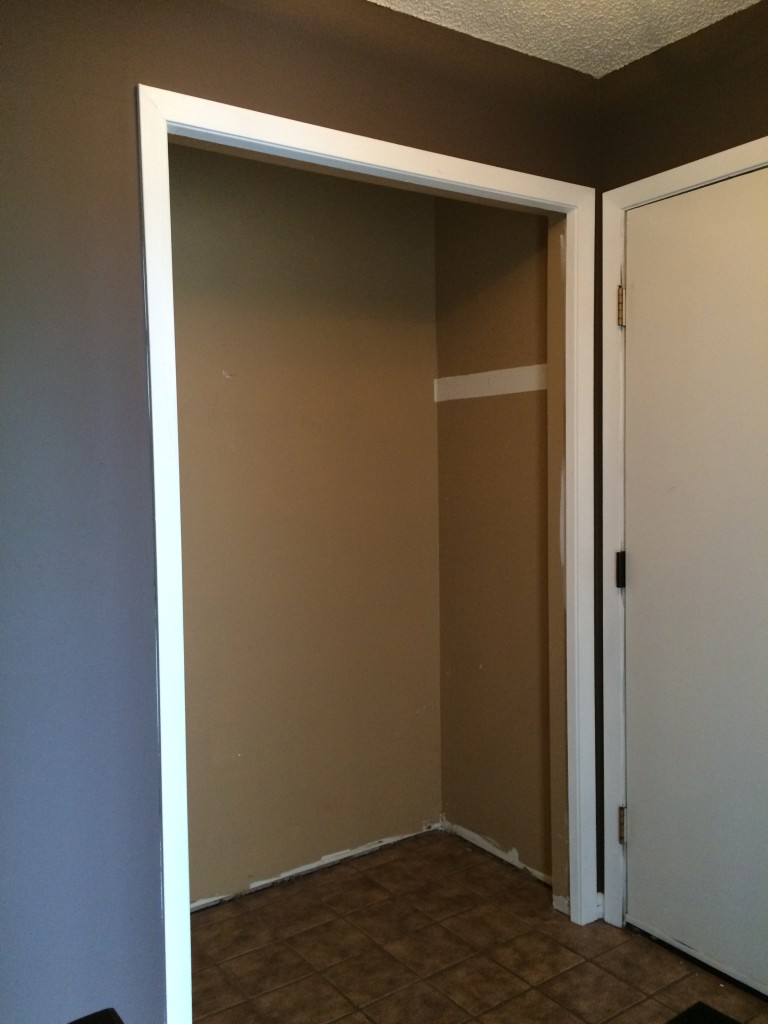
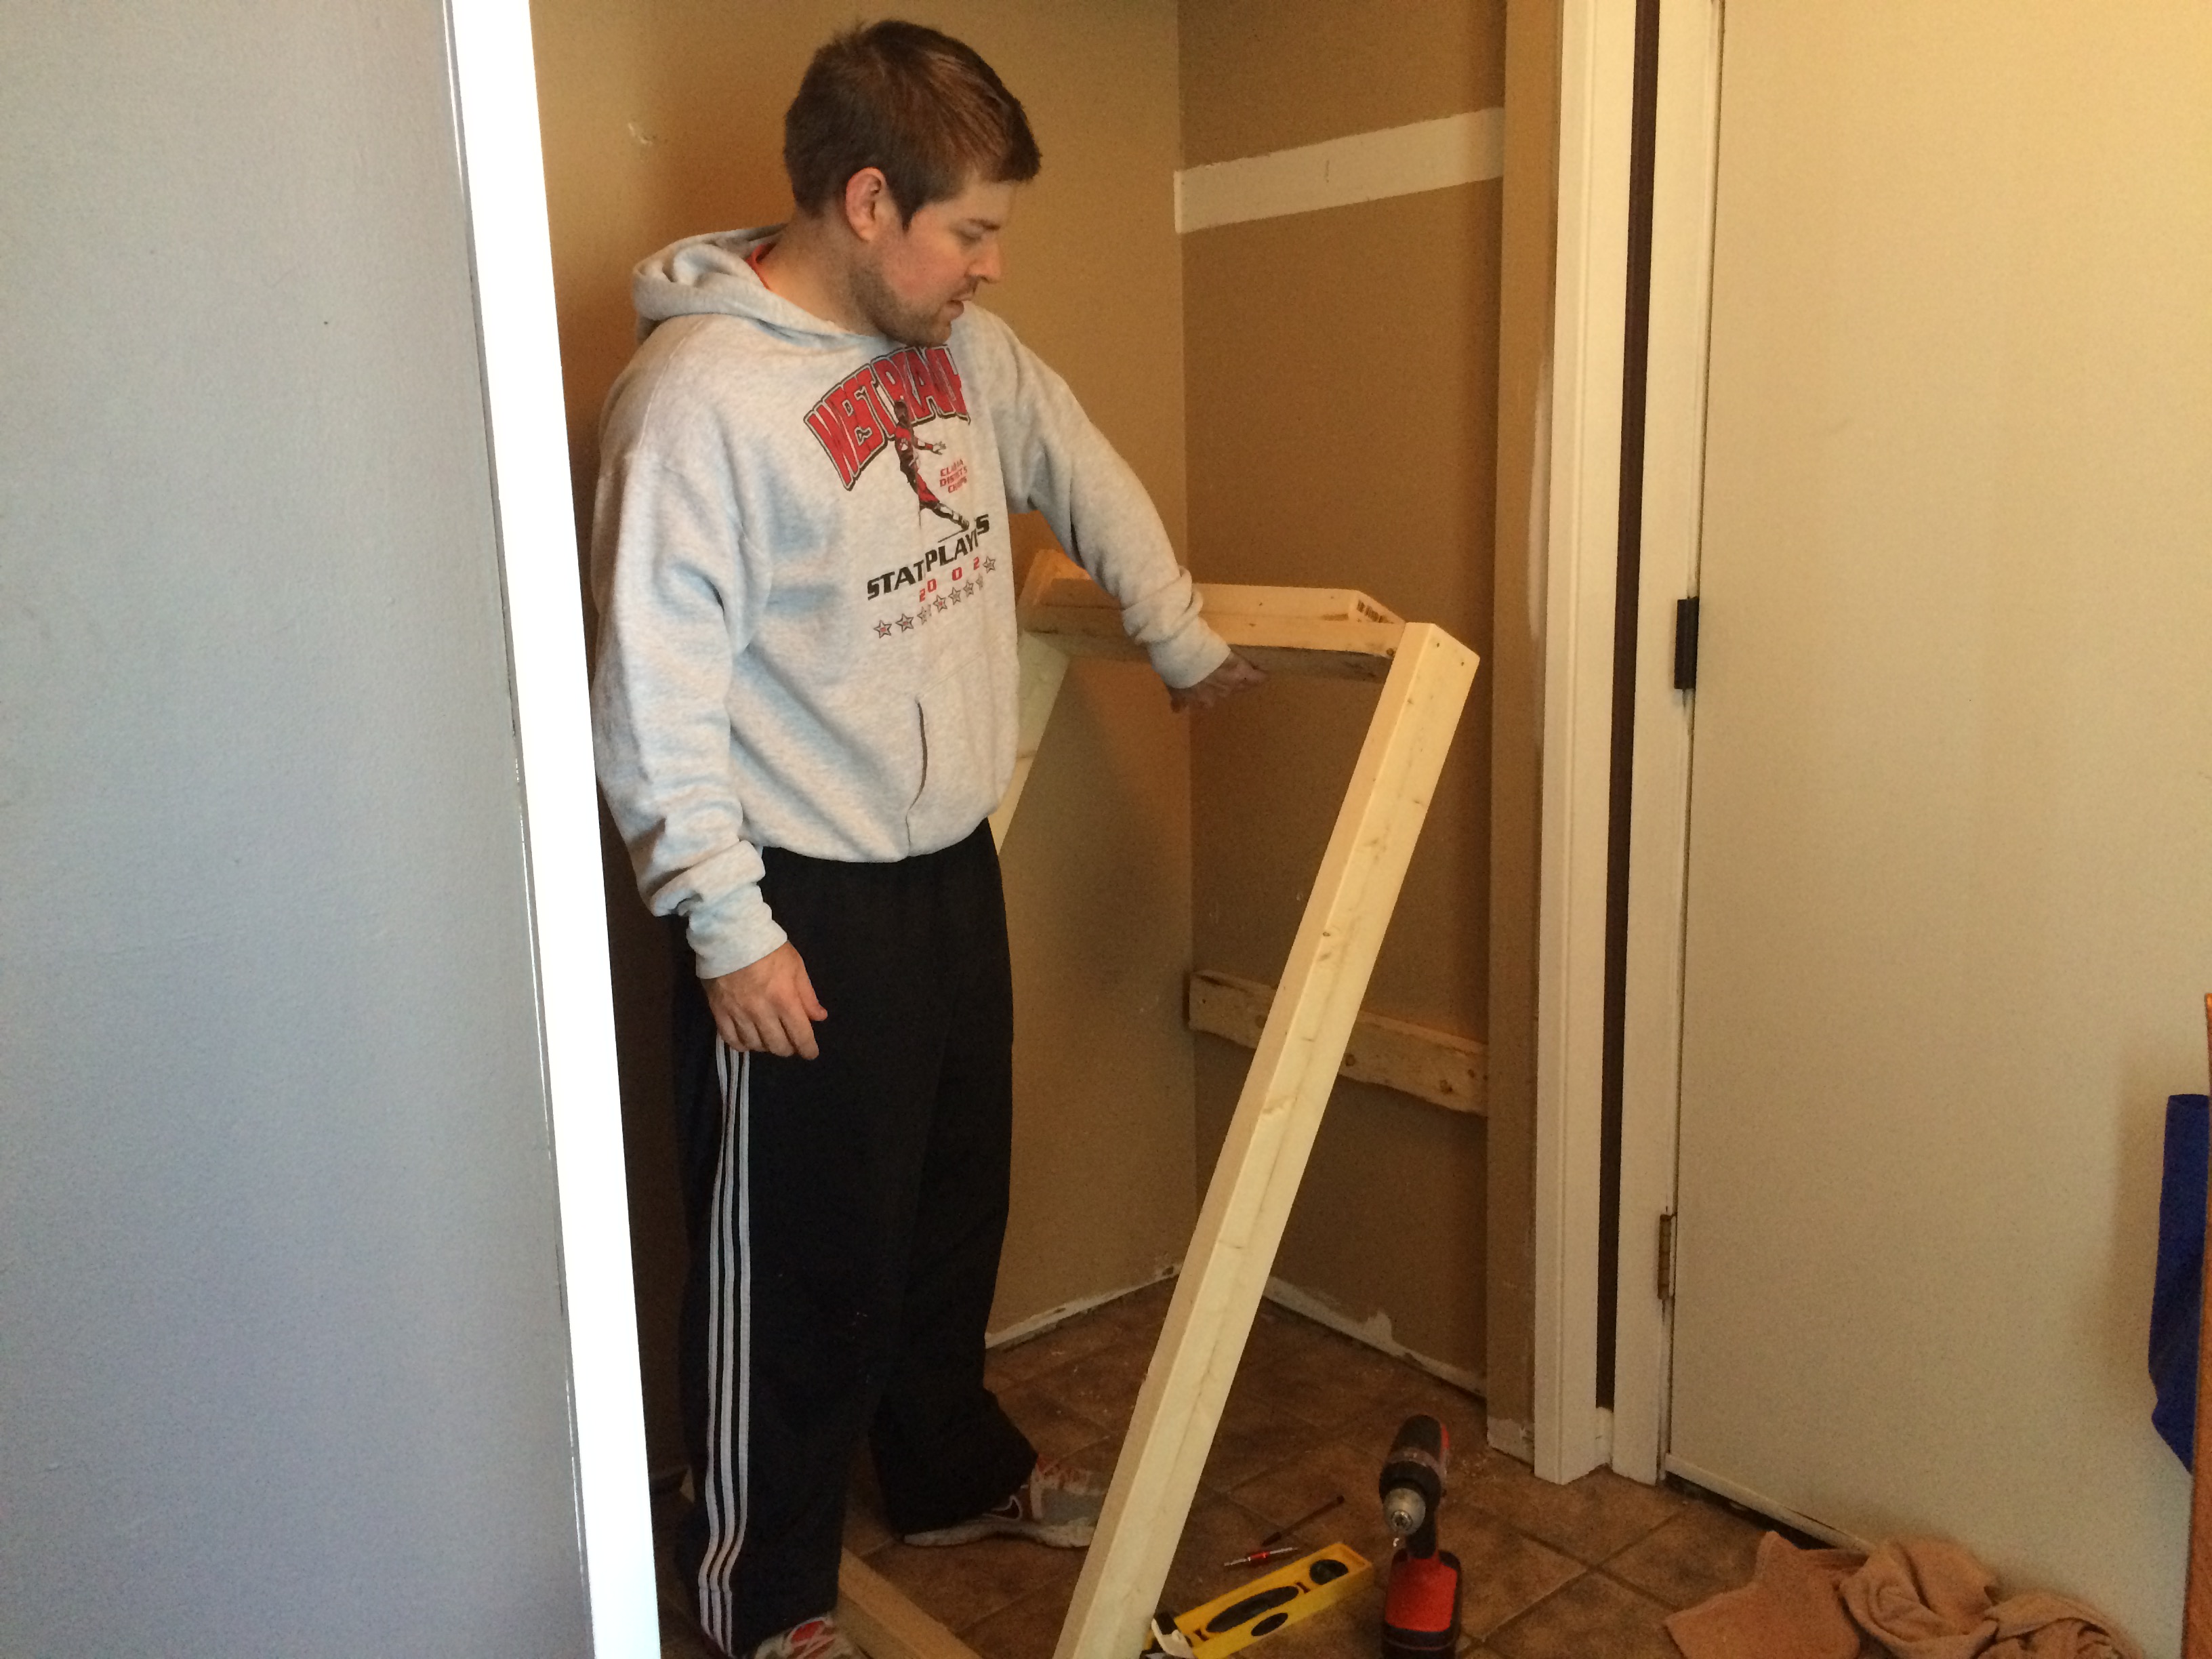
Empty and ready for inspiration!
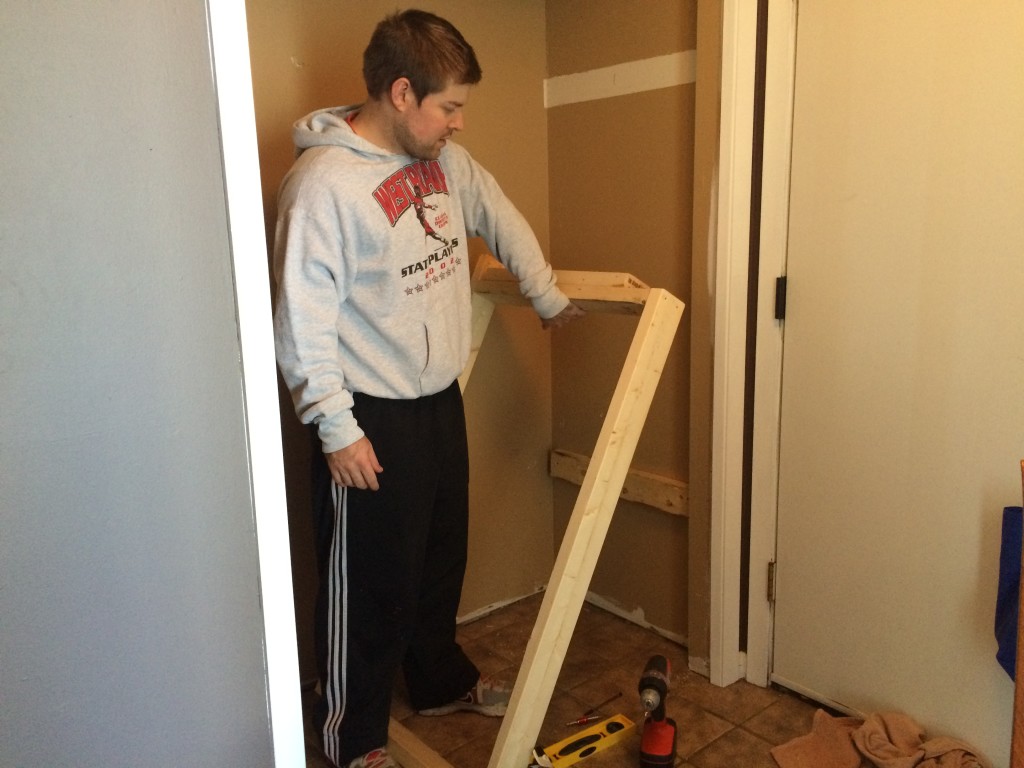
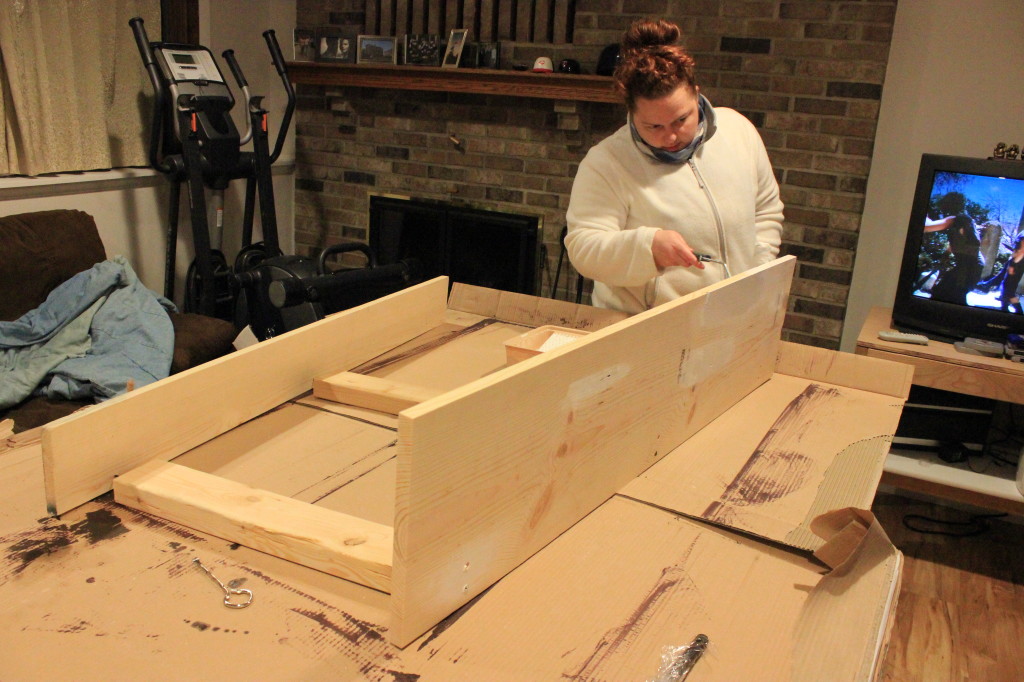
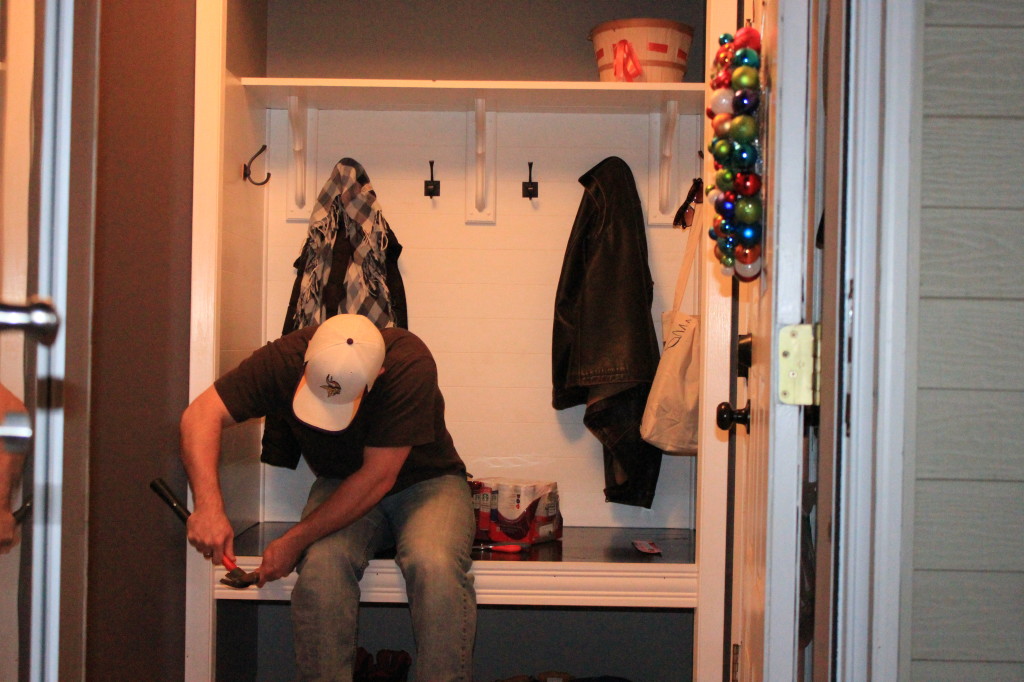
Mike is having geometry flashbacks.
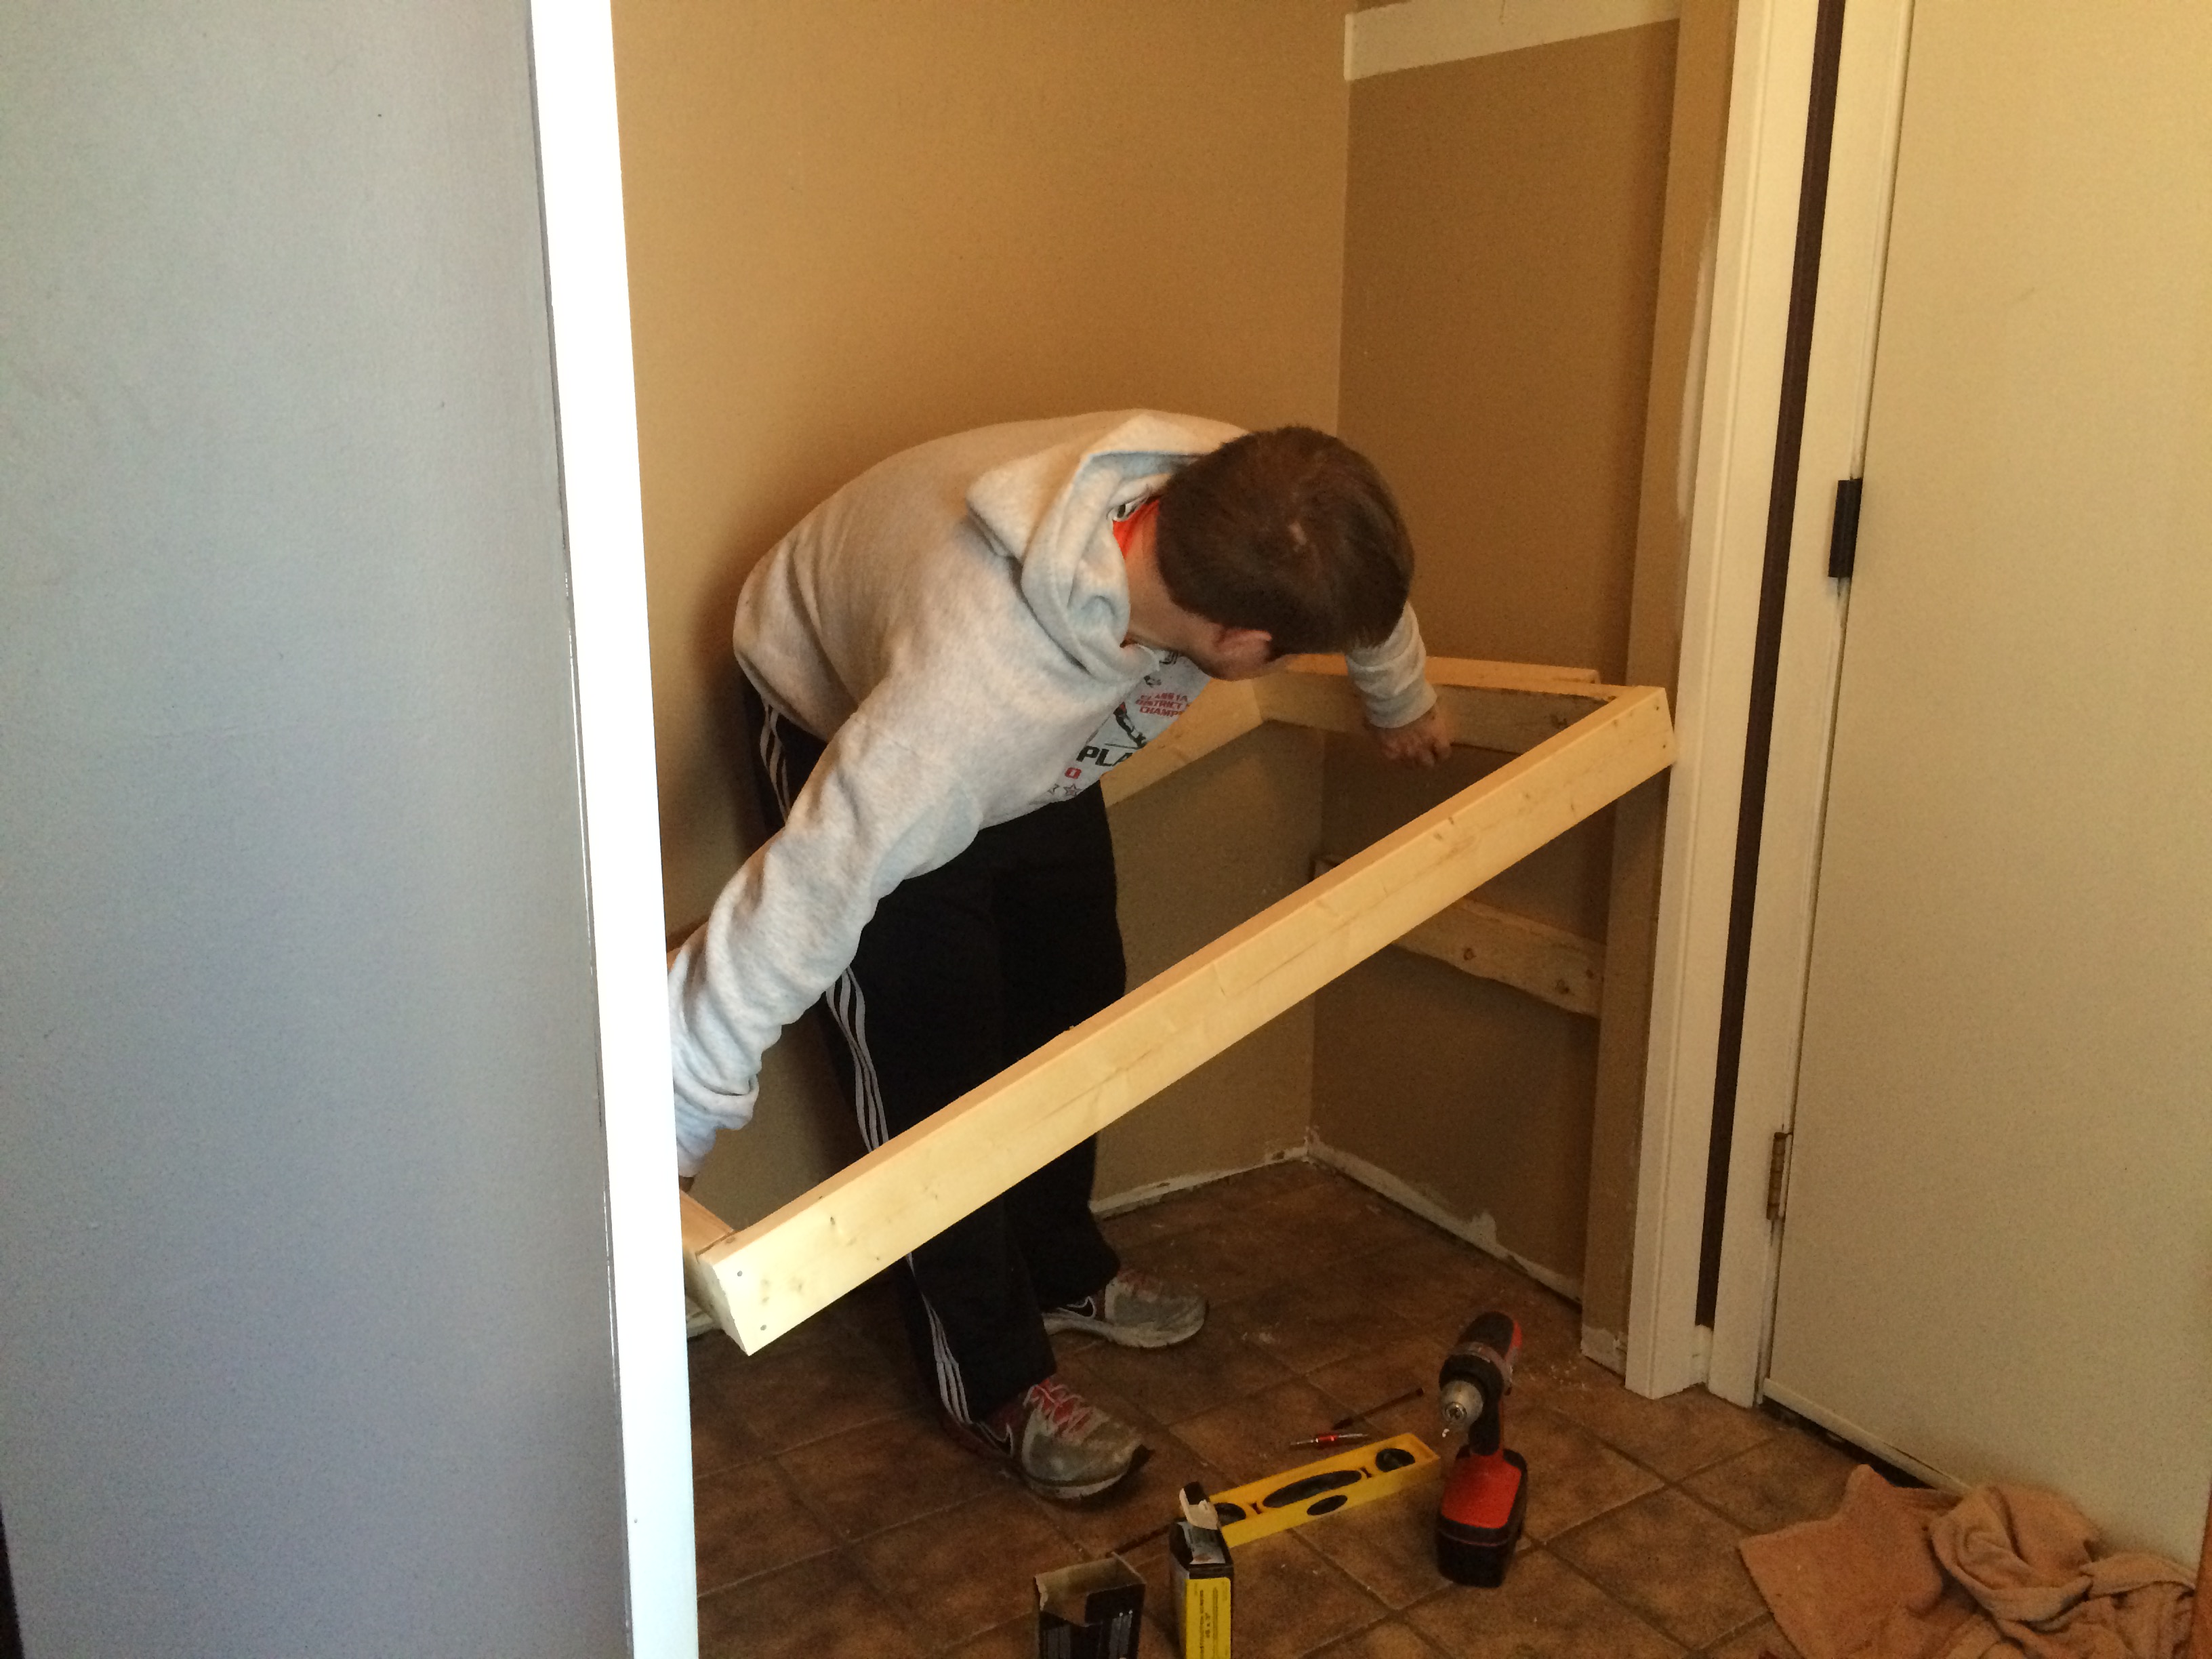
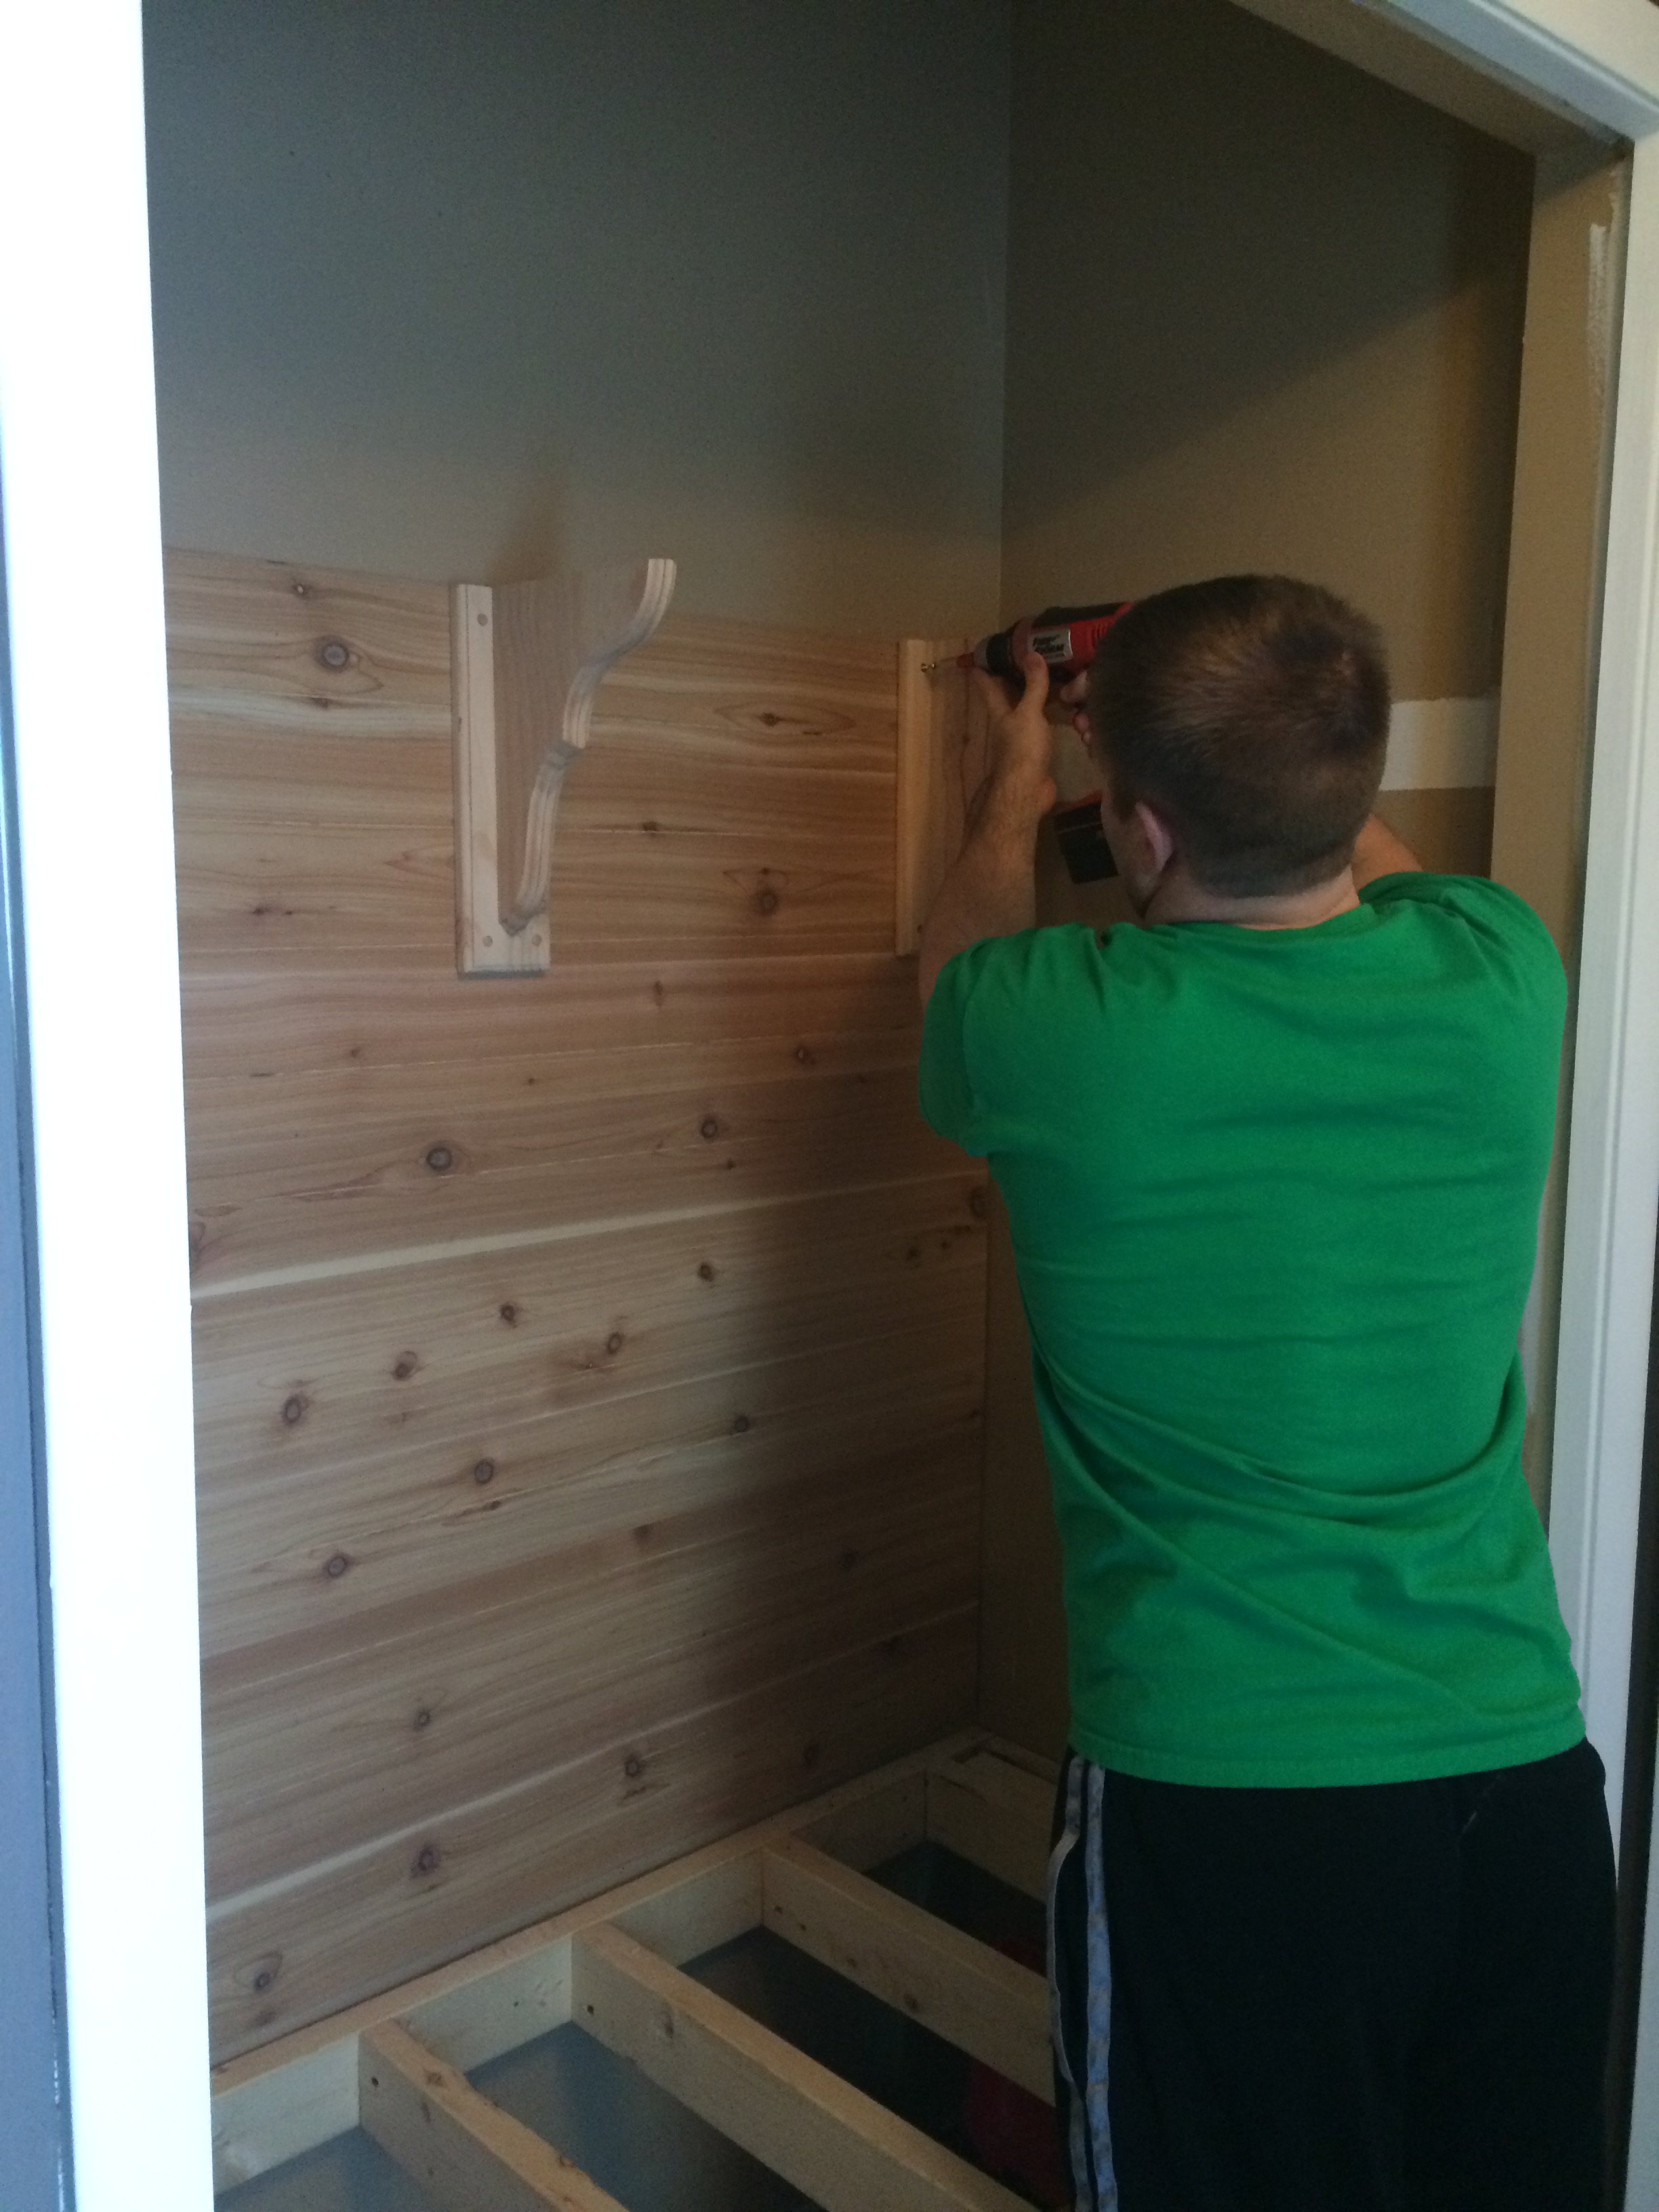
Using the inspiration blog as a guide, we started with creating a simple frame for the seat. You can see in the photo below we also nailed up a 2×4 as a guide for the height of the bench.

It was at this point that the one man frame-placement turned into a two-man job for accuracy and I put down the camera.
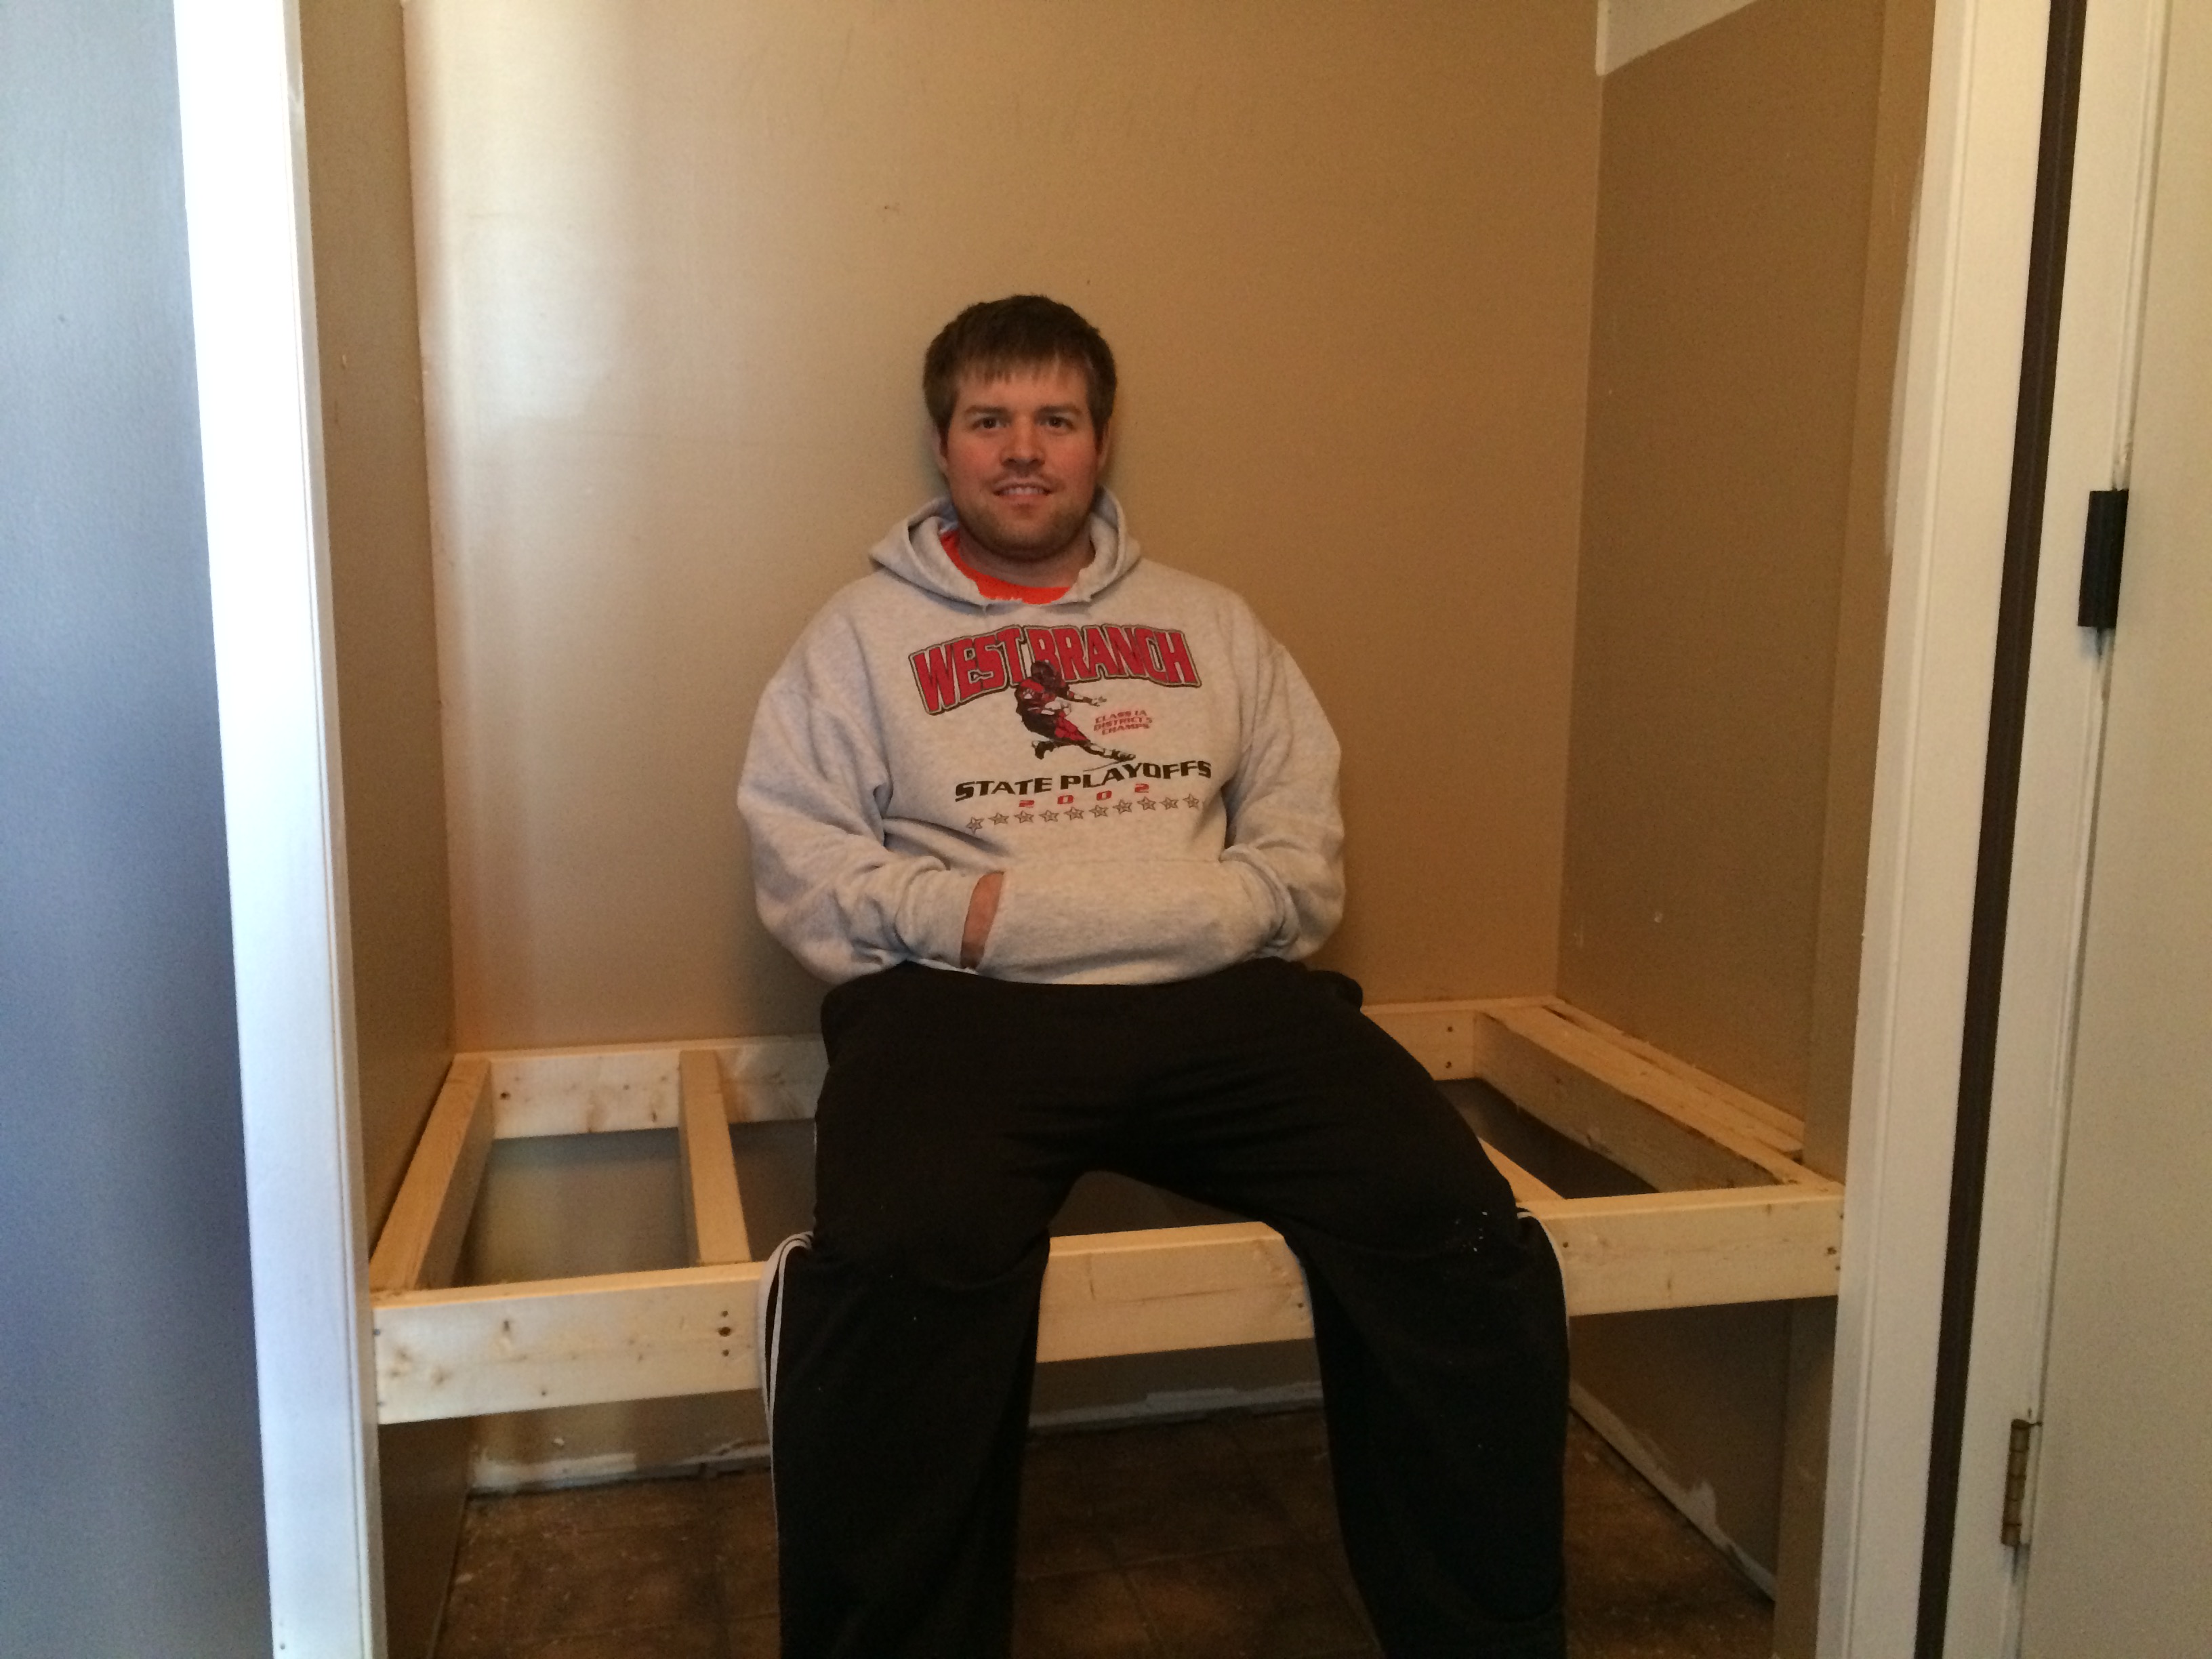
After the frame was in place we added four more 2×4 beams to further support the weight of the sitter. Lots and lots of giant nails and screws were used in this part of the build. My biggest fear is that I’ll be showing the bench off and the admirer will bust the seat off the wall.

All set and sturdy!
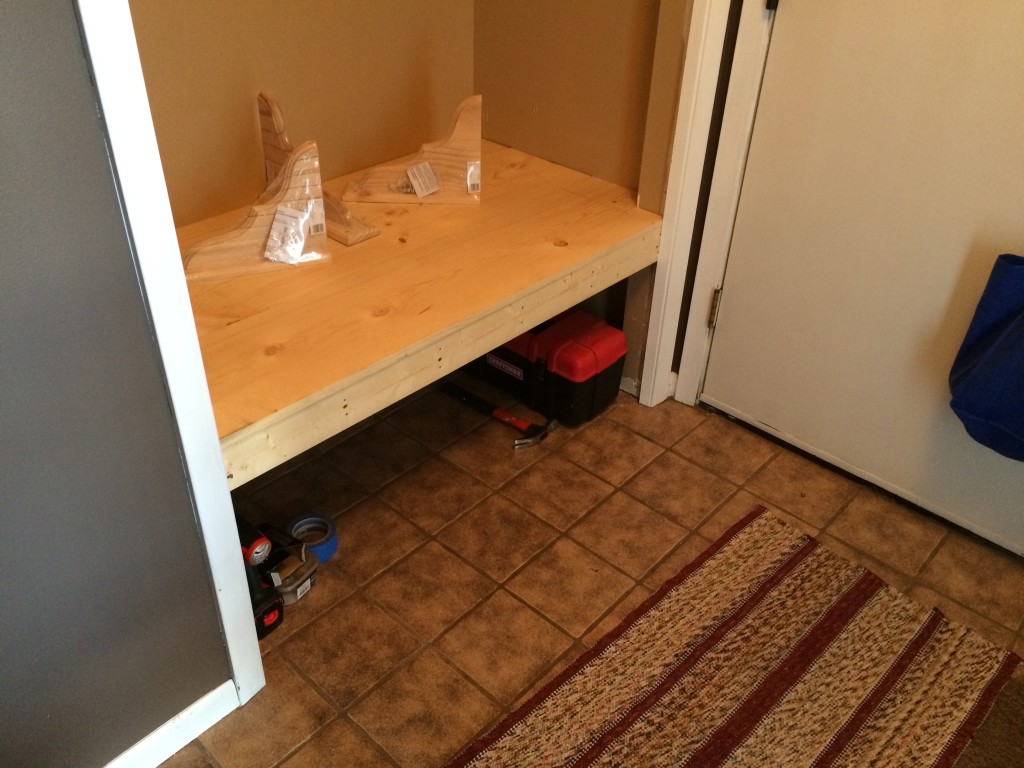
Now with pine seat boards fitted into place. You can see we were quick to take advantage of the new storage space during the building process!
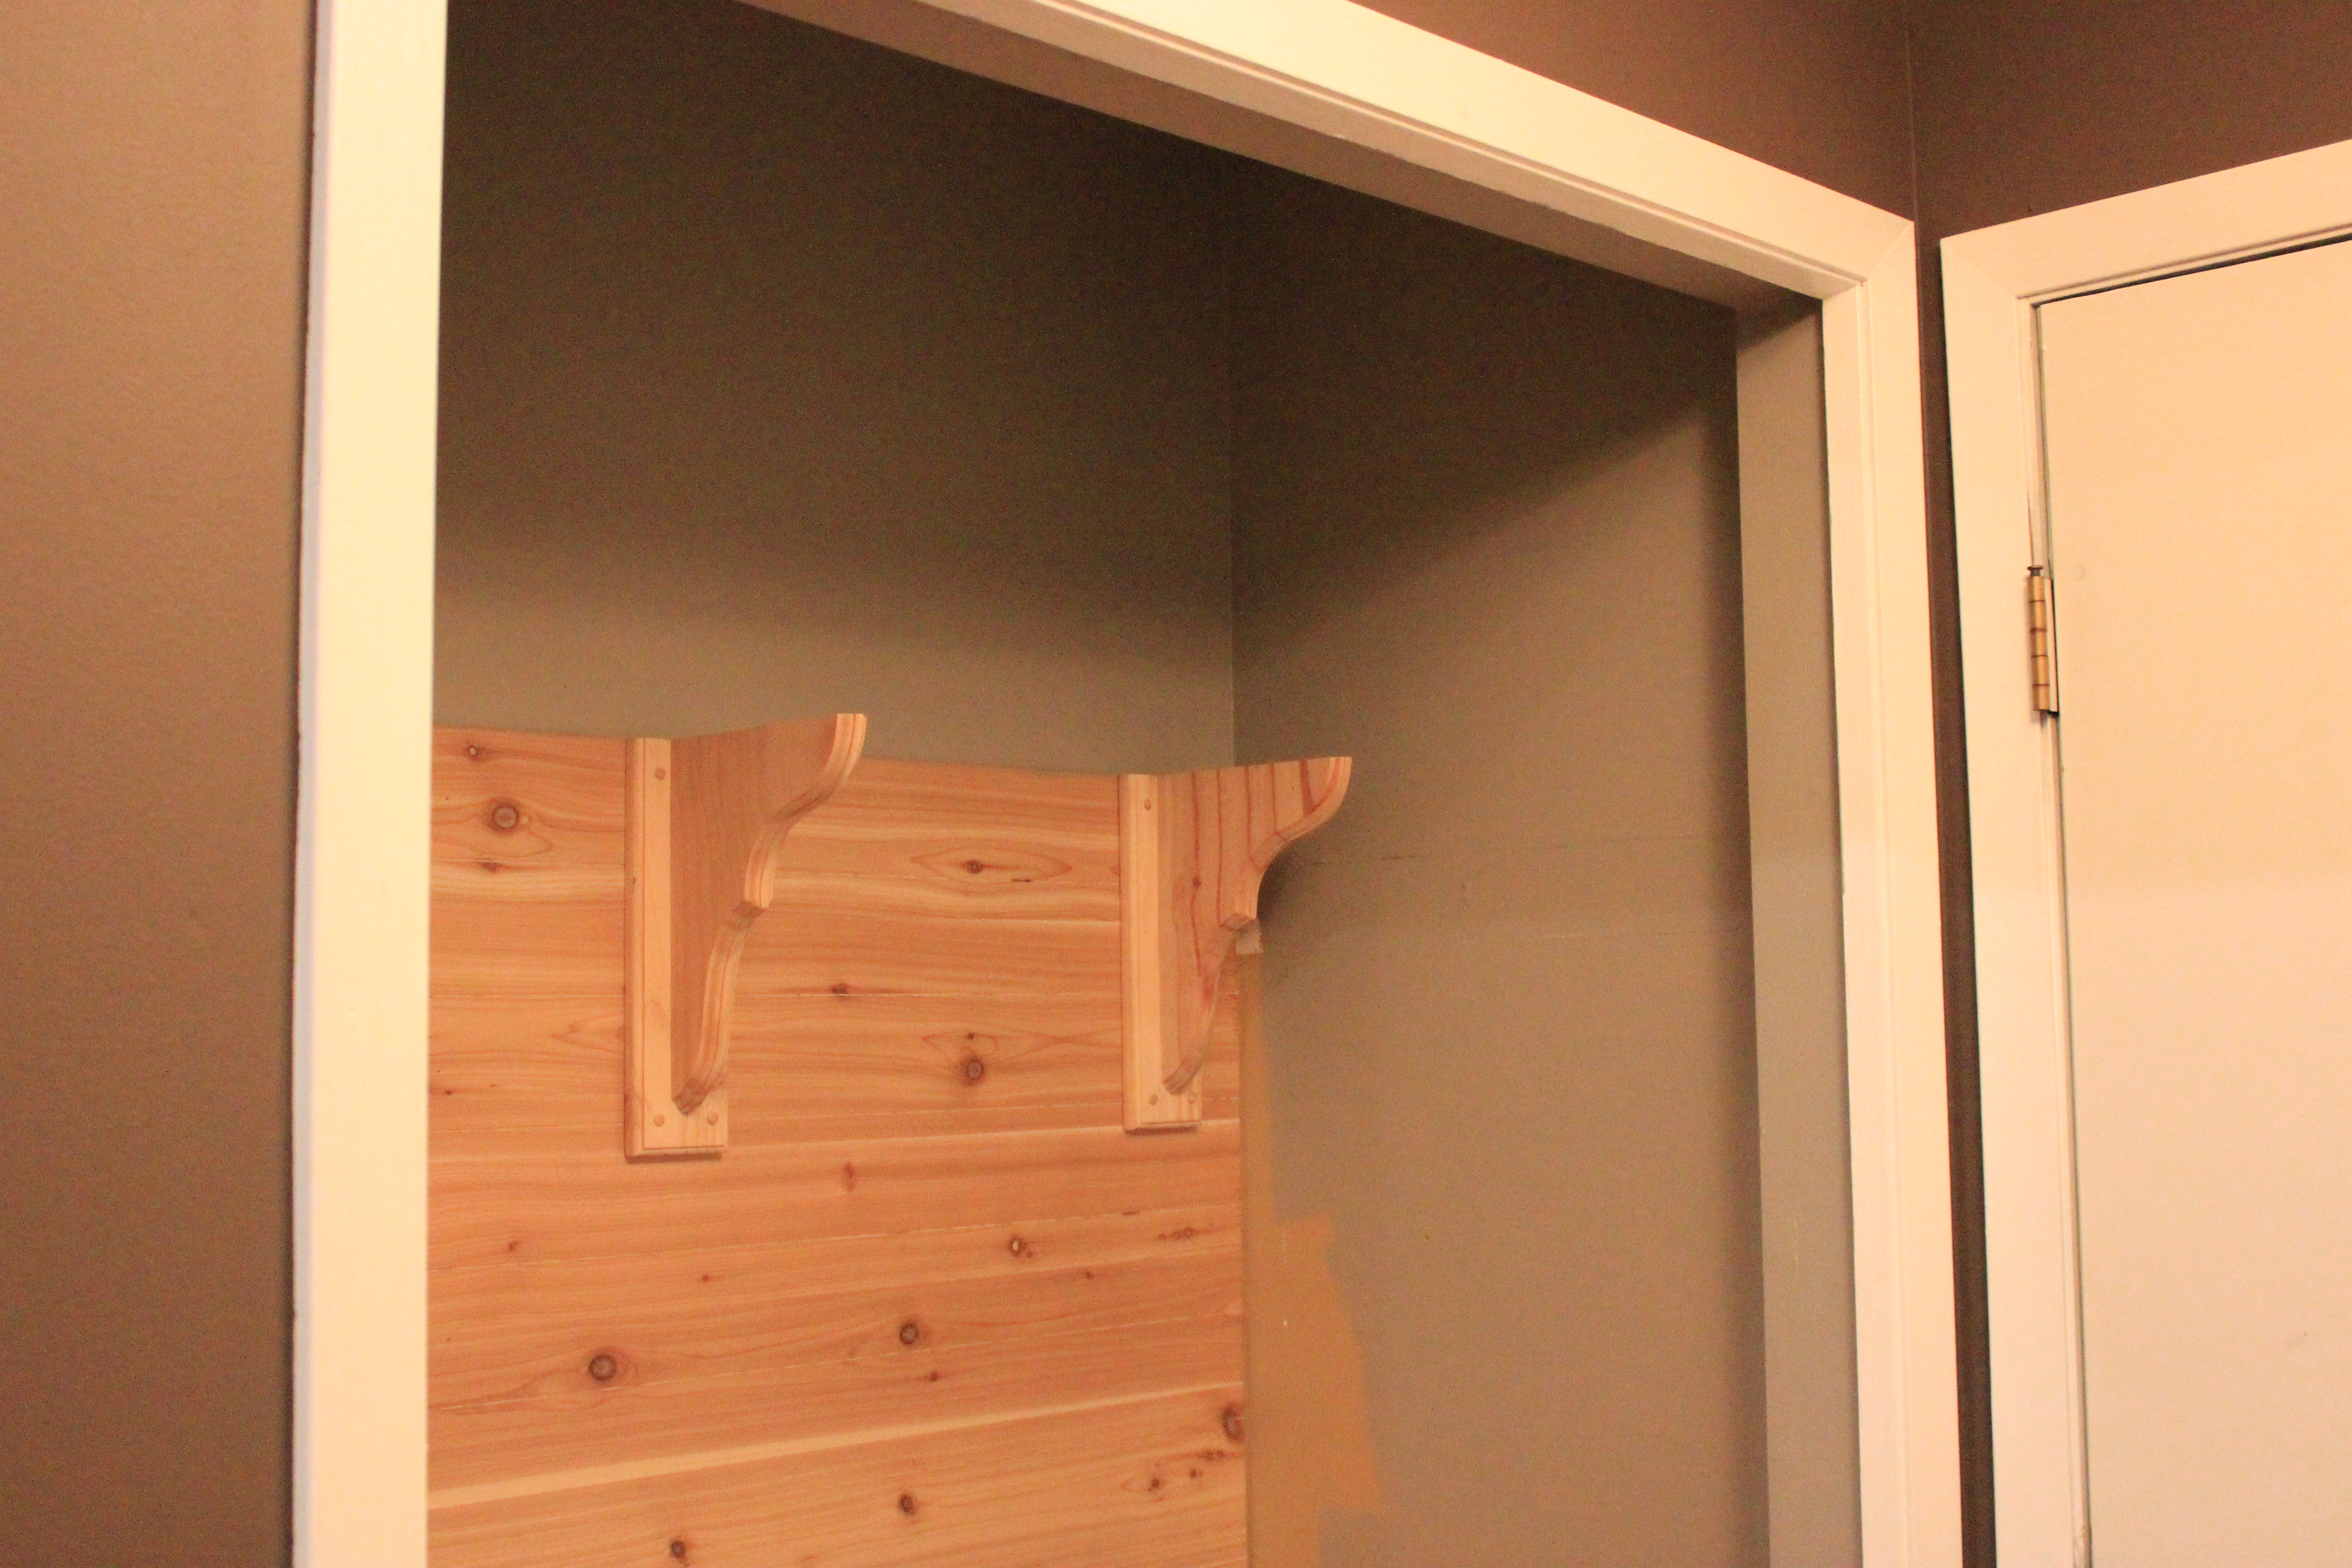
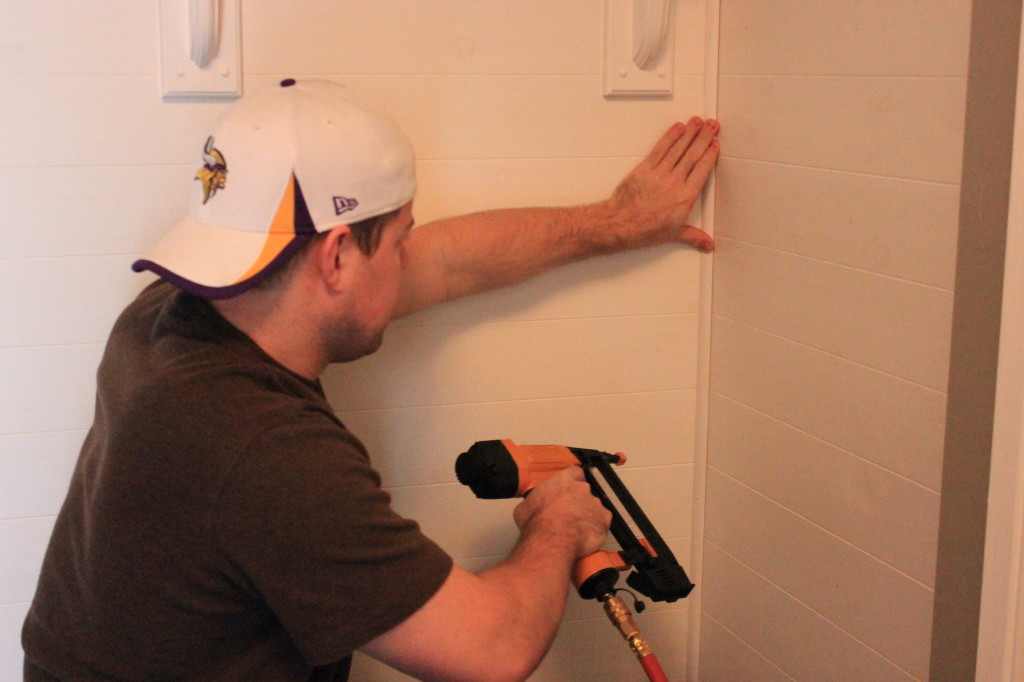
We wanted the walls of the interior to have some texture, as it really helps break up the “look” of the design so that you don’t notice that you’re just looking into a closet that’s missing its doors. The inspiration bench had a thick beadboard backing and we were able to find a similar look when out searching for our own materials.

You can see here that our boards are a knotty pine, which we did debate just whitewashing as opposed to painting. Ultra-pure white paint ended up being the winner.

Screwing in the supports for the shelf. Fancy, huh?
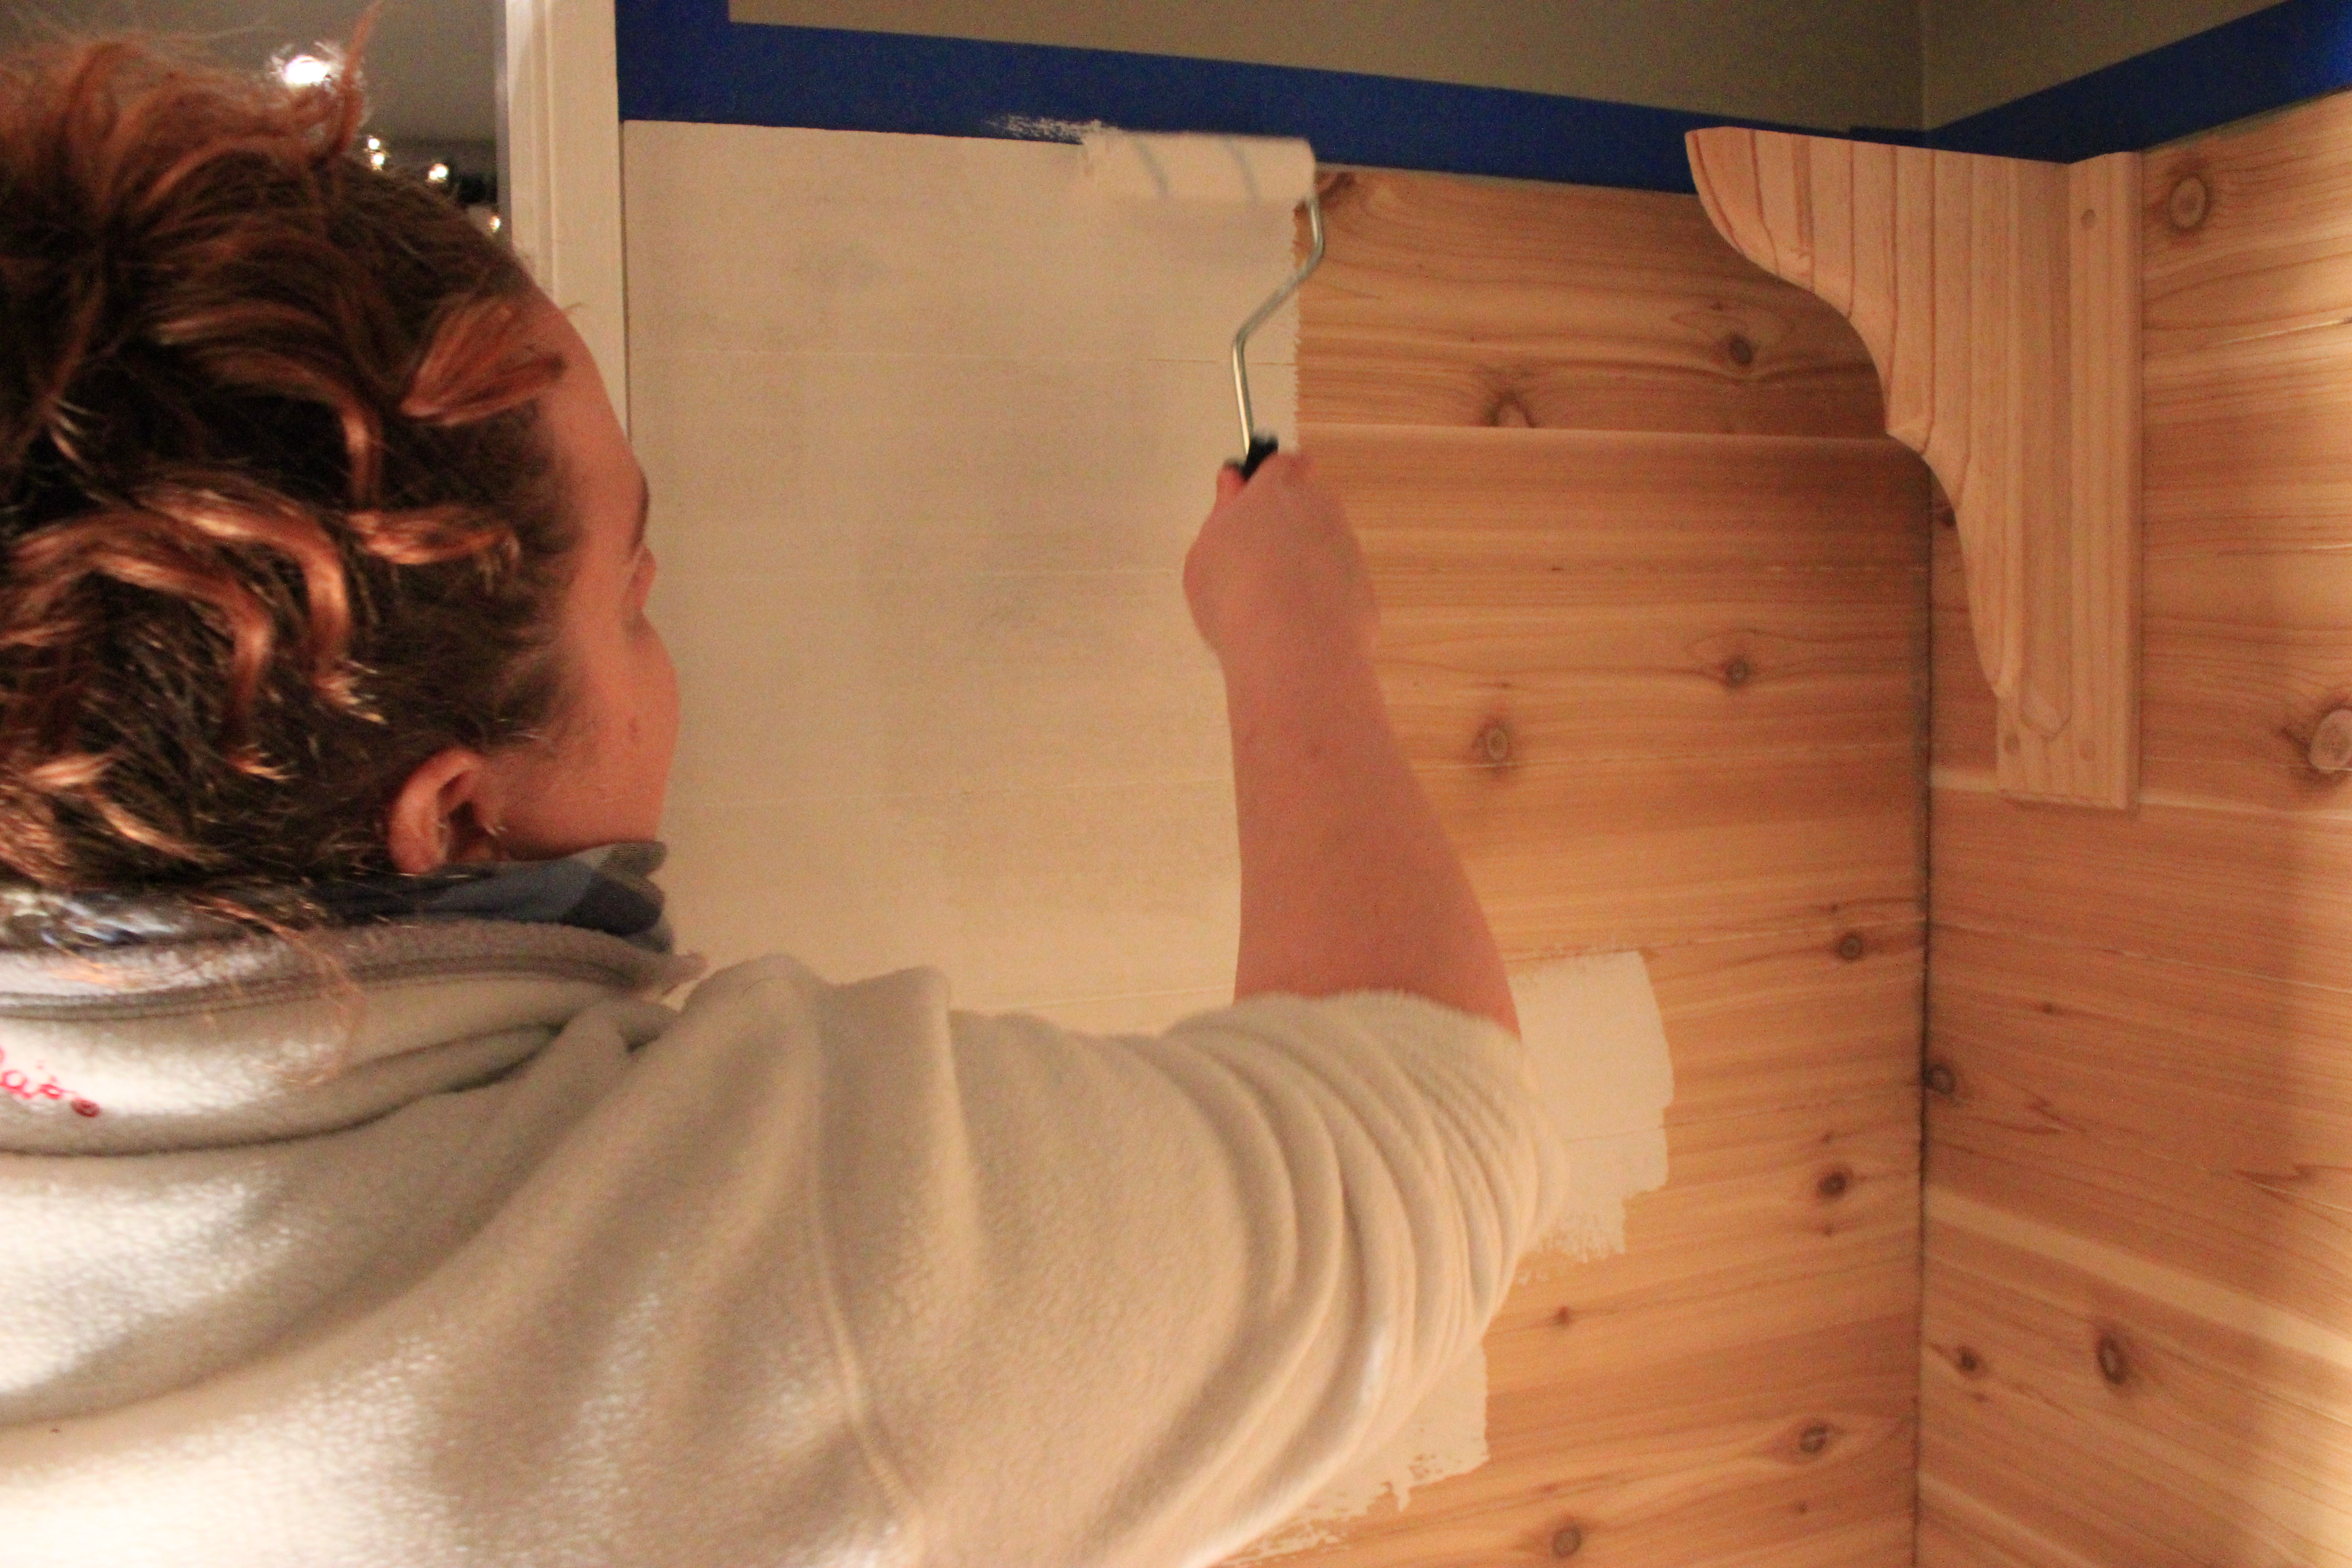
Ready for paint!

The color we’re using on the walls is called “Wood Smoke”

It looked much more gray in the inspiration blog, but here it has more of a mushroom tone. Men who are reading this are going, “What?”

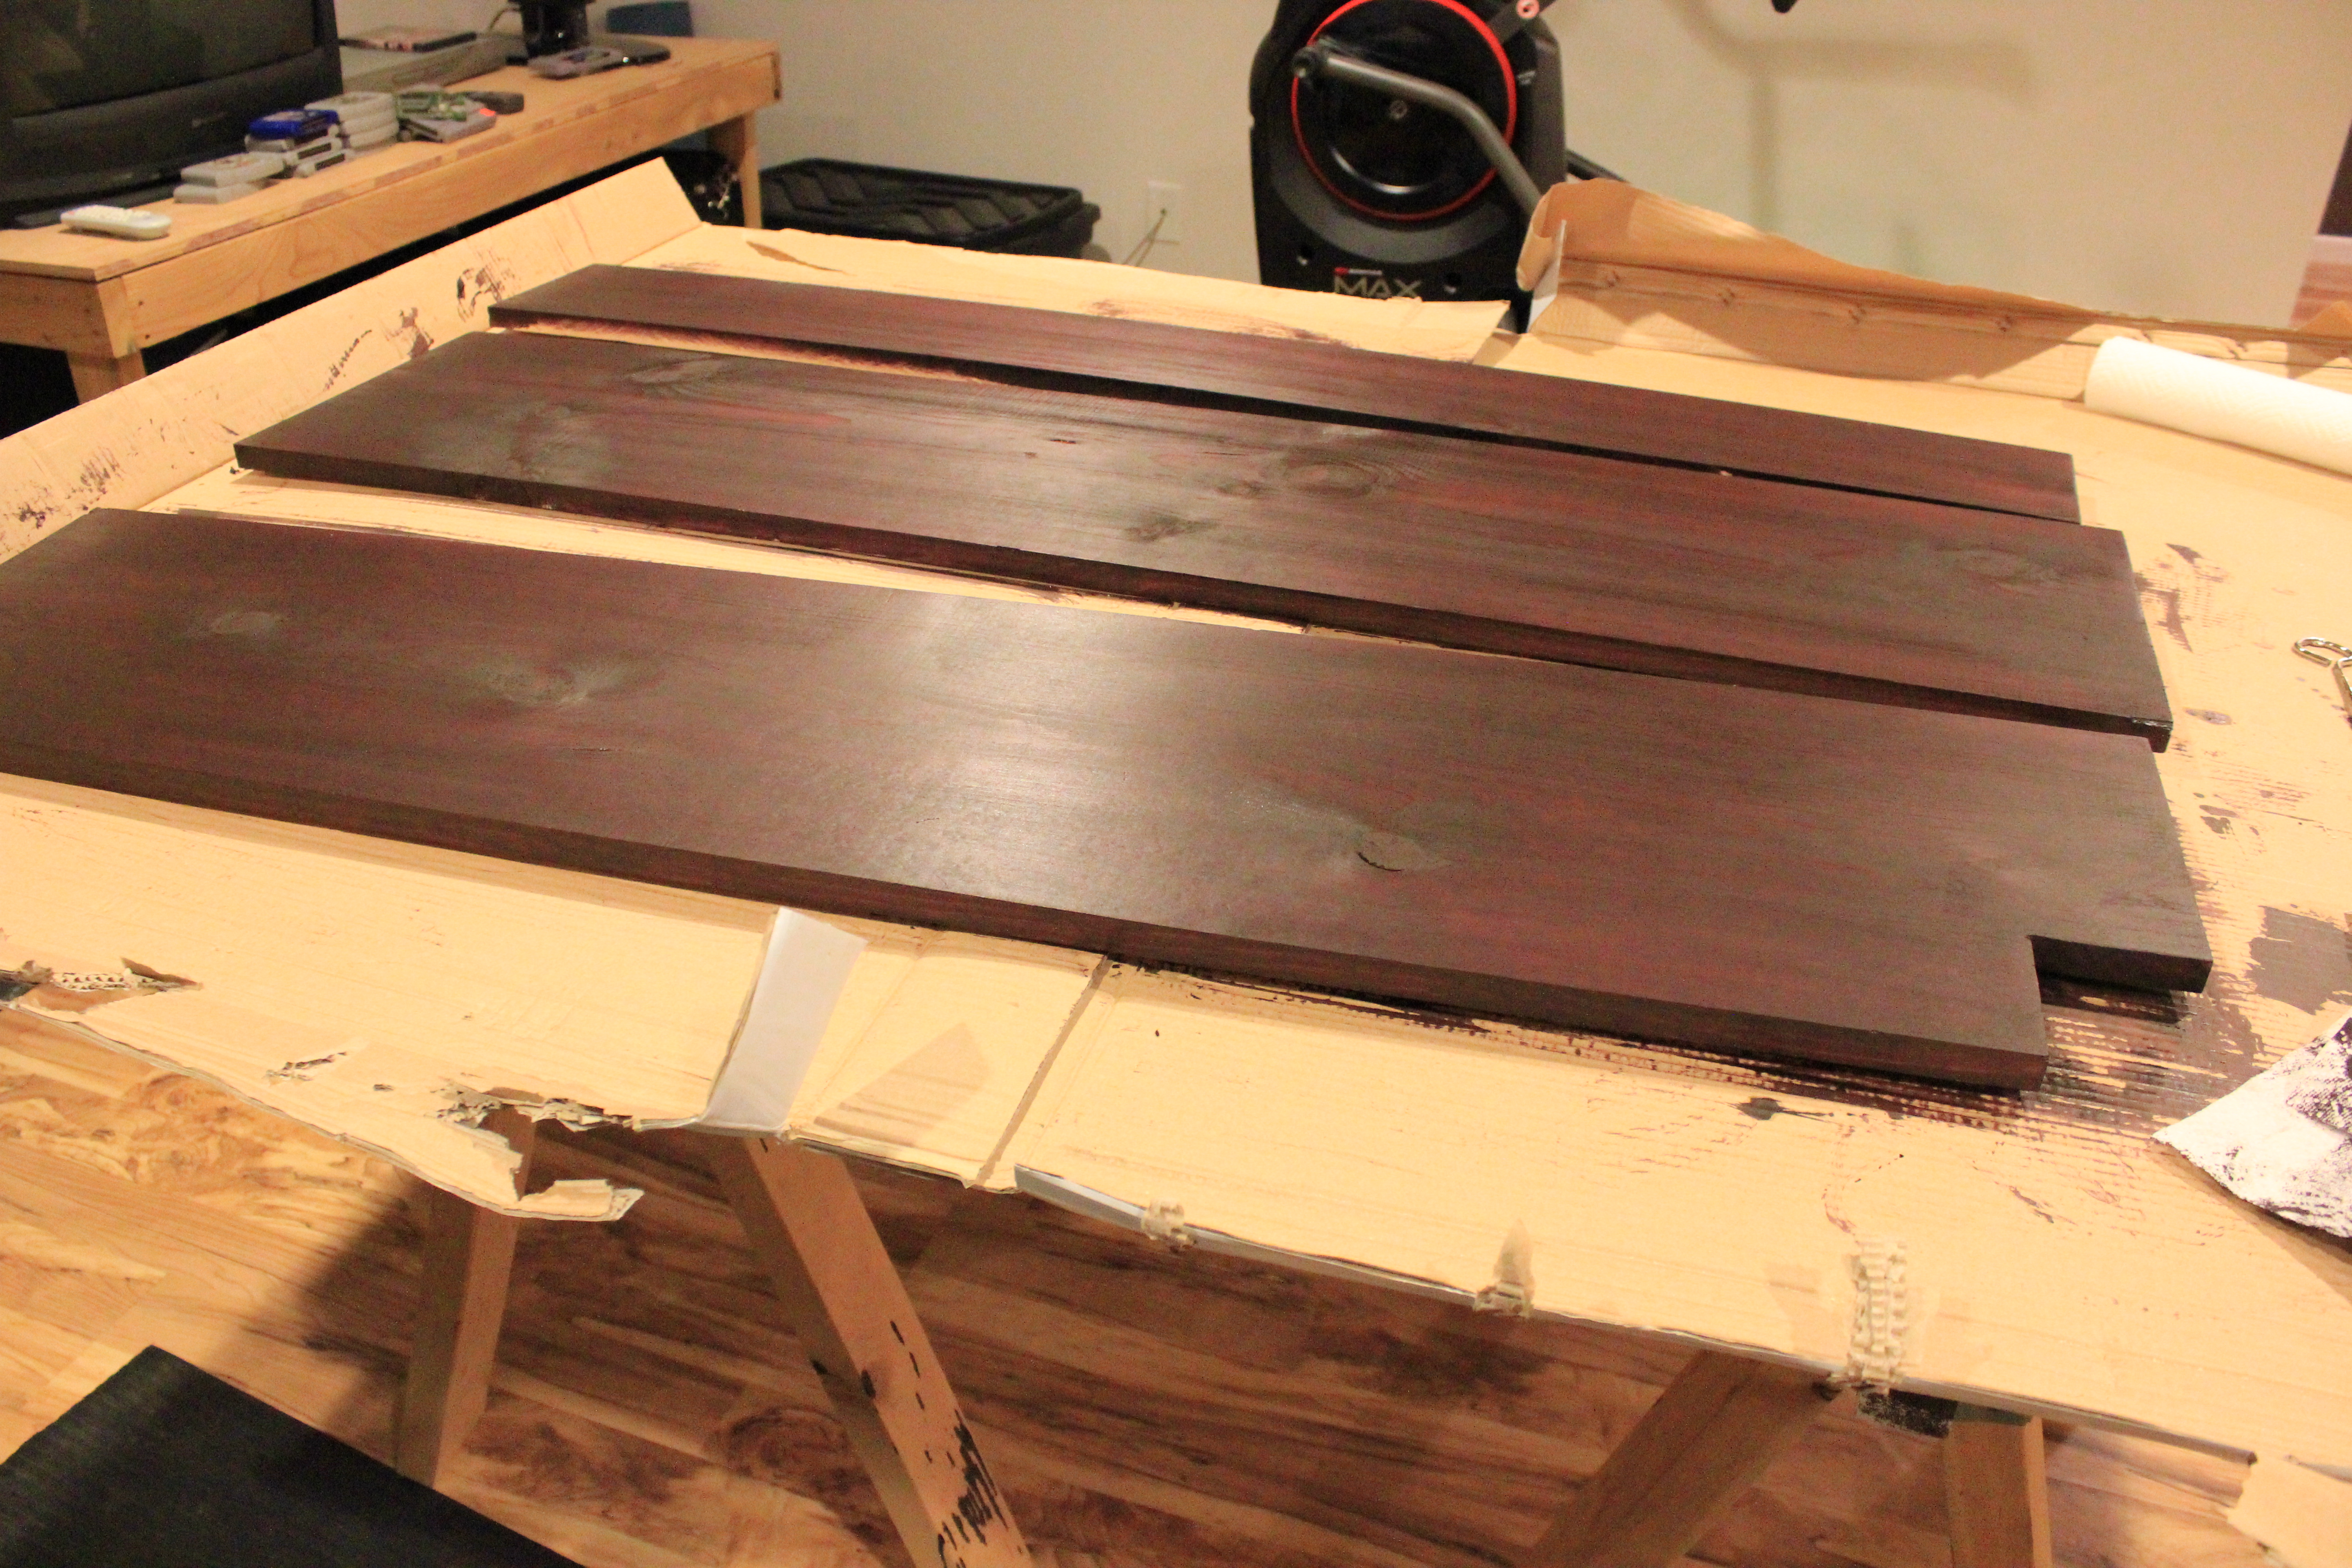
We stained the bench seat in the same color as the banister, “Black Cherry” – it really is a beautiful color, and wish I could use it on all the wood surfaces of our home – but that might look a little like an Adams Family set, “Everything is blood red!”
Painting the upper shelf in Ultra Pure White (semi-gloss) which we’ve used on all the trim in the house.

The inside of the bench is also painted in Ultra pure white.
Mike used a very thin quarter round in the corners, which really helped make everything look much more polished when complete.
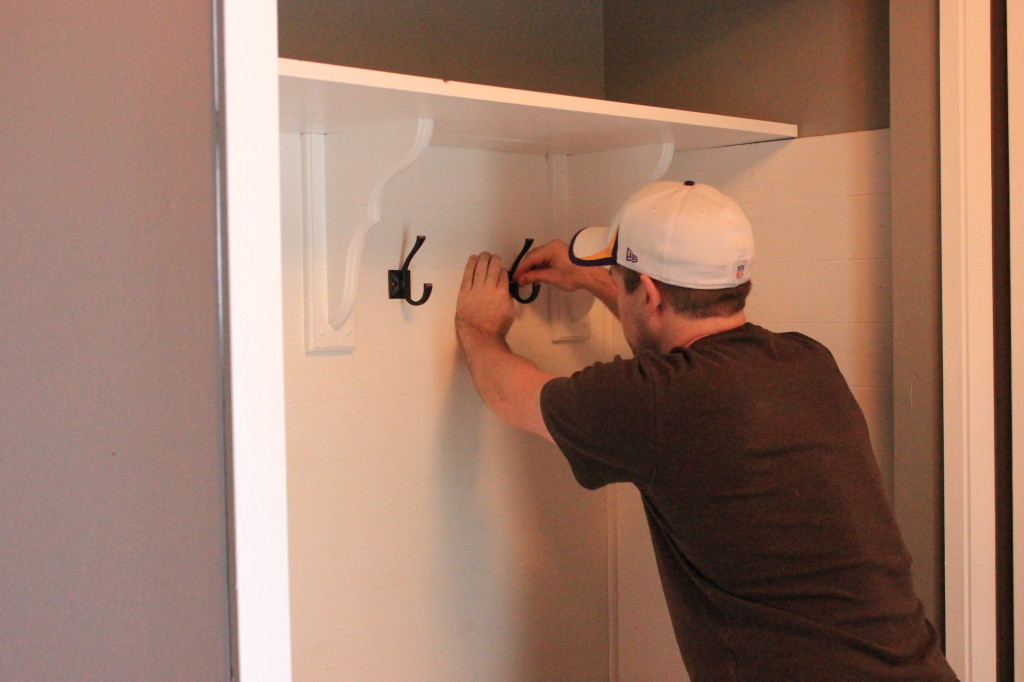
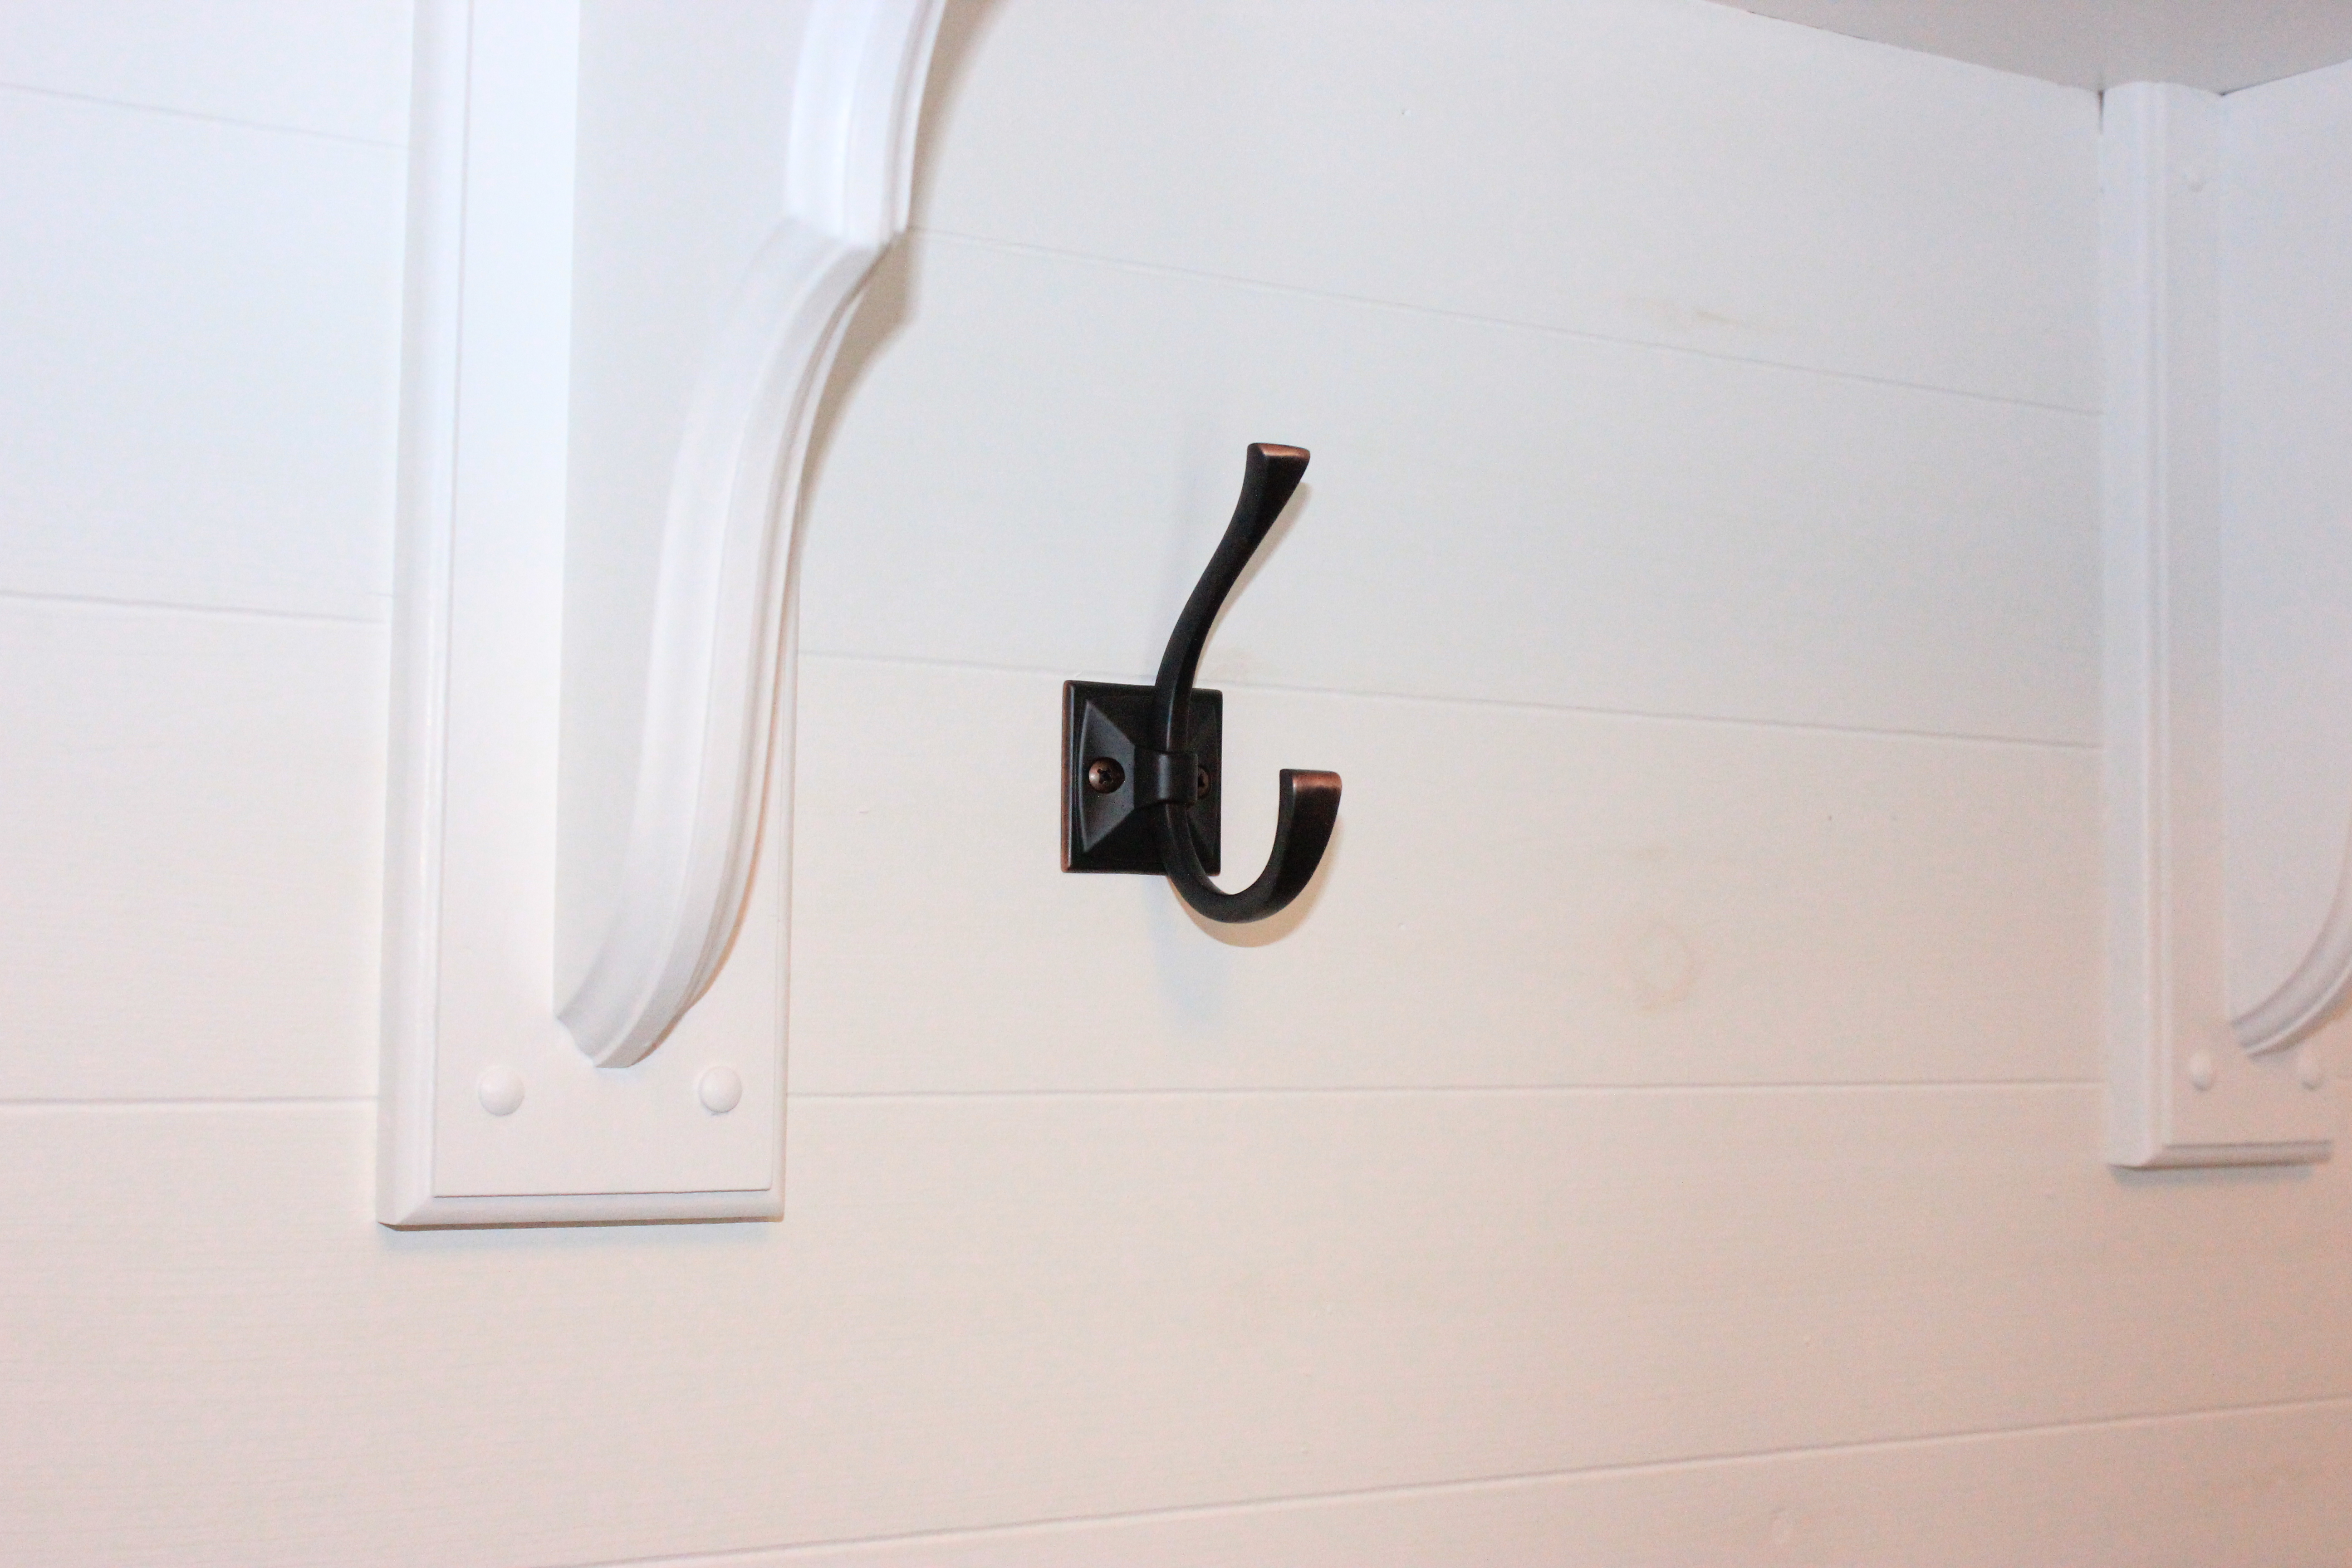
Adding the decorative hooks.

We were able to find these in the oil rubbed bronze (ORB) finish, we’ve slowly been switching out the existing gold finishes in this home with ORB and its always a nice contrast on clean white paint.

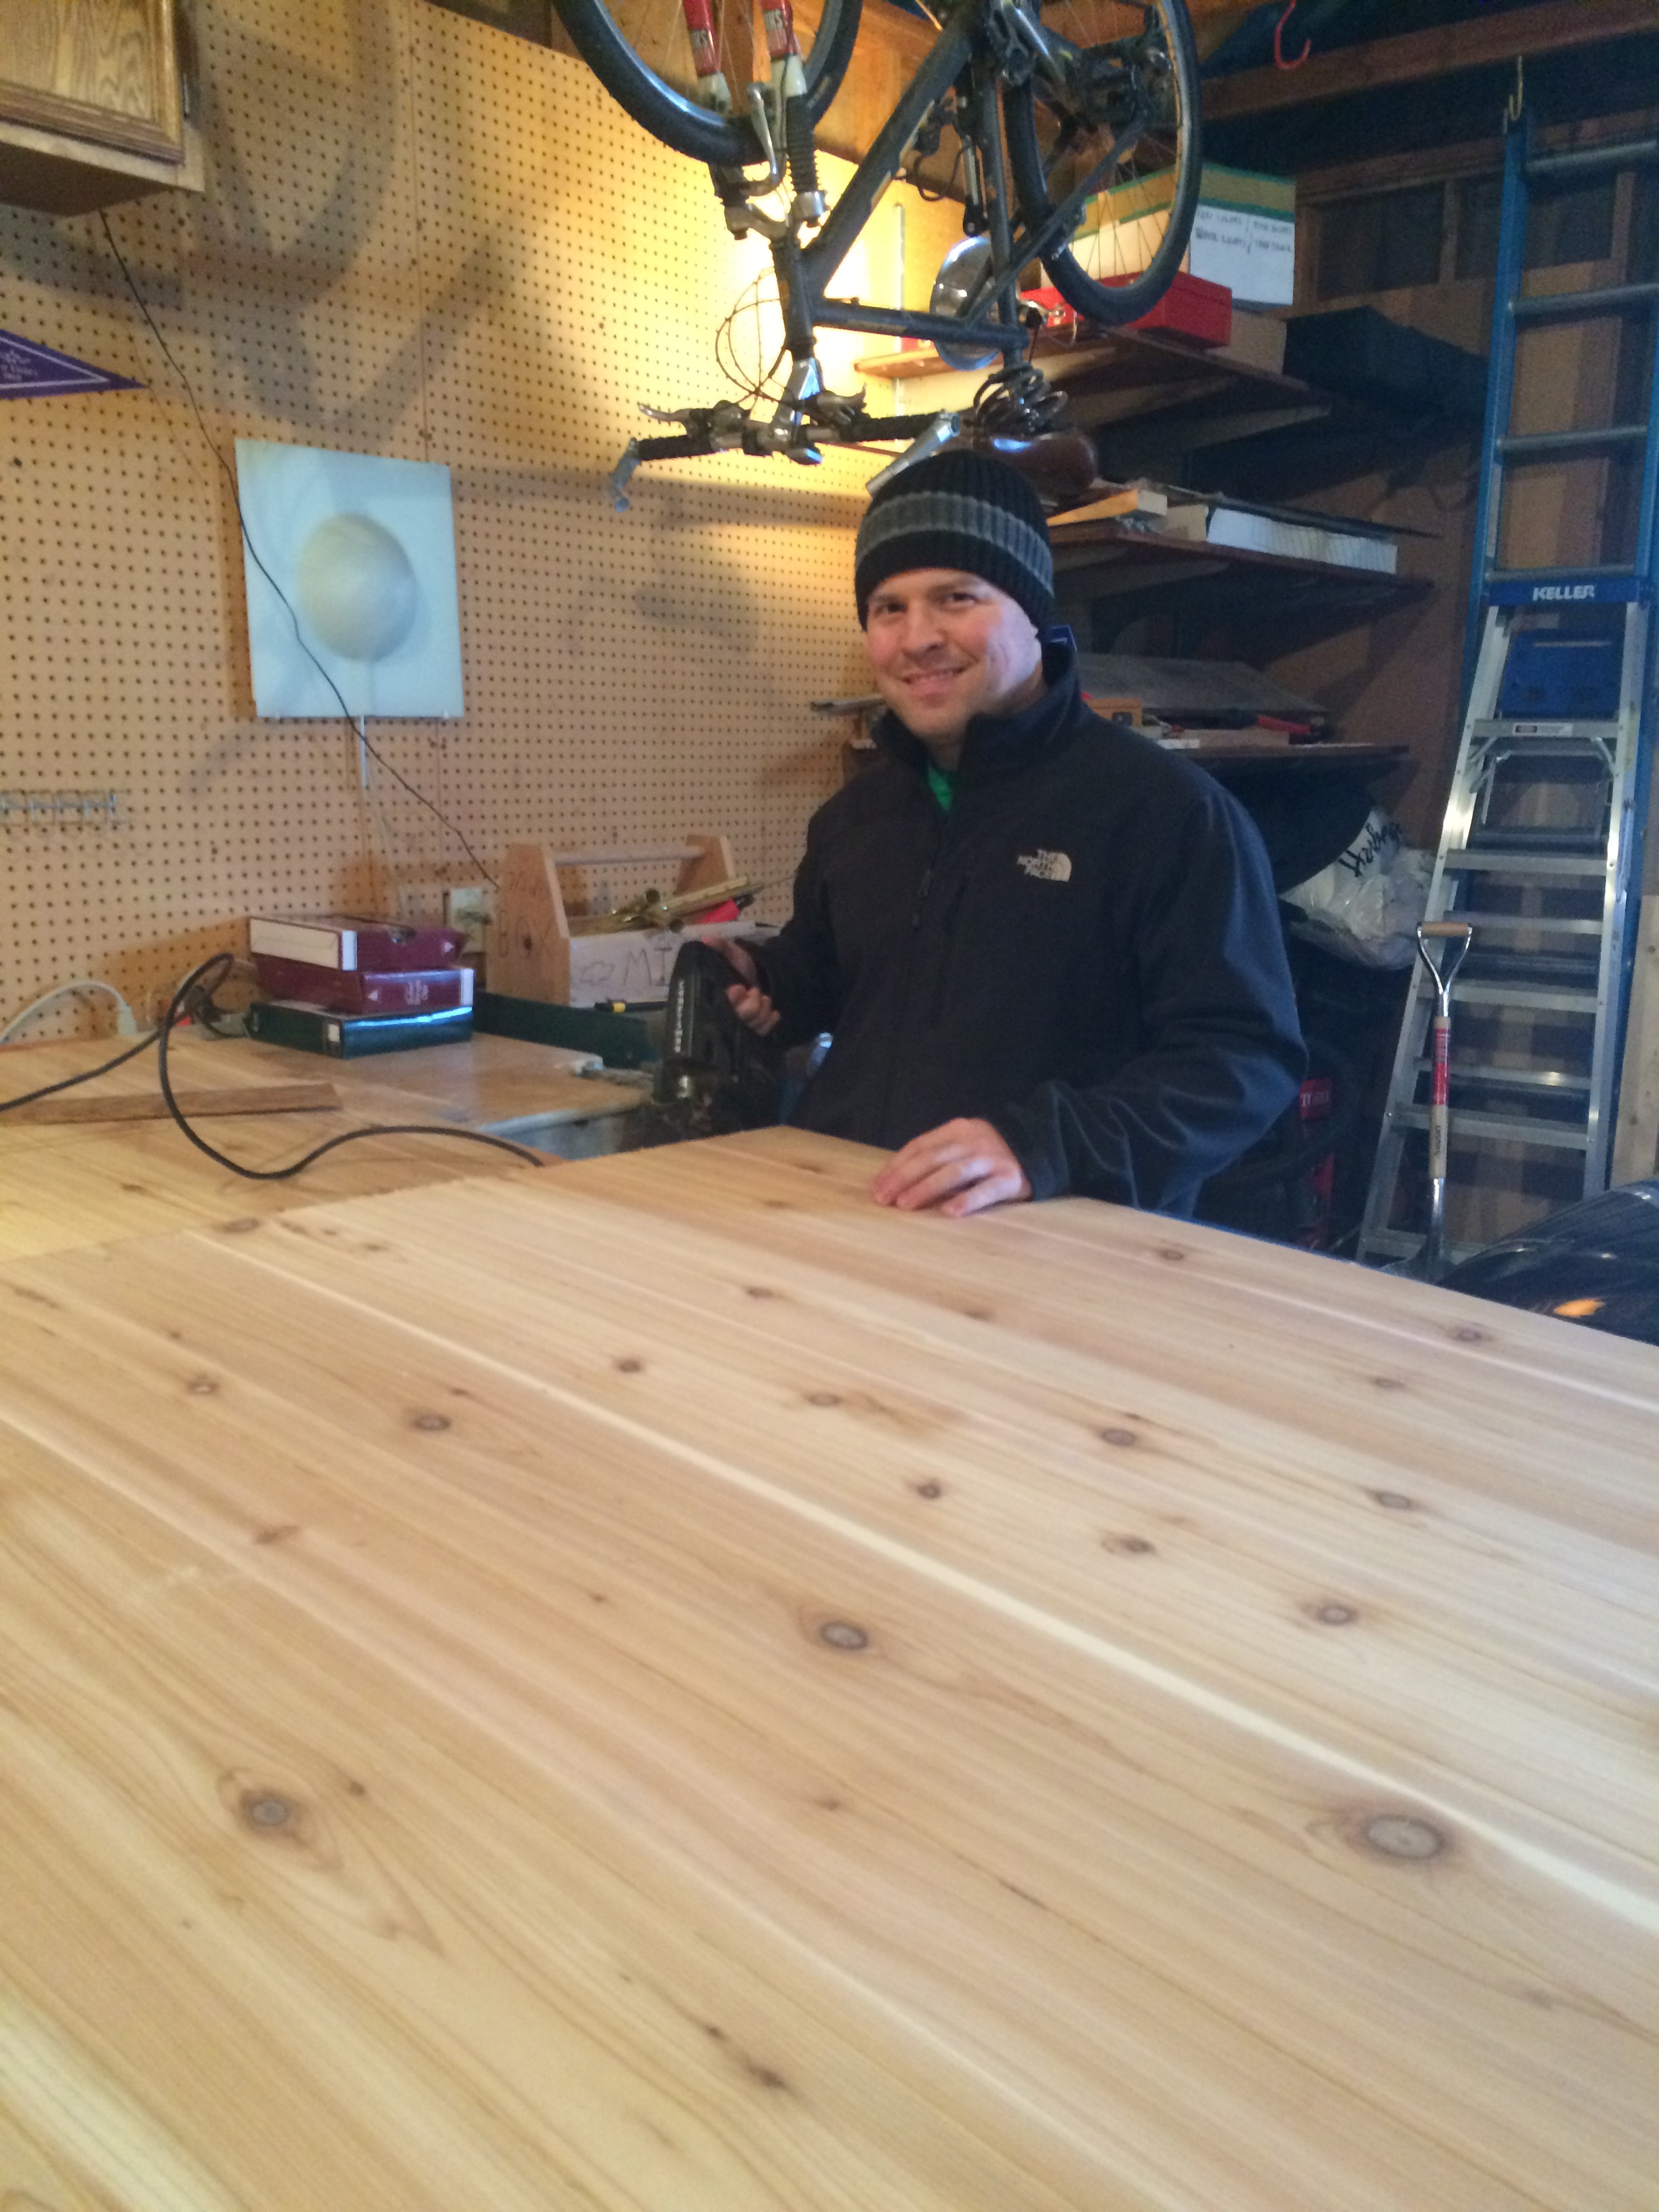
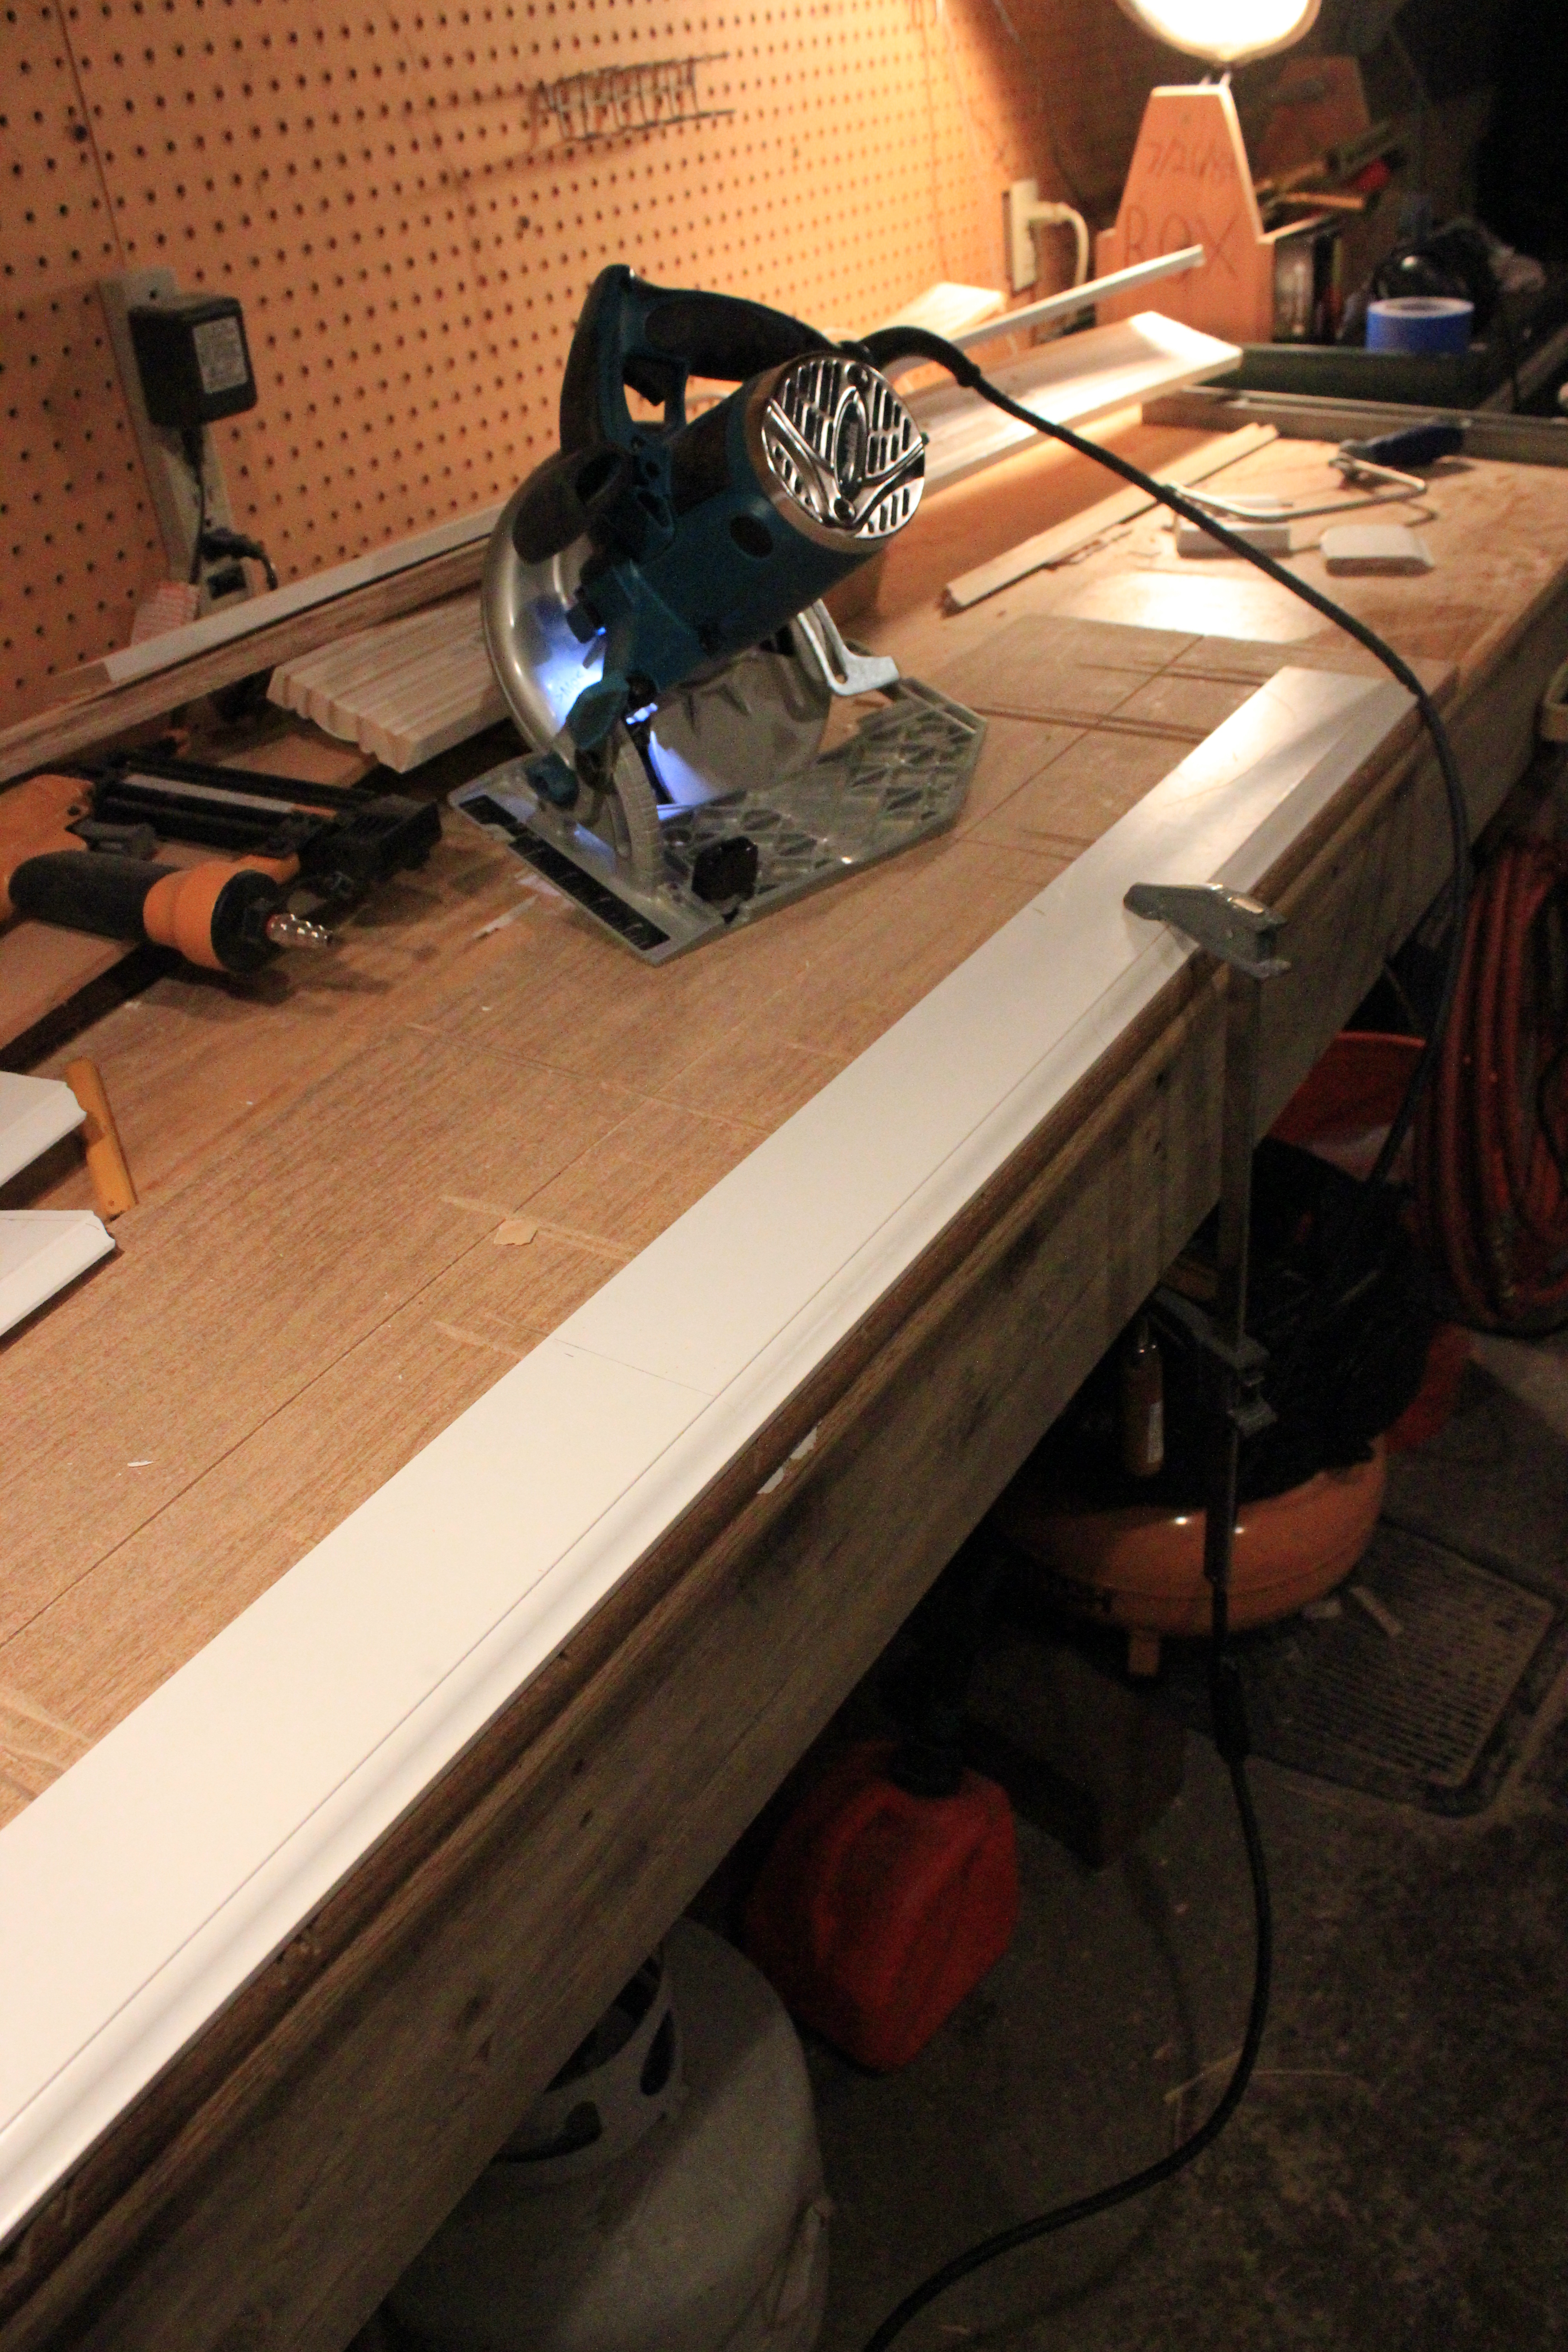
This was a very exciting project for Mike, as he got to use his new Makita circular saw. Cue the Tim Taylor grunt.
First “mistake” – which was not at all our fault nor was it in our control. The trim piece we bought for the front of the seat was warped beyond use and we had to scrap it and purchase a new piece. The process of picking out trim is beyond my skill set – I have no idea how to tell is a board is perfectly straight when put up against a million others like it.

Warped and useless. GRRRR.
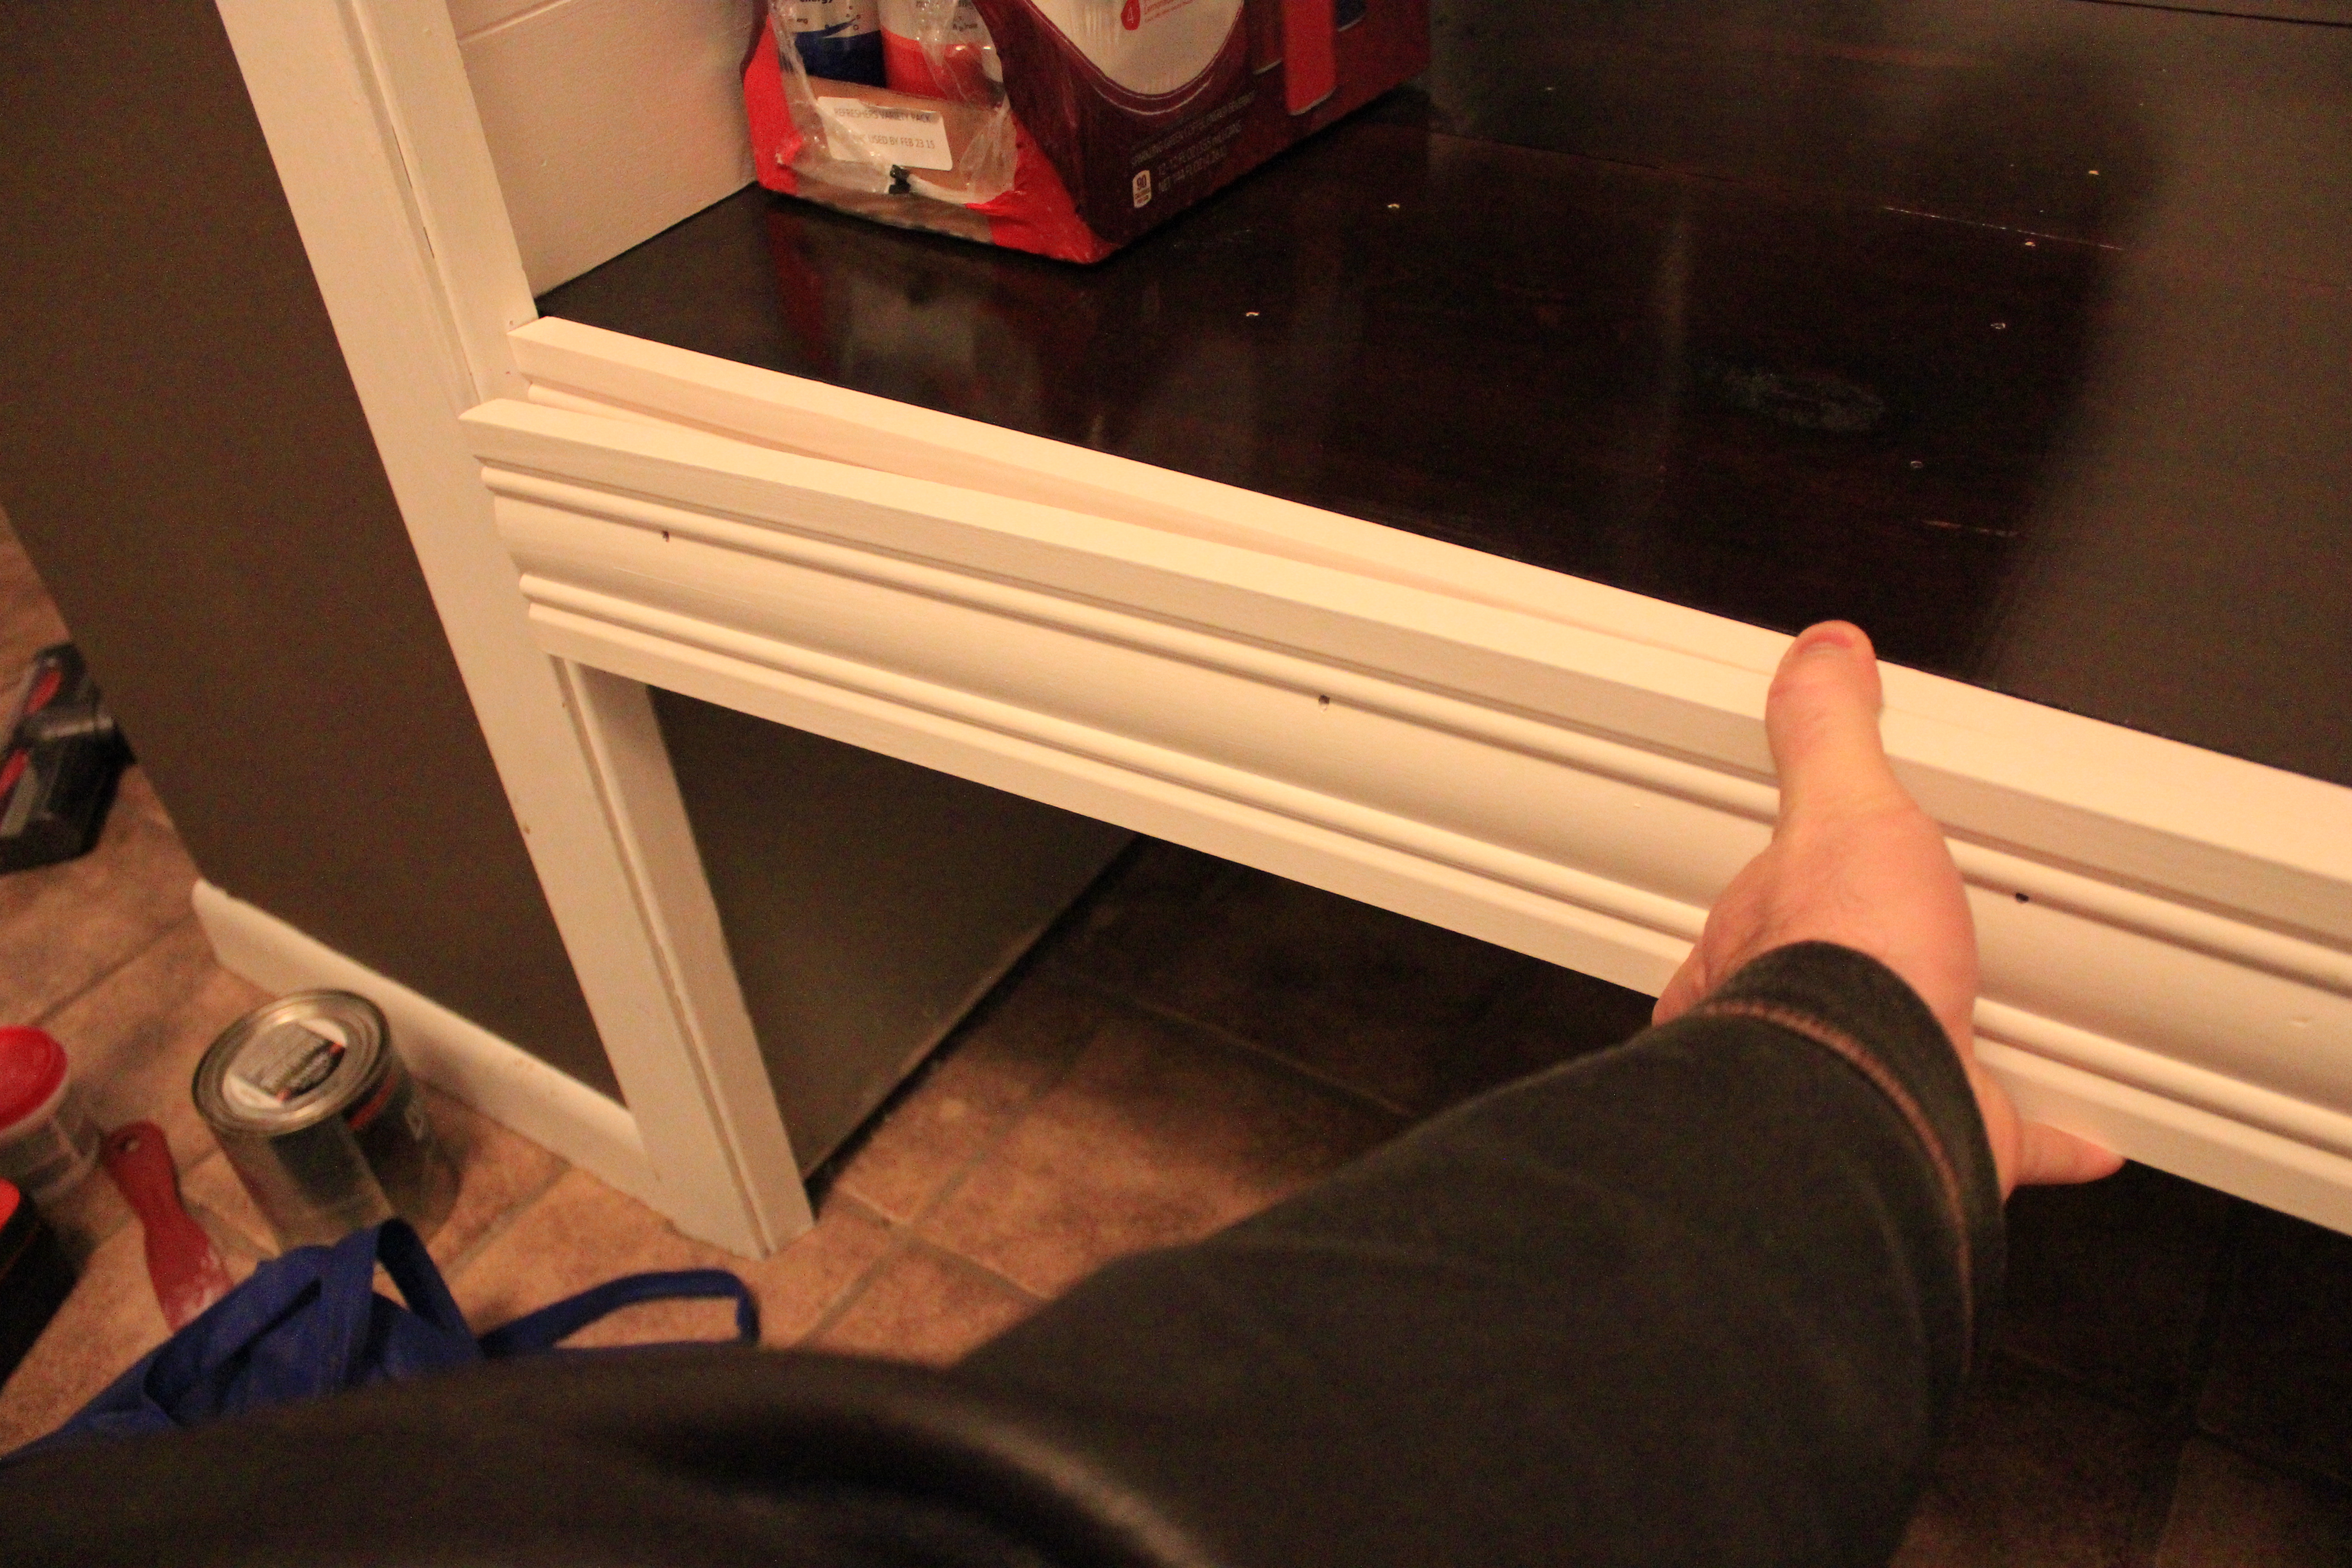
New front trim piece is perfect. Its starting to look complete!
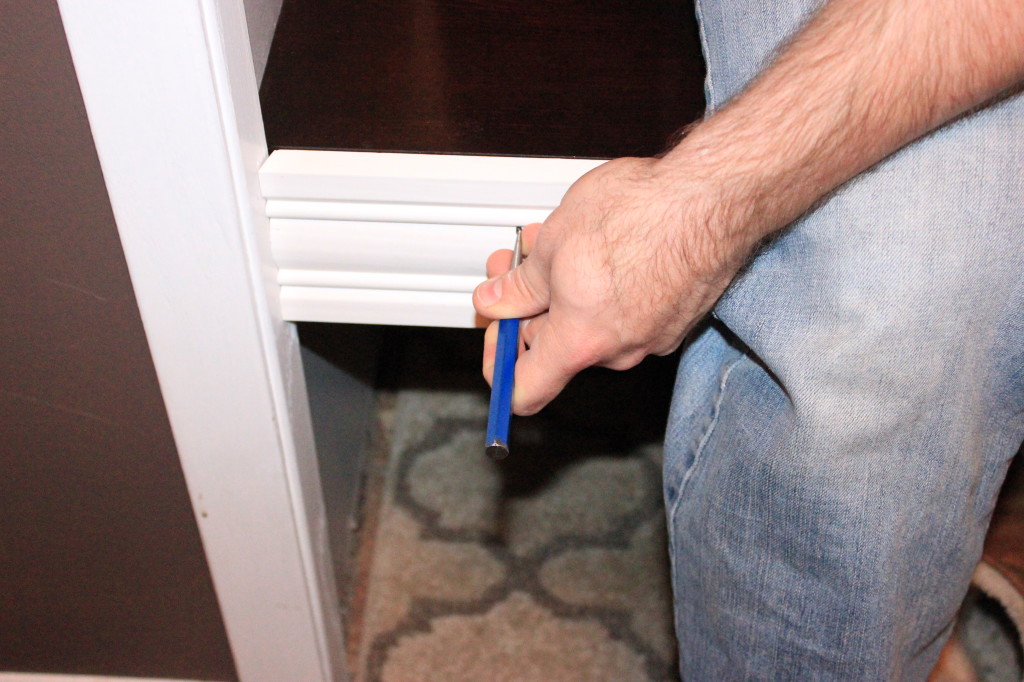
Mike recessed all the nails so that we could hide them under another coat of paint.
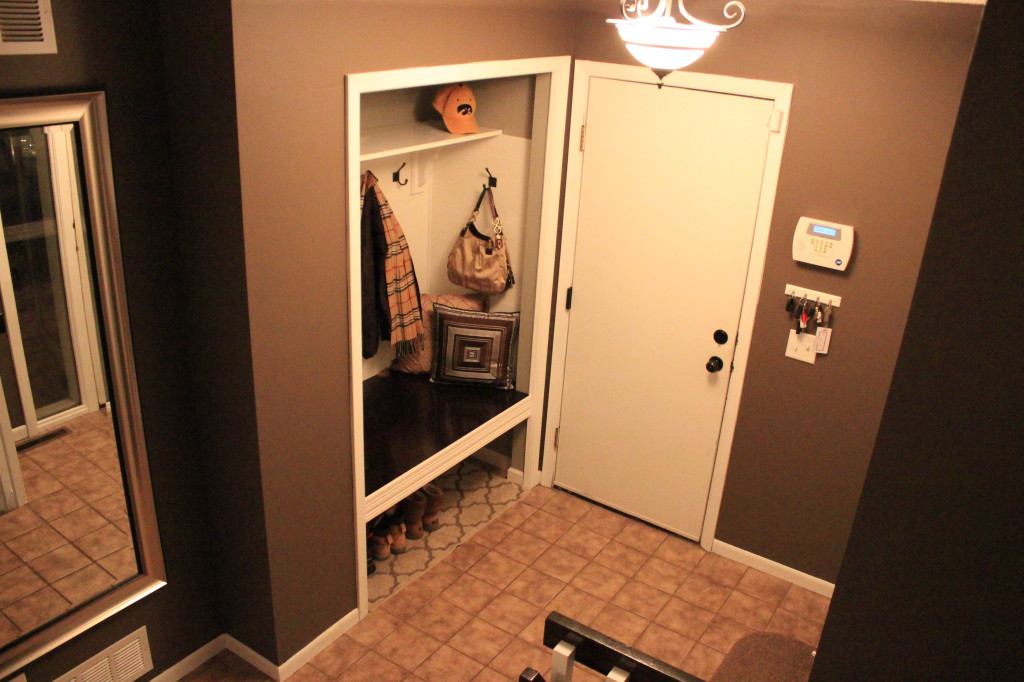
AFTER!
By far this is one of the projects I’m most proud in this home. The new bench is so much more useful than the closet. We’re lucky that this home had other storage closets that absorbed our other seasonal jackets/parkas/vests. We’ve realized that we only wear one or two coats on the regular, and having a plethora of others in a closet elsewhere is much easier to deal with!
Thanks so much for stopping and reading about our closet transformation!