The Bay Window

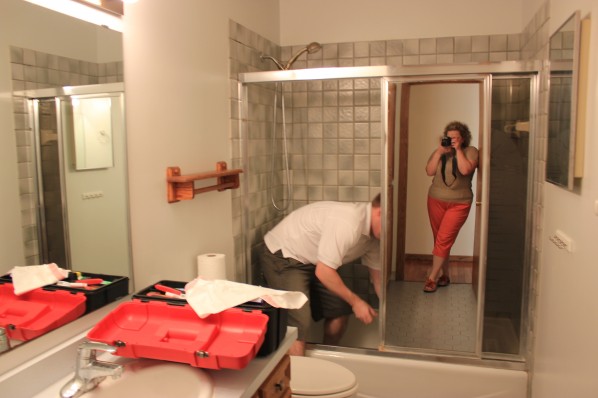
Mike here (with little edits by Sara).  I just wanted to start by saying that bay windows are beautiful.  This window was a big selling point for this house, even after the inspection, it really makes the living room brighter.

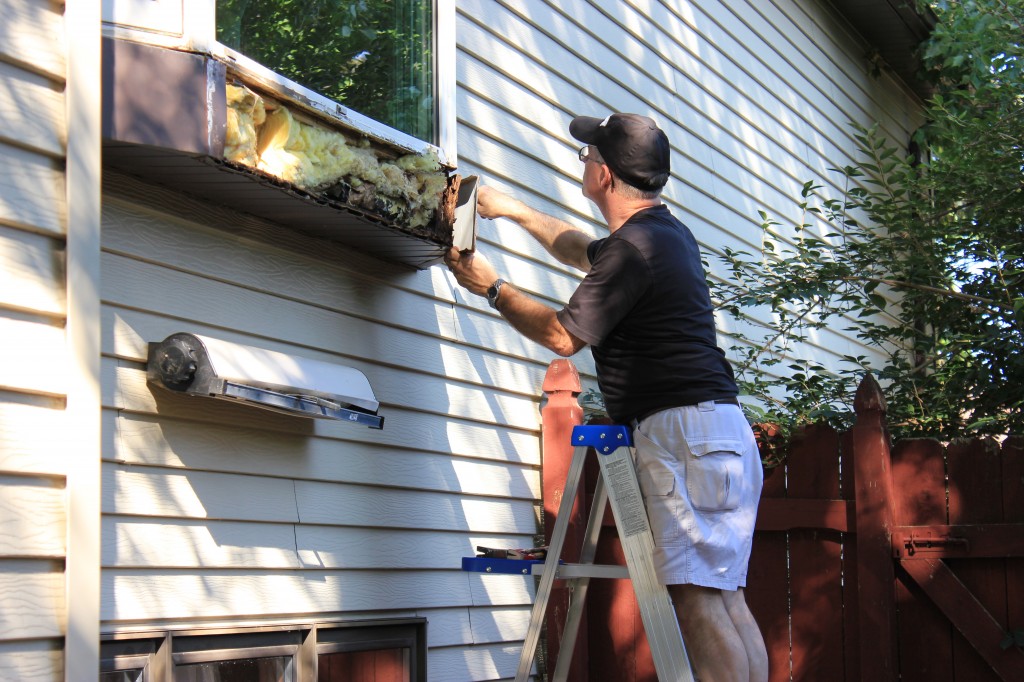
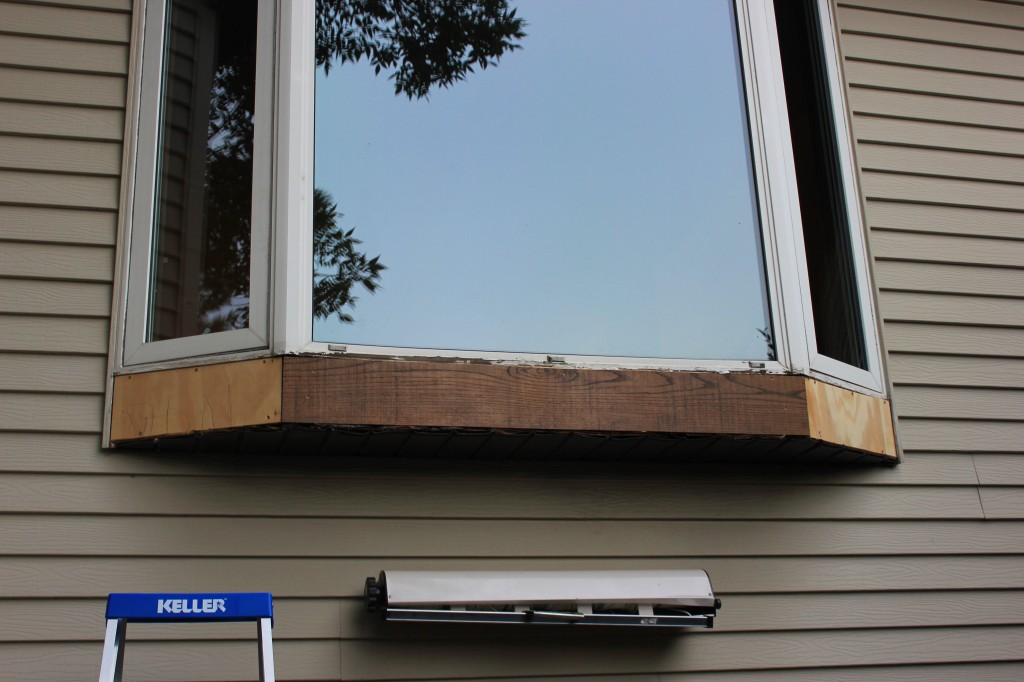
We knew that this window was going to give us some problems, and we knew that the flashing was going to be one of the first projects we addressed with this home. The flashing on the exterior of this bay window was incorrectly installed and was one of the top priorities to fix from our home inspector.  There were holes in the caulk, which was letting water seep inside anytime it would rain/snow/hail/lightly sprinkle.

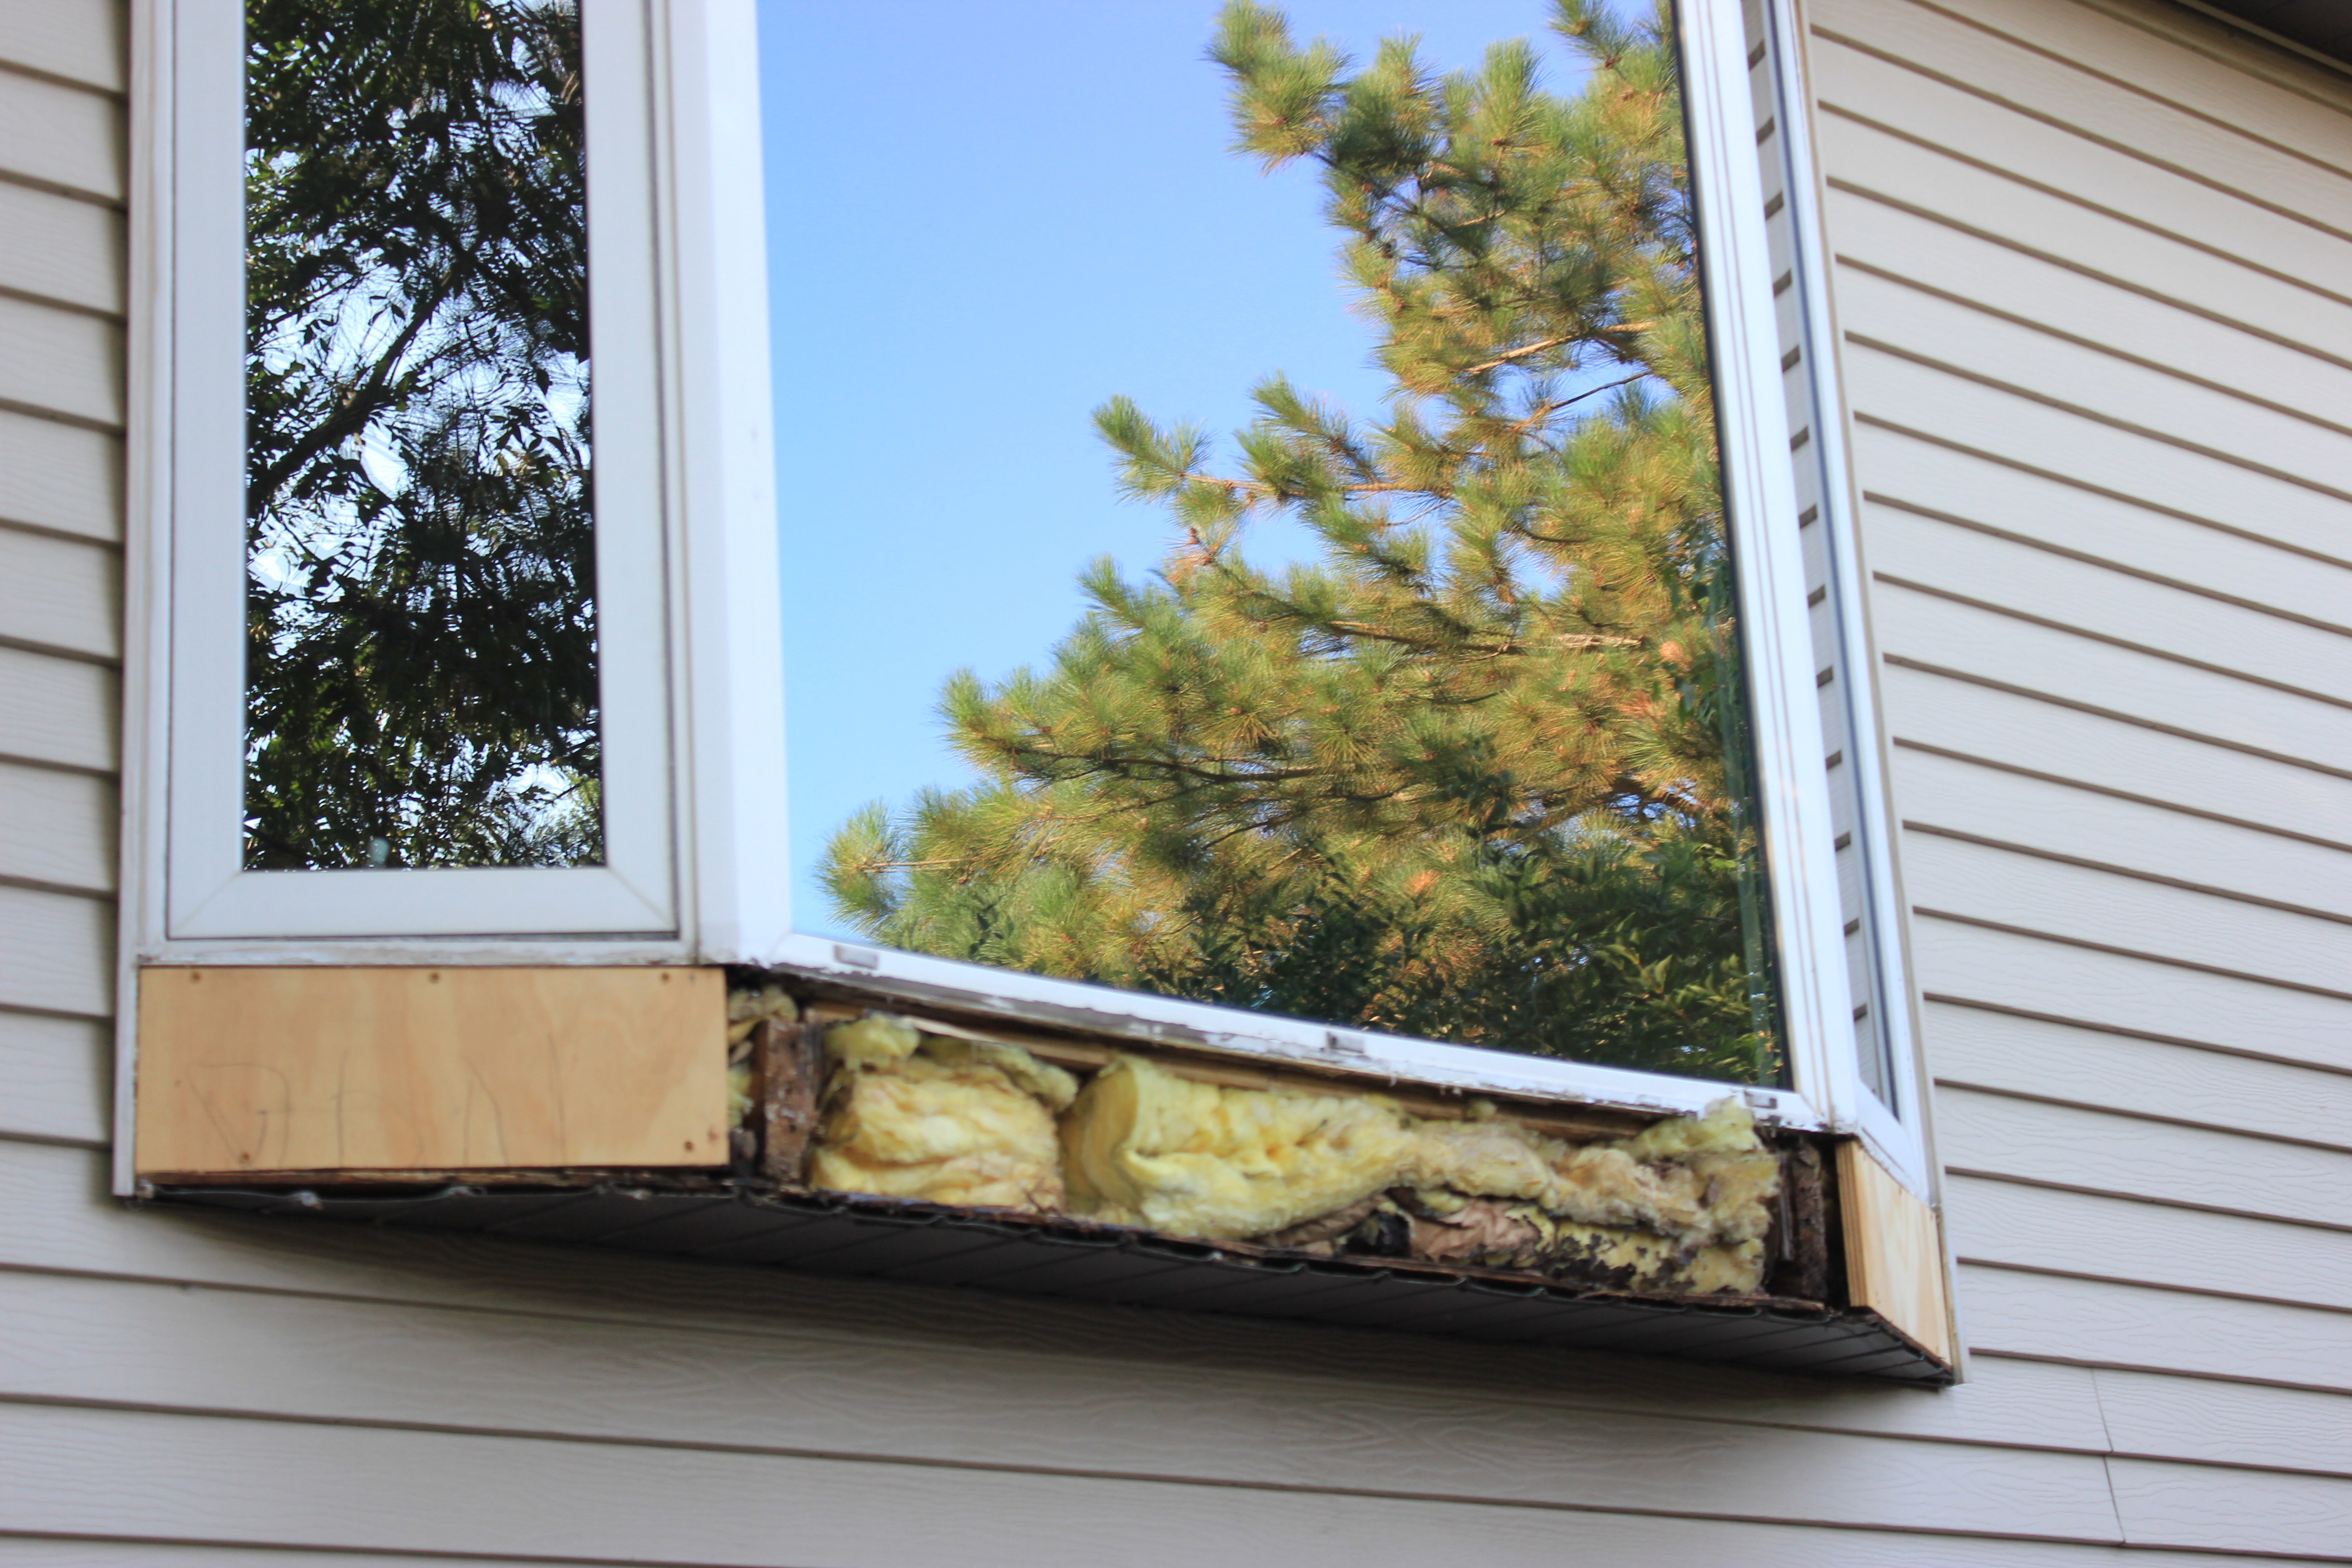
The first weekend that my parents (Arlyn and Paula) came up from Iowa to visit, my Dad and I ripped off the flashing.  We found a layer of rotten wood inside.
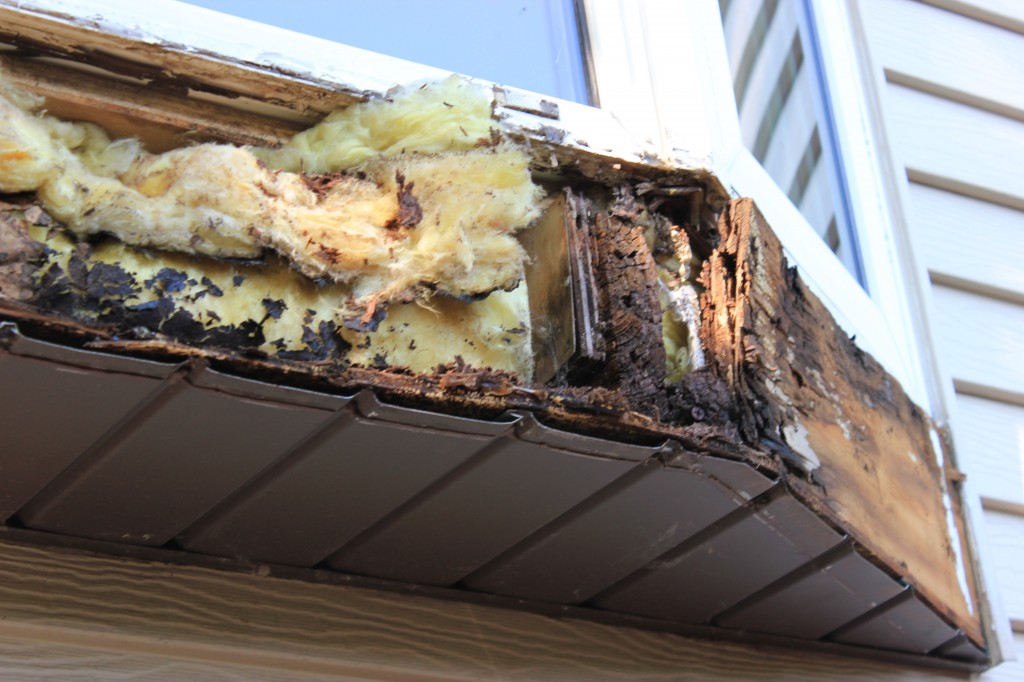
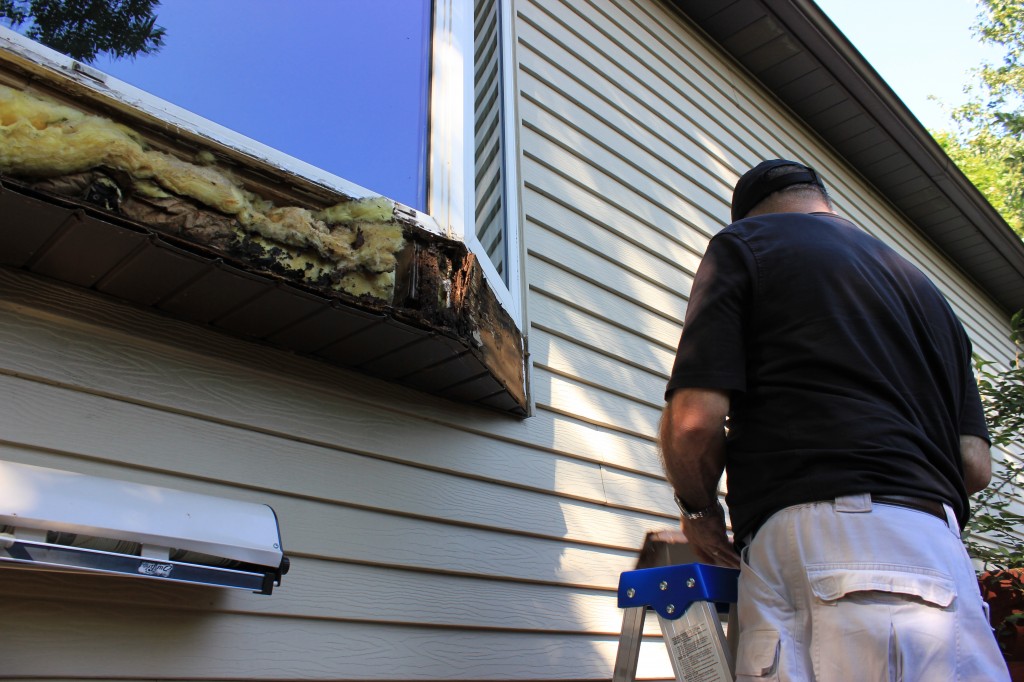
IMG_1780

Check out the rot.

IMG_1782

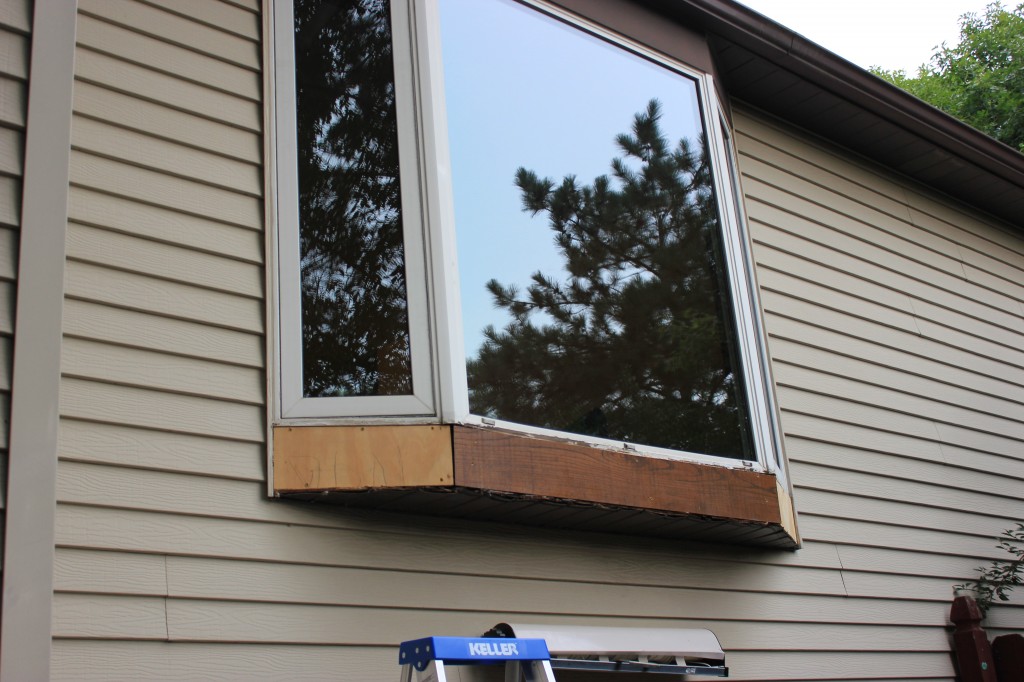
The center board was almost completely rain-weathered.

IMG_1781

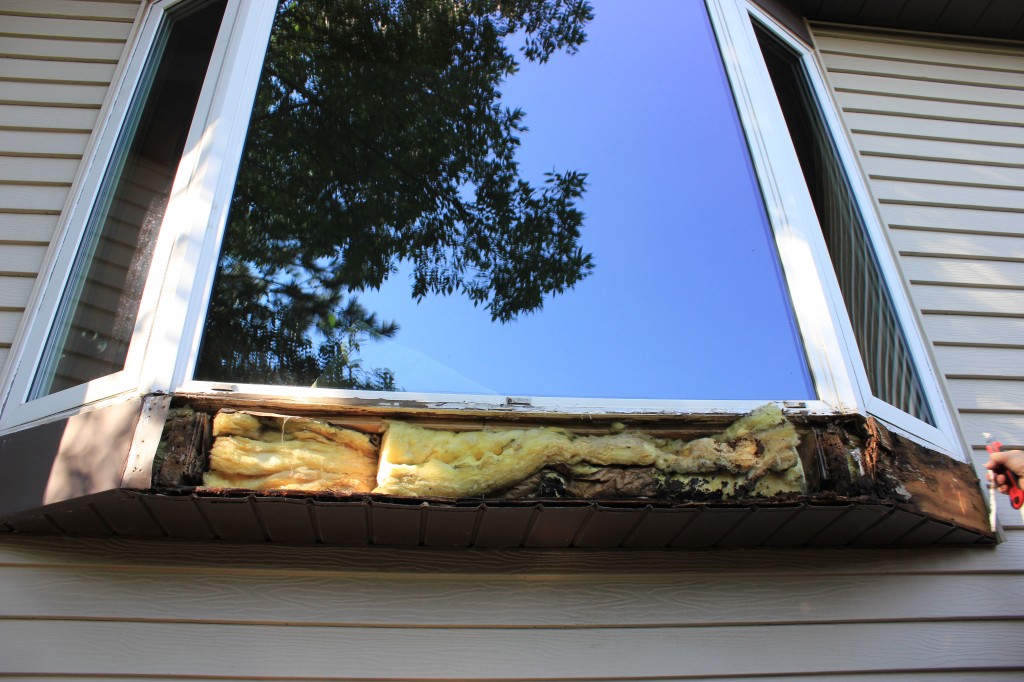
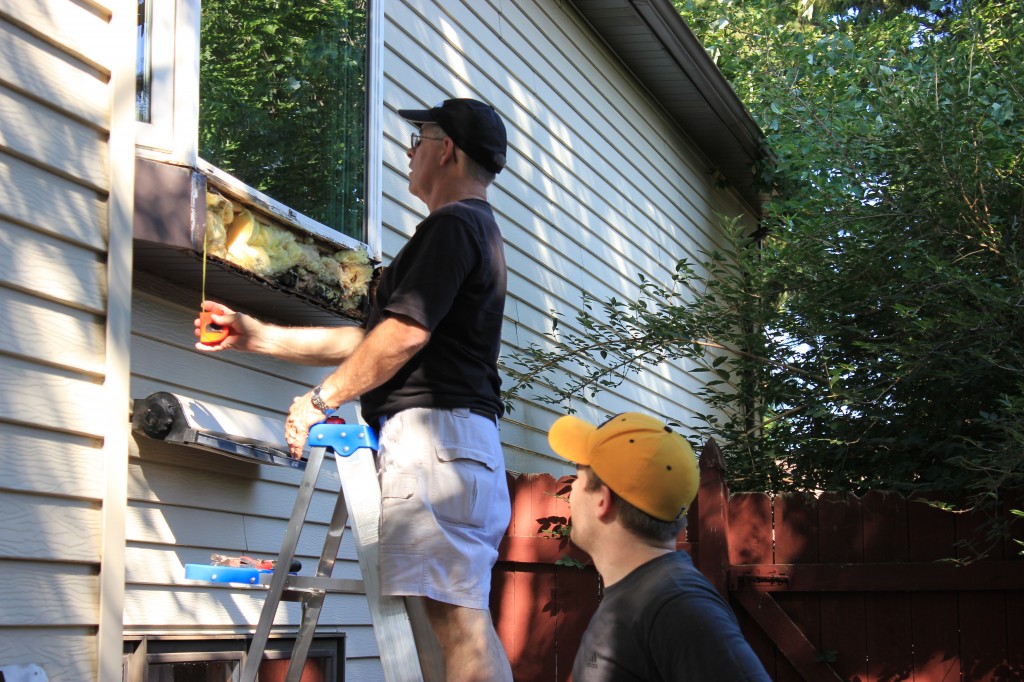
View from the ground. We had no idea it would be this bad.

IMG_1778

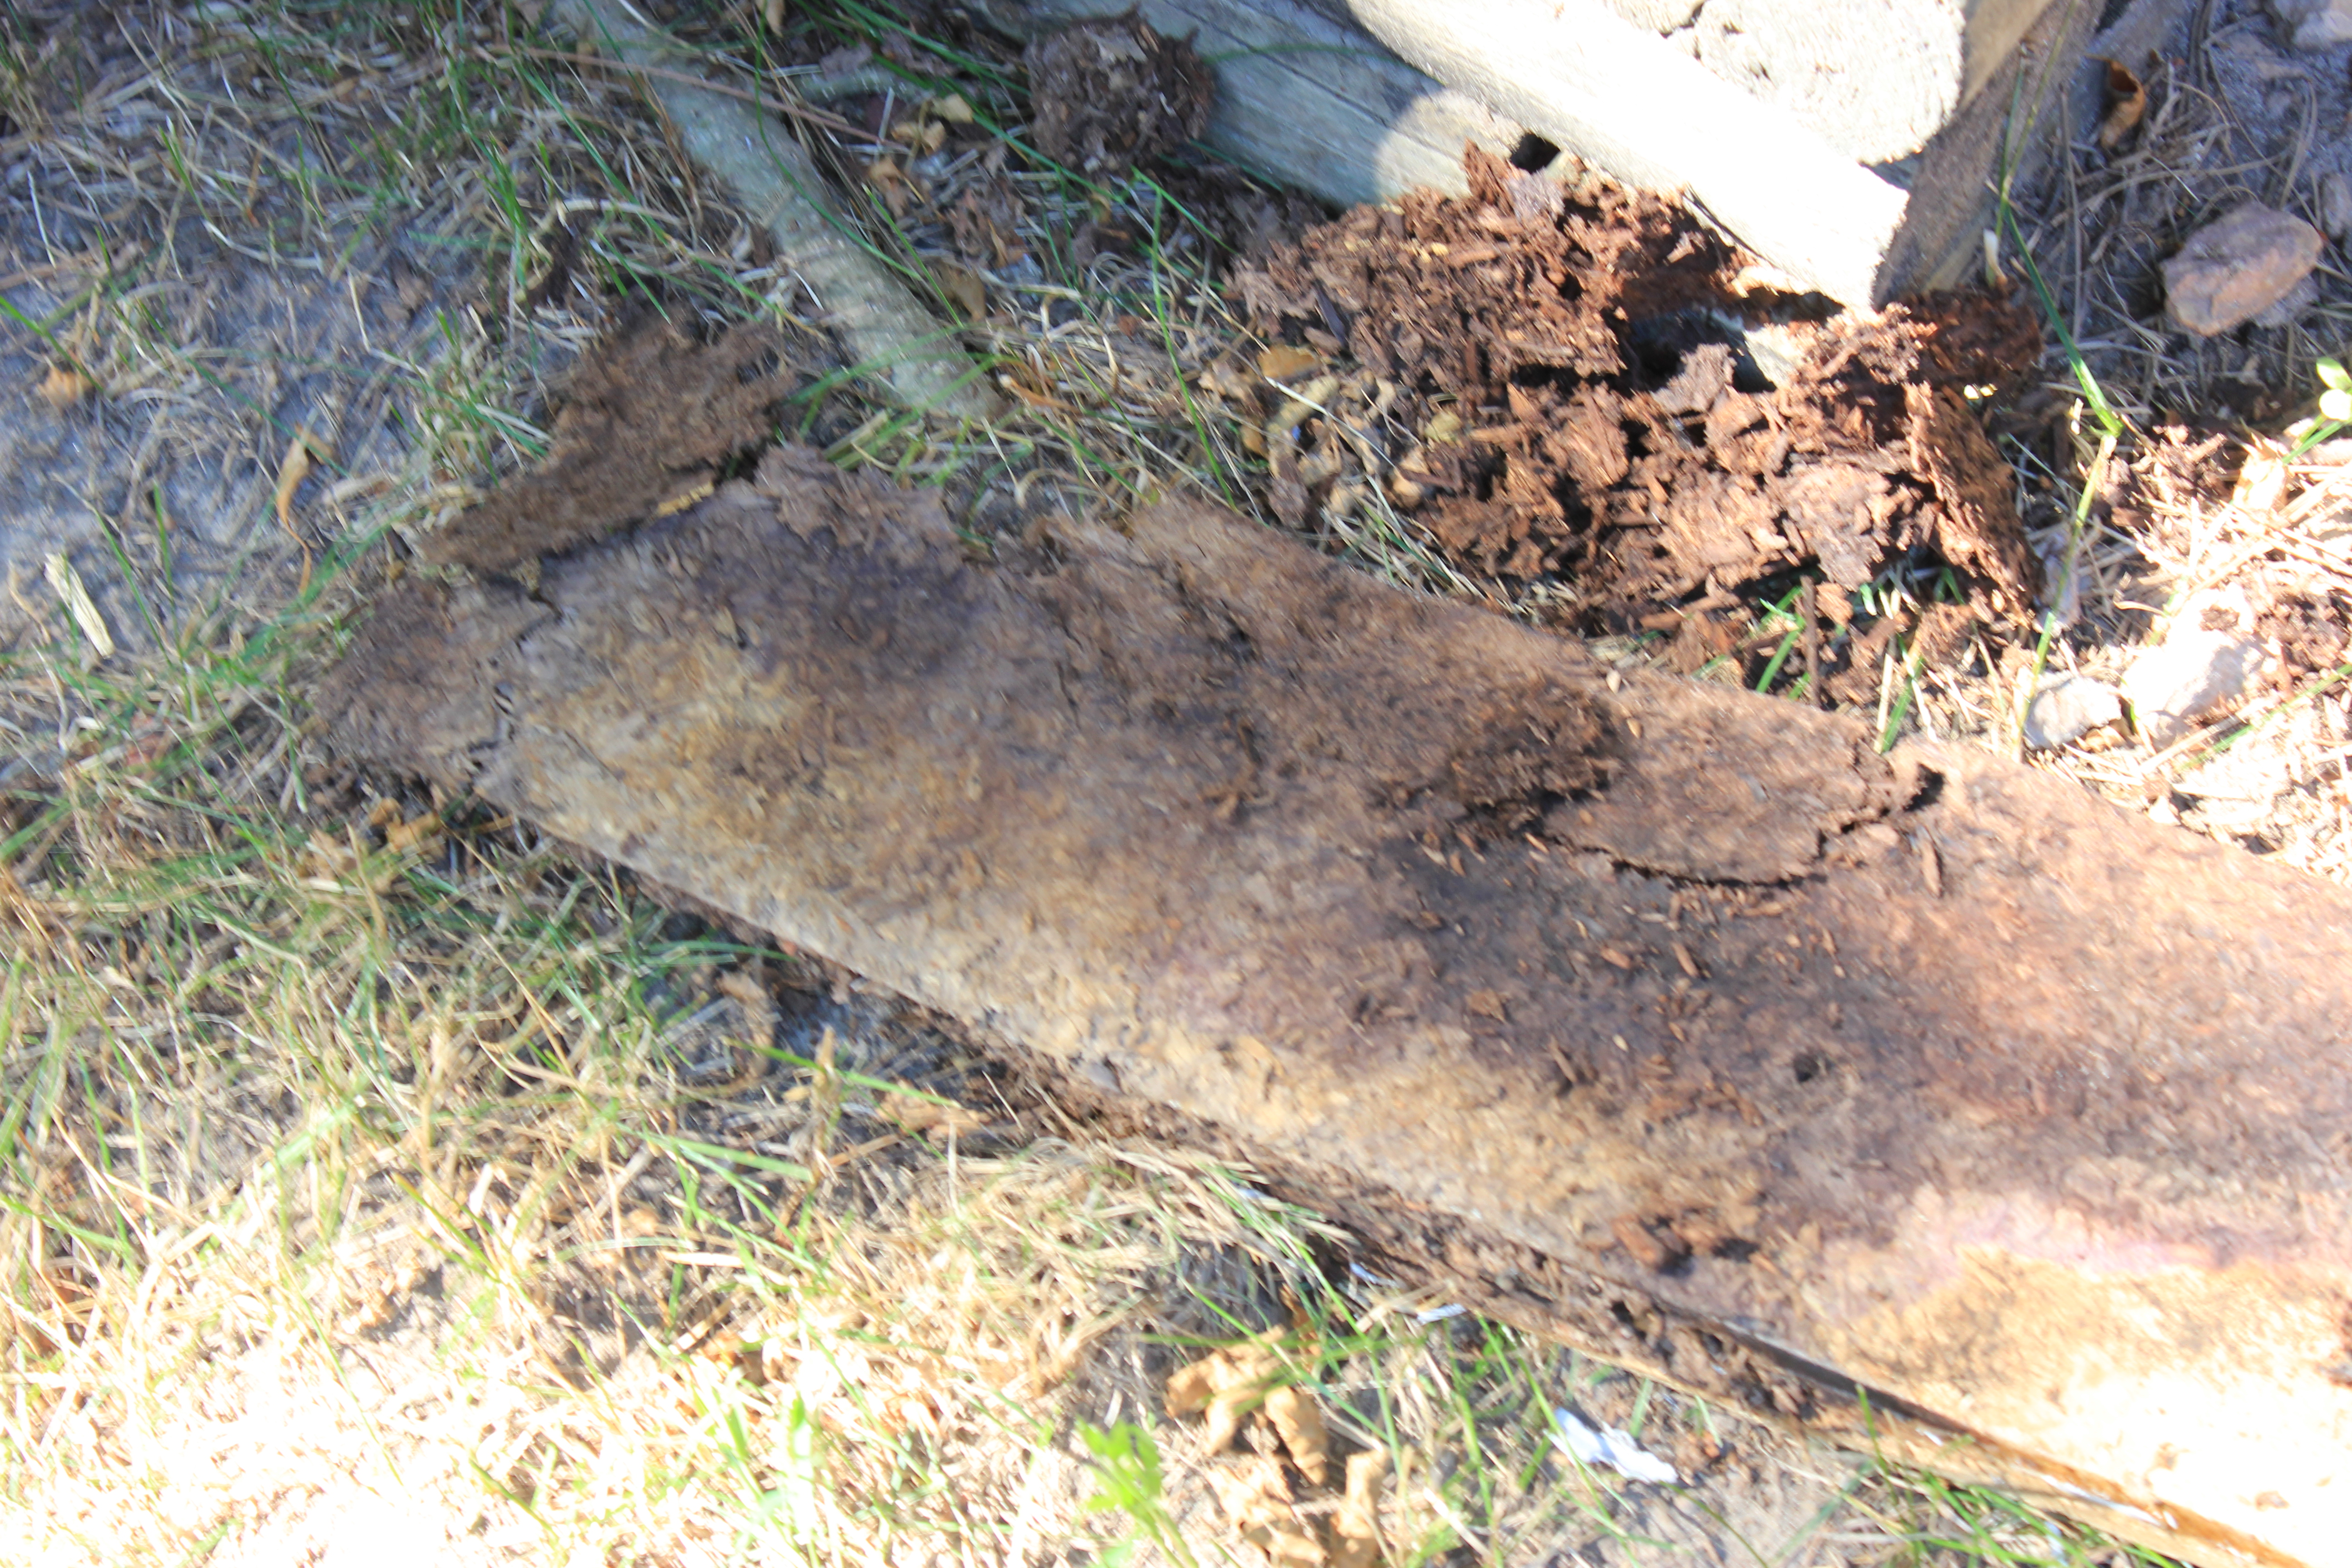
What will we find in here? More rotted wood!

Luckily, at least 2/3 of the supporting beams are still strong enough to hold up the weight of the window.

IMG_1779

Arlyn having second thoughts about this whole project.

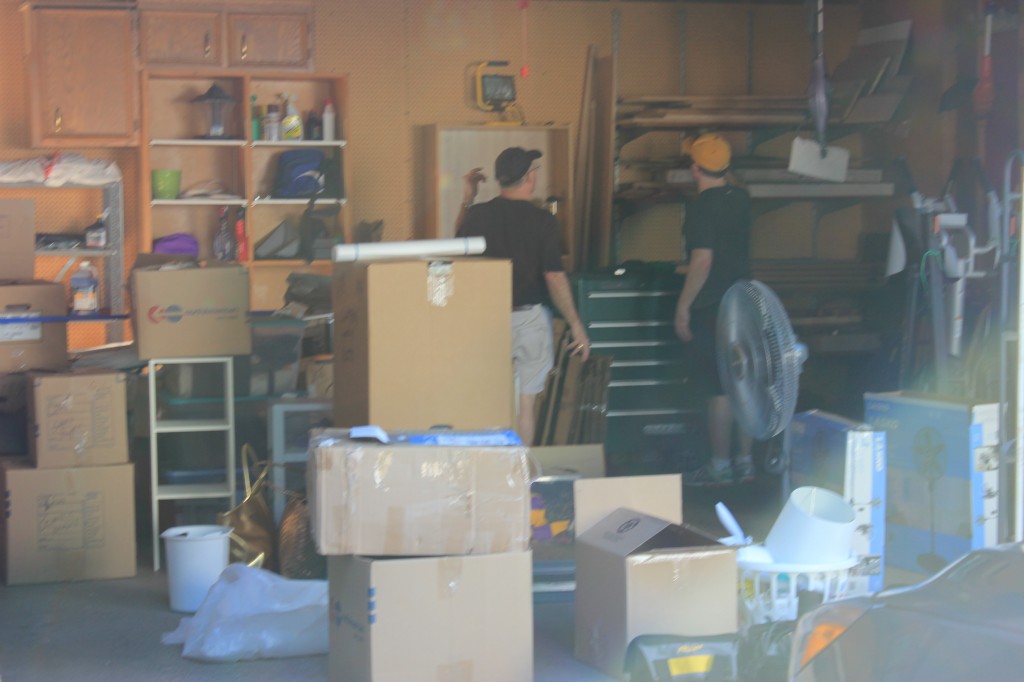
My Dad and I measured several times, then used some of the wood the previous homeowners left for us in the rafters of the garage to make replacements.

IMG_1783

Measuring to determine if we have the necessary supplies.

IMG_1789

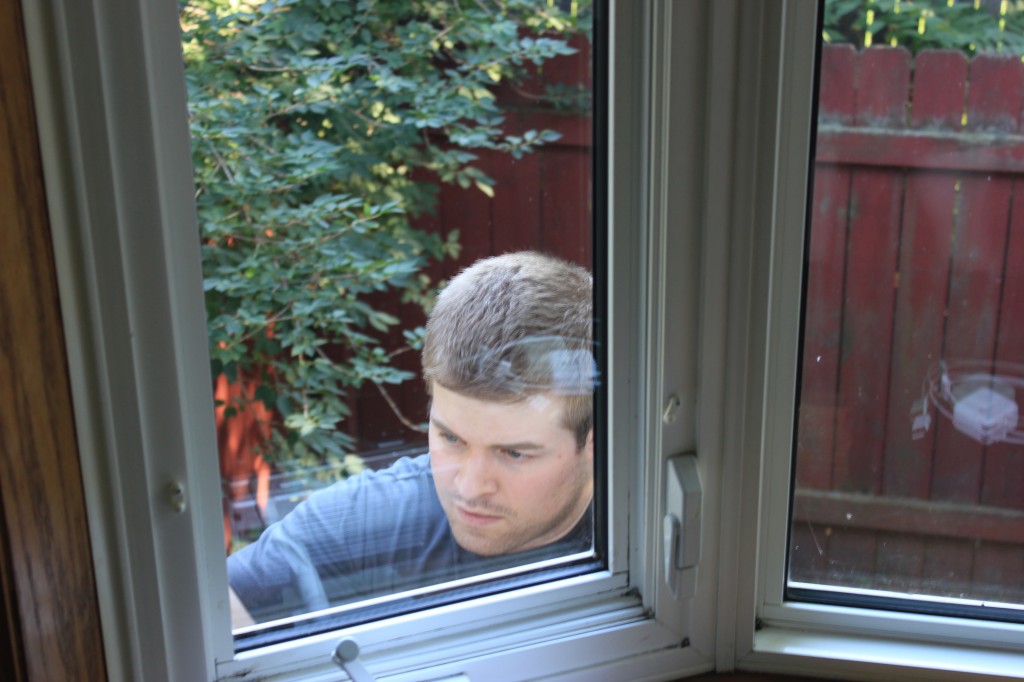
Caution: Men at Work.

My Dad was kind enough to bring all of the tools necessary for this, including a saw table!
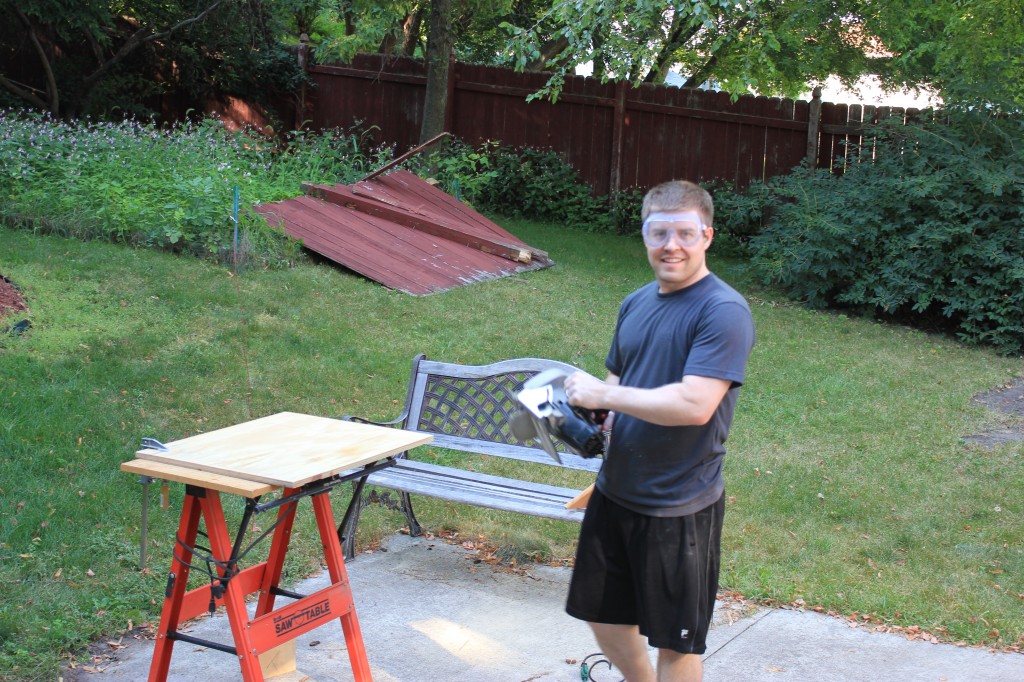
IMG_1790

So happy.

IMG_1796

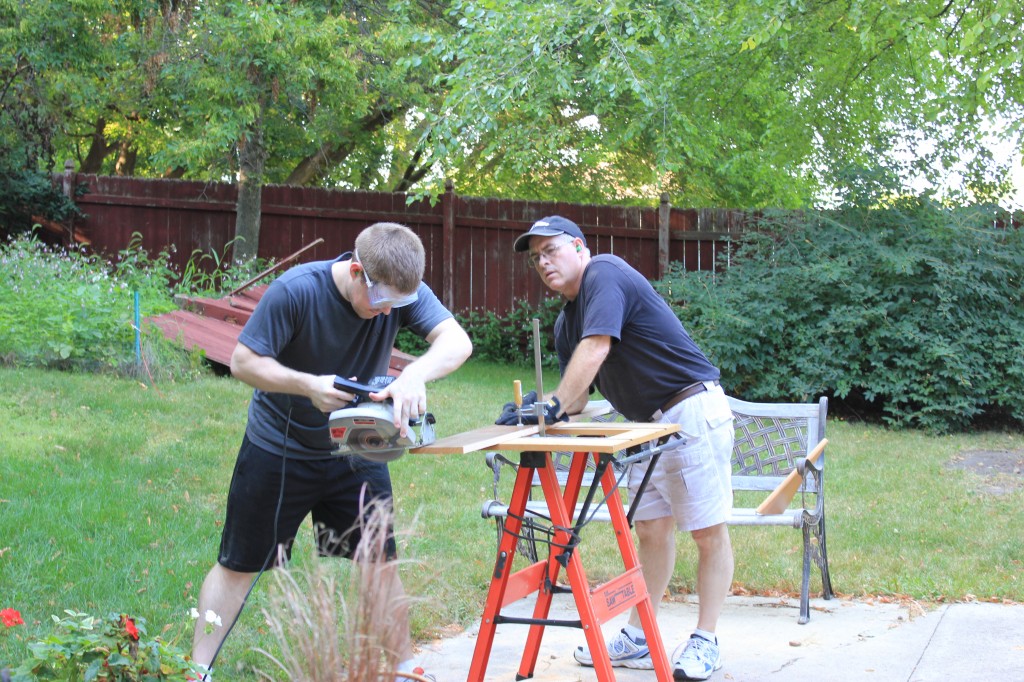
Angling the sides of the oak panels that will replace the rotten ones.

Verlo men forever live by the Boy Scout motto (“Always be prepared”)! We got all of the wood secured as well as we could, which was fairly simple.

IMG_1794

Already looks better.

IMG_1795

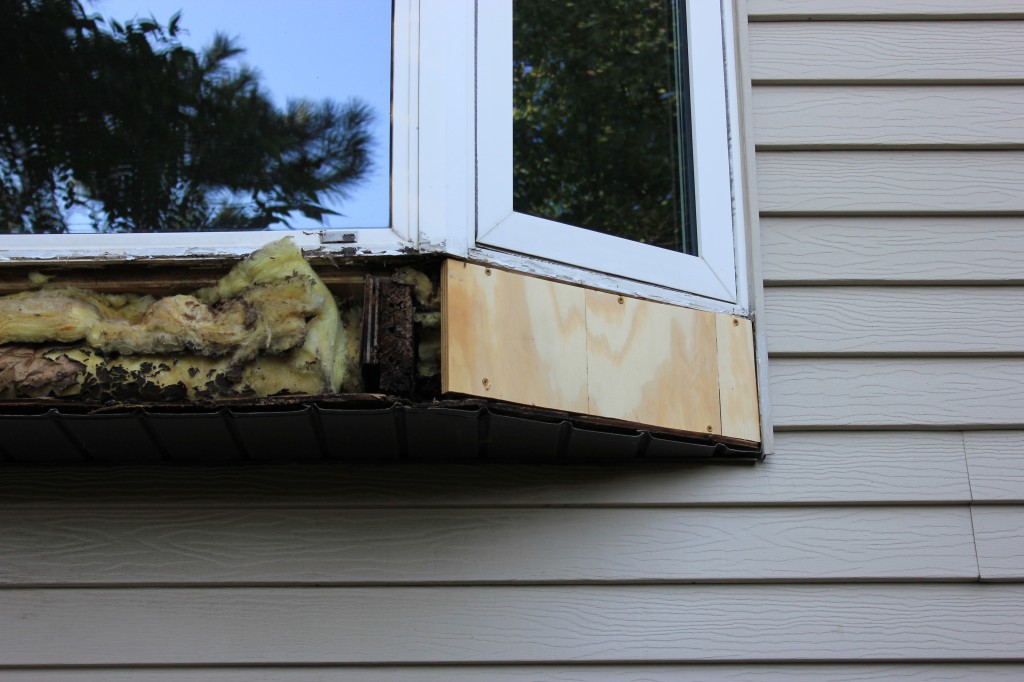
Closer view of the new interior panels.

IMG_1797

All new panels secure.

IMG_1798

Another angle.

IMG_1792

Trying to secure the flashing in place over the new panels.

The hardest part of this job was getting the old flashing into place.

IMG_1882

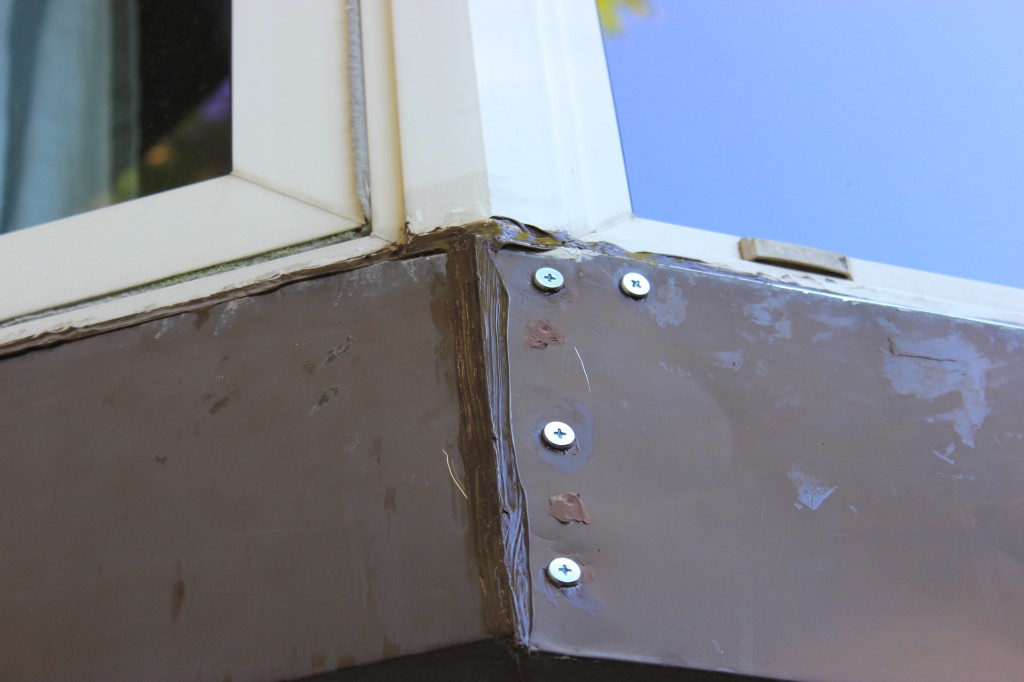
Brown silicone ans heavy duty screws.

The top side of it just did not want to squeeze between the wood and the bottom of the window.  Eventually, we got it as far in as we could, called it good and sealed EVERYTHING with brown silicone.

There are also screws sticking through the outside but seeing as how we will likely have to replace the entire window someday, we are okay with the fact that it is properly sealed.   IMG_1881

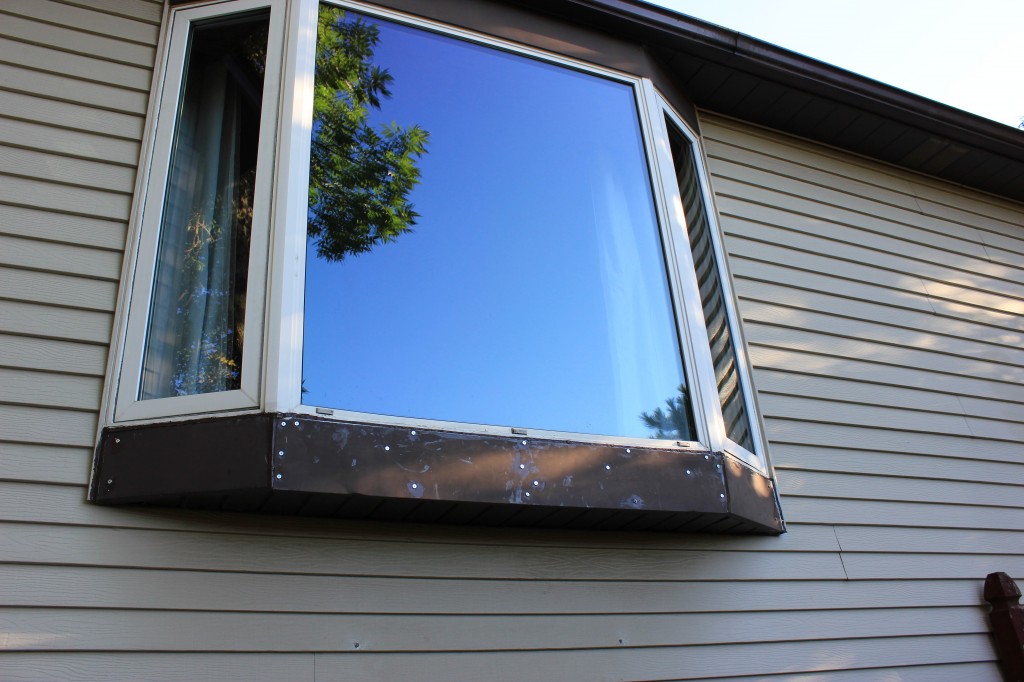
Now all we need to do is give it a fresh coat of paint, and we can forget about the bay window until our finances support replacing the whole thing!


The First Project

Mike Here.  When we had our first walk-through of this home, one of the very first things we both agreed had to go was the glass sliding doors on the upstairs full bath.  There was black stuff growing around the corners (mold? fungus? general rot?), they didn’t open and close correctly, the list goes on.  The day that we closed, we both knew this needed to be the first project.  When we packed up the car the morning of our closing, I made sure to pack my tool box, including a hammer, screwdriver, putty knife and razor blades.  Within 30 minutes of taking possession of the property, the ugly glass sliding doors were history.  We walked into the house on a mission, both taking a few minutes to embrace the feeling of being new homeowners, then got own to business.  The doors came off no problem, and with each piece I would remove, I did a small victory lap with my demolition material to the garage, before heading back to the bathroom.  However, after the doors, this demo took a turn for the sweaty (gross!).  The frame that was sealed to the tub with silicone was a whole different story.  I FOUGHT that frame.  I thought I was going to rip off part of the tub I was pulling so hard.  You probably won’t see it in these pictures, but by the time that I got to ripping up the bottom piece, I had sweat dripping from my forehead (good thing I was in a shower!).  Eventually, all of the unwanted metal frame was gone, and all that remained was a thin layer of silicone, which I am still trying to figure out what to do with. The silicone is a beast as well, we cannot figure out how to scrape it off without destroying the porcelain tub. Also, at some point we’ll have to re-grout some parts of the tub because no amount of cleaning will remove some of the dingy leftovers.  It is our plan to eventually redo this bathroom, but this works for us for the time being.

IMG_1766

Mike: “Am I doing this right? No? I’ll just pull harder!”

IMG_1767

Happy to be using tools again after two years.

IMG_1768

Better, but still gross.

photo

Much better.

Updates Still to Come for the Upper Full Bath:

  1. Remove leftover silicone
  2. Paint Trim
  3. Frame around mirror (Source for Idea: House of Smiths)
  4. Paint Cabinets (Behr: Ultra Pure White Semi-Gloss)
  5. Paint Walls (Color: TBD)
  6. Re-paint grout (Heard really great things about Polyblend Grout Renew) Source: LiveloveDIY – this woman is awesome
  7. Replace Hardware to match Oil Rubbed Bronze shower curtain rod
  8. Remove the medicine cabinet (the project I dread most in this room)

I’m sure we’ll think of more things!