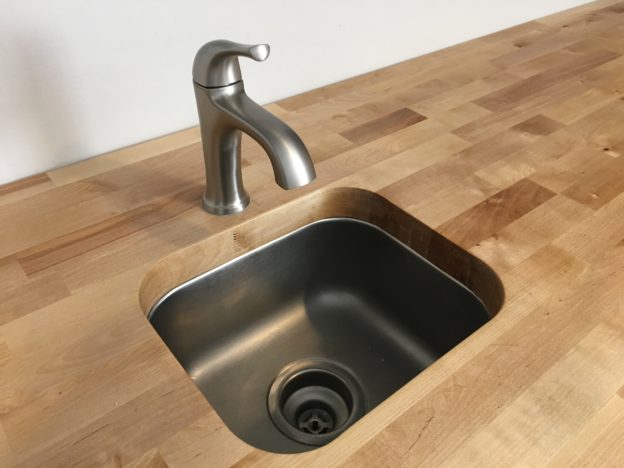
The original countertop on our basement wet bar had the sink top-mounted. We always knew when we renovated the bar, we wanted to mount it beneath the counter. In an effort to save money, we decided to re-use the old sink.
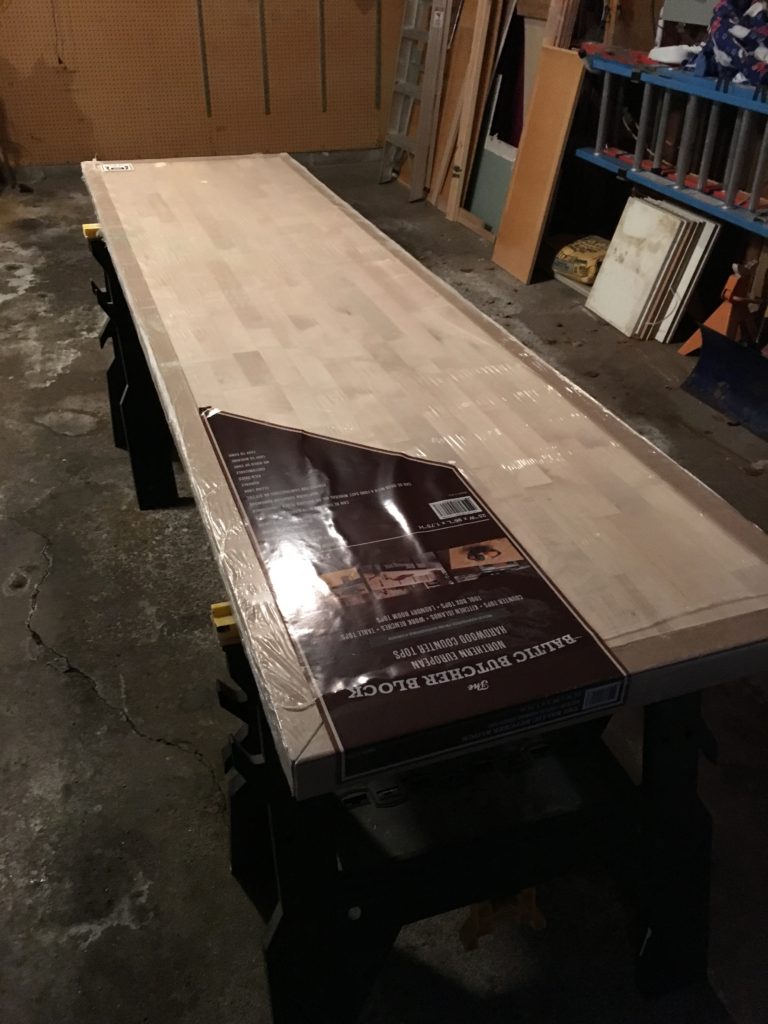
We considered a few different ideas for the basement bar, including concrete, but always came back to butcher block. For a time, we even thought about building our own, but Lowe’s made the decision easy, when it started selling an 8′ butcher block countertop for $240.
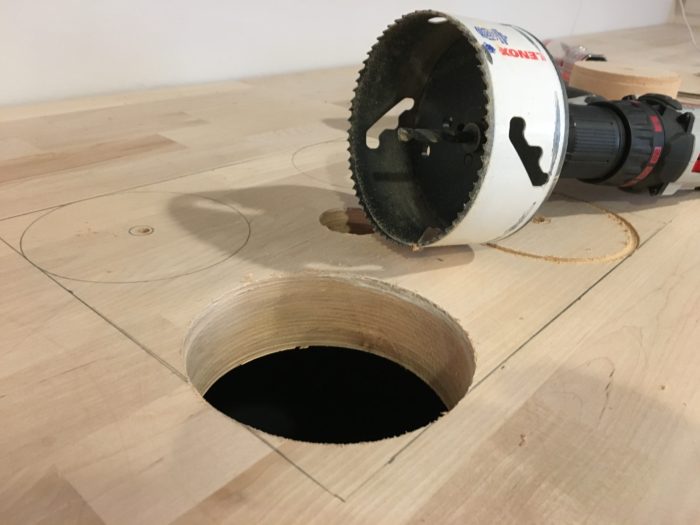
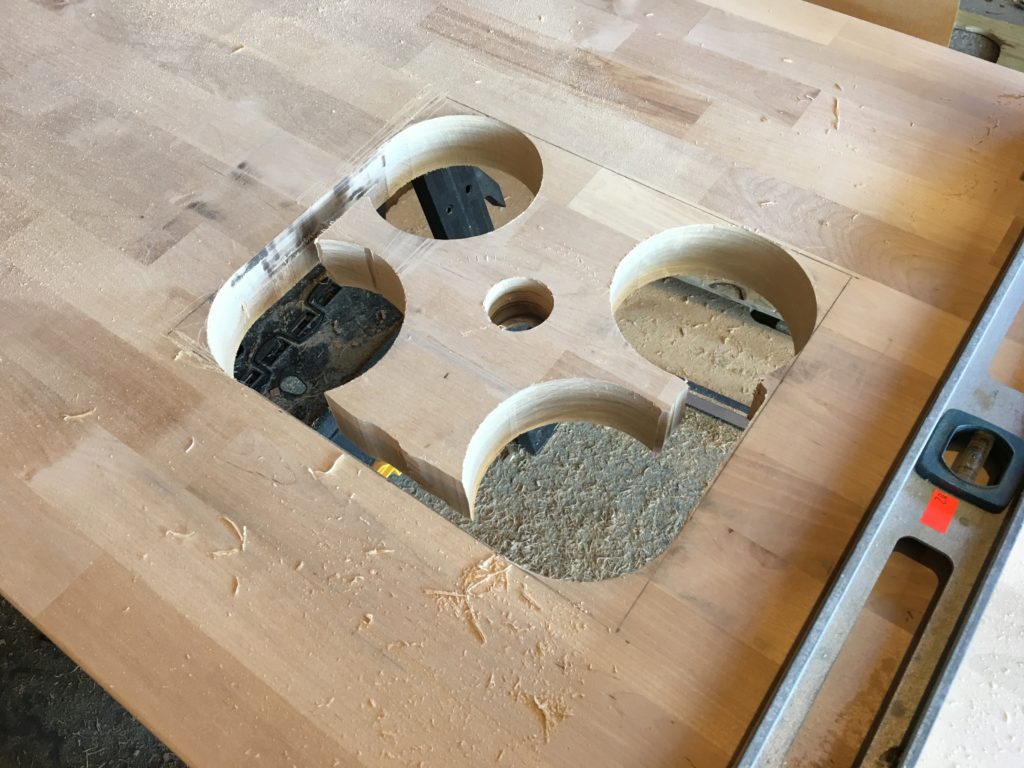
Since we spent so much money on the counter, I was extremely cautious with my plan for cutting the hole for the sink. My plan was to use a 4 1/2″ hole saw for the corners and cut out the area between the holes with a straight router bit. I did a trial-run on a piece of plywood.
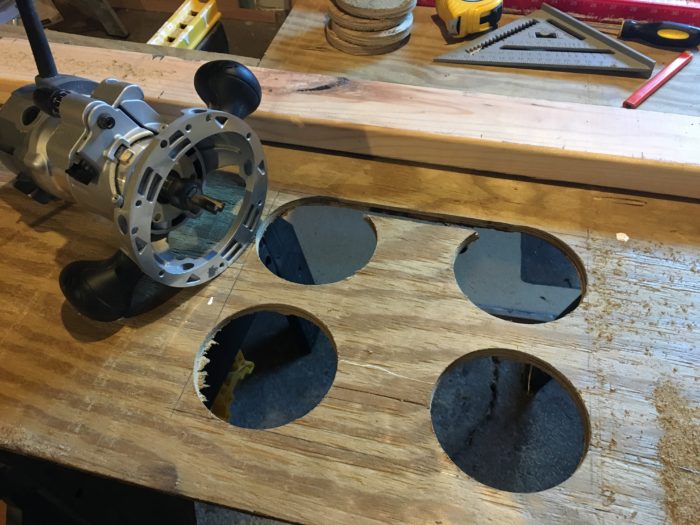
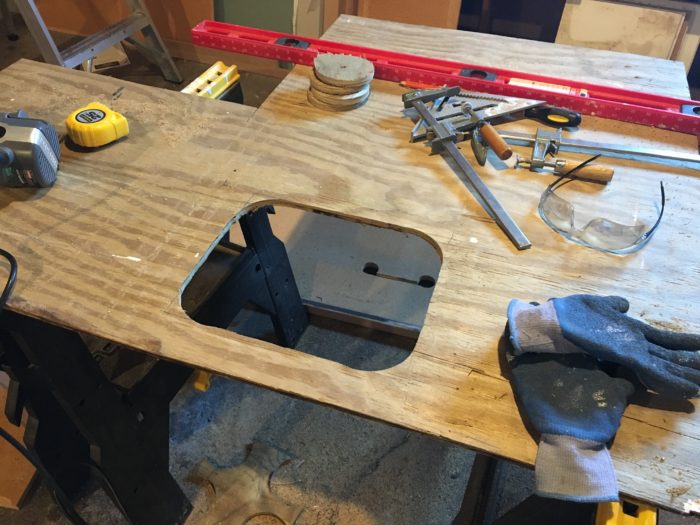
Since the plywood test went well, I took it to the next step and carefully marked my measurements on the countertop itself, and started to drill.

The holes were NOT easy to drill. Since the wood is 2+ inches thick, it took at least 7 minutes per hole, and I went through 2 fully charged batteries. My next challenge was finding the right router bit, since the one I used to cut the plywood was not going to be long enough to make it through the butcher block.
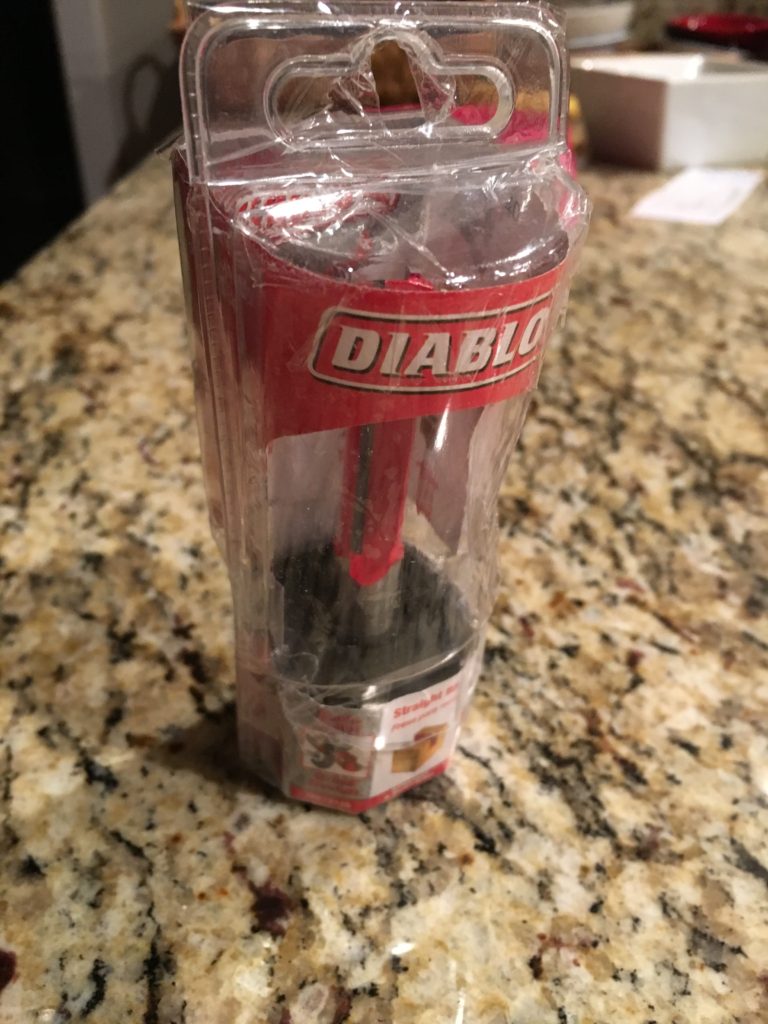
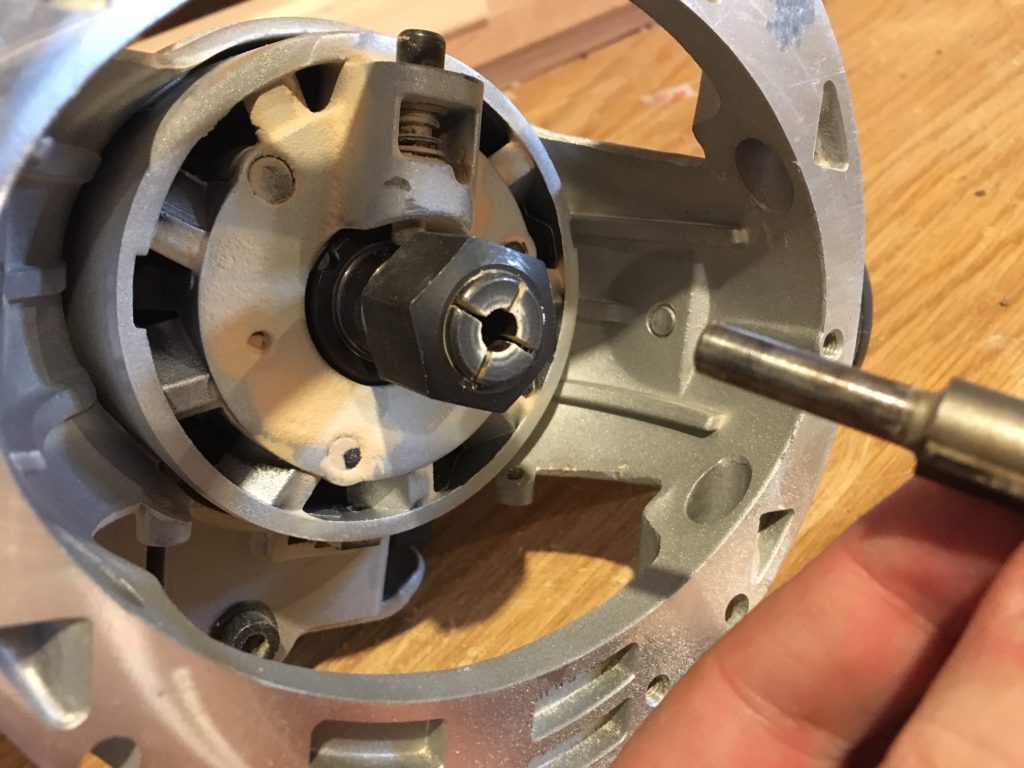
As you can tell by my amazing tape job above, this was not the right tool for the job. When I bought it, I didn’t realize my router could not handle a 1/2″ drive bit. My router only has a 1/4″ collet.
I couldn’t find what I needed in any stores, so went online and ordered a 3″ long straight cut router bit with a 1/4″ attachment. After waiting 2 weeks for the piece to arrive, I was ready to get back to work and didn’t waste any time getting back to work:
 Everything was going GREAT. The new bit was cutting so fast and I thought “this is going to be done in no time!” Then this happened:
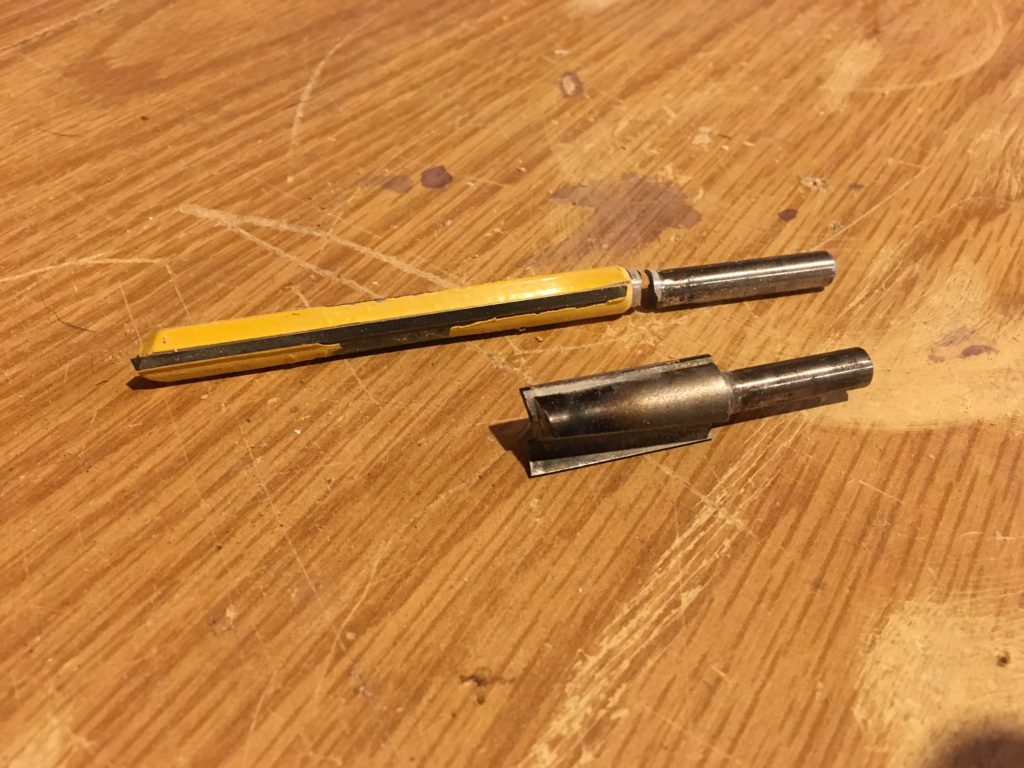
My fancy new $11 router bit snapped. Here’s a photo of where it broke, and a comparison to how much longer it is than my other straight bit:
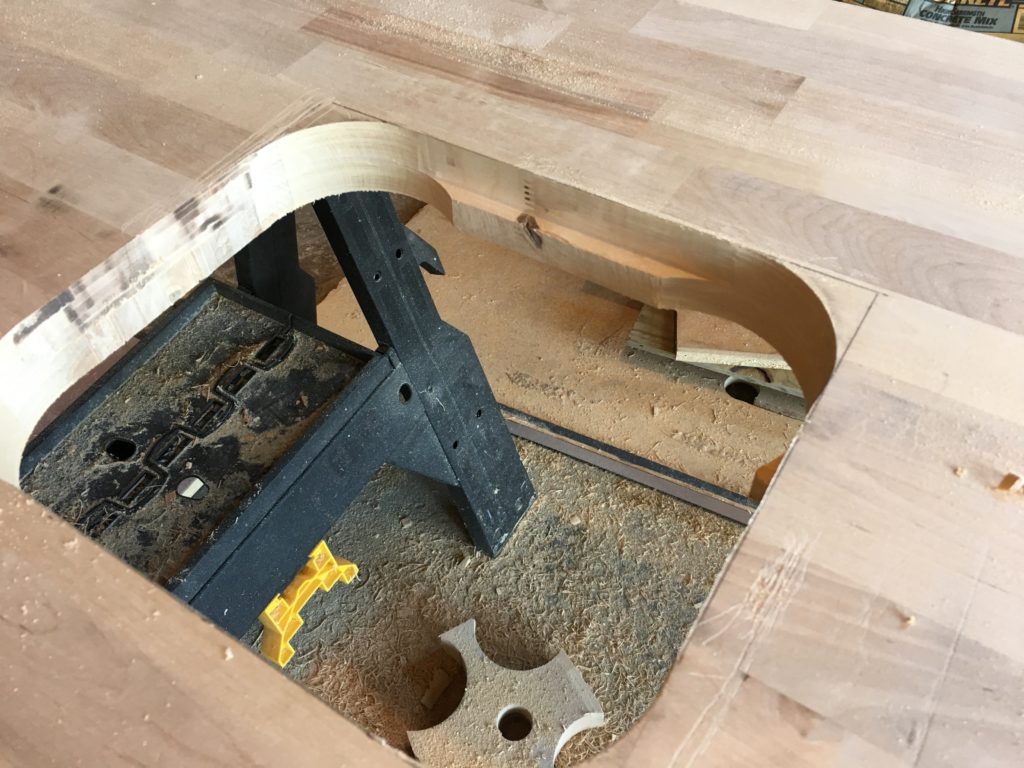
I continued the process with the smaller bit. From the beginning, I knew it was an option to use the shorter tool, and just flip the countertop over and finish from the other side. But I was worried about the 2 cuts not perfectly lining up. But I was ready to be done, so cut very carefully and spent a lot of time sanding the edges.
The next step was to cut holes in the stainless steel sink, both for the mounting screws, and also a hole in the middle for the new faucet. I put oil on the steel before cutting with special drill bits meant to drill through steel.
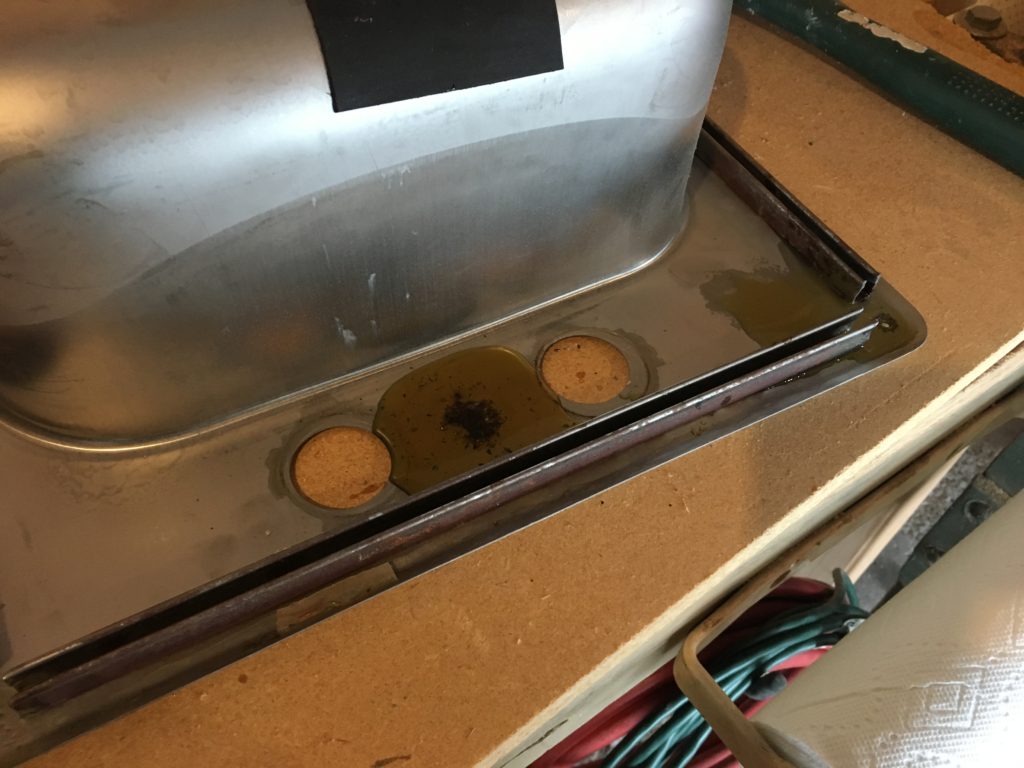
Proper ventilation because the oil put off some smoke when it got hot!
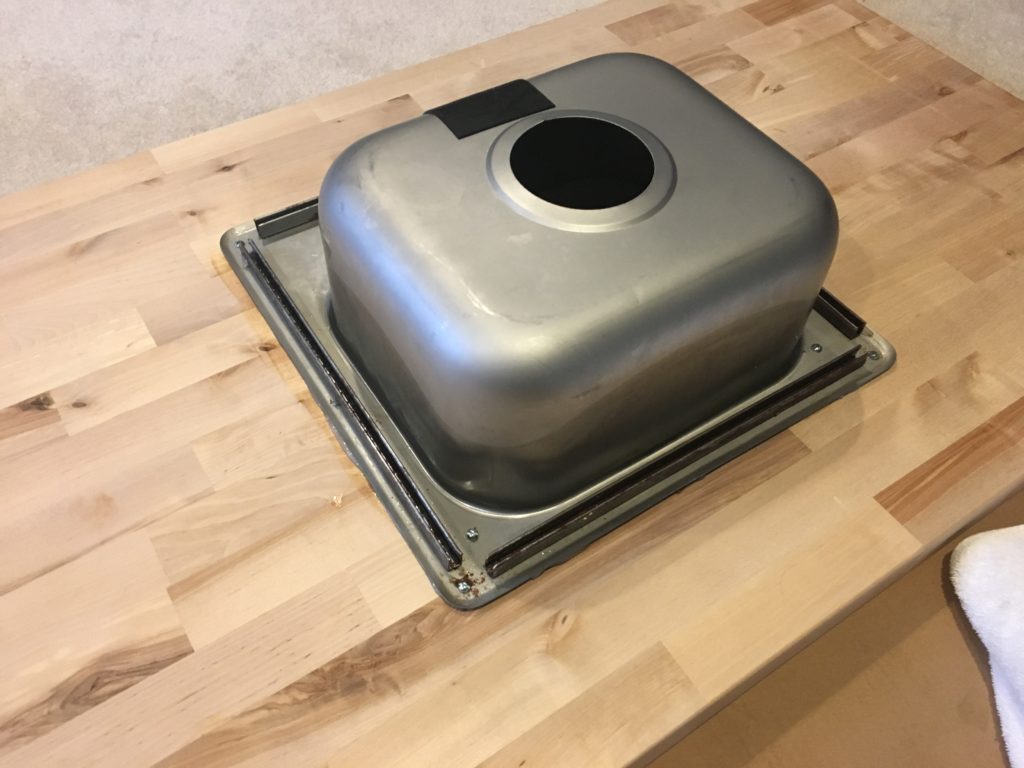
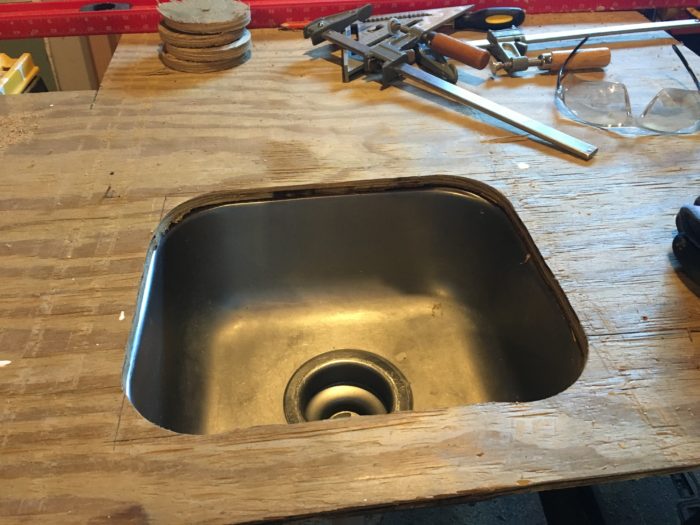
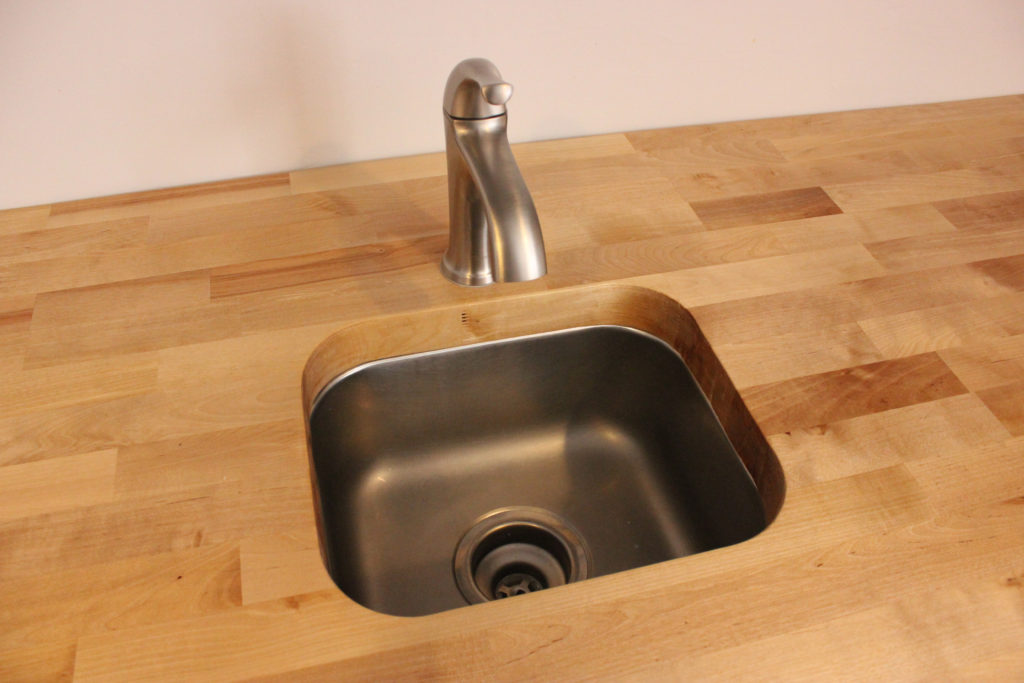
We put silicon caulk between the sink and the butcher block before carefully making sure it was aligned, drilling holes and driving in screws. The rest of the plumbing process was straightforward. We’re happy with how it looks!
Click here to see the rest of this project.