Author Archives: Mike

Basement Before and After

It took six years, but our basement family room is finally one of our favorite rooms in the house!  Getting to this point was not easy.  We had to wait until we had the money to buy furniture, while also deciding where to put it in the challenging space.  The room’s layout didn’t leave us with many options:  you walk in from the north, there is a fireplace on the west wall, a large window on the south wall, and the east wall has a wet bar.  I’ll explain more about the furniture in a moment, but first, here is a look back at how the room looked shortly after we bought the house:

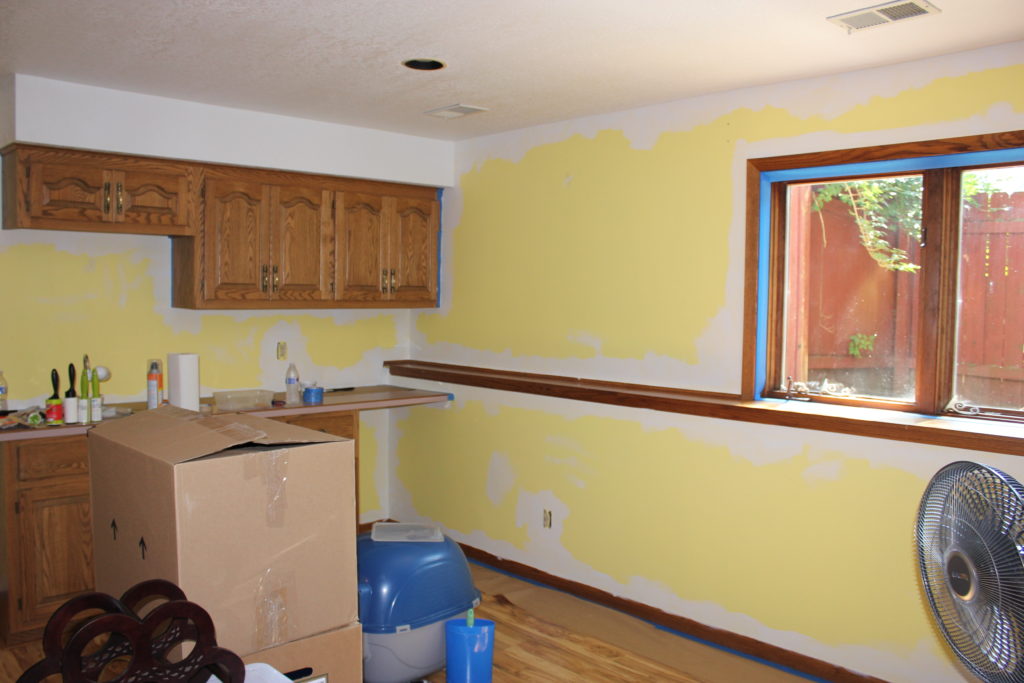
Back in 2013, we changed the color of the room from yellow, to “Irish Mist,” a Behr Premium Plus paint color.

After that, the room essentially became our workout area.

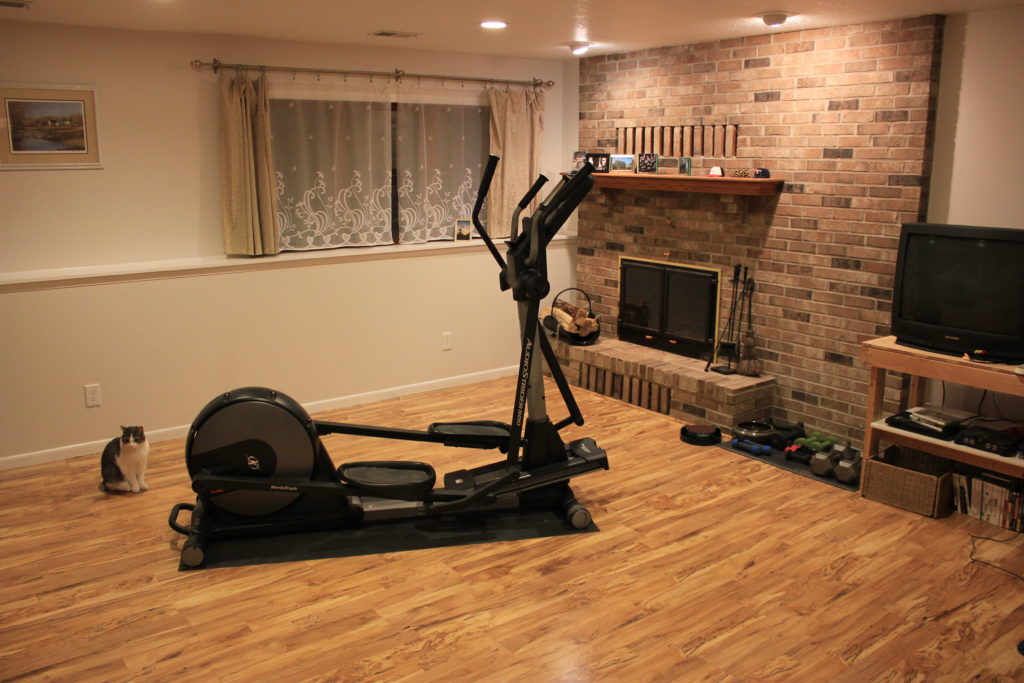
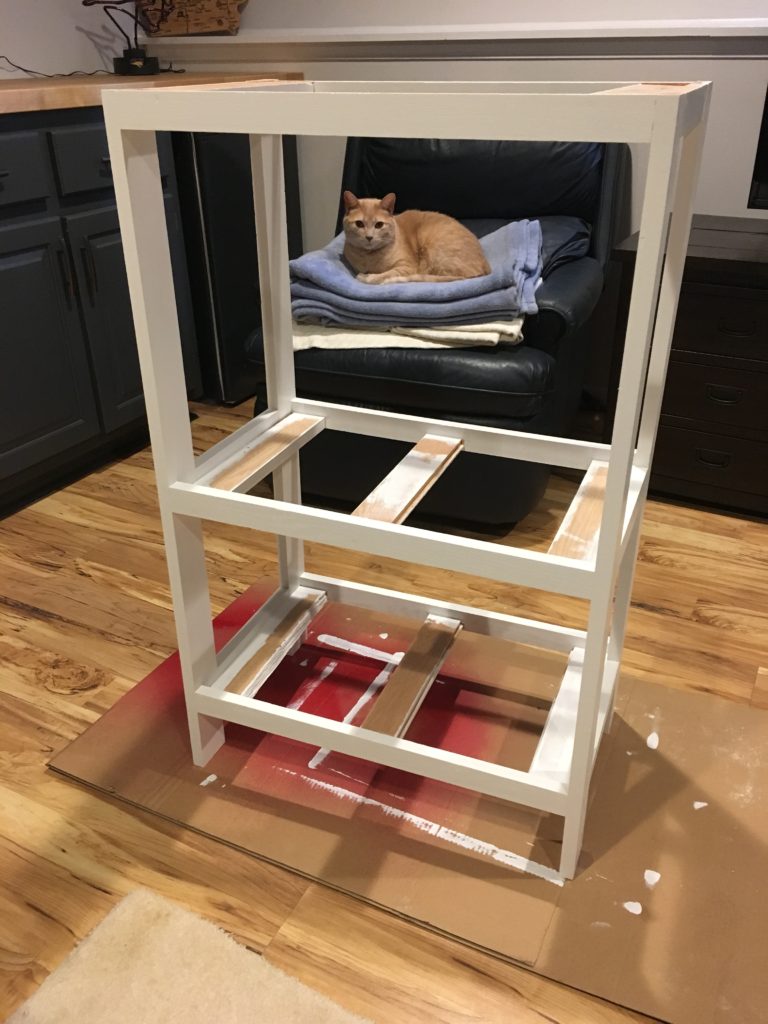
It’s also where we feed the cats (Robert waiting patiently)

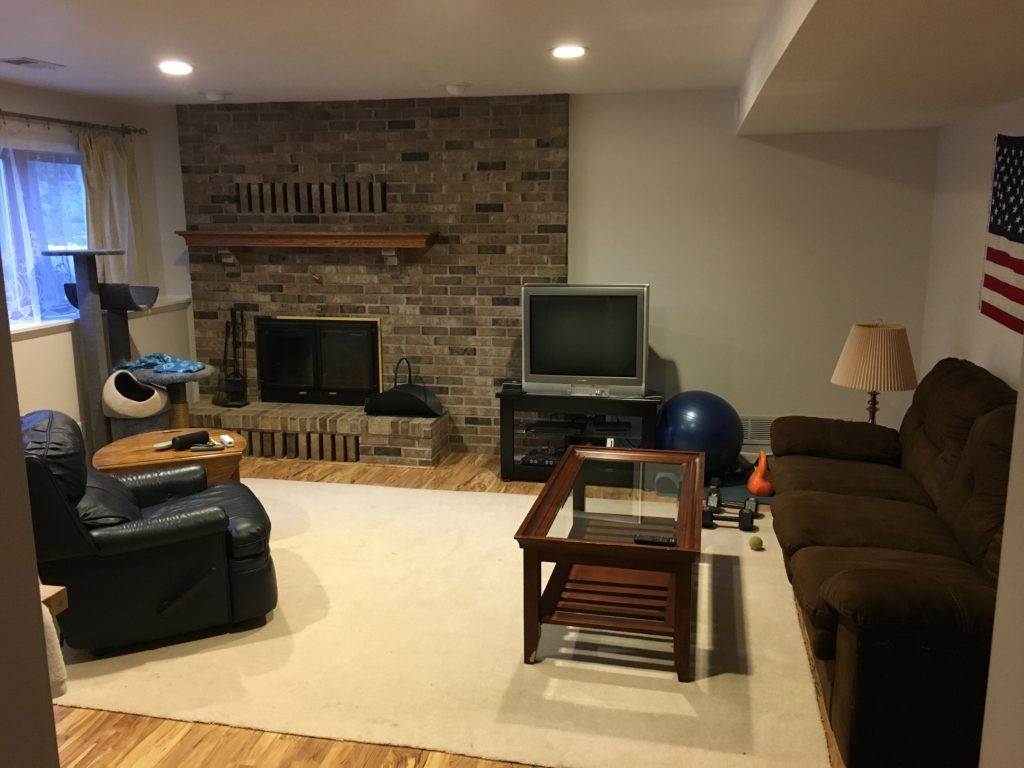
In the following couple of years, friends and family gifted us hand-me-down furniture and carpet remnants, and the room began to feel more like a living room.

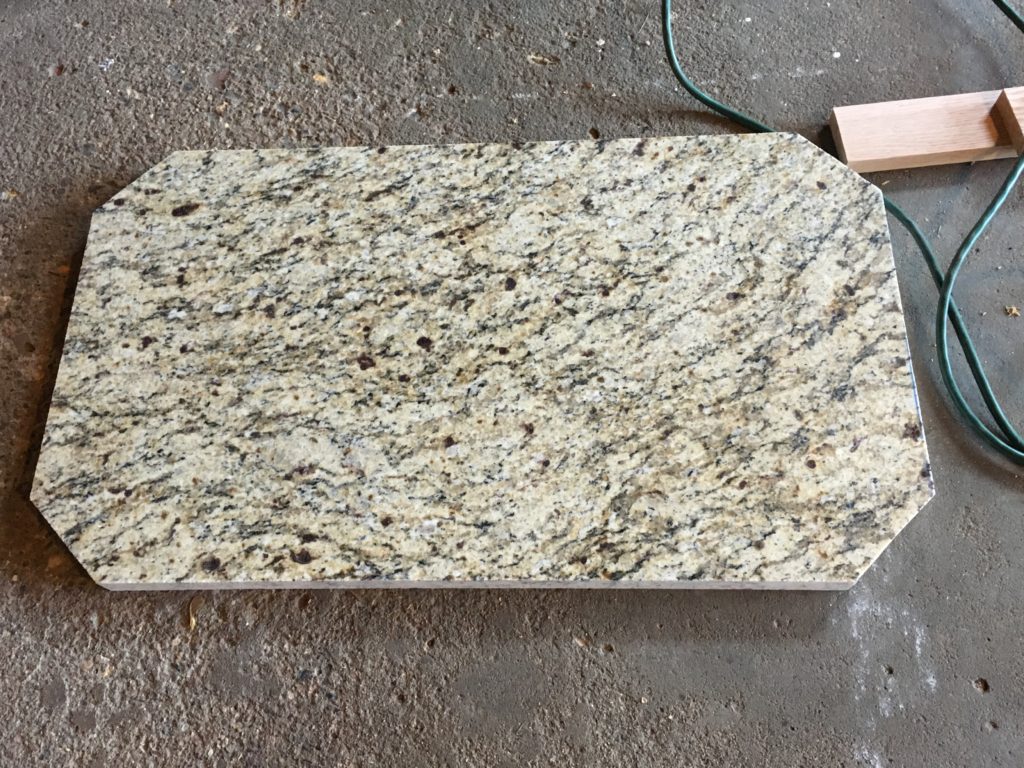
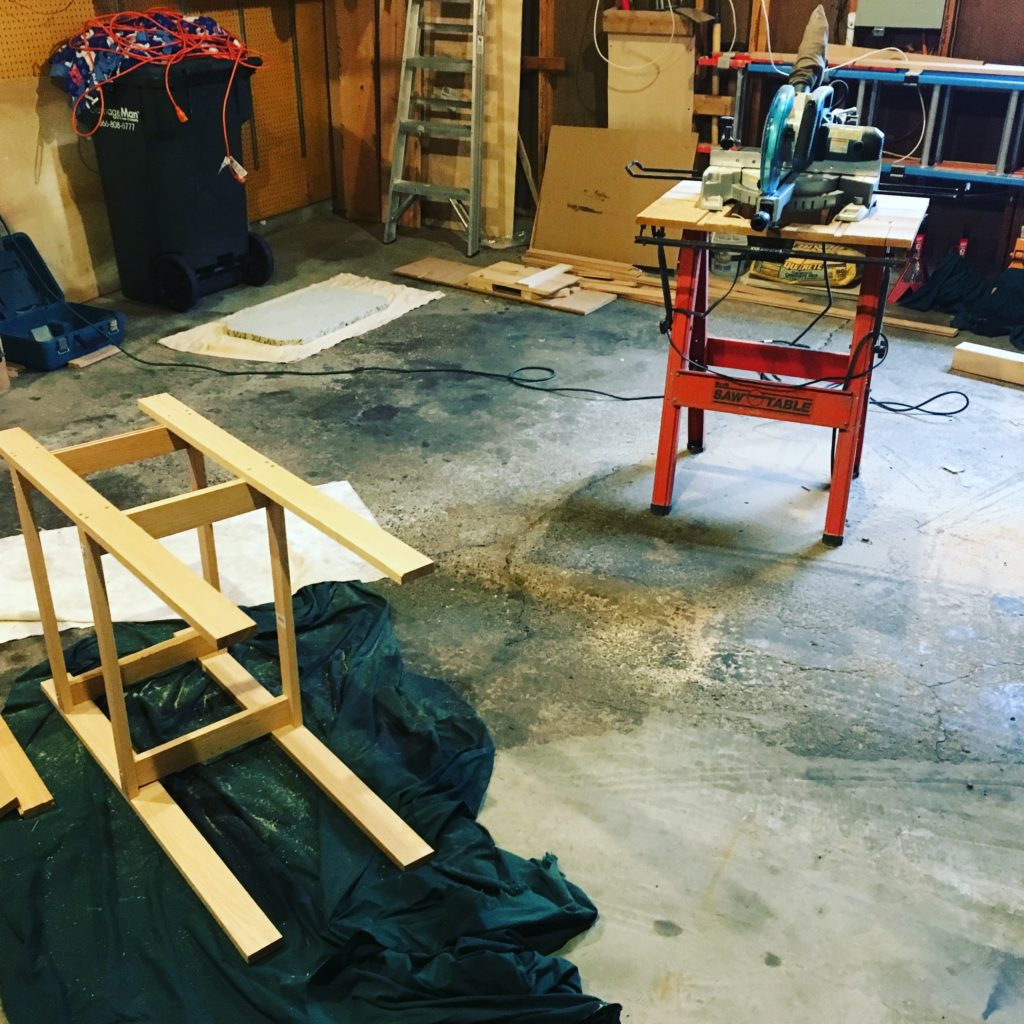
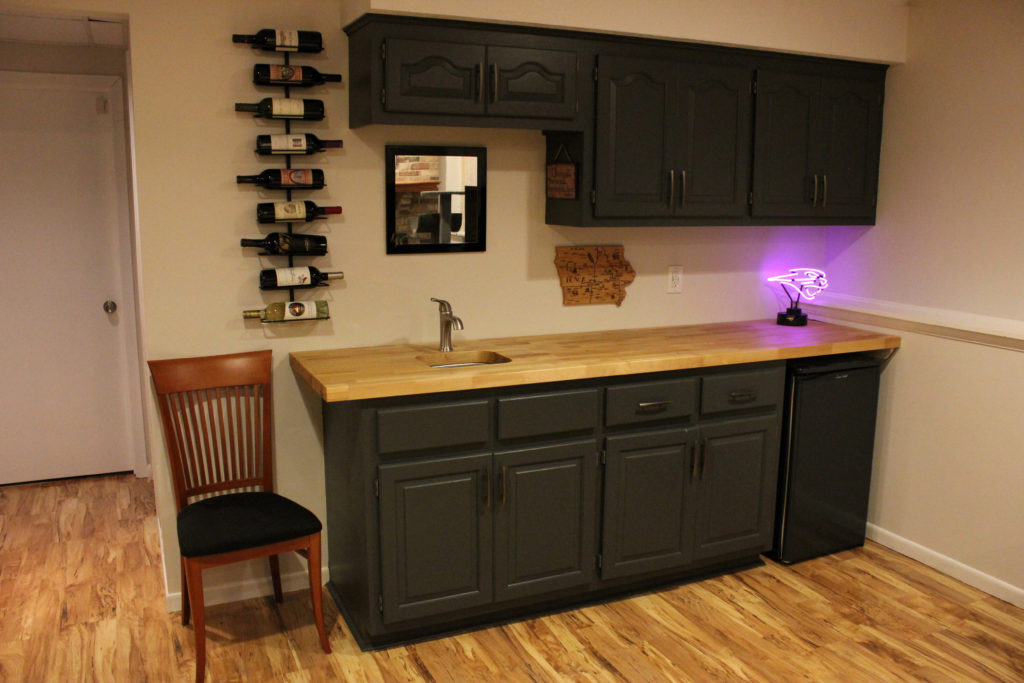
We knew we wanted to someday put a big-screen TV in the room, along with a big, comfy sectional couch, but first, we wanted to update the wet bar:

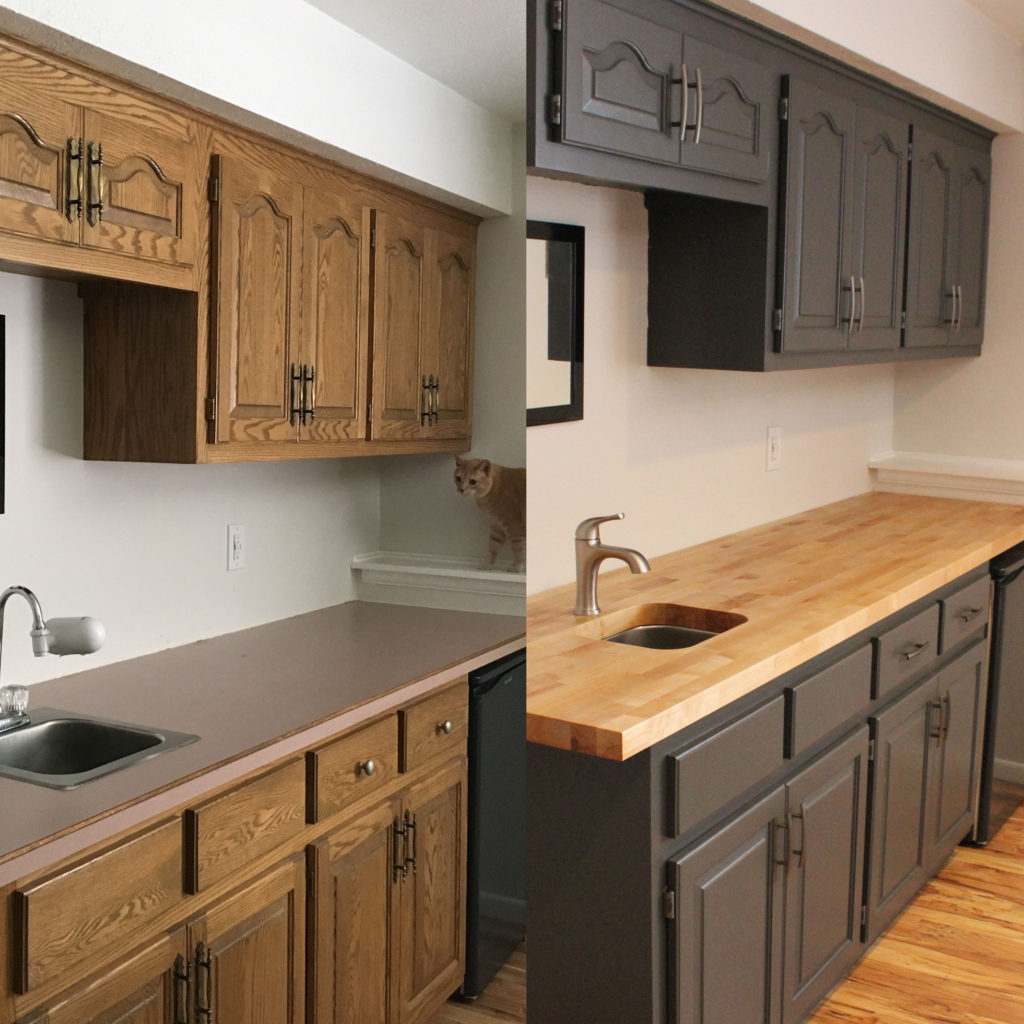
Click here to see the wet bar makeover project and click here to see what it took to mount the sink in the countertop.  The cabinets are painted Behr Graphic Charcoal.

Here is one last picture of the room, before we bought new furniture:

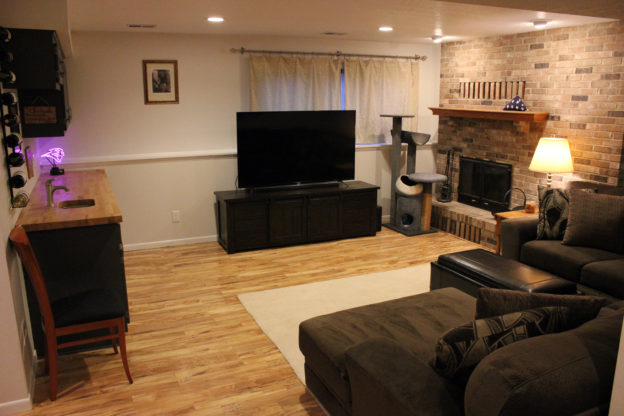
And here are the after photos:

The TV is a TCL 65″ Roku that we bought from Costco.  It sits on a hardwood TV stand, which we also found at Costco.  Thanks to my friend Eric for helping me lift it into the basement!

The couch is a Rainier 3-piece sectional that we found at Hom Furniture (pillows included).
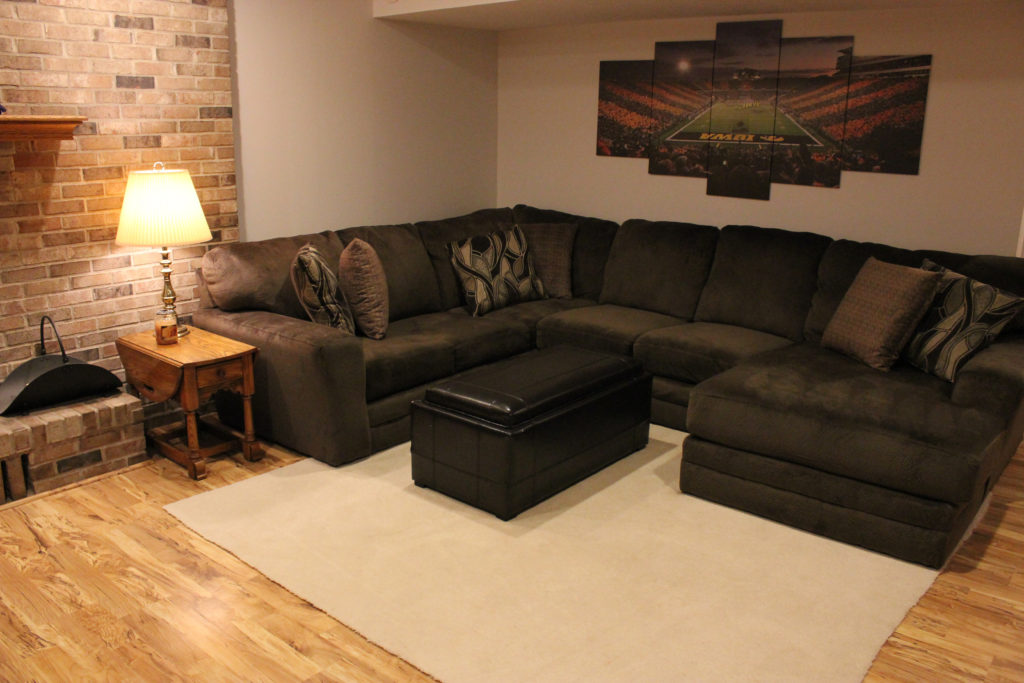
Go Hawks!

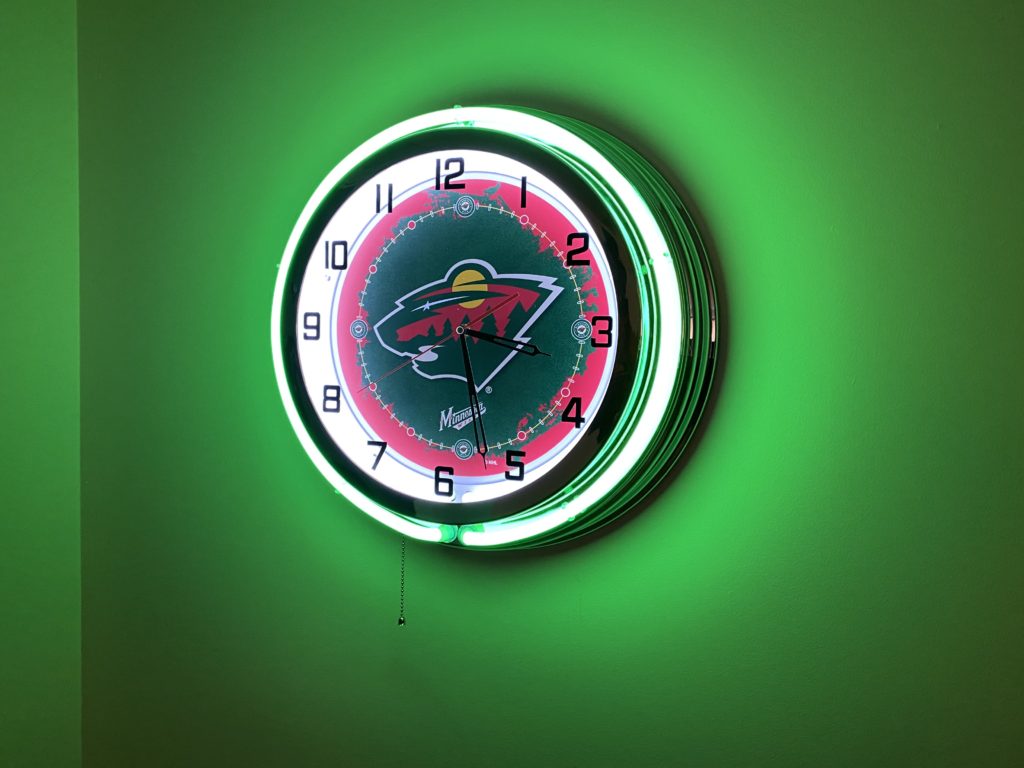
As you can see, we support the Iowa Hawkeyes, University of Northern Iowa Panthers, Minnesota Wild, and are now on a mission to find something to hang up to support the Minnesota Vikings and Twins.  We also installed a power outlet in the wall for the neon clock.

Thanks for reading!

-Mike

Microwave Stand

Finally, an end to the MICROWAVE MADNESS!  The microwave on the countertop has been a topic of conversation since the day we moved into this house.  We really don’t like losing all of that counter space, but there haven’t been many options for places to move it.  If we had designed this kitchen ourselves, we would have chosen a microwave range hood above the stove, or integrated into the cabinets.  However, the previous homeowners decided to go with a decorative range hood, which we actually like, and must have liked having the microwave on the counter.

This brings us to our latest project: building a microwave stand!  Lucky for us, when the previous homeowners did renovate this kitchen, they were kind enough to leave the granite remnant from the sink hole.  For this project, I set out to use that piece of granite to build a microwave stand, to be placed in the dining room adjacent to the kitchen.  The first step: cutting the granite.

I fitted my circular saw with a masonry blade and cut it down in size.  Personal protective equipment (PPE) recommended…along with a hat since I waited until December in Minnesota to do this project:

The granite remnant after I cut off the edges, but before the edges were professionally polished. This thing weighed a good 70 lbs!

After making the cuts, I debated learning to bevel and polish the edges myself, or hire a pro to do it for me.  It would have cost me around $110 to buy a bevel wheel and all of the necessary grit sand paper to use on my angle grinder.  I called around to a few granite shops in town to get quotes, and found one that was willing to do the work for $80 cash.  Easy decision.  I went with the pros.  Also for this project, I bought oak hardwood and rented a miter saw to ensure I had perfect cuts.

The granite is very heavy so I used screws to fasten the wood together, then covered up the holes with wood putty.

George watched as I painted the wood:

Finally, I needed to cut some hardwood floor remnants that Sara’s parents gave us a while back to use for the shelving.  My dad was able to help make those cuts when we visited Iowa for Christmas.  His radial-arm saw is able to rip hardwood length-wise, which is something none of my current tools can handle.

Both my Dad and I make the same face when we’re intensely focused!

For the stain, I used the same black cherry from other woodworking projects around the house, including the banquette, front bench and banisters.  And here’s how it looks finished:

Now, our microwave has a home, our kitchen counter is spacious once again, and we have another piece of hand-crafted furniture that continues to tie together our home.

Thanks for reading!
-Mike