Tag Archives: Diy

Framing a Mirror

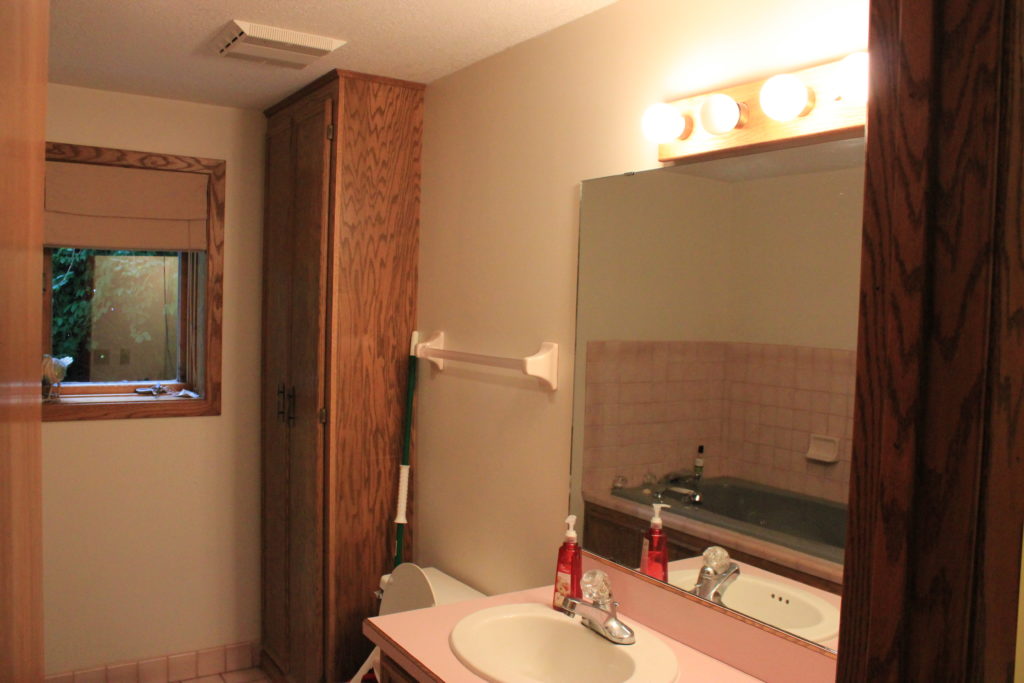
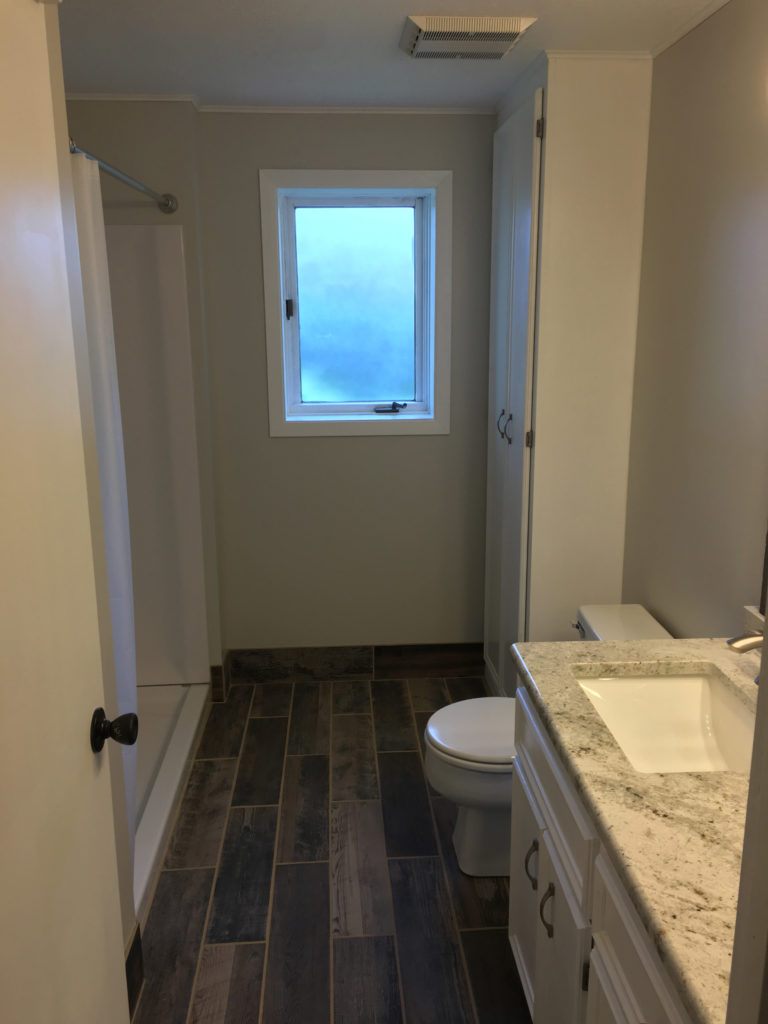
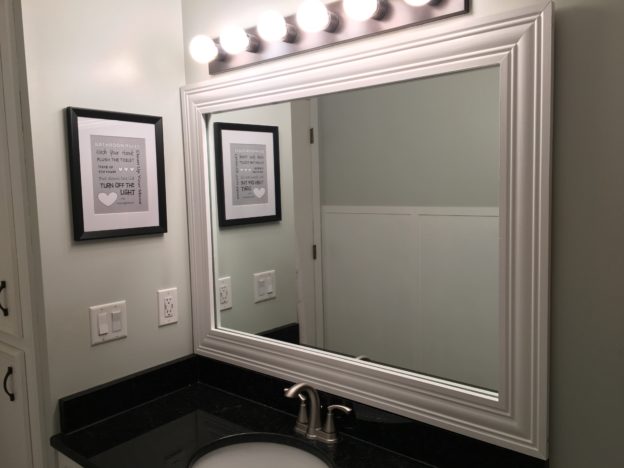
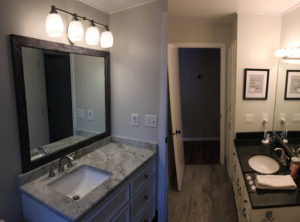
Finishing the basement bathroom (left), and putting a frame around the mirror, made us want to finally put a frame around the mirror in the upstairs bathroom (right), which we remodeled two years earlier.

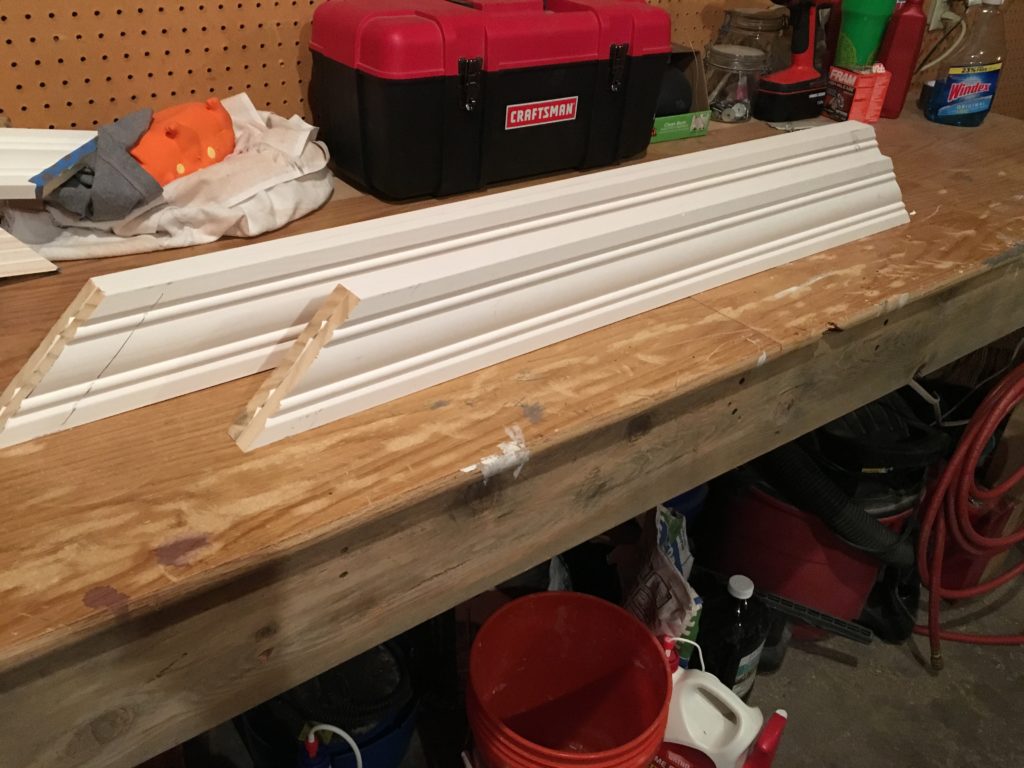
In the basement bathroom, we used inexpensive pine boards and gave them a “distressed” appearance using three different colors of stain.  The basement frame also needed to be functional as it held the mirror in place with grooves cut into the back side.  For the upstairs mirror, we decided to go with a more polished white style of frame.  We bought some white primed pieces of trim.  I detail how I cut them by hand using a circular saw in this earlier post.

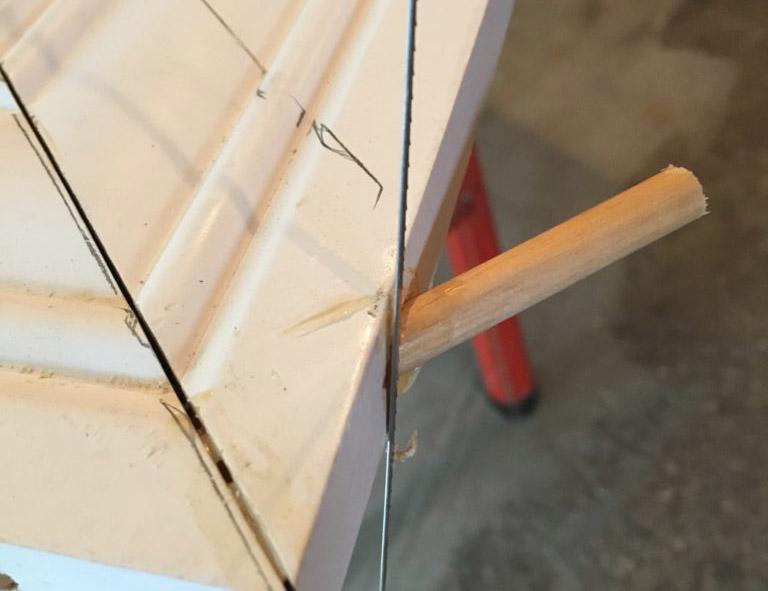
The big challenge with this project was how I was building the frame.  Since this bathroom gets a lot more use, I wanted to be able to remove the frame occasionally to clean the mirror.  That meant I couldn’t simply router out a groove for the mirror and nail the four pieces to the wall.  I would need to learn how to glue together the miter cut corners.

As you see in the photo above, I used clamps to hold the two pieces together, then drilled a hole where a dowel would be inserted along with some glue.

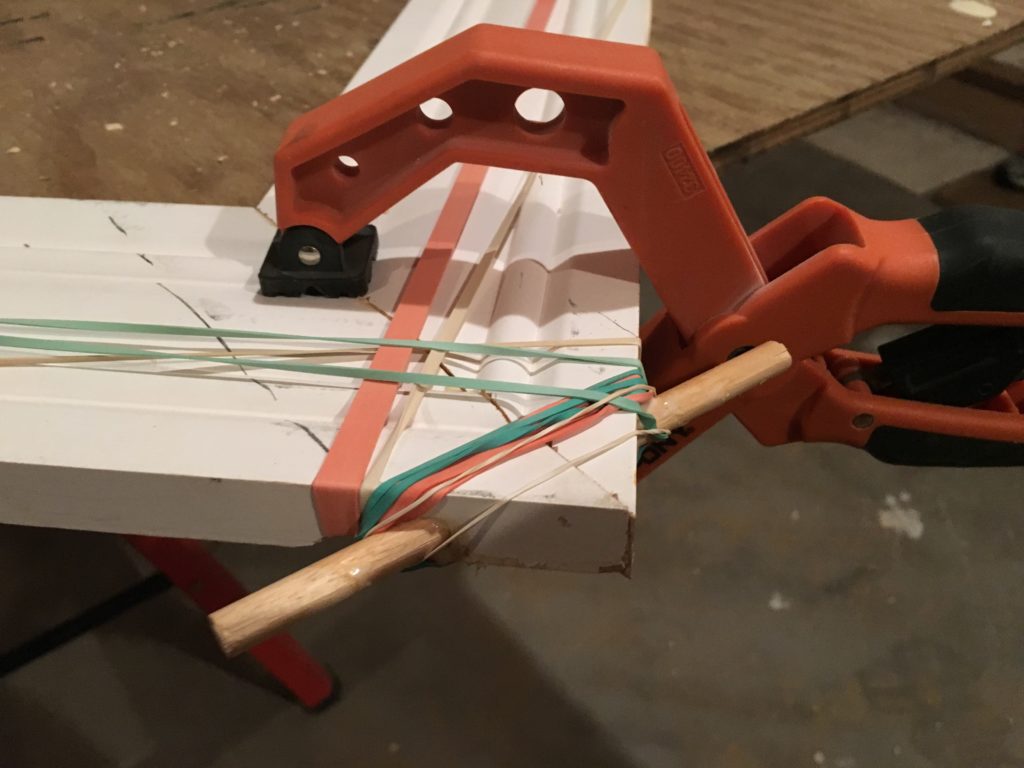
After the glue and dowel came rubber bands, a lot of rubber bands.

Since I was in no big hurry to finish, I let the glue set for a couple of days before cutting off the extra pieces of dowel.  That was followed by a little sanding and two coats of semi-gloss white paint.

The frame is held to the wall by ordinary picture frame mounting kit pieces and two nails in the drywall.

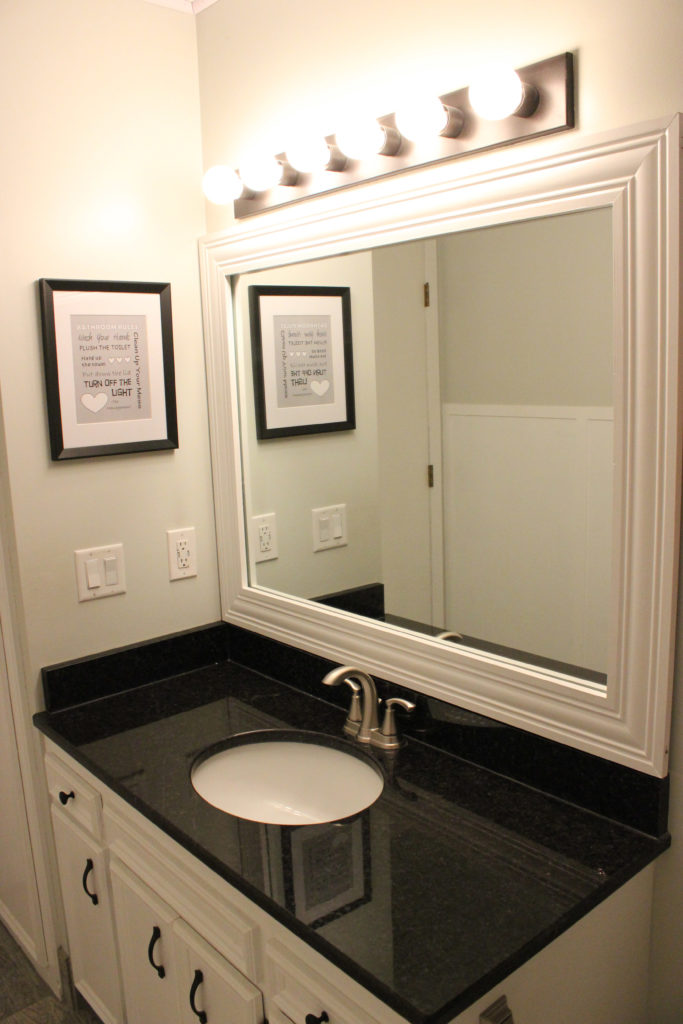
We’re happy with the results.  Thanks for checking out our blog!

Frosting a Window

Mmm… frosting.

Cake dreams aside, honest question: why would anyone install a standard clear exterior window on main-level bathroom? Unless you TOTALLY trust your window treatment, this is just asking for peeping toms.

Our basement bath had this particular problem and I wanted a simple fix. I’m also not very adept with contact paper, so I didn’t want a cut to measure option that I would most assuredly mess up. One more note – this window may not be permanent to the home, as its 30+ years old and does have some water damage/past leaking issues. So, our options had to be: nothing too expensive and can be tossed if we ever save up the cash to replace it with an updated window.

All home renovation bloggers love the spray-paint isle, and I for one must practice restraint when I allow myself to go looking at the colorful cans. That being said, it is in this aisle that inspiration struck when I found Rust-Oleum makes a product that is specifically to create your own frosted glass! Perfect!

So, before we even painted the trim around the window, I went in and put on 2-3 light layers of the frosted spray. THAT’S ALL! I was sure to spray the glass with the window open, as it helped ventilate the room and limited the over spray on the trim. When the window was fully dry we were still able to tape the frosted glass and paint the trim in ultra pure white without damaging the new frosting.

Its exactly what we needed, it lets in light and the only thing you can see from the outside is the light in the room turning on and off (you can’t even perceive figures moving around in the room).

So, the moral of the story is, just let your partner peruse the spray paint aisle once in a while – they might just find a cheap solution to a pesky problem.