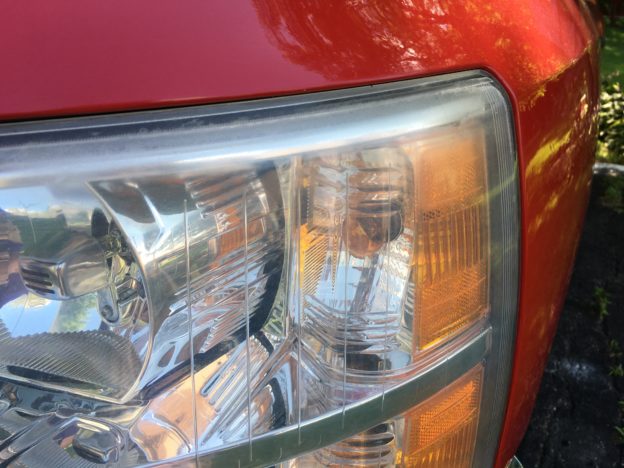
One of the benefits of owning an older truck is the cheap registration fees. Another benefit is not worrying about every scratch and dent. But when it comes to cloudy headlights, I draw a line in the sand!
Ok, the reality is that the headlights really aren’t THAT bad, but they were bothering me, and I stumbled upon this product at Fleet Farm so gave it a shot.
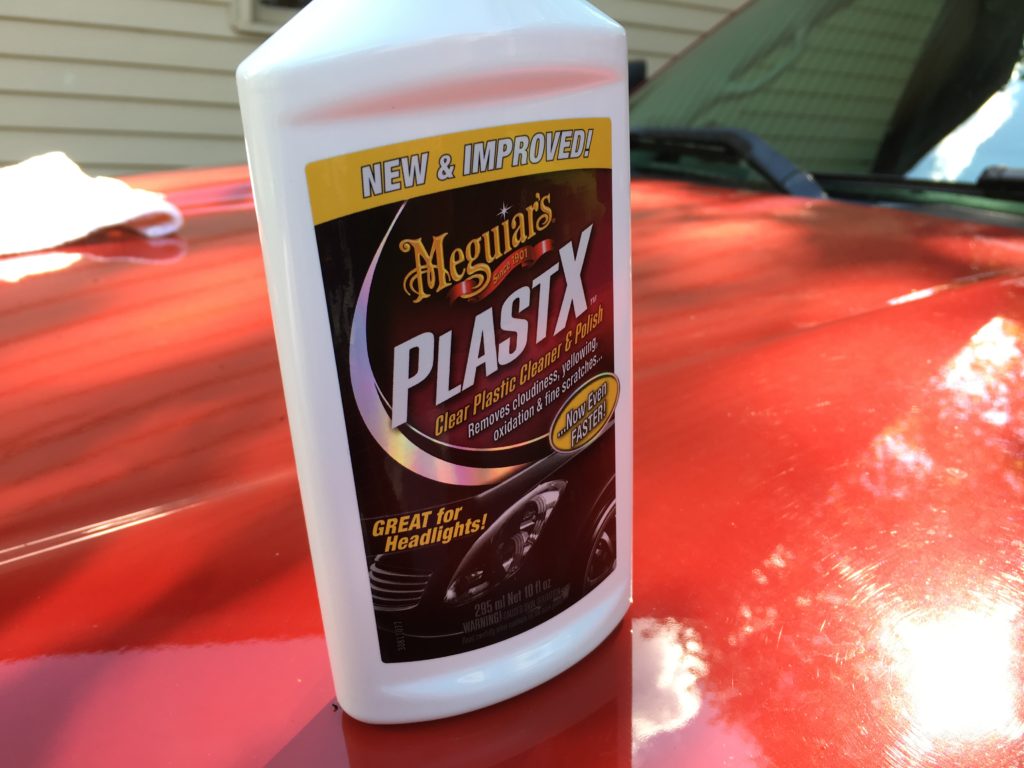
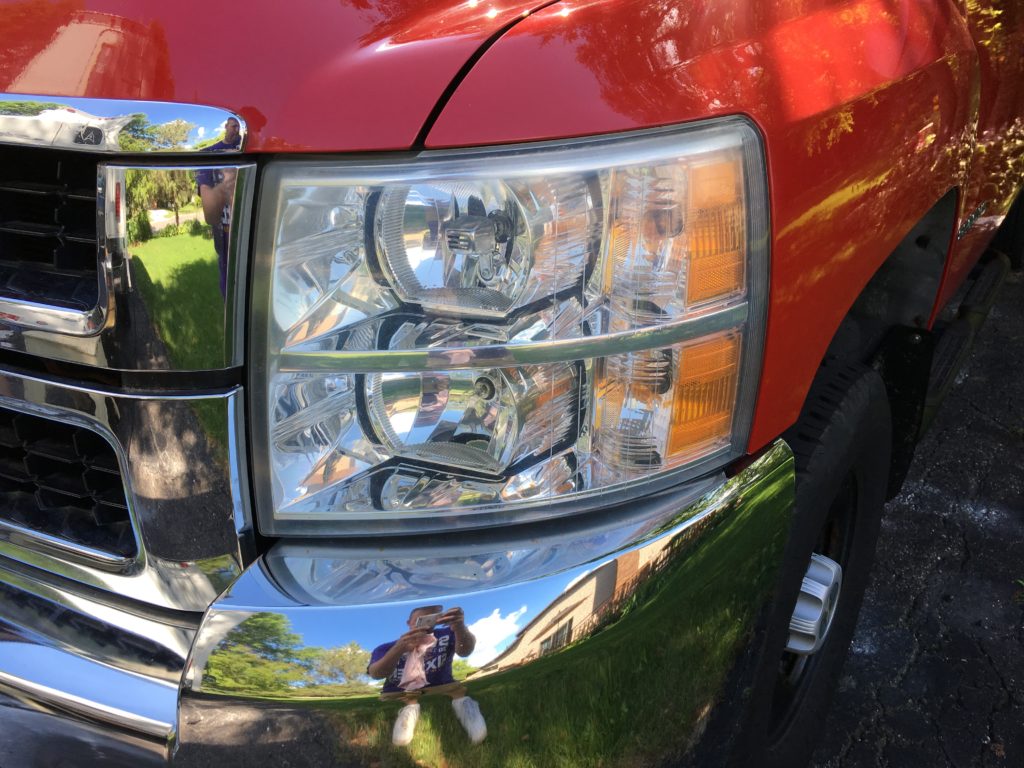
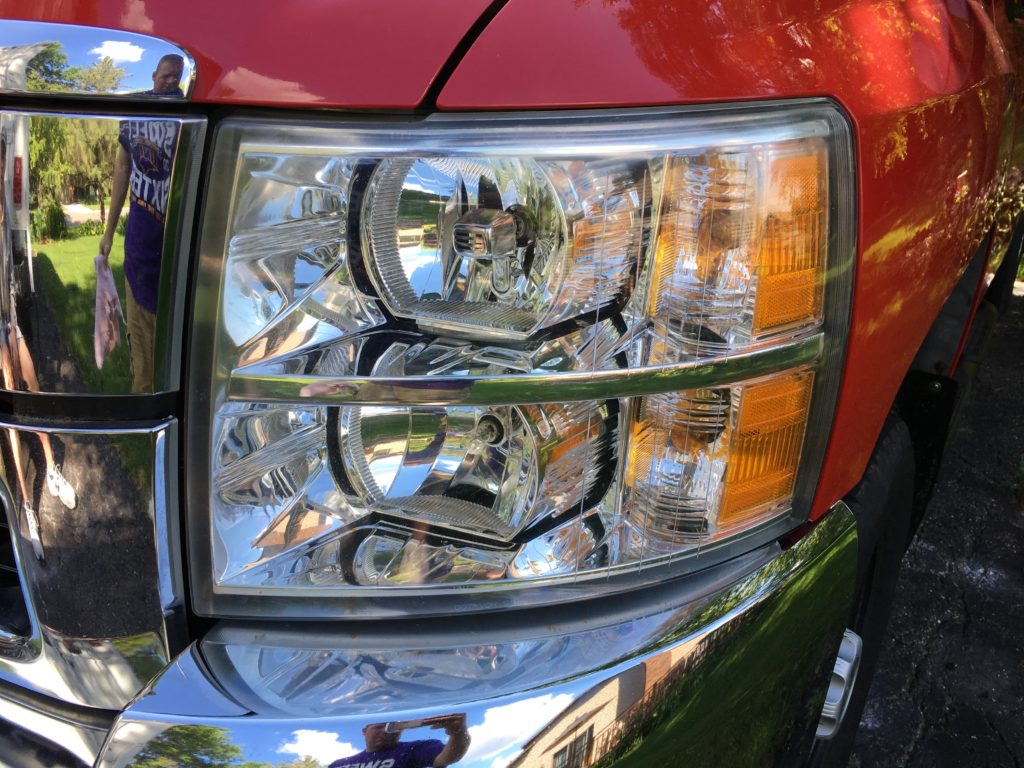
The instructions said to apply this stuff in the shade, which I did. It was really quite simple. Here’s the results:
I swear it made a difference!