Awkward walls are awkward. What to do with an angled wall that runs up to an open living room? Wall full of plates? SURE?!
Our kitchen is a bright space, and with lots of light and openness, which we loved when we first saw pictures. The problem lies in the one huge wall that angles into oblivion.
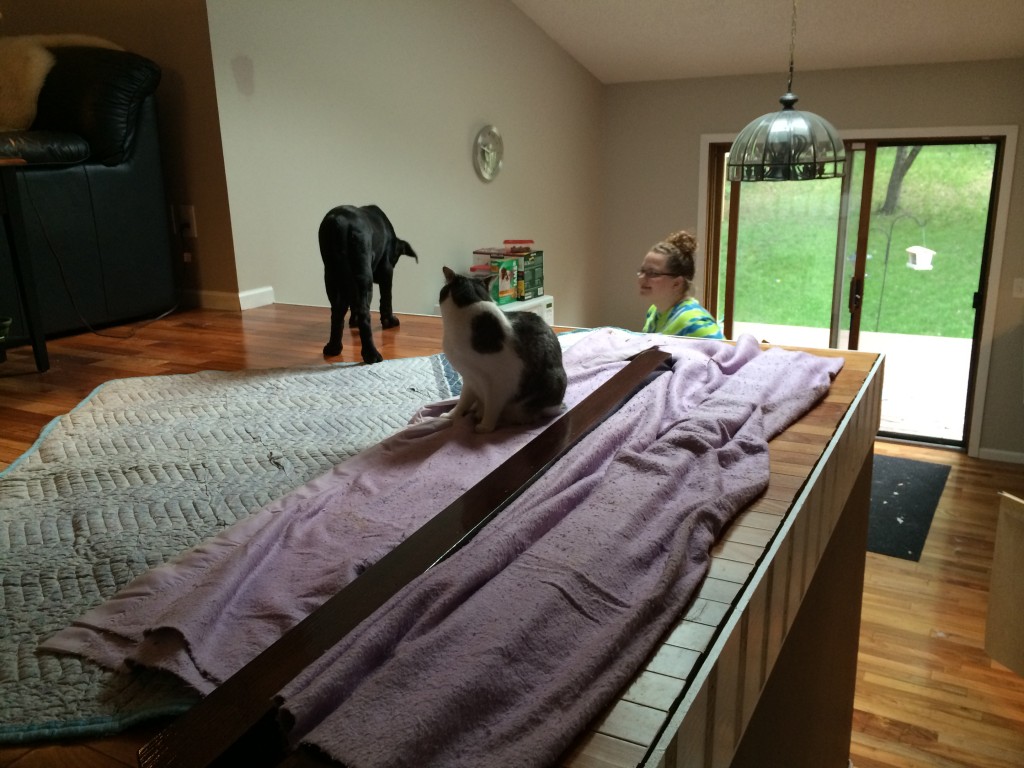
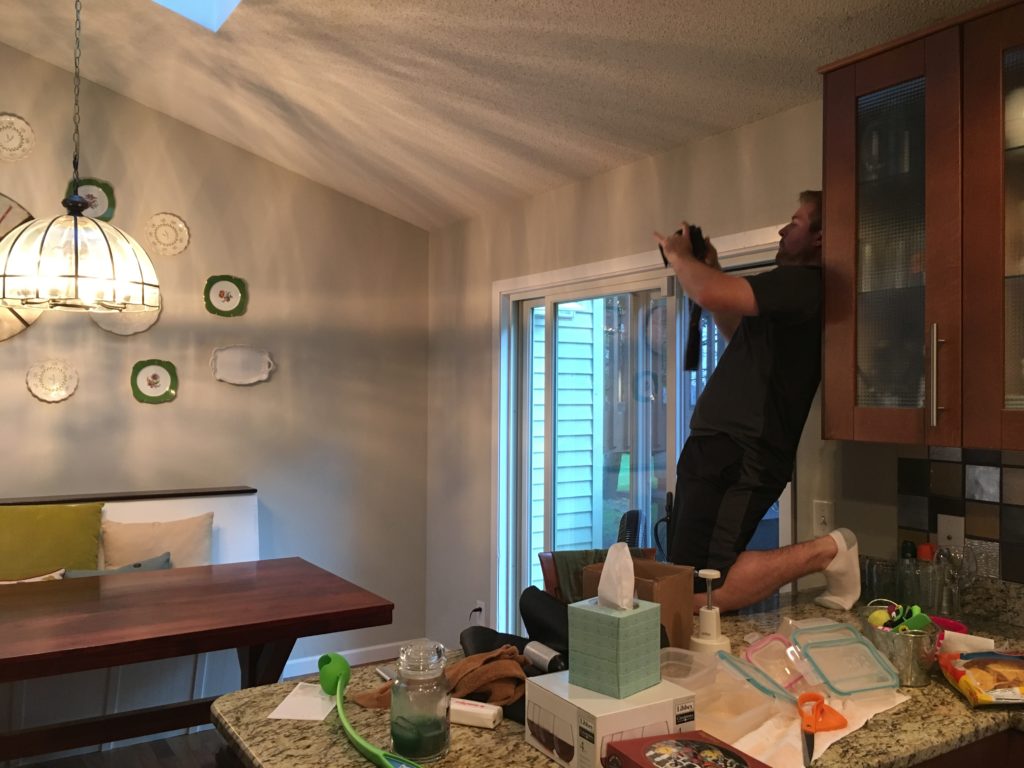
Picture from when we were repainting the banisters, you can see the kitchen wall is overwhelming and I was still contemplating how to use it – dinky clock probably made it worse.
When we first moved in the kitchen was a catch-all (still sorta is) and housed a little table that was actually an Ikea desk that a friend gave to us. Not sure about you, but when the furniture is sad I don’t have much motivation to design and decorate a space.
Then we got a puppy. The kitchen became the puppy “kennel” and boy did it take a beating. With the way puppies teethe on EVERYTHING (we’re not going to talk about what she did to the base of the cabinets) I wasn’t about to start nagging my husband about building that banquette I desperately desired.
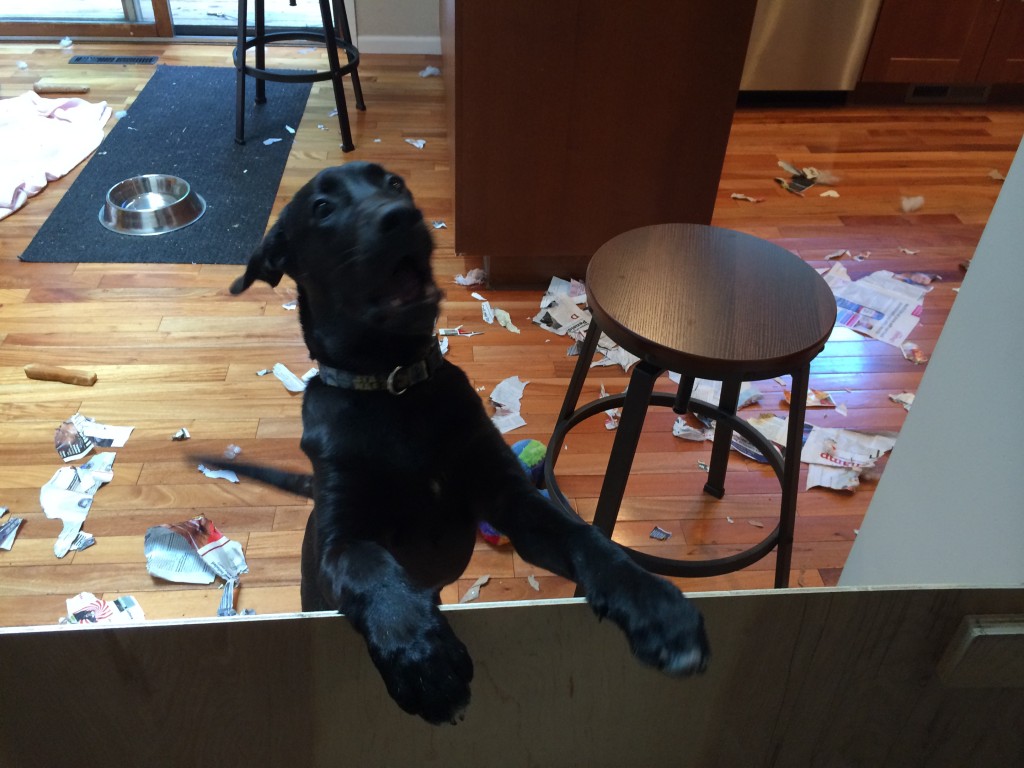
Absolutely insane.
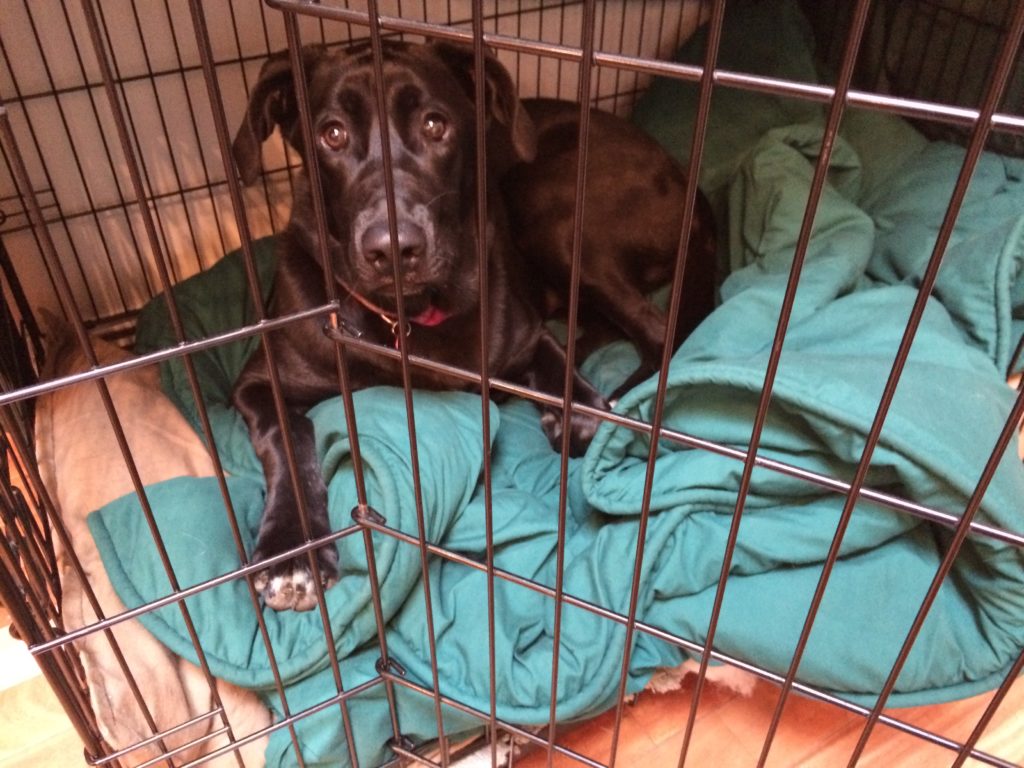
Around the time that Winnie was a little older, and we started trusting her to roam the house freely, we decided to take down the temporary gate that Mike built for the kitchen entry.
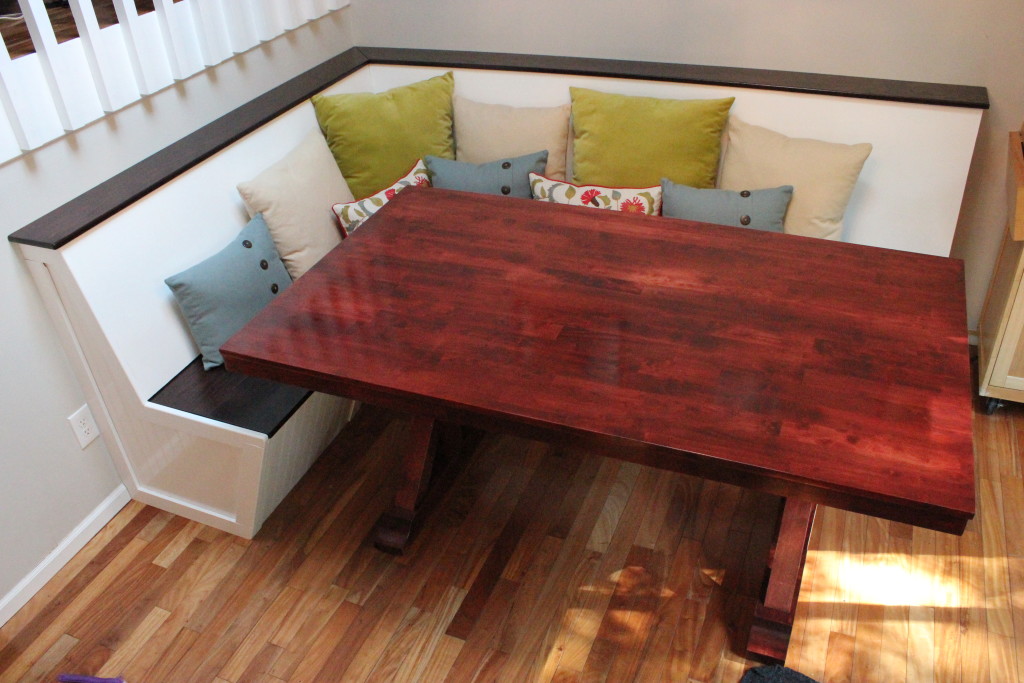
The inspiration floodgates opened and Mike built our fantastic banquette, you can read about that whole process here.
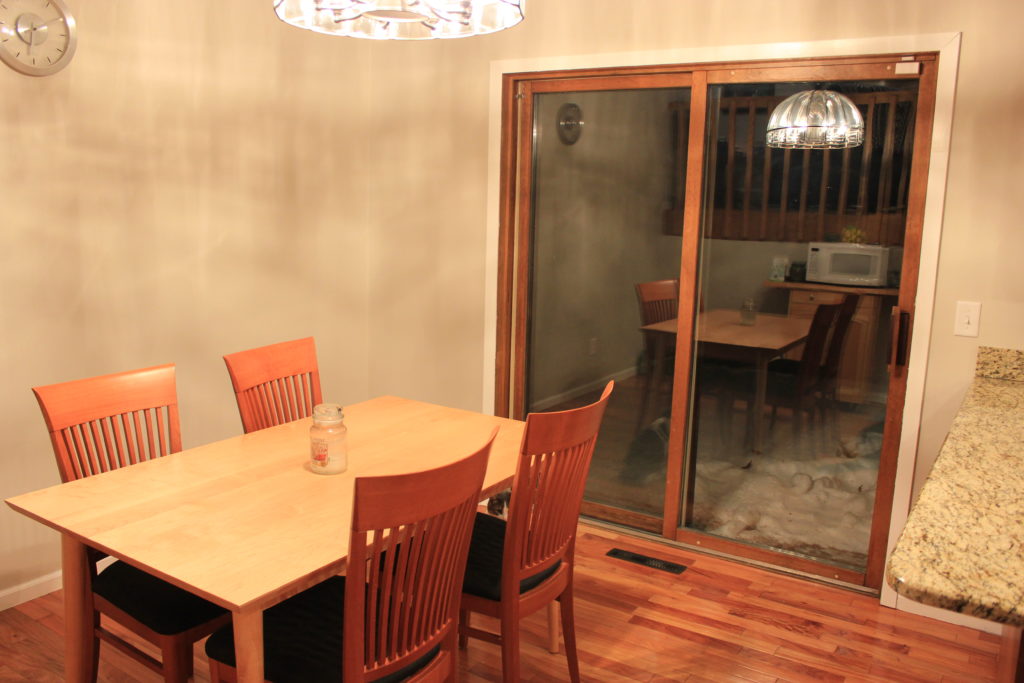
Now, back to the wall. I tried basic framed pictures, with dining themes and it made the wall look even more ginormous than before.
We briefly talked about shelving, but the shelves would obstruct the view from the upper living room, and would jut out into the space. I wish I was a shelving wizard like you see on other blogs, where the designers can expertly pair books with objects and art. I don’t possess this gift and ultimately fill shelves with more pictures of our wedding and pets, which in all honesty nobody cares about but Mike and I.
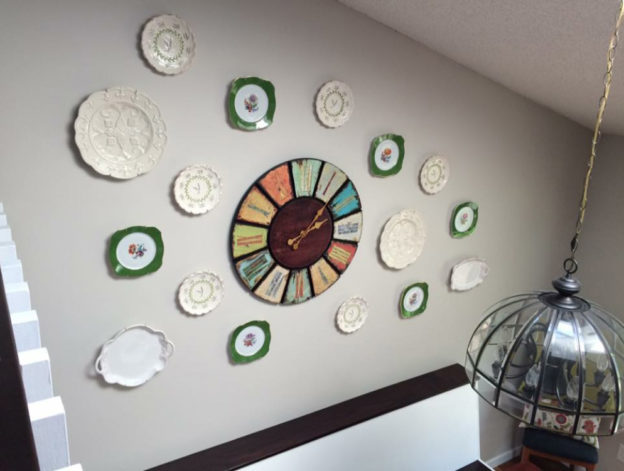
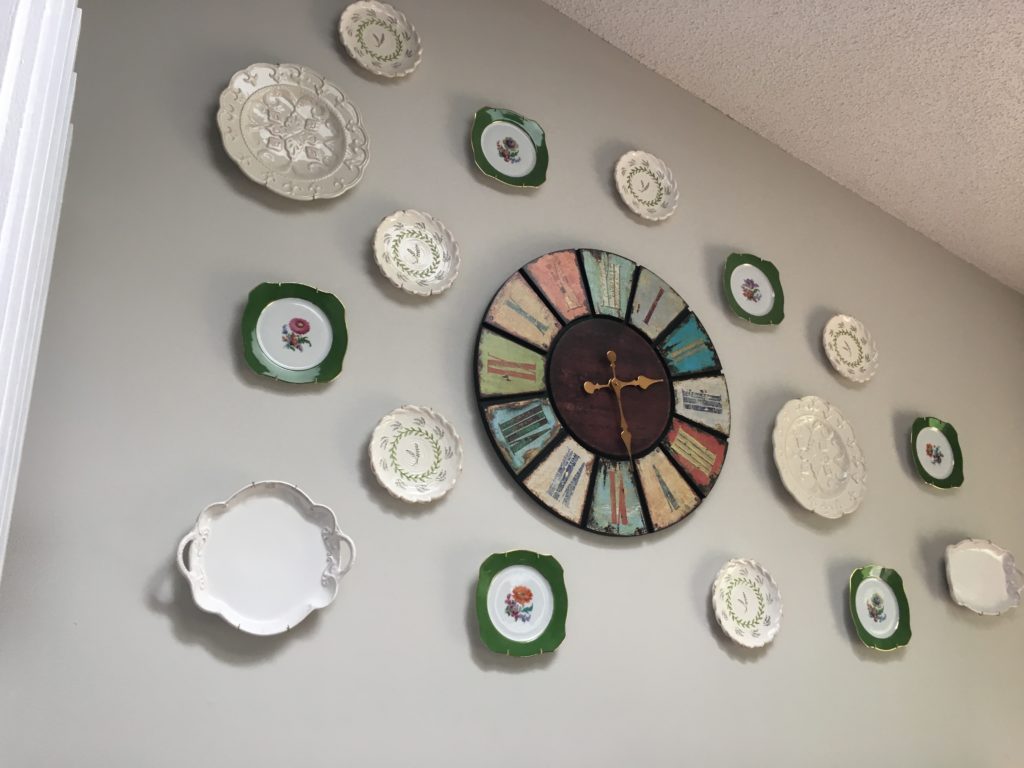
That why I’m so grateful for my mother and her ability to see a space from a design perspective so different from my own vision. It was Mom who suggested mounting plates, which if I’m totally honest, at first I thought “that’s such an old lady thing to do…” *side eye* But she was the one with the vision – and the plates – and knew exactly what we needed to fill that space. Her main inspiration were these green trimmed plates, which belonged to my Great Aunt Florence (whom we lovingly refer to as Auntie Flo – keep your giggles to a minimum).
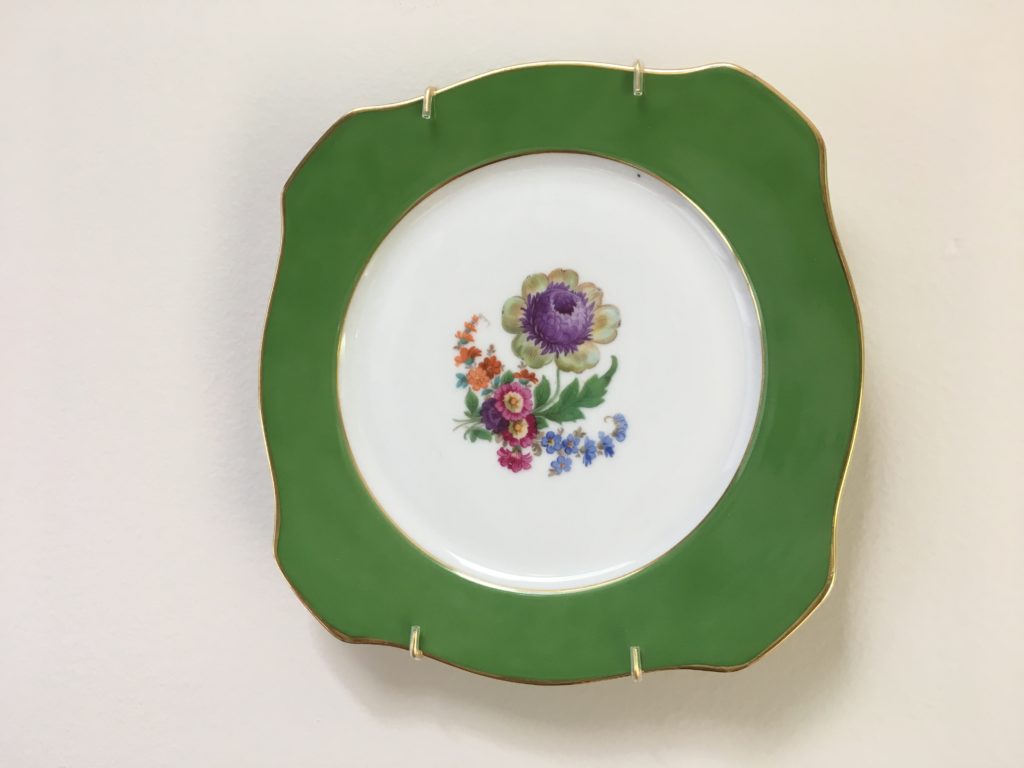
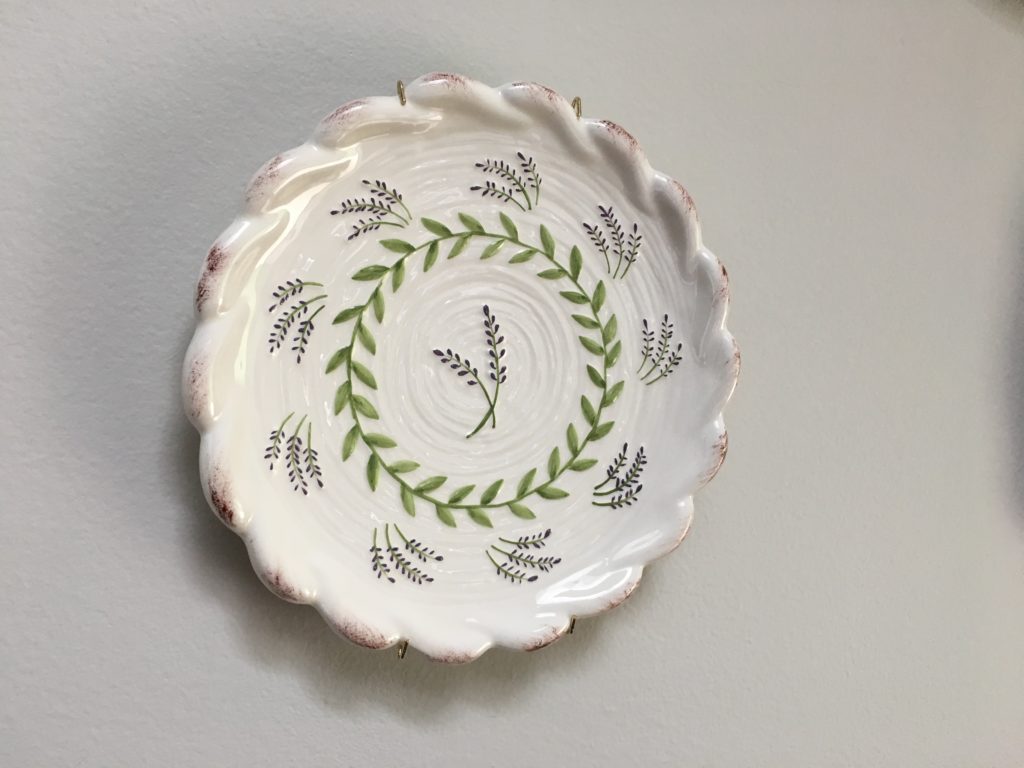
Flo loved these green plates, and I know she would be happy that they’re being displayed. Mom also had a smaller more delicately floral trimmed set which she purchased from a gift shop years ago. When hung with the green plates these are a great way to break up the bold color of Flo’s set.
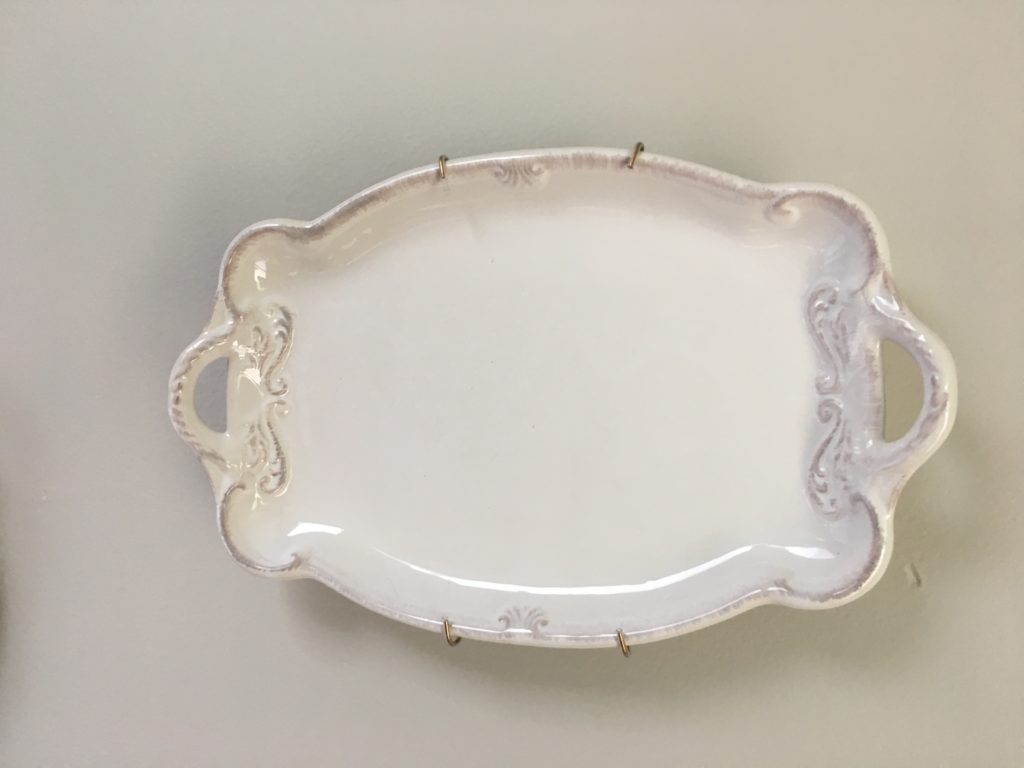
Finally, we made a trip to Michael’s in search of a third option. At first I thought I wanted another set of matching plates, liking the symmetry of the first two sets, but in looking at all the different styles, Mom had a great idea of mixing in other shapes and large platters. Again, she was right…
The icing on the cake was this awesome clock we spied while roaming the aisles. Its bright colors and weathered look was the perfect way to keep the wall from looking too kitschy or “old-lady-ish” as I had worried.

The finished product is perfect for that dramatic angle (and nothing I could have dreamed up myself), and I’m so happy with how the eye moves up the wall as you notice all the different details and colors.
Behind the scenes: getting the right shot includes contorting ourselves into dusty corners of our kitchen while standing on counters. Also, as you can see from our counter top, we don’t really clean to get these shots, we just sorta move the crap from one surface to another. However, to our credit, we did dust the light, wiped off the table and use up an entire lint roller on the pillows (yea pets)!
fin.