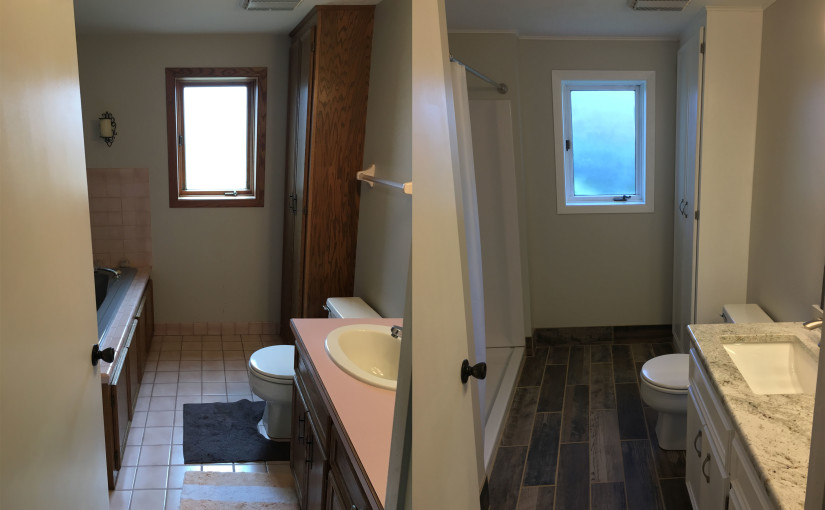
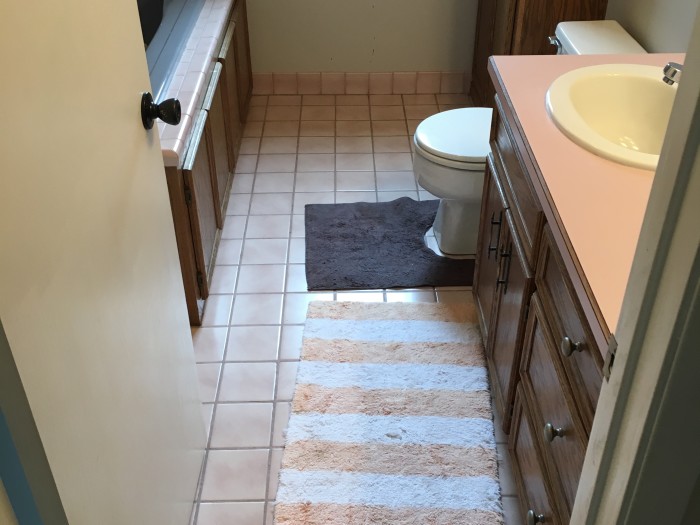
As we approach four years of home ownership, the eyesore in the basement becomes the focus of the first summer project of 2017. The tub with jets has been nice, but the basement is where our guest rooms are located and people don’t take baths when they visit. We did this project on a limited budget (less than $2K) and aimed to reuse as much as possible.
What we kept:
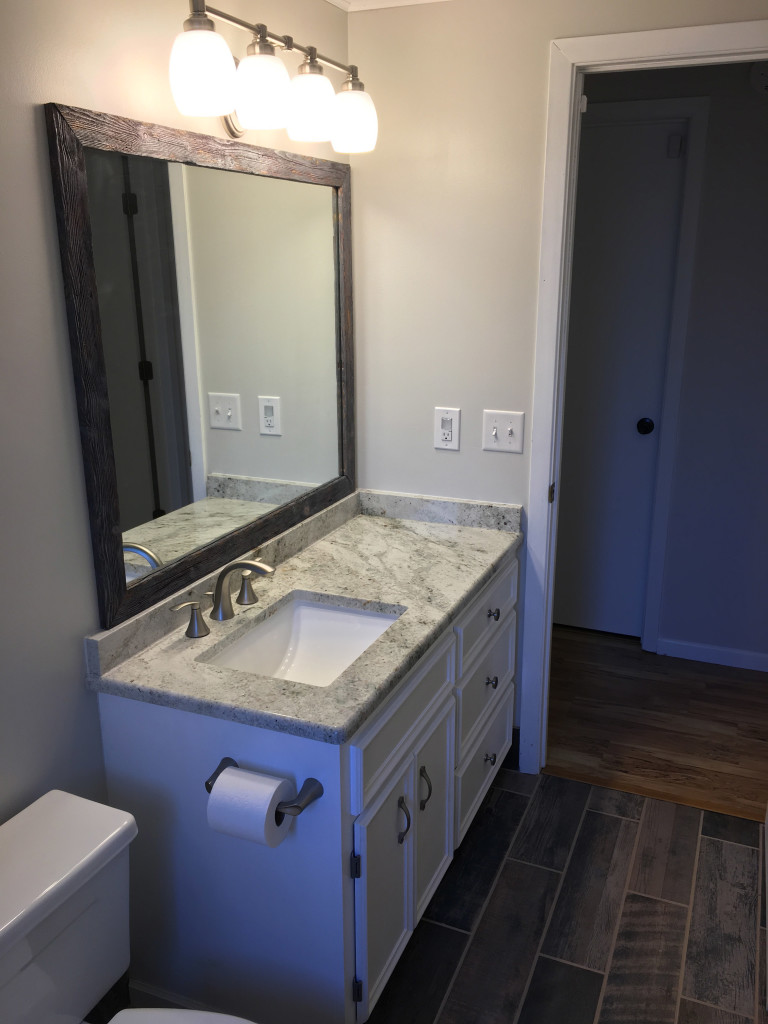
-Vanity Cabinet & Corner Storage Cabinet (Painted White)
-Toilet
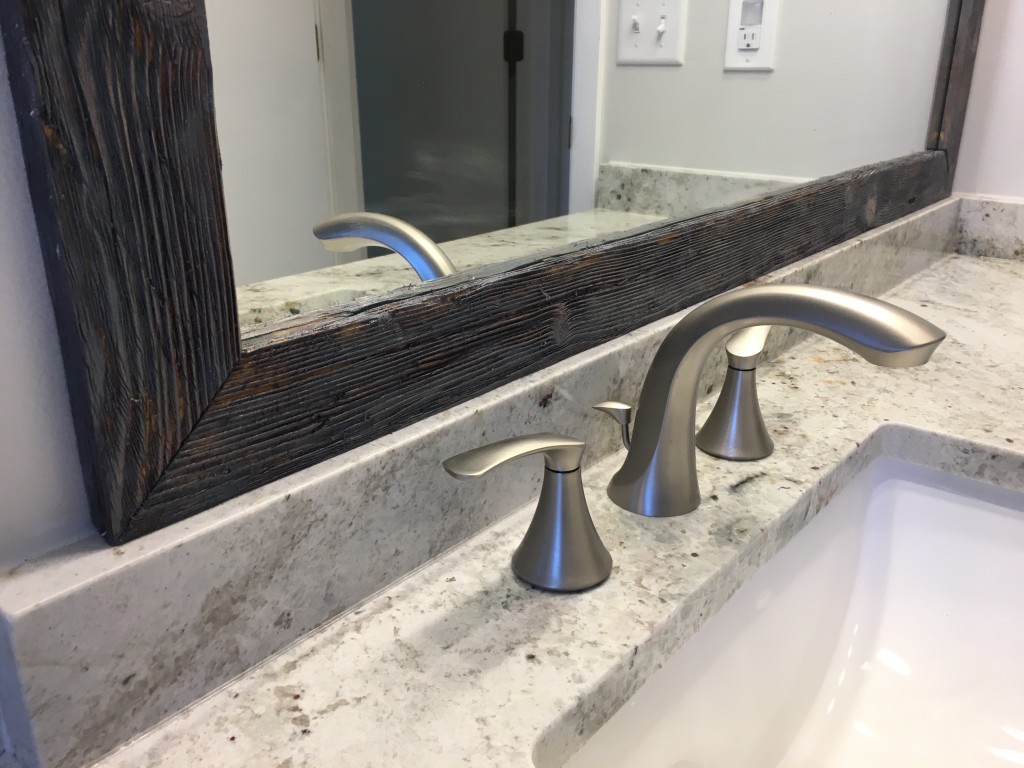
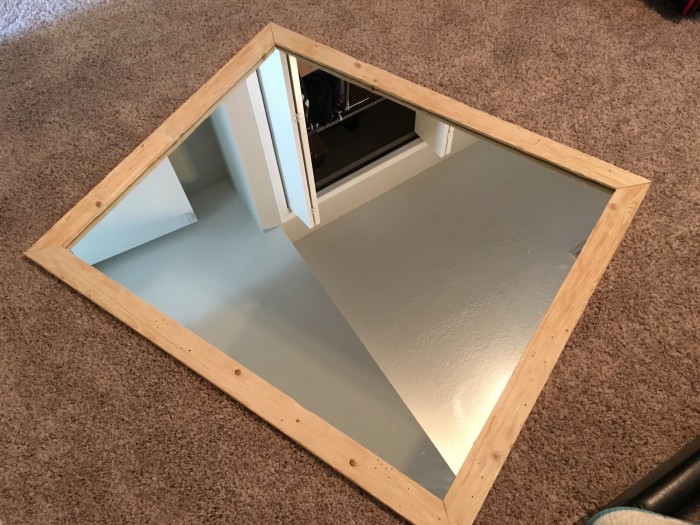
-Mirror (Framed in “Weathered Wood”)
-Ceiling & Most of the Walls
-Window (with glass we frosted)
What we replaced:
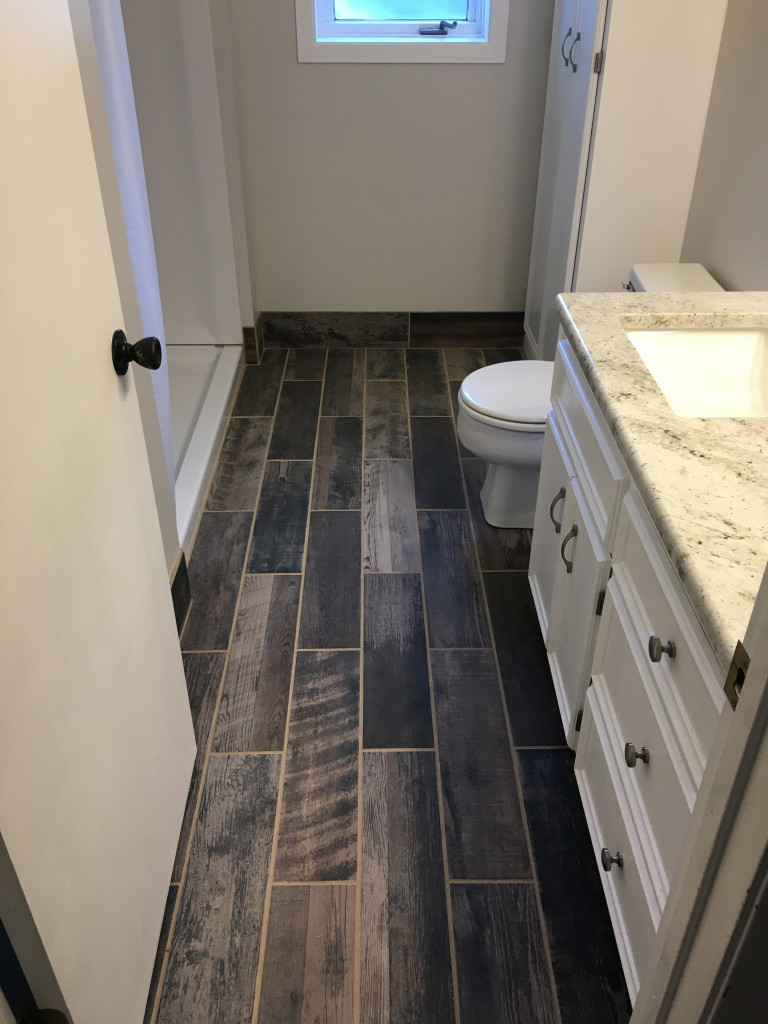
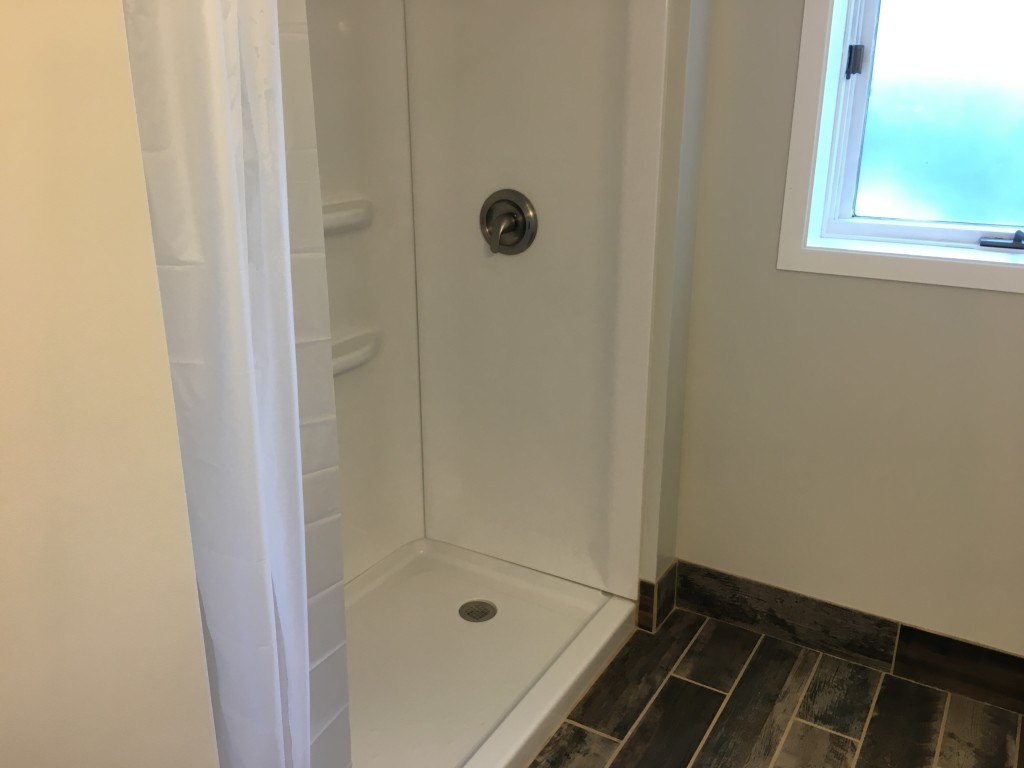
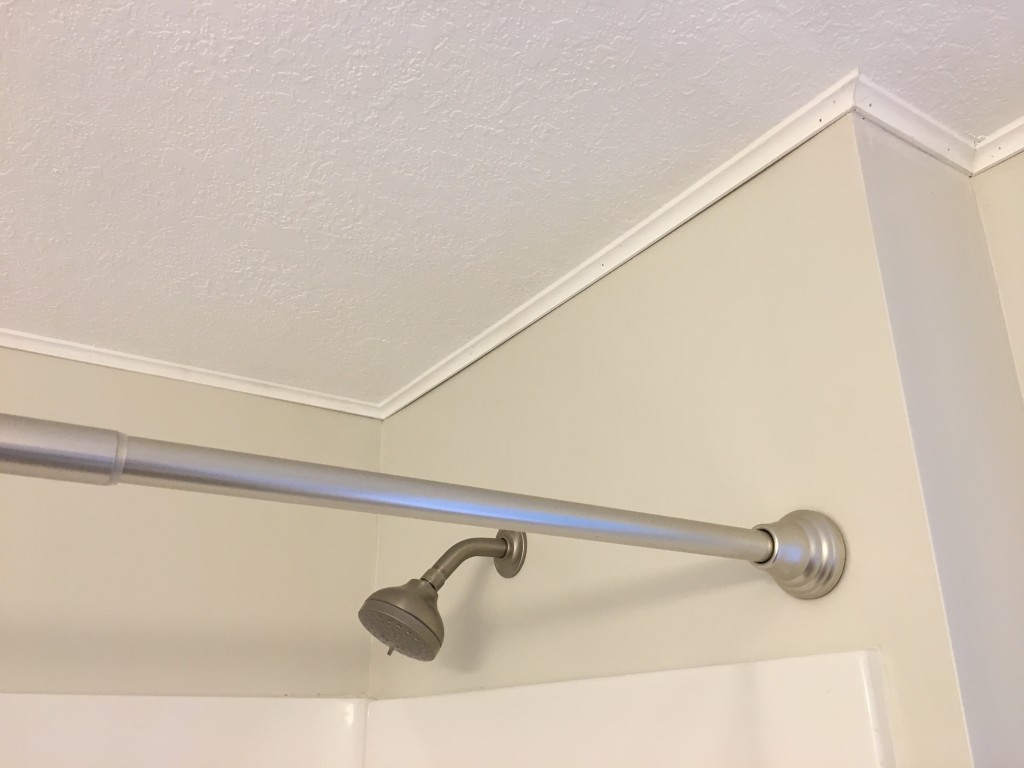
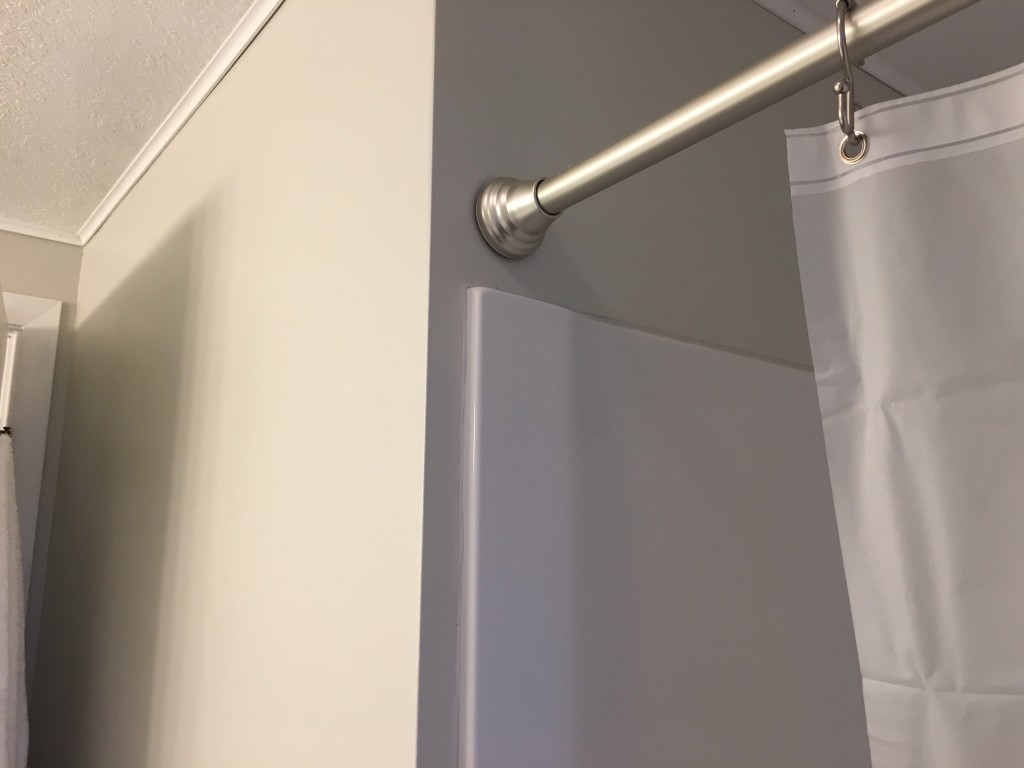
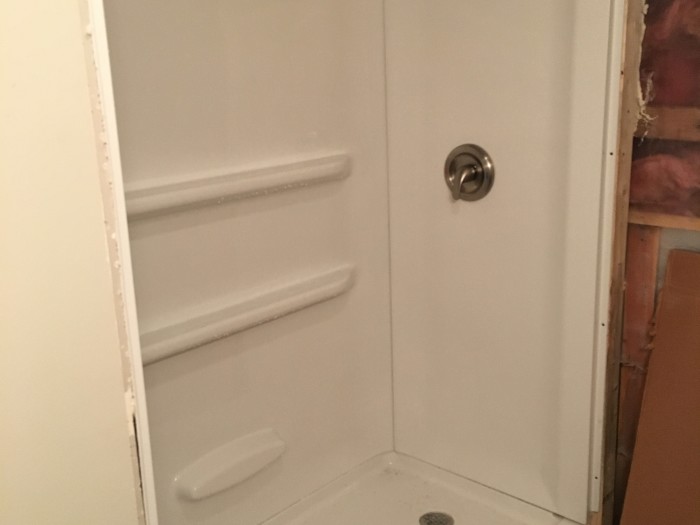
-The tub with a shower insert
-Tile Floor
-Vanity Top With Granite
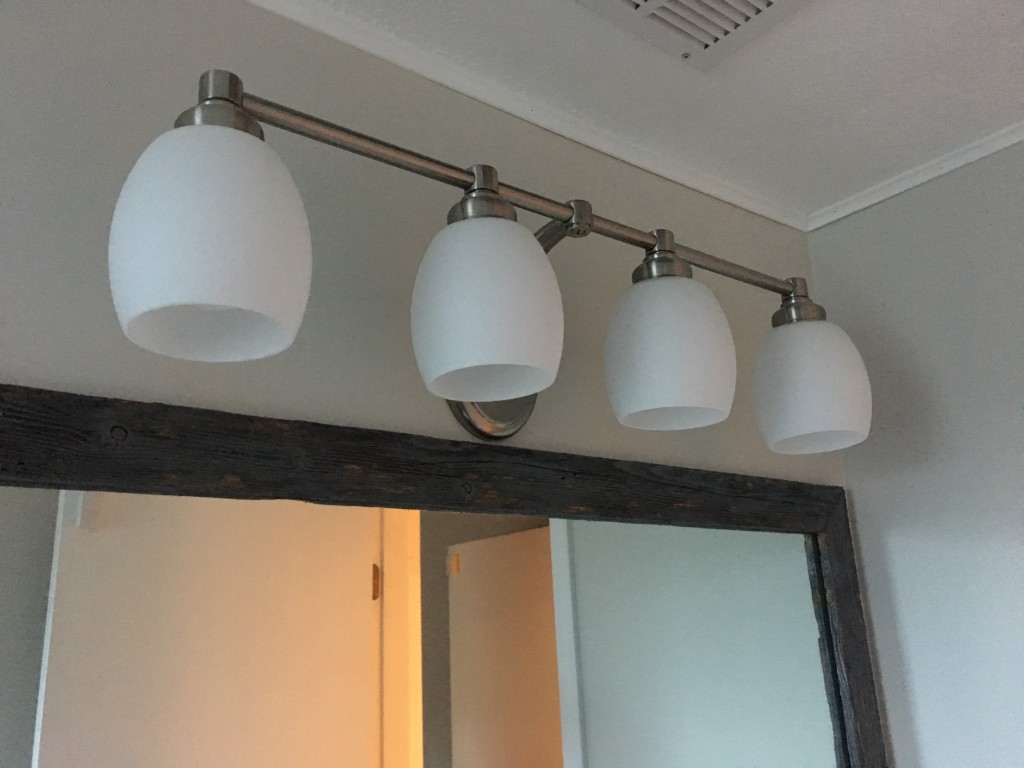
-Light Fixture
-New Paint
-New Hardware on Cabinets
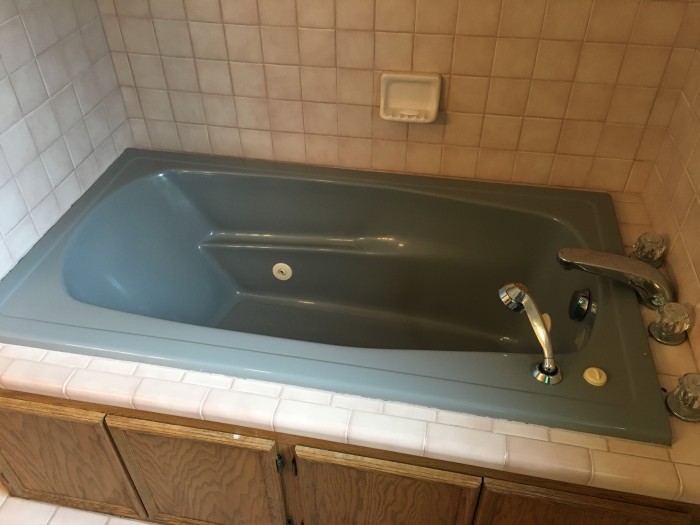
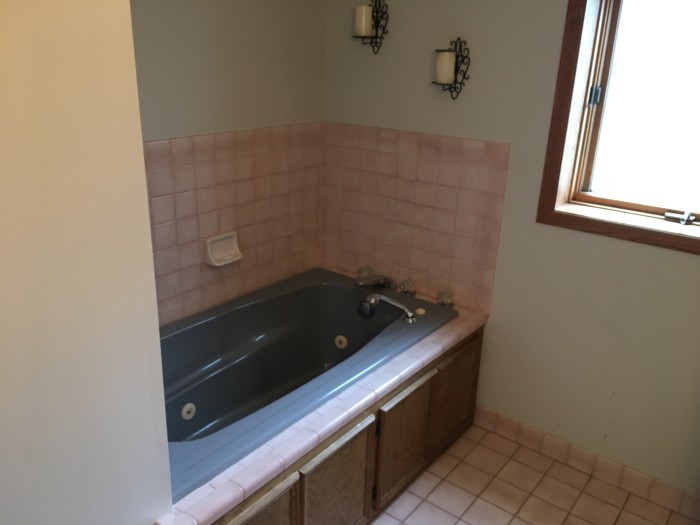
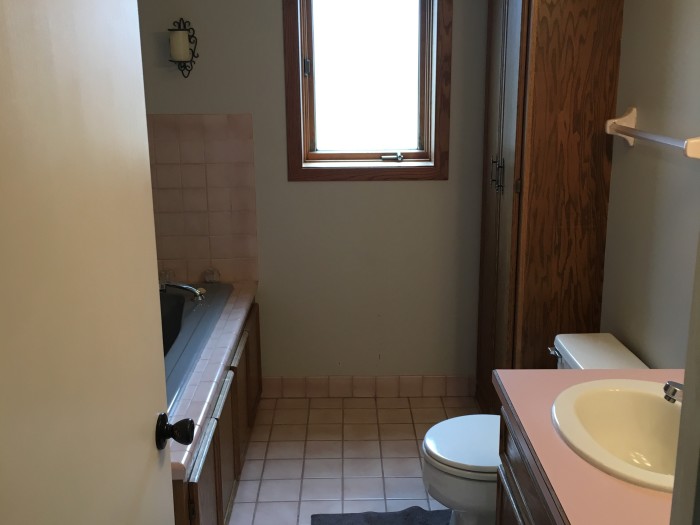
One final look at the 1980s. Goodbye pink vanity and pink tile! So long blue tub!
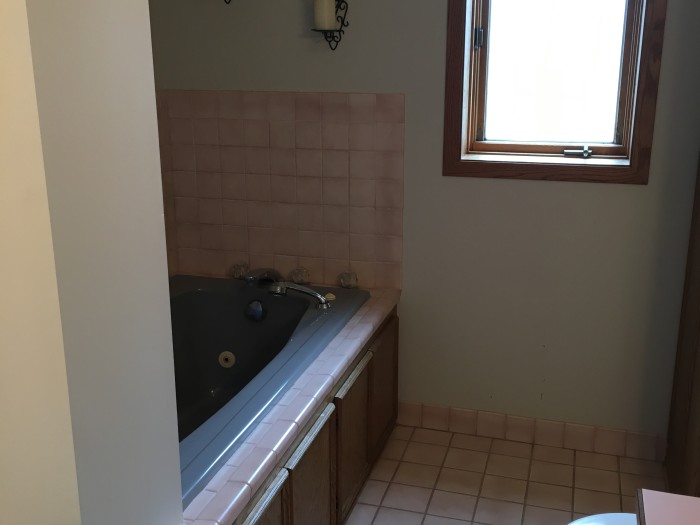

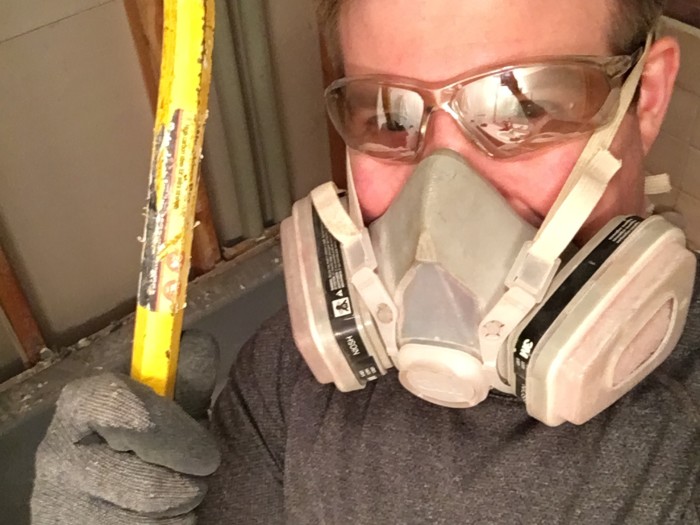
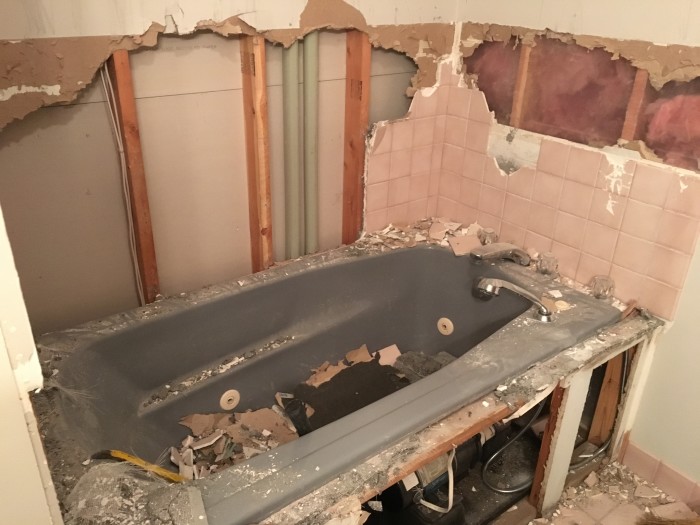
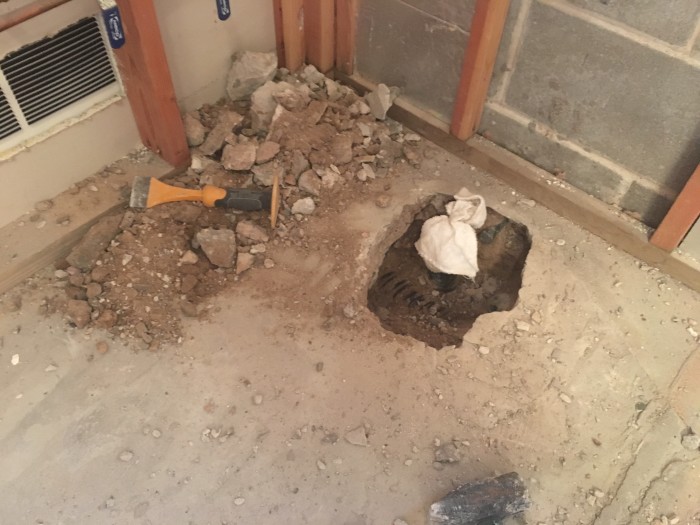
Demolition is always a fun process. But this is where that term “sweat equity” comes into play. Pulling out the tub and chipping away the tile were the two biggest hurdles.
In our previous bathroom renovation, I started removing the floor tiles by chipping them up with a hand chisel and hammer. That proved to be a grueling process, and in the previous bathroom, I was lucky that I could simply lift up a layer of floor-board. This time around, I was not as lucky, because under the tiles was the foundation. I wanted to save my back and hours of sweat and rented a hammer drill from Home Depot. For about $50, I was able to quickly tear through the tiles.
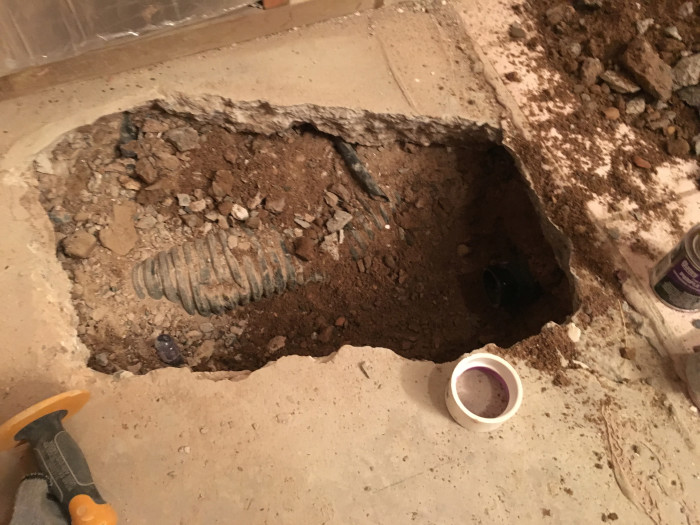
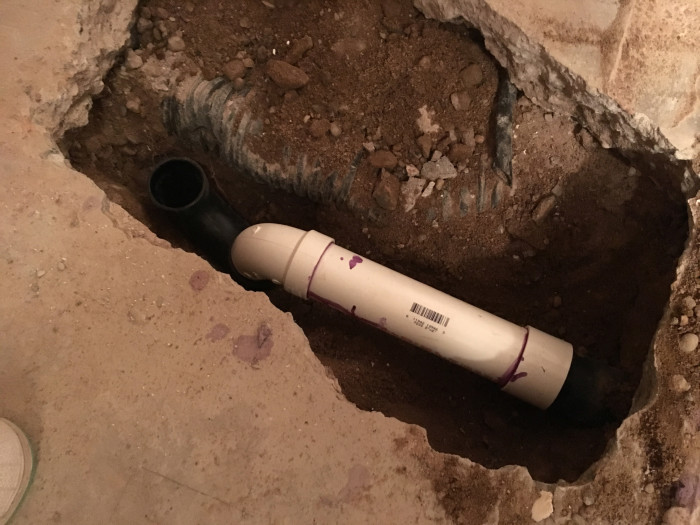
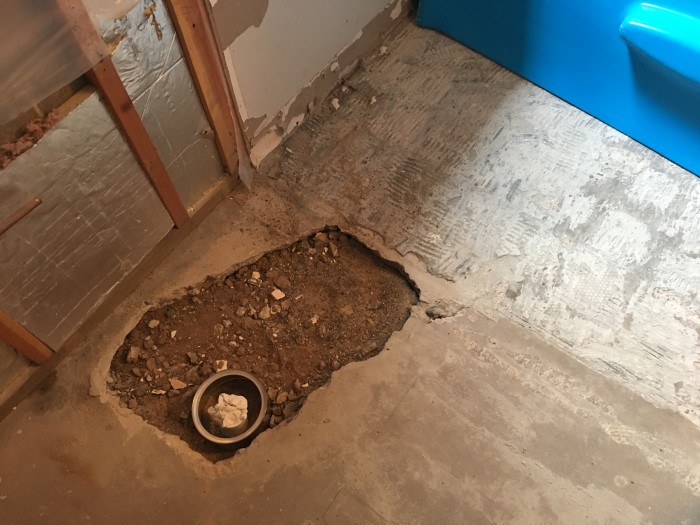
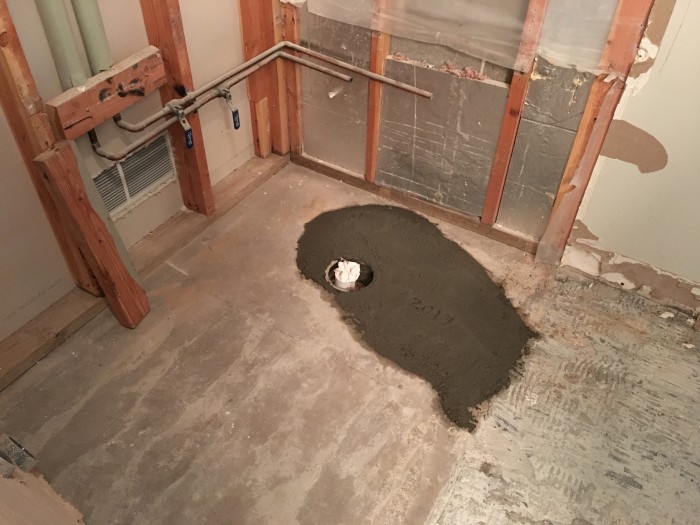
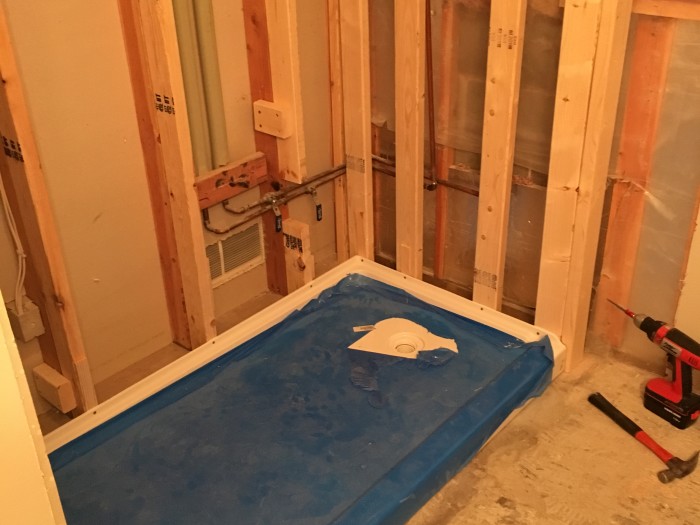
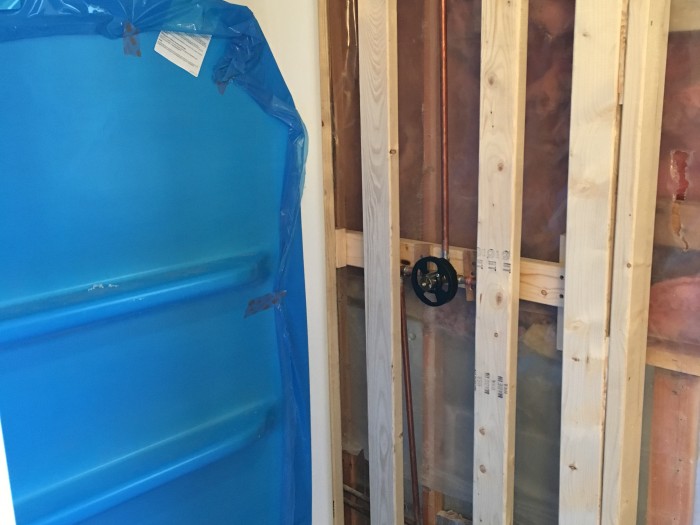
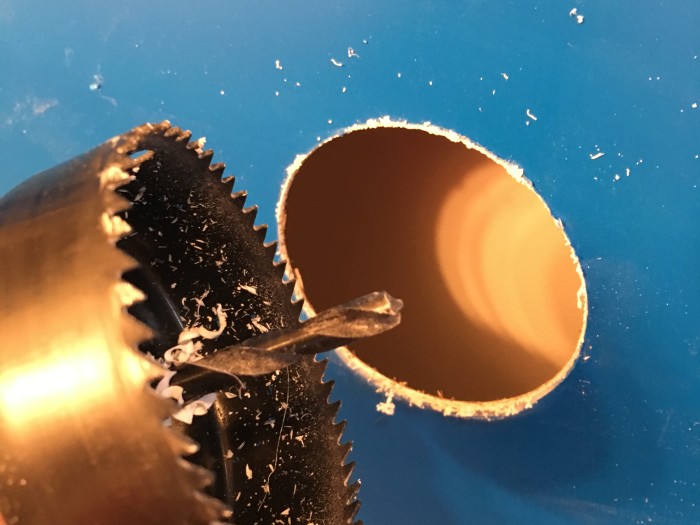
Once the walls were down to studs, I started looking at the location of the drain, comparing it to where the drain hole is located on the fiberglass shower unit we purchased. In the photos below, you will see the process of moving the drain pipe location a couple of inches further away from the wall. It involved breaking up the foundation, pulling out the old pipe, redirecting a new piece of PVC and pouring new concrete.
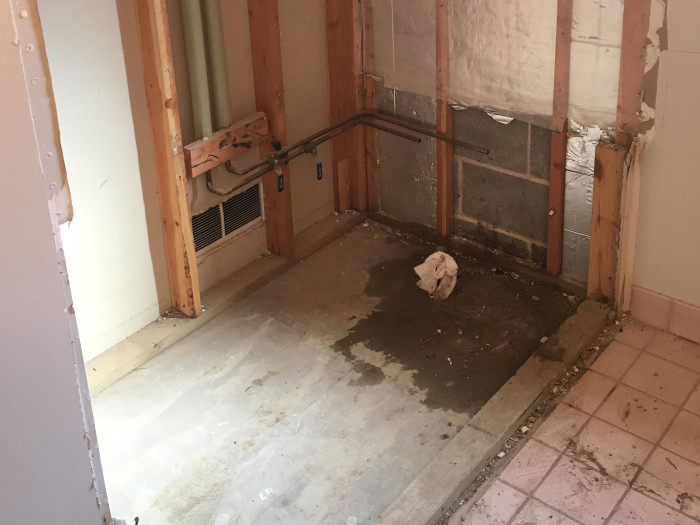
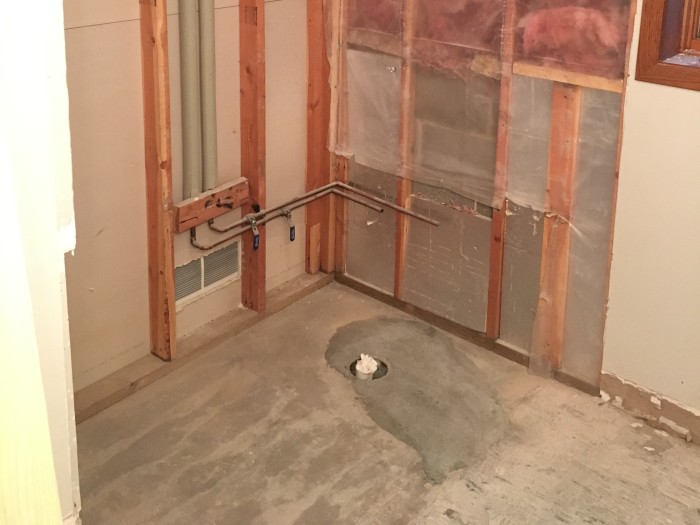
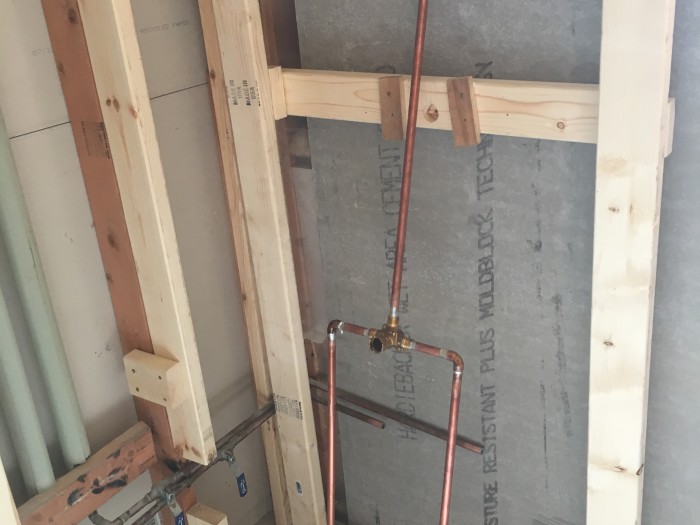
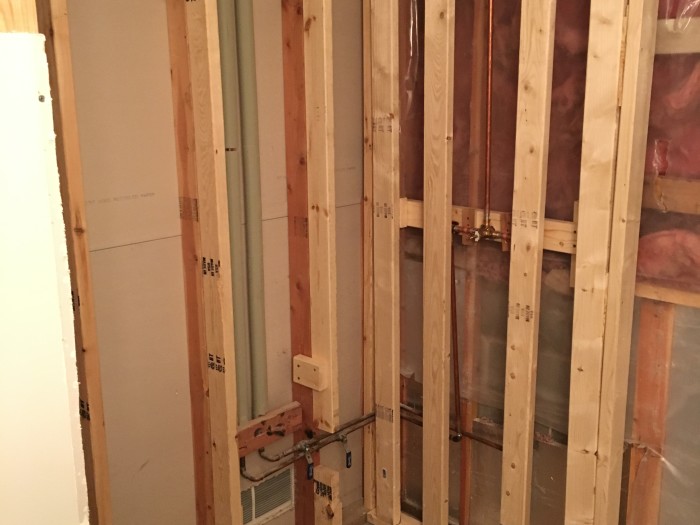
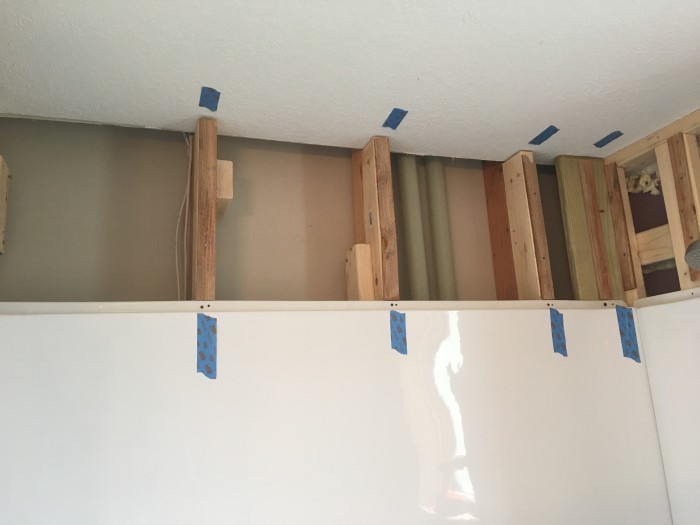
The next step: Framing and plumbing. For the framing, I needed to add 2×4 studs to support the shower insert. For the plumbing, I needed to solder pieces of copper pipe together for the shower valve.
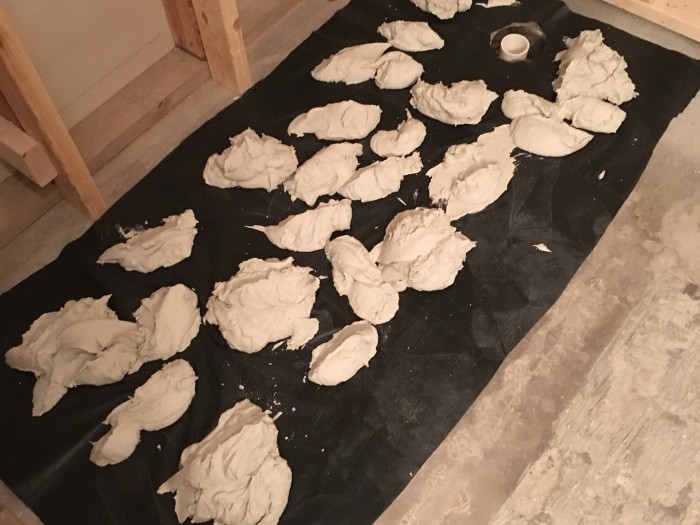
I watched a number of tutorials online about how people install fiberglass showers and many professionals seemed to prefer using a mortar bed beneath the shower pan. They do this to make the shower seem more firm under the feet of whoever is standing in it. In one of the photos above, you see a bunch of mortar slapped on a black garbage bag. I simply mixed up a 40 lb bag of mortar and put it down before putting the shower pan in place.
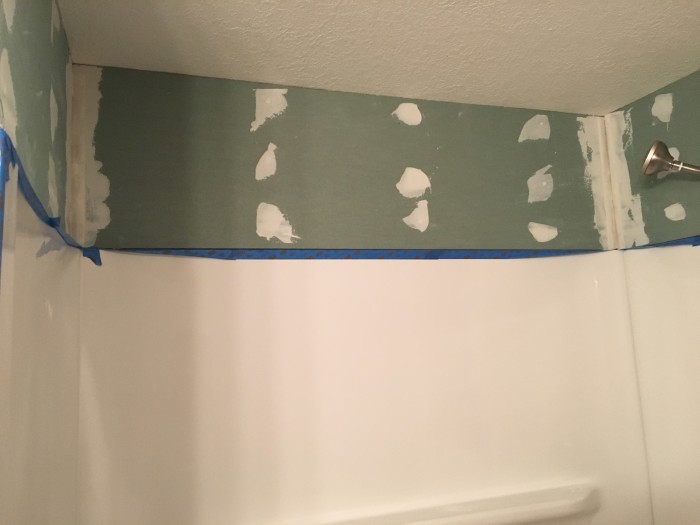
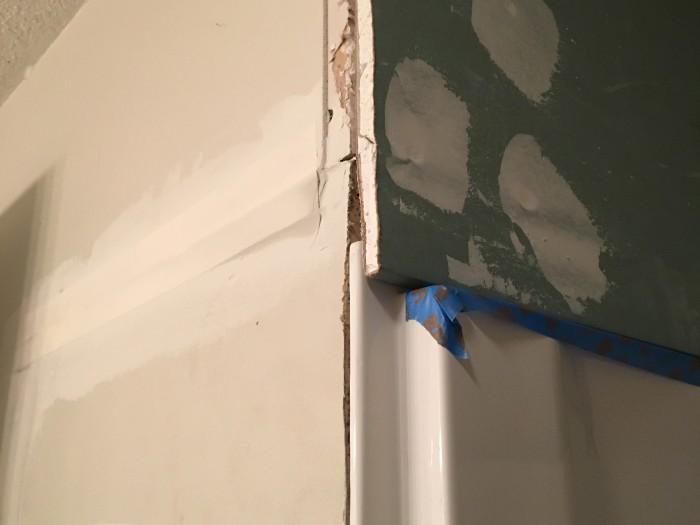
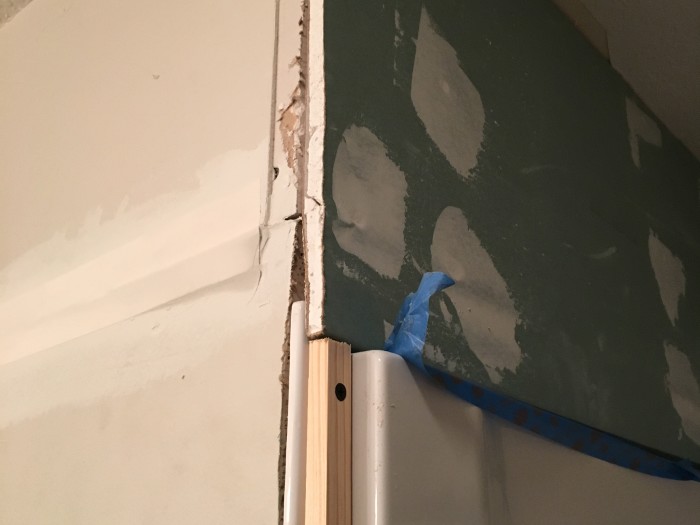
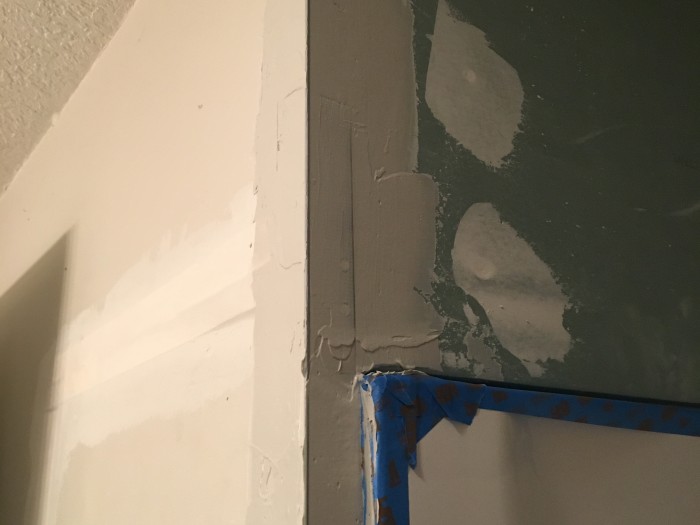
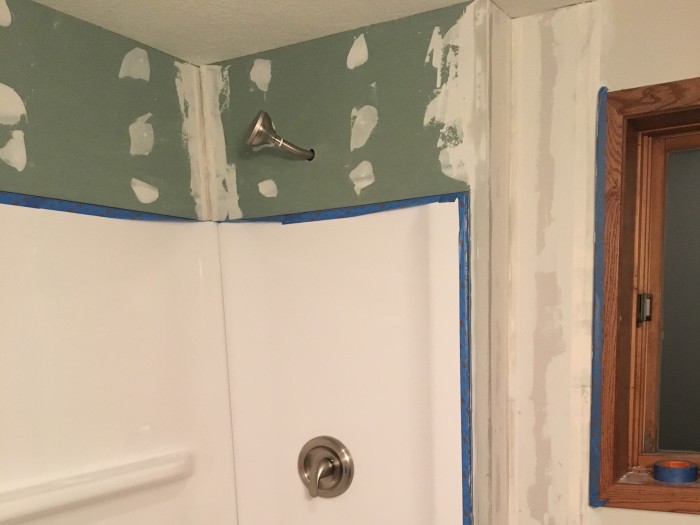
The photos below show the drywall installation. I started by marking the location of the studs with masking tape to remind me where to put screws into the wall once the studs were no longer visible. You will also see how the left edge of the shower insert involved a bit of creativity. There wasn’t enough room to add dry-wall, but I needed something to make the corner solid, so used a piece of wood.
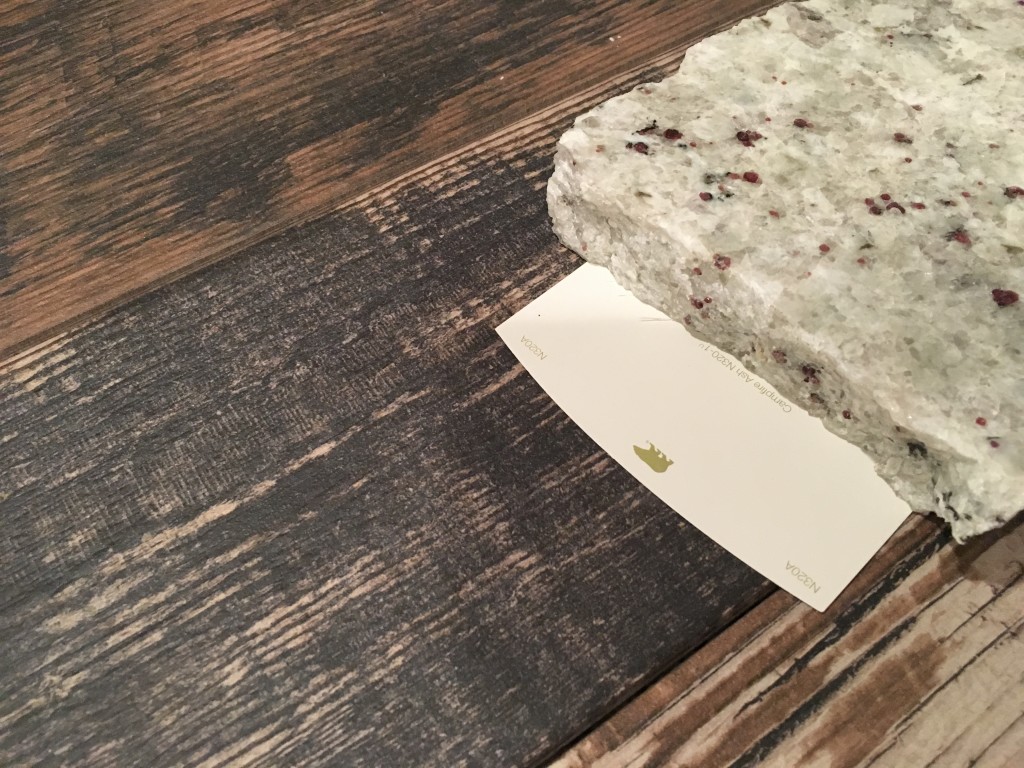
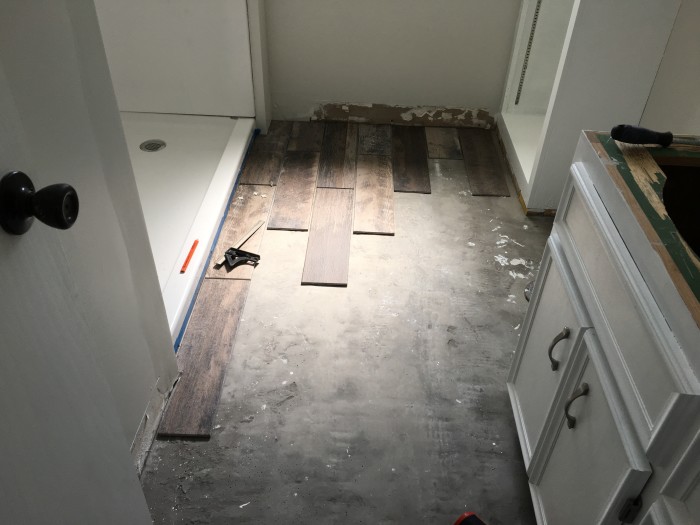
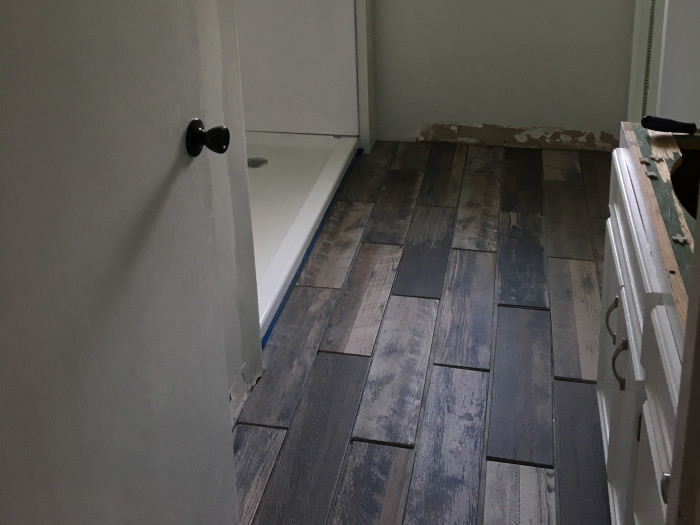
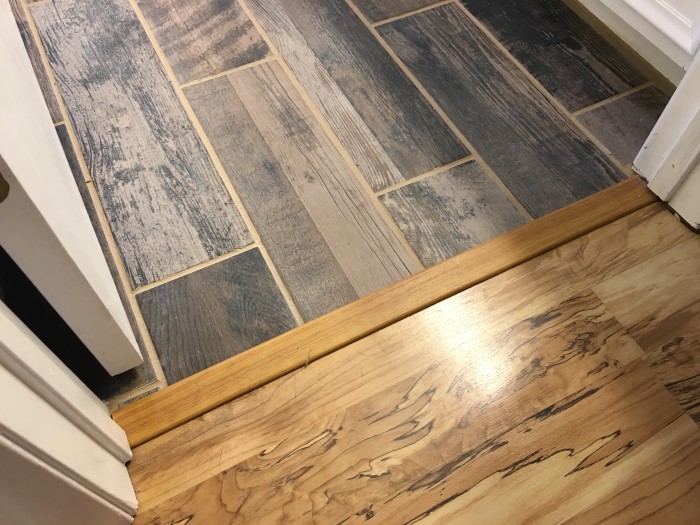
The next photo shows our selections for tile, paint and granite. The paint is: Behr Campfire Ash, which we purchased in a satin finish. The granite was a custom order, as we had a difficult time finding options for vanity tops with a “left-set” sink. The floor tiles are porcelain, the same brand that we used in our previous bathroom renovation. We liked the “wood grain” appearance, but wanting the guest bathroom to have its own identity, went with a slightly different color. The tiles are Marazzi Montagna Rustic Bay. The grout is Fusion Pro Haystack.
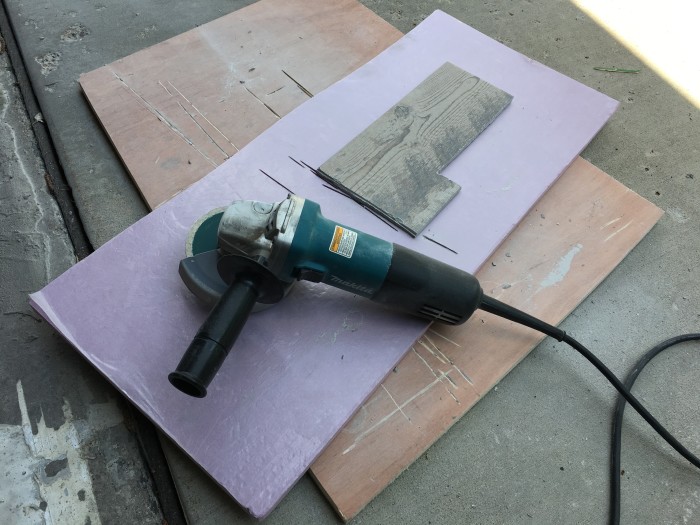
Here’s a video of how I cut the floor tiles, using an angle grinder fitted with a diamond-tipped continuous blade.

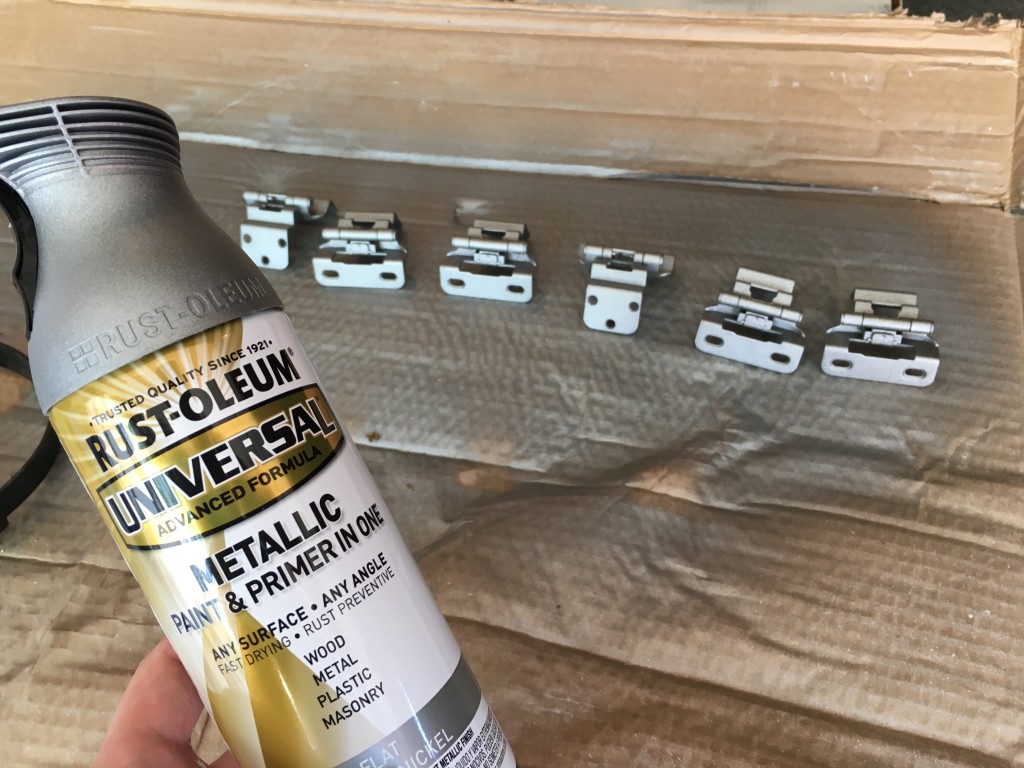
Around this time, I also painted the cabinets and hinges. For the wood, I used bonding primer followed by Behr Premium Plus Ultra Pure White Semi Gloss. For the hinges, I used Rust-Oleum Metallic spray paint.
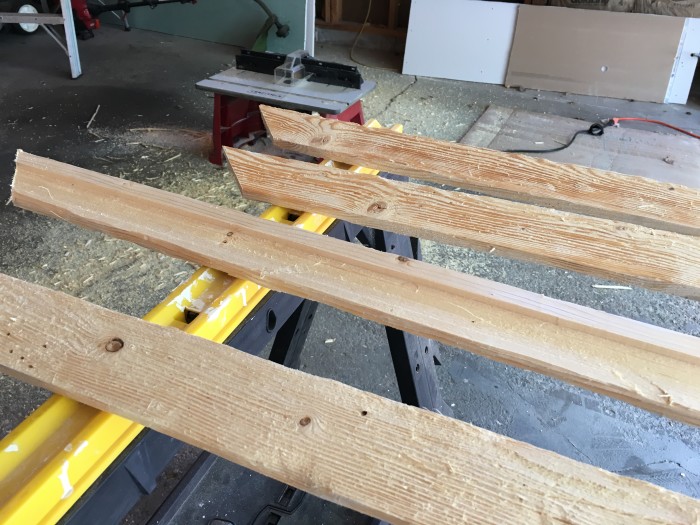
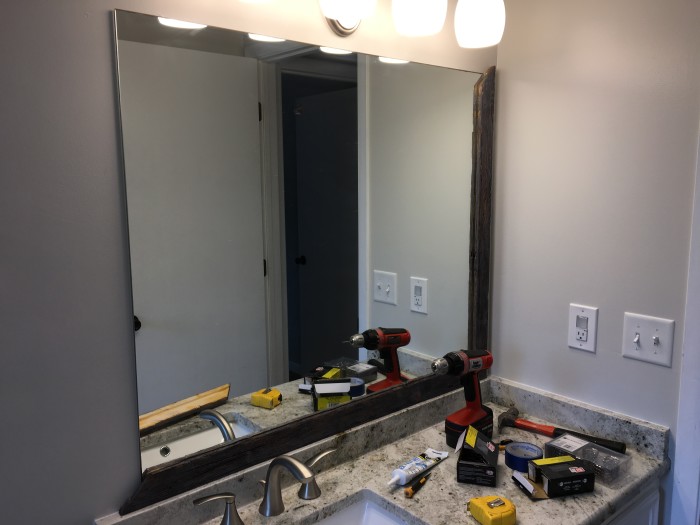
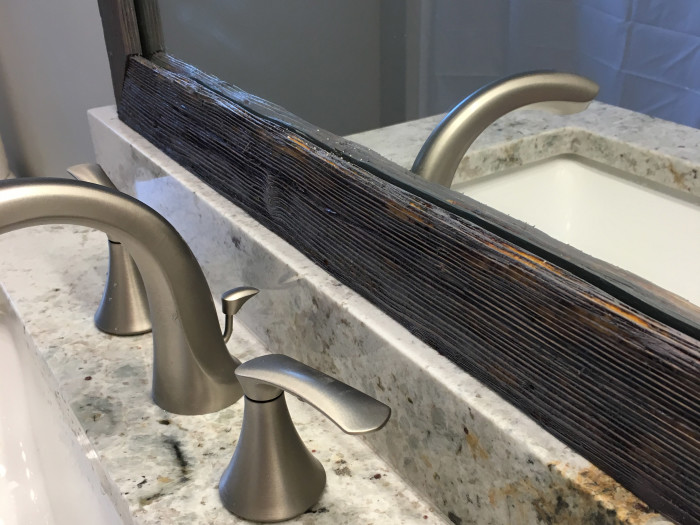
Finally, the finishing touch that brings the whole room together: the mirror frame. The edges of the old mirror were starting to rust, but we wanted to reuse it to save money. Making a frame cost only about $8 in wood and about as much in stain. I bought a couple of 1×3 pine boards and used a wire brush on a drill to rough up the surface.
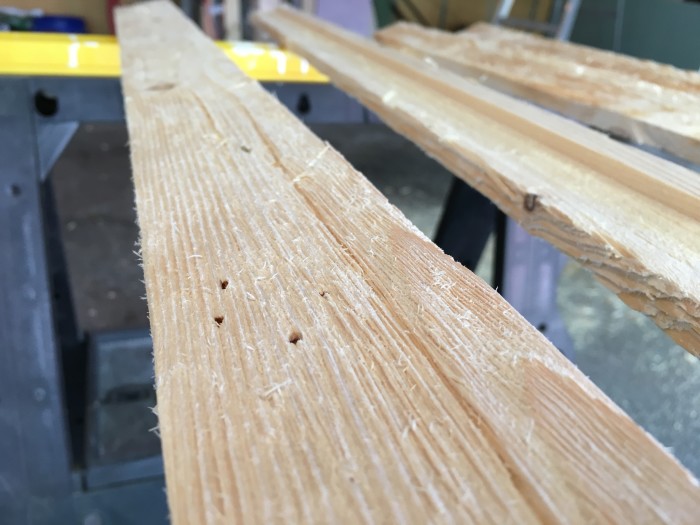
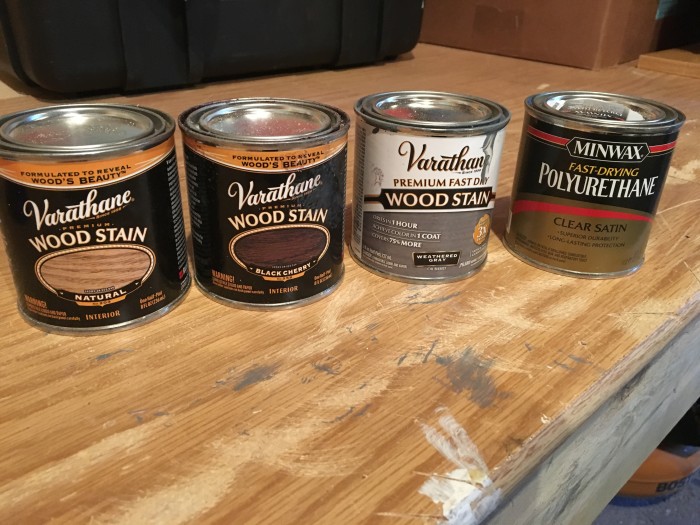
The wire brush was just the first step in giving the frame a “weathered” appearance. I also used a hammer, nails and a screwdriver to add more distress. Then used a router to notch the wood where the mirror would sit. The color comes from mixing three layers of stain, starting with a light, then dark, with a top coat of gray stain, followed by polyurethane.
After adding quarter round ceiling trim and a new lamp, we present the finished product: